Compact chip extractor for lunchbox thicknesser

UKworkshop.co.uk

Help Support UKworkshop.co.uk:

This site may earn a commission from merchant affiliate links, including eBay, Amazon, and others.

Bacms

Established Member
UKW Supporter
Joined
26 Sep 2016
Messages
159
Reaction score
37
Location
Cambridge
Hi folks,

I bought a dewalt DW733 thicknesser a few months back that I have been using by moving it into the garden every time I need to use and it is getting tiresome and being weather dependent does not help either.

So I am considering moving it permanently to the garage. The problem is dust extraction, space in the garage is very limited, and therefore I need to find a small footprint extractor.

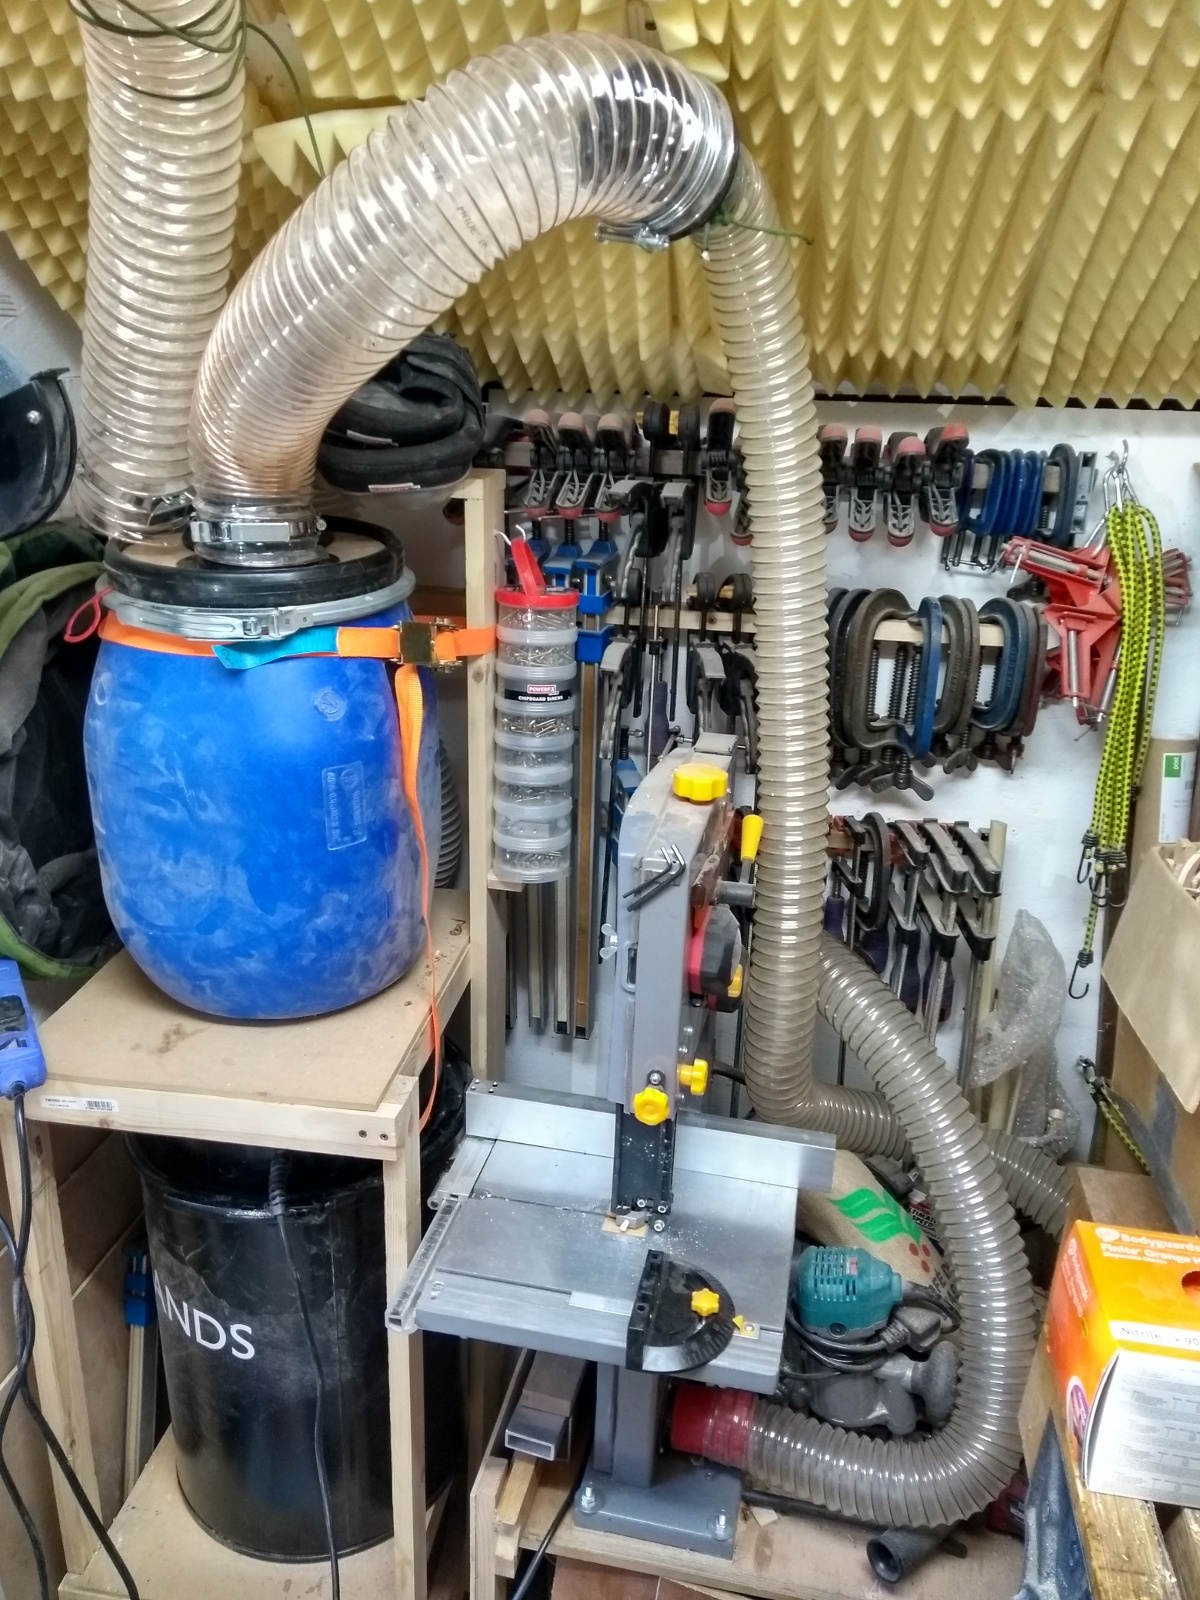
Are the drum type vacuums frequently advertised as the perfect machine such as CamVac enough for this job or do I really need to go into the realms of low-pressure high volume? And if so what would you recommend? I also plan to add a bandsaw in the near future and the extractor will need to cover both.
 
Im leaning towards the Rutlands drum extractor after I asked a similar question a while back, another forum member has the triton tpt125 thicknesser as do I , and said it worked great for him.
 
I have a 733 and use a Camvac exclusively on it. It's best with a 4"/100 mm connection to the Camvac, in which it clears the chips very effectively. A smaller shop vac does not work at all on the thicknesser, gets clogged up fast. Mine is quite an old Camvac with a 2" port, with a 2" ro 4" adaptor at the Camvac end. One with a 4" port would be even better. The smaller Camvacs on wheels are quite convenient to use, though I don't have those.

I can't make any other comparisons as I have not used other extractors.
 
I use a Rutlands drum extractor with a 4" hose with my Makita 2012NB lunchbox thicknesser, and it works fairly well. It. doesn't capture 100% of the chips, some come out the front, but it gets almost all of the ones that come out of the back side until the drum gets to ~80% full. I don't notice any fine dust in the air so I think it's getting most of that. I couldn't find an adapter that joins the roughly 2.5" outlet on the thicknesser to the 4" hose, so I just duct tape it each time I use it...

Main drawbacks I've found of the Rutlands cheapo extractor is it's LOUD, probably louder than the thicknesser (!), and it doesn't have a soft-start so the lights dim when you turn it on.

The first time I used it, I didn't realise how quite many chips were being produced and captured and it ran until the drum was 100% packed full and the 4" hose had also packed full – surprisingly it was still pulling a decent suction despite all that.
 
I can't comment on Camvac et al, but I've got a Makita 2012NB connected up to a small vacuum cleaner (a Nilfisk Aero 26-21) and a home-made dust box with one of the cheap ebay cyclones. I've fitted 50 mm bore pipe to it and I've never once had a blockage in the outlet (apart from that one time when I'd plugged the thicknesser into the wall instead of the vacuum cleaner and then forgot to turn the vacuum cleaner on). A few chips come out with the wood, but very few: most go into the dust box. This photo is from before I fitted the pipe - I've never got round to taking a photograph since I finished making it.

1612275268291.png
 
oooh, interesting - I have the same vacuum - didn't realise it would have enough pull for the thicknesser. do you use the longer hose that came with the vacuum to connect to the cyclone, and then a new bit of pipe to connect to the thicknesser?
 
Yandles got sale on the charnwood DC50 extractor today at £99.99, think that's same as the Rutland one?
 
oooh, interesting - I have the same vacuum - didn't realise it would have enough pull for the thicknesser. do you use the longer hose that came with the vacuum to connect to the cyclone, and then a new bit of pipe to connect to the thicknesser?

I use 50 mm pipe for both bits. I bought a length of 50 mm pipe and cut off a section of it. You'd probably be okay with the hose that comes with the vacuum for connection to the cyclone but I think something bigger is better for connection to the thicknesser as otherwise there would be quite a big step-down in diameter at the thicknesser which is likely to cause chips to get caught and that's a recipe for clogging. If you can find a cheap source, I'd also recommend trying to get a smooth bore pipe: occasionally bits cut on table saw will get caught on the ribs of the hose I use. It's easy enough to sort out buy wobbling the hose around in the right area (it's transparent so I can see where it's caught), but I'd guess a smooth bore pipe would be better.

I had to get lots of adaptors to get everything to fit (no such thing as standard size!). The thicknesser to 50 mm adaptor I bought on ebay. A very kind soul on the mig-welding forum 3D printed adaptors for the vacuum cleaner to the 50 mm hose and some simple tubes to go into the ends of the hose (so I'm not sliding the hose on and off the machines all the time). I ended up also making an adaptor (on my lathe) to fit the original vacuum cleaner attachments onto the end of the 50 mm pipe as it saves me switching to the vacuum cleaner hose for normal vacuuming jobs.

I'll get some photos later and post them.
 
I don't know if this qualifies as "drum extractor" as being discussed above, but I have this, which worked just fine with my Triton lunchbox thicknesser.

I have since bought a 1.5hp chip extractor which is laughably effective with the thicknesser (after I modified the adapter). Something like I linked above does the job perfectly though.
 
Lots of photos of my set-up:

How it normally looks (currently connected to table saw):

1612281685429.png


That pipe is FAR too long, but I haven't got round to deciding how long I want it to be and I figure it's safer to leave it too long than cut it too short and regret it later!

The dust box size was decided on the basis of the bench height as I wanted it to slide under the bench:

1612281761458.png


What it looks like brought out into a brighter area and with the hose disconnected:

1612281793308.png


Hose attachment to vacuum cleaner:

1612281807269.png


That one was 3D printed by someone on the mig-welding forum.

Inside view - if you look closely you can see the draught excluder strip I put around the rim on the inside. The inside is all painted with one coat of wood primer. No idea if that's needed, but I figured it might help seal the container. The joints have decorator's caulk on them (before painting), as does the area around the acrylic window on the front (I can't hear a tone-change in the vacuum cleaner over the noise of the thicknesser or table saw, so it's really useful to have a window to see how full the box is).

1612281858575.png


and these are most of the adaptors:

1612281888141.png


The ones fixed to the pipe are 50 mm ID on the open end and 50 mm OD on the bit that goes in the pipe. They slide round the outside of the adaptors that go to the various machines so that there's no place where bits of wood can hit an edge and get jammed. The bottom adaptor will fit all of the vacuum cleaner attachments. It would have been much easier to make this slide inside the attachments (as they have a consistent ID and a very inconsistent OD), but I made it work by having a few different sizes of ID: it's stepped inside the right-hand side of the adaptor as you look at it so the narrower tools go further in. That one was made on the lathe.

The adaptor sitting on its own on the bench is 50 mm OD on the top end and the bottom end fits into the outlet on the table saw. That one (and the bits fixed to the pipe) were 3D printed by someone on the mig-welding forum for me (to my design). They all need a bit of fettling to get the diameters right. The adaptor that's stuck into the blue thing (which is the exhaust port for my thicknesser) was bought on ebay; again it is 50 mm OD on the end the pipe attaches to.

I've also got an adaptor that allows me to plug the original vacuum cleaner hose directly into the cyclone, but I never use it.

Hope that's helpful.
 
I would think this through carefully if you want to succeed in having an effective extraction system.

Getting an effective workshop dust extraction system is not easy but you can get close provided you do your homework and get the right kit. Buy a Dust Extraction book. It will certainly help and steer you in the right direction from the start and best of all you could save money in the process by not making mistakes along the way to having an overall system.

The Dewalt planner has no casing to help with extraction which is not ideal and as a result kicks out it's chips in all directions. I can't find out any values that Dewalt quote for their recommended extraction values. Given what I've read from users, you probably need an extractor that is capable of 1000 to 1200 cubic meters per hour at 100m duct or more due to it's design. This being the case you could be looking at a 1.3 to1.5kw (output) single stage or cyclone machine. Getting something like this should future proof your requirements but go for a high value micron filter. There are many second hand machines coming up all the time.

The Rutlands canister one you refer to has a 53 litre per second extraction rate which is 190 cubic meters per hour - hopefully this puts matters into context.

You say space is limited. I'm assuming this is floor space. Consider mounting the machine at or above head height. The good thing about a single stage machine is that you can reconfigure it's main components and mount them on walls and the whole thing is tucked into a corner. This actually helps with placing extraction ducting around the workshop as it already is at a good height - check out some YouTube videos.

Don't worry about a canister one for the moment. You can add one later after you've got the main system cracked and you understand more about extraction. Good luck.
 
Thank you, folks, for the info. It is extremely useful to read all the experiences folks have with their own system.

My space is limited everywhere, to be honest. It is a rented house that comes with a single garage right in the middle of Cambridge so floor space is a big limitation but the garage is also shared with bike storage, garden equipment storage, etc. It has an above head platform where I store some/most of my lumber as I am a bit of a hoarder.
So you would think the walls are mainly free but the ben and the router table leaning against the wall in one side (the remaining of the wall has the fuse box ) and the other side has a bunch of shelf and sheets of plywood and bikes lean against the remaining space. So both floor space and wall space are pretty limited so definitely need to think carefully about the power vs size of the machine. I am definitely a fan of buy once/ cry once type of deal but even the little Axminster AT50E doesn't have the 1200 cubic meters per hour @Chippymint mentioned and even those I would need to consider very careful where to place it
 
@Dr Al - loving that, thanks! Any reason you chose the shape you did? How did you put the window in, route out a channel and add some perspex and then seal that in too? Like that idea.

Is the container 2 18mm layers thick or have you cut a rebate in the top of a single sheet for the lid?
 
One additional factor to consider is the tradeoff between airflow and filtration efficacy. The low end HVLP extractors with the cloth bags will catch more chips than a drum-type LVHP extractor, but will allow much more of the fine (dangerous!) dust through and back into the air. The Axminster AT50E you mentioned does seem to have a proper HEPA filter though.

As I said, my experience with my cheapy Rutlands drum extractor is that it seems to catch most/all of the fine dust, and any chips that escape are easy enough to sweep up and aren't dangerous.

@Bacms FWIW I'm also in Cambridge with a single garage that also stores bikes/etc. The drum extractor is working adequately for me, but I am considering upgrading to an HVLP system of some kind. I haven't been able to find or design the right solution yet so I've been persevering with the drum extractor.
 
I have a 733 which is in use in very limited space (an 8'x6' shed) and I've found that the rutlands 4" extractor worked fine for it when fed directly (and it was cheap). I was using the extractor with a cheap dust deputy cyclone clone but that was a 2" clone so there was all manner of adapters being used and that wasn't ideal for either airflow or space so you couldn't really get the 733 to work off my cyclone. I've since replaced that cyclone with a thien-style lid on the barrel (another cheap rutlands kit of parts) which lets me use 4" hose and reduce overall used space; that's not been properly tested with the 733 yet though so I don't know if you can do a lot of work with the 733 without clogging it yet (though I'm hopeful).

http://www.stochasticgeometry.ie/2020/11/08/dust-in-the-wind/
2020-11-08-14.06.52a.jpg


(the quick release clamps on the hoses going into the barrel let me switch between the hose that goes to the bandsaw and which also gets used for cleaning up the floor and shed in general; and the larger hose that goes across the roof to the lathe for dust collection and which gets unplugged from the lathe end to be plugged into the 733 when that's in use. Given the small scale, it seemed a better fit for purpose than building blast gates or y-splitters because of the room they'd take up - I wouldn't do this this way in a larger shed)
 
@Dr Al - loving that, thanks! Any reason you chose the shape you did?

No strong reason. I wanted something that was a similar size and shape to the vacuum cleaner. The vacuum cleaner is obviously a cylinder. I don't have a wood lathe so there's no way I could make it circular. An octagon seemed to be a good compromise.

How did you put the window in, route out a channel and add some perspex and then seal that in too? Like that idea.

Yes. I had a scrap of acrylic leftover from something else. I routed a slot for the window and then a slightly larger window on the inside. I glued the acrylic into the pocket with epoxy and then filled all around with decorator's caulk.

Is the container 2 18mm layers thick or have you cut a rebate in the top of a single sheet for the lid?

It's made entirely out of (1 sheet of) 18 mm MDF. The sides and top have a rebate about 6 mm deep (from memory) cut around the edge. The width of the rebate was chosen to match the draught excluder strip.

I had to buy the draught excluder strip in a quantity that's enough to do a few doors: I used less than a quarter of what I bought. If you decide to go this way and need some draught excluder strip, send me a PM with how much you need and I'll stick some in the post to you to save you buying far too much like I did!
 
My planer thicknesser is the Titan from Screwfix. I use this in the workshop with the Record Power RSDE2 4 inch extractor (which I bought used for £40 on Facebook Marketplace) and the Camvac Interceptor lid (£16) and a plastic dustbin from my local builders merchant (£12) and this works perfectly.
Camvac Dust Separator img 8.JPG
To get the lid to seal to the bin, I used closed cell foam from a packing crate cut into a 2" x 24"length and glued in place with hot glue. The extractor gets hardly any dust (see pic)
Camvac Dust Separator img 2.JPG
and the black bin probably 99% (see pic). I have had this set up running for two years now and can highly recommend this cheap and cheerful solution, as it works very well for the £28 cost compared to a more costly cyclone separator. You could also use the Rutland 4" dust extractor (£120) with this set up meaning your overall cost would be under £150 for an all new set up!
 
Back
Top