Coffee table with breadboard ends and wedged through tenons

UKworkshop.co.uk

Help Support UKworkshop.co.uk:

This site may earn a commission from merchant affiliate links, including eBay, Amazon, and others.

memzey

Established Member
Joined
8 Apr 2013
Messages
1,753
Reaction score
16
Location
St. Albans
Hi gang,

As promised here is my retrospective wip on the steps I took to make SWMBO a coffee table for the front room (as mentioned in a couple of previous posts where I have asked for help/opinion at various times). Not sure what the limit on photos per post is on this new software so I will limit each post to 5 or 6 to stay on the safe side.

As a starting point I quite liked the general design of a table that Paul Sellers did a series on (https://woodworkingmasterclasses.com/ca ... ffeetable/) but there were a few things I did not like:

Firstly I thought there was a bit too much in the way of end grain visible on the top for my taste. I myself prefer either making a feature of end grain or hiding it as much as possible - but that is just my personal preference and not in any way a statement of what "good" is (I'll be the first to say that I'm the least qualified person to comment on such a thing).

Secondly I wasn't overly enamoured with the curved aprons of the original. Again a matter of taste but I thought it looked a bit 1972 for my liking (and more importantly so did SWMBO).

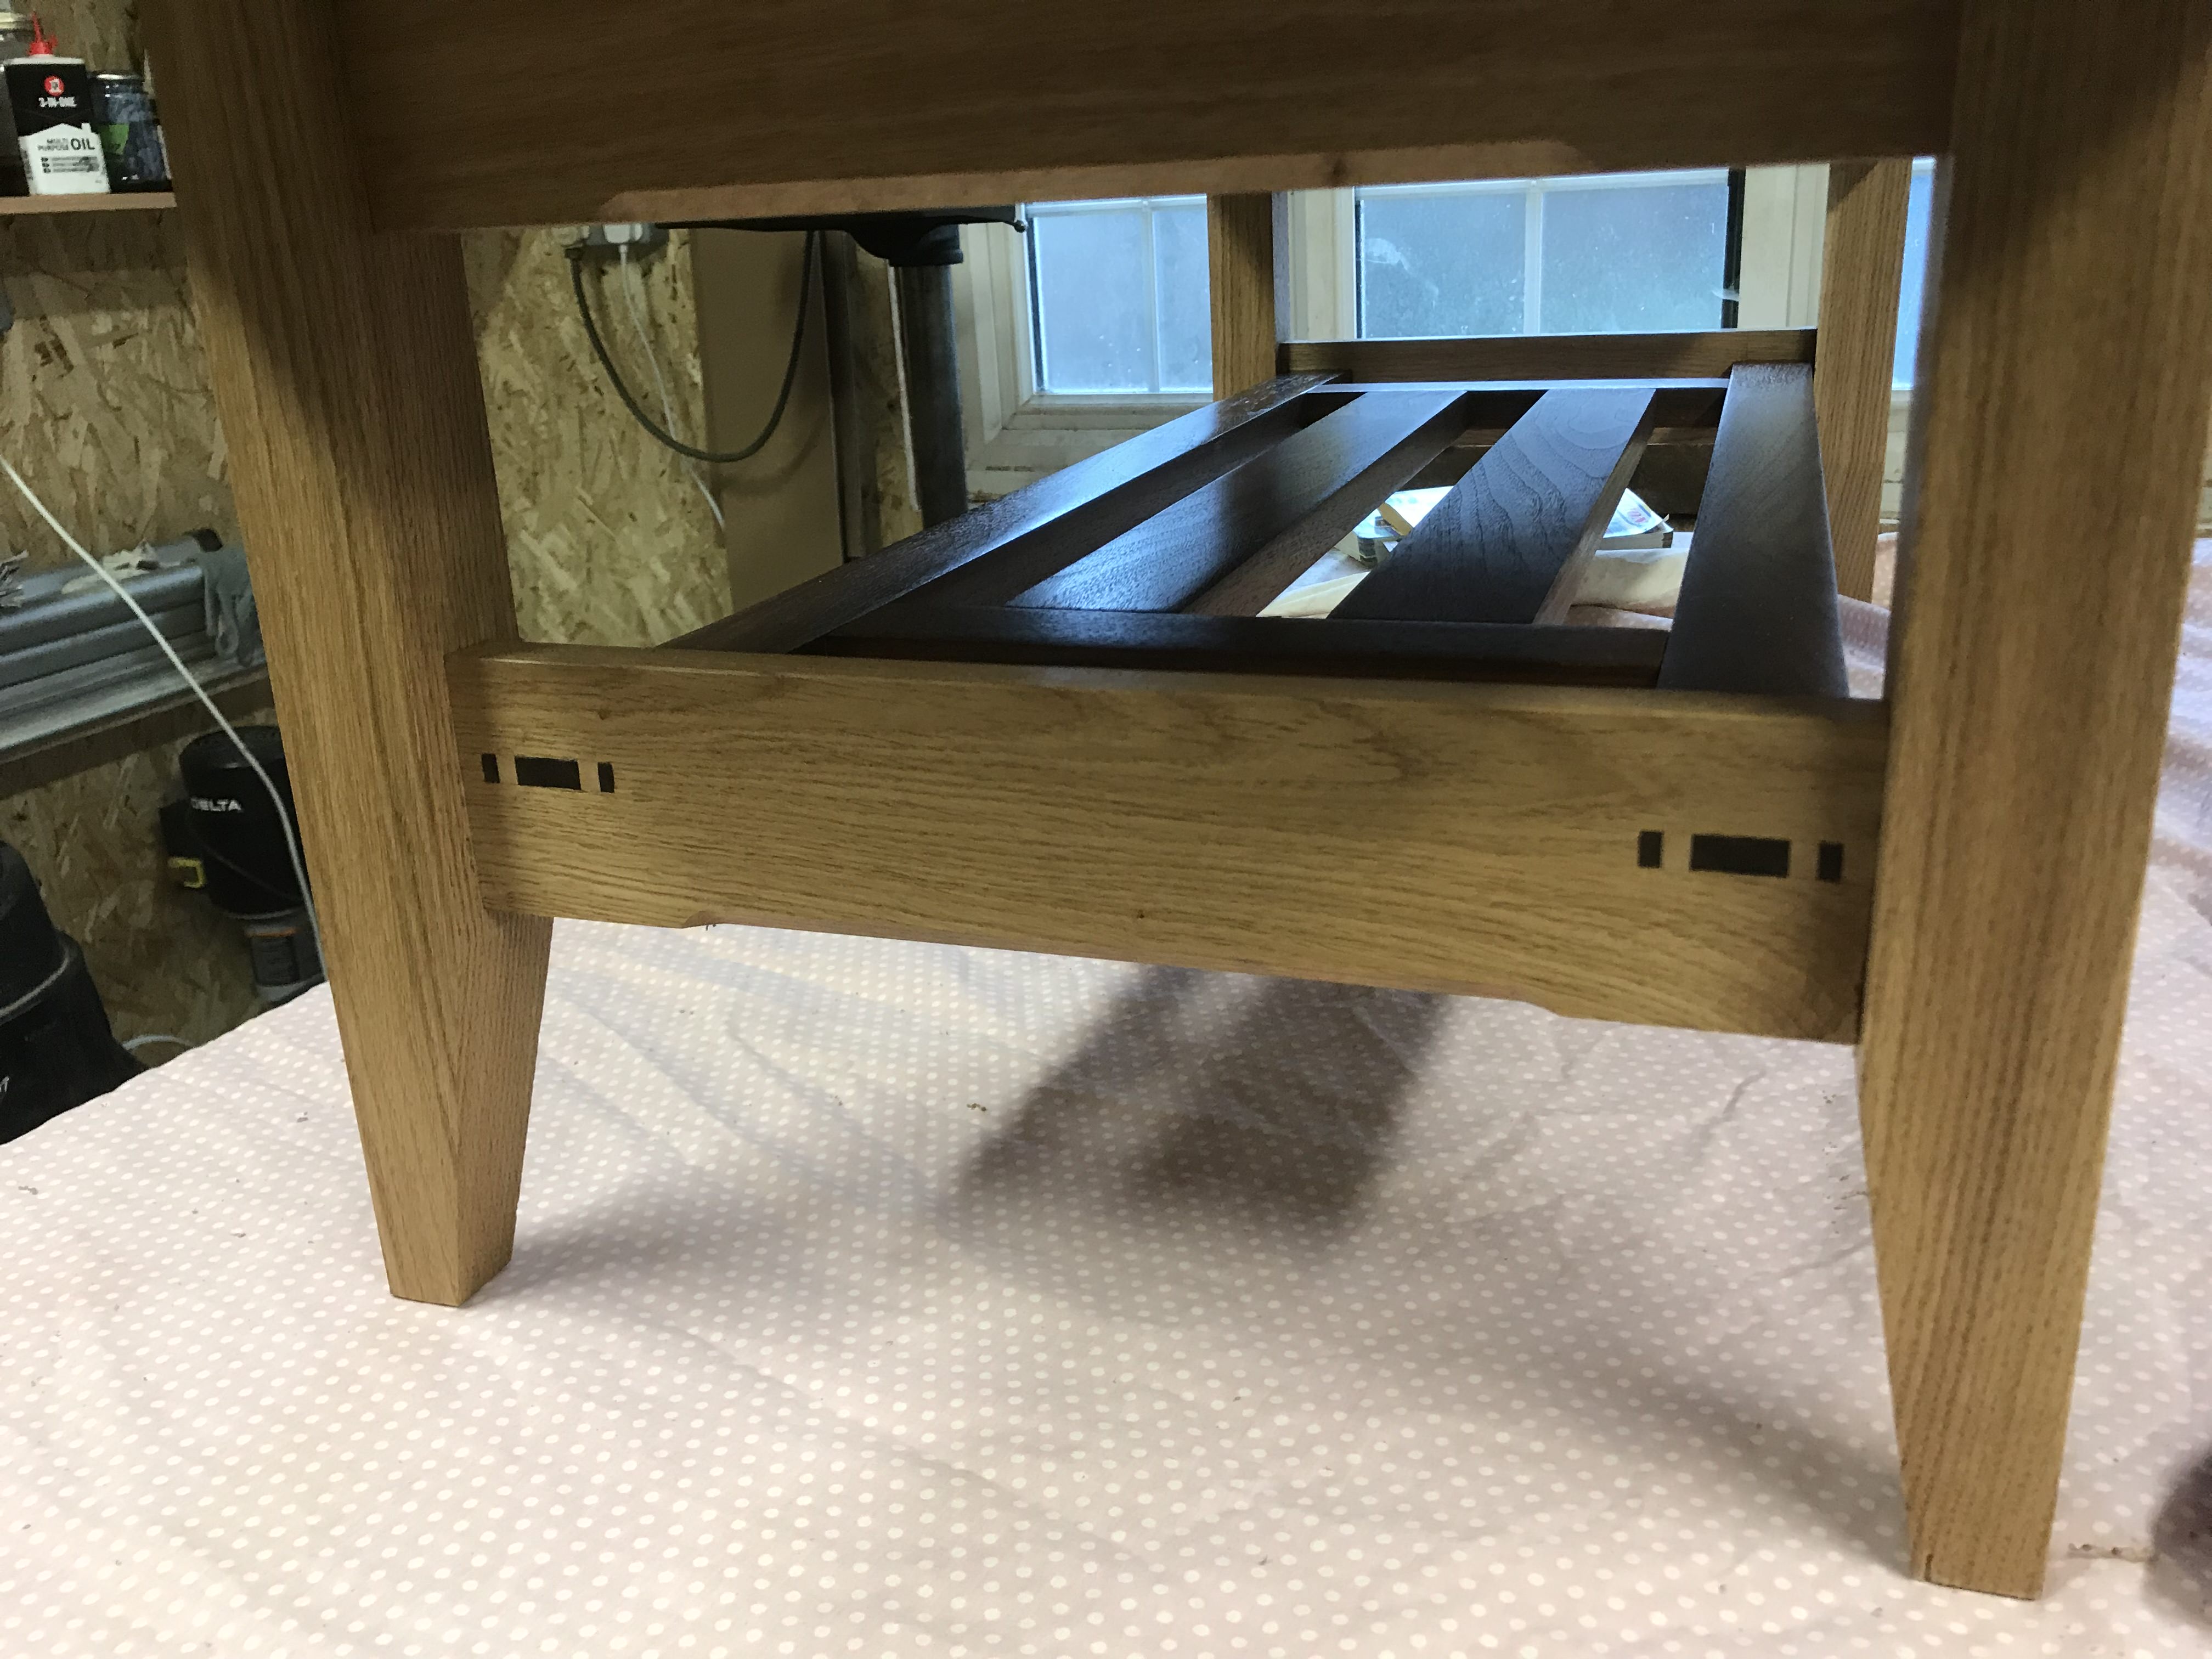
Thirdly I thought the tusk through tenons were nice but could be improved upon as a "look at me - I'm not from OFL" feature for this piece of furniture.

Finally I wanted to use contrasting woods for aesthetic effect where possible rather than just stick to oak.

So while my design is in no way original, I did adapt an existing proven design to suit the particular needs and tastes of my household (at this point I should really show a sketch I did of what I was aiming for but I'm on a train from Edinburgh to London and I previously neglected to photo the design (homer))

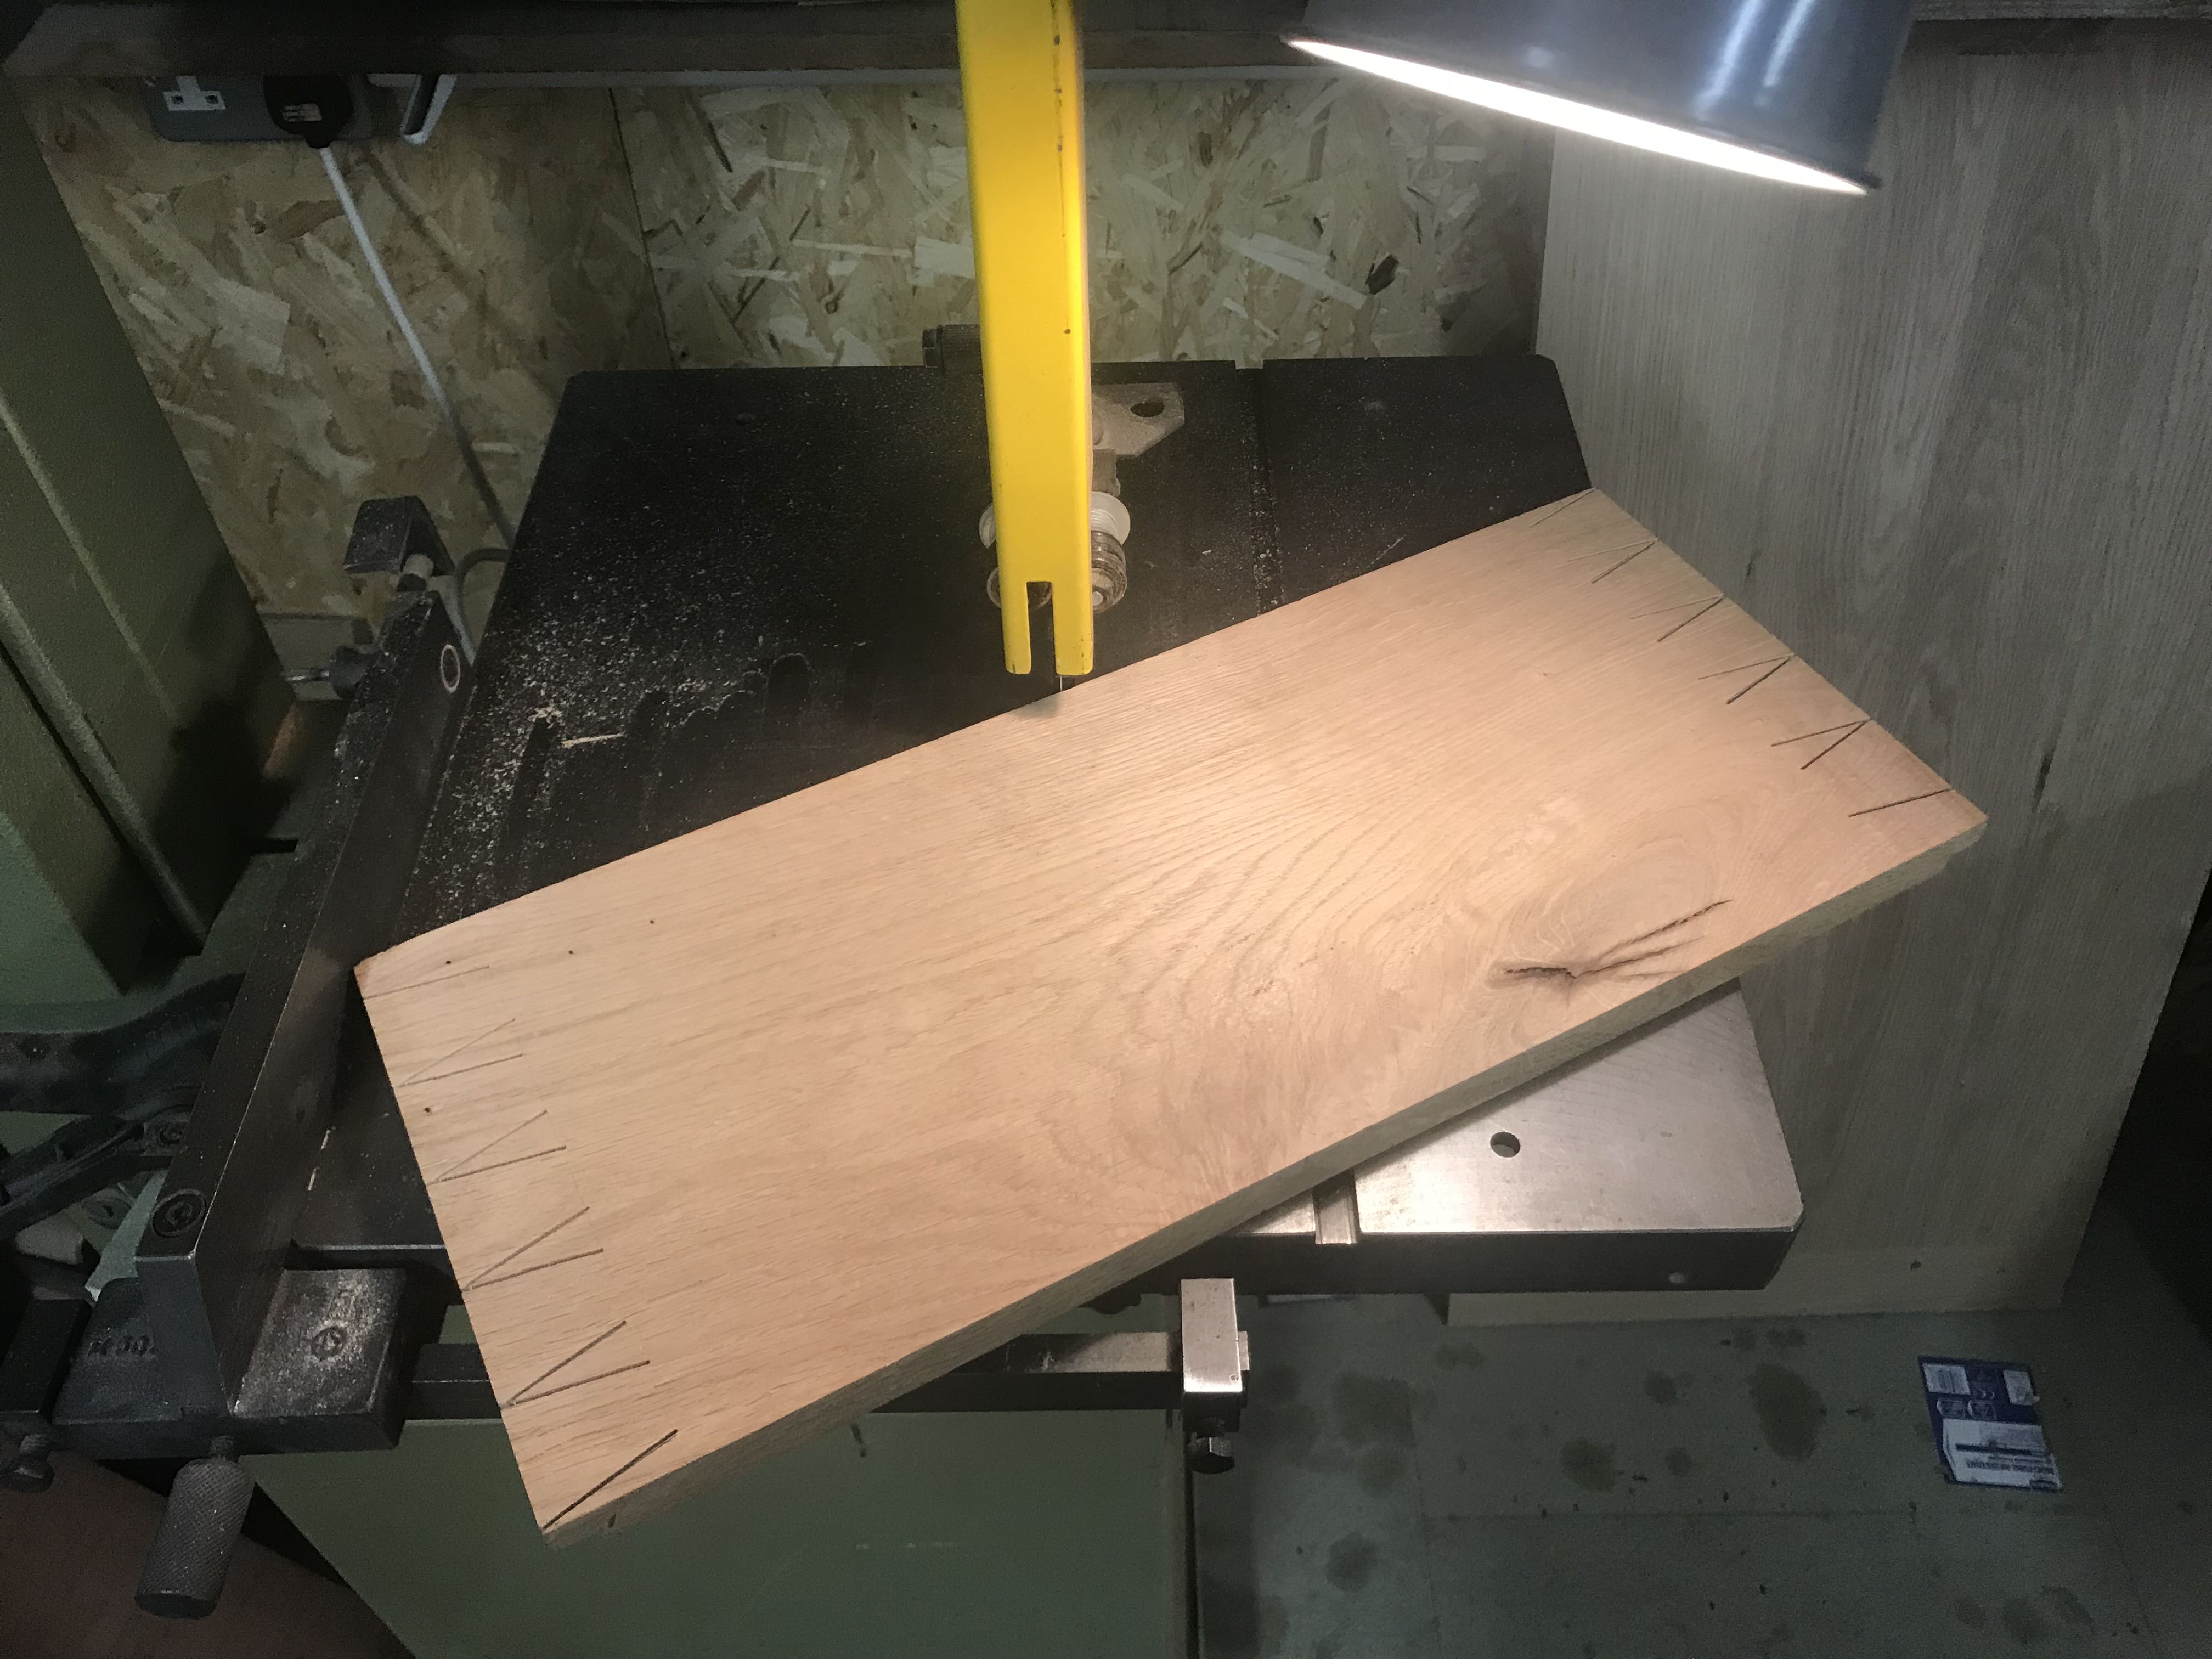
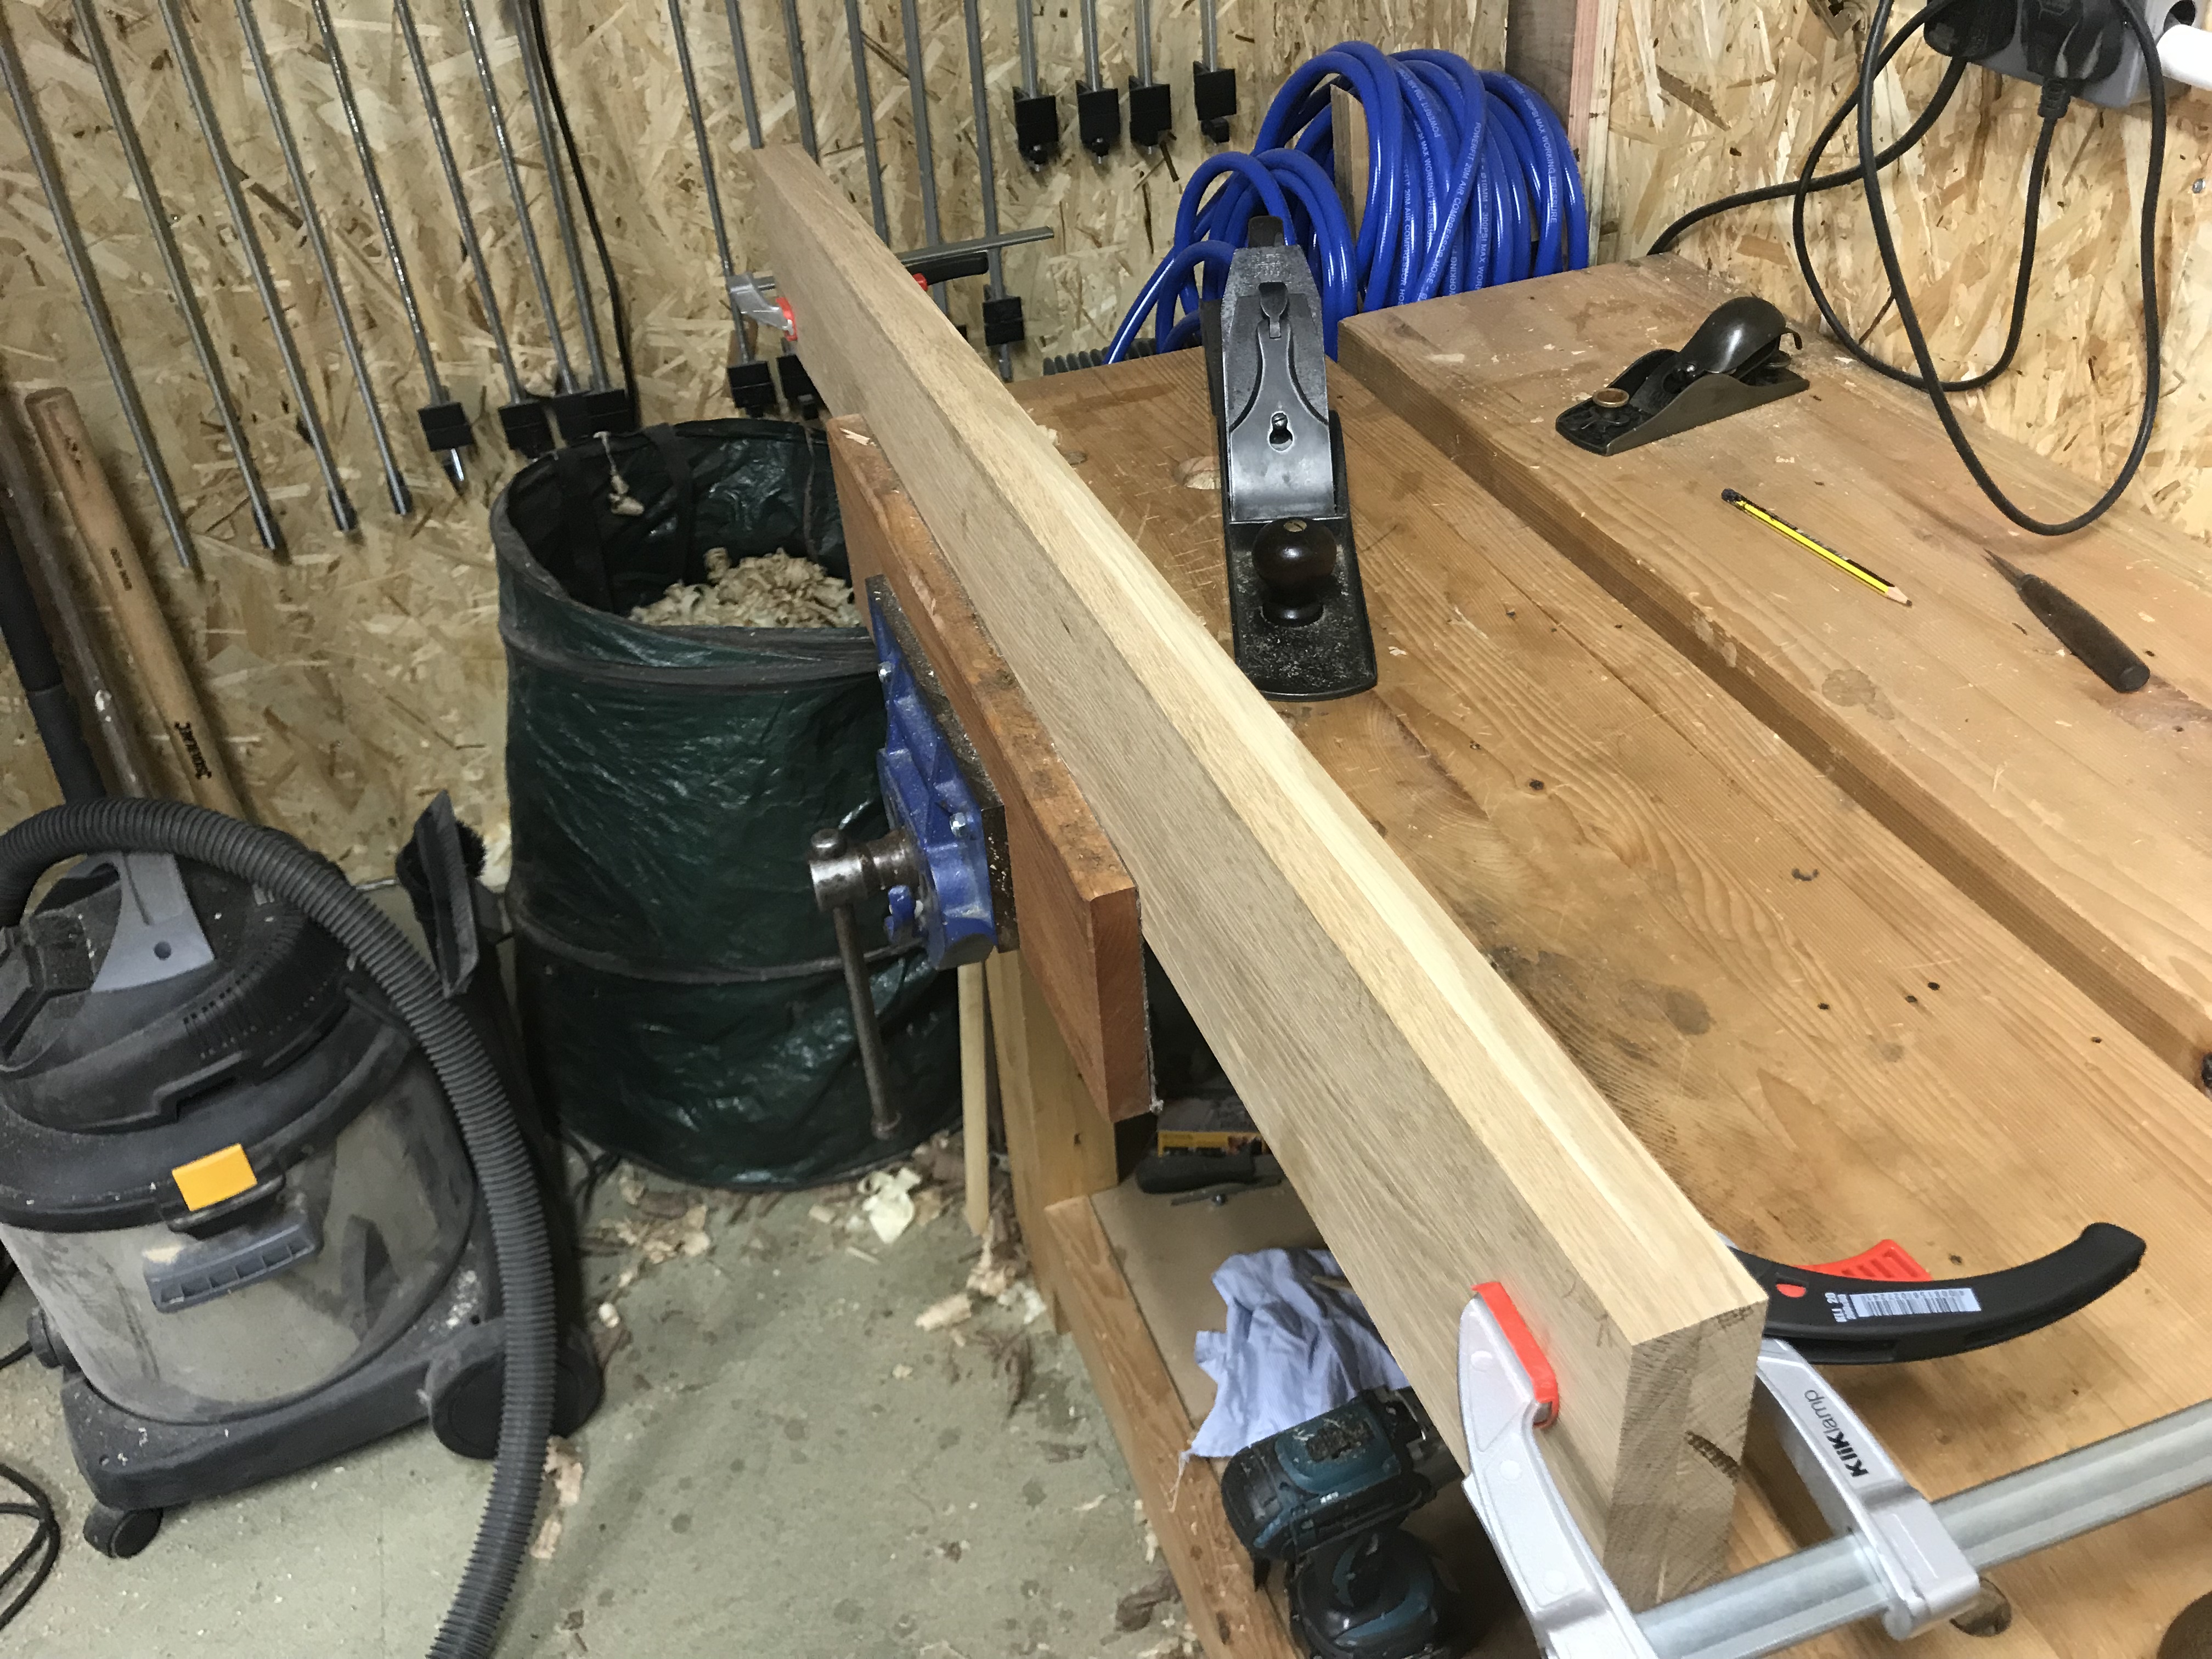
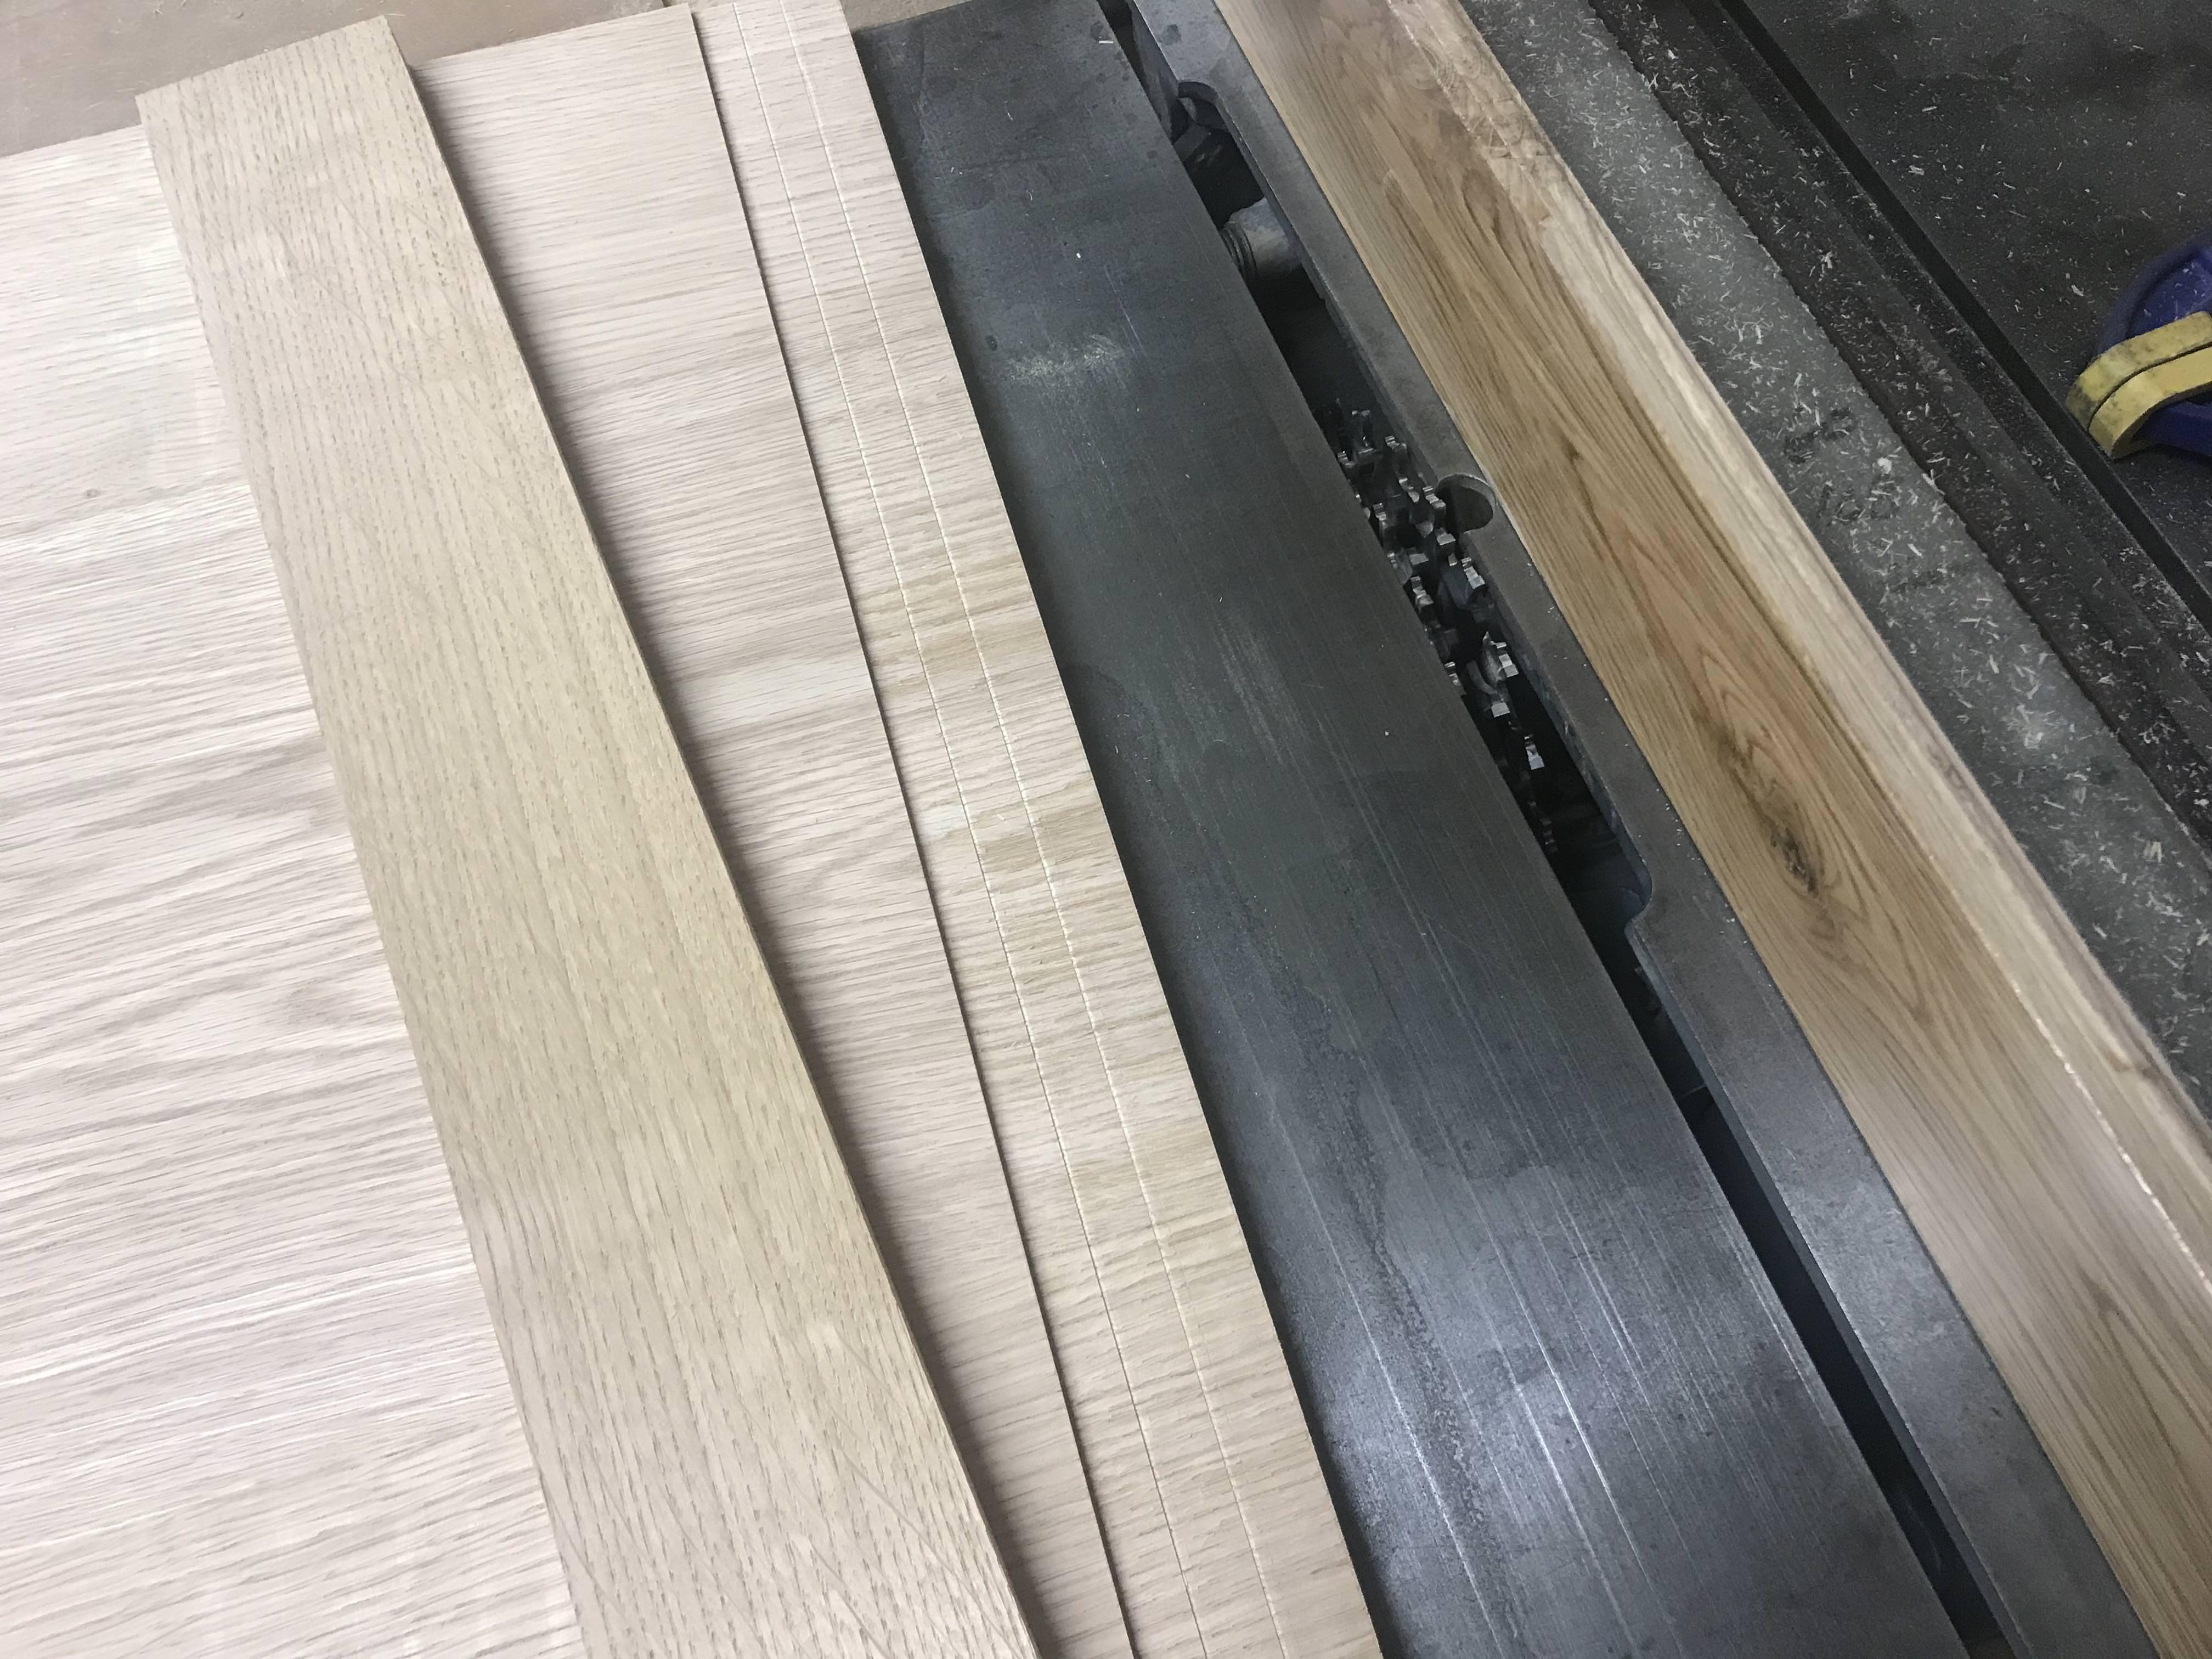
Anyway on to stuff - I started with 1" rough sawn boards of Oak for the top and American Black Walnut (ABW) for the shelf. I rough cut, planed and thicknessed these down to size by hand* and then placed in stick for a while before final dimensioning:
eBJRC97.jpg

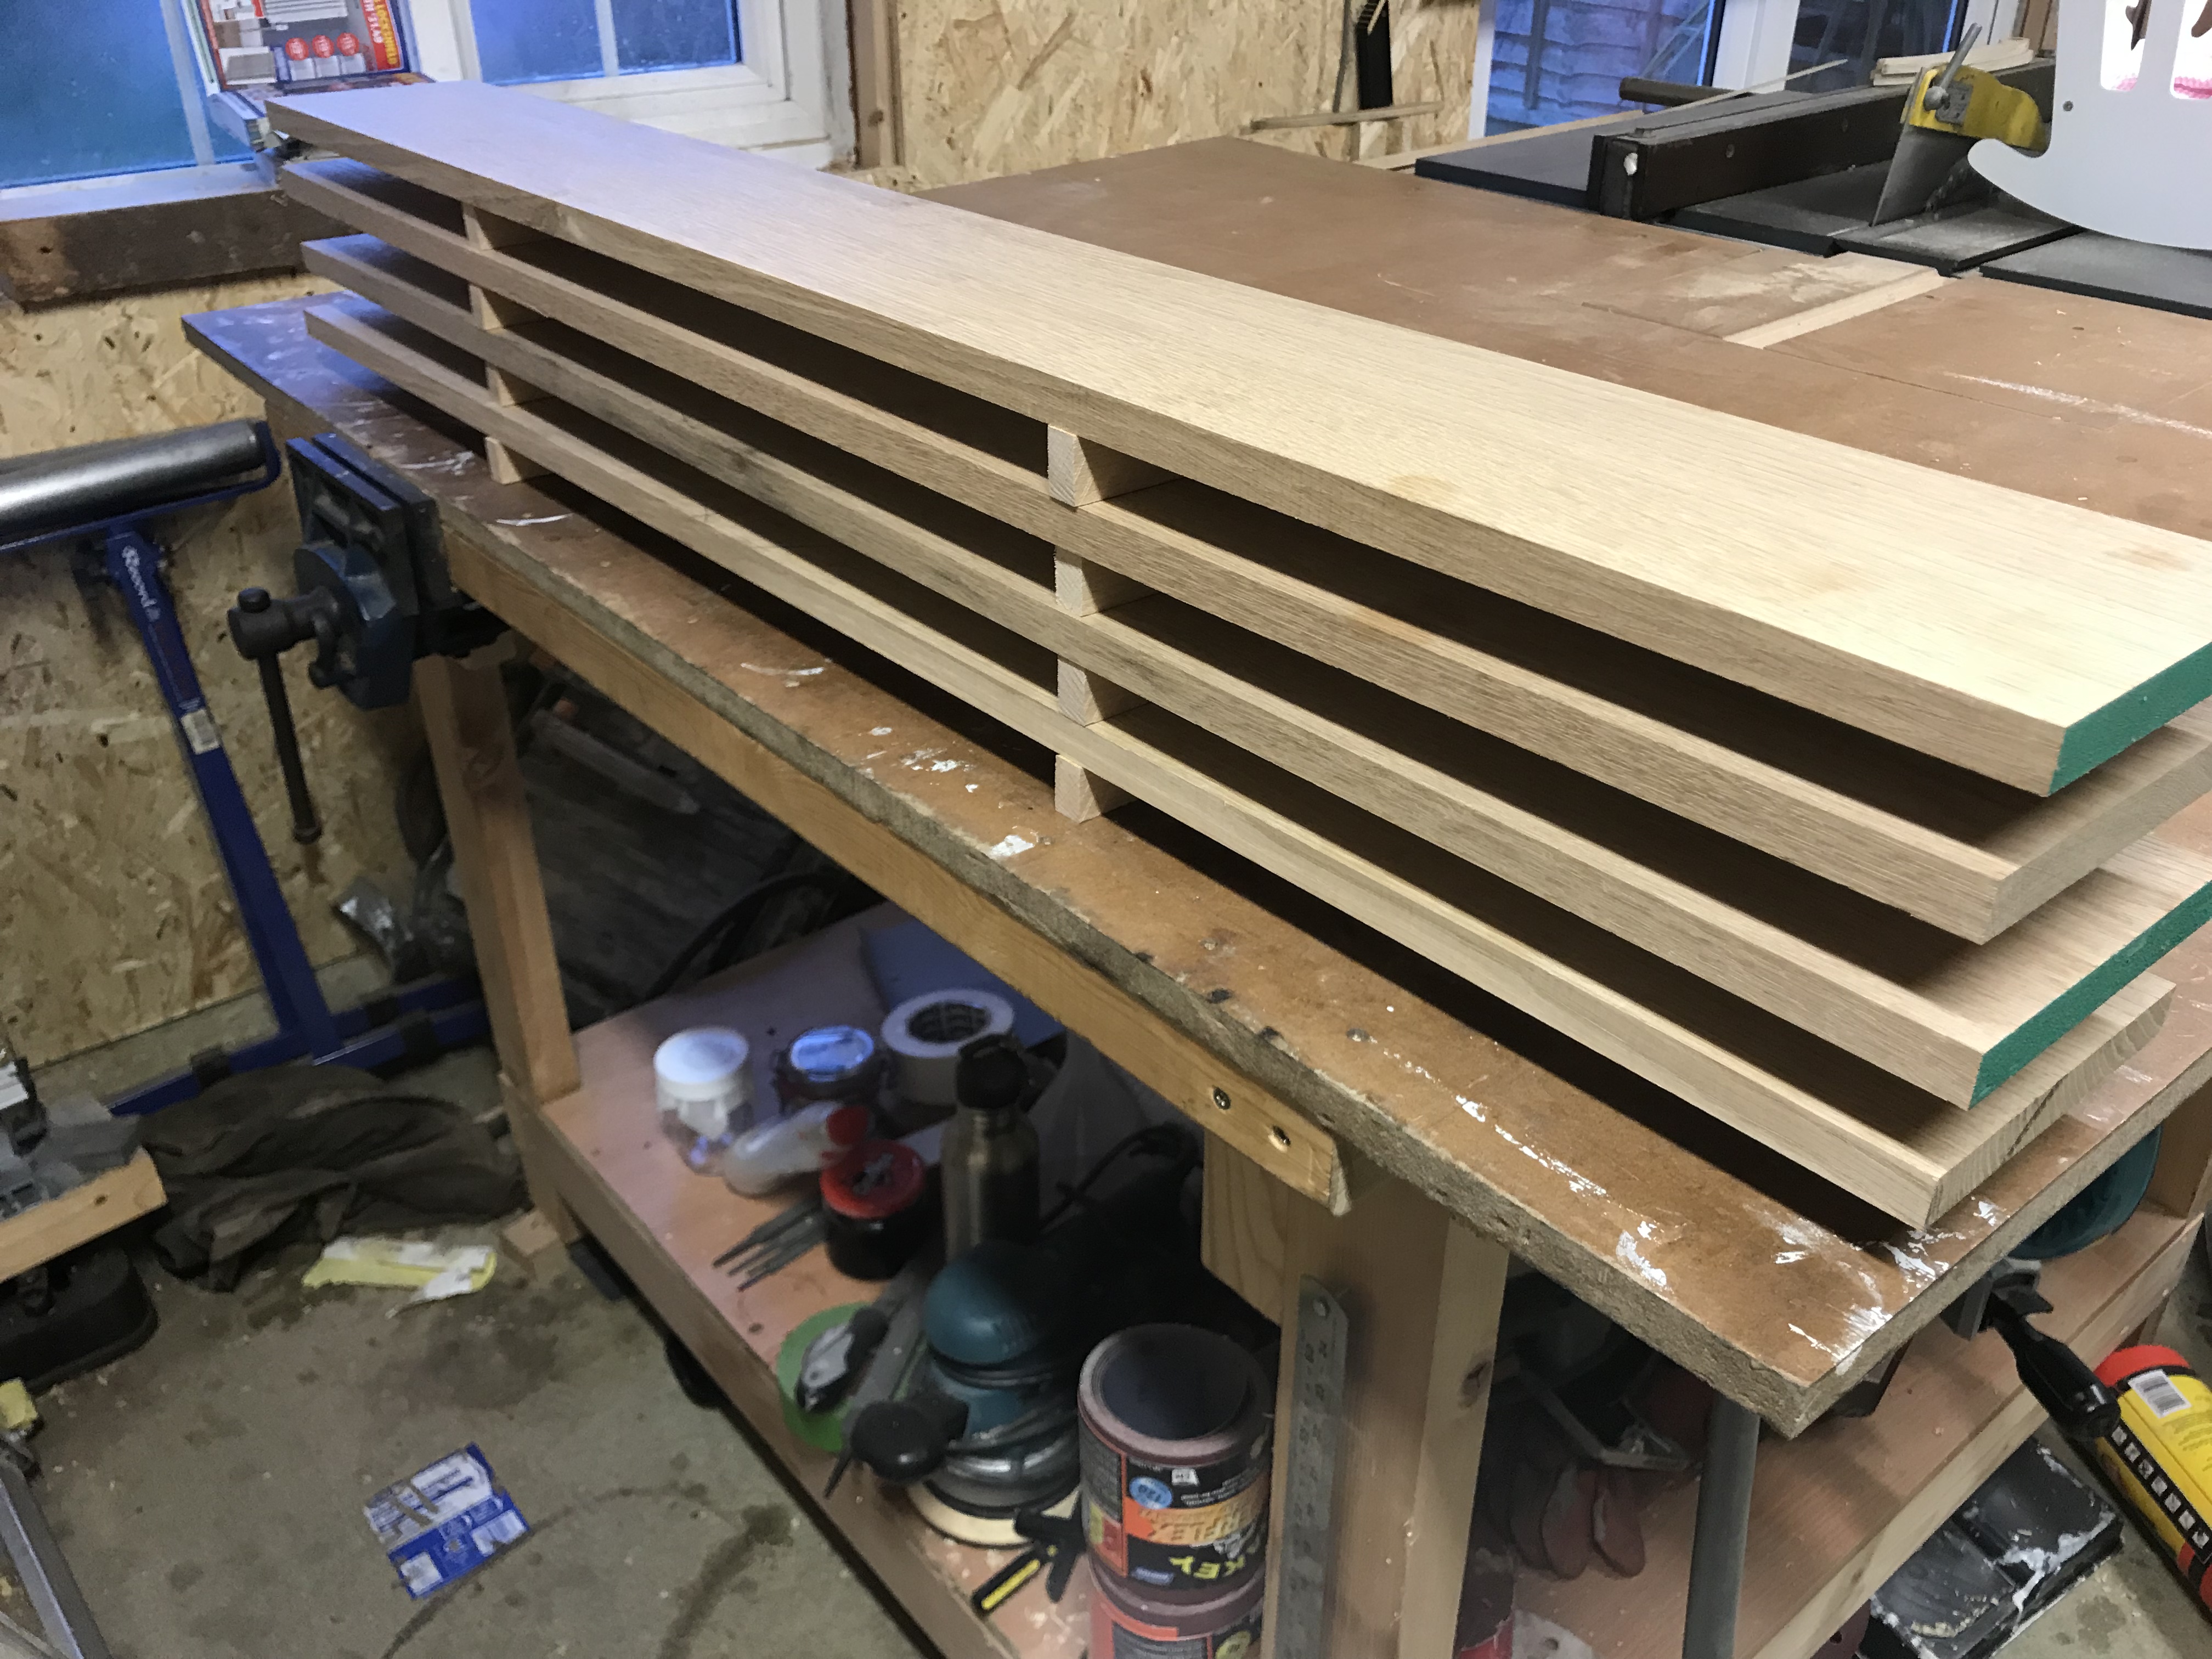
*"By hand" = I manually, with my own bare hands and no mechanical assistance whatsoever, put the boards through my table saw and planer thicknesser :wink:. I did prepare the edges for final jointing with bench planes though, as I find doing so leaves a far less visible glue line.
WSs1MhY.jpg

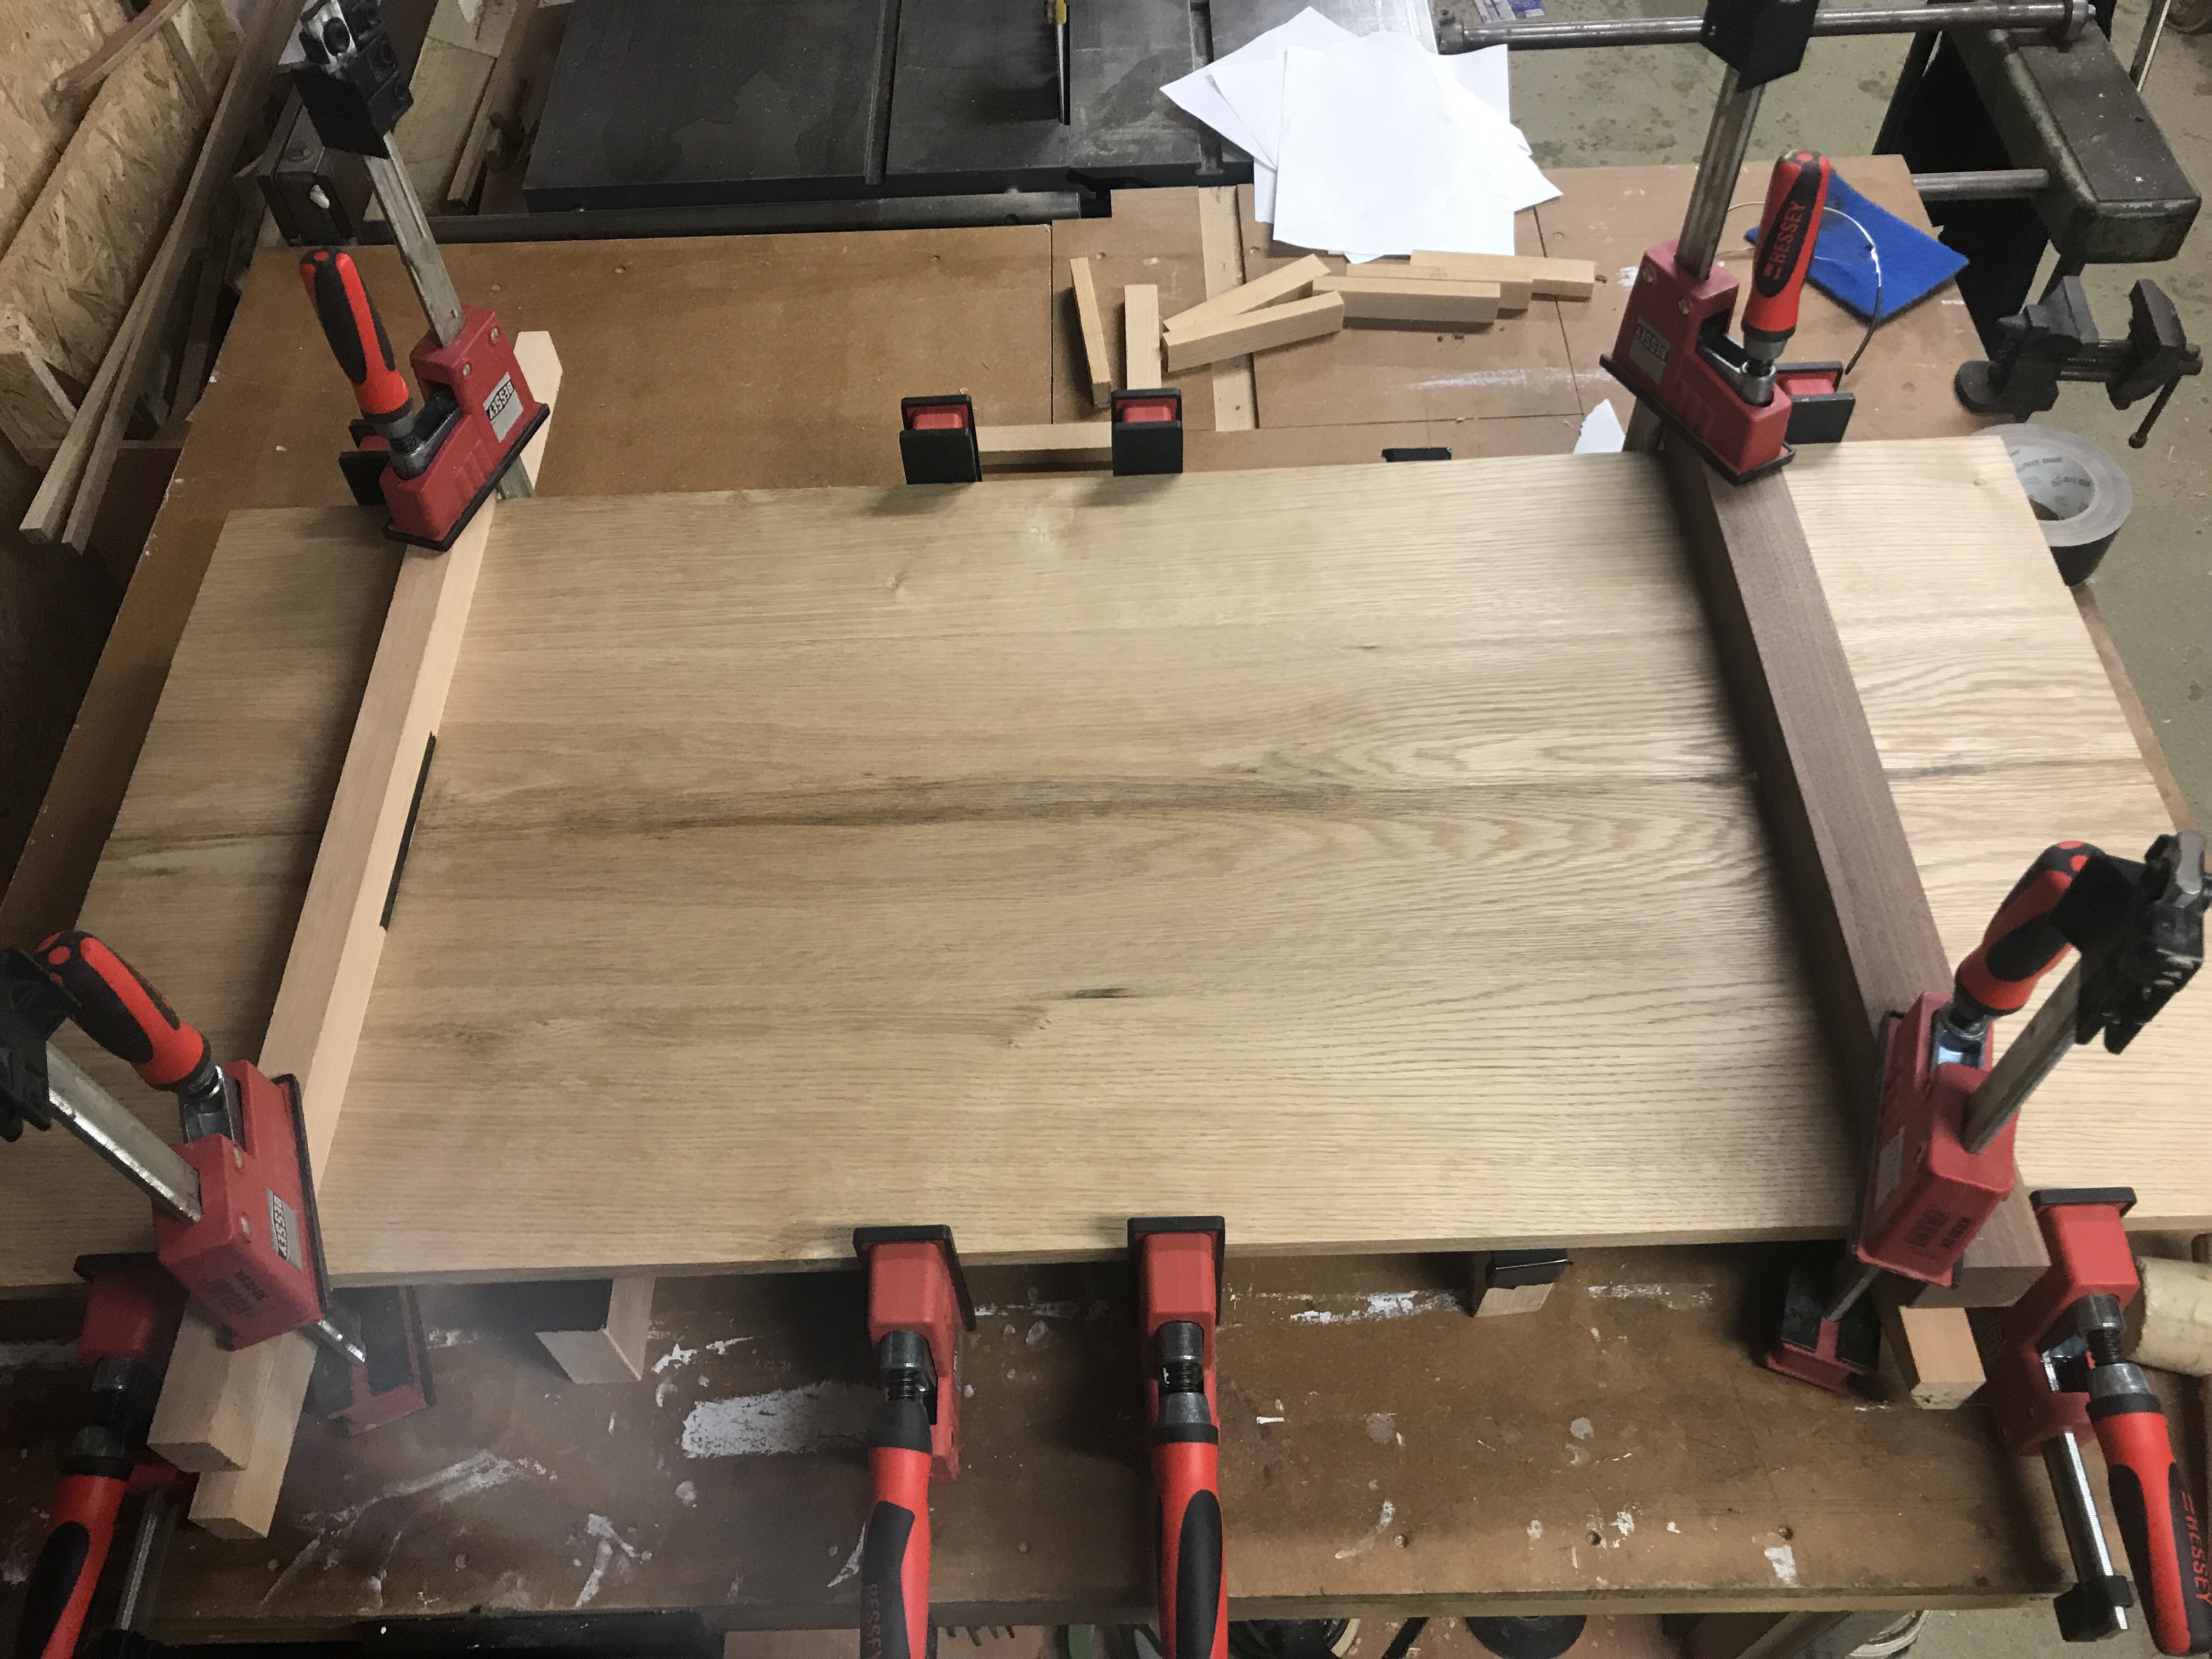
I used four boards for the top and initially glued these up in to two pairs before joining those. I had a bit of a problem with some warping between final dimensioning and glue up (I opened a thread on this back in October I think) but got round it with the use of bearers, cauls and plenty of cramps during the glue up:
NxgbapQ.jpg

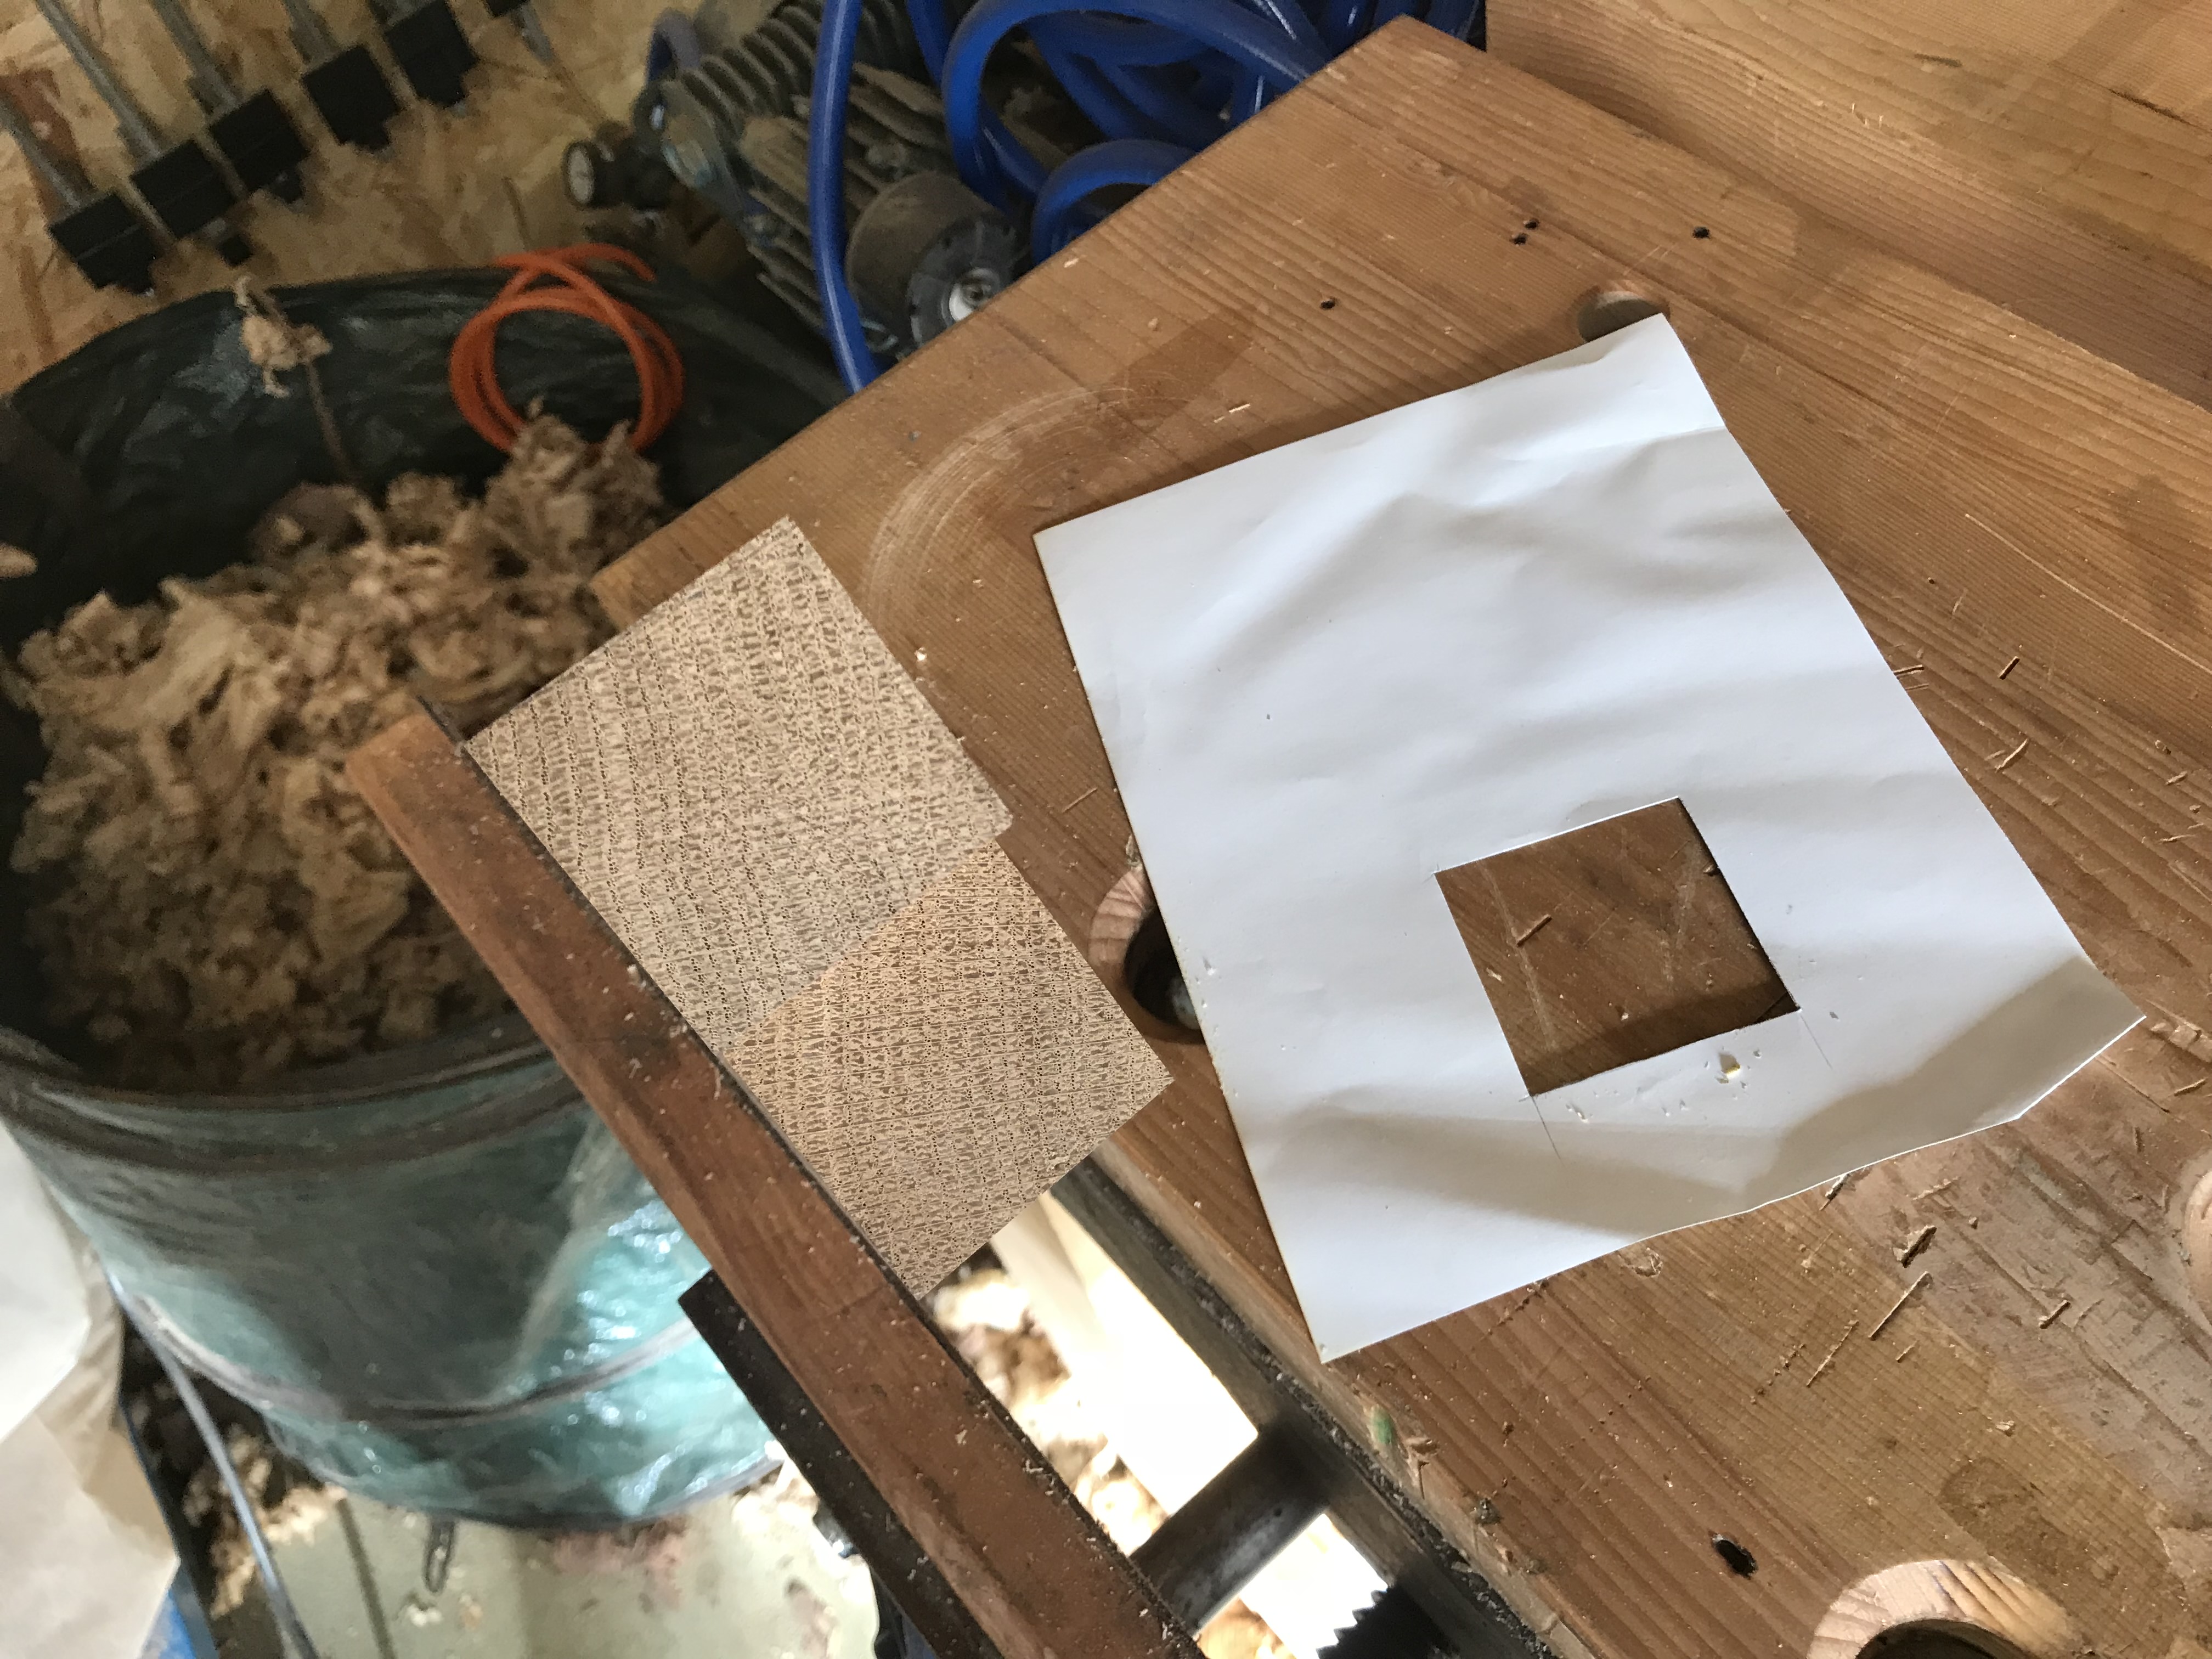
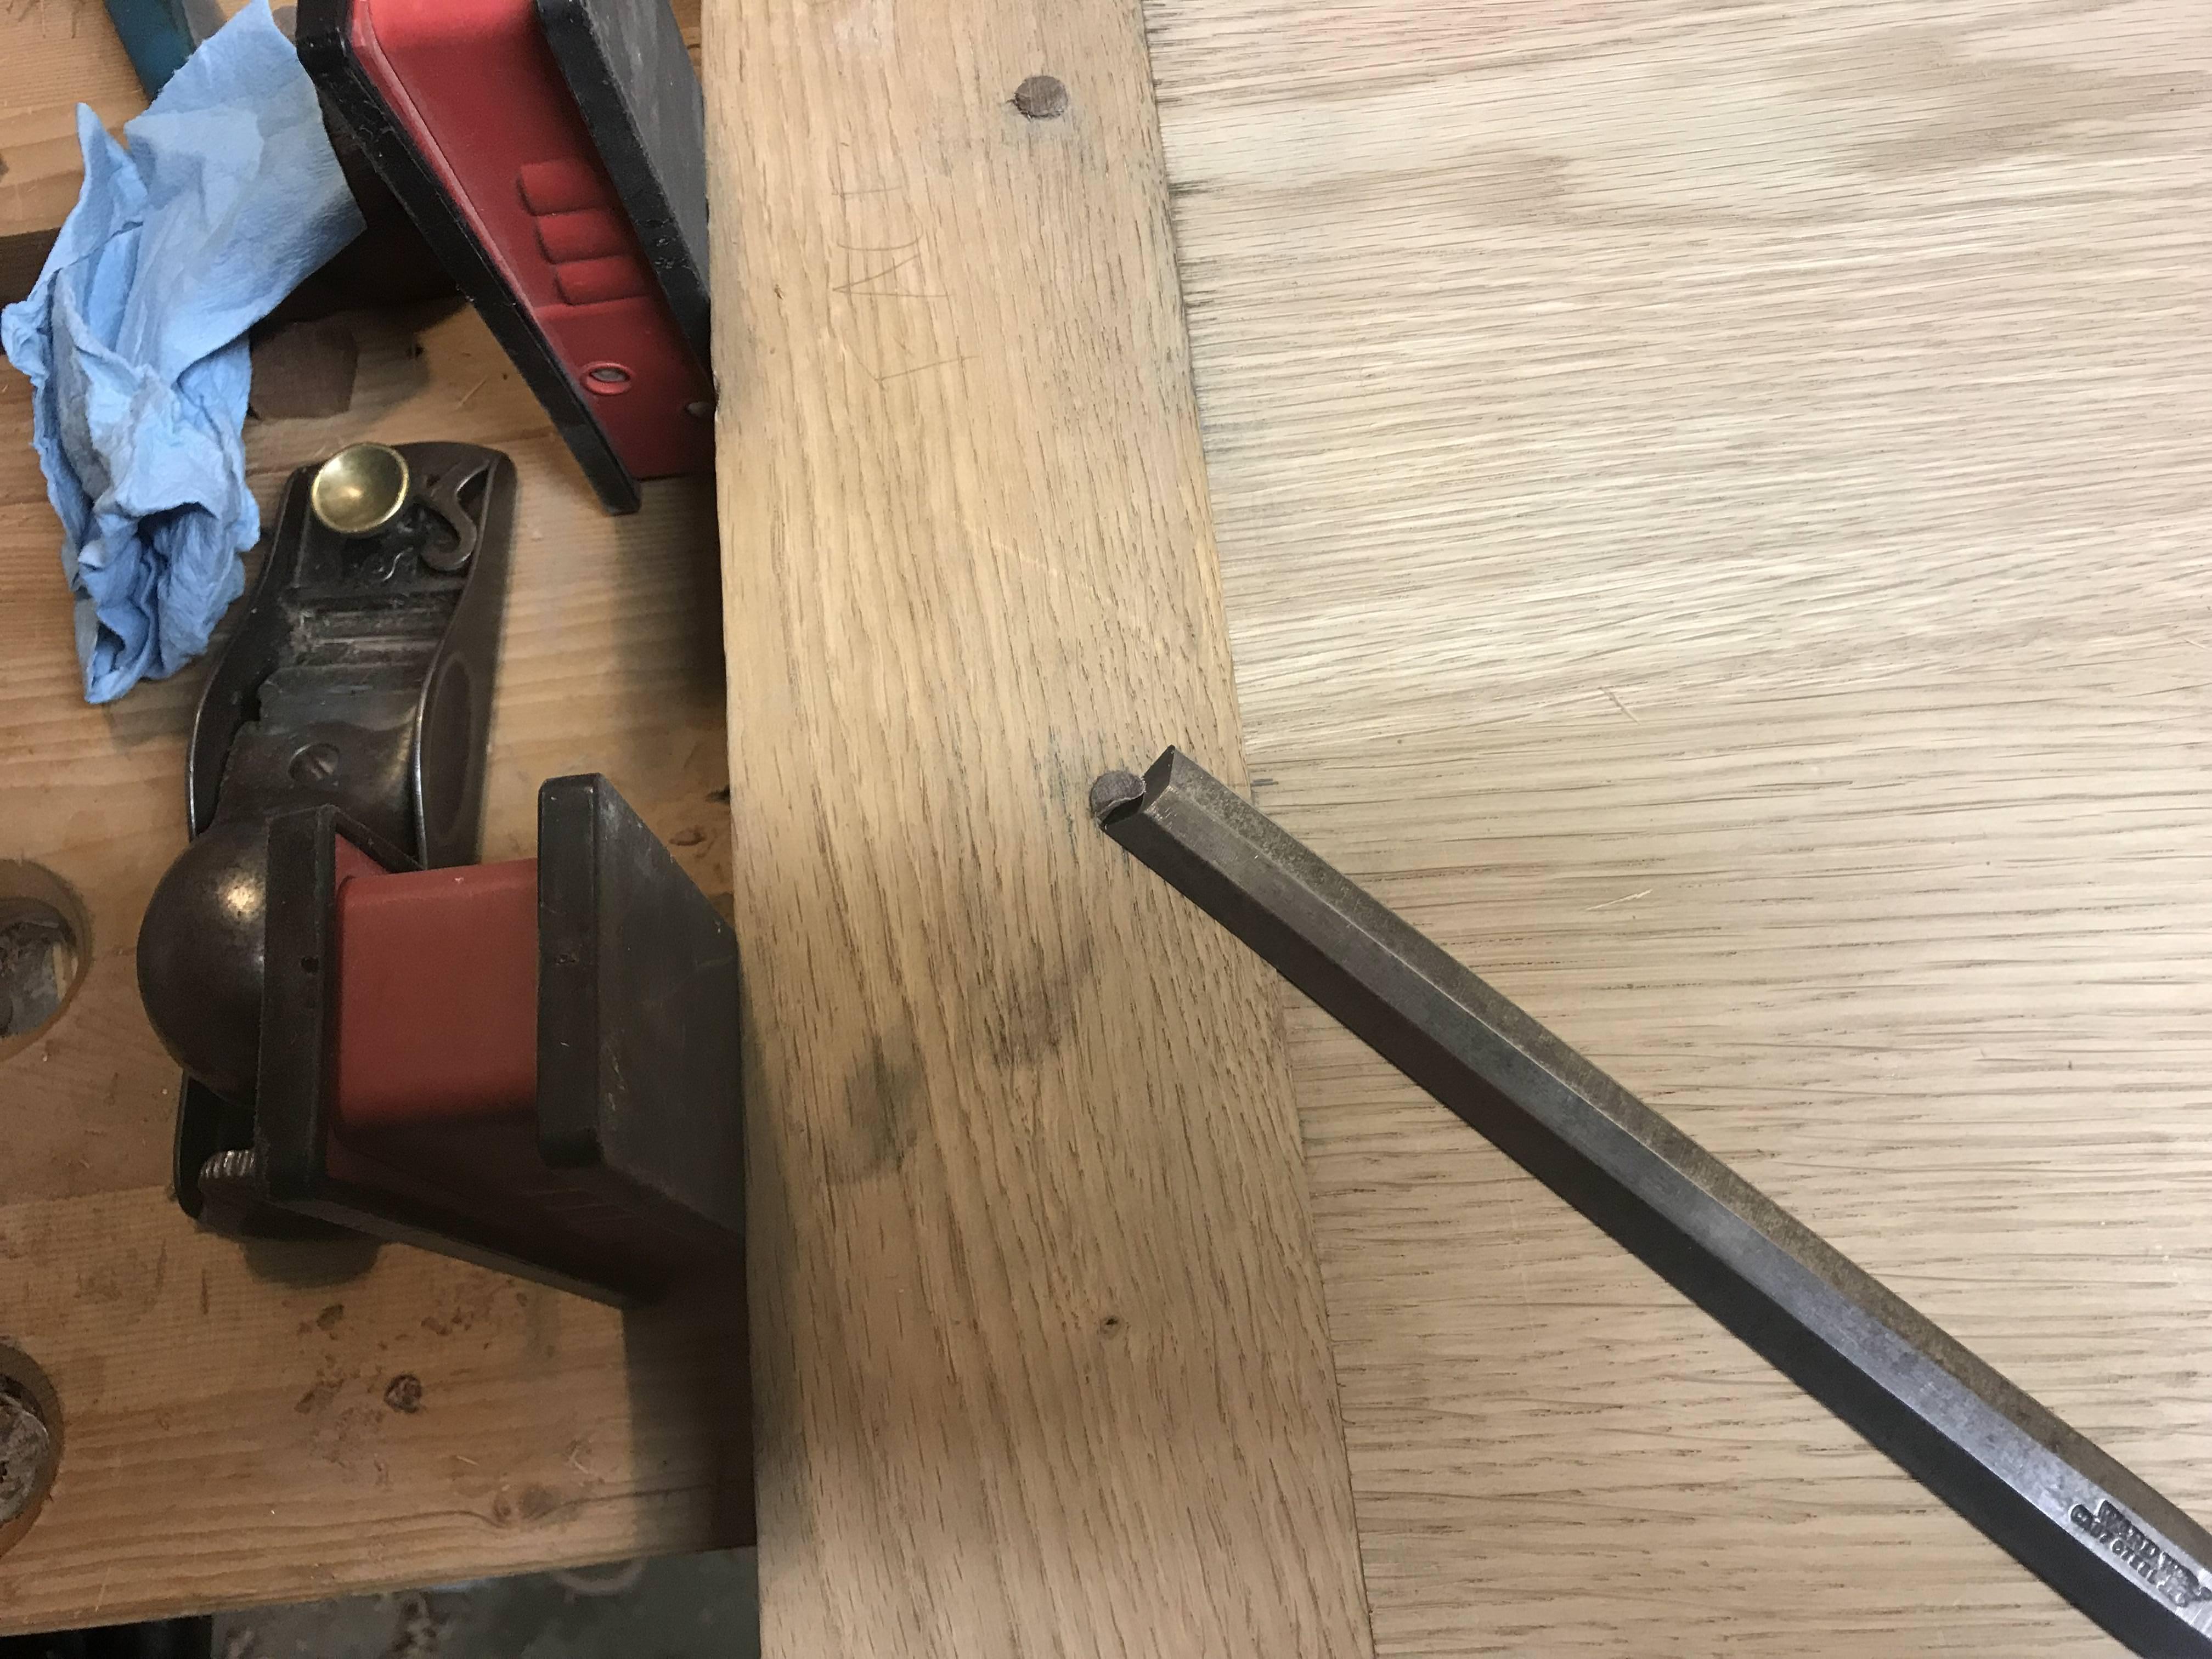
Once out of the cramps the top was mercifully flat(ish). I started preparing it by first scraping off the squeeze out:
MOPtVbz.jpg

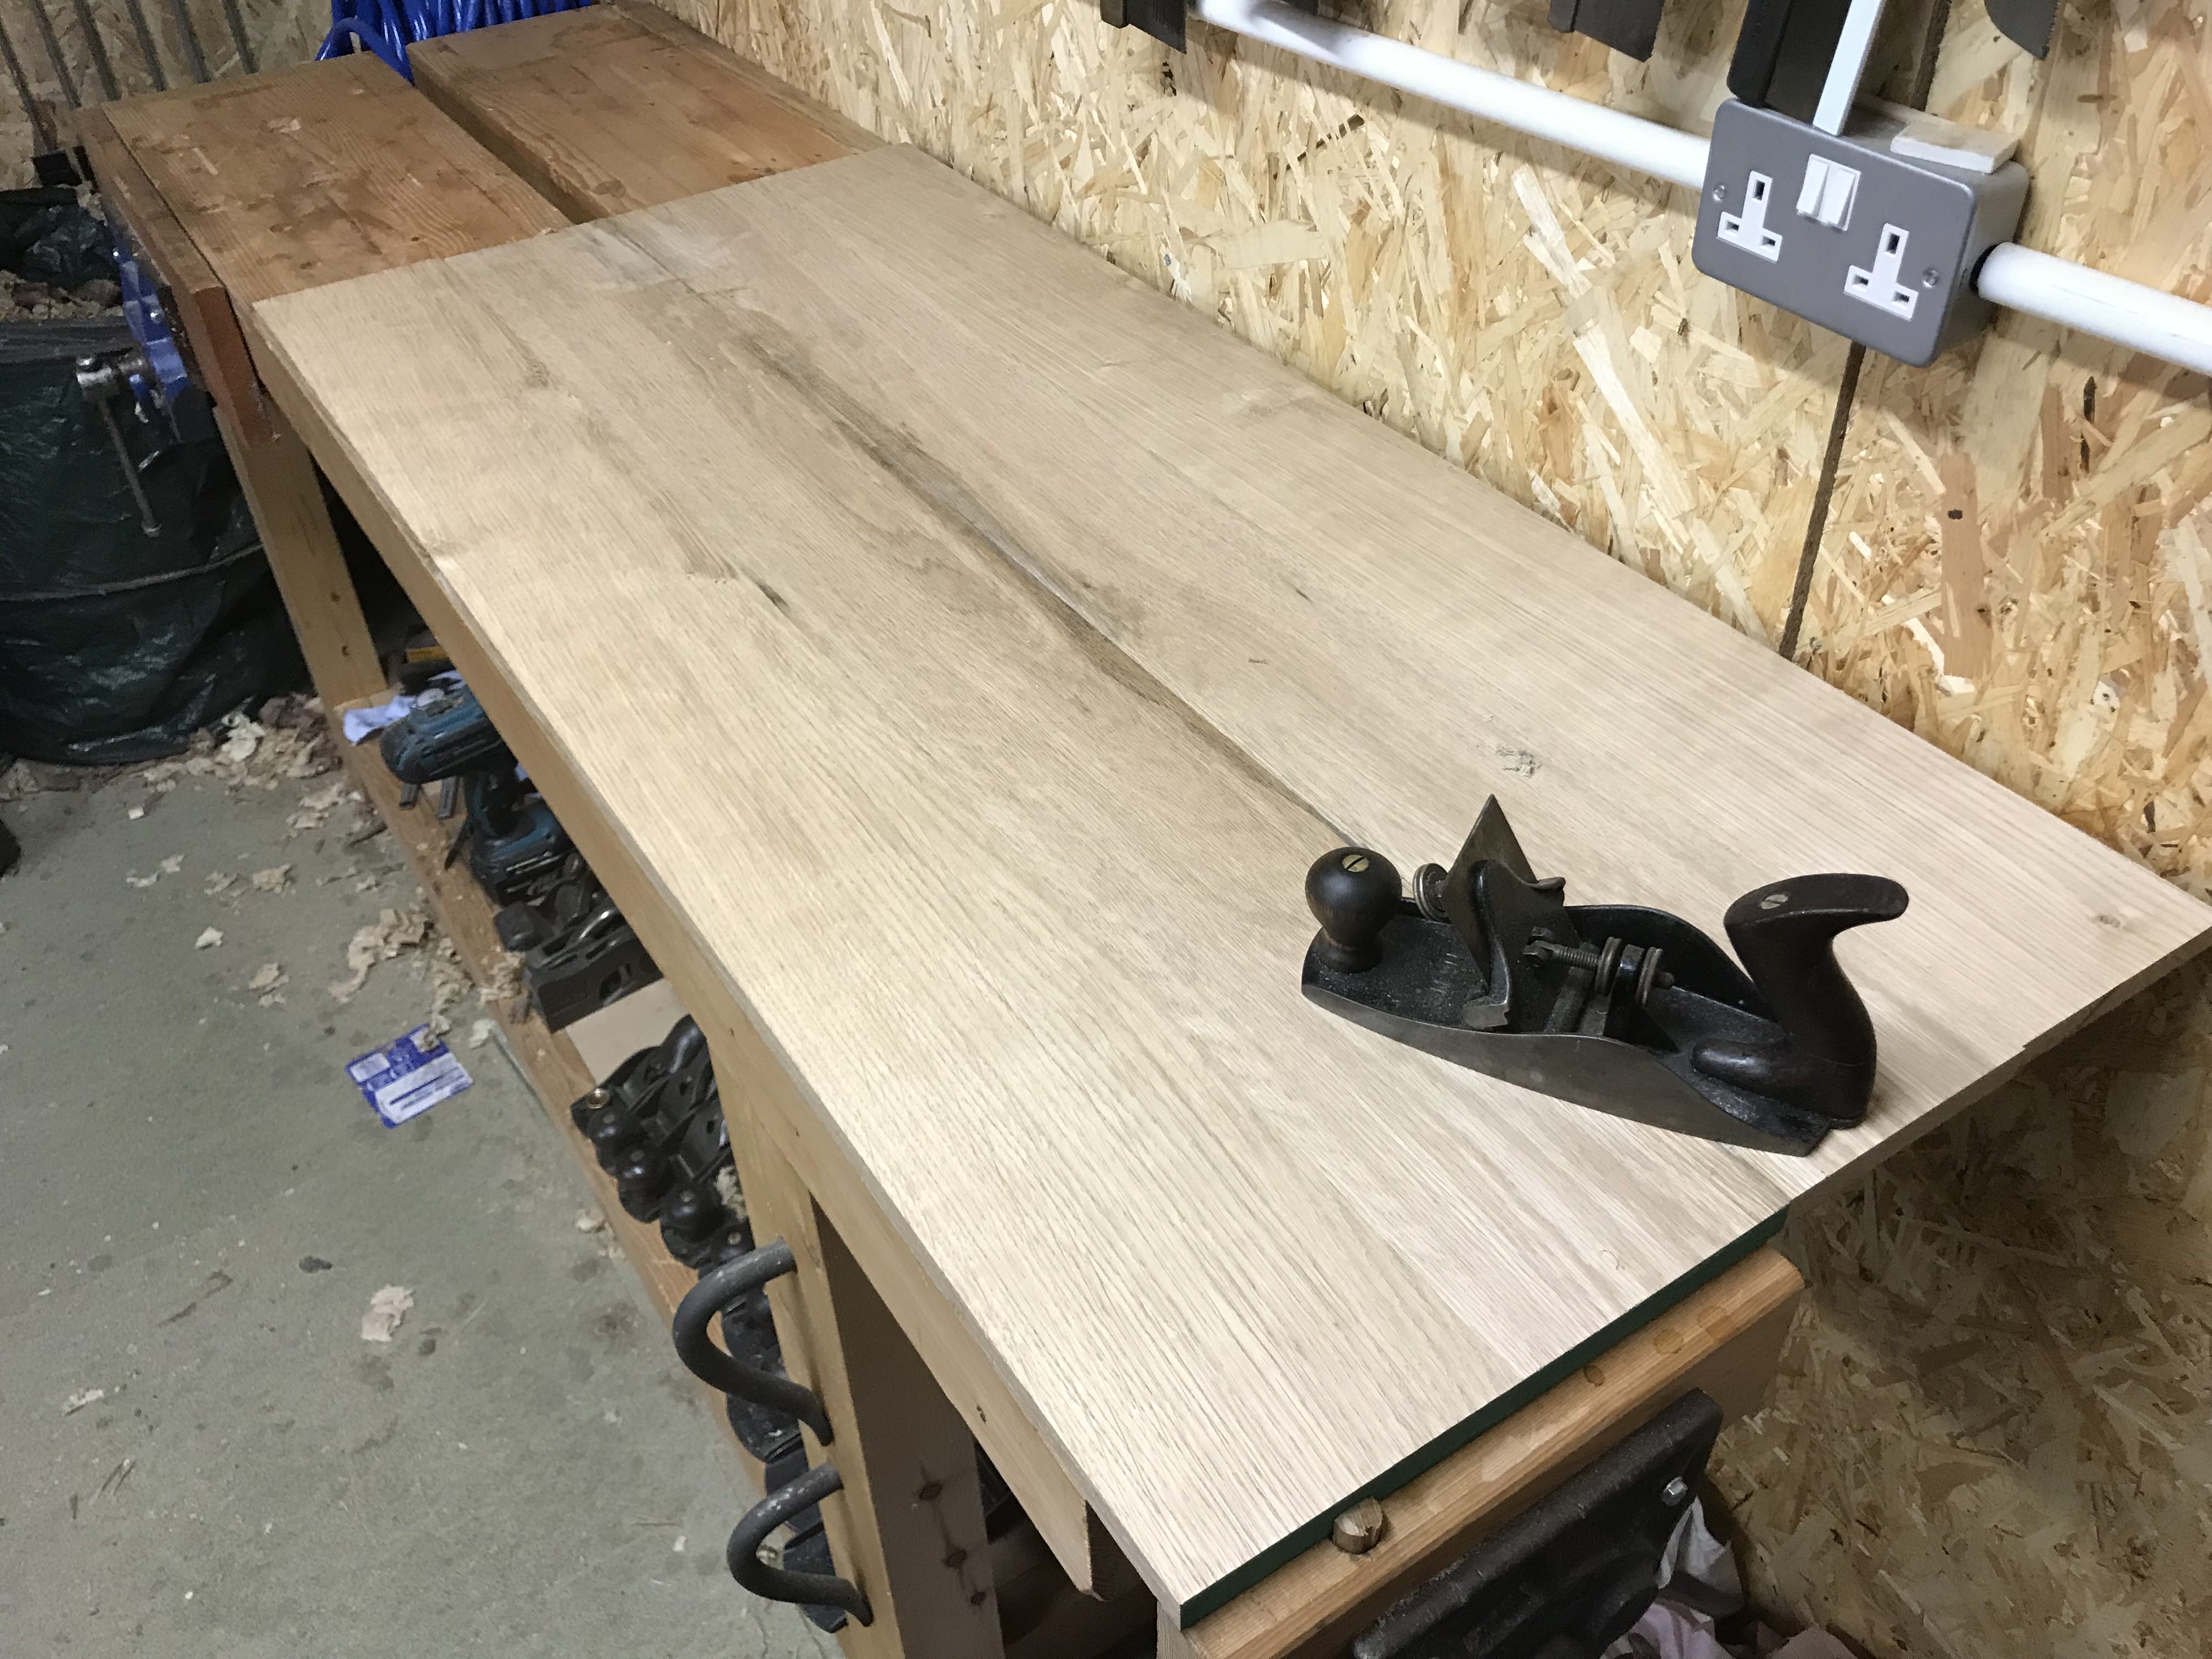
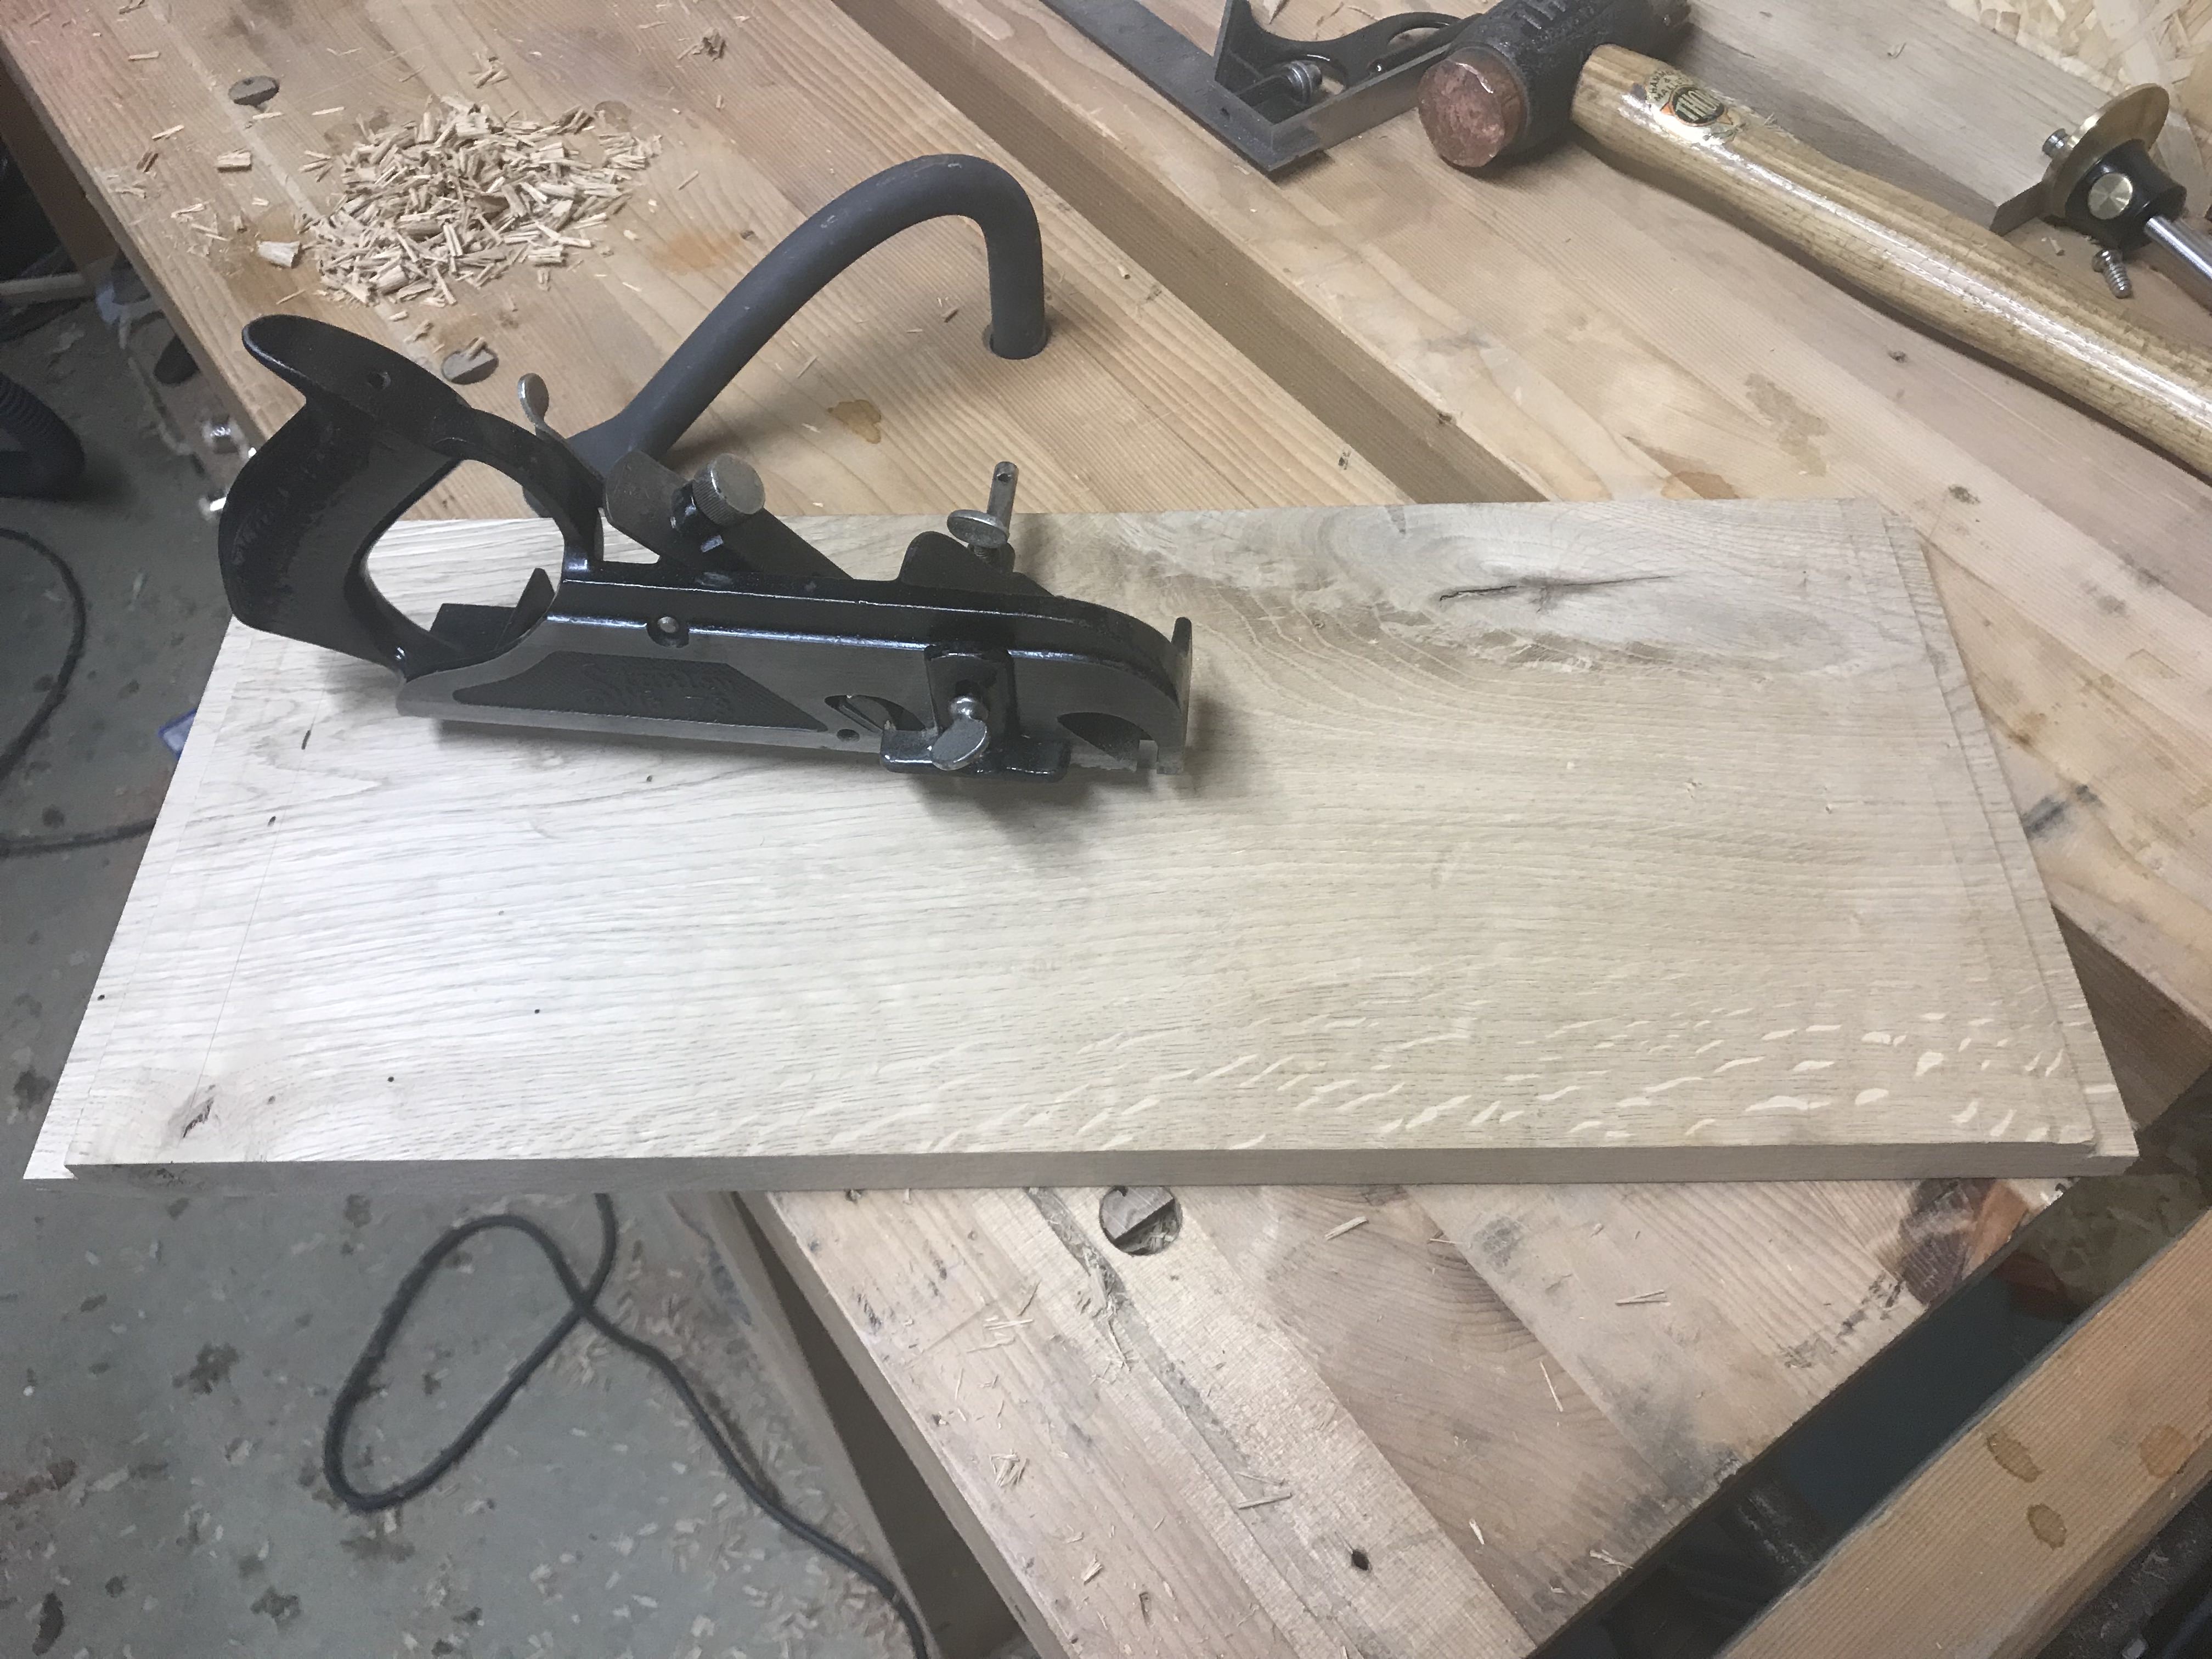
Then flattening and smoothing the face only with a panel plane and 4 1/2:
PytgzwQ.jpg

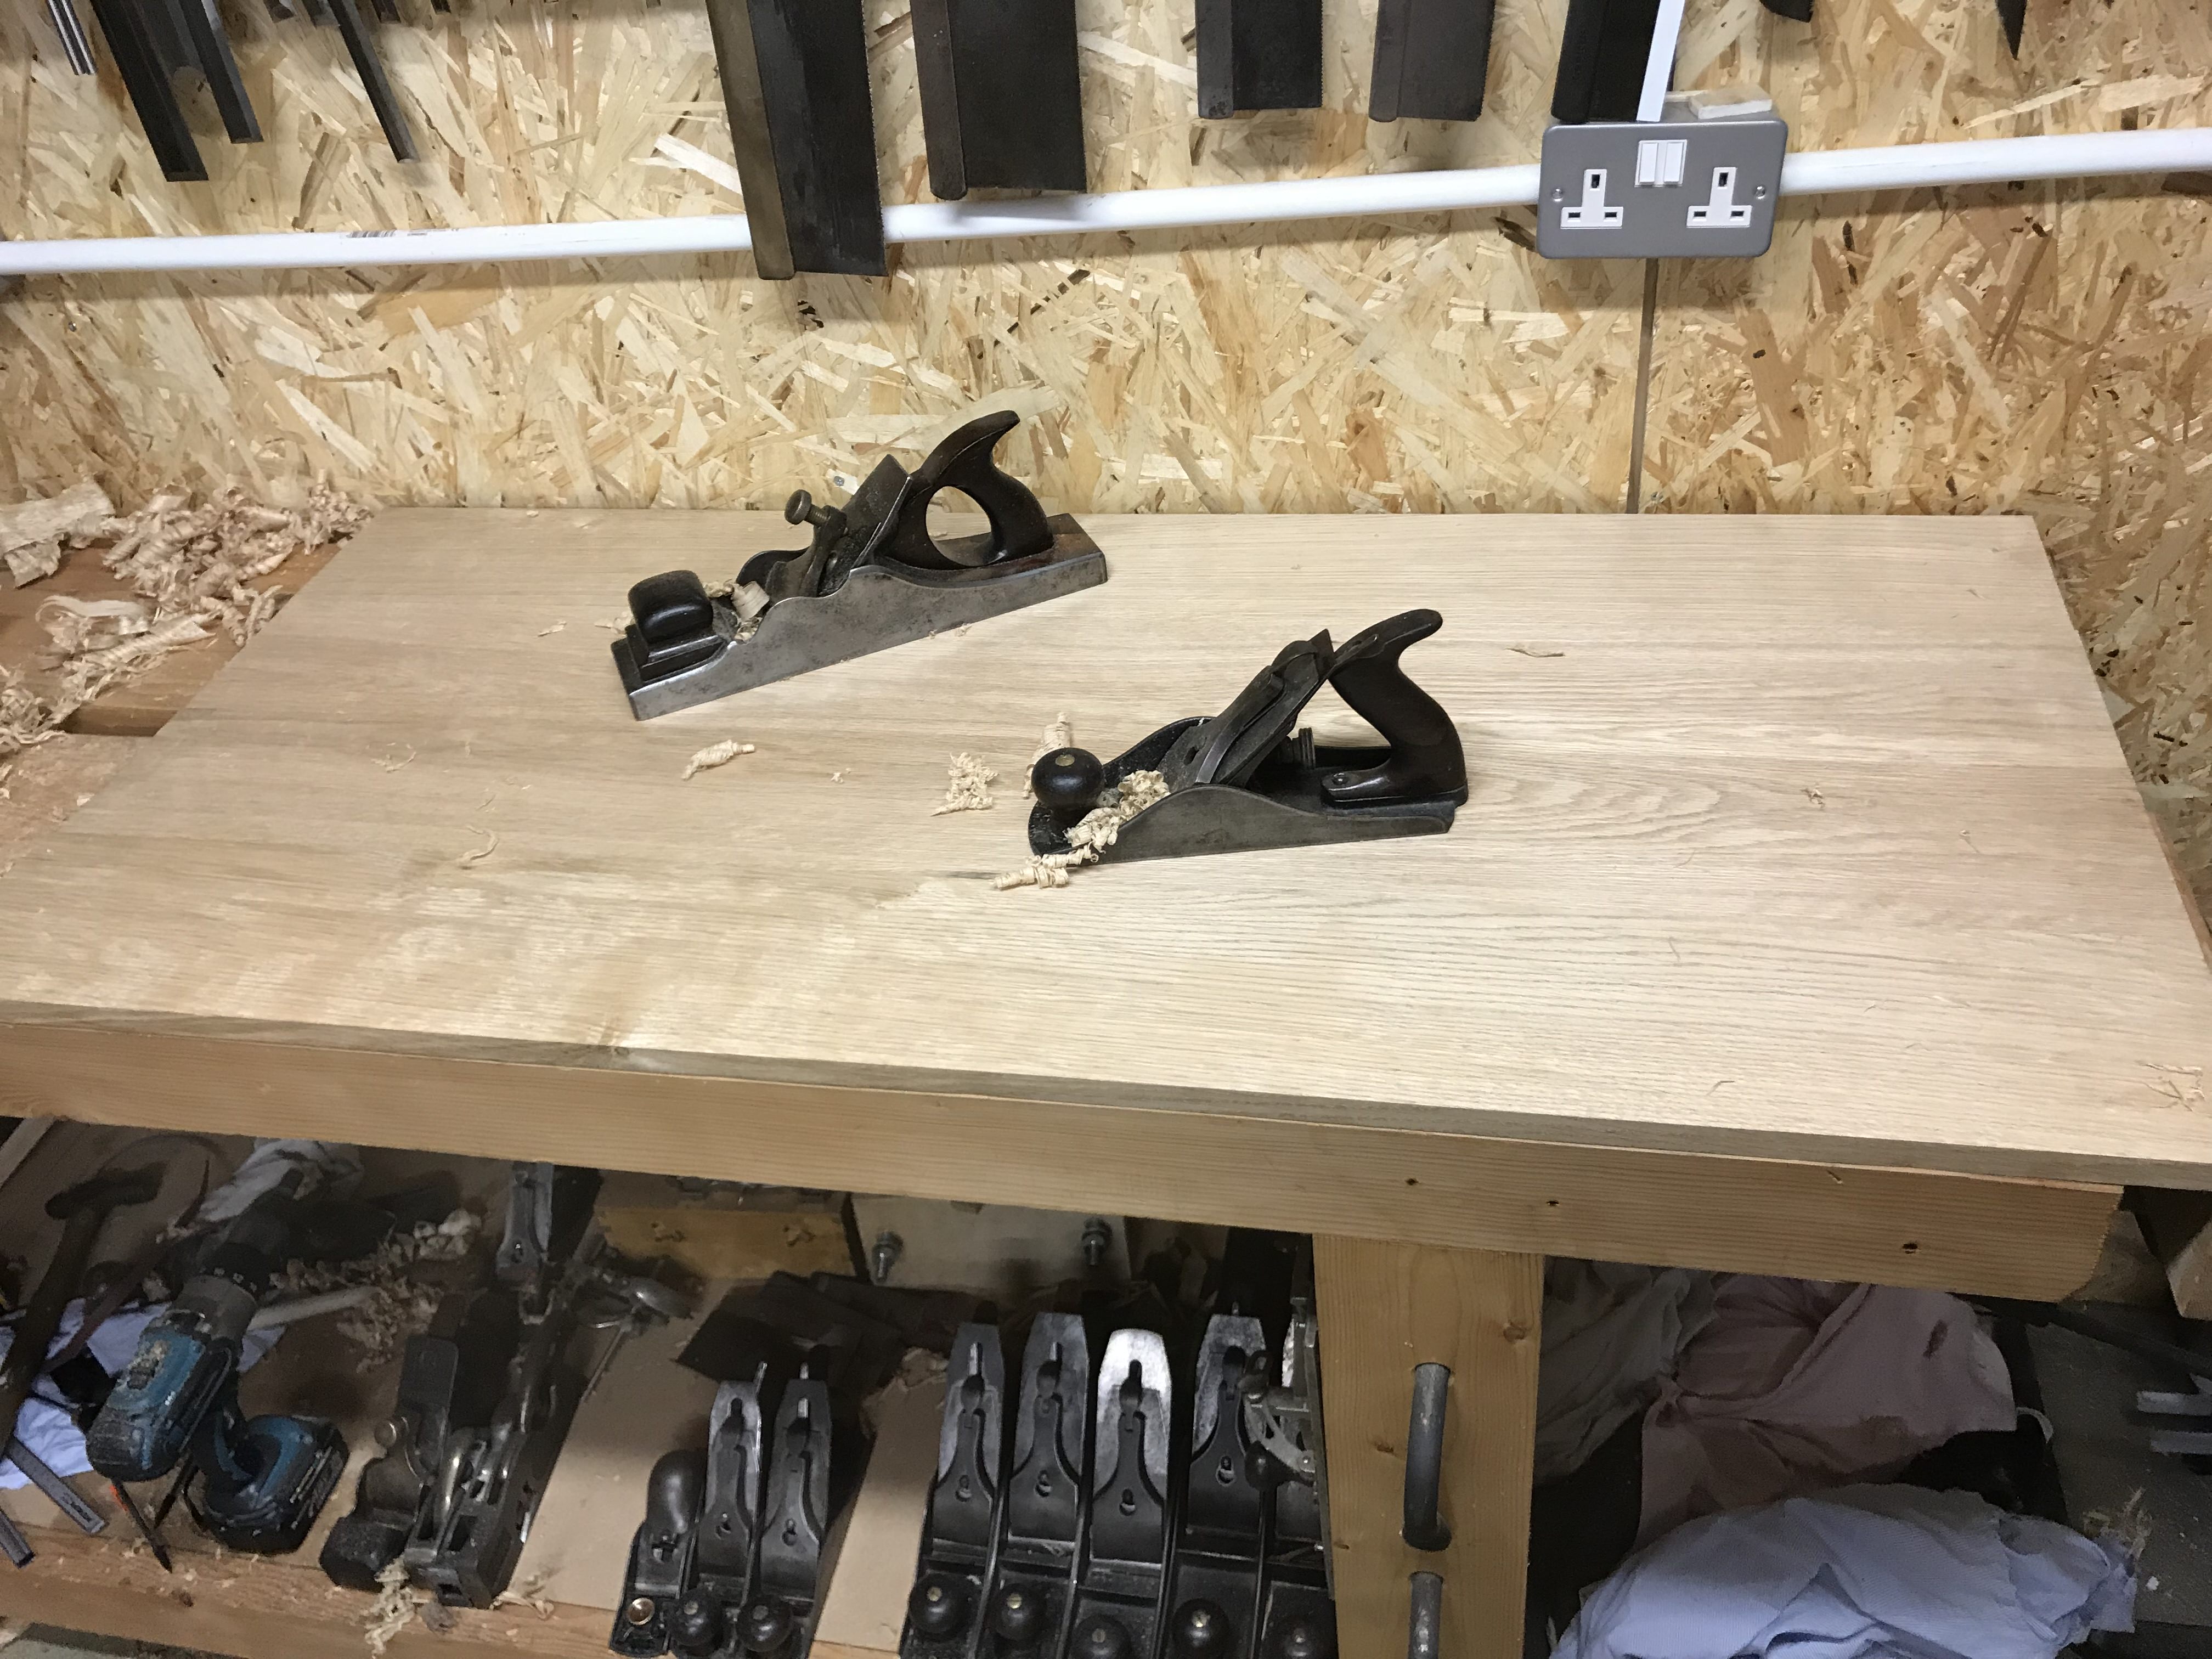
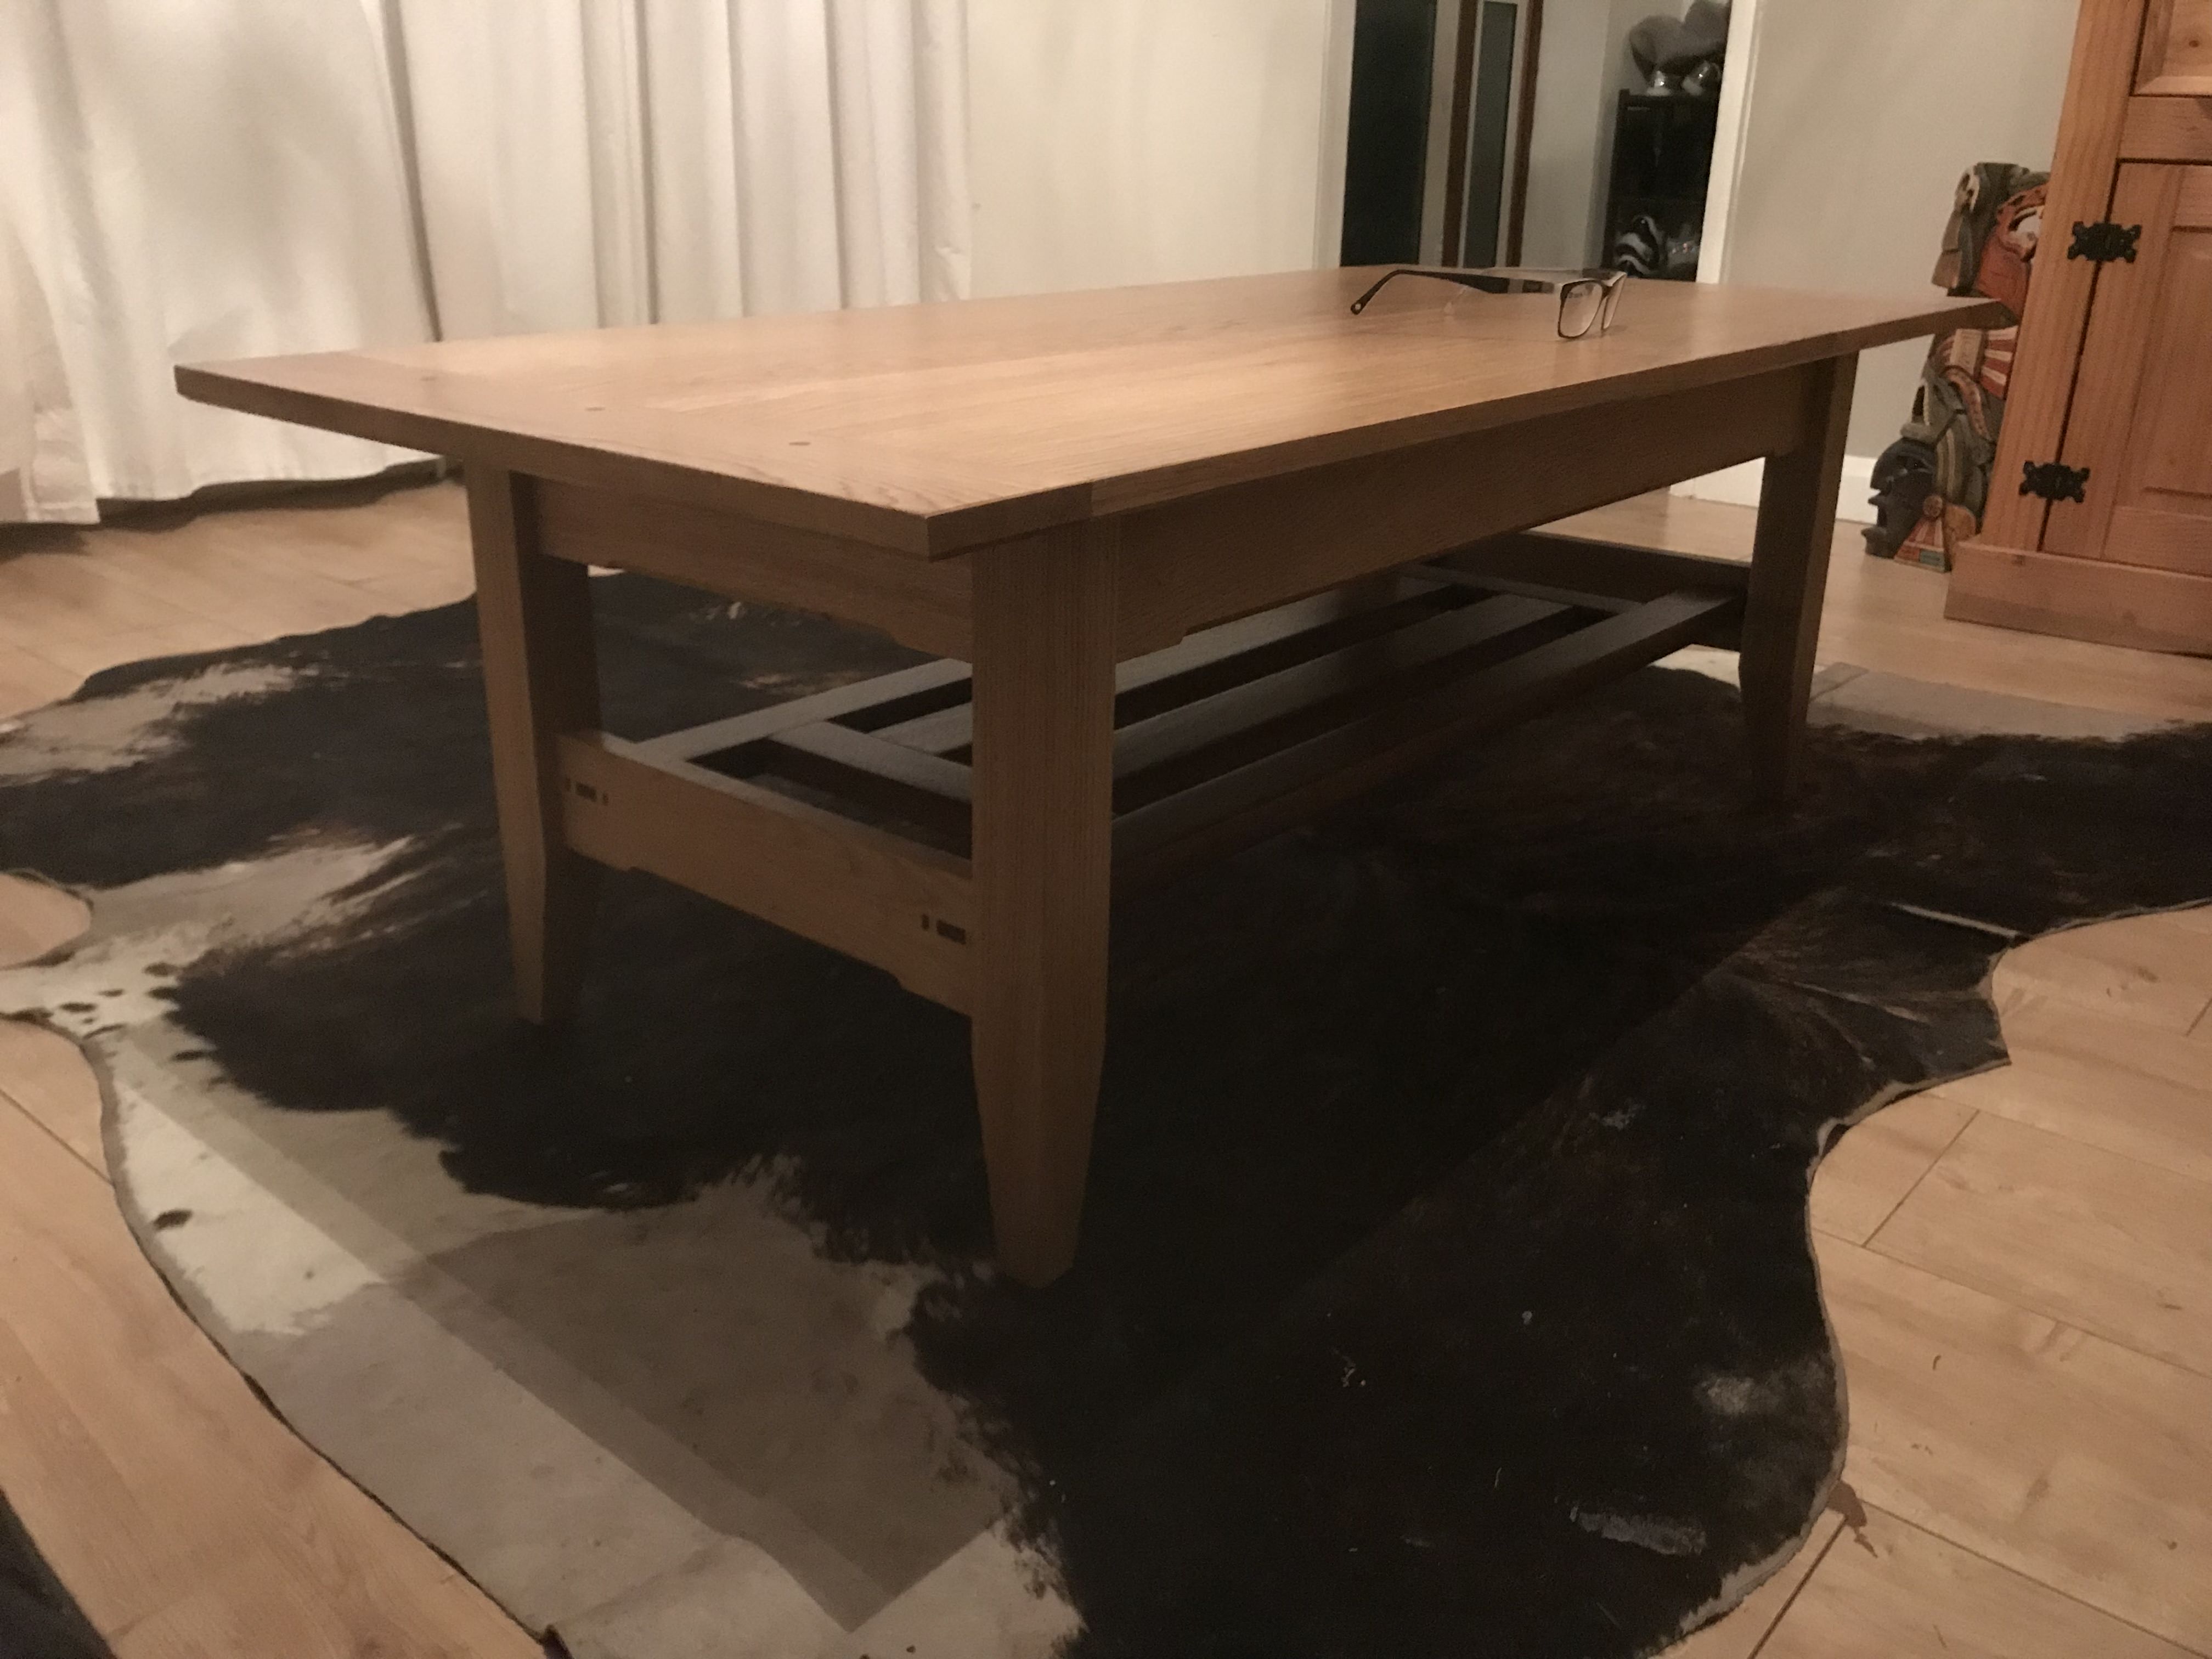
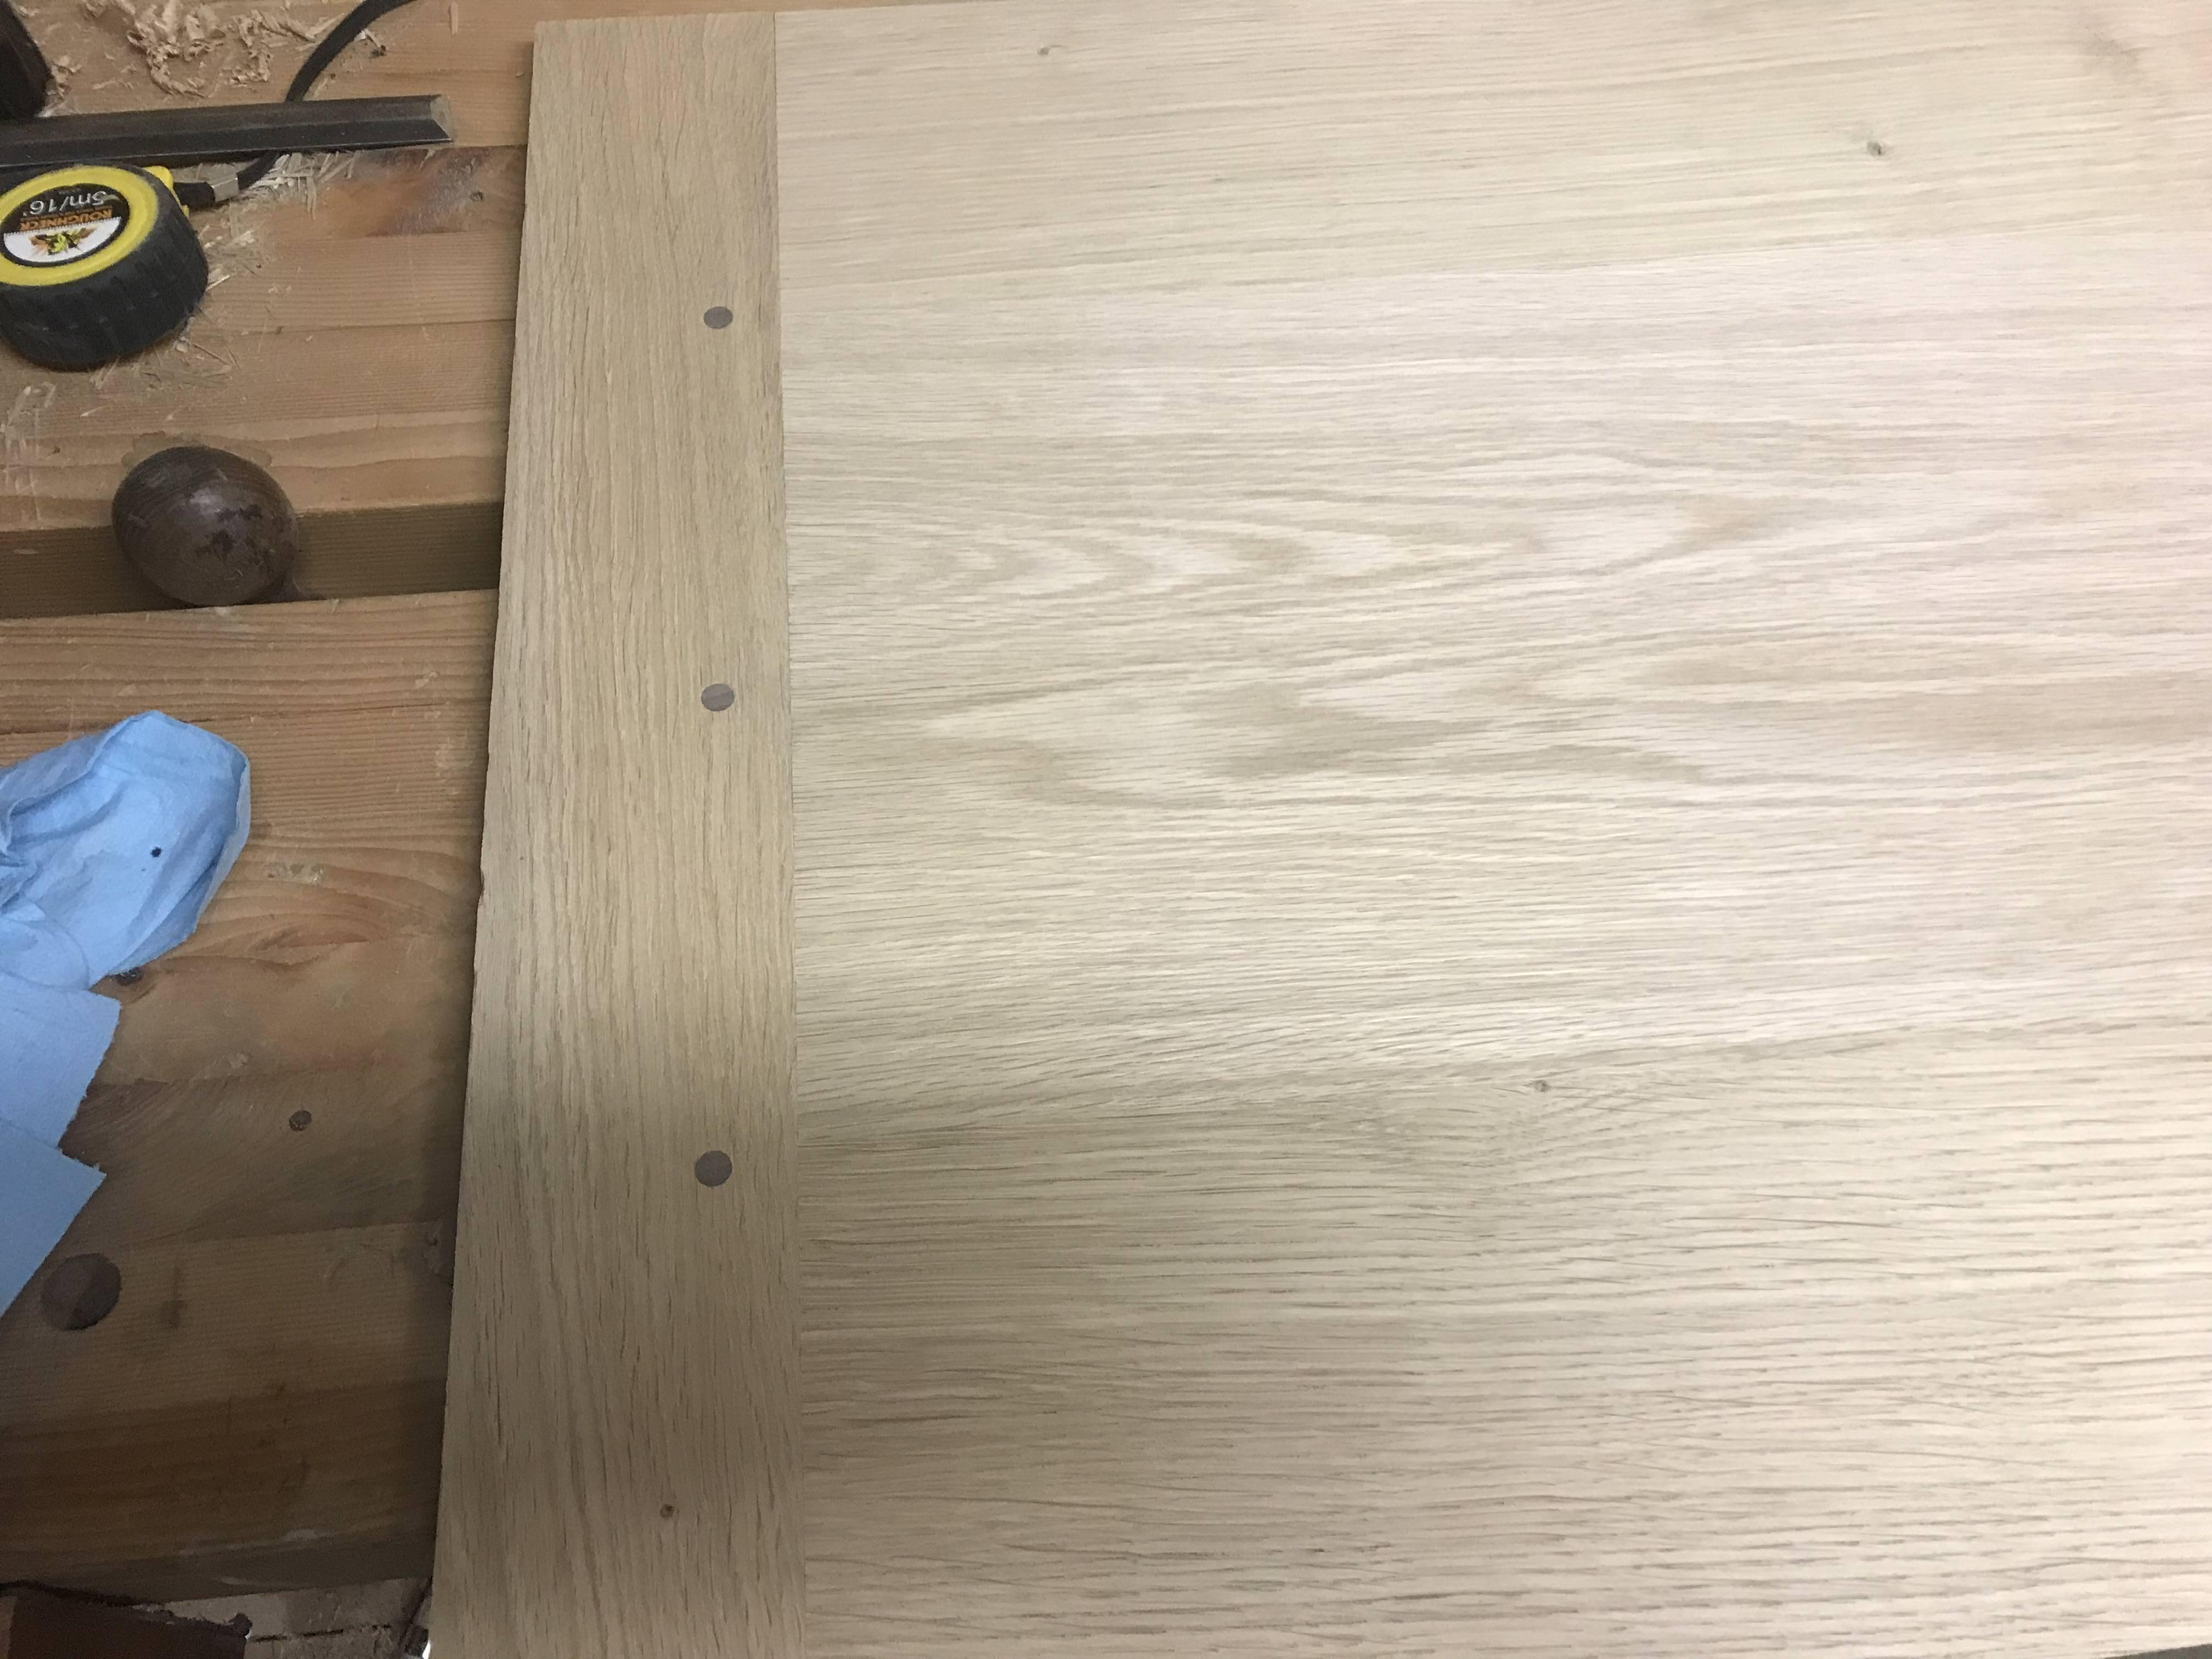
The edge joints themselves actually came out nice and tight and not particularly obvious, even with a fairly close look:
sUdvq7F.jpg

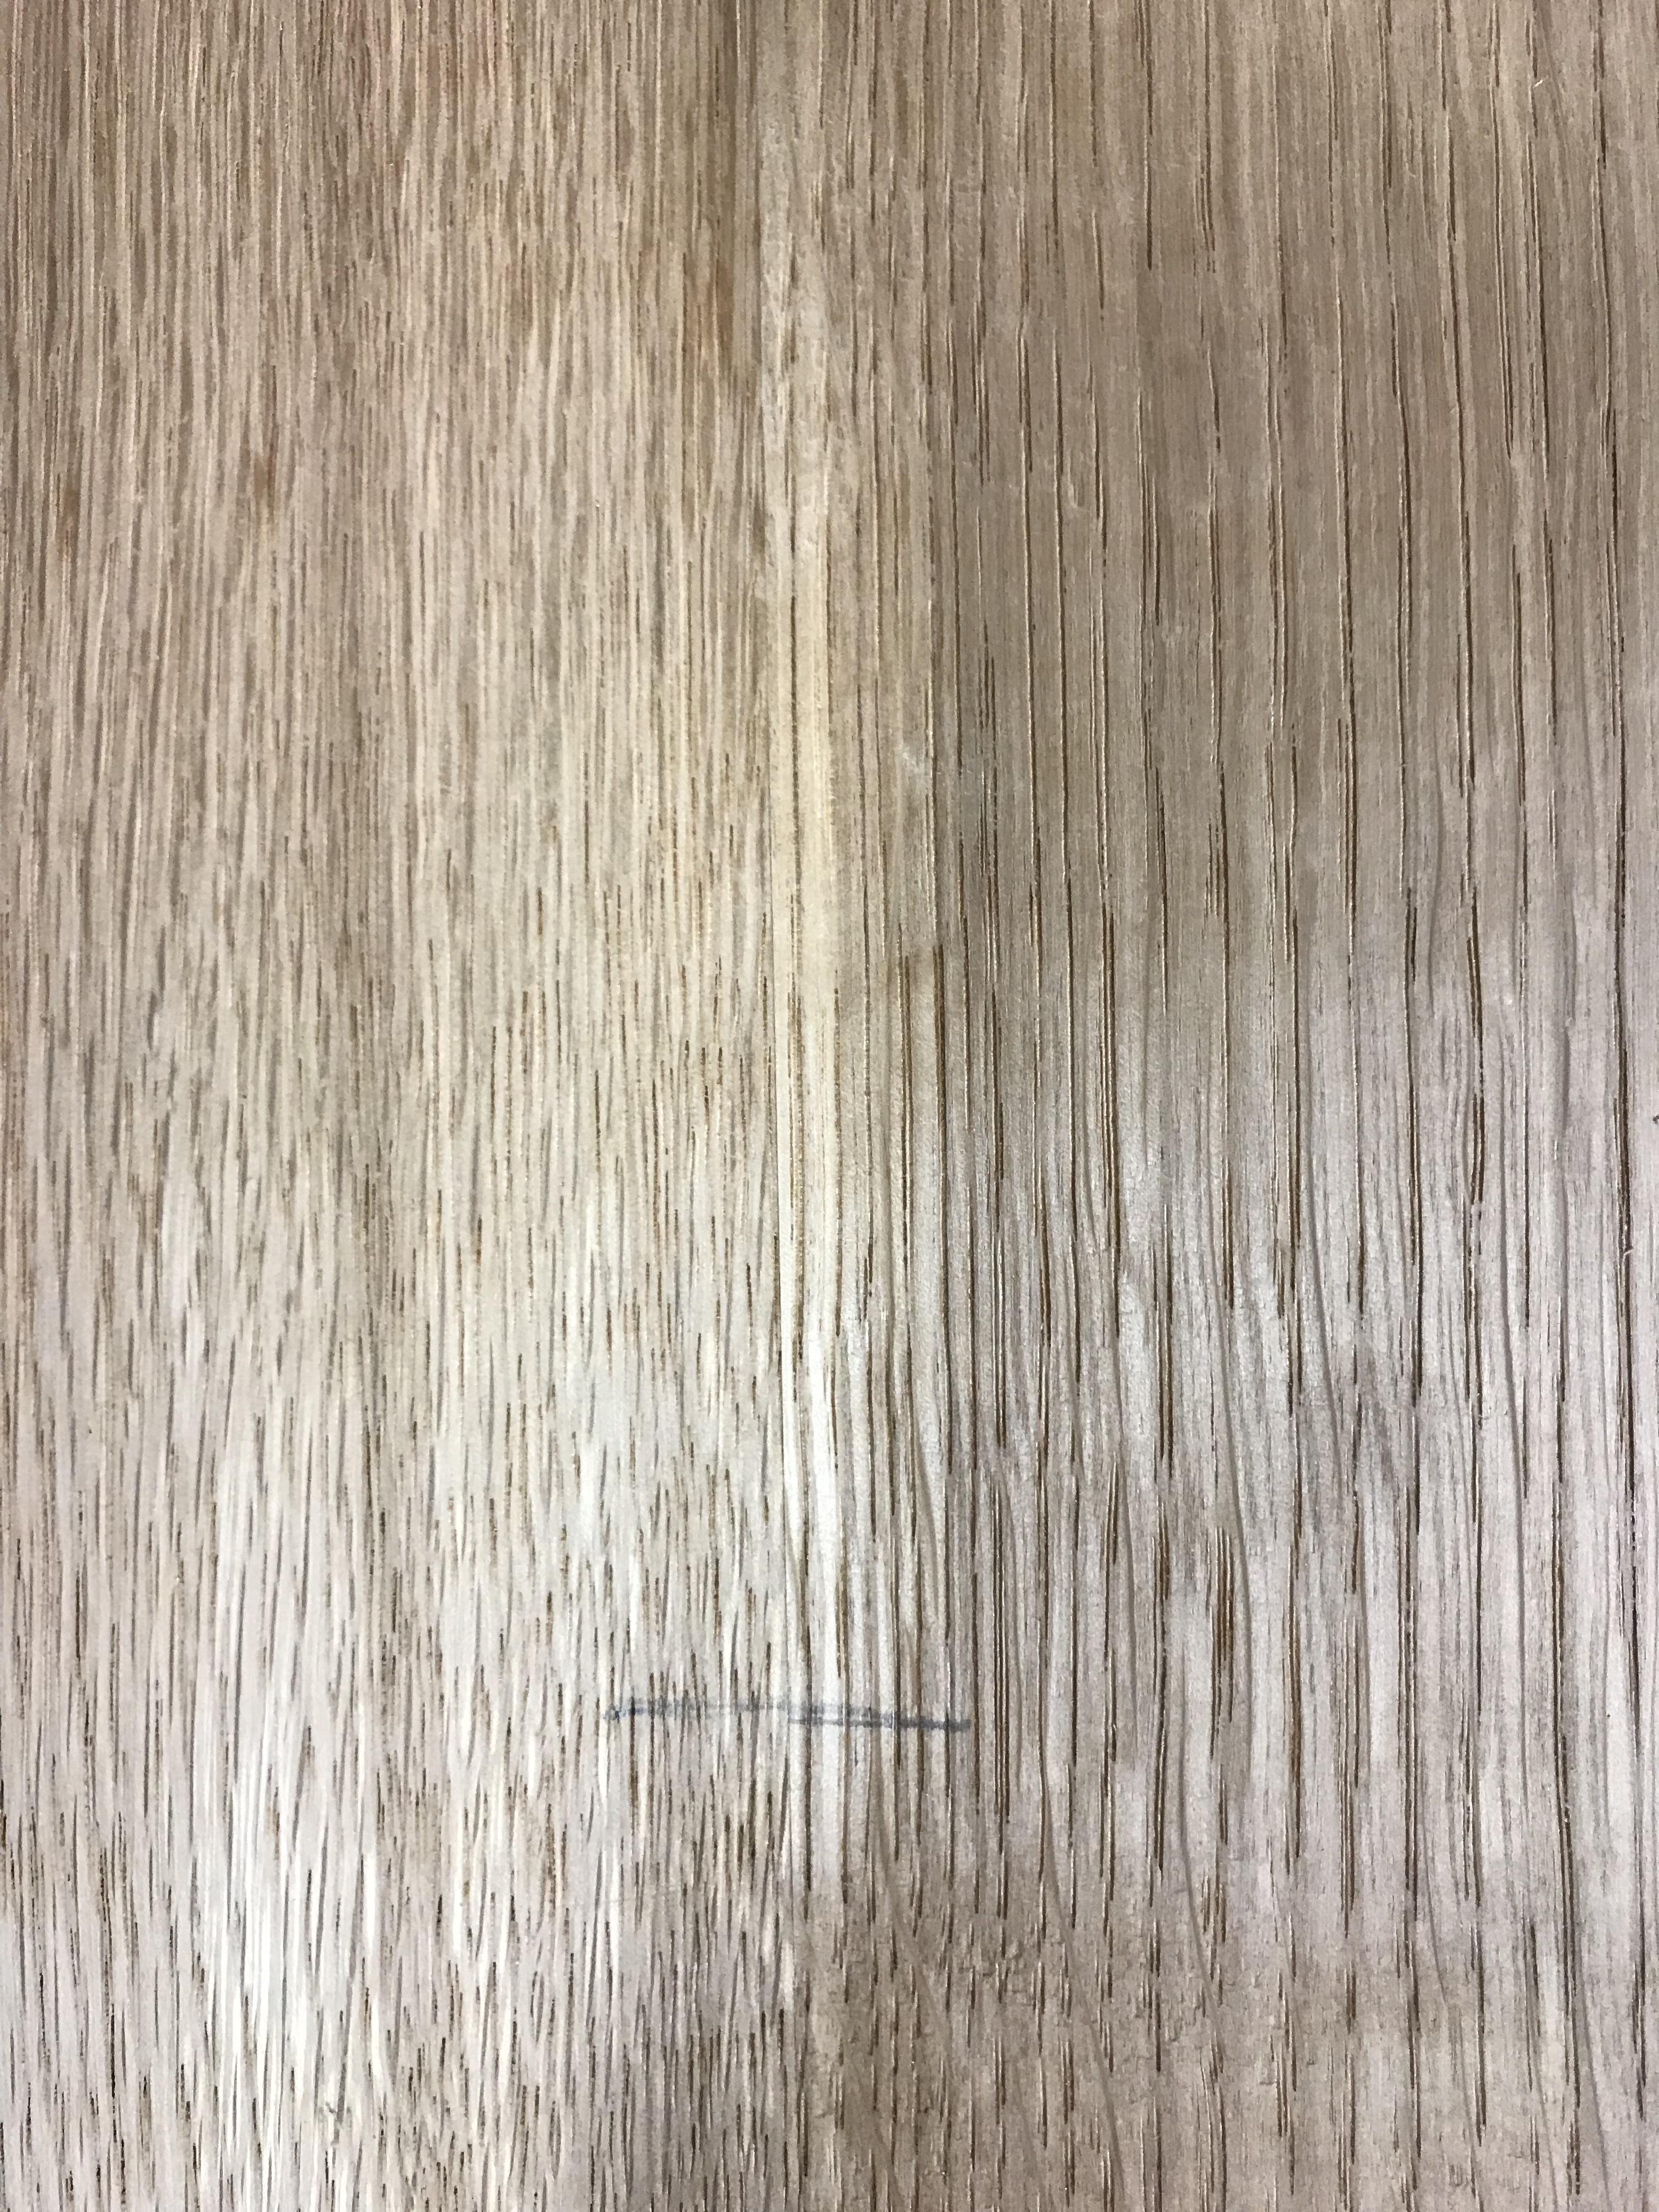
Lovely (especially considering the fact it was me making the joints).

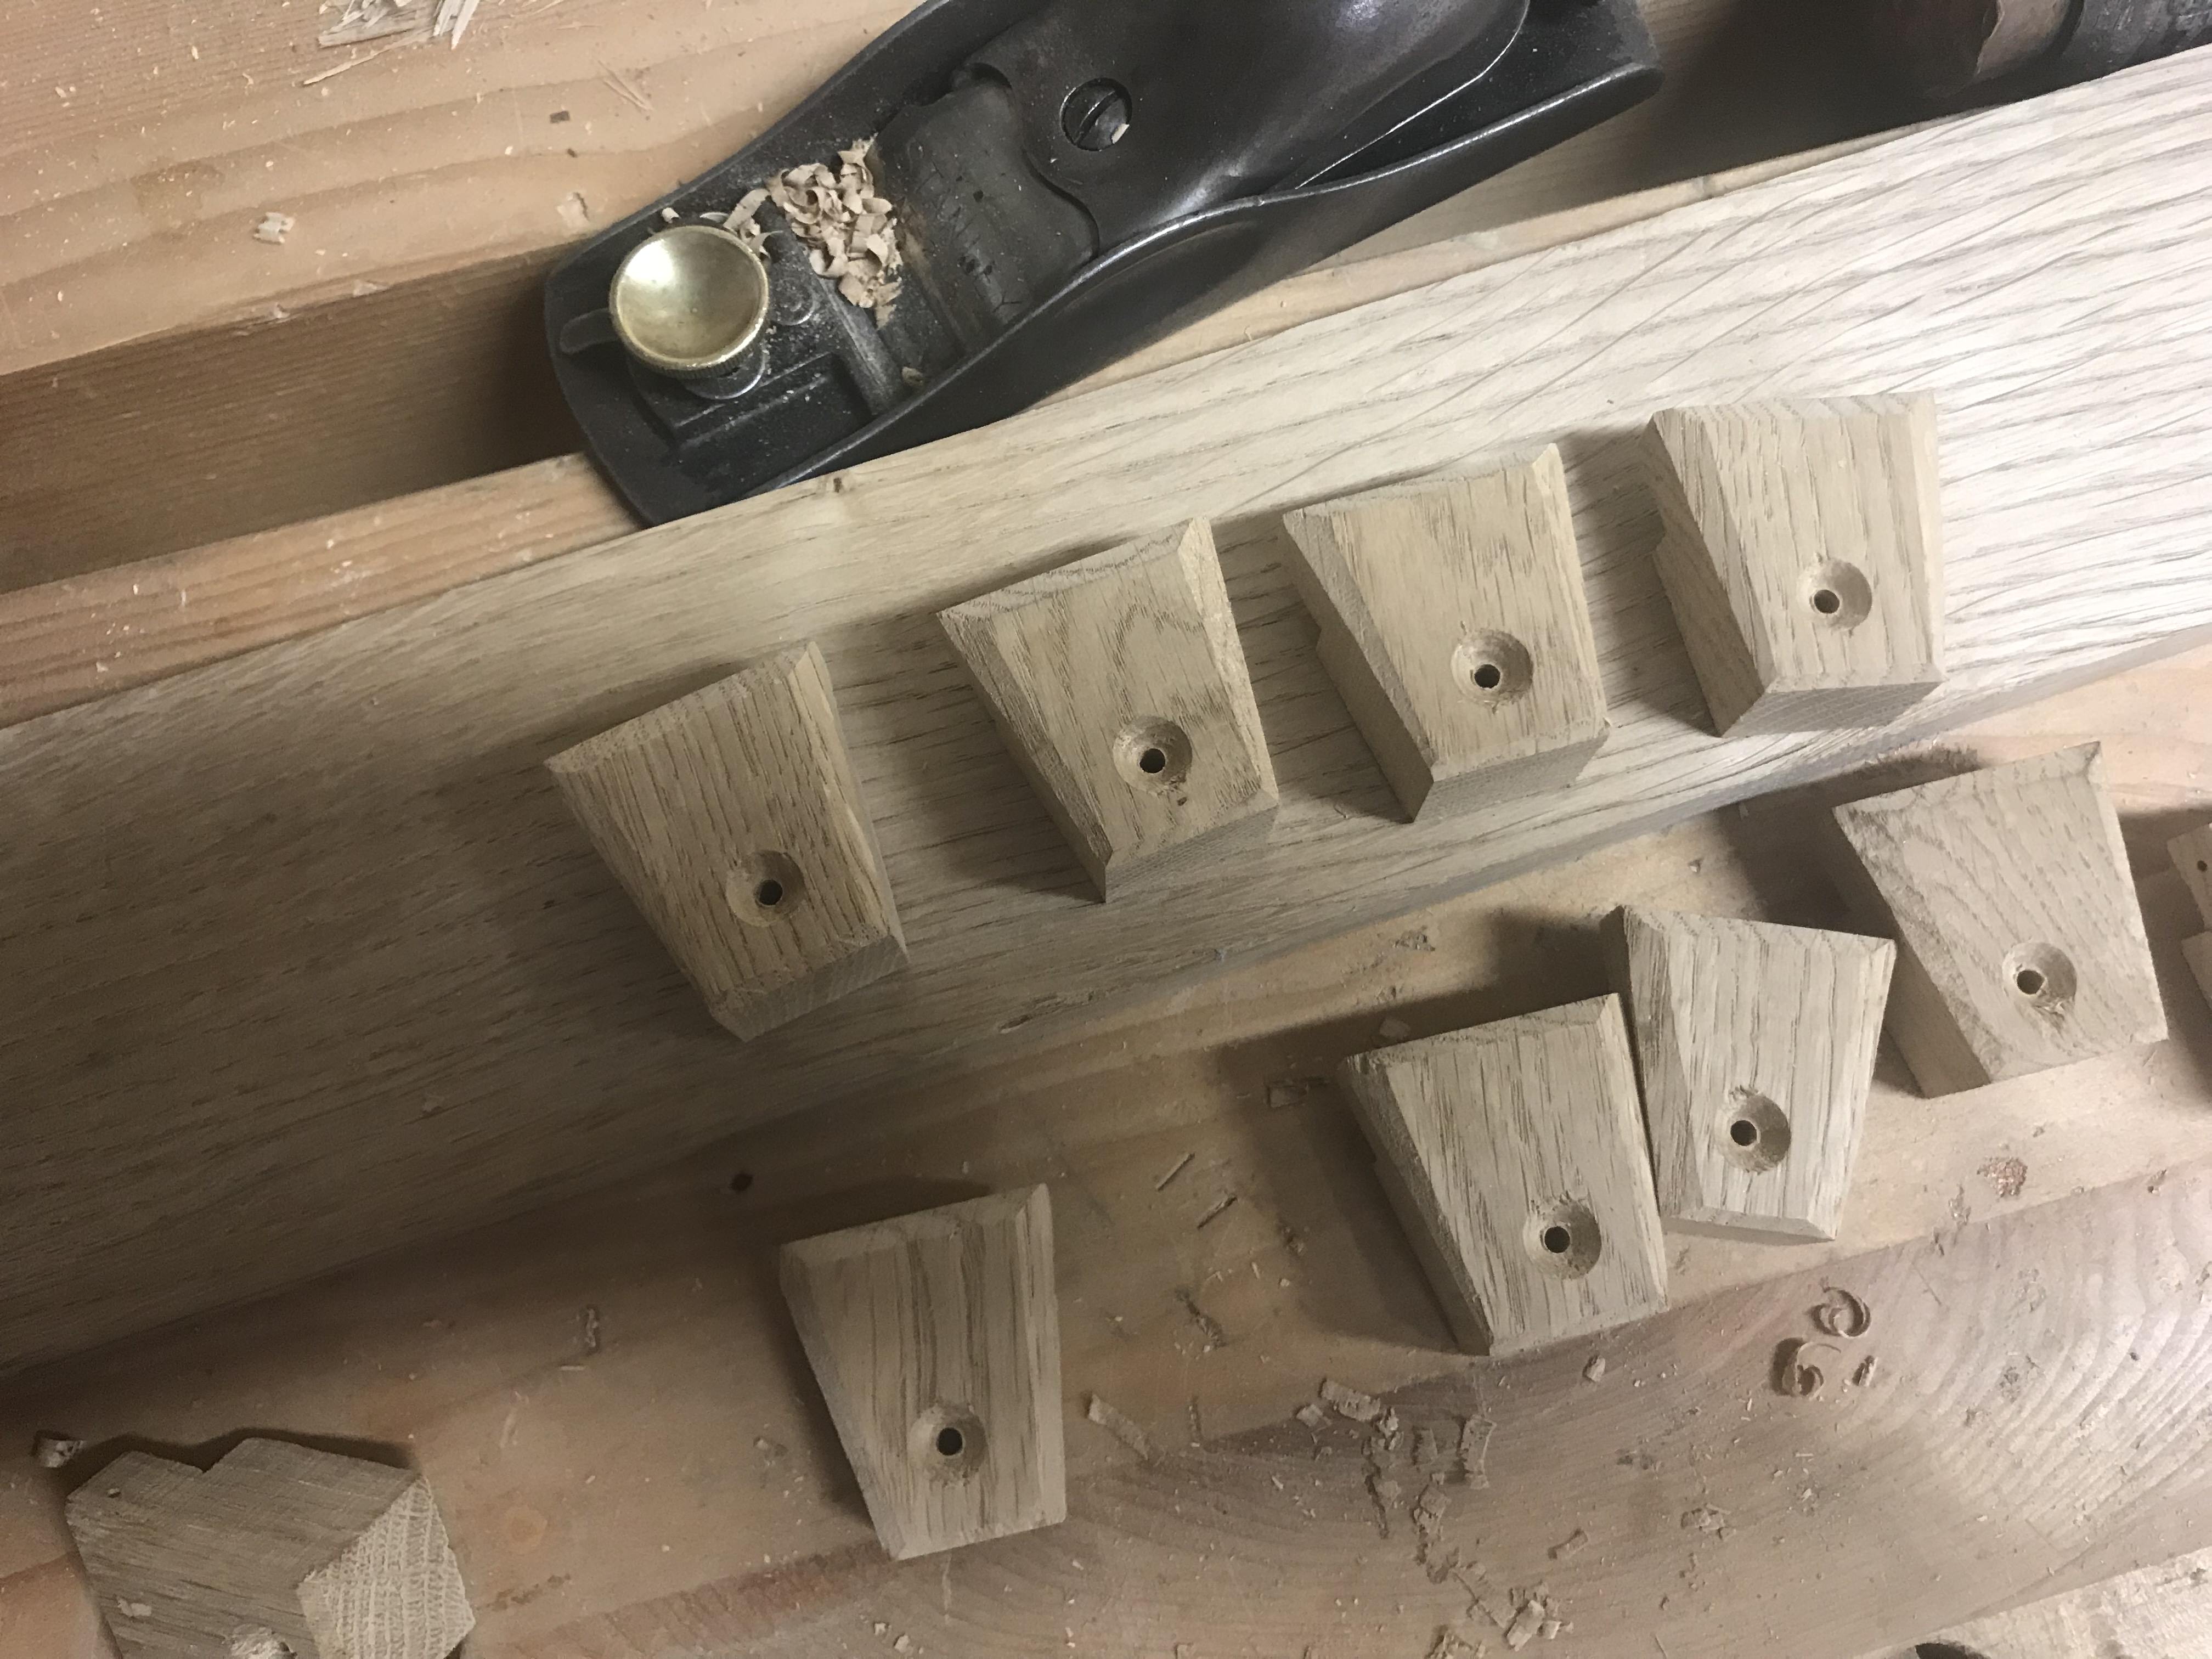
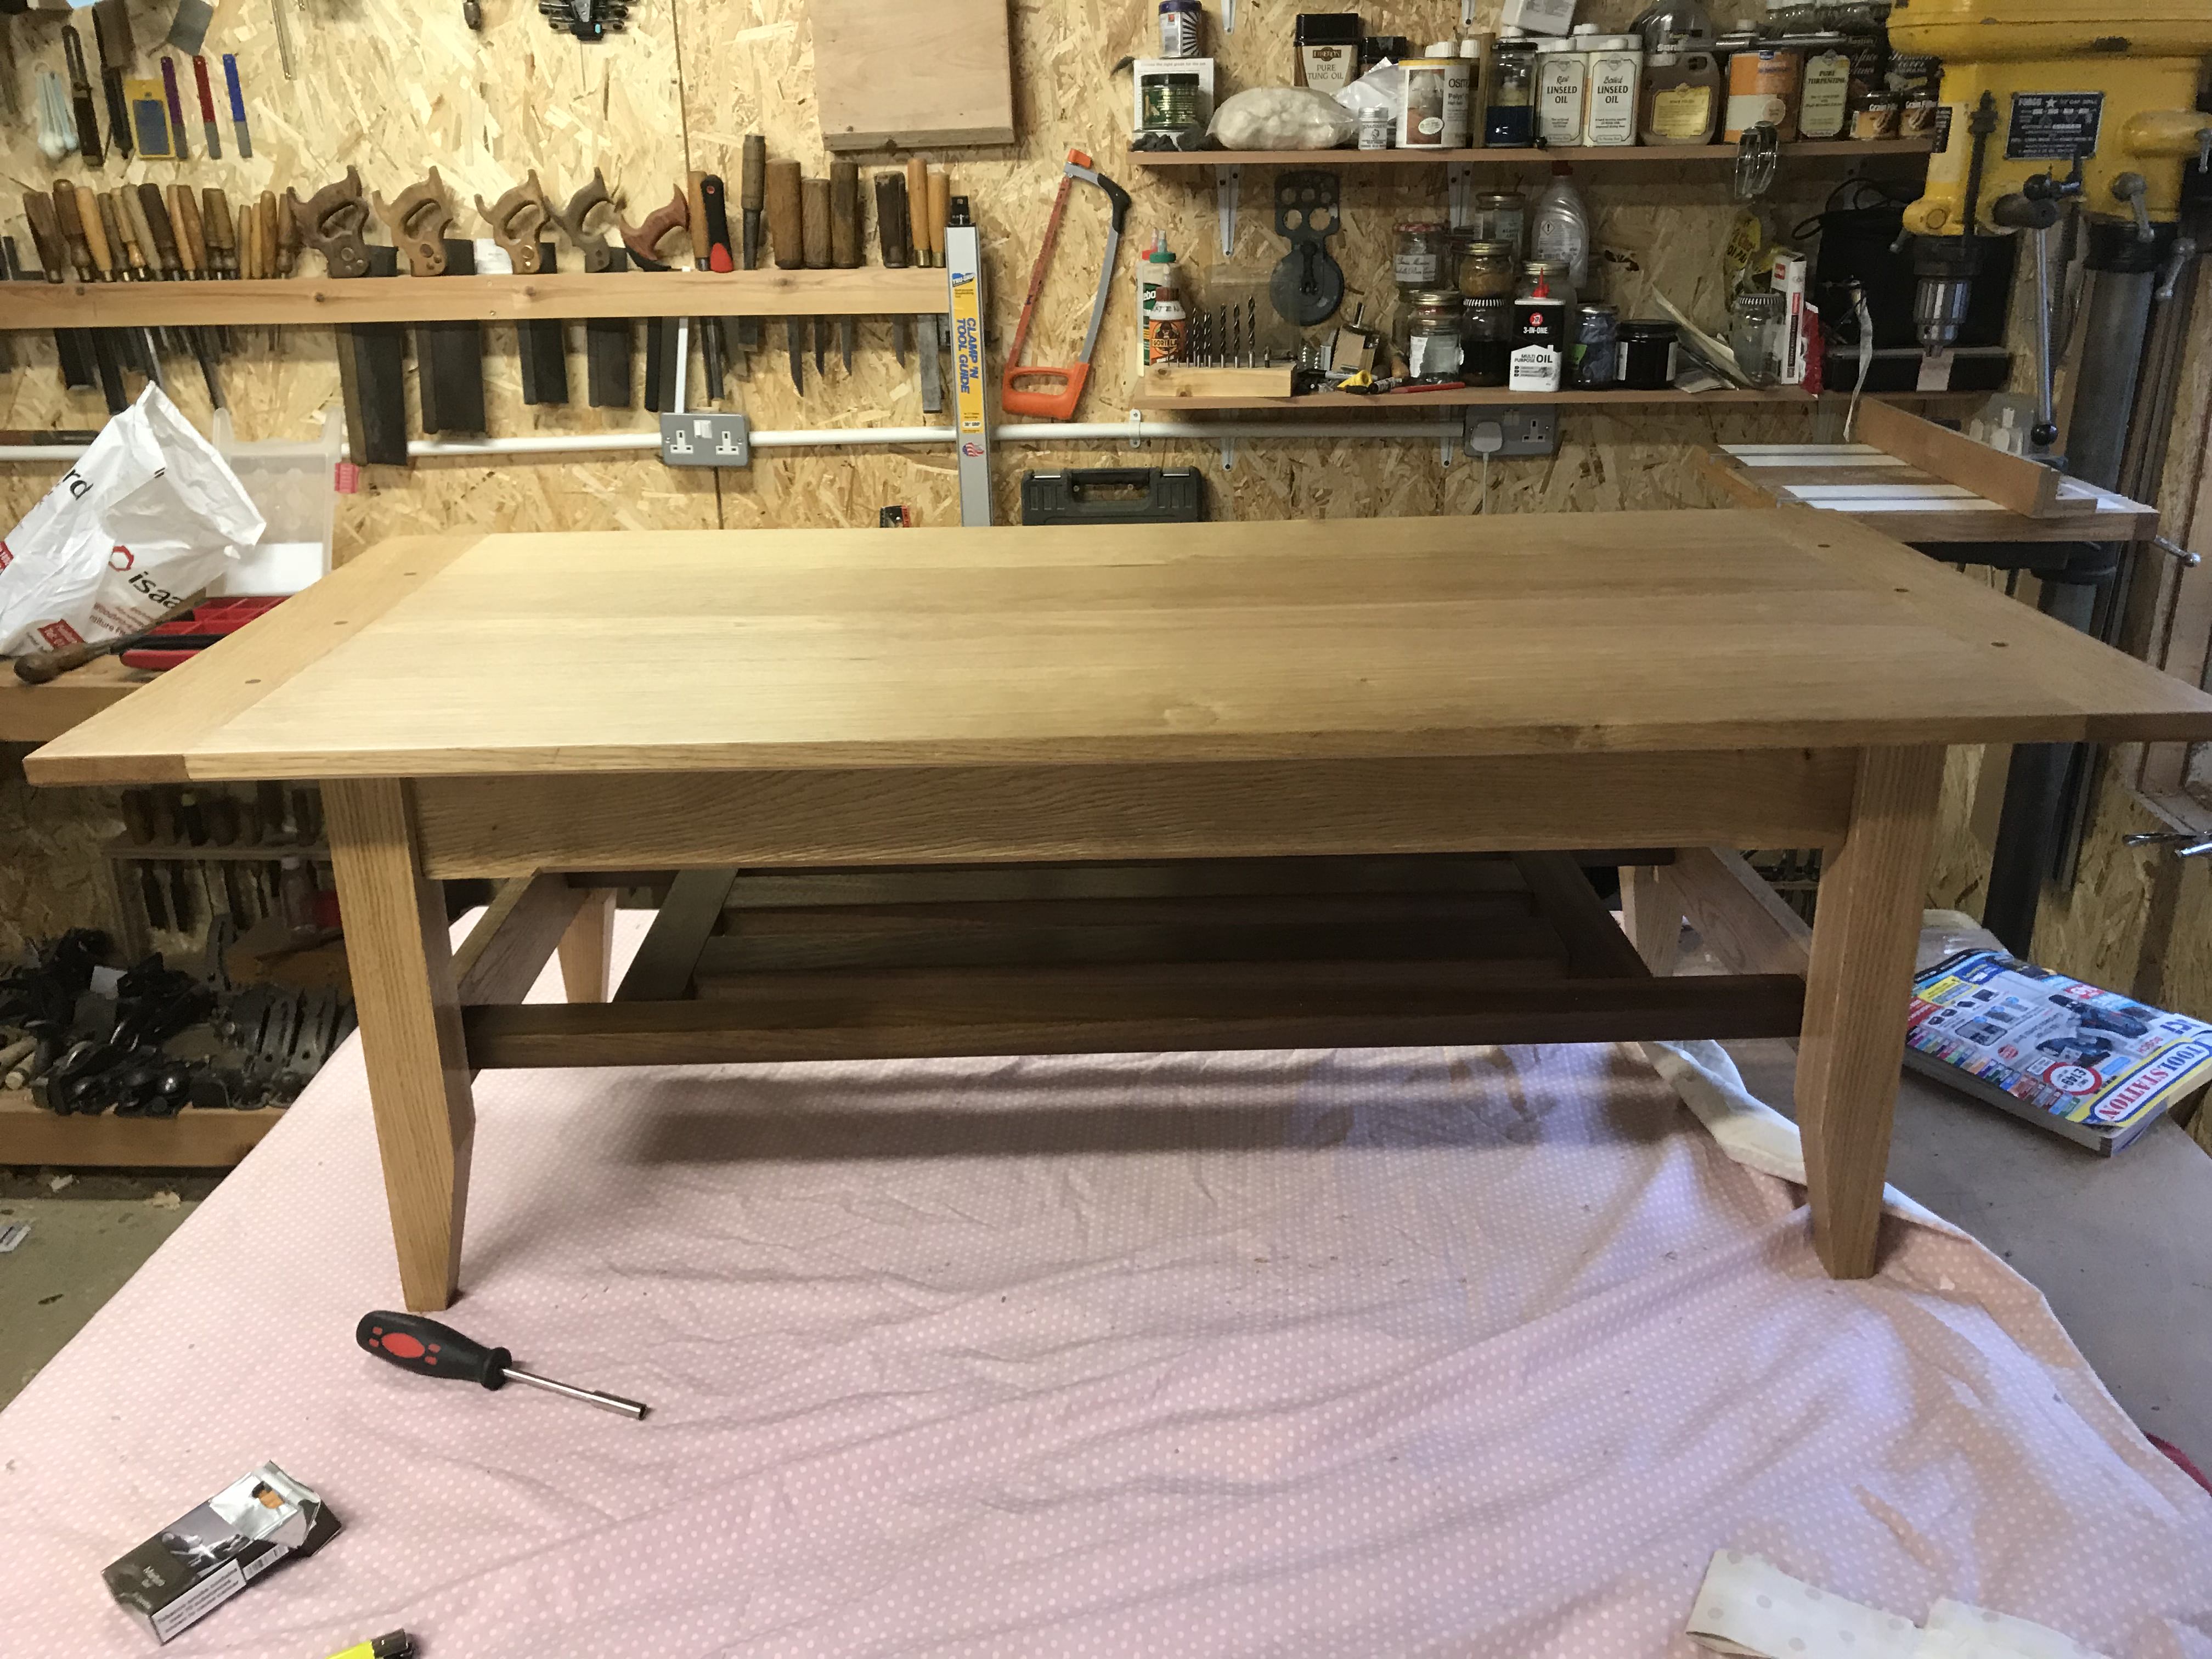
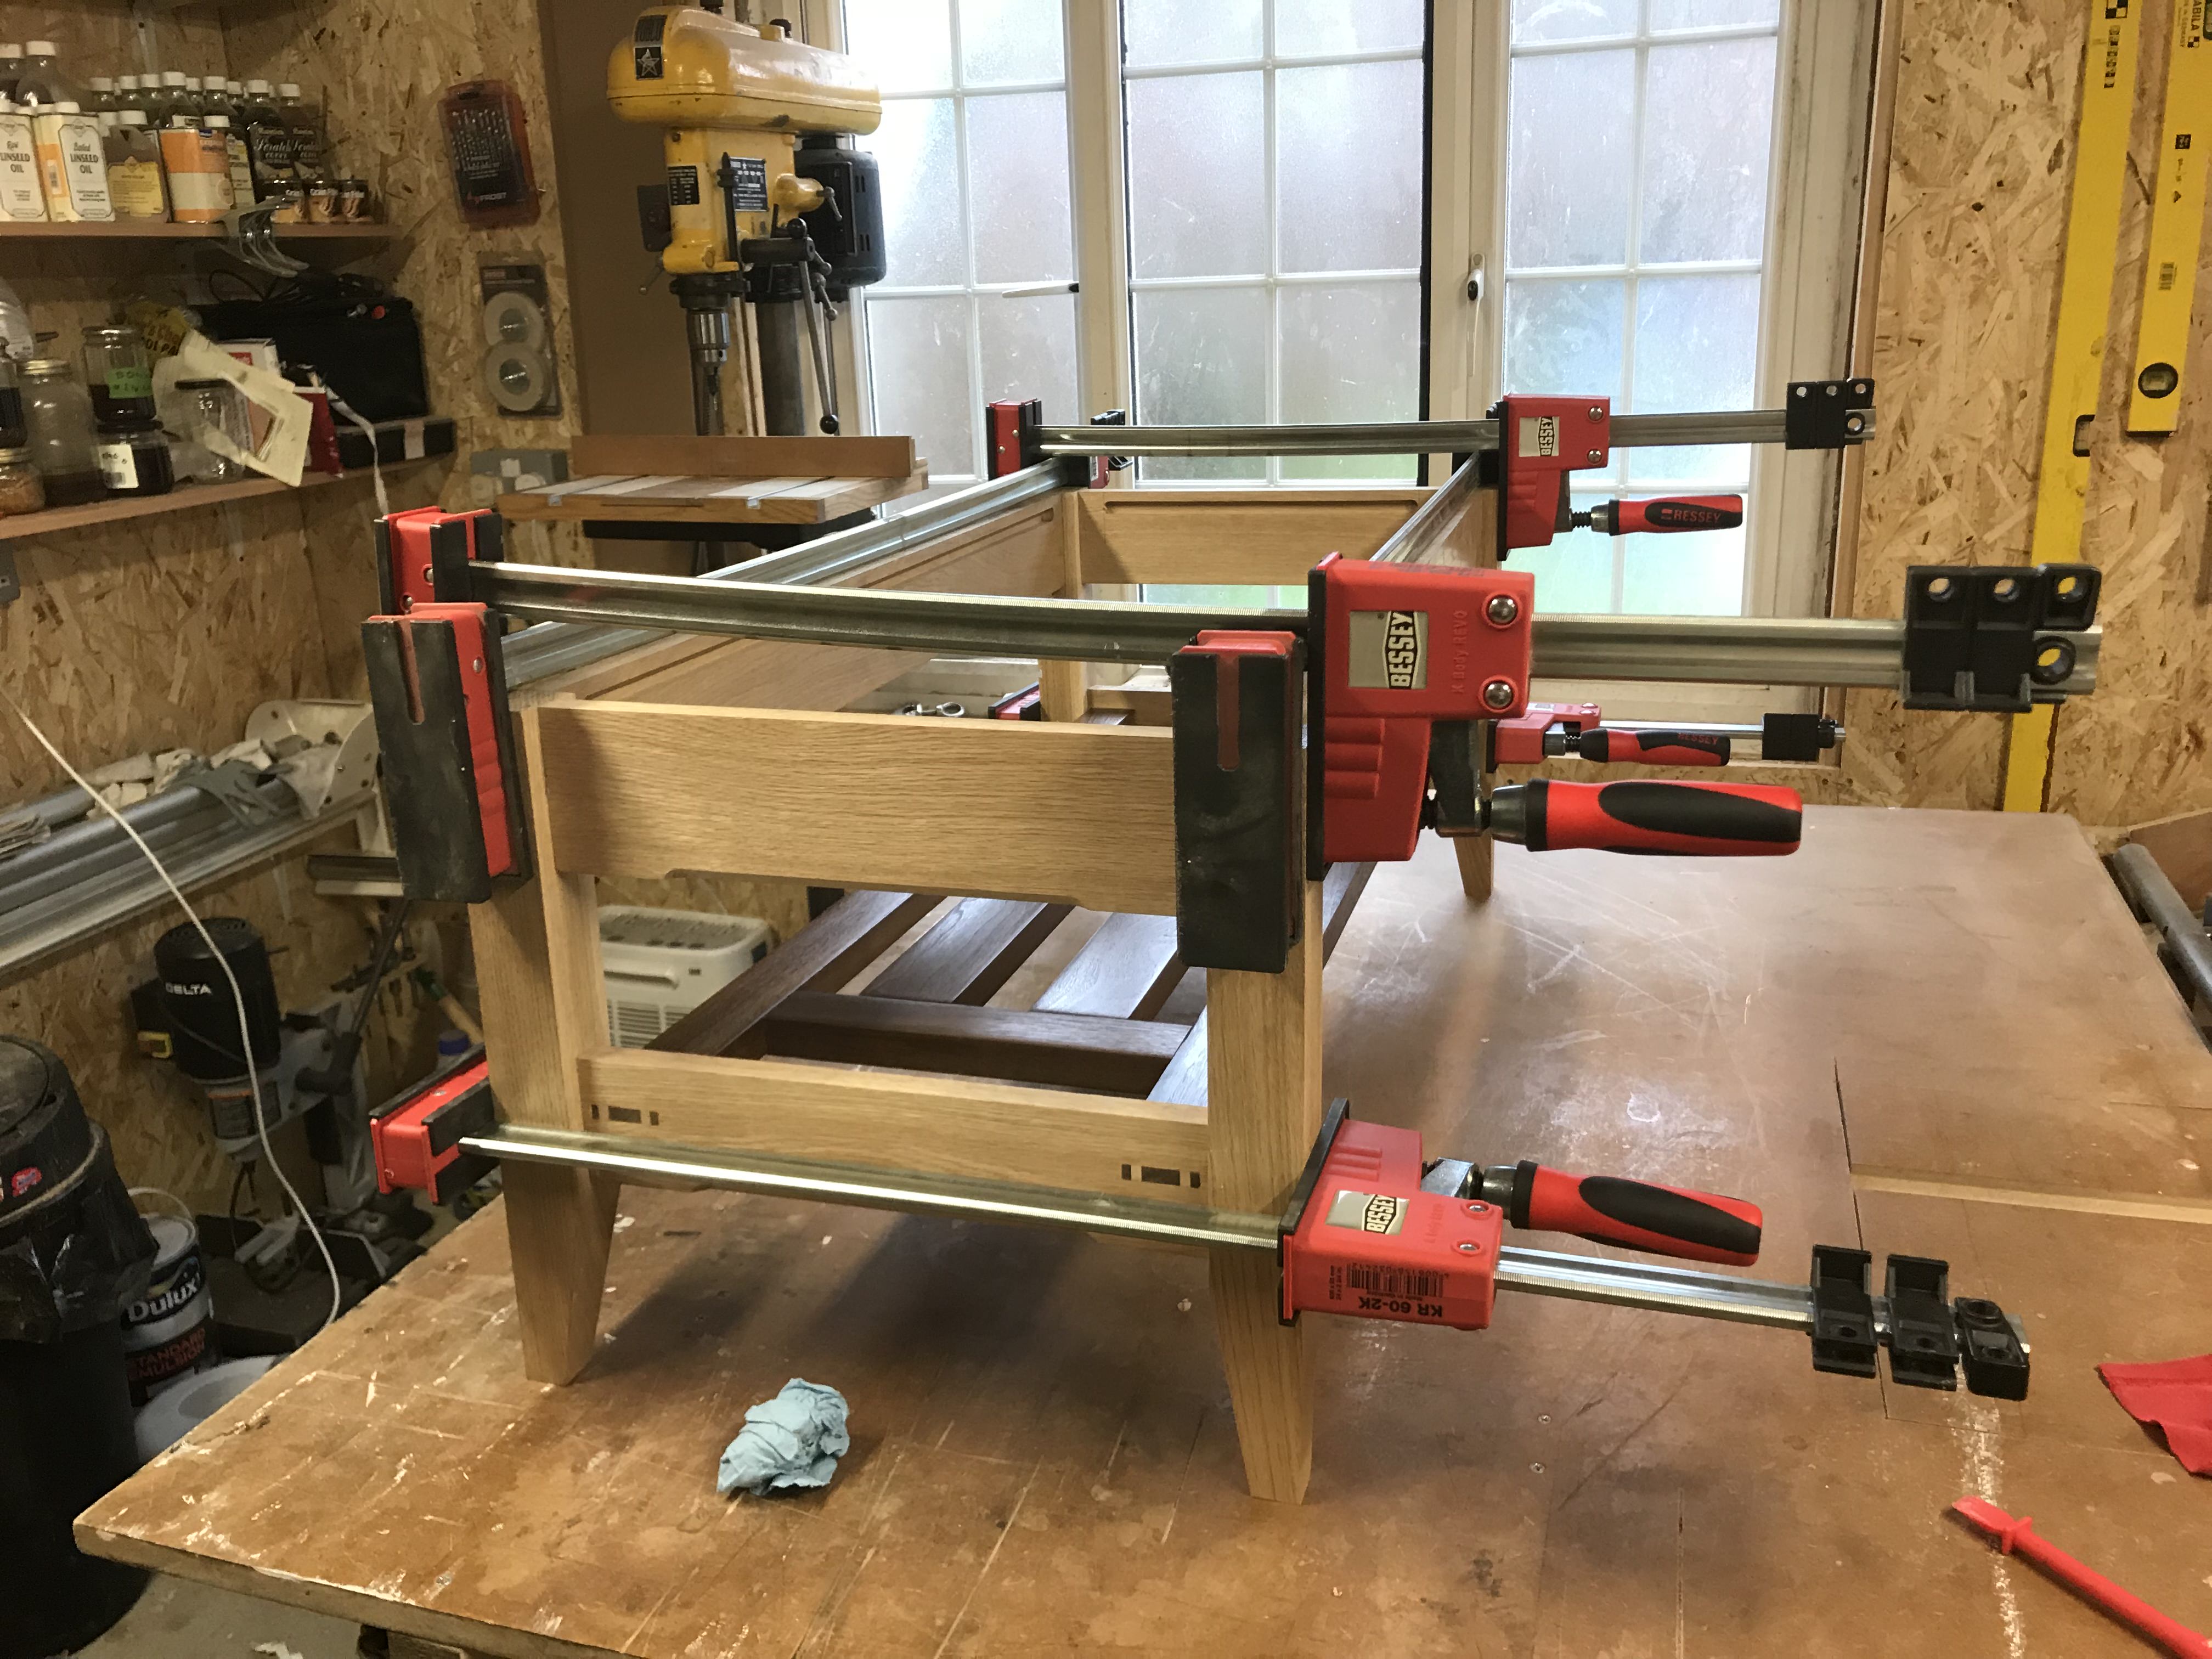
The next step to hope for the best for was the undercarriage.
 
"Secondly I wasn't overly enamoured with the curved aprons of the original. Again a matter of taste but I thought it looked a bit 1972 for my liking (and more importantly so did SWMBO)."

Actually it was all the rage in the pre WWI period.
Those edge joints came out very well indeed.
Well done!
 
I thought I'd start with the legs.

I wanted the finished top to be flush with the seats of our front room sofa (which is the big, L shaped, lounger variety). This is because SWMBO likes to view her shows (brain rot TV) from a fairly horizontal position and I didn't want the items placed on the table to obscure her view when doing so. I seem to recall this meant the legs needed a finished length of about 16" or so but can't be sure without the plan or the table in front of me.

Anyway, one of the things that really strikes me about wooden furniture from the likes of OFL is the apparent complete disregard for how the grain direction, or indeed general appearance, of stock impacts the finished piece. I'm sure it's not just me but I will often notice a visually striking rail of quarter sawn oak next to another, flat sawn, rail for example. It all looks a bit like some sticks of wood went into a machine at one end and out popped a finished bit of furniture at the other, without a human ever actually casting his or her eye on progress in between. So to avoid a visually jarring clash of grain I wanted to make the legs out of rift sawn stock. I didn't have any to hand but I did have a thick enough piece of oak from which I could cut the legs out as I wished. I cut a little template out from card and drew squares on the board end with the grain running from corner to corner:
XGczM0G.jpg

This meant that all the legs were effectively rift sawn and had the same straight grain pattern on each face:
znEoF1U.jpg

Win for memzey.

I then did a few steps without taking photos I'm afraid. Nothing too clever though just cutting the mortices on the legs and tenons on the aprons. Mortices were cut on a HCM while tenons were done on the table saw using a delta jig. The only mildly clever bit was mitering the tenons to make most effective use of the depth at my disposal but that's not really so clever and was simply done by canting the spindle on my table saw and using the mitre gauge.

Going back to the table top however, I did take a pic of how I cut tongue for the bread board ends:
OY087Li.jpg

Yee-haar!

I then fitted the breadboard ends by first milling the mortice with a router and then drilling some holes for the ABW dowel pegs I used to fix them in place. I extended the holes at either end but glued the centre hole in. Tidied up with chisels and a block plane afterwards.
omYTavK.jpg


At this point I discovered that I'd manged to glue some blue shop towels into the squeeze out around the centre peg but after much fretting and a bit of sanding things turned out OK in the end:
UdwIiyt.jpg


During this timeframe I also managed to complete the shelf out of ABW. I sawed the slots for the wedges in the through tenons at the band saw and drilled small holes where they terminated near the shoulder. Sadly no photos again but this is what it all looked like when glued up with the cross piece (it has to be done in this order given how the shelf fits between the table legs):
jQAjmZ0.jpg

I had pre-finished the ABW with several coats of garnett shellac which I mix up from flakes. I think this really helps add richness and warmth to the steamed ABW I get so I tend to finish with garnett whenever I'm using that species.

Once that sub assembly was out of the cramps I glued up the rest of the frame.
ZnjFIBk.jpg

Before completing that step I did bring down the proud areas of the through tenons and wedges with chisels and planes but alas again no photos.

With the top and undercarriage essentially complete, my next step was how to join the two.
 
So I missed a couple of steps:

Firstly I tapered the ends of the legs by marking out the angle with a combination square and pencil, rough cutting close to the line on the bandsaw and coming down to the line with planes.

Secondly I milled stopped chamfers on the aprons and shelf cross brace by using some jigged stops cramped to my bench and an electric router (the gap between the two haves of the bench top was quite useful for this).

So on to the fixing of the top - I wanted to use buttons in the traditional way to allow the top to expand and contract freely while keeping it firmly attached to the base. I milled 1/2" slots parallel to the top edge of the rails with the electronic router and then thought about what design the buttons should take.

I recalled that one of our members had shared a button design he'd acquired whilst working at the famous Barnsley Workshops which I really liked. I thought that by adding a similarly styled feature to this aspect of the project, despite the buttons themselves being unlikely to be seen that often, I'd potentially further differentiate it from something that could be easily found on the high street. This point is quite important to me as things like "it fits that space perfectly", "it meets the need you have exactly" and "none of your mates can get their husbands to buy them one" all add up to further enforce SWMBO's demand for stuff made in my shed. The greater her demand, the more shed time I get. Simples really :)

Anyway I estimated that I needed 10 buttons of whatever style they would eventually become (three on each long edge and two on each short). To do this as efficiently as possible I pulled a fairly wide board of oak out of the off cuts bin and marked out, on both edges, a rebate on one side and something akin to a dovetail pattern on the other. I started with the rebates which I figured needed to leave me with a tongue that would fit in the 1/2" groove I'd just milled but still leave enough meat on the button to let me pull the pieces together. As they were only two small rebates on a small board I milled these with my Stanley #78 rebate plane:
lEjgPPr.jpg

I was going across the grain so engaged the little nicker that severs fibres ahead of the iron. I went from knocking the dust off it (had been sitting on a shelf under my bench), to setting it up, to finishing my rebates in less than the time it would have taken me to find the rebate bit for my router or put my dado stack in the table saw. This really is a wonderful little tool that for whatever reason isn't seen as being as sexy or retro-steam-punk-cool as other tools which the gurus regularly espouse. Maybe this is because they don't have cool rosewood handles, maybe because zillions of them were made, maybe because they are still being made - I don't know - but they are super handy to have and are still cheap as chips on the bay.

Moving on - I cut the slanted ends of the buttons on the bandsaw and freed them from the rest of the board in the same way:
RwIoL1T.jpg

Having done that I refined their shape somewhat with a block plane and drilled out the pilot holes and countersinks at my drill press. This is how they came out:
0ZXx061.jpg


Before fixing the top to the frame I wanted to finish both parts. Finish for this project was two seal coats of 1lb cut dewaxed blonde shellac followed by Osmo Poly X Matt. I apply the Osmo in very thin coats brushed on, leave to soak for about 30 minutes then wipe the excess away and buff vigorously with a clean rag. Once the final coat had cured I put a soft sheet (old curtain) over my assembly table and placed the top face down on it with the frame on top (all upside down) and equidistant all round. The shelf made drilling pilot holes for the screws into the top a bit of a pain but I've got this old Leytool drill which always comes out for awkward little jobs like this:
eB7rHsw.jpg

Once assembled the table looked like this:
nszbpgy.jpg

cq6NoiK.jpg

cHXKVTk.jpg


Thanks for reading everyone and I hope I haven't bored you too much. I'll try to make sure my next wip thread is in real-time with the project and is more complete in terms of photos than this one but hopefully it all flowed ok.

Thanks again all!
 
Very nice indeed Memzy. Congratulations. I like the use of Walnut for the shelf. I made one myself last year from Mahogany based on PS's design, and as you I made several changes for suit my own liking.

John
 
What's clear Memzey is all the thought and care and planning that you've poured into this project. From carefully selecting the best cuts of timber for each component, through gluing up in stages via sub assemblies, to laying out a sheet on your bench to prevent anything scratching the table's surface.

At the end of the day it's that kind of patience and meticulous attention to detail that really separates successful projects from embarrassing, gappy wrecks. Very well done, I hope you and your family have many years of pleasure from your instant heirloom!

=D>
 
My friend, - you are clearly getting the hang of this woodworking lark - I think you've easily graduated from "oafish woodbutcher" to "journeyman craftsman".

Apart from the sin of non clocked grain dowels - for shame! - the details you've put into that piece are lovely, unless Custard would like to correct me, I'd say you did everything in the same way and care as any master maker would.

As Custard said - an instant hierloom.

Only one slightest niggle comes to mind - and this is purely from the perspective of my not knowing any better, but is using passivated screws (steel underneath) in oak for fixing the buttons a wise choice?
 
I'd just like to agree that it's a handsome piece of furniture, made with care and thought, which will clearly be treasured by the Memzey household for many years to come.
And a useful write-up which should inspire others to have a go.
Congratulations! =D> =D>
 
Proper piece of furniture, properly made. Well done Memzey. Personally, I wouldn't have made the aprons so deep, but that aside, it looks great. You can be very proud of that.
 
looks really good memzey, definitely something that'll be around for a while, I'd be proud of that! =D>
 
Really nice table and an entertaining read - love the walnut shelf especially. Like Rafezetter said though, I'd whip those steel screws out and replace with brass or stainless steel.

Paul
 
I agree with the comments about brass screws, for furniture I normally use slot headed brass screws. For some very dark timbers and contemporary designs I'll use stainless steel screws with Torx or Hex heads for a modern look, but generally it's brass slotted head.

However, there's a huge "but" in all this.

The quality of new brass screws you commonly find in the UK are just rubbish, they're almost always badly made Chinese tat with the consistency of cheese. You can still occasionally pick up "old/new stock" GKN brass screws, but the price is high and the size selection is limited. I've found a couple of US suppliers who still offer decent quality brass screws and I try and keep stocks of those in my workshop. However, for things like buttons or attaching drawer runners I still take four extra precautions,

-if a job calls for say a number 6 or 8 steel screw then I'll use a number 10 or 12 brass screw (and just try sourcing a 7/8" number 10 brass screw!)
-be painstaking with pilot and clearance holes
-pre cut the thread with an identical steel screw before inserting the brass screw
-wax the screw threads first, it's amazing how much easier any waxed screw is to insert

Yes it's all a load of faff, but it's a lot less faff than having to deal with a sheered off screw head!
 
Thanks for the kind words everyone. The table has been well received at home but, as always, I see all the little bits that could be better. I didn’t think about using brass screws but I will source some and replace them as and when the opportunity arises. Thanks for all the feedback.

At the moment every project I do has to have a new feature or technique that I haven’t done before - that’s how I’m developing. I’m starting a new one today - my first box. Hopefully my seven year old will like it!
 
Back
Top