A
Anonymous
Guest
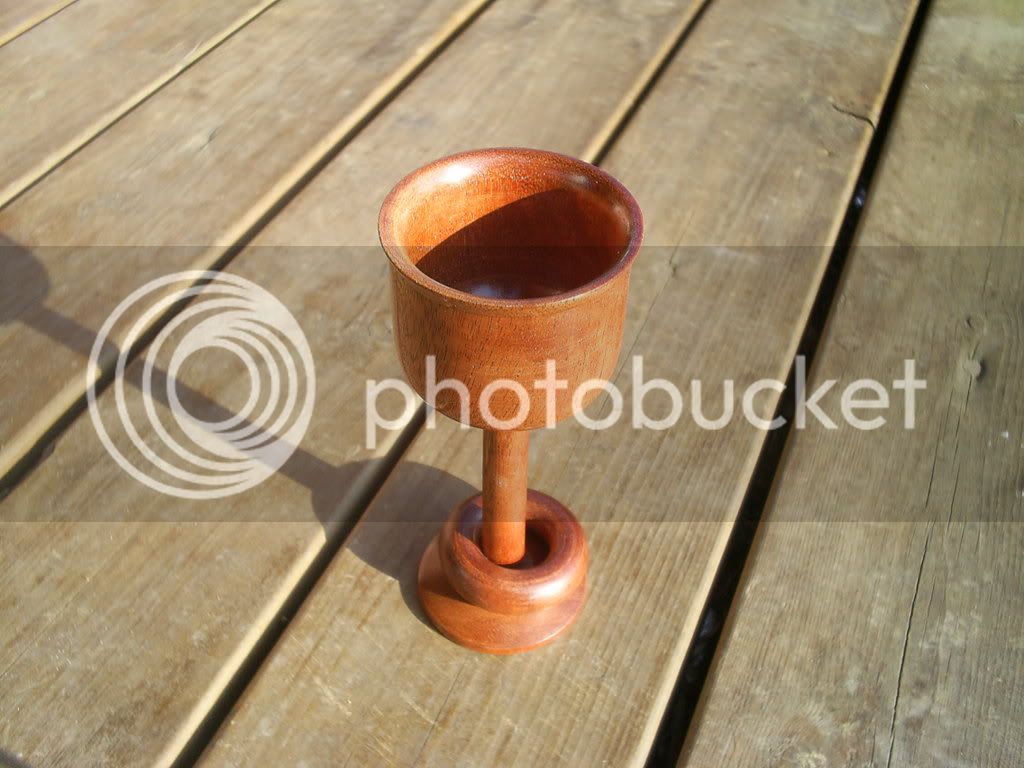
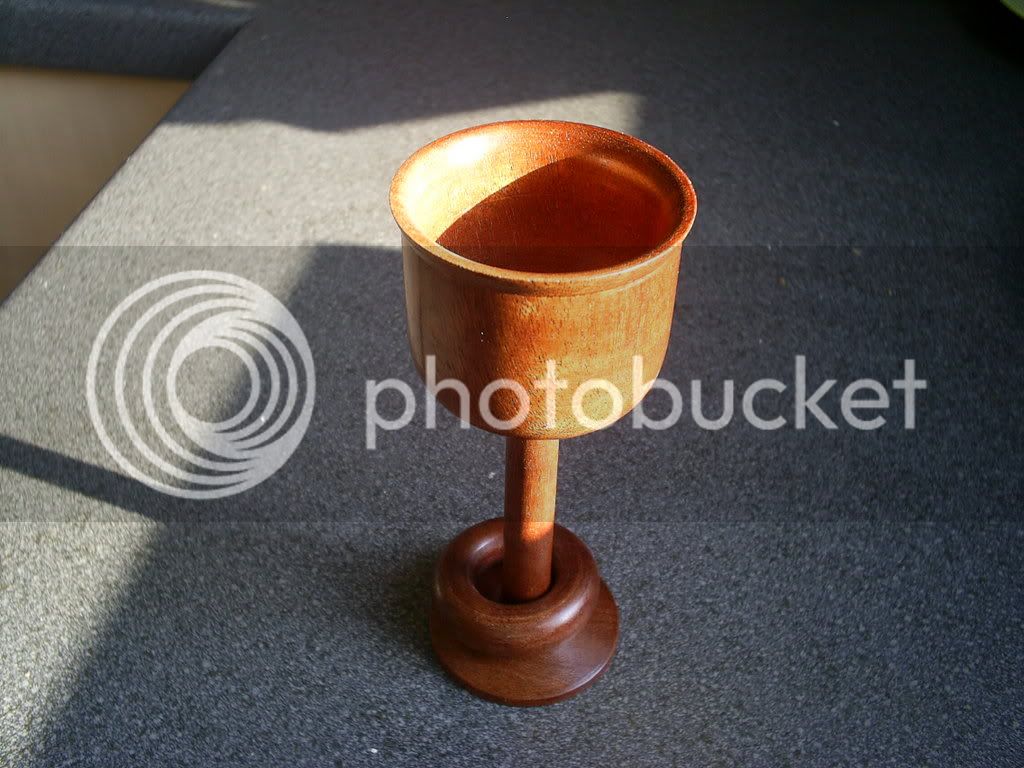
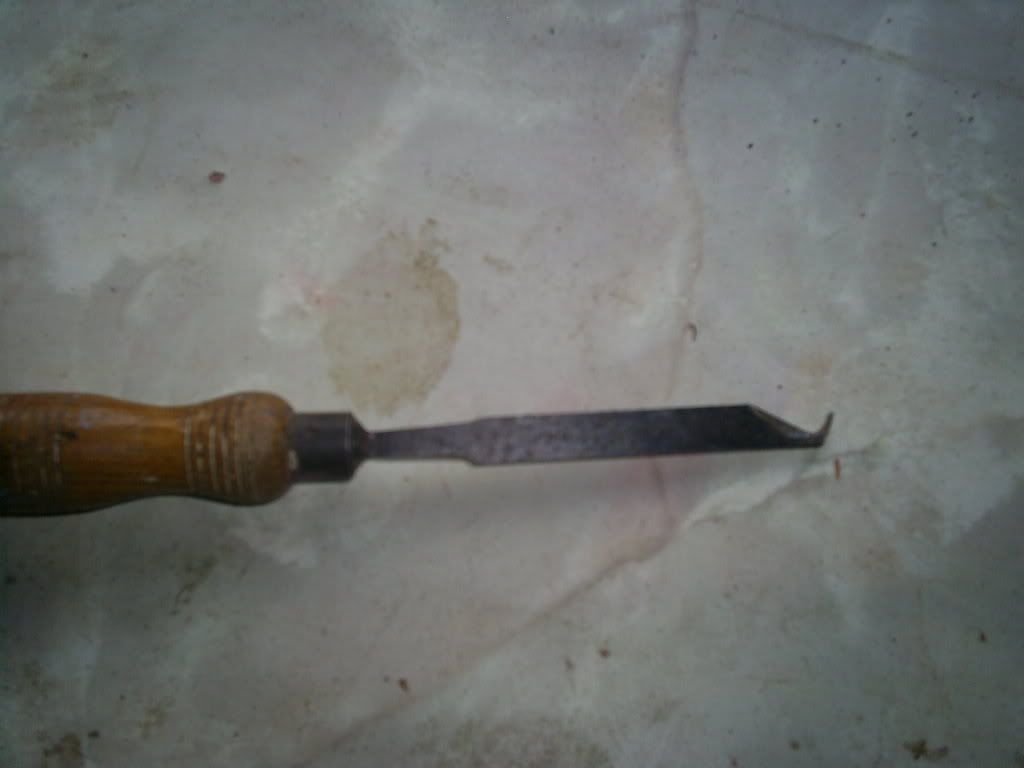
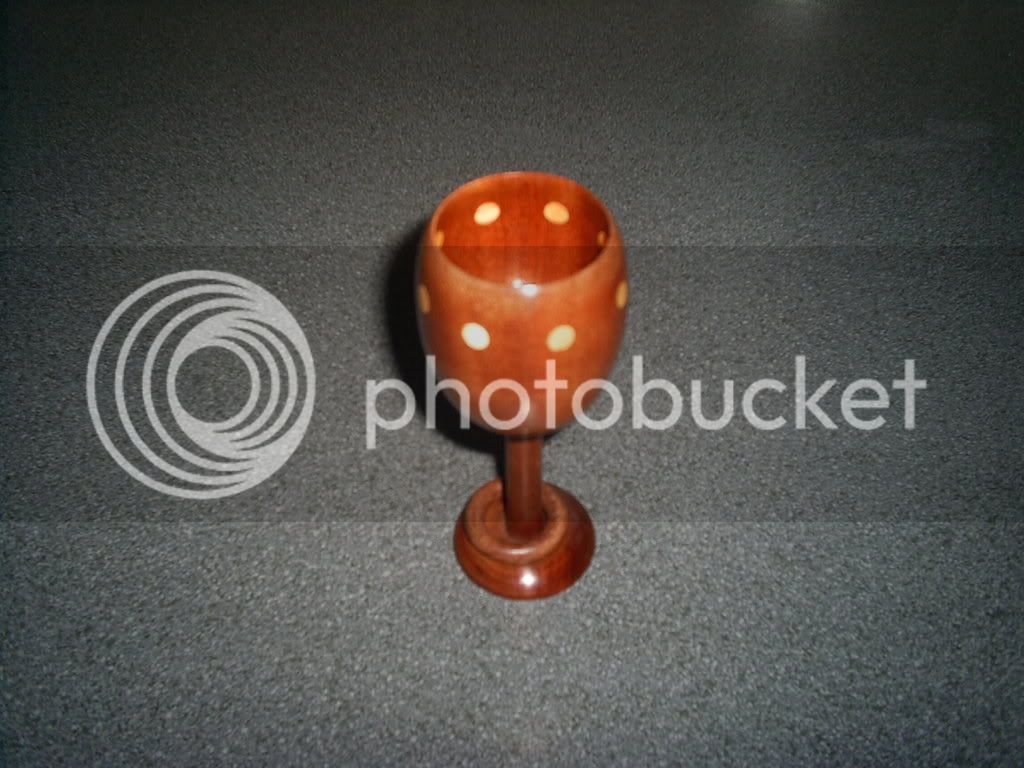
Captive rings made easy… if you are adept with a skew it’s possible to make the rings using the toe of the skew; for those who can’t get on with the skew there are dedicated captive ring cutting tools available from the major tool makers.
You could make your own ring cutting tool but results are rarely encouraging; there’s a much simpler method of creating a captive ring masterpiece using just your ordinary turning tools. Turn a goblet in your preferred way but carefully measure the diameter of the foot; modern aesthetics demand that the foot is a few mm less than the ‘bowl’ dia. Turn a cylinder using a contrasting wood and carefully fashion a series of rings ensuring that the internal diameter is circa 1.5mm less than the foot of the goblet. Accurate measurements are critical to this process.
The goblet should be placed in the freezer for at least 12hours… wrap it carefully to avoid any food contamination … needless to say you’ll need the permission of the head of domestic trivia. The rings can now be treated in either a conventional oven (set at 160c)… at this stage you will have worked out that it’s not advisable to use a flammable finish! Treatment times will vary with the size of the rings e.g. miniatures will only require 5 mins.
Take care when handling very cold or very hot objects, thermal gloves are recommended. Simply slip the expanded ring over the foot of the goblet and allow to stand until the whole has achieved ambient room temperature.
Microwaving the ring is another option, provided that the ring has been dampened the ring will become flexible making the task a little easier...