


TheTiddles
Established Member
Right, I like other people's work in progress pieces so I thought I'd try my own. This is a very simple job for a friend of mine who wanted a blanket chest to match the rest of her bedroom furniture made by some bloke called 'John Lewis', never heard of him but apparently he's got a few shops here and there... The brief is to fit under a sloping ceiling but also to be suitable for going on the end of the bed should she move, cost is an issue so the whole thing has been done for as little as possible but to still look the part.
First off, off to Bamptons, I managed to pick up one of the large dimension pieces from a dodgy piece they had saved to show their supplier what wasn't good enough, I worked out I could work round the defects and it was a fraction of the full price, usefully enough it was also the exact right dimensions! The rest of the material is a single plank of 1 1/4" x 8" white oak, veneered 12mm MDF sheet and a sheet of ply from B&Q.
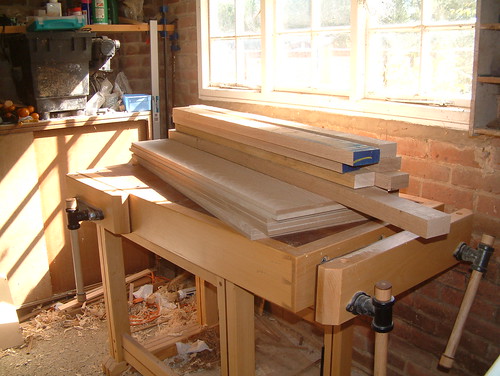
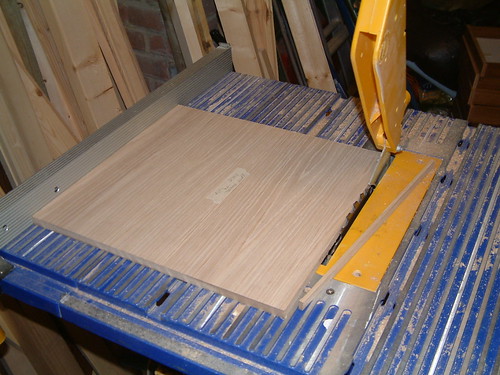
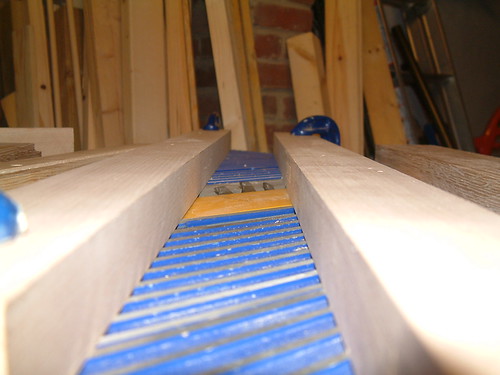
Start off with the basics, joint,
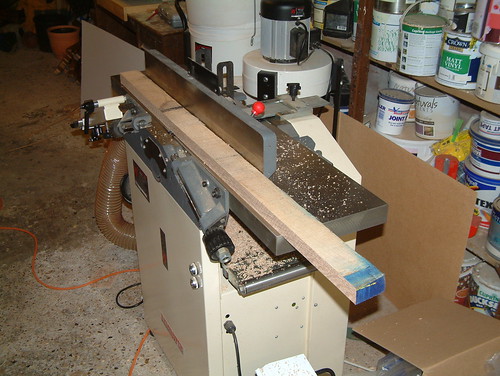
and thickness,
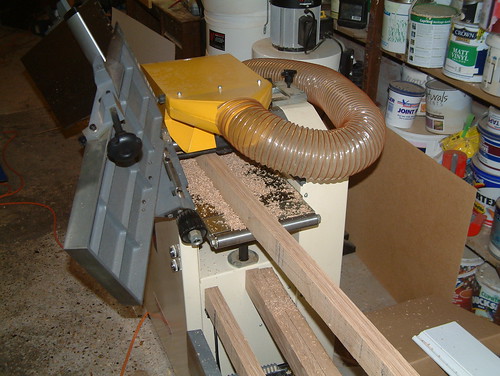
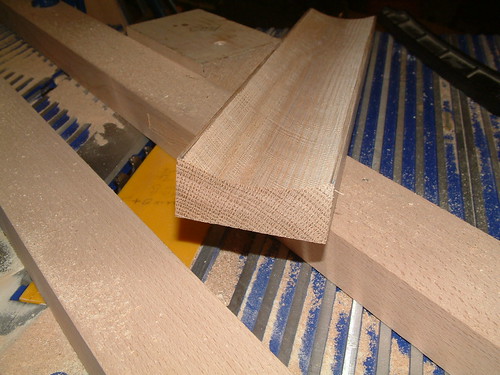
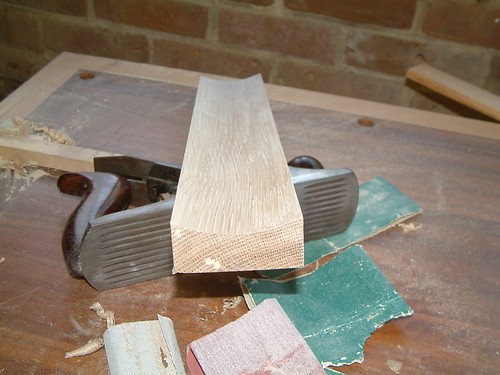
take off any ripple with a plane,
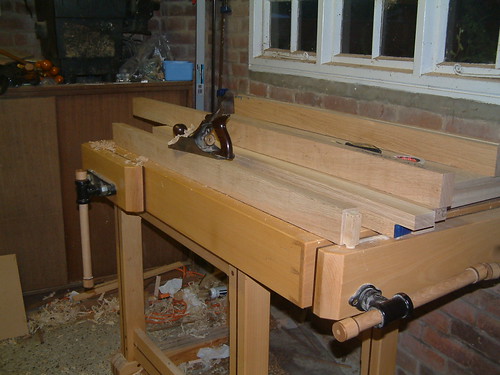
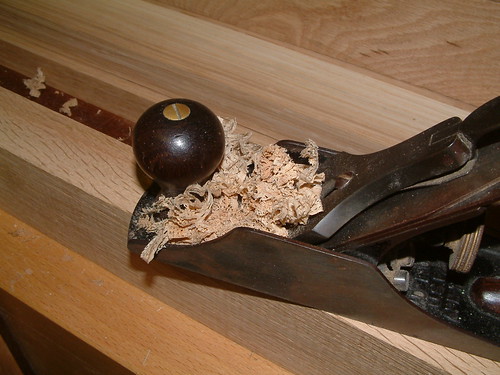
ready for the shavings shot? Here it is,
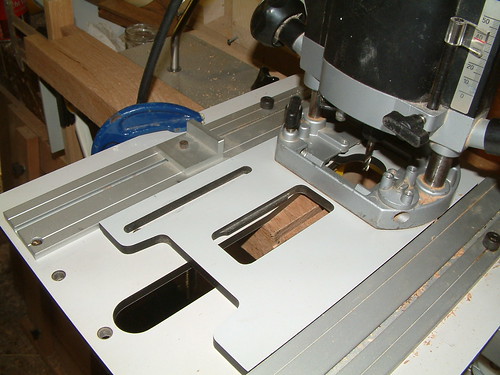
Now that's done it's into the proper woodwork. The design has exposed dovetails, small ones for the rails and very large ones for the corners, the first hitch is the woodrat cutters aren't that long,
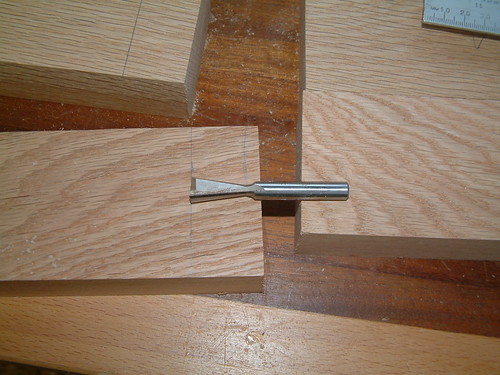
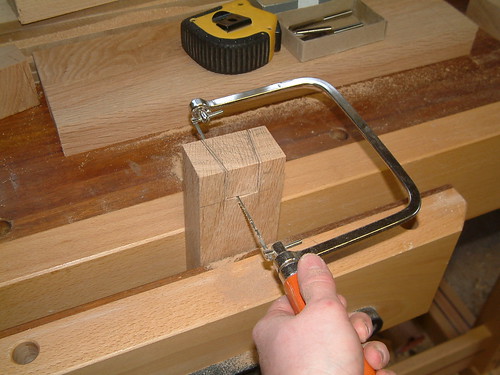
So it's going to be a hybrid approach, part machined and part by hand, so starting off with marking out and ripping the verticals,
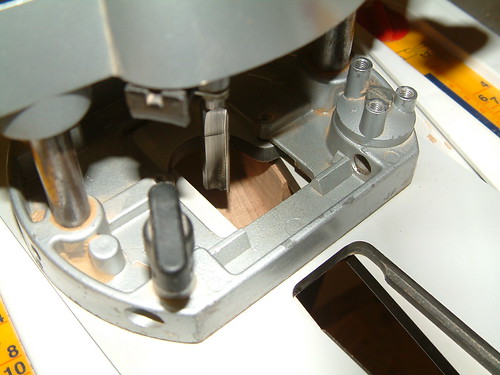
and coping out the chunk to leave only a little trimming to be done by machine, with a Trend T5 I'm trying to give it an easy ride before retirement,
then off to the woodrat to trim for a straight smooth finish,
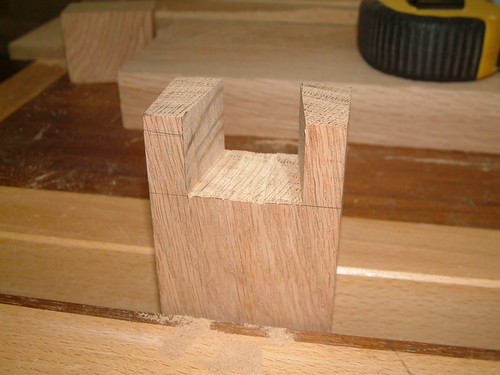
the finished result looks like this, the bottom isn't very good, I cut too deep with the coping saw, good job this is just a test piece. The chunk removed from the centre will be great for clamping up too.
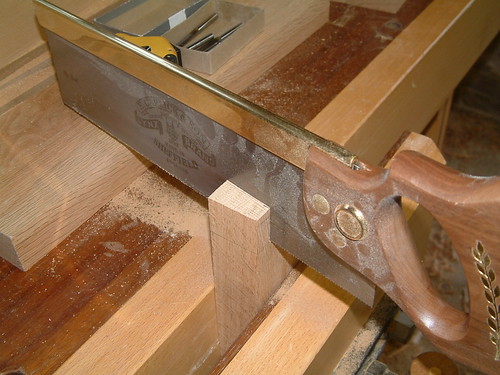
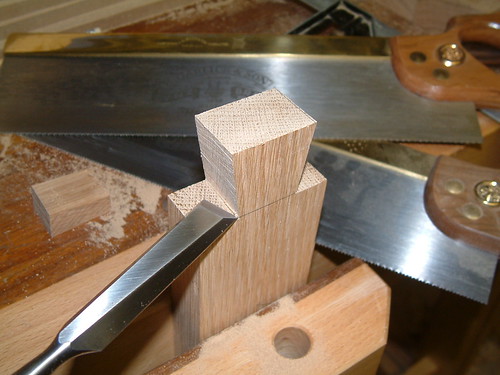
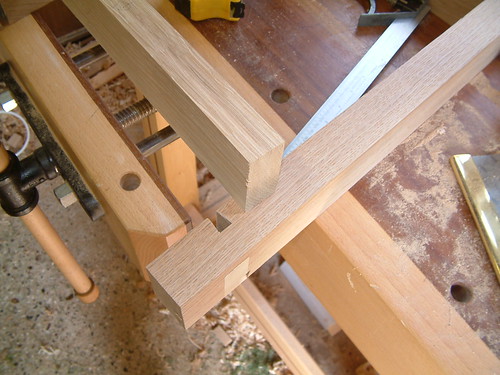
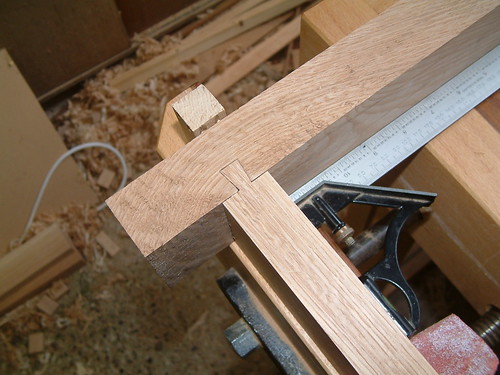
So using that part I scribe the lines for the tail and try something a little bit new, instead of cutting away from the line and trimming to fit, this time I cut right down the line, which is theoretically all that is necessary, but I've never had the confidence to try, but with a new rip cut tennon saw, I felt more comfortable with it,

The only trimming done is this little bit in the corner,
And then we just press together,
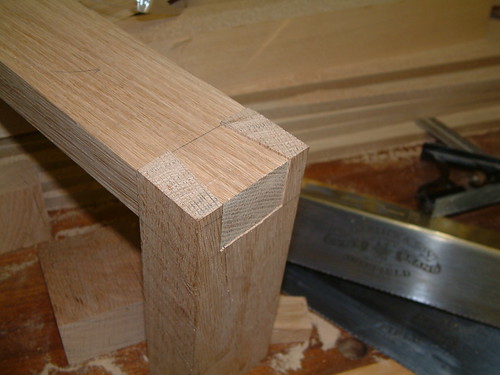
I'm astonished to say it worked! No more arduous paring for me, just another four of these to go...
Just like that. These go together to make the two ends
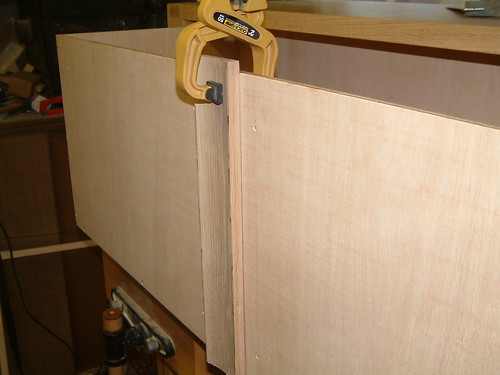
Next is a sliding dovetail on two sides of the vertical posts,
Which I will make by hogging out the bulk of material with a straight cutter,
Then chasing through with the dovetail on our furry little friend,
To leave something like this,
The rails are cut with the same cutter and depth setting as the housing and the width nibbled in till a fit is obtained, this single setting is then used to cut the remaining 7 ends
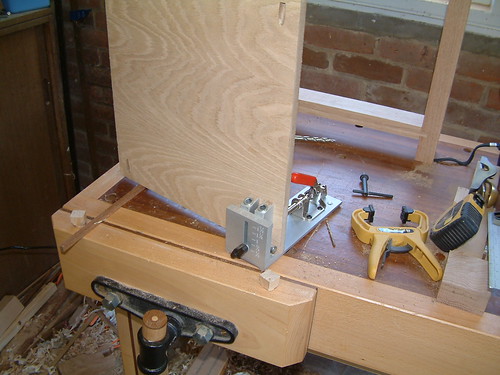
The end frames are filled with a pre-veneered panel, crosscut to width
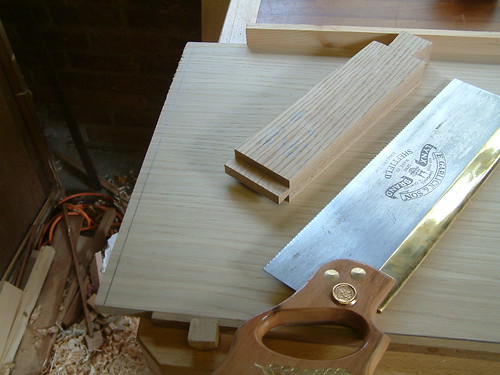
Then ripped in height, keep the fence at this setting, cut the other side panel and the back panel for consistency and label them for side and orientation, getting a coat of wax on immediately helps stop them getting dirty later on. I've got to get a new saw soon...
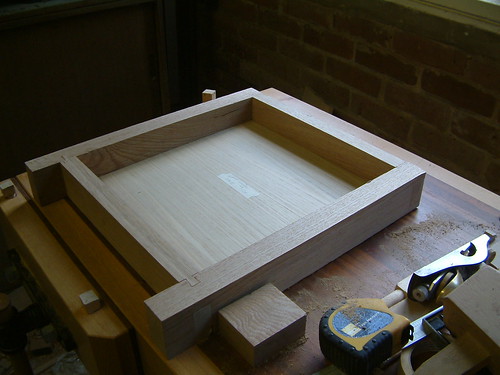
Here's the dry fit
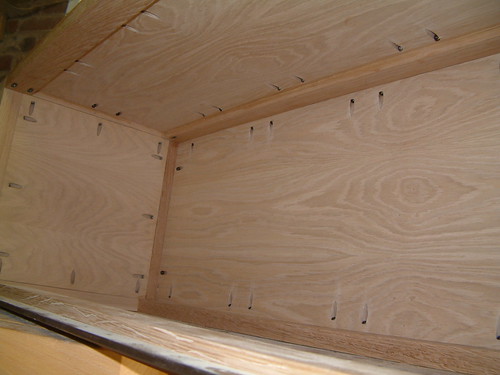
The panel is secured with pocket screws, not something I've used before, so we'll see how we get on. I'm using Axminster's own brand and it's pretty good, especially for the money. The base is a little too flexible but I will make a board with guides on to mount it to which should sort that out and help hold the boards level, one day...
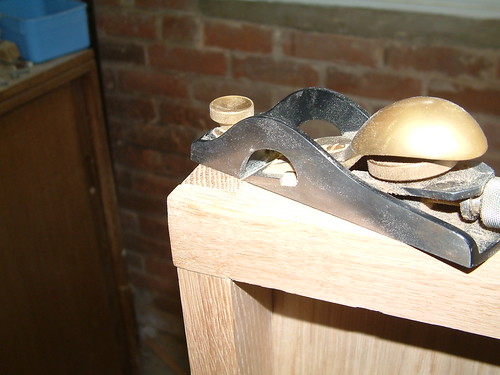
So glue up and then trim the dovetails to length with a block plane,
course sand (I use Norton abrasive which I buy on business trips to the US, it's great stuff, much better than 3M)
Then a bit of beeswax to see what it will look like when finished, none too shabby I think,
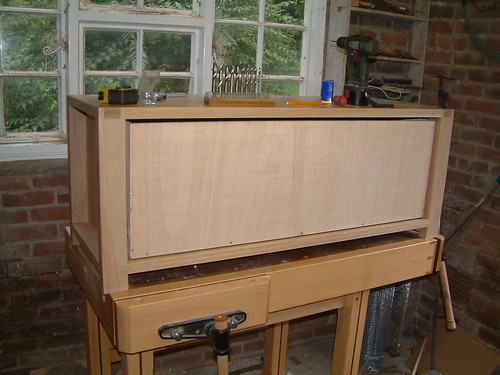
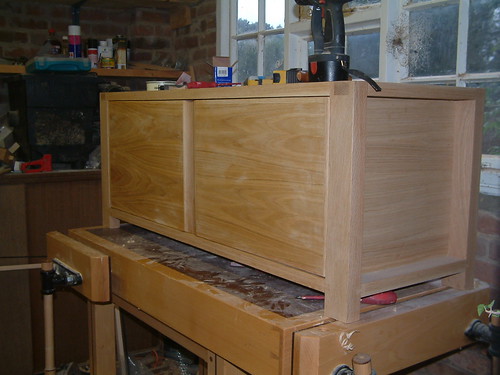
With the bottom rails fitted you can see the proportions of it. interestingly it didn't look right till much later when I put it on the floor, I was getting a bit worried I had made a bad call on the sizes at one point,
The top rails don't have the visual details of the dovetails, so I am using dowels and pocket screws instead of a more labour intensive loose tongue, the top is joined to the rails with biscuits to give the allignment,
and more pocket screws to pull it tight

I hope you guys are right about pocket screws as I've used enough of them,
The drawer is a simple plywood affair so I won't go into that, the false front has an interesting feature, a large radius cove vertically down the front. There are several ways of doing this obviously, a dedicated plane, spindle moulder or a complicated router jig, none of which I have to hand, so it's the old fashioned way... now don't go getting scared, I used lots of push blocks and stood well clear, here's the angle on the blade,
Making several passes removing a tiny amount each time and it hasn't done too bad a job, further more, compared with ripping a 2" beech board the saw sounded fairly happy,
After a load of sanding this is the end result,
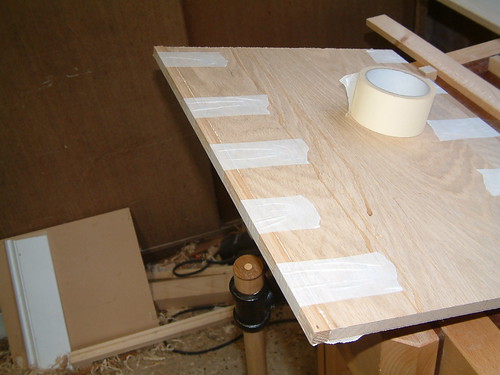
It's not a technique I'd use every day but it does work and it had no cost attached. The remaining two panels for the front are just the MDF with tick wood edges, so there's plenty of wood to trim to fit. I use masking tape to clamp them on whilst the PU glue dries,
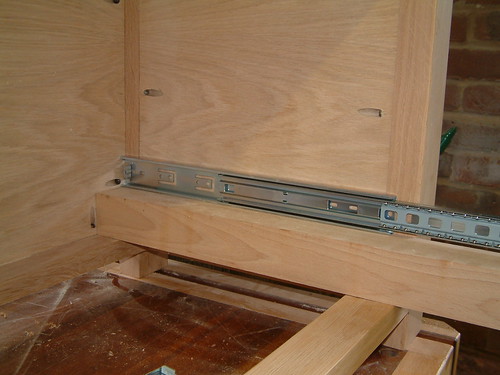
The drawer runners are from Axminster, it should be noted that they are priced per pair, not individually, which isn't mentioned on their website, £4/pair is an excellent price. The block underneath keeps it level whilst I mark the holes
Here it is with the drawer fitted, this is why it's a blanket chest and not a box, the intention is she can put woman things on top of it like cuddly toys, cushions, pictures and more cuddly toys
The cove part is attached first then the panels to the drawer with screws from behind
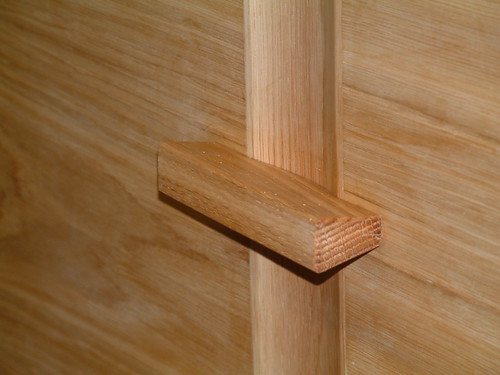
With the front fitted a quick coat of wax protects it whilst I finish with the final quick job, a handle
As usual the final quick job is never that, four attempts and several hours later it's done, the complication was making a wedge shape match a curved profile, anyway, at 10pm on a Sunday night it's complete.
And the final coat of wax, we're done.
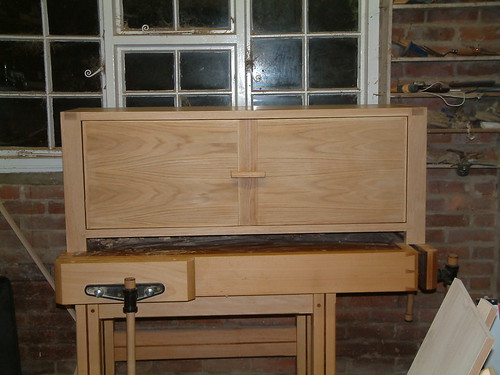
We installed it in her flat this evening and it looks great in situ. I'm always worried that the the quality won't be good enough but on closer inspection of the pieces it is supposed to compliment my work is of a higher quality, the legs of the others are laminated, the back board is hardboard etc.. and that irritating handle is actually straight across with a gap between it and the cove, that would have been much easier! However none of that is important as my friend is happy with it and so now I'm happy, job done.
So what would I have done different:
Not a huge amount! First time I've ever said that. The plywood box was a bit rough, maybe using better ply and joining the edges with a mitre-lock would be better but that would put up costs and I was tyring to keep it as low as possible. Pocket screws are very fast but a little rough. I feel vindicated in their use when comparing it with the existing John Lewis pieces, they have their place for sure.
Tools that would have been helpfull:
A saddle square, pencil sharpener and a decent table saw!
First off, off to Bamptons, I managed to pick up one of the large dimension pieces from a dodgy piece they had saved to show their supplier what wasn't good enough, I worked out I could work round the defects and it was a fraction of the full price, usefully enough it was also the exact right dimensions! The rest of the material is a single plank of 1 1/4" x 8" white oak, veneered 12mm MDF sheet and a sheet of ply from B&Q.
Start off with the basics, joint,
and thickness,
take off any ripple with a plane,
ready for the shavings shot? Here it is,
Now that's done it's into the proper woodwork. The design has exposed dovetails, small ones for the rails and very large ones for the corners, the first hitch is the woodrat cutters aren't that long,
So it's going to be a hybrid approach, part machined and part by hand, so starting off with marking out and ripping the verticals,
and coping out the chunk to leave only a little trimming to be done by machine, with a Trend T5 I'm trying to give it an easy ride before retirement,
then off to the woodrat to trim for a straight smooth finish,
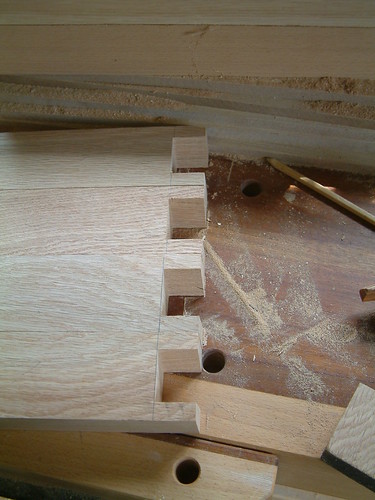
the finished result looks like this, the bottom isn't very good, I cut too deep with the coping saw, good job this is just a test piece. The chunk removed from the centre will be great for clamping up too.
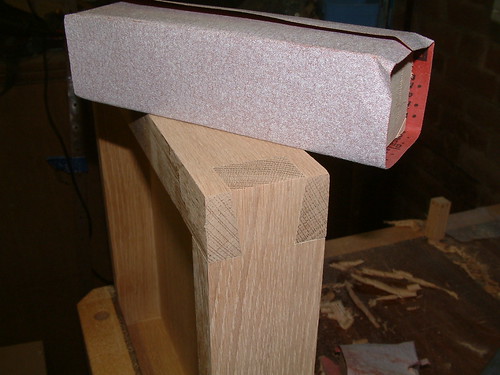
So using that part I scribe the lines for the tail and try something a little bit new, instead of cutting away from the line and trimming to fit, this time I cut right down the line, which is theoretically all that is necessary, but I've never had the confidence to try, but with a new rip cut tennon saw, I felt more comfortable with it,
The only trimming done is this little bit in the corner,
And then we just press together,
I'm astonished to say it worked! No more arduous paring for me, just another four of these to go...
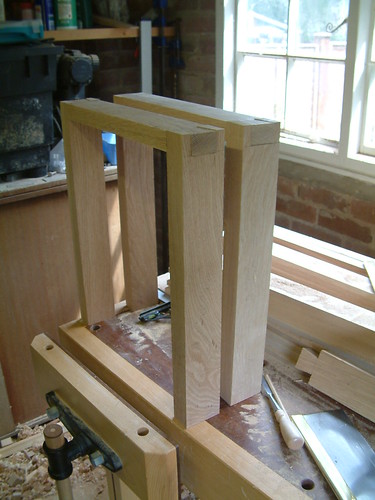
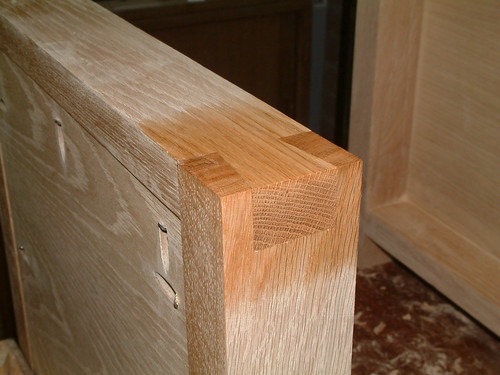
Just like that. These go together to make the two ends
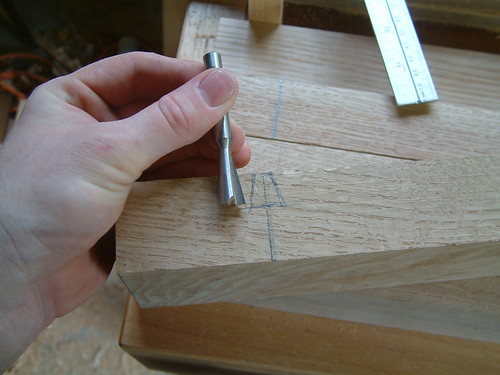
Next is a sliding dovetail on two sides of the vertical posts,
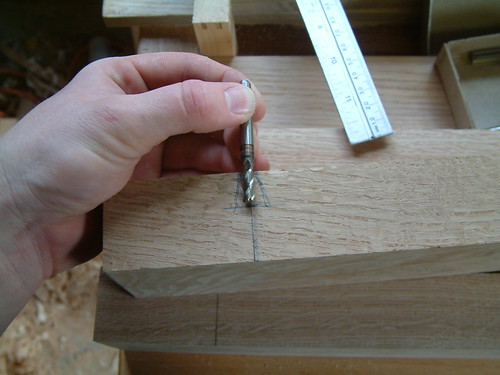
Which I will make by hogging out the bulk of material with a straight cutter,
Then chasing through with the dovetail on our furry little friend,
To leave something like this,
The rails are cut with the same cutter and depth setting as the housing and the width nibbled in till a fit is obtained, this single setting is then used to cut the remaining 7 ends
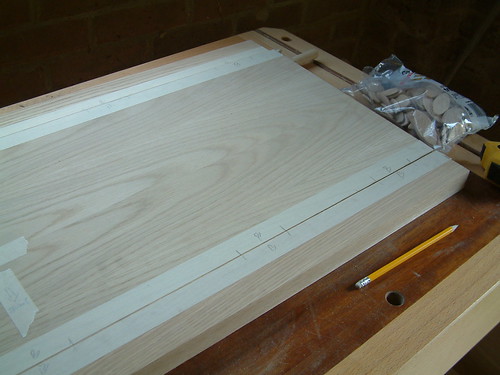
The end frames are filled with a pre-veneered panel, crosscut to width
Then ripped in height, keep the fence at this setting, cut the other side panel and the back panel for consistency and label them for side and orientation, getting a coat of wax on immediately helps stop them getting dirty later on. I've got to get a new saw soon...
Here's the dry fit
The panel is secured with pocket screws, not something I've used before, so we'll see how we get on. I'm using Axminster's own brand and it's pretty good, especially for the money. The base is a little too flexible but I will make a board with guides on to mount it to which should sort that out and help hold the boards level, one day...
So glue up and then trim the dovetails to length with a block plane,
course sand (I use Norton abrasive which I buy on business trips to the US, it's great stuff, much better than 3M)
Then a bit of beeswax to see what it will look like when finished, none too shabby I think,
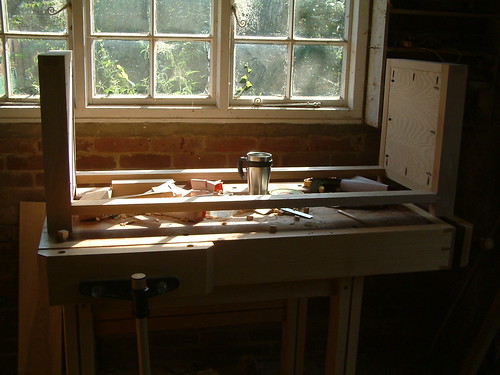
With the bottom rails fitted you can see the proportions of it. interestingly it didn't look right till much later when I put it on the floor, I was getting a bit worried I had made a bad call on the sizes at one point,
The top rails don't have the visual details of the dovetails, so I am using dowels and pocket screws instead of a more labour intensive loose tongue, the top is joined to the rails with biscuits to give the allignment,
and more pocket screws to pull it tight
I hope you guys are right about pocket screws as I've used enough of them,
The drawer is a simple plywood affair so I won't go into that, the false front has an interesting feature, a large radius cove vertically down the front. There are several ways of doing this obviously, a dedicated plane, spindle moulder or a complicated router jig, none of which I have to hand, so it's the old fashioned way... now don't go getting scared, I used lots of push blocks and stood well clear, here's the angle on the blade,
Making several passes removing a tiny amount each time and it hasn't done too bad a job, further more, compared with ripping a 2" beech board the saw sounded fairly happy,
After a load of sanding this is the end result,
It's not a technique I'd use every day but it does work and it had no cost attached. The remaining two panels for the front are just the MDF with tick wood edges, so there's plenty of wood to trim to fit. I use masking tape to clamp them on whilst the PU glue dries,
The drawer runners are from Axminster, it should be noted that they are priced per pair, not individually, which isn't mentioned on their website, £4/pair is an excellent price. The block underneath keeps it level whilst I mark the holes
Here it is with the drawer fitted, this is why it's a blanket chest and not a box, the intention is she can put woman things on top of it like cuddly toys, cushions, pictures and more cuddly toys
The cove part is attached first then the panels to the drawer with screws from behind
With the front fitted a quick coat of wax protects it whilst I finish with the final quick job, a handle
As usual the final quick job is never that, four attempts and several hours later it's done, the complication was making a wedge shape match a curved profile, anyway, at 10pm on a Sunday night it's complete.
And the final coat of wax, we're done.
We installed it in her flat this evening and it looks great in situ. I'm always worried that the the quality won't be good enough but on closer inspection of the pieces it is supposed to compliment my work is of a higher quality, the legs of the others are laminated, the back board is hardboard etc.. and that irritating handle is actually straight across with a gap between it and the cove, that would have been much easier! However none of that is important as my friend is happy with it and so now I'm happy, job done.
So what would I have done different:
Not a huge amount! First time I've ever said that. The plywood box was a bit rough, maybe using better ply and joining the edges with a mitre-lock would be better but that would put up costs and I was tyring to keep it as low as possible. Pocket screws are very fast but a little rough. I feel vindicated in their use when comparing it with the existing John Lewis pieces, they have their place for sure.
Tools that would have been helpfull:
A saddle square, pencil sharpener and a decent table saw!
