jack55
Established Member
Decided to have a go at making this Blanket Box, it was featured in the Fine Woodworking Mag a few years ago. I purchased the plans in December so don't feel guilty about copying it,although no doubt there will be variations.
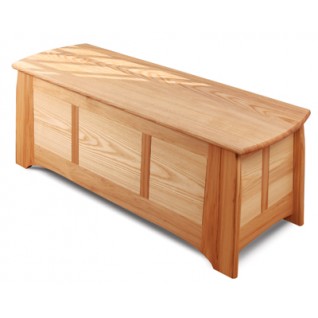
It was originally made using Hickory and Ash. I will settle on Oak and Sycamore.
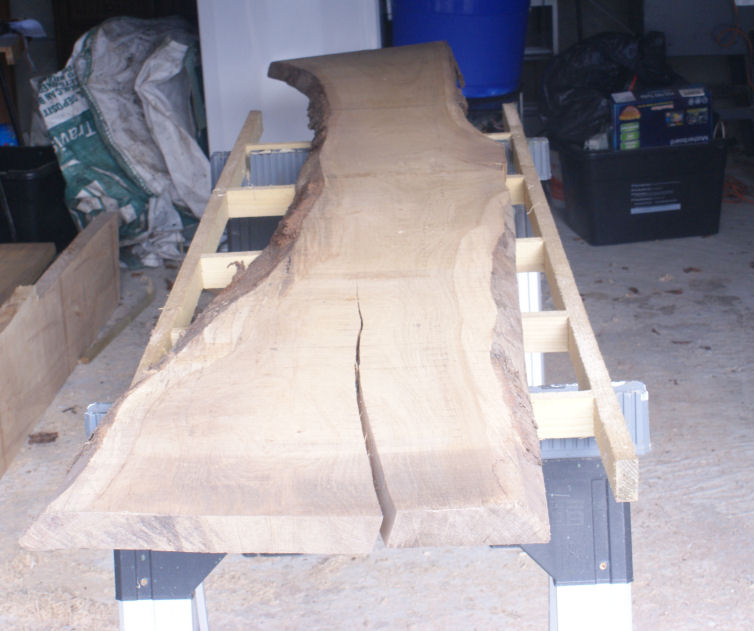
Not the best oak boards in the world and some parts have a twist.
But did manage to cut it up to salvage enough for the ends and the rails.
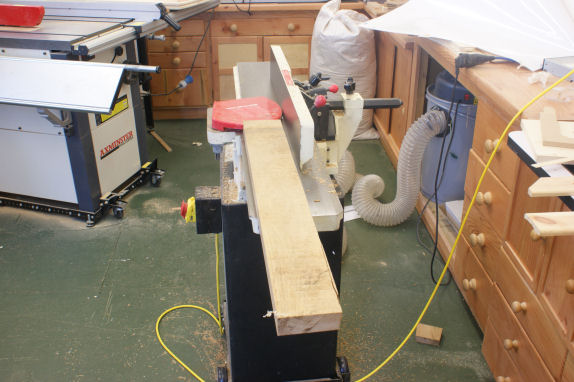
The ends are the key to the main construction so decided to start there
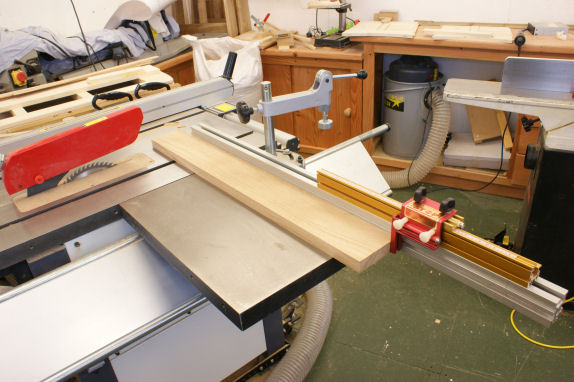
The plans came with a step by step companion article which helps
As described in that article a simple jig was needed to cut the 3 degree taper on the ends.
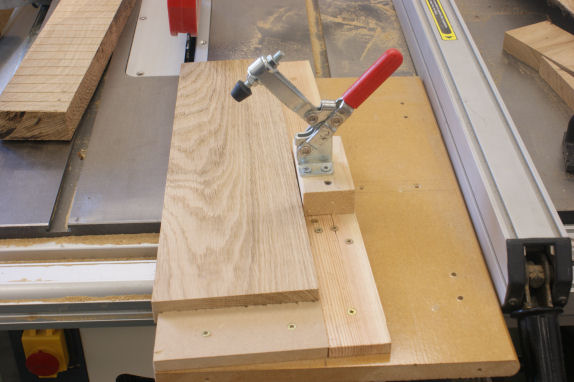
All four ends cut to size.
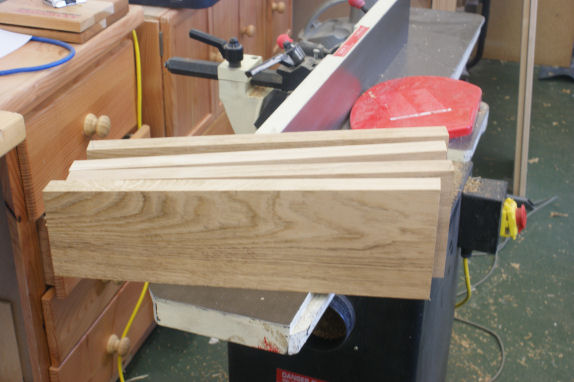
The tricky bit was cutting the top and bottom of the ends to 3 degrees, as the ends of the box taper in. The actual cutting was easy enough, and this helps
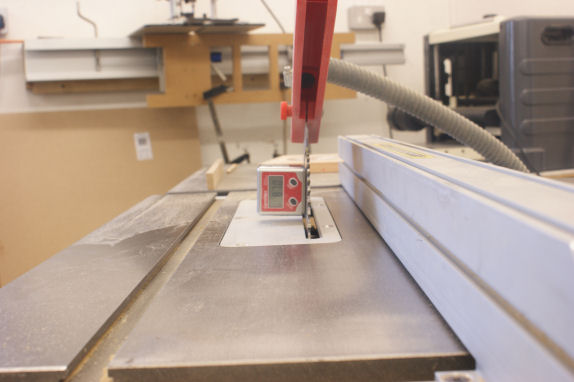
The tricky bit was making sure the angles were cut in the right direction.
The next step is to cut the mortises and rebates in the ends. Now here is where having a sacrificial top comes in handy as I don't have any bench dogs or vises.
A number of years ago I made an assembly bench, the top is an inch thick chipboard and an inch thick MDF with hardboard on top.
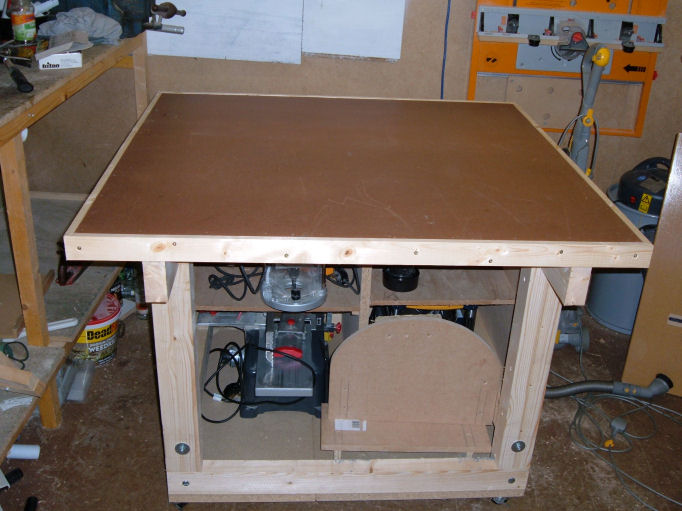
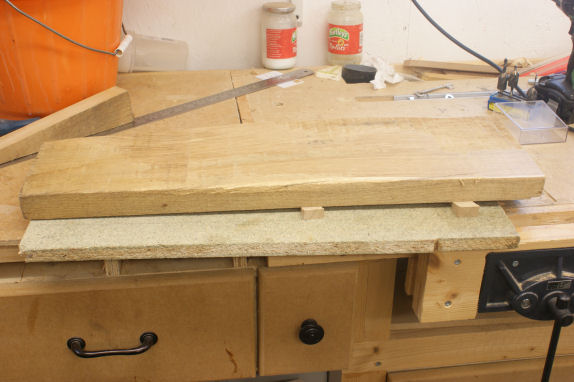
I simply screw some battens to the top and sandwich the work piece between them.
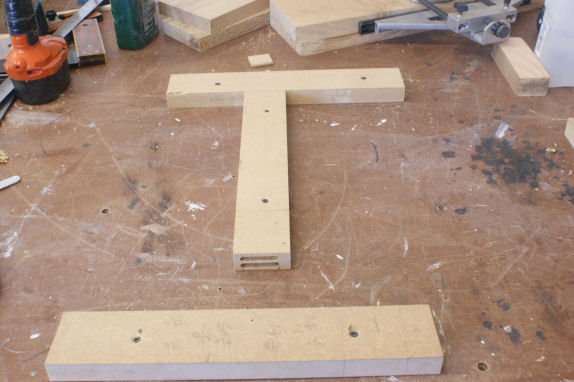
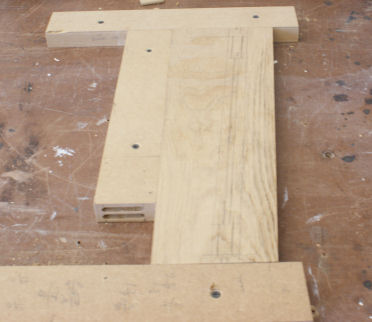
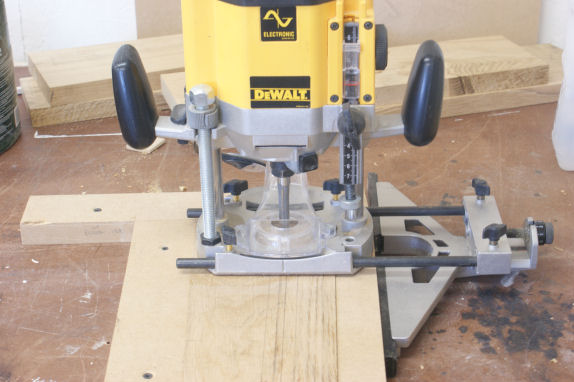
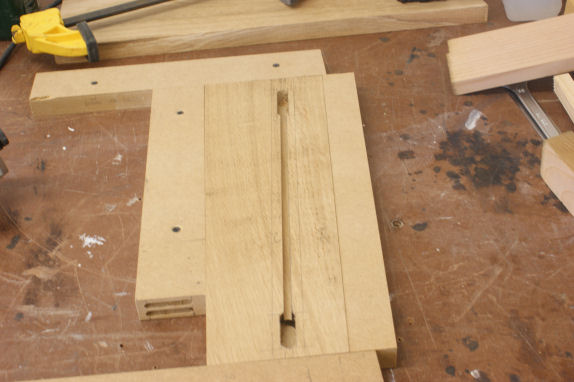
The plans call for two mortises cut side by side with a 1/8th gap between them, I went for one and made it 1/2" wide as the rails are all 1" thick.
Having done the mortises I just switched the cutter from 1/2" to a1/4" and then there was no need to make any adjustments to the router or fence.
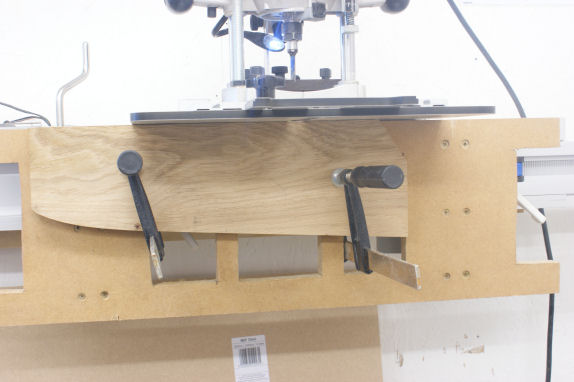
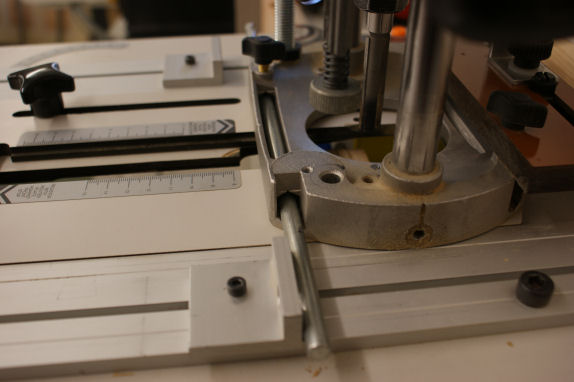
Having shaped the ends I needed to cut similar mortises and rebates in the end. This I did on the Woodrat.
The plans use floating tenons which overcomes the angles caused by the tapering of the ends. However, being an idiot I decided to cut tenons into the rails.
Because the ends of the box taper in towards the top the tenons need to be cut at an angle.
So I made another simple jig and clamped the rails to it and cut the tenons on the woodrat.
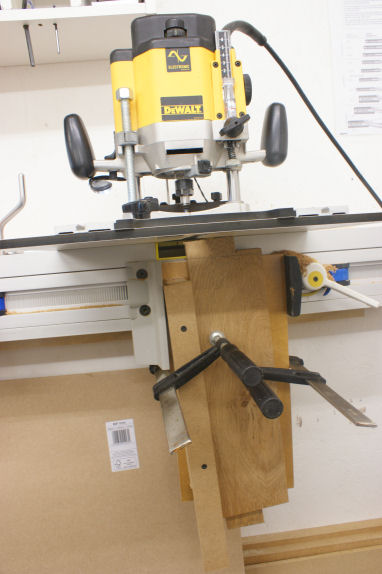
I also used the stops to help repeat the cuts on all the ends.
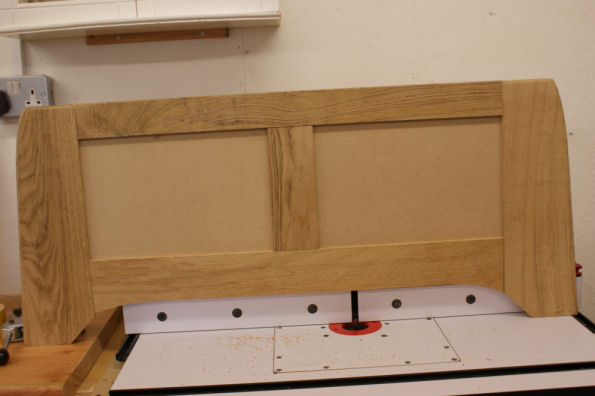
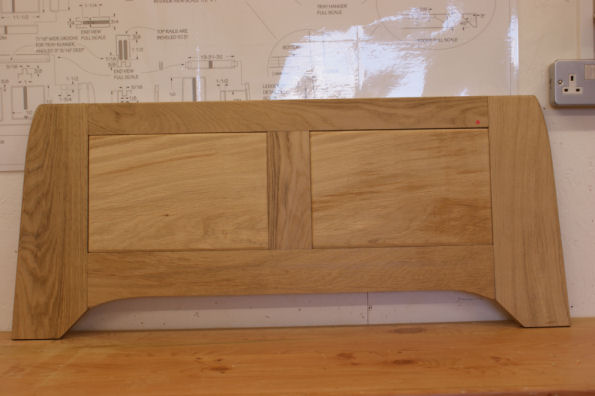
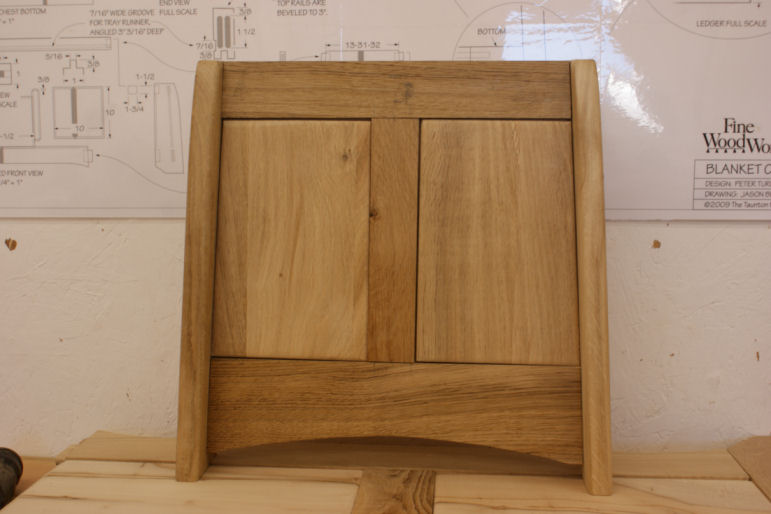
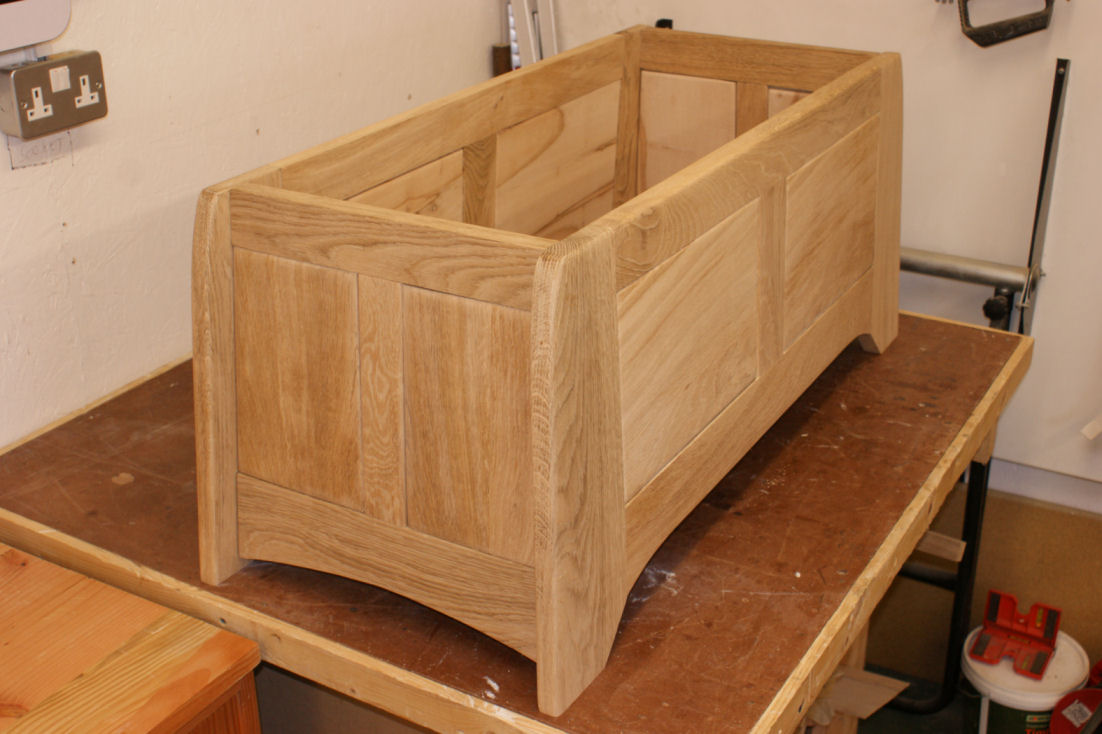
Here is one end dry fitted together.
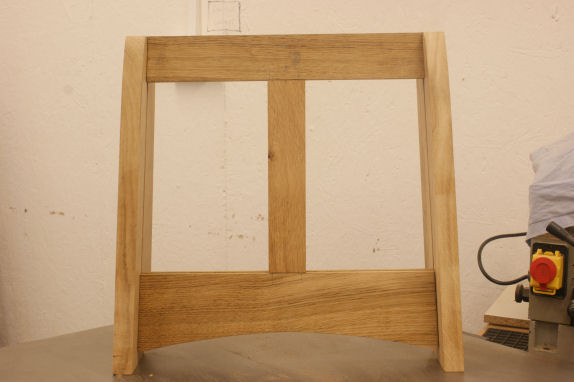
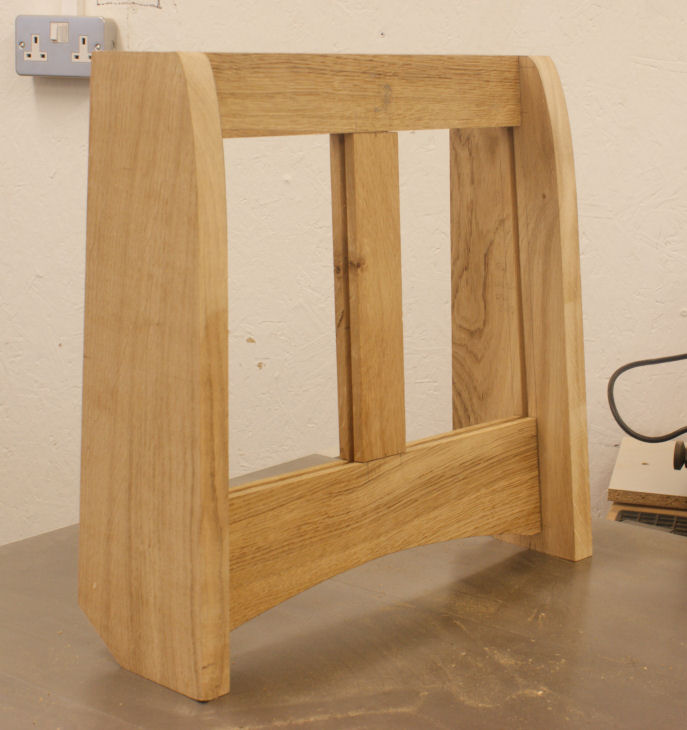
So far so good, don't go too far away as i will probably be screaming help as this progresses.

It was originally made using Hickory and Ash. I will settle on Oak and Sycamore.

Not the best oak boards in the world and some parts have a twist.

But did manage to cut it up to salvage enough for the ends and the rails.

The ends are the key to the main construction so decided to start there

The plans came with a step by step companion article which helps
As described in that article a simple jig was needed to cut the 3 degree taper on the ends.

All four ends cut to size.

The tricky bit was cutting the top and bottom of the ends to 3 degrees, as the ends of the box taper in. The actual cutting was easy enough, and this helps

The tricky bit was making sure the angles were cut in the right direction.
The next step is to cut the mortises and rebates in the ends. Now here is where having a sacrificial top comes in handy as I don't have any bench dogs or vises.
A number of years ago I made an assembly bench, the top is an inch thick chipboard and an inch thick MDF with hardboard on top.

I simply screw some battens to the top and sandwich the work piece between them.


The plans call for two mortises cut side by side with a 1/8th gap between them, I went for one and made it 1/2" wide as the rails are all 1" thick.
Having done the mortises I just switched the cutter from 1/2" to a1/4" and then there was no need to make any adjustments to the router or fence.

Having shaped the ends I needed to cut similar mortises and rebates in the end. This I did on the Woodrat.

The plans use floating tenons which overcomes the angles caused by the tapering of the ends. However, being an idiot I decided to cut tenons into the rails.
Because the ends of the box taper in towards the top the tenons need to be cut at an angle.
So I made another simple jig and clamped the rails to it and cut the tenons on the woodrat.

I also used the stops to help repeat the cuts on all the ends.

Here is one end dry fitted together.


So far so good, don't go too far away as i will probably be screaming help as this progresses.


