I’ve always just done a light hand sand to ease the edges and make a small chamfer when I make tables and such, but I’m not happy with the amount of checking and correcting I have to do to make sure the new edge line is even and not wavy. I’m considering trying to plane
This is a really interesting question as it touches on what result you really want and how much expense/risk are you prepared to accept.
Because the chamfered edge is towards the end of a long process of making, it needs to be done well or you write off a lot of valuable time/wood. So its a high risk business. Although if it goes horribly wrong, you can plane back the surface, start again and have a table 1/8 inch narrower...
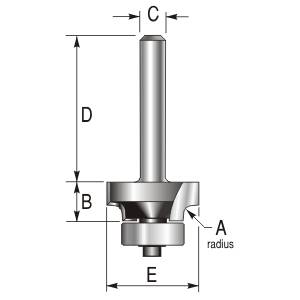
The other points to bear in mind, is just what kind of an edge do you really want? If you want a factory finish, then a machine tool such as a router with a bearing on the trimmer will do this reliably - after a bit of practice, the bearings mean its very hard to slip up if the tool is sharp.
Another option is to buy a dedicated chamfer plane, keep the edge sharp and just take of a small amount at a time all round etc. Its a kind of ideal hand finish.
The other strategy is to accept that hand made with a slight wobble is actually easy on the eye - within reason. This is a whats really interesting about your question as we don't always think about it that deeply.
When I was at school (a long time ago, in the last century..) I wanted a perfect finish, probably to prove to myself, I could do it. but now those projects look machine made and almost mass produced by dust making shops. Attractive antique furniture has a bit of variation in it. I've found that slips and slight deviations on edges that made me curse at the bench and spot when looking at the finished article, fade in the memory and no-one but me notices. I now rather like these blemishes, its the personality of the piece of furniture and I've stopped beating myself up. Its a bit like having rays in the natural wood or grain variation its part of a living thing.
I have an extreme example: we did-up an old barn a few years ago, and the builders put an rsj above the entrance and then screwed a beautiful oak board across to make it blend in with the houses in the street. I was troubled by observing that some houses in our street were genuinely old and looked it, even when in a good state of repair, whereas others had cheap looking wood replacements in the widow and door frames - whatever the wood, (Oak or cheap pine) the perfect finish jarred with the rest of the setting, it was almost like PVC glazing. As an experiment I cut a very wavy line along the oak boards with a jigsaw. Once mortared-in, it looked contemporary with the age of the barn and we were very pleased with the results. Others may have preferred a strait edge.
Its a matter of personal preference, what look you are after at the end of your project. I'm currently of the spokeshave/no4 plane school for most hand made things, but did/do use a router to trim my workbench to fit a metal edge as it was quick and reliable and where a perfect edge is needed or desired. Long answer to a simple but thought provoking question. You may decide that you rather like the wavier look, once its a deliberate act and not seen as an imperfection.


")