BALLS! and how do you hold yours?

UKworkshop.co.uk

Help Support UKworkshop.co.uk:

This site may earn a commission from merchant affiliate links, including eBay, Amazon, and others.

nev

Established Member
Joined
21 Jan 2011
Messages
4,860
Reaction score
16
Location
The green and wetter end of the M4.
Any tips from experienced ball makers as to the best way of going about turning a ball? I am trying between centres with a cardboard semi circular template and whilst i am getting there, Giotto I am not! I seem to be chasing the curve around the ball, and what started as a 4in ball is rapidly becoming a 2in ball!
So any TIPS please :) apart from buying a ball jig :?
 
I'm having the same problem Nev.
Can't seem to get anywhere near a uniform curve all the way round.
On my 4th attempt now, and the first 3 all ended up looking like burst rugby balls!!!! Bin!!!!!

Hopefully one of you experienced ball-guys/girls will be able to help us novices out.
 
l'm not experienced, so by best advice would be to start with a 6" one.......... :)
 
Don't always work even if you start out with a 6"er

Ballchuck3.jpg


:mrgreen: :mrgreen: :mrgreen: :mrgreen: :mrgreen:

No seriously. Start between centres, get it to a pretty good shape and make yourself a bigger version of the clamp in the photo above.

This is one I prepaired earlier, as some say? Done in the same way. Done as a small gift for a neighbours daughter and she didn't even say thank you :? A beechball

Beachball.jpg
 
Mine is a very similar concept to jonzjob's method of workholding but is worth showing as an alternative if you haven't got the gear to hold it. One piece goes into the chuck. The other side encases the tailstock

I turn the balls between centres. Then remove and bandsaw off the two "nibs" and then return at 90 degrees between the clamp arrangement to finish denibbing and sanding round

DSC01711.jpg


Hope this helps
 
OK, so thats how to hold it =D> I guess the tailstock bit is still supported by the live centre point and the whole lot spins?

now howzabout some tips on achieving a perfect sphere :shock: using my template i got what i thought was round but it didnt look right. while from the front the template fitted perfectly, when turned through 90 it was way out and the bit that then needed removing was part of the 'perfect' bit! obviously gone a bit too far :(
I started with a cylinder BC, measured dia. marked cylinder, then using parting tool cut to width (leaving support at centre) thinking that if i now do not touch the extremities and use my template i should get a ball.
not quite :(
maybe my methods OK and i just need more practice, or maybe there is some cunning way to do it known only to the inner circles of master turners. if so .... do tell :)
 
I don't normally post much these days, but thought I may be able to help on this topic.

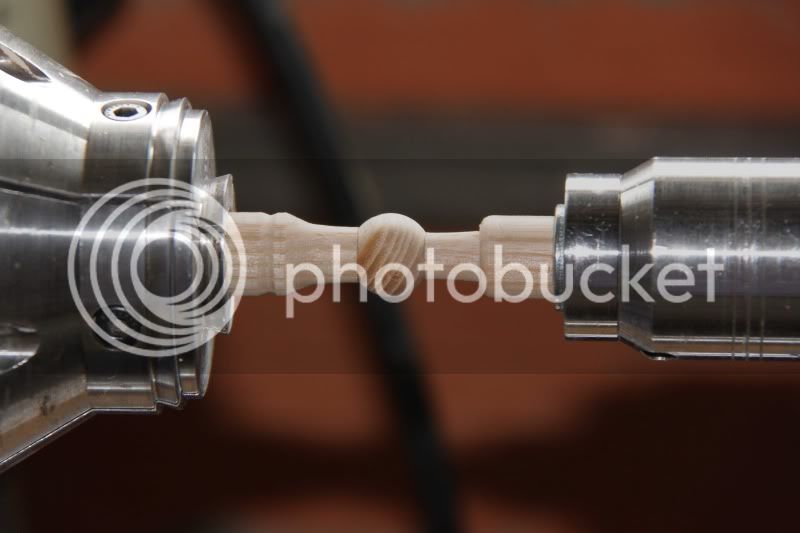
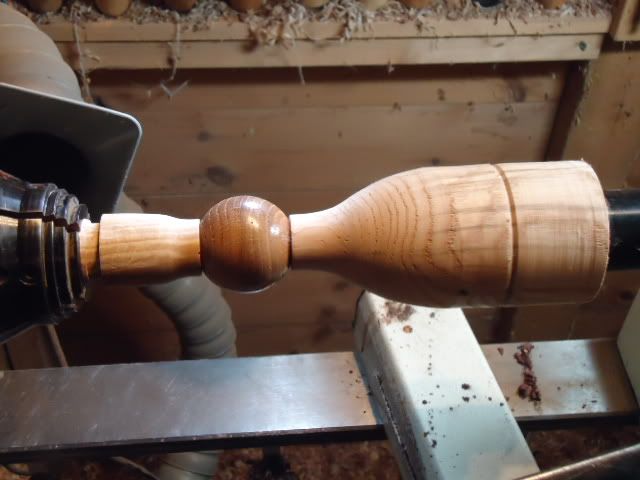
The above posts are how many of us turn balls, myself included. I don't use a template. To turn a 4" ball I would turn between centres to 4" dia, mark a pencil line in the centre, then turn down each side of the line making sure that you leave the final shape in a parody of a rugby ball. ie- just slightly elongated 'over round' each side of the centre line. As above cut off the nibs that are left, fit your wood 'holders' and place the ball between them so that the pencil line is centred on the driving ends. ie- nib ends are running together on the centre line of rotation. 90deg to the first rotation.

Switch on and you should now be able to see a 'ghost' of the oversized round ends of the timber, all you have to do is remove this ghost carefully and you will be left with a perfect sphere.

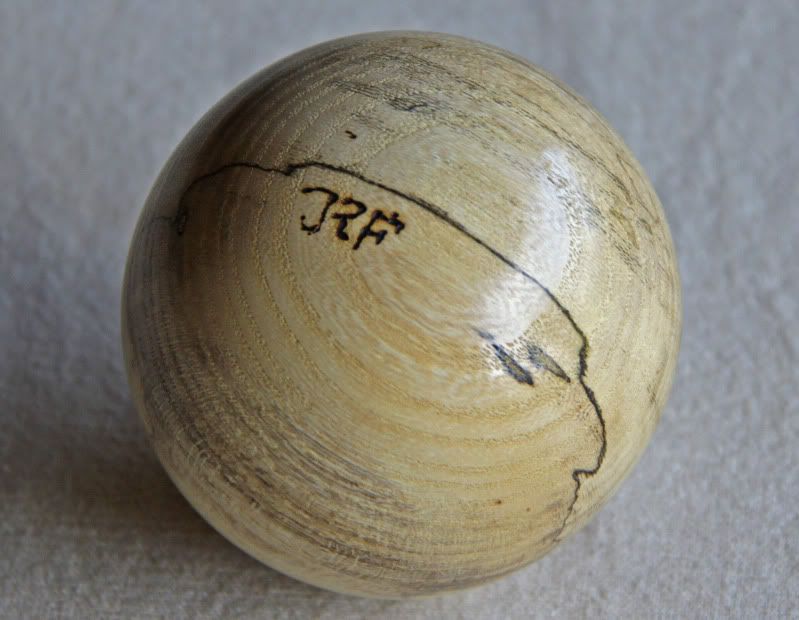
Sand and finish! "Or as I sometimes do, re-centre another 90deg shift as I made an a*** of it, and you end up with a 3 7/8" ball.

Good luck.
 
Another way that just came to me is if the 'balls' are small ones you can use a piece of steel pipe just smaller than the ball dia. Rough turn the ball, then push the pipe against the ball moving it in a circular motion, this acts as a scraper to remove any raised bits and turns a perfect sphere. You are then left with just the nib to remove.

Just make sure the pipe dia. is smaller than the finished ball, otherwise the ball can disappear up the pipe and snap off. :oops:

Again, good luck!
 
FOR SALE !!

Five varyieng size wooden marbles 5/8" to 7/8" approx. turned from 6x6" beech cubes sixth is well on it's way to compleation #@%#~@#. :twisted: :twisted: :shock: :shock: ](*,) ](*,)

But I tkink I'm getting the hang of it the sixth one looks as if it's going to be bigger. =D> =D>
 
How are you guys attaching the cup to the revolving tailstock? Is the a tapered centre with a screw centre?

Cheers
 
Back
Top