

mikefab
Established Member
I'm currently making a coffee table while loosely following the Paul Sellers / Woodworkingmasterclasses video series. You can see a sketch of the finished table here http://woodworkingmasterclasses.com/2013/02/coffee-table-project-info/. I'm not totally in love with the design but am following the process as I feel that at this point in my 'career' I will learn quite a bit from this. I'm building it in white ash instead of oak, and plan to alter the shapes of the aprons to be rather simpler (just a curve), as well as simplifying the design of the magazine shelf and losing the through tenons.
This is a total hand tools project for me, starting with rough-saw boards. I know that this is a pretty basic project for many people here but hopefully it will be interesting for some people and the interaction will keep my motivation up and save my wife from incessant woodwork chatter...!
I prepared the stock for the legs, top and apron before starting taking photos. The legs are laminated from 2 layers of thinner stock as I couldn't easily get hold of anything thick enough. I have downsized them from 57mm square to 52mm.
Here are the prepared boards good to go:
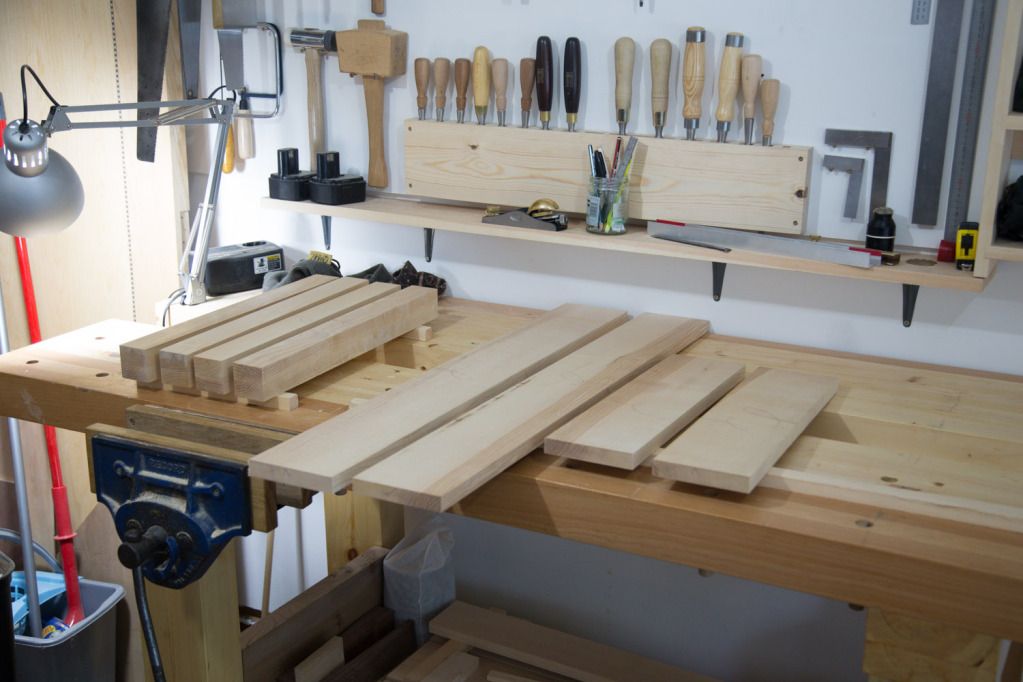
I ran a smoothing plane over all the components and then finalised their length (they were all 10-25mm over-sized):
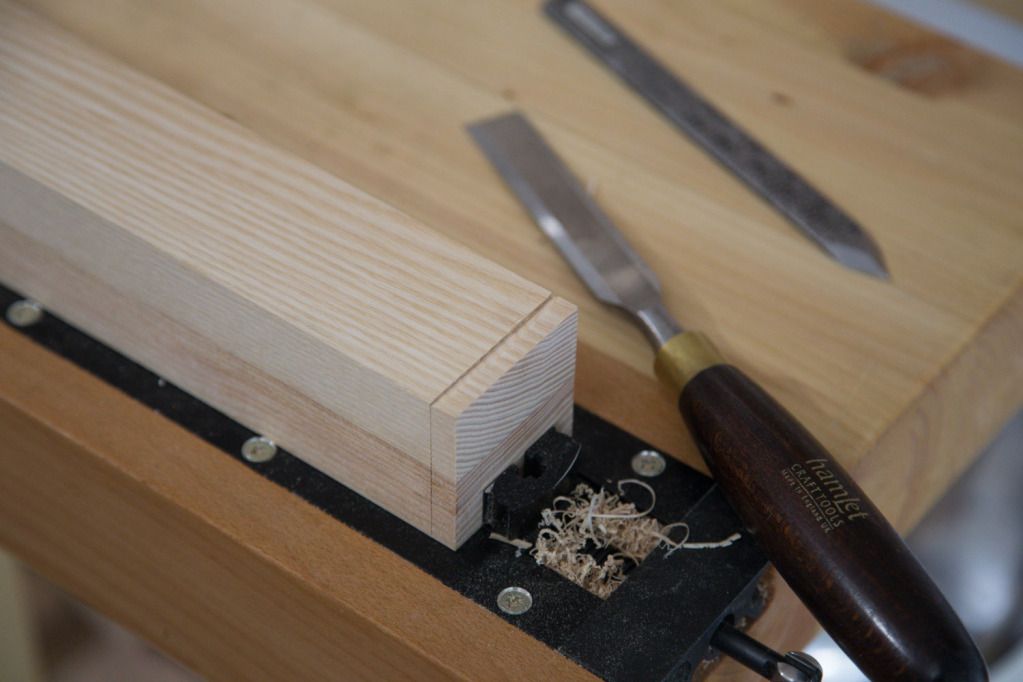
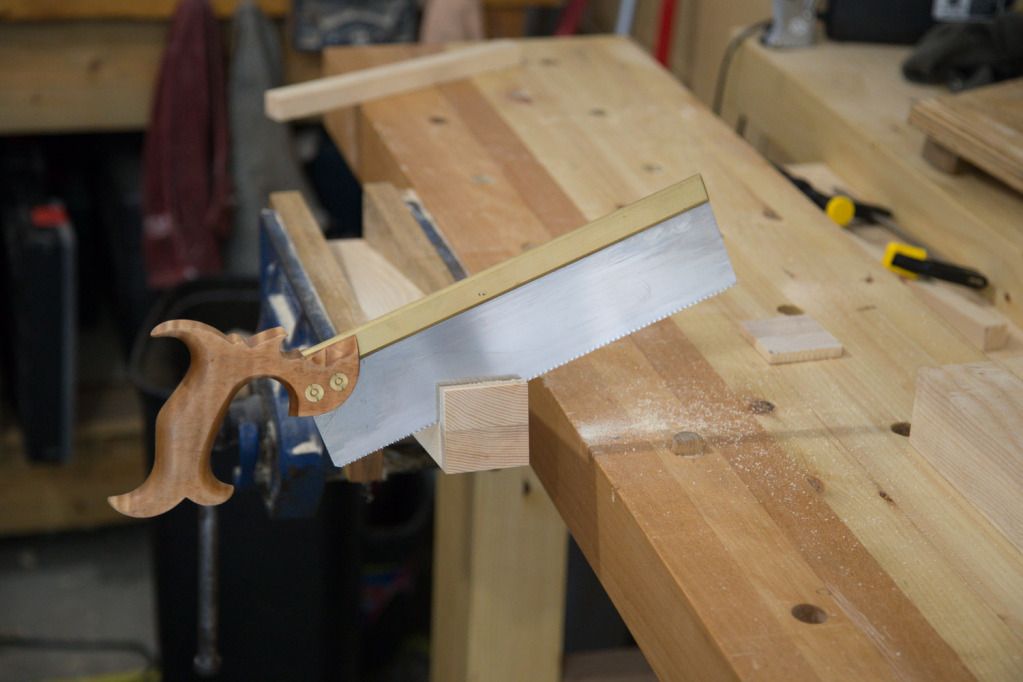
My large tenon saw was in need of sharpening so I was lazy and used a small one!
You can see from the above shots that the boards weren't perfectly matched for the legs, so some careful though was needed about how best to arrange them. While some of the boards had their end grain running at about 45 degrees which results in nice even grain on all 4 sides, some were more like flat-sawn which results in edges with straight grain and faces with a very "flowery" grain (is there a technical term for this?!). I decided to place the two flowery faces towards each other at one end of the table and have the straightest grained faces looking outwards:

The legs were then brought together and marked with a triangle to allow orientation to remain constant:

I then arranged the aprons as best I could. Some of the boards have some darker streaks and I have elected to put these towards the top as it will look odd if the arcs of the aprons cut into them once they are shaped. These were then also marked with cabinet makers triangles. I'm really seeing the disadvantage of sending someone a cutting list for rough sawn boards here: it is so valuable to be able to choose what goes where, but I am going to live and learn and get on with the project! Maybe I need to buy whole boards for my next project.
I then moved onto marking up the legs for the mortices. The joints are haunched T&M so after chopping the mortice to 35mm deep the top 25mm section will be cut out to a depth of 10mm. Can anyone tell me what the advantage of the haunch is please? I was careful to keep looking back to those triangles on the top of the legs to make sure I got the right faces of the legs marked! I think I've got it right....
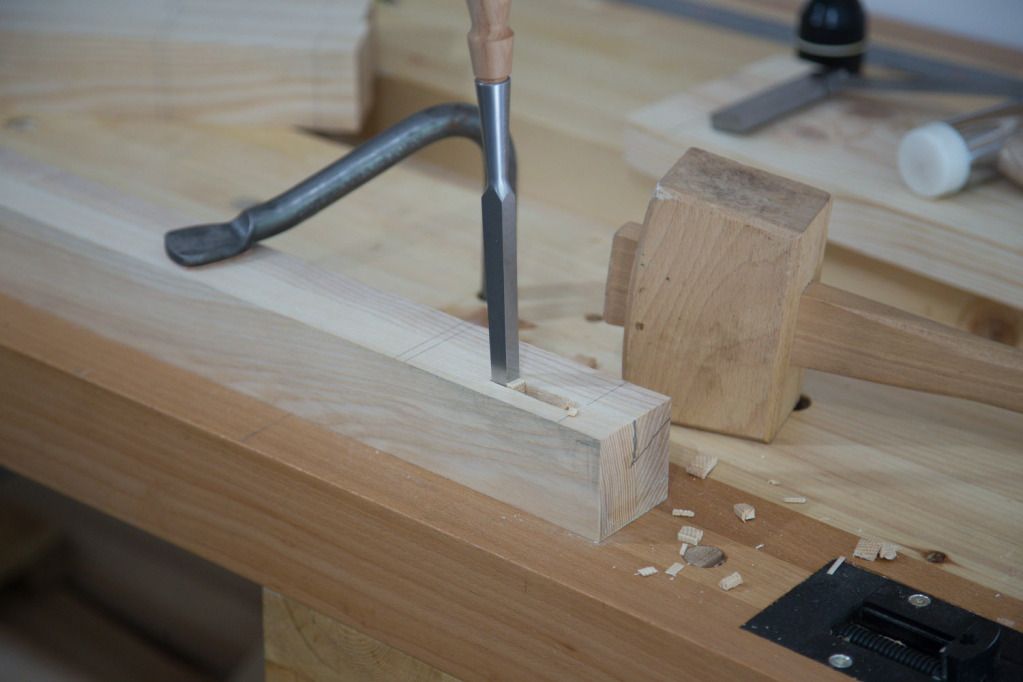
Finally I have started chopping the mortices. 1 down 7 to go! Sellers uses a jig which clamps alongside the workpiece and keeps the chisel vertical while chopping. I decide to go freehand as that has been ok for me in the past. I may try knocking up one of his jigs to give it a go.
Thanks for looking,
Mike
This is a total hand tools project for me, starting with rough-saw boards. I know that this is a pretty basic project for many people here but hopefully it will be interesting for some people and the interaction will keep my motivation up and save my wife from incessant woodwork chatter...!
I prepared the stock for the legs, top and apron before starting taking photos. The legs are laminated from 2 layers of thinner stock as I couldn't easily get hold of anything thick enough. I have downsized them from 57mm square to 52mm.
Here are the prepared boards good to go:

I ran a smoothing plane over all the components and then finalised their length (they were all 10-25mm over-sized):

My large tenon saw was in need of sharpening so I was lazy and used a small one!

You can see from the above shots that the boards weren't perfectly matched for the legs, so some careful though was needed about how best to arrange them. While some of the boards had their end grain running at about 45 degrees which results in nice even grain on all 4 sides, some were more like flat-sawn which results in edges with straight grain and faces with a very "flowery" grain (is there a technical term for this?!). I decided to place the two flowery faces towards each other at one end of the table and have the straightest grained faces looking outwards:

The legs were then brought together and marked with a triangle to allow orientation to remain constant:

I then arranged the aprons as best I could. Some of the boards have some darker streaks and I have elected to put these towards the top as it will look odd if the arcs of the aprons cut into them once they are shaped. These were then also marked with cabinet makers triangles. I'm really seeing the disadvantage of sending someone a cutting list for rough sawn boards here: it is so valuable to be able to choose what goes where, but I am going to live and learn and get on with the project! Maybe I need to buy whole boards for my next project.

I then moved onto marking up the legs for the mortices. The joints are haunched T&M so after chopping the mortice to 35mm deep the top 25mm section will be cut out to a depth of 10mm. Can anyone tell me what the advantage of the haunch is please? I was careful to keep looking back to those triangles on the top of the legs to make sure I got the right faces of the legs marked! I think I've got it right....
Finally I have started chopping the mortices. 1 down 7 to go! Sellers uses a jig which clamps alongside the workpiece and keeps the chisel vertical while chopping. I decide to go freehand as that has been ok for me in the past. I may try knocking up one of his jigs to give it a go.

Thanks for looking,
Mike


