Another Sellers MkII bench build & new workshop! Project #2

UKworkshop.co.uk

Help Support UKworkshop.co.uk:

This site may earn a commission from merchant affiliate links, including eBay, Amazon, and others.
Stop the drill press!!!

I have, at long last, started joinery!

I finally got around to getting one end of each leg square, then got my legs cut to length at 900mm and took the corners off the ends that'll be on the floor.

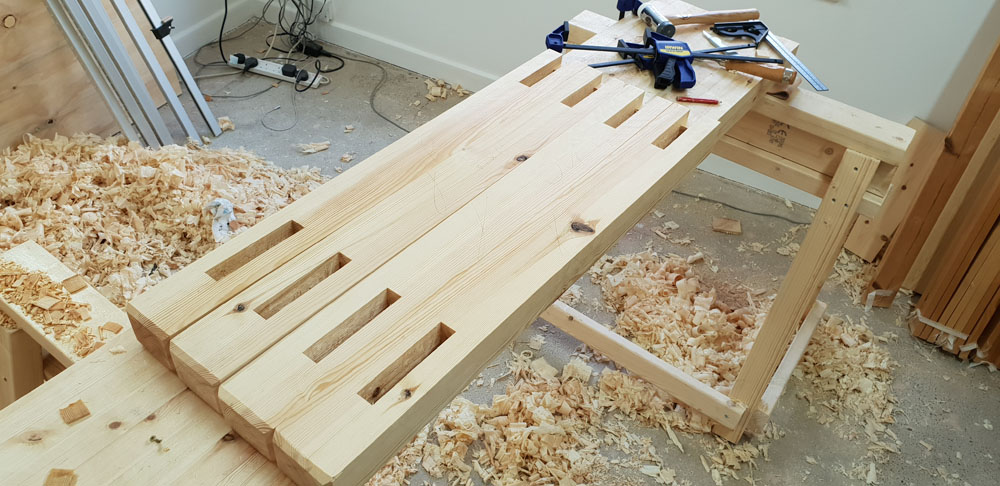
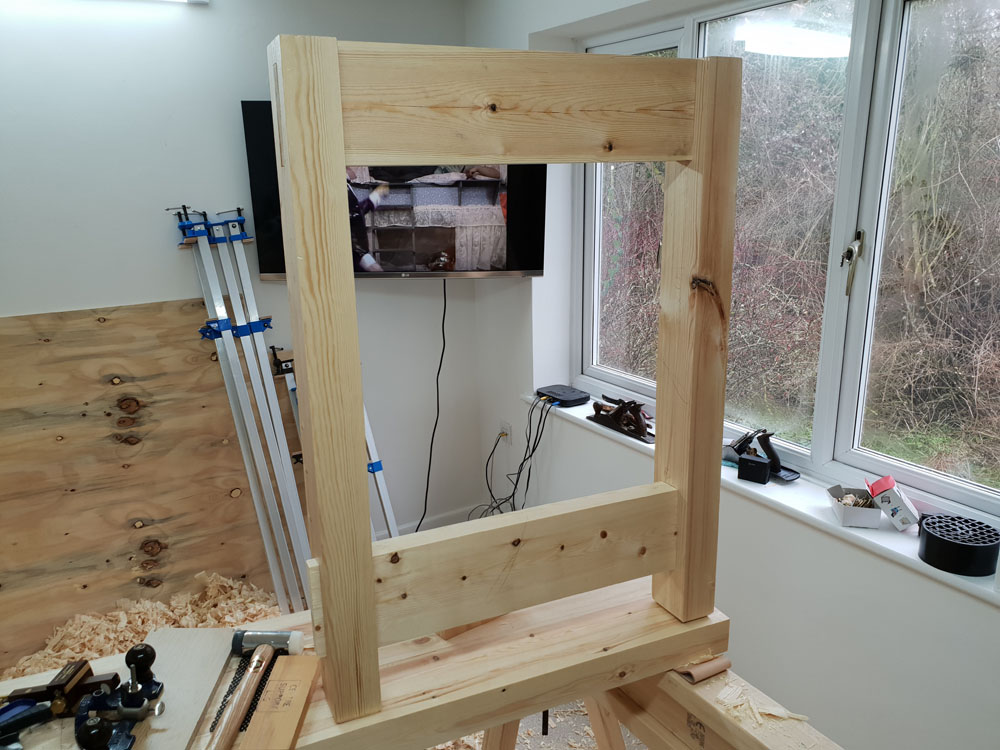
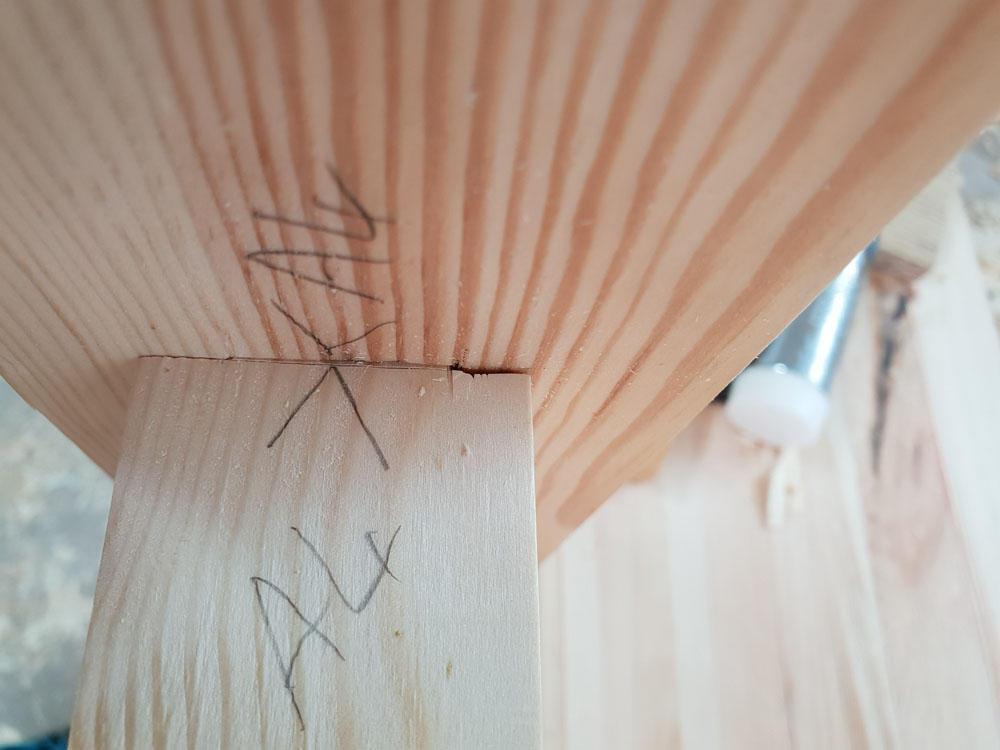
From there I started marking up my first leg, making notes for myself to help when I do the other 3. This first leg is going to be for the face vice end, so the top rail will sit flush with the top of the leg.

The legs for the other end will have the rail dropped 50mm to allow the bars for an end vice to pass through.

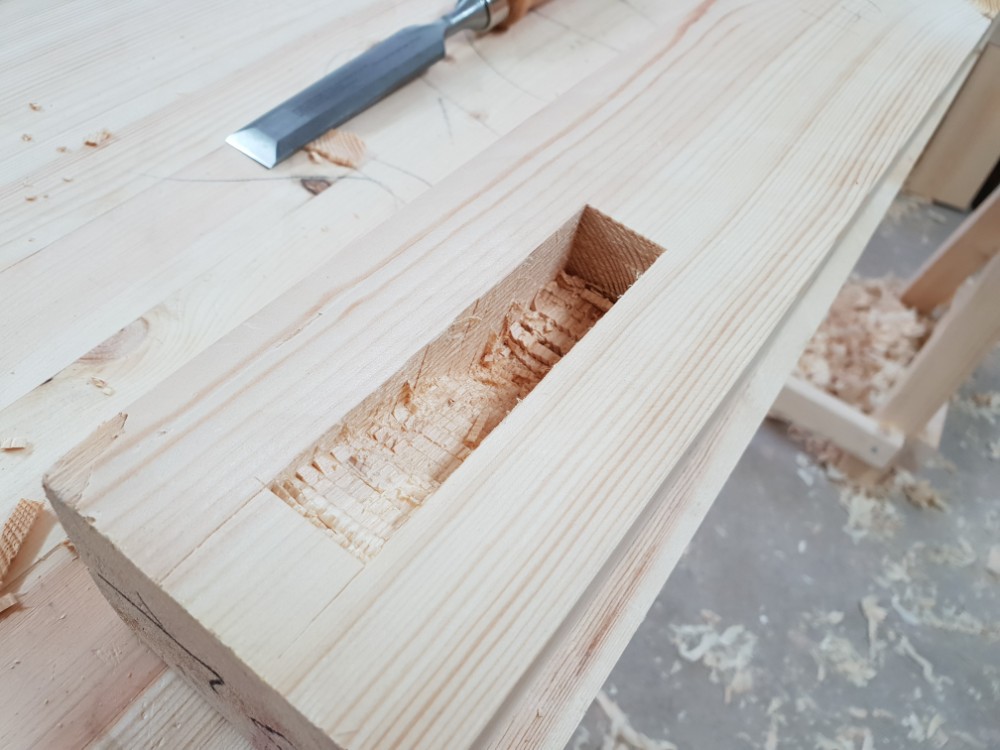
Like NickN, I went with a 24mm mortise rather than the speced 18mm. Just looked weedy by comparison.

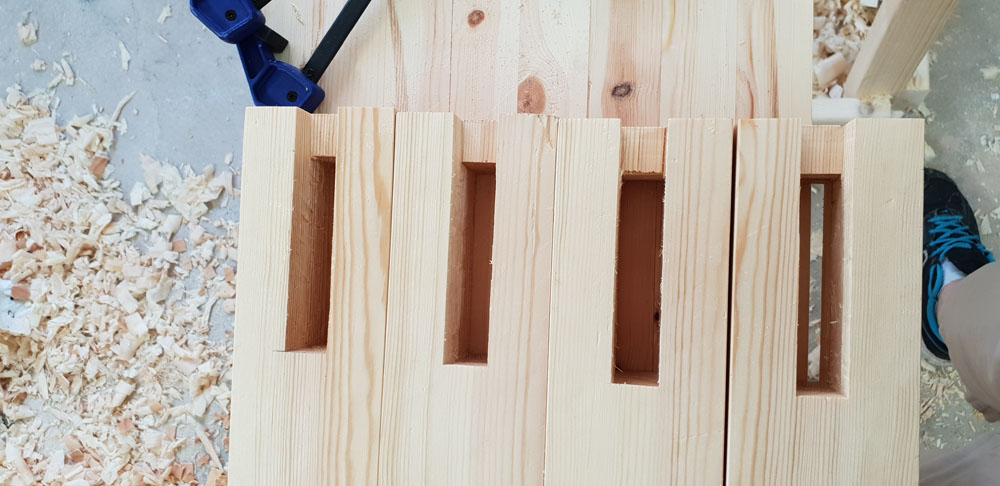
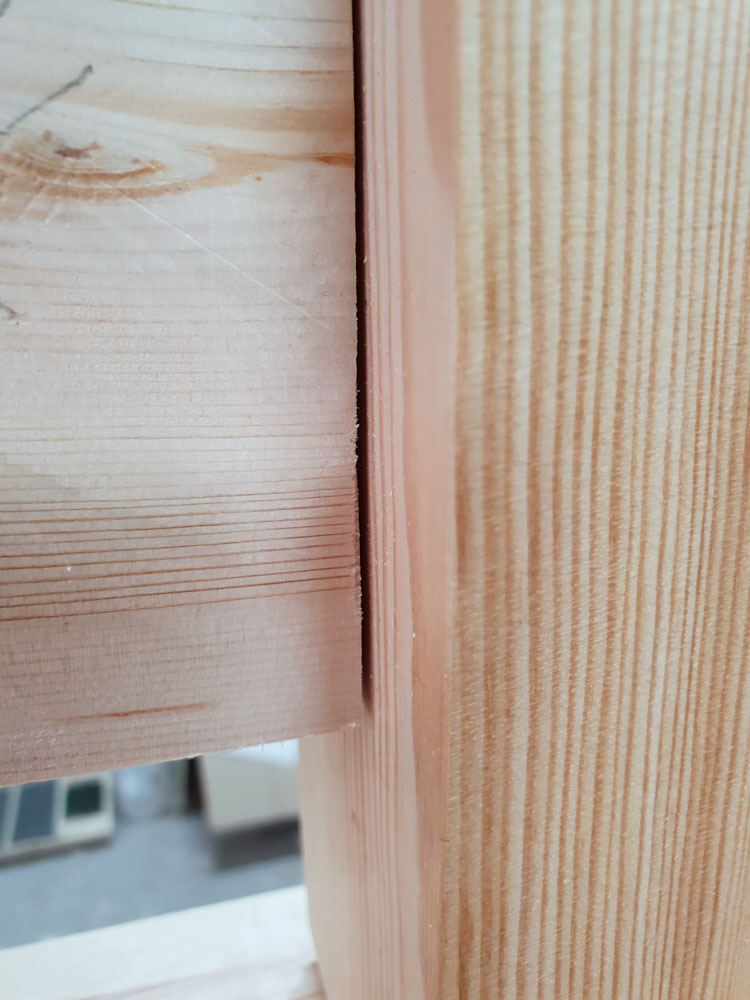
First pass down the mortise complete. Not too shabby for a first attempt. Probably took too large a bite from time to time.
20180316155551.jpg

20180316155605.jpg


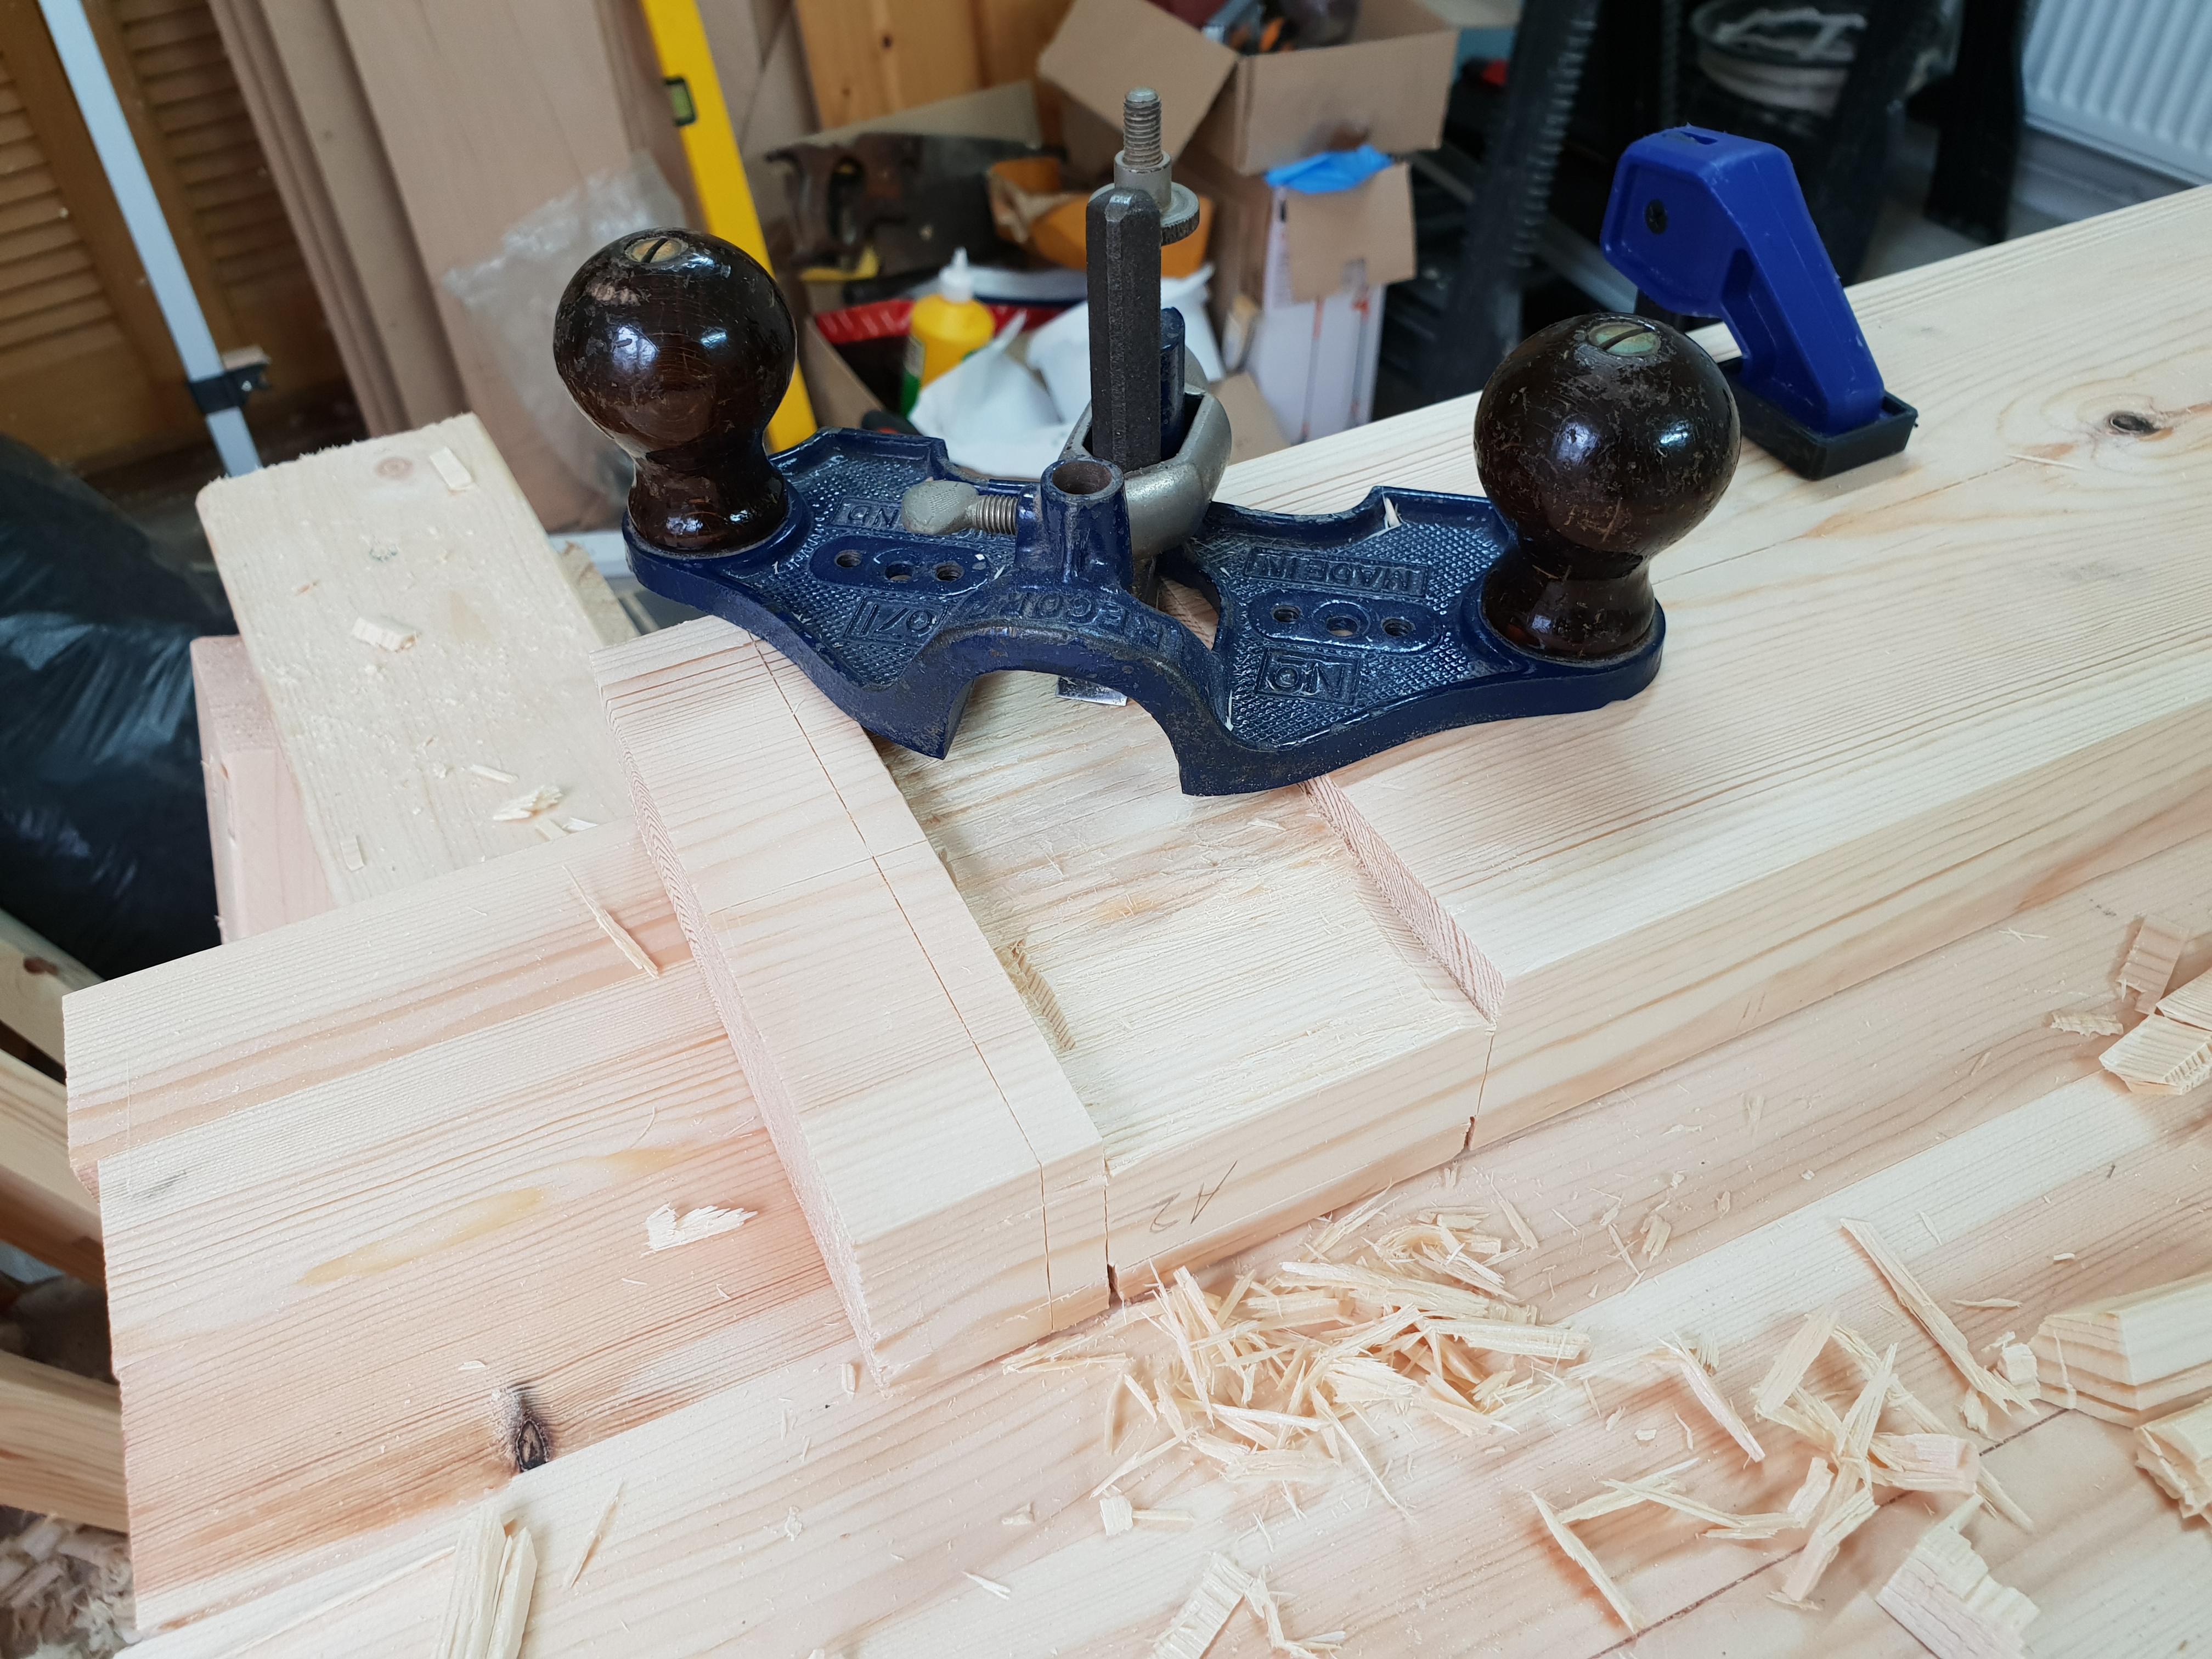
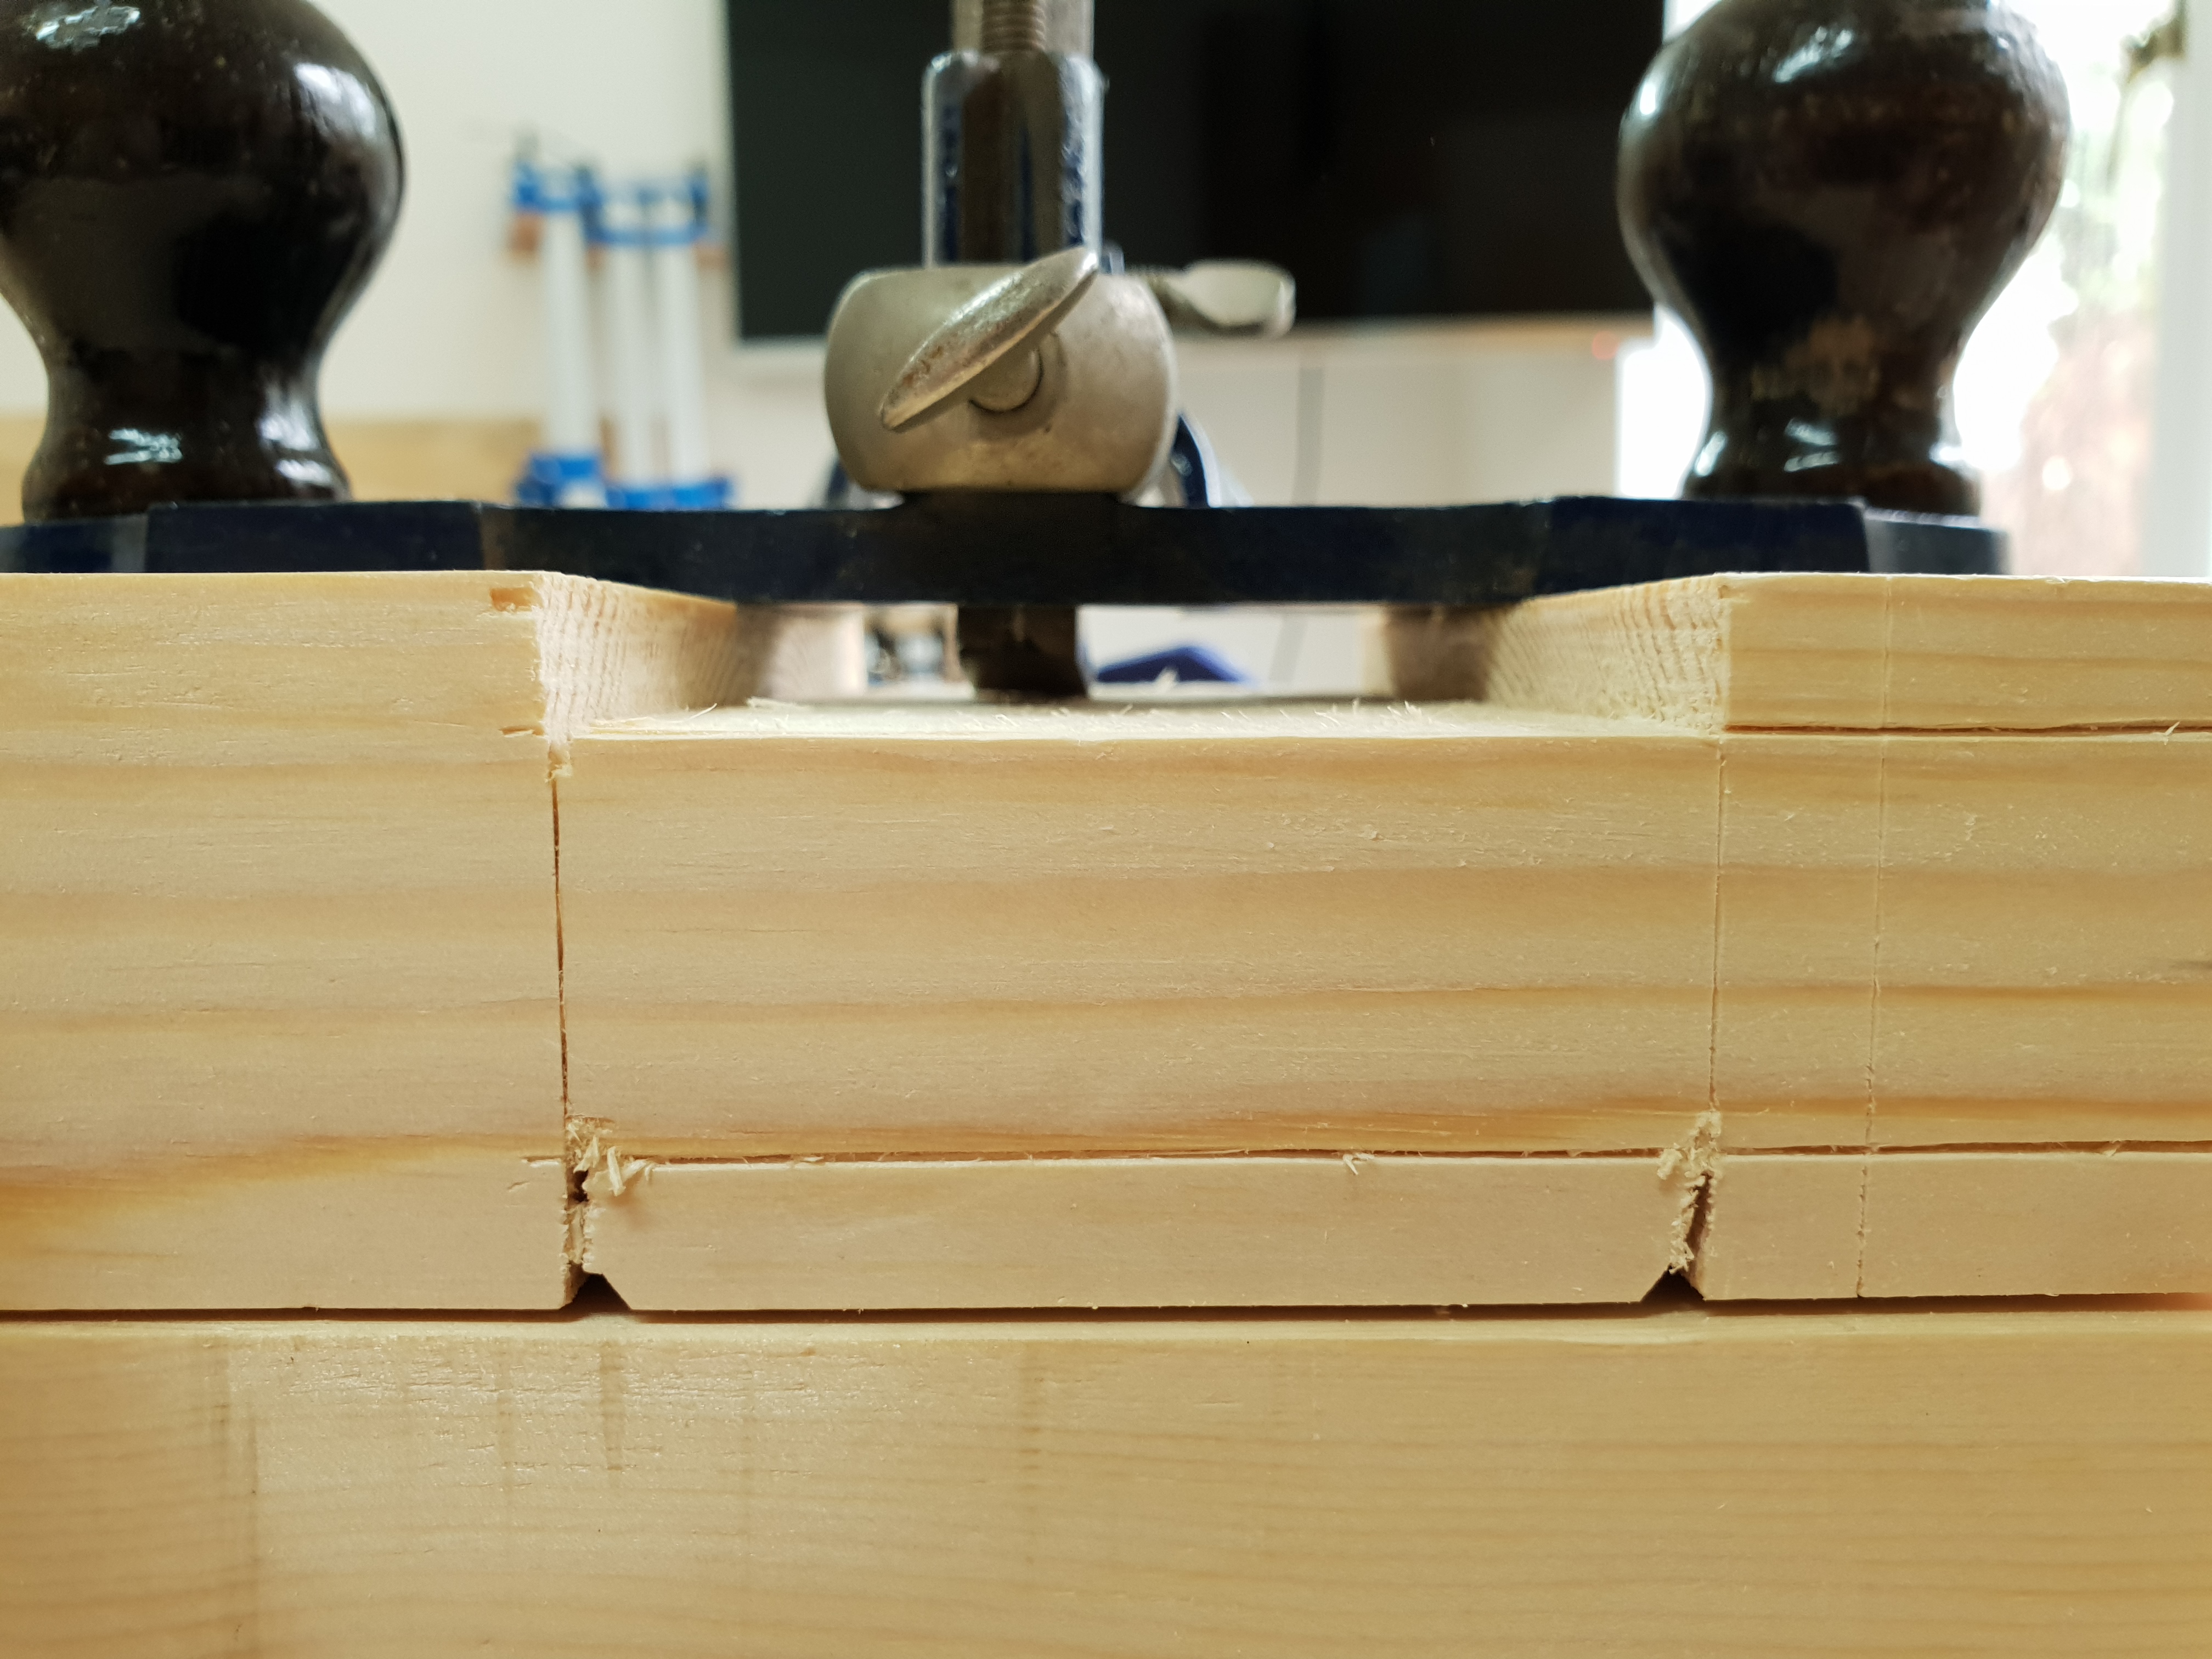
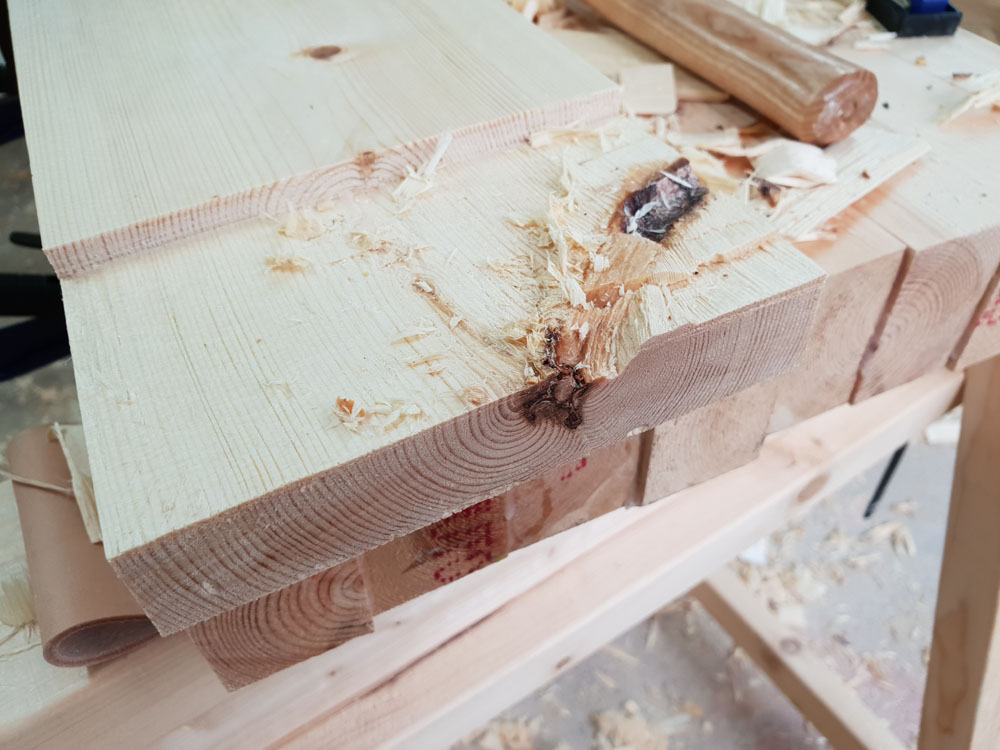
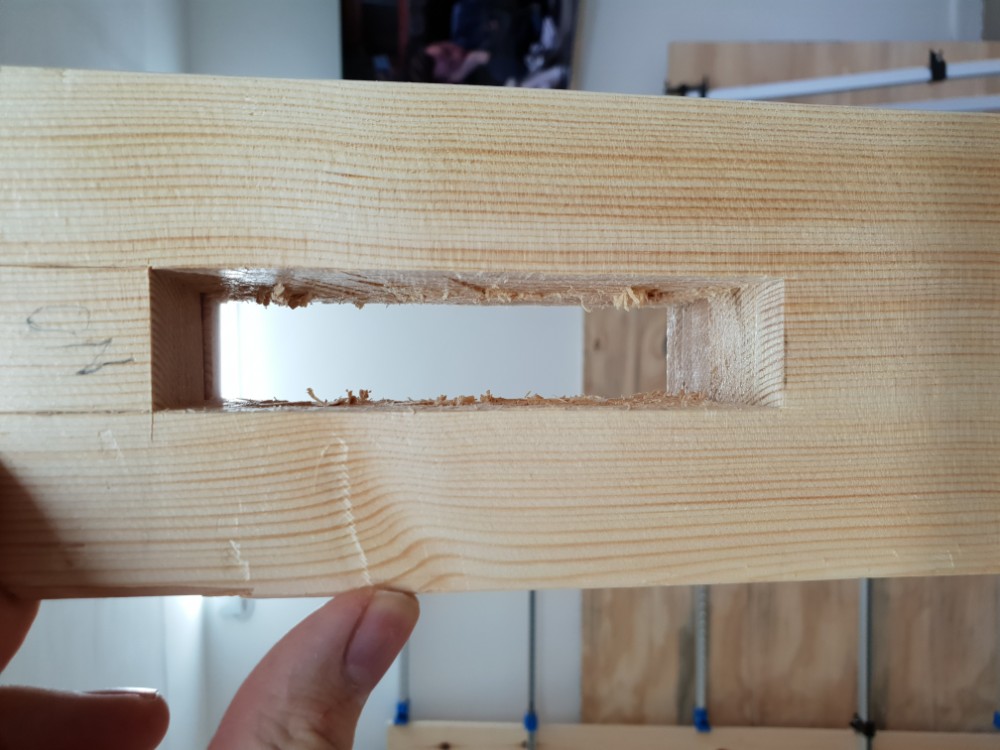
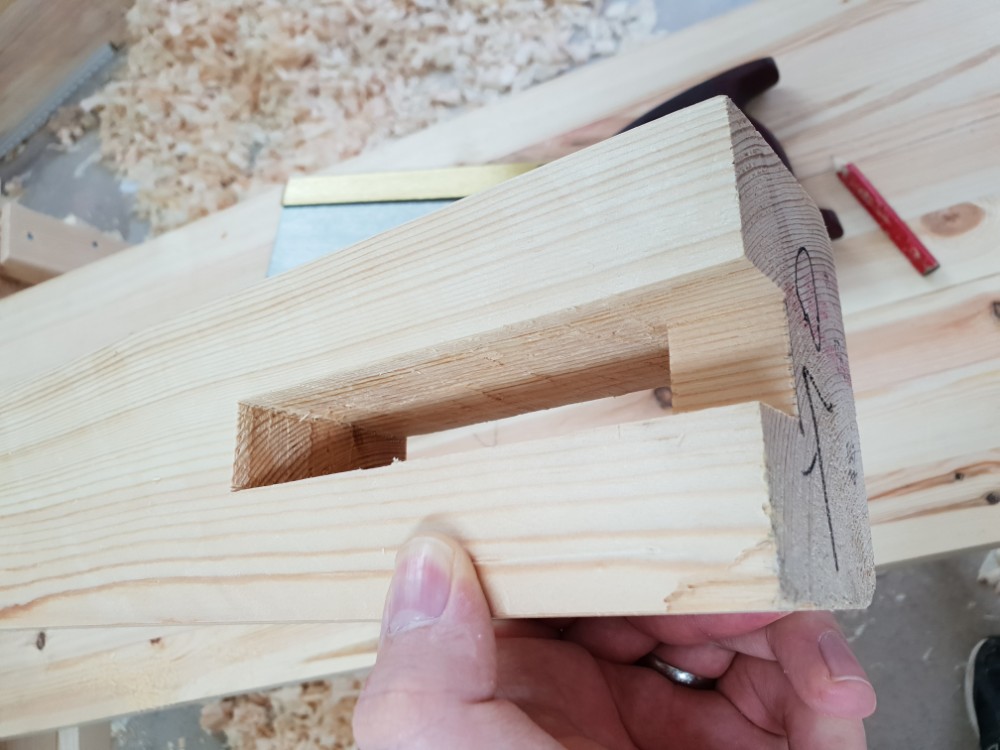
Got all the way through quite readily, then cleaned up and cut the haunch.
20180316162223.jpg

20180316163452.jpg


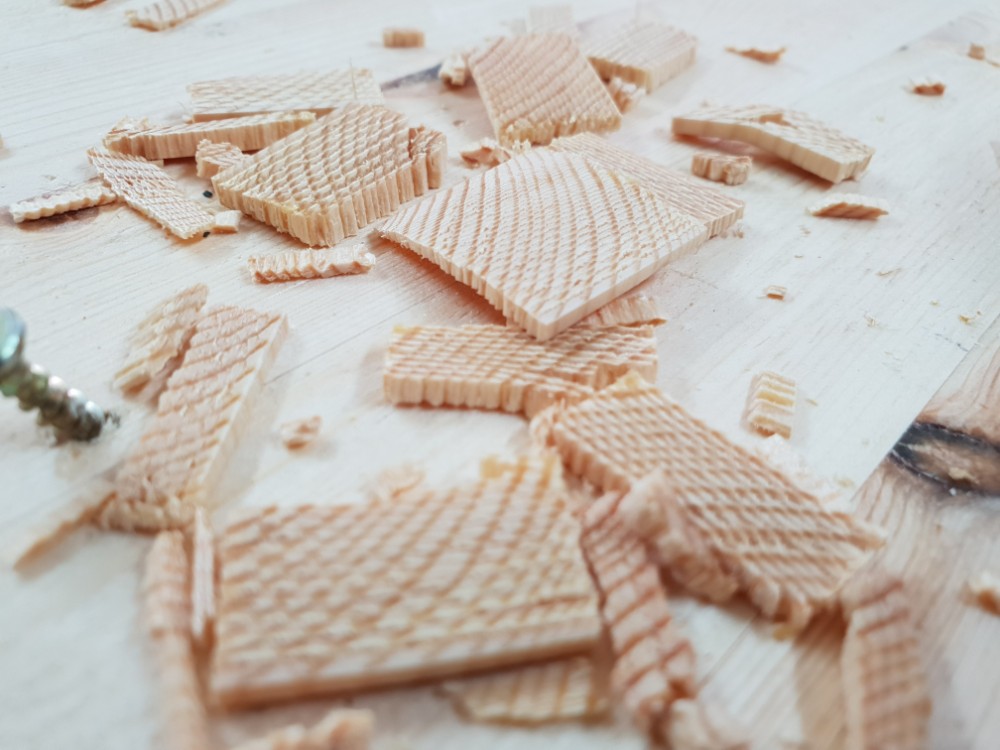
And last but not least, some nice waste.
20180316155619.jpg


My Lidl chisel is holding its edge nicely so I'm wondering if the one Nick had issue with was just a bad batch?

Have to say it went quicker than I expected for my first go. I was being very careful not to wander from my lines. Very pleased with the result though!

Anyway, I got 1/4 of the way through the other mortise before baby bedtime put paid to my efforts as i'm in the room next door! As of Wednesday I've got a lot of time to get going so hopefully I can make more progress. It was so satisfying finally doing something other than planing!
 
That looks great - and absolutely agree about the feeling progressing from planing and sizing to actual joint making, it's the point when I really felt I was actually woodworking. And having that feeling makes it more motivating to get back out in the workshop and do more, which is partly why I reconciled myself to getting a planer-thicknesser in the end, as I'd have more time to spend on getting the joints right rather than spend a whole day hand-planing. I do enjoy the planing too and still do quite a bit by hand anyway but it's nice having the choice.

I have tried one of the newer batch of Lidl chisels you kindly supplied me with and it does seem to be behaving itself much better, so I do believe I may just have had a defective set.
 
NickN":88n9e80n said:
so I do believe I may just have had a defective set.
What issues did you have, Nick?
I'm about to start this same mortising work with my own Lidl chisels, but the 24mm one has come very loose and almost falls out of the handle...
 
The handles on mine have been fine, and held up to a lot of amateurish blows from my (admittedly fairly lightweight) panel beating mallet.

The problems I had were the edge - they come ground at 25 degrees and even increasing that a little to nearer 30 degrees when honing, I was finding little chips occurring along the edge, in both oak and pine, even taking strenuous care not to use it to lever. Have not had the same problem with the newer Lidl set, so can only put it down to a bad batch, somehow.
 
Tasky":204nlmhv said:
NickN":204nlmhv said:
so I do believe I may just have had a defective set.
What issues did you have, Nick?
I'm about to start this same mortising work with my own Lidl chisels, but the 24mm one has come very loose and almost falls out of the handle...

Ohh that sounds odd for it to be coming out of the handle. My 4 have been fine, but in honestly the onyl one to actually be used at all so far has been the 24mm for this job. The others have only been even held to sharpen them.

Tasky, PM me your address, I have yet another set of these sitting in their packaging under my desk. And another. lol. I'll post some to you as I've already got a 10 piece set with glow in the dark handles on top of the Lidl set I'm using.
 
DBT85":2dpu2cx4 said:
Tasky, PM me your address, I have yet another set of these sitting in their packaging under my desk. And another. lol. I'll post some to you as I've already got a 10 piece set with glow in the dark handles on top of the Lidl set I'm using.
Cor, that'd be very kind, thanks - PM incoming!

phil.p":2dpu2cx4 said:
A drop of PU in the hole, damp the tang and put the chisel in a vice to stop the PU pushing the handle off - that'll do your chisel.
What vice?
I haven't bought that bit yet... though not from lack of bidding on eBay, heh heh!! :lol:
TBH, I think there's been some twisting involved and/or it was defective in the first place. The handle hole seems a bit over-bored... I'll give that a go, though, just 'because'!

So is there any reason Sellers has thin 18mm tenons on the crossbeams?
I'm also of the opinion that they look a bit weedy - I'll have 4x2 beams going into 4x4 legs, so surely it'd be best to have about 1"?
 
Tasky":3nn1tz2f said:
The handle hole seems a bit over-bored

Try and stop it reading sharpening threads then... :lol:


Tasky":3nn1tz2f said:
So is there any reason Sellers has thin 18mm tenons on the crossbeams?
I'm also of the opinion that they look a bit weedy - I'll have 4x2 beams going into 4x4 legs, so surely it'd be best to have about 1"?

No idea for the reason behind the thin tenons, all I can think of as a theory is that a) they work and b) it cuts down (a little) on the labour needed.

But when it's a one-off and a bit more work isn't any problem at all, I think it's a no-brainer to beef it up a little, even if only for the looks. There is a 'rule' that calls for a tenon to be 1/3 the thickness of the stock being mortised - for my bench that would have meant approximately a 1 and 1/4 inch thickness (30mm), but as my 24mm chisel was handy I reduced it a bit. One of those rules that can be easily broken without affecting joint integrity much or at all, especially in such large bits of wood.
 
There is a 'rule' that calls for a tenon to be 1/3 the thickness of the stock being mortised ...
Not really - it shouldn't be more than a third as it would then weaken one, the other or both sides of the mortice. No reason why it shouldn't be less if it suits.
 
phil.p":2bkrmpr1 said:
No reason why it shouldn't be less if it suits.

:?

Hence my wording...

"for my bench that would have meant approximately a 1 and 1/4 inch thickness (30mm), but as my 24mm chisel was handy I reduced it a bit"
"One of those rules that can be easily broken without affecting joint integrity much or at all, especially in such large bits of wood."

:lol: :lol:
 
Yeah, this is why I went for the 24mm like Nick did. No real reason not to and it looked like it fit better.

Just arrived for my last shift for 2 weeks so I can really crack on from tomorrow. In theory. lol
 
Mortises coming along nicely. Just 3.5 left to go and that part will be complete. Was very pleased to see that the first two when put together do indeed align!

Timed myself while doing one, 30 mins from first chop to last paring action to clean up. Happy with that for a 24x140 mortise 75mm deep. Bang on what Sellers said it might be in the video so quite happy with that.

Took the liberty to do a very quick resharpen after doing the first 4. While the chisel was still sharp, it wasn't SHARP. Literally only did it on the 1200 and then the strop to bring it back up.

Uncanny how fulfilling its felt doing these and seeing the end result. Just hope my tenons come out as nicely!
 
Despite appearances progress has been being made, albeit slower than I'd like. Lots to do around the house and a baby o look after really cuts in to the time available even when not at work!

I also took the possibly extreme step of sharpening the pencil sharpener we keep in the kitchen drawer. It made a huge difference for 5 mins work so it was worth it!

All 4 legs and 8 mortises have been completed. Largely very pleased with the end results. Learned a lot for the next time. One thing I noticed is that I preset my marking gauge a gnats nadger too wide for my chisel and so there is some minor (very minor) variation in there. Also on occasion it looks like my chisel has twisted and dug out the sides a little. Nothing too major and the exit holes both line up.
20180325141212.jpg

20180325141228.jpg


With that complete it is time to move on to the tenons.

My rails were all cut long so need to be cut down while doing this, giving me the chance to try some different methods for cutting these. Since I don't have a vice or a workmate, I'm not feeling too happy about trying to saw the faces as I can't hold it steady, so most of this will be done with a chisel and a router. On top of this, I'm trying to do some while the kid is asleep which means router only as its quiet.

Anyway, for one end of my first rail I went with just cutting the shoulder with my tenon saw, then using the chisel to take out the bulk by splitting before going in with the router. This was quite fast, but not having any support on the outer side made life a bit more difficult for my Record 071 which at this time had no extra sole added to widen it.

At the other end, I left the material to be discarded attached and went router plane only, gradually taking it down. This took longer obviously, but it was my only option at the time due to not being able to make too much noise. It came out great though and left a brilliant clean tenon. Having that extra material on the other side really helped.

49620180328122847.jpg

20180328123517.jpg


With both ends of my first rail complete, I could cut the haunch and try it on for size. It fits nicely and its quite satisfying knowing that its a real joint and that I did it all by hand.

More to follow! Photos too, but for some reason my host isn't working right now.
 
DBT85":1vwzf0np said:
It fits nicely and its quite satisfying knowing that its a real joint and that I did it all by hand.

Isn't woodworking great? Not only do you get a bench, you also get that warm glow of achievement!

Impressive stuff by the way, really impressive.

=D>
 
that's looking really good DT85, once you get to this stage, there really isn't that far to go, congrats on the work you've done so far! =D>
 
custard":1c9l872v said:
Isn't woodworking great? Not only do you get a bench, you also get that warm glow of achievement!

Impressive stuff by the way, really impressive.

=D>

Thanks Custard!

Before continuing on any further I slapped a temporary sole onto my router. Made from a bit of chipboard I had knocking around from some DVD racks. It's stable, flat, parallel and it slides easily, job done.


Got a bit more time in there this arvo so managed to get the second rail done and fitted. So hurrah, 2 more rails to do and I'm a lot closer to a workbench.

One of the tenons was perfectly placed on this delightful knot. Made life much easier :shock:
20180330142016.jpg


A dry run. Still need to chamfer the ends of the bottom rail.
20180330163312.jpg


An anomaly.
20180330163324.jpg

20180330163343.jpg


Things aren't perfect, though I'm putting that down to a) my first time and b) a lack of patience at times as I get so little time to actually do anything and wanted to get this done so I can get some around the house jobs done with the bench and then progress on. My list of projects to do is only growing.

Until next time!
 
You've got a lot done now and definitely got the hardest bit out of the way I'd say - the apron housings for the legs took me far less time and were easier to get right than the mortise and tenon joints.

One thing I found with my tenons were that the shoulders weren't quite square or level, and I'm still looking for the best way to address that next time round. I think perhaps a shoulder plane might be a help but not sure.

Anyway well done so far. Is your bottom rail lower than the plans, and if so is it that you are planning to put a shelf there?
 
NickN":iy0t7lbu said:
You've got a lot done now and definitely got the hardest bit out of the way I'd say - the apron housings for the legs took me far less time and were easier to get right than the mortise and tenon joints.

One thing I found with my tenons were that the shoulders weren't quite square or level, and I'm still looking for the best way to address that next time round. I think perhaps a shoulder plane might be a help but not sure.

Anyway well done so far. Is your bottom rail lower than the plans, and if so is it that you are planning to put a shelf there?

Yeah I definitely feel that with the tenons finished you're practically done as the apron housings are a straightforward cut. Let's just hope it all fits together!

The bottom rail I believe is indeed lower. That is entirely intentional and not in anyway a minor cock up :oops:
 
Doing great, DB!!
I'm at this same stage my own self and let me tell you, those M&T joints are FAR tidier than the shameful results I've ended up with. Mine go together.... and that's about all I can say about them, really!! :oops:

So yeah, you're doing exceptionally well!
 
Amazng how one can be off work for 2 weeks and still not have this finished lol.

Went to start my last rail last night only to find its all twisted. I'm sure I sorted that out already. Apparently not.

If I'm very lucky I'll finish it today before I head back to work in the morning.

Then it's cut the aprons to length and cut the fairly simple area for the legs and I'm nearly there! Bet I've not got a vice on it bt the end of April lol. (hammer) (hammer) (hammer)
 
Back
Top