SkinnyB
Established Member
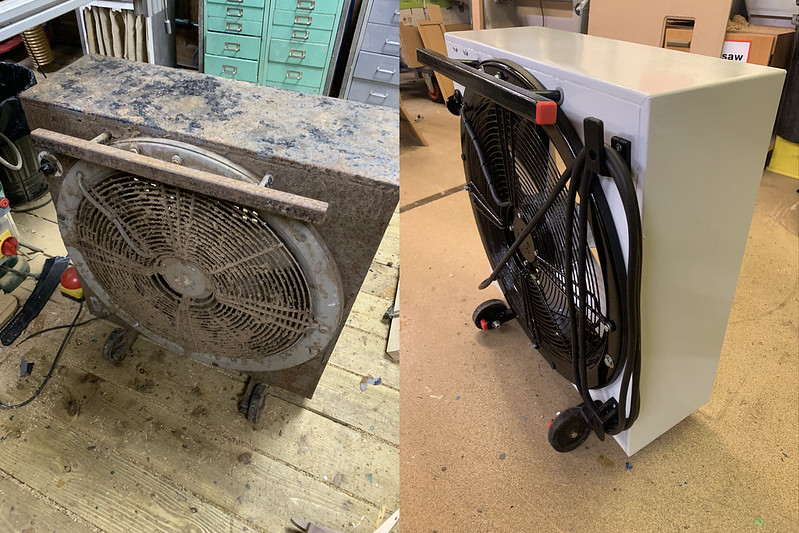
Lucky Skip find!
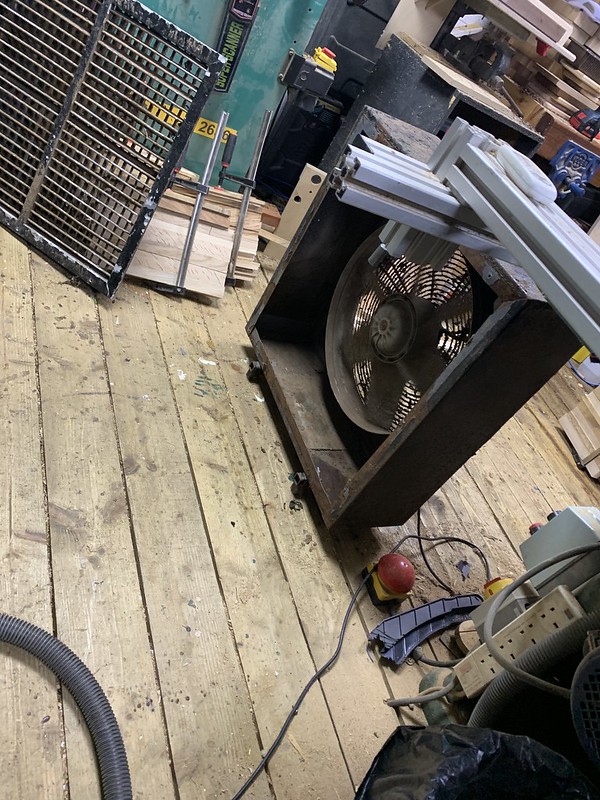
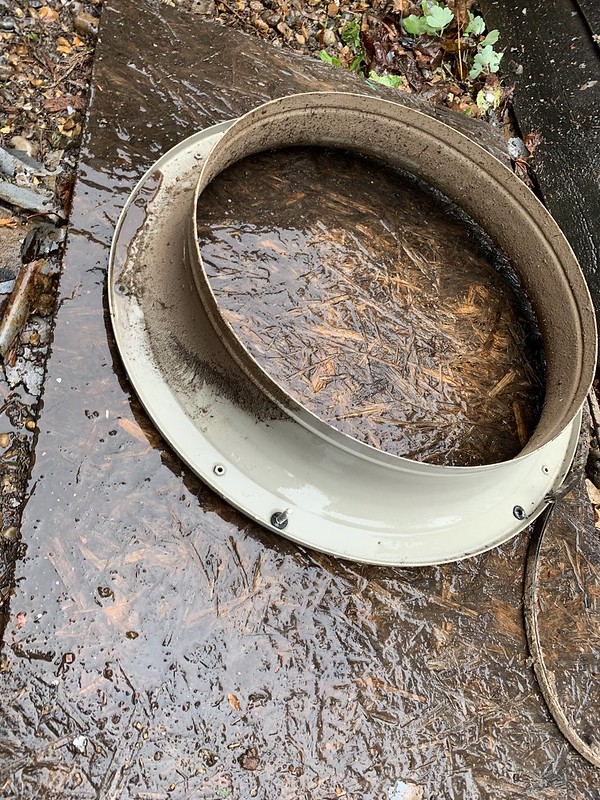
Found this fan lurking at my works skip. From the look of it came from the farm on site. I later found out it was used to circulate the air in the animal enclosures/barns. By the looks of it it was used in all weathers...
My plan was to see if it still worked (it does).
Restore it quickly which involves stripping it down de-rusting and painting.
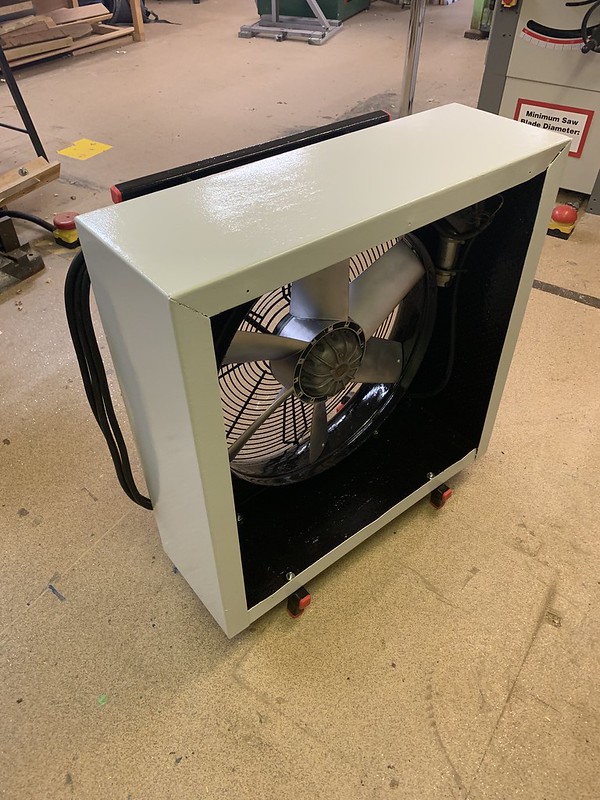
Reversing and flipping the fan so it sucks where it used to blow from.
Then add a 595mm square filter to the front. I will then use this to filter my 'work' workshop as I already made one for my my home shop.
A few things I learnt from the previous one is I need to add a pre filter which is washable. I currently vacuum the dust of the filters now and then. Easier if I could take something out side and shake/wash to remove dust.
 IMG_6093 by jamie skinner, on Flickr
 IMG_6094 by jamie skinner, on Flickr
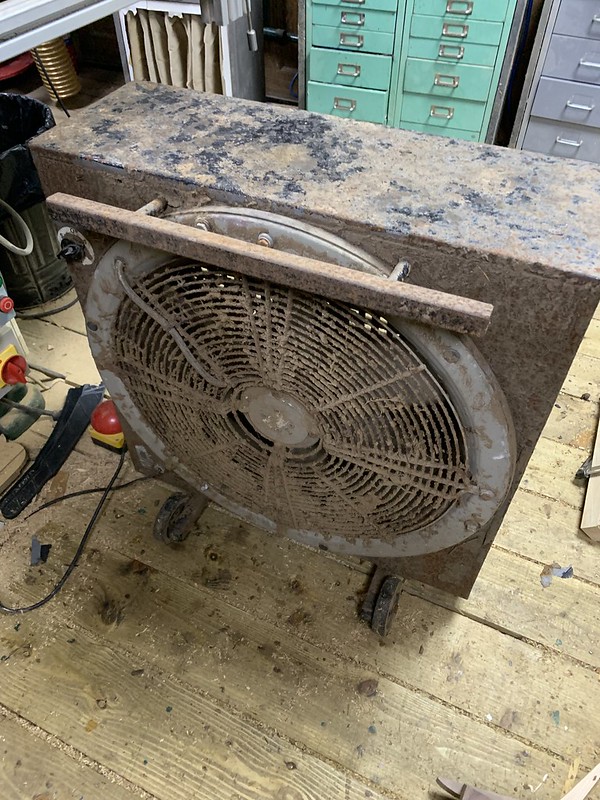
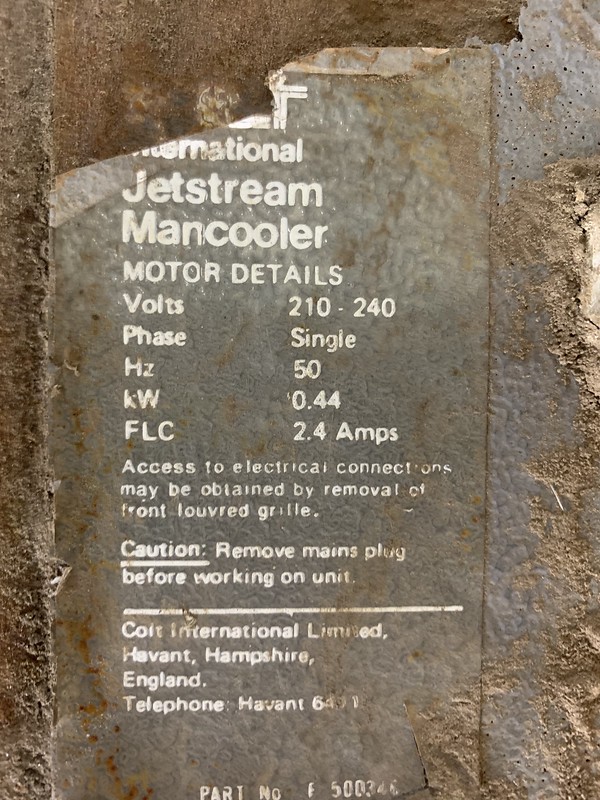
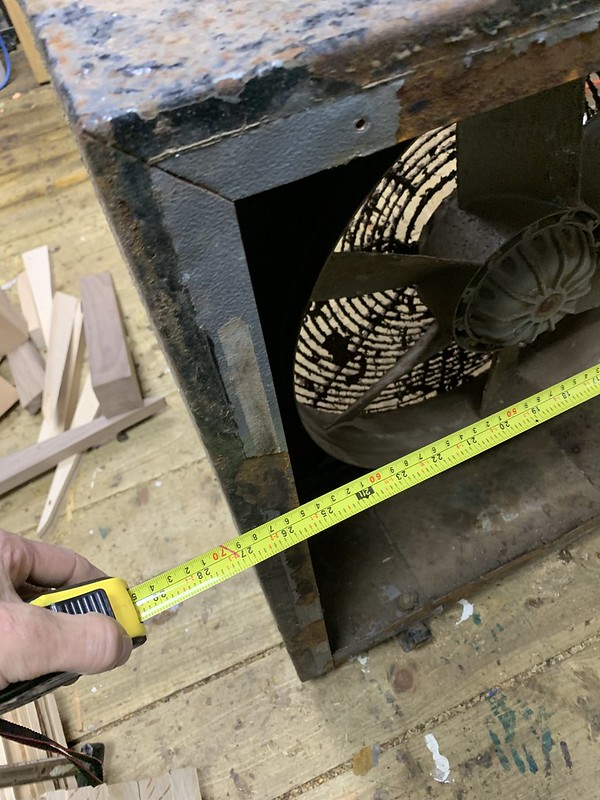
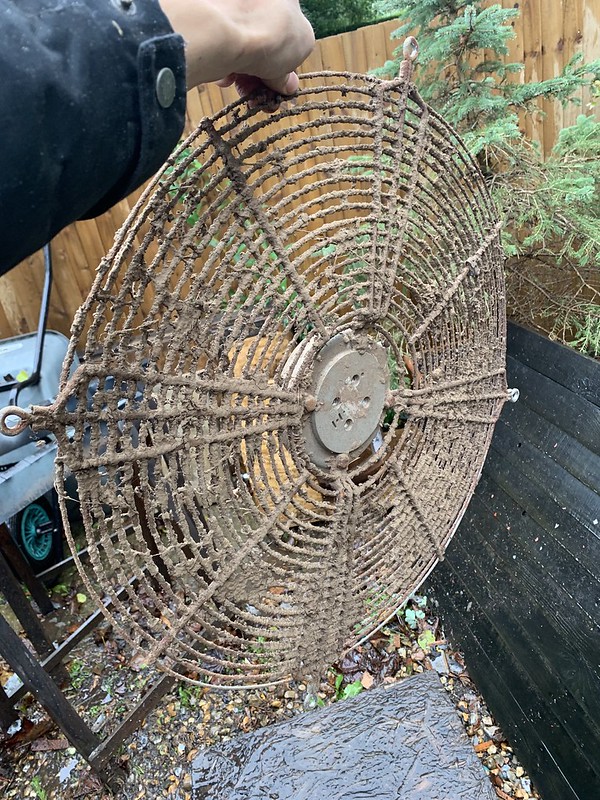
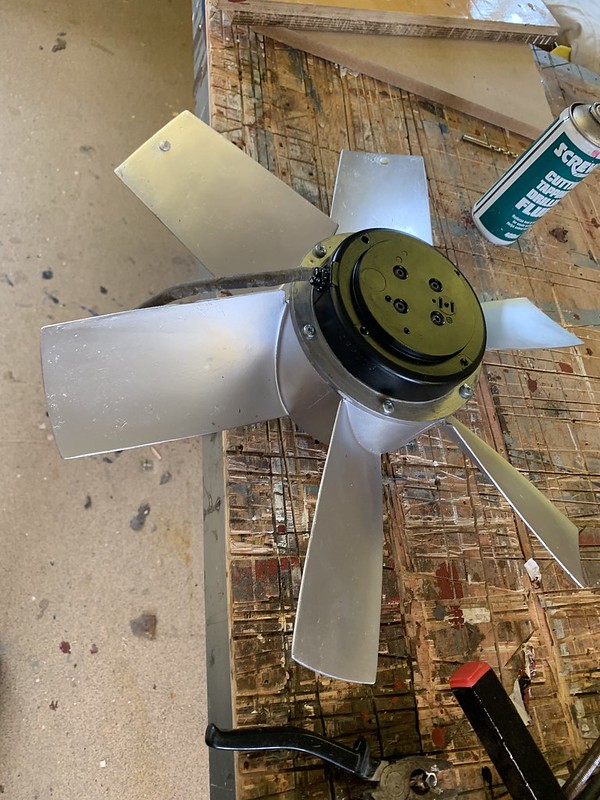
It is a 0.44kw fan. Roughly a 50cm diameter. Single phase. 5 speed which will be useful.
Brand: International jetstream mancooler.
From the label which I was still surprised to be on there:
 IMG_6113 by jamie skinner, on Flickr
 IMG_6096 by jamie skinner, on Flickr
 IMG_6095 by jamie skinner, on Flickr
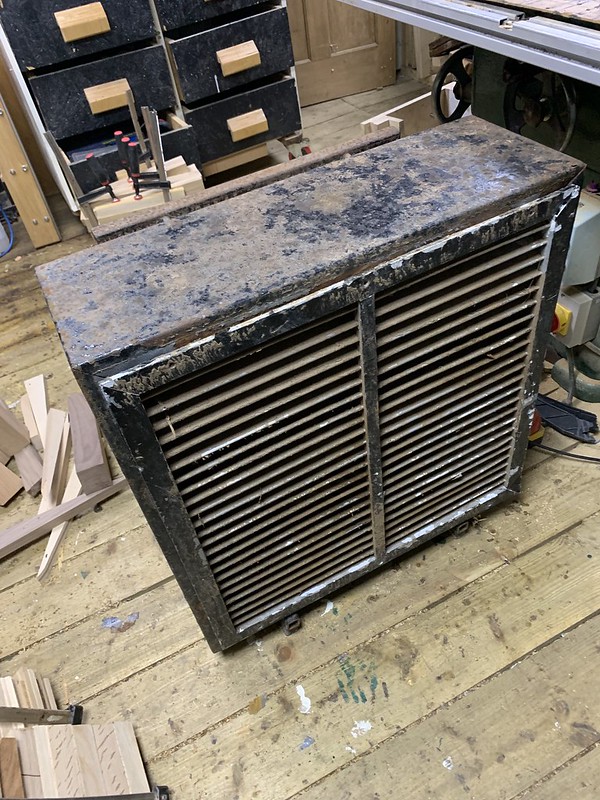
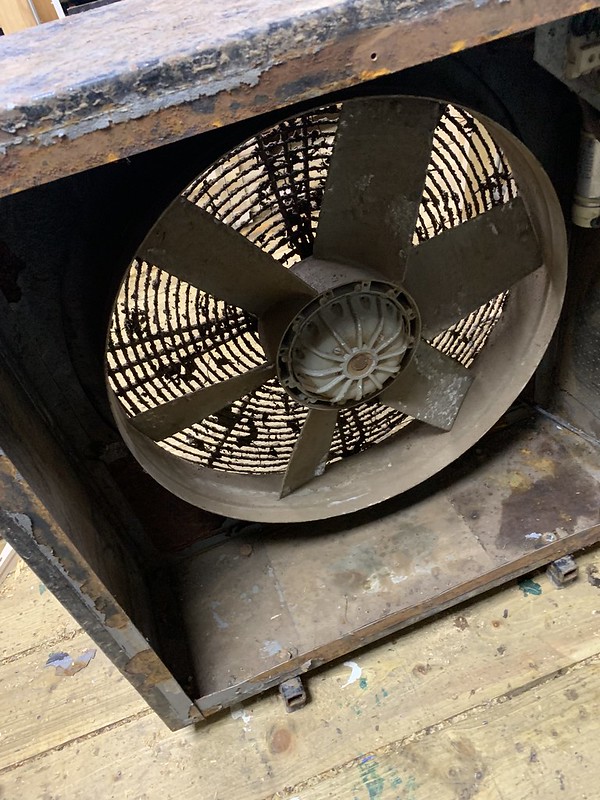
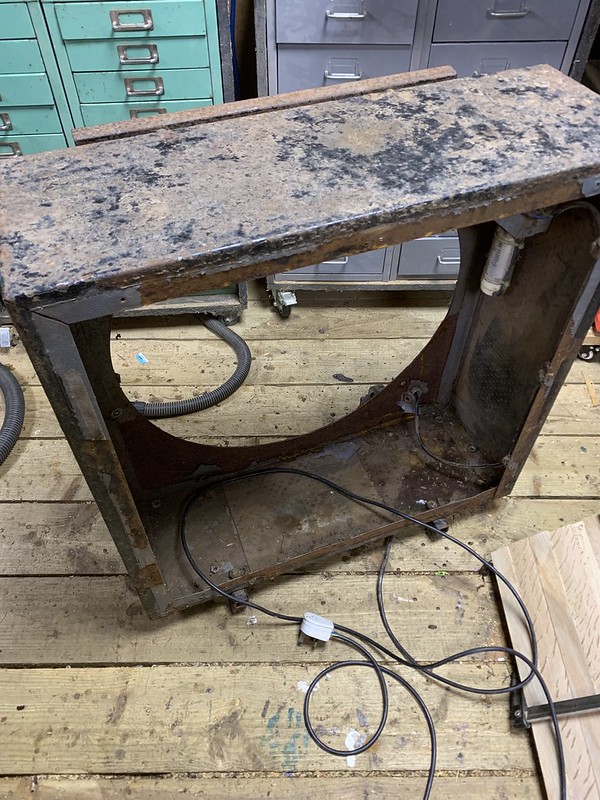
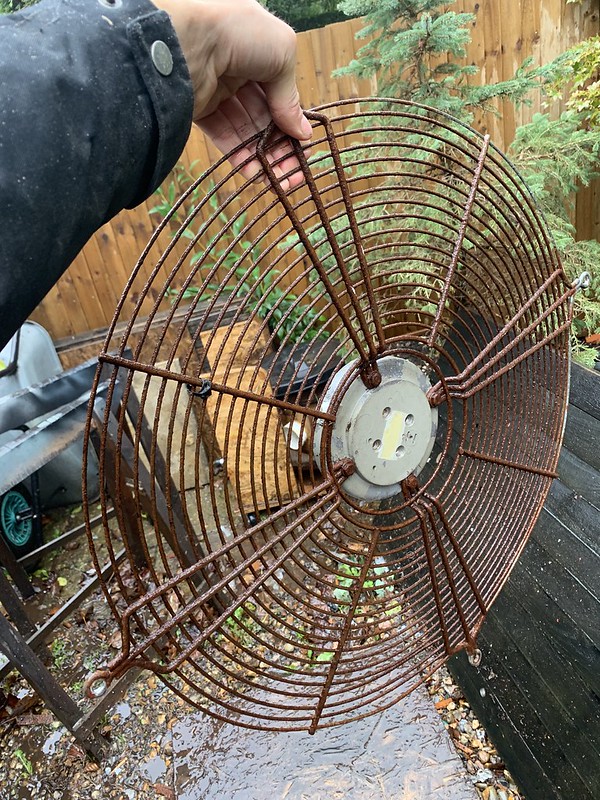
There is little original paint. Most is now rust or flaking off.
There was no plug which was my first concern as generally round here it means its kaput. Wired up a plug, put it on its lowest setting, stood well back and flicked the switch. It worked! Great! If it hadn't I would have stripped it and see if I could see anything obvious. If still nothing replaced it with a similar far.
 IMG_6097 by jamie skinner, on Flickr
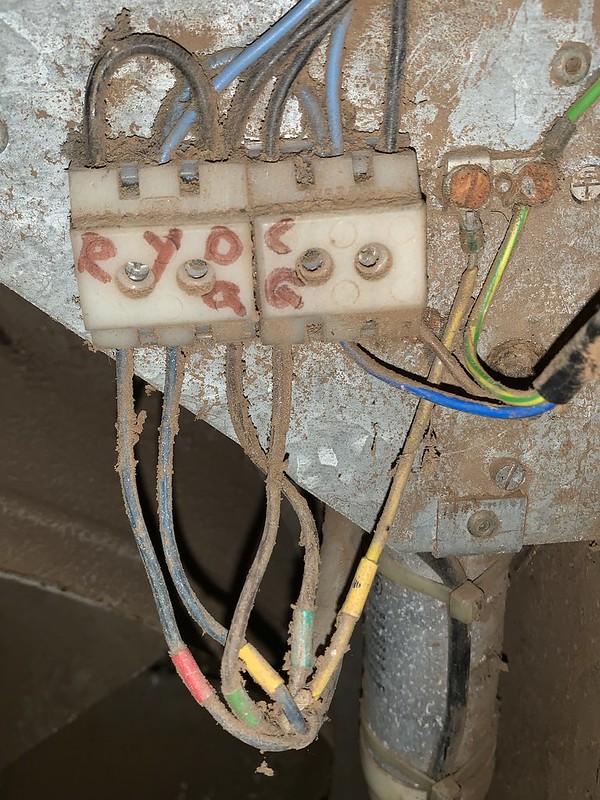
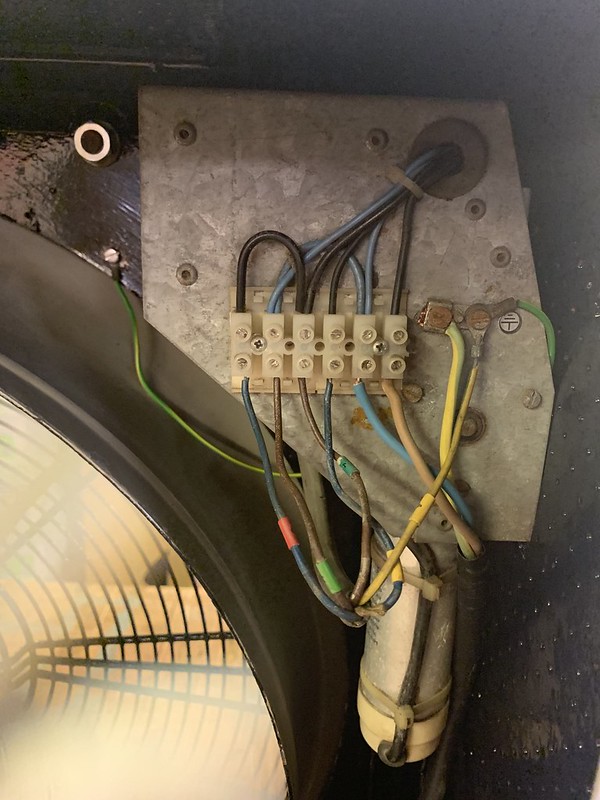
Noting how it's wired so when it goes back I don't mess any thing up.
 IMG_6102 by jamie skinner, on Flickr
Total rust bucket!
 IMG_6103 by jamie skinner, on Flickr
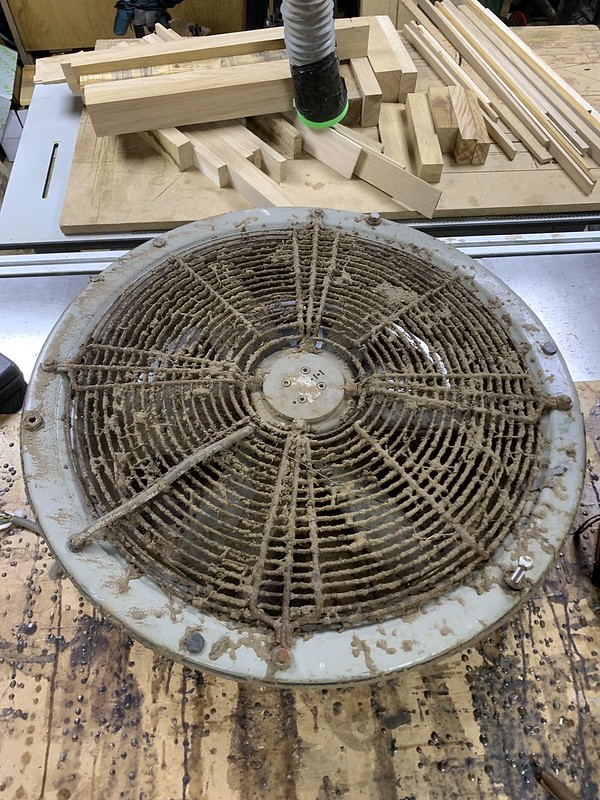
Caked in mud!
 IMG_6105 by jamie skinner, on Flickr
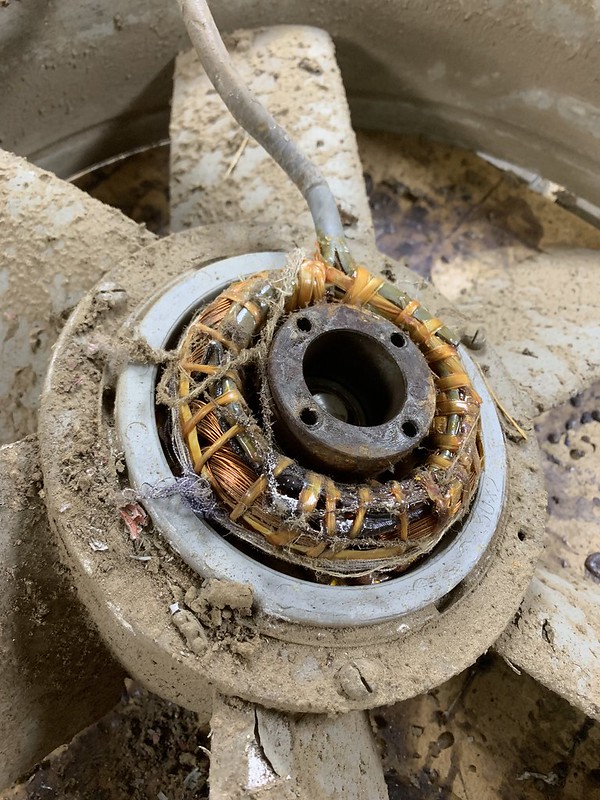
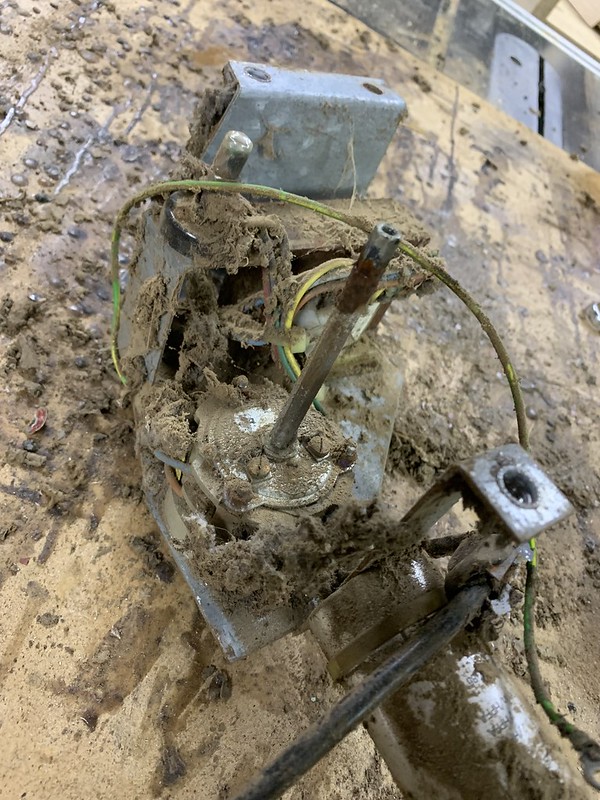
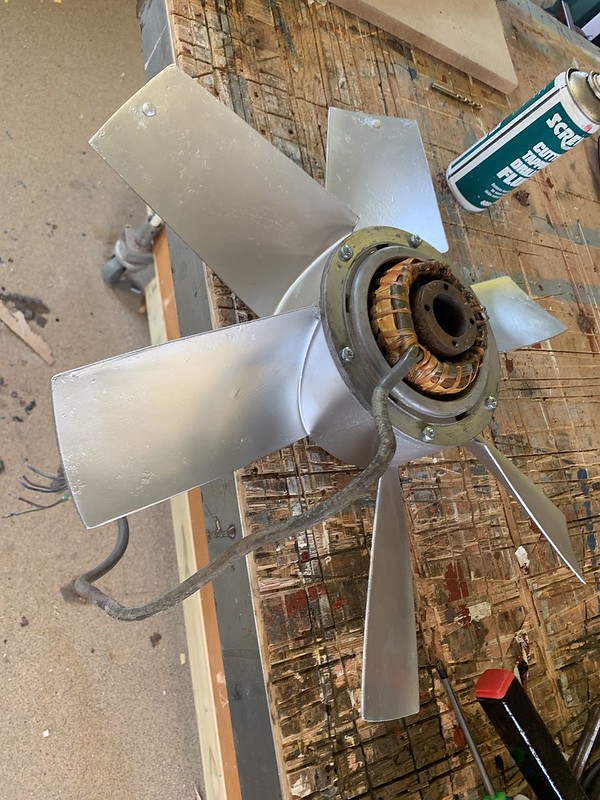
Opening the fan motor to clean. Lots of thread wrapped around it.
 IMG_6106 by jamie skinner, on Flickr
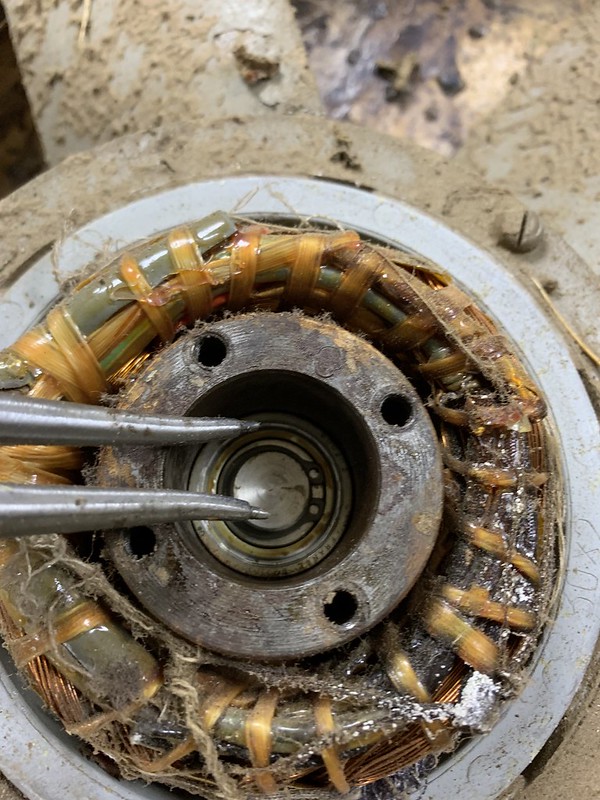
I had wanted to replace the bearings. I would have had to make a dedicated puller so I left it as is for now.
 IMG_6107 by jamie skinner, on Flickr
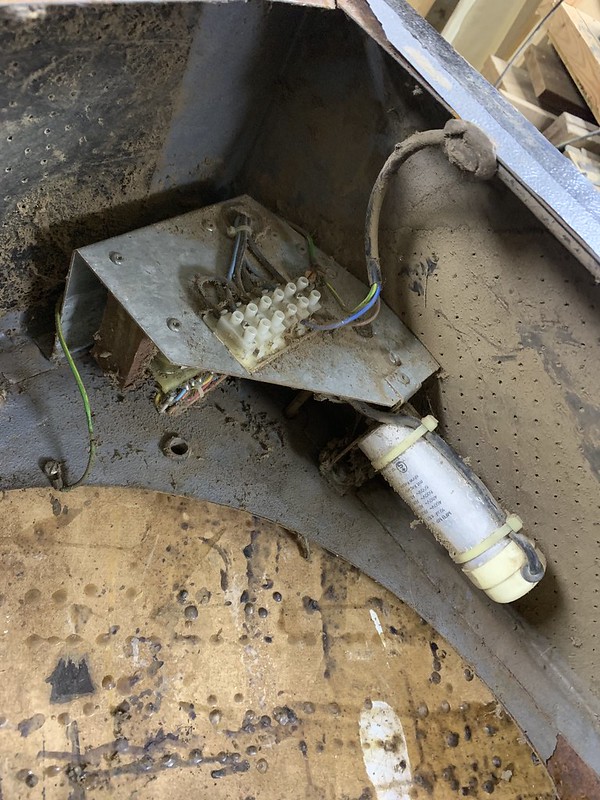
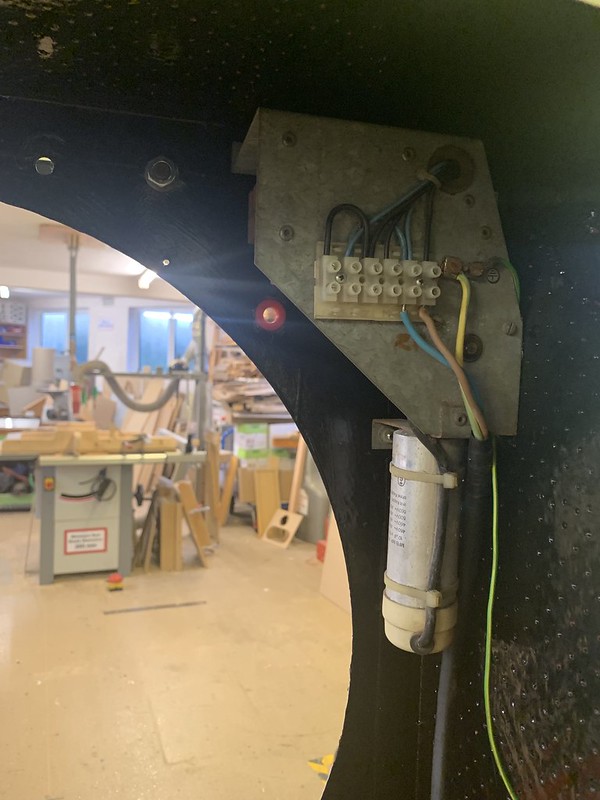
Electronics. I believe it is a capacitor start&run motor. There is a light bulb holder. 6 position rotary switch. transformer.
 IMG_6109 by jamie skinner, on Flickr
Underside!
 IMG_6110 by jamie skinner, on Flickr
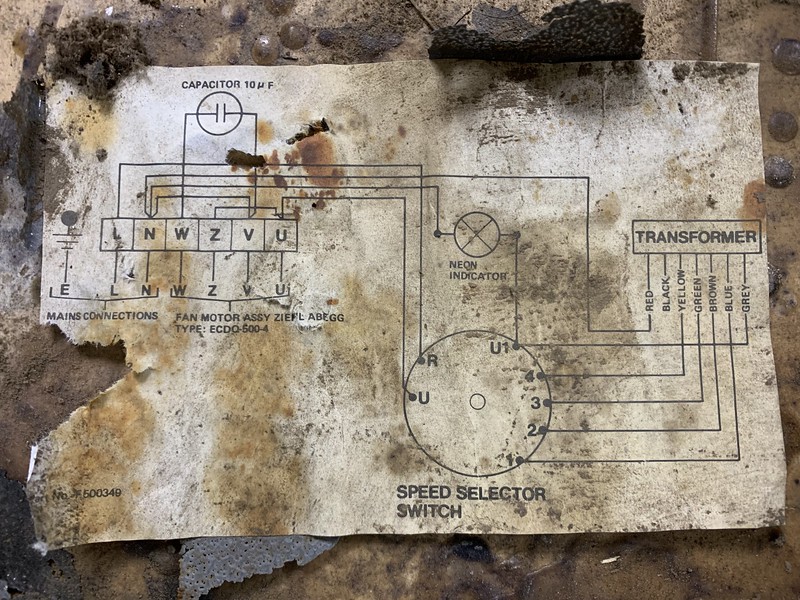
Wiring diagram still inside. This will come in use when trying to change the rotation.
 IMG_6111 by jamie skinner, on Flickr
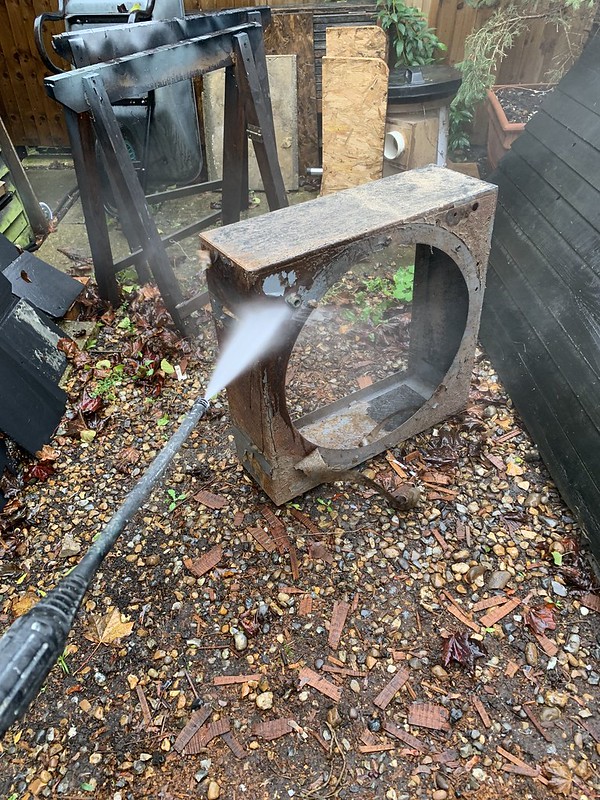
Pressure washing all the mud/paint off first.
 IMG_6114 by jamie skinner, on Flickr
 IMG_6116 by jamie skinner, on Flickr
 IMG_6117 by jamie skinner, on Flickr
 IMG_6118 by jamie skinner, on Flickr
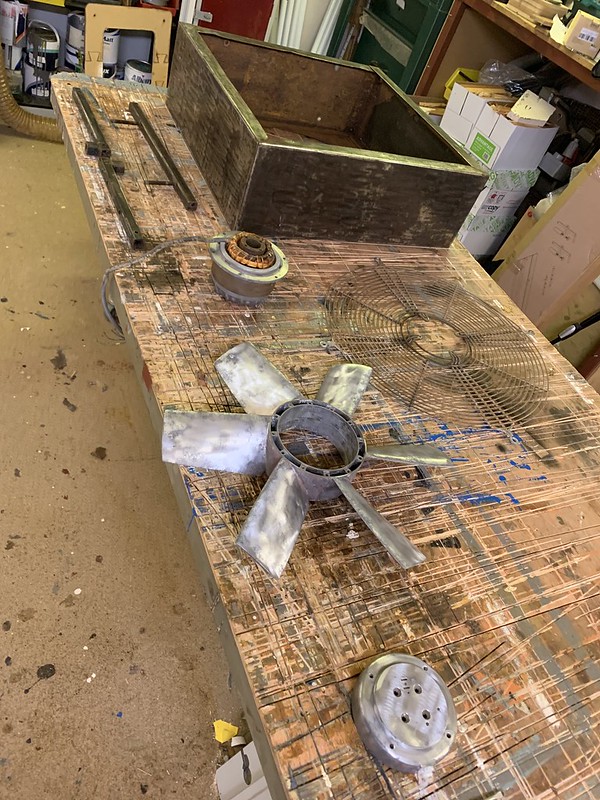
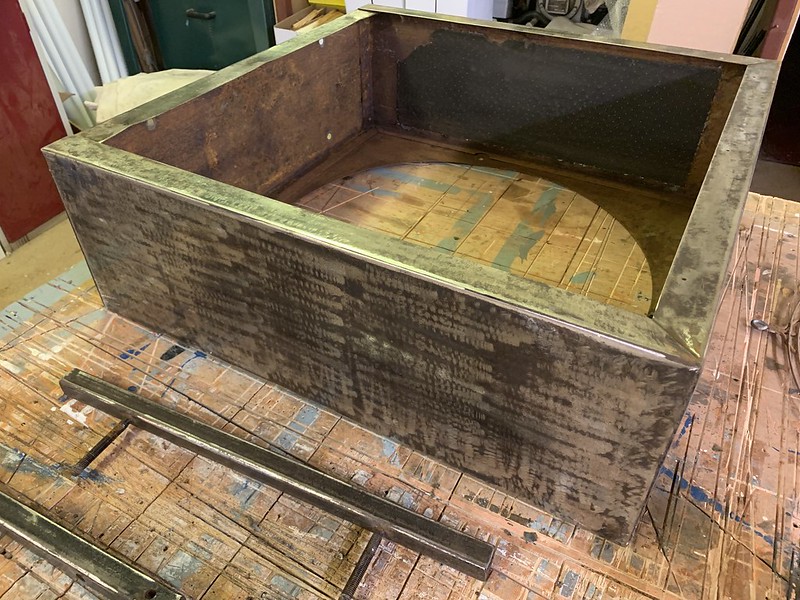
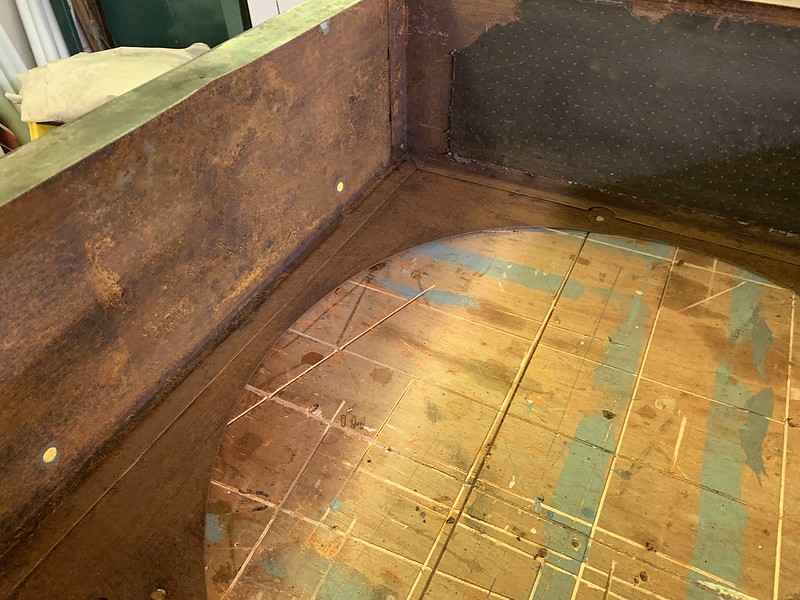
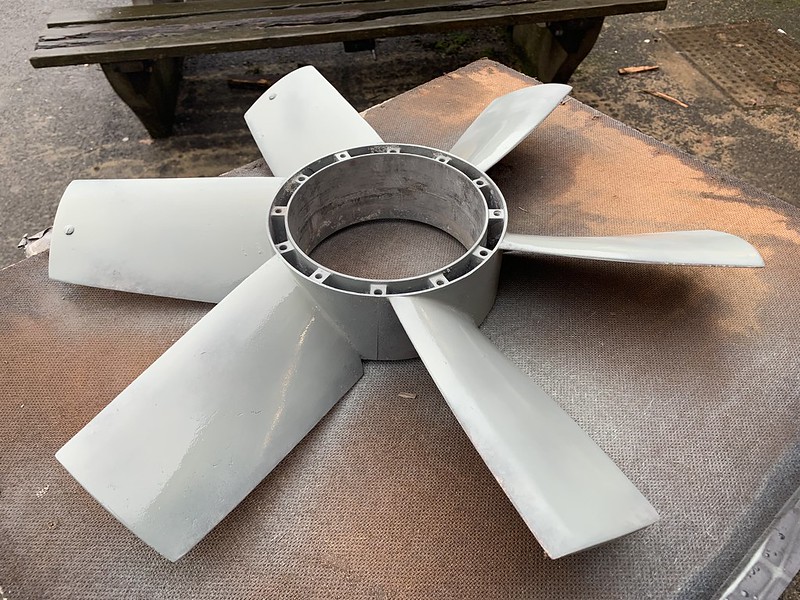
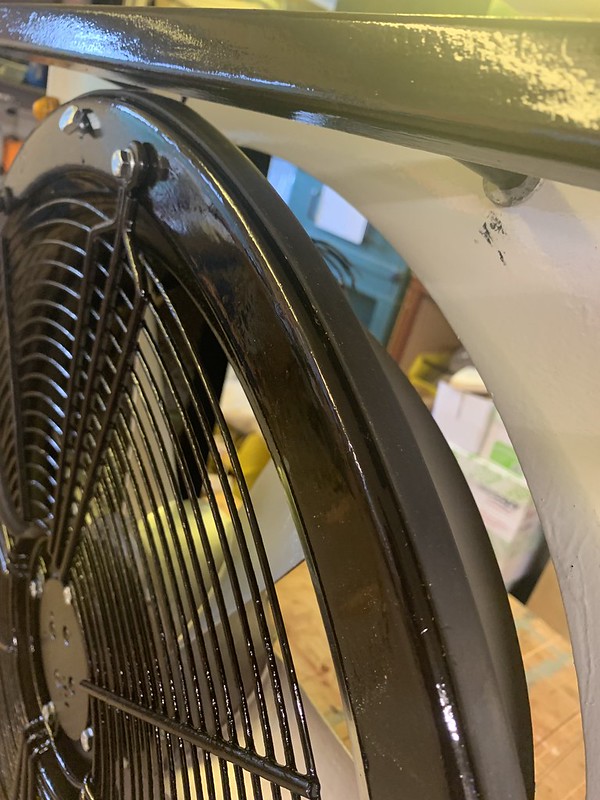
Then I wire wheeled the fan blades. I sanded the exterior of the main casing. Nice metal under all that rust. Inside I just wire brushed as it was fiddly to get in there.
There was also rubber sheets mounted on the inside. I guess this was if anything was pulled in and struck the fan the rubber would reduce the sound of the debris hitting the casing.
There were stuck firmly in so I left them as is.
 IMG_6990 by jamie skinner, on Flickr
 IMG_6126 by jamie skinner, on Flickr
 IMG_6127 by jamie skinner, on Flickr
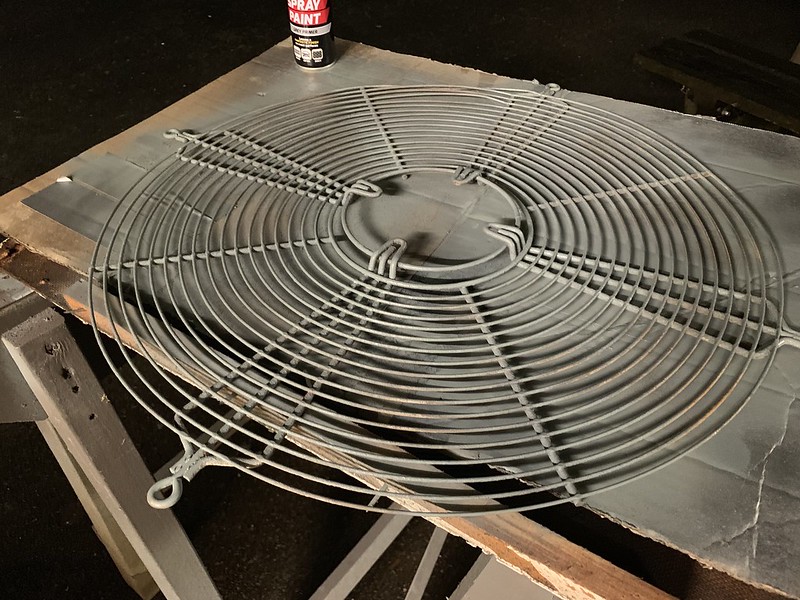
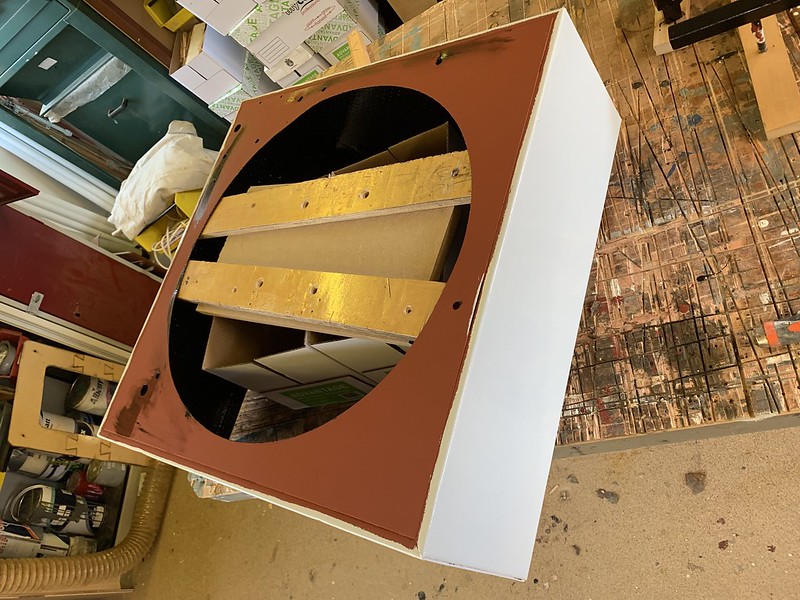
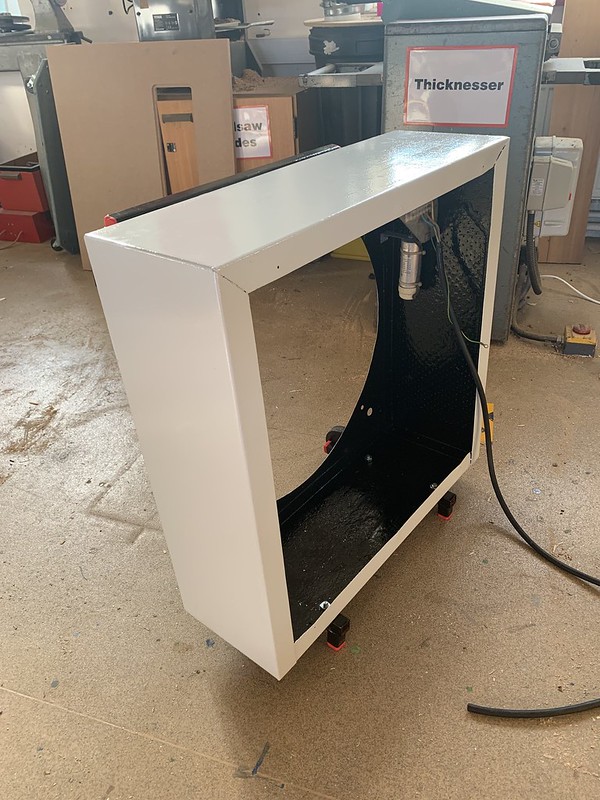
Onto the painting. I am going for an off white and black combo.
Undercoat
 IMG_6128 by jamie skinner, on Flickr
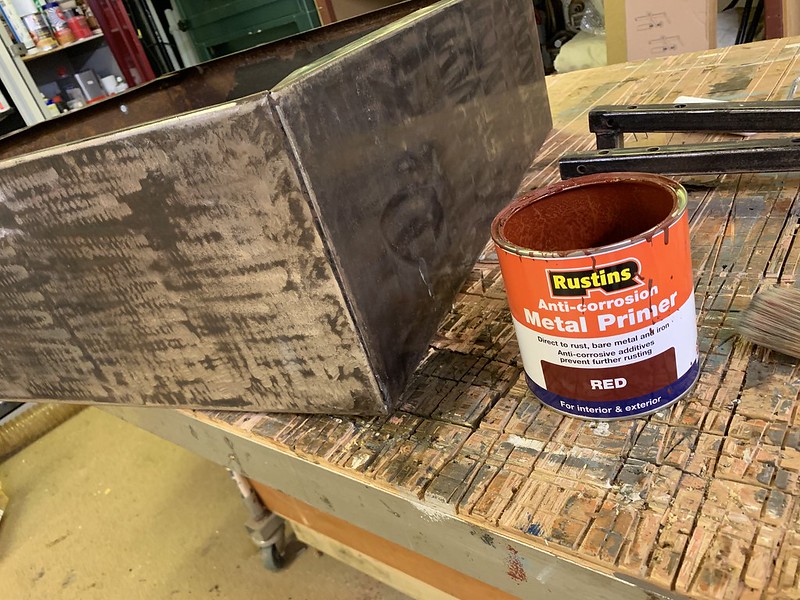
Some primer left over from a previous project.
 IMG_6129 by jamie skinner, on Flickr
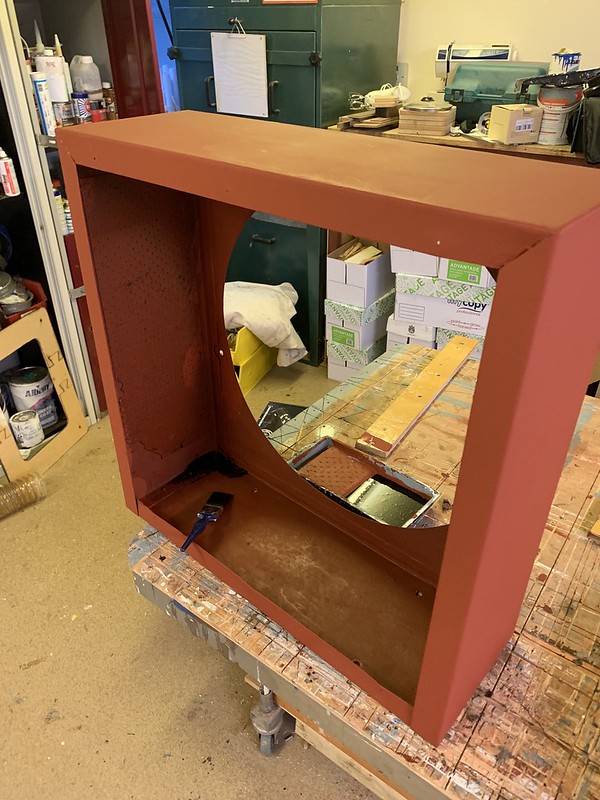
Applied heavily to the rusted parts. Not to fussed about the inside. Hopefully this will keep it covered up.
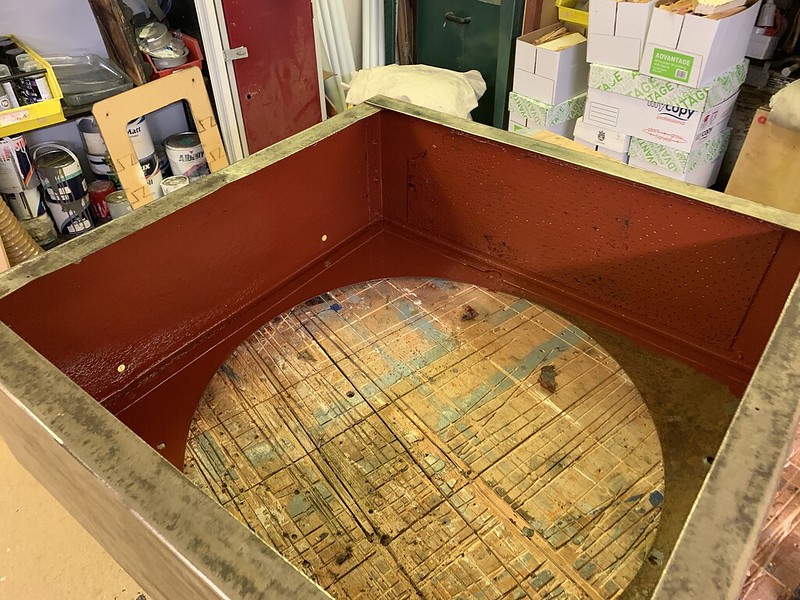 IMG_6130 by jamie skinner, on Flickr
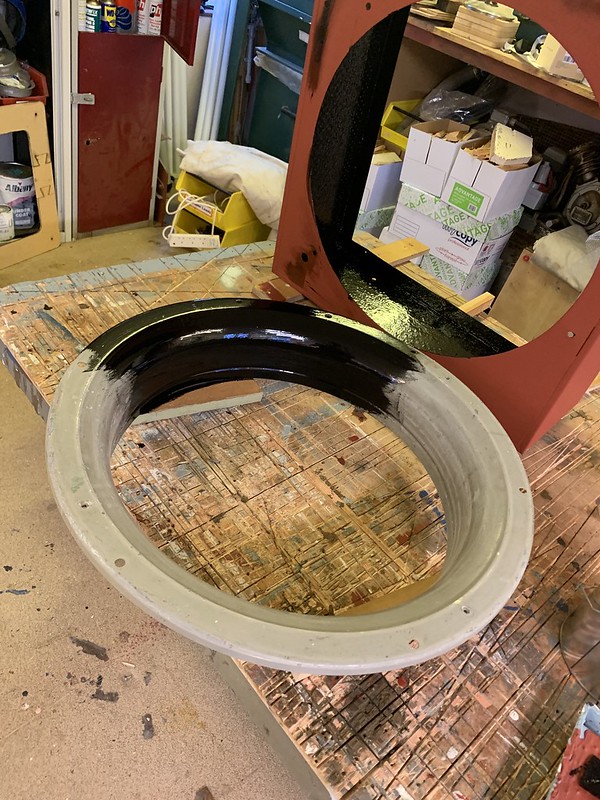
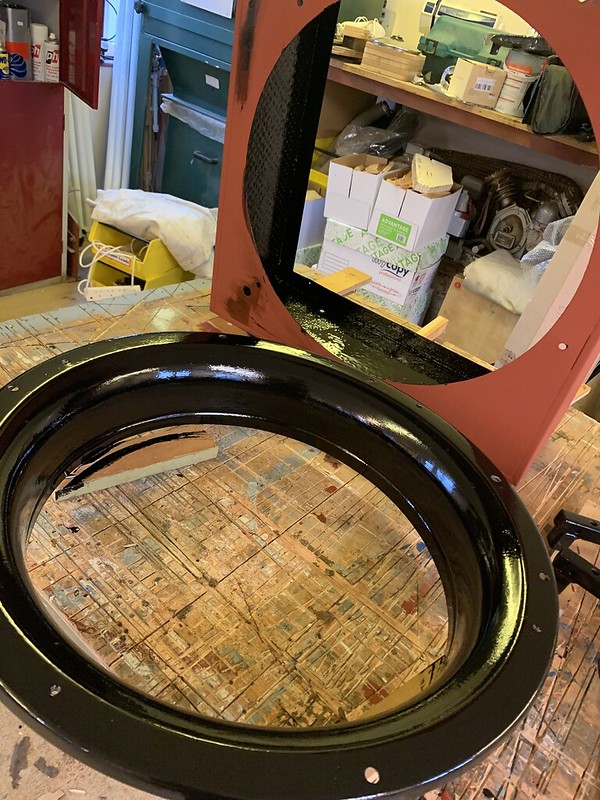
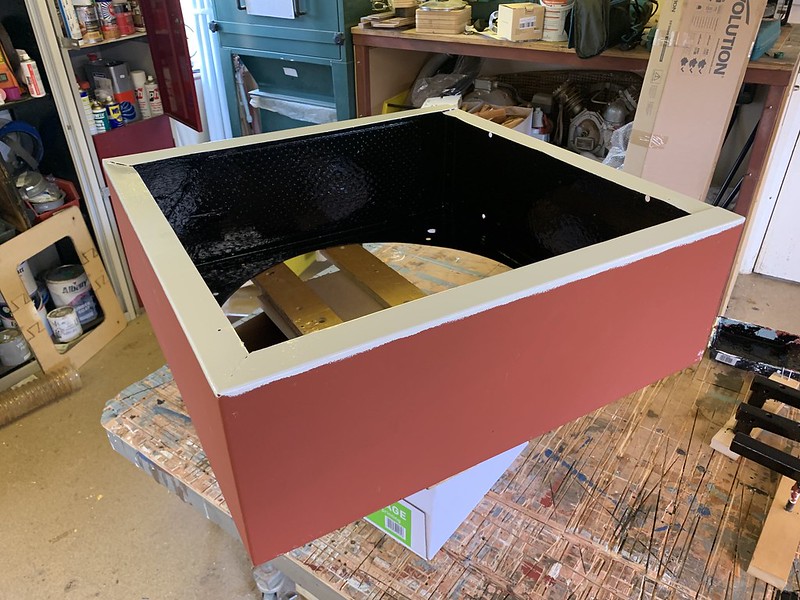
Starting on the black interior paint.
 IMG_6131 by jamie skinner, on Flickr
 IMG_6132 by jamie skinner, on Flickr
 IMG_6133 by jamie skinner, on Flickr
 IMG_6134 by jamie skinner, on Flickr
 IMG_6135 by jamie skinner, on Flickr
 IMG_6136 by jamie skinner, on Flickr
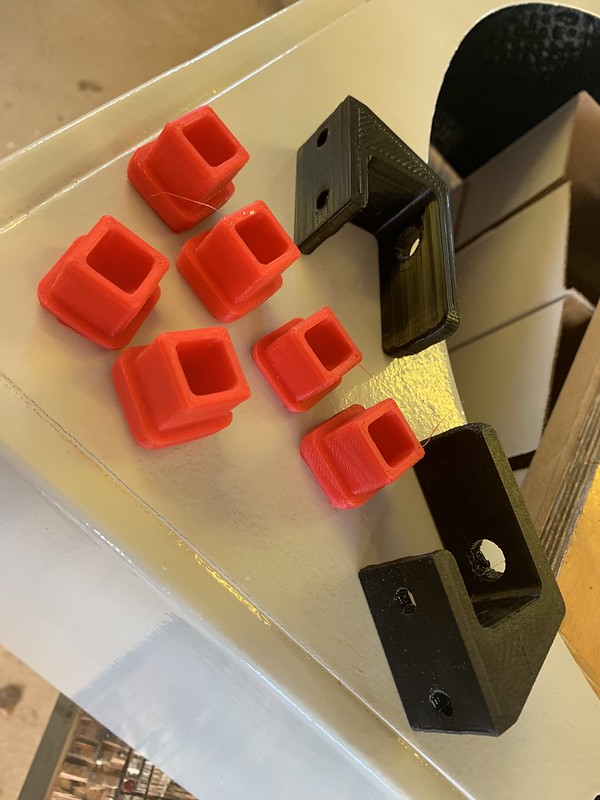
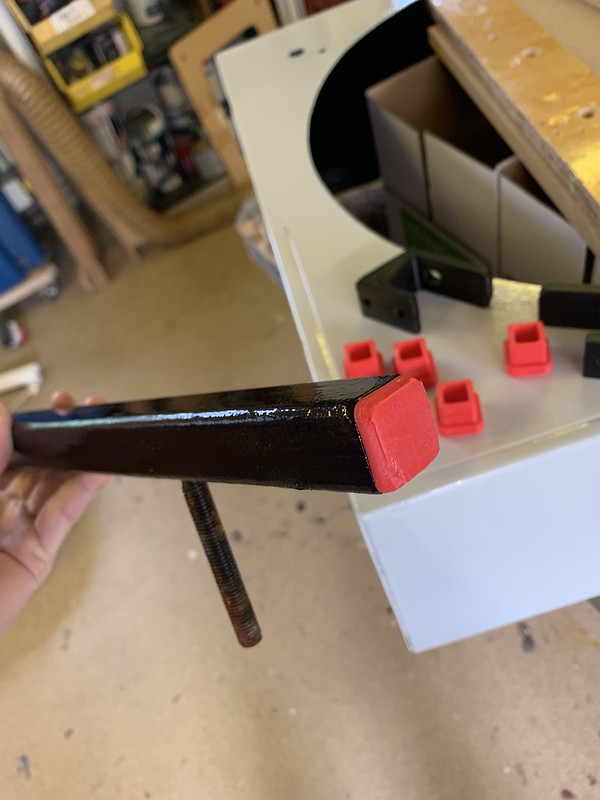
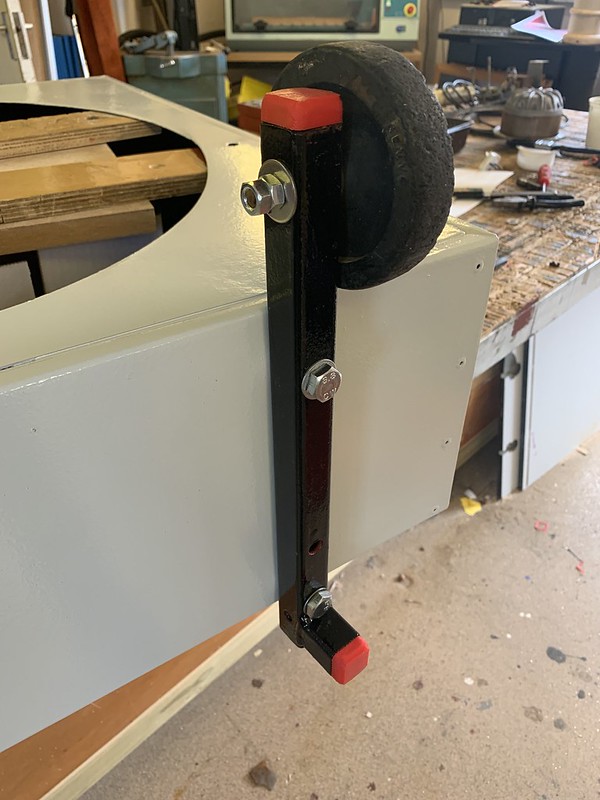
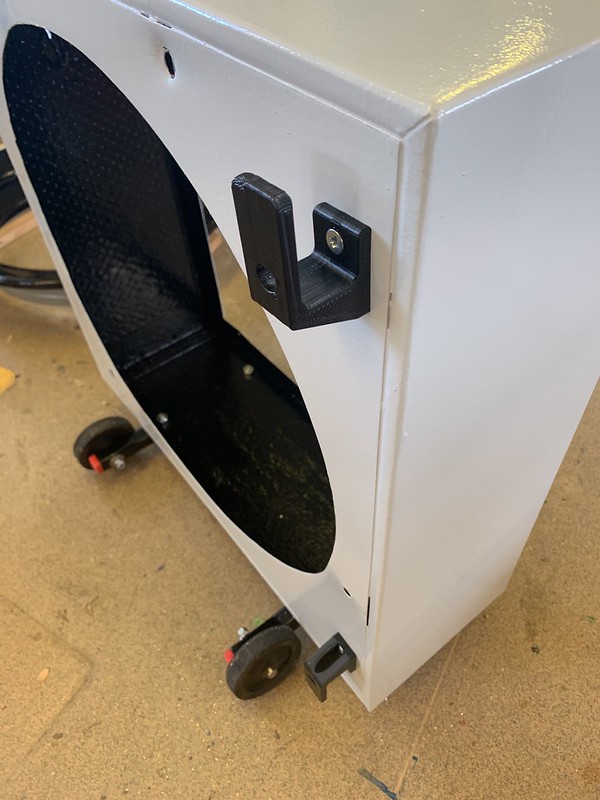
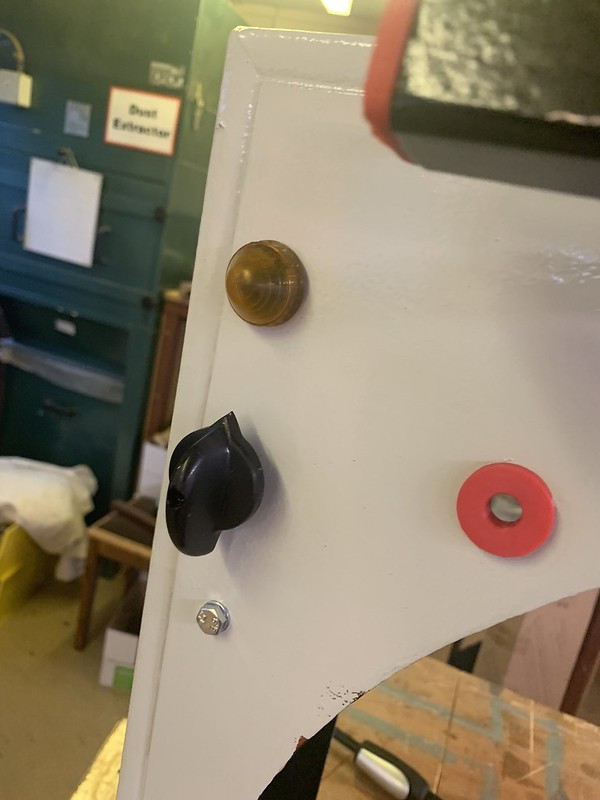
All the rubber parts on the handles and feet had worn so I 3d printed new rubber parts in red rubber. I also printed cable hooks to wrap the new cable that's going on it.
 IMG_6138 by jamie skinner, on Flickr
 IMG_6139 by jamie skinner, on Flickr
 IMG_6140 by jamie skinner, on Flickr
 IMG_6141 by jamie skinner, on Flickr
Starting on the reassembly
 IMG_6142 by jamie skinner, on Flickr
 IMG_6143 by jamie skinner, on Flickr
 IMG_6144 by jamie skinner, on Flickr
 IMG_6145 by jamie skinner, on Flickr
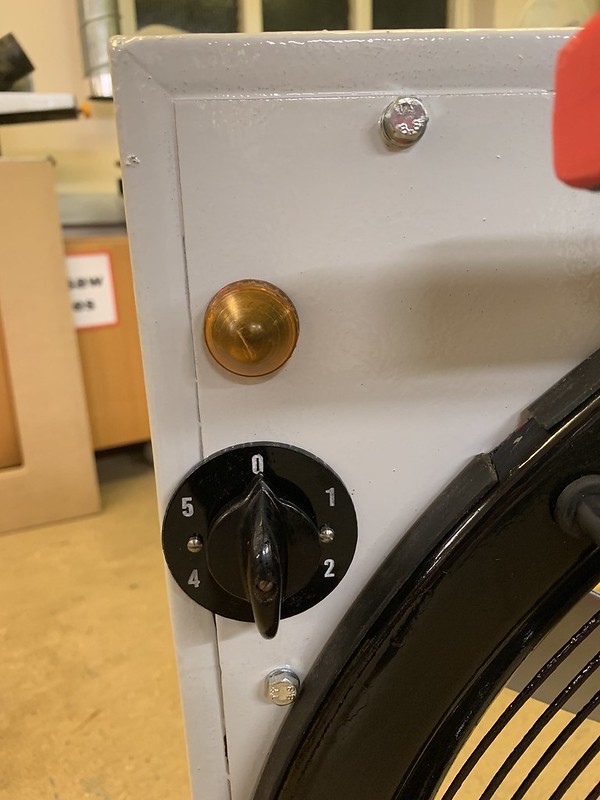
Speed selector, light and rubber cable bung in.
 IMG_6149 by jamie skinner, on Flickr
Electronics in.
 IMG_6150 by jamie skinner, on Flickr
Fan section on.
 IMG_6151 by jamie skinner, on Flickr
Rewiring. I need to reverse the motor. Looking up what I need to do online. All I had to to do was flip the capacitor wires. As I had the wiring diagram it was fairly easy to do and worked a treat. V & W wires according to the diagram.
 IMG_6153 by jamie skinner, on Flickr
Testing it all worked.
 IMG_6157 by jamie skinner, on Flickr
Laser cut some new dial and name plate pieces. It is black plastic with the protective coat still attached.
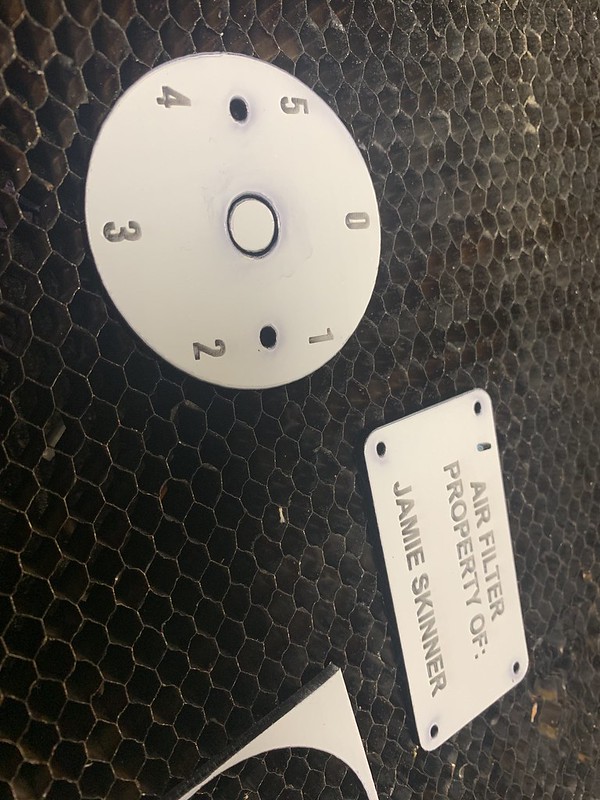 IMG_6160 by jamie skinner, on Flickr
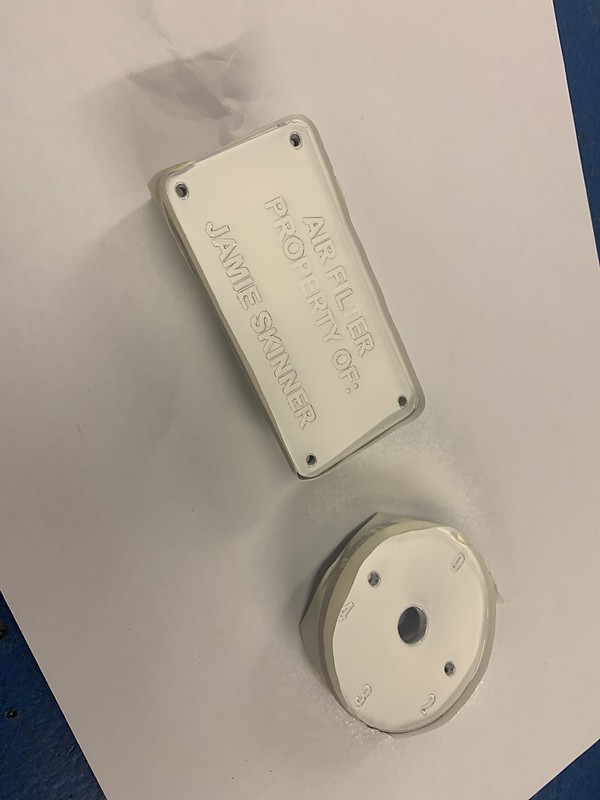
Then sprayed white. I have been trying different ways of doing this. My favourite is still a wax crayon. Paint is a little messy. Tip-ex works well too as it dries very quickly.
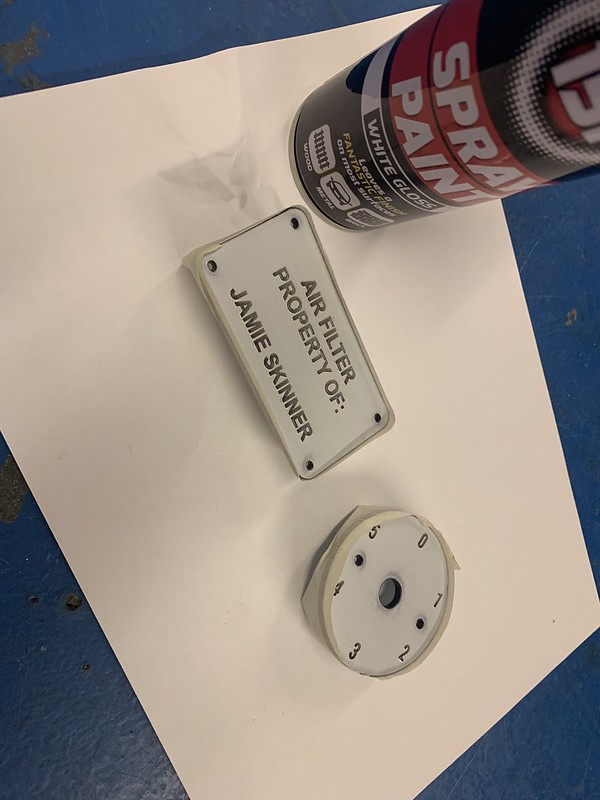 IMG_6161 by jamie skinner, on Flickr
 IMG_6162 by jamie skinner, on Flickr
Cleaned up and reattached.
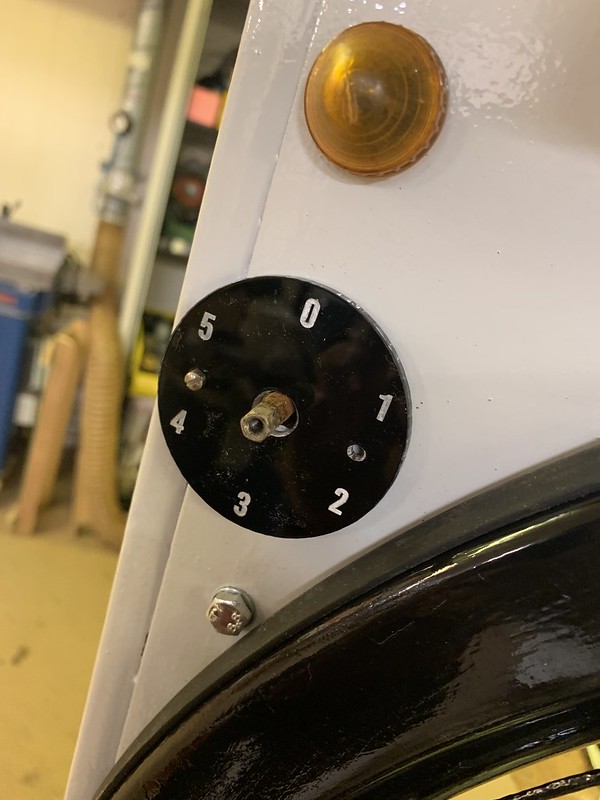 IMG_6163 by jamie skinner, on Flickr
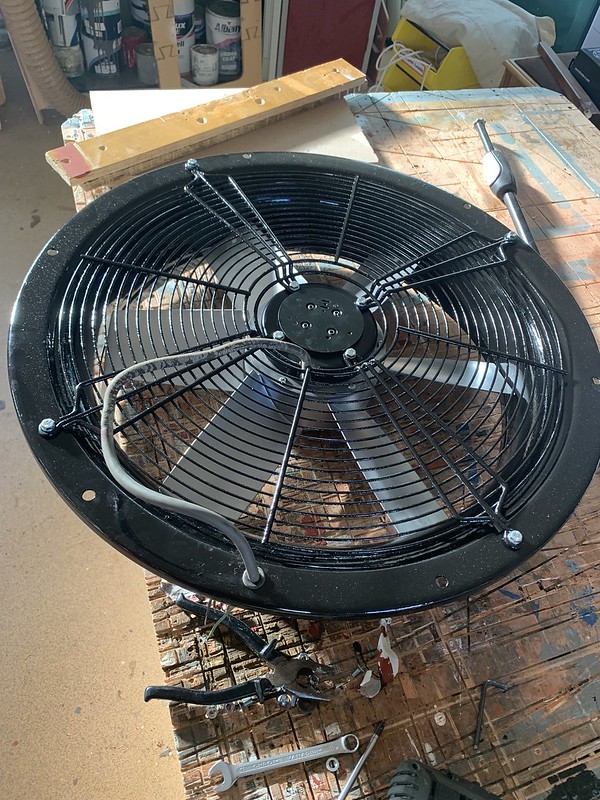
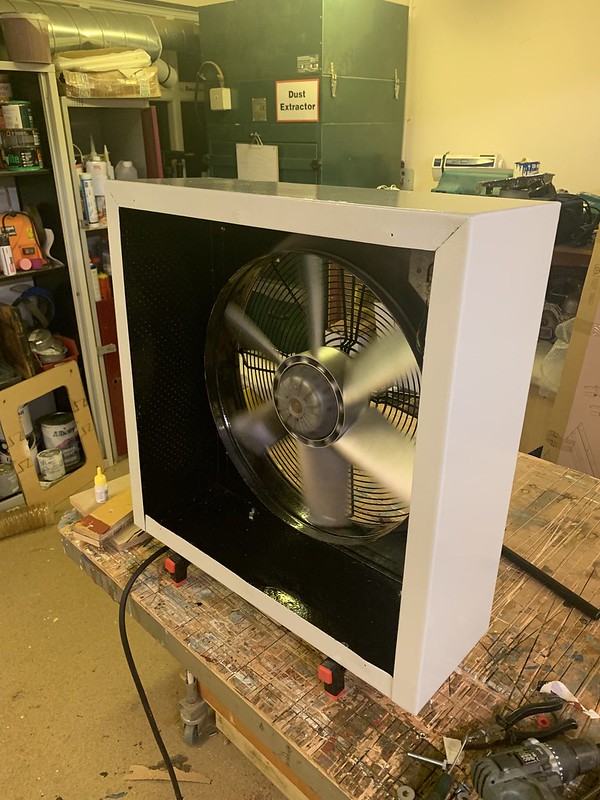
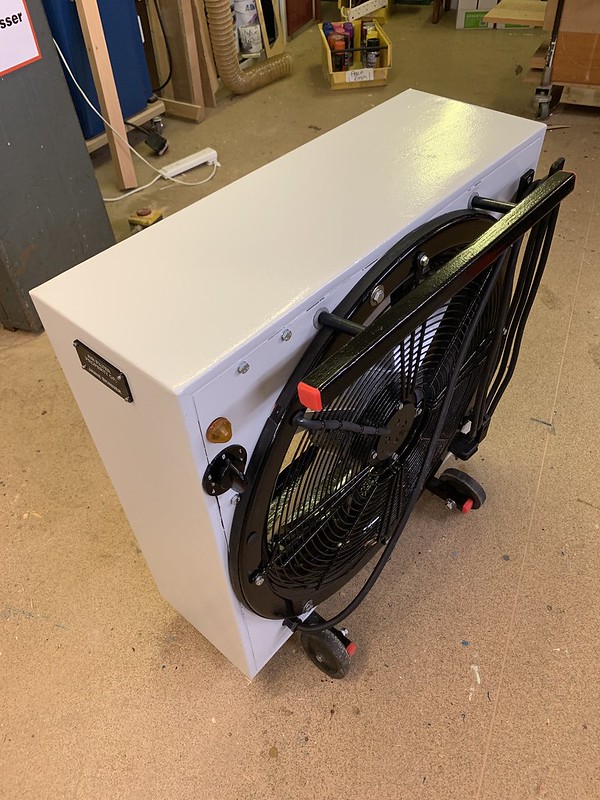
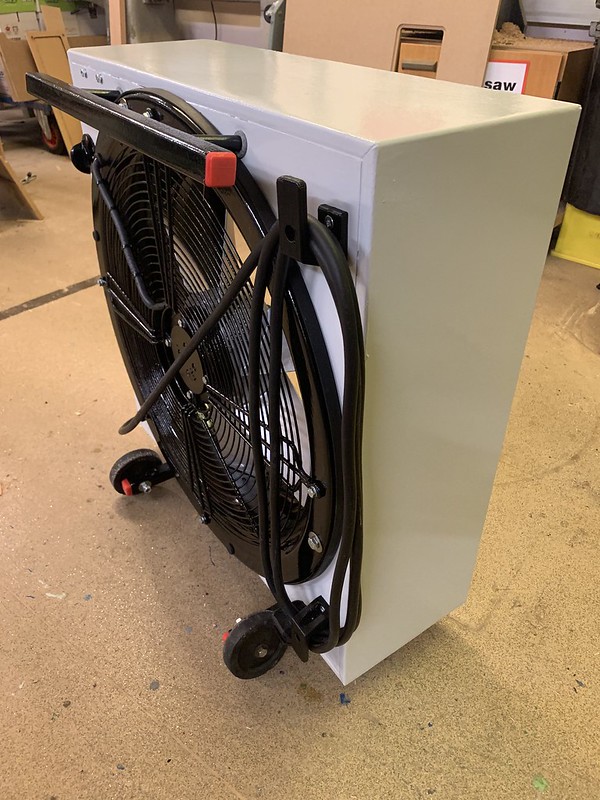
And there she is as of now. All that is left to do is order and fit the filters.
Sort out a bulb.
The wheels are splayed out a bit as the leg section is just bolted to the thin sheet metal. I want to add some thicker mild steel flat bar inside to bolt into and pull them into alignment.
Really does blow some air!
Thanks for looking!
 IMG_6167 by jamie skinner, on Flickr
 IMG_6168 by jamie skinner, on Flickr
 IMG_6170 by jamie skinner, on Flickr
 IMG_6171 by jamie skinner, on Flickr
Found this fan lurking at my works skip. From the look of it came from the farm on site. I later found out it was used to circulate the air in the animal enclosures/barns. By the looks of it it was used in all weathers...
My plan was to see if it still worked (it does).
Restore it quickly which involves stripping it down de-rusting and painting.
Reversing and flipping the fan so it sucks where it used to blow from.
Then add a 595mm square filter to the front. I will then use this to filter my 'work' workshop as I already made one for my my home shop.
A few things I learnt from the previous one is I need to add a pre filter which is washable. I currently vacuum the dust of the filters now and then. Easier if I could take something out side and shake/wash to remove dust.
IMG_6093 by jamie skinner, on Flickr
IMG_6094 by jamie skinner, on FlickrIt is a 0.44kw fan. Roughly a 50cm diameter. Single phase. 5 speed which will be useful.
Brand: International jetstream mancooler.
From the label which I was still surprised to be on there:
IMG_6113 by jamie skinner, on Flickr
IMG_6096 by jamie skinner, on Flickr
IMG_6095 by jamie skinner, on FlickrThere is little original paint. Most is now rust or flaking off.
There was no plug which was my first concern as generally round here it means its kaput. Wired up a plug, put it on its lowest setting, stood well back and flicked the switch. It worked! Great! If it hadn't I would have stripped it and see if I could see anything obvious. If still nothing replaced it with a similar far.
IMG_6097 by jamie skinner, on FlickrNoting how it's wired so when it goes back I don't mess any thing up.
IMG_6102 by jamie skinner, on FlickrTotal rust bucket!
IMG_6103 by jamie skinner, on FlickrCaked in mud!
IMG_6105 by jamie skinner, on FlickrOpening the fan motor to clean. Lots of thread wrapped around it.
IMG_6106 by jamie skinner, on FlickrI had wanted to replace the bearings. I would have had to make a dedicated puller so I left it as is for now.
IMG_6107 by jamie skinner, on FlickrElectronics. I believe it is a capacitor start&run motor. There is a light bulb holder. 6 position rotary switch. transformer.
IMG_6109 by jamie skinner, on FlickrUnderside!
IMG_6110 by jamie skinner, on FlickrWiring diagram still inside. This will come in use when trying to change the rotation.
IMG_6111 by jamie skinner, on FlickrPressure washing all the mud/paint off first.
IMG_6114 by jamie skinner, on Flickr
IMG_6116 by jamie skinner, on Flickr
IMG_6117 by jamie skinner, on Flickr
IMG_6118 by jamie skinner, on FlickrThen I wire wheeled the fan blades. I sanded the exterior of the main casing. Nice metal under all that rust. Inside I just wire brushed as it was fiddly to get in there.
There was also rubber sheets mounted on the inside. I guess this was if anything was pulled in and struck the fan the rubber would reduce the sound of the debris hitting the casing.
There were stuck firmly in so I left them as is.
IMG_6990 by jamie skinner, on Flickr
IMG_6126 by jamie skinner, on Flickr
IMG_6127 by jamie skinner, on FlickrOnto the painting. I am going for an off white and black combo.
Undercoat
IMG_6128 by jamie skinner, on FlickrSome primer left over from a previous project.
IMG_6129 by jamie skinner, on FlickrApplied heavily to the rusted parts. Not to fussed about the inside. Hopefully this will keep it covered up.
IMG_6130 by jamie skinner, on FlickrStarting on the black interior paint.
IMG_6131 by jamie skinner, on Flickr
IMG_6132 by jamie skinner, on Flickr
IMG_6133 by jamie skinner, on Flickr
IMG_6134 by jamie skinner, on Flickr
IMG_6135 by jamie skinner, on Flickr
IMG_6136 by jamie skinner, on FlickrAll the rubber parts on the handles and feet had worn so I 3d printed new rubber parts in red rubber. I also printed cable hooks to wrap the new cable that's going on it.
IMG_6138 by jamie skinner, on Flickr
IMG_6139 by jamie skinner, on Flickr
IMG_6140 by jamie skinner, on Flickr
IMG_6141 by jamie skinner, on FlickrStarting on the reassembly
IMG_6142 by jamie skinner, on Flickr
IMG_6143 by jamie skinner, on Flickr
IMG_6144 by jamie skinner, on Flickr
IMG_6145 by jamie skinner, on FlickrSpeed selector, light and rubber cable bung in.
IMG_6149 by jamie skinner, on FlickrElectronics in.
IMG_6150 by jamie skinner, on FlickrFan section on.
IMG_6151 by jamie skinner, on FlickrRewiring. I need to reverse the motor. Looking up what I need to do online. All I had to to do was flip the capacitor wires. As I had the wiring diagram it was fairly easy to do and worked a treat. V & W wires according to the diagram.
IMG_6153 by jamie skinner, on FlickrTesting it all worked.
IMG_6157 by jamie skinner, on FlickrLaser cut some new dial and name plate pieces. It is black plastic with the protective coat still attached.
IMG_6160 by jamie skinner, on FlickrThen sprayed white. I have been trying different ways of doing this. My favourite is still a wax crayon. Paint is a little messy. Tip-ex works well too as it dries very quickly.
IMG_6161 by jamie skinner, on Flickr
IMG_6162 by jamie skinner, on FlickrCleaned up and reattached.
IMG_6163 by jamie skinner, on FlickrAnd there she is as of now. All that is left to do is order and fit the filters.
Sort out a bulb.
The wheels are splayed out a bit as the leg section is just bolted to the thin sheet metal. I want to add some thicker mild steel flat bar inside to bolt into and pull them into alignment.
Really does blow some air!
Thanks for looking!
IMG_6167 by jamie skinner, on Flickr
IMG_6168 by jamie skinner, on Flickr
IMG_6170 by jamie skinner, on Flickr
IMG_6171 by jamie skinner, on Flickr