Adventures in metalwork and machine restoration!

UKworkshop.co.uk

Help Support UKworkshop.co.uk:

This site may earn a commission from merchant affiliate links, including eBay, Amazon, and others.
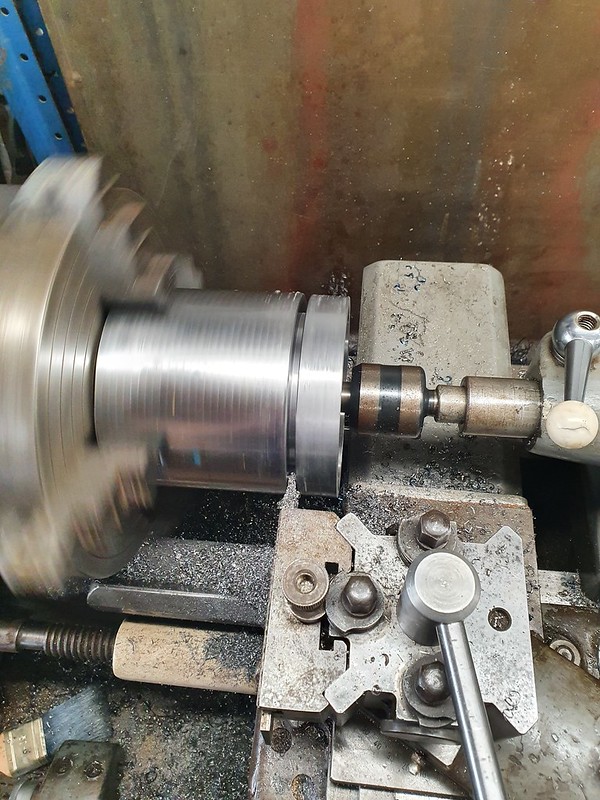
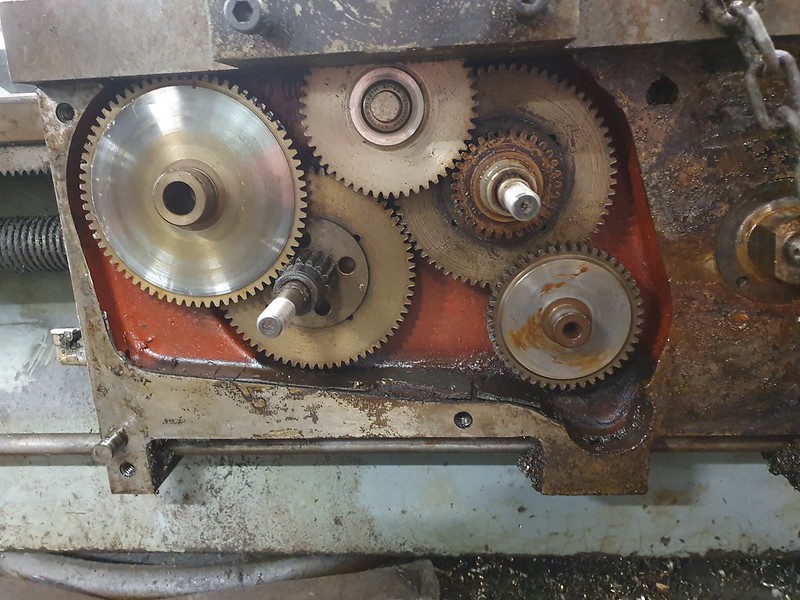
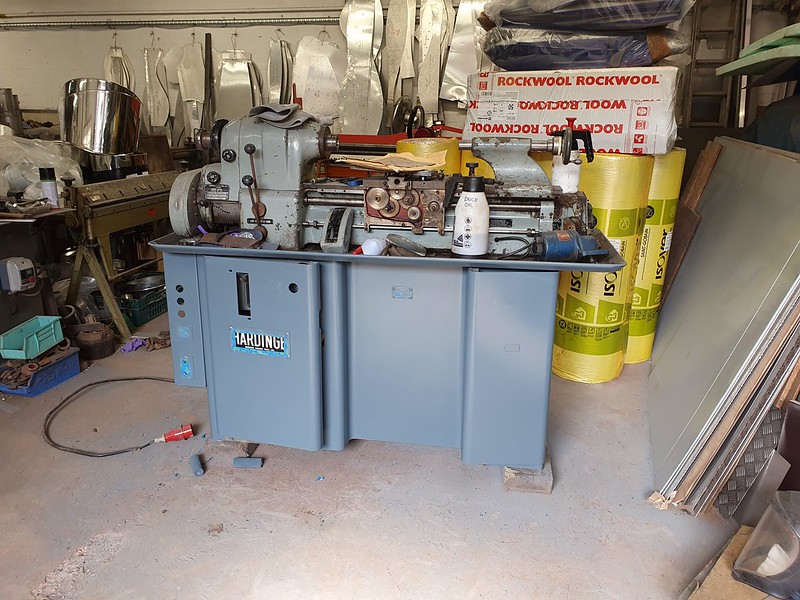
I would try to get a tailstock live centre into that chunk. All very well centering the 4-jaw but that only centres where your indicator is. The bar can easily be a bit skewed, especially with a heavy chunk.

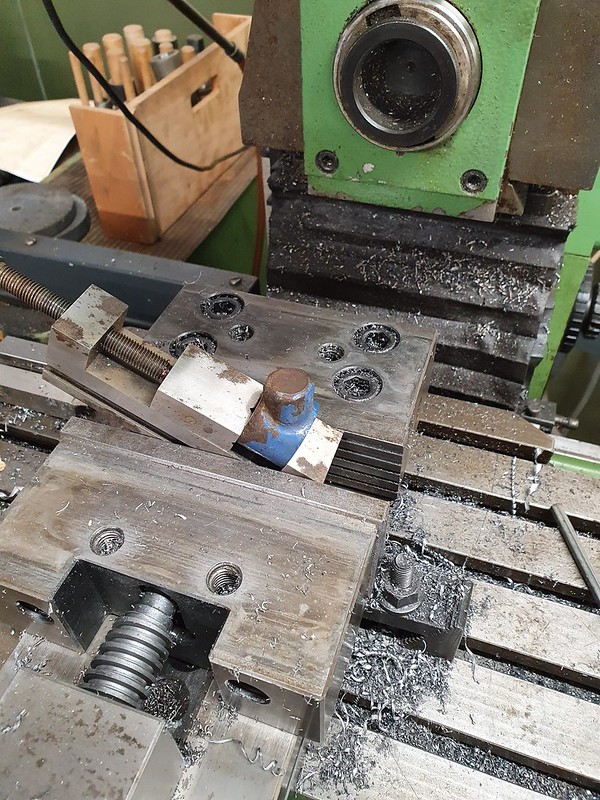
The classic way to do it is, off the lathe, scribe the centre using an engineers' square, using the bit with the V jaws. The rule should be on a diameter. Do this a few times at different start points and you can find the centre quite accurately. Pop in a punch then put it on a pillar drill and drill out with a centre drill. Then you can get one end quite accurately in the tailstock while you fiddle about with the 4-jaw.
 
Thanks Keith. Really wish I'd put a centre in it to setup, would have made life much easier. I did run the indicator at a few points along the length of it so I got it running pretty close to true. Benefits of a patchy youtube education :lol: I've finished all the lathe work on the part now. Just a couple of holes to drill and tap for grub screws and it's done.
 
Ok, finished the next project today. A very long time ago I got a Grimston Electriska geared head pillar drill. It was a proper basket case, but all the parts turned out to still be with it. The only problems were two snapped lock handles on the column, a stripped fibre gear (more on that later!) and the cast iron ring that holds the track on the top of the column had been cracked, brazed and the braze had let go. Winding the head up just pushed it off the top of the column. I bored the big piece in the previous post and counterbored it, then parted off:
parting

I also made two 12mm bars threaded M10 at each end to repair the handles. Faced the snapped bits off on the mill and drilled and tapped them.


Installed:


This morning I got the top ring set up in the mill and got the grub screws tapped. Also put two tapped holes in the top, for a light I had kicking around. Old one is next to it as well.
Finished
Underside finished

Installed, with the light fitted and wired up.
20200329_170937

Lastly the fibre gear that I need to fix:
snapped fibre gear
I'm thinking I'm going to try making it in nylon. I think I'm going to try grinding a single lip cutter to the right profile to cut the teeth. I've got the dividing head for the mill, it's just putting it all into practice!
 
very nice stuff!

Gear cutters are not that expensive to buy (make sure you get the right DP or module) and it will probably mesh more smoothly than a home-ground cutter.

It will be stronger in Tufnol, but be sure you cut it from flat laminated whale tufnol. Don't be tempted to slice off cylindrical rod, since that is wound up in manufacture. The planes of weakness then line up with the planes of maximum load on a gear tooth.

They are not that expensive to buy but don't let me stop you having fun!

cheers, Keith
 
Thanks Keith. One of my issues is that I only have metric arbors for the horizontal axis of the deckels - I'm not even sure if they made imperial ones. Although I could make an arbor and hold it in a collet chuck I suppose. I'd have to mock up the dividing head to see how much stick out I'd need, and if I'd get away without outboard support.

Edit
Just found a thread on practical machinist where one of the dutch machine dealers mentioned he had a couple of 1" arbors. I've messaged him to see if he's still got any, but it was a couple of years ago. It's annoying as all the second hand cutters out there are imperial.
 
Tom, I have an outboard support for a dividing head that has adjustable height of the centre. I don't use it much, and you'd be welcome to borrow it for this job when you're ready with the material and cutters, if we can safely and legally get it to you!
 
Tom, another thought. Your cog has a detachable central part, probably press fitted then bolted. If you can get this apart, you could cut the cog on a copy of the inner part, which you make with a metric hole to fit your arbor. Then swap it to press on to the original imperial part. The copy would need to be accurately made, but you have the lathe .

You could try it out in nylon first and if it holds up, no need to go to tufnol.
 
Keith, I think you got the wrong end of the stick - it's the horizontal cutter arbor I don't have, not the workpiece one. My dividing head has an overarm and centre, so should be good there, thanks. Old Fred Deckel in his wisdom picked an 20mmx2 sawtooth pitch thread for the drawbars, which absolutely no-one else used. For the vertical head I have plenty of tooling, and I can use BT40 arbors with a converter pullstud so I can use pretty much anything. The horizontal is the issue, because all the arbors I do have are metric, and all my cutters are imperial. Luckily the dealer I messaged still has a couple of arbors, and the price he's asking is incredibly reasonable, so hopefully I'll have one here pretty soon. I'll be out of excuses before you know it :lol:

Todays progress was to fit a nice big splashback panel to the racking behind the lathe. I've always wanted to have some kind of storage for all the stuff you need constantly, so this kills two birds with one stone. I folded a return on the metal sheet so anything that hits it runs into the chip tray, then made some hangers for the quick change tooling and tailstock bits. There's a few other bits I want to do as well but its a big step forward. Certainly beats having it all on the headstock and in the chip tray!
New splashback
 
Indeed, wrong end of stick, sorry, anyway glad it seems to be getting sorted. And that's a nice splashback/tool holder setup you have made, you get good use out of the sheet metal folder!

Where do you keep the chucks?
 
Benefits of having a sheet metal shop for a living! (hammer) The chucks live in some big lista style drawers to the left of the lathe.
 
Now I've caught up with what I wanted to do on the big lathe, its back to project Hardinge. I've been steadily working my way through it in lunch breaks and after work. Mostly it's been an absolute battle to get things apart, but I think thats mainly due to the decades of inactivity gumming it up and the incredibly tight tolerances its built to. I'd heard horror stories of the carriage gearbox getting water based coolant in it and the gears pitting badly. I was relieved when I finally got the front off!
Carriage gears

After that, I took the carriage completely off so I could clean it properly, and also measure the bed. Because the bed overhangs the front a little, with the carriage off you can just get a micrometer to it. In theory the worst of any wear should be on the front because its got the weight of the carriage hanging off it. In the picture you can see the sharpie marks where I measured it. It was a while ago and I can't remember the exact figure, but it was something like 0.014mm deviation. I decided it was probably good enough for my purposes. The clever thing with these lathes is the bed can be unbolted and sent off for a regrind, so if I find its cutting badly I can always do that.
Bed measurements

Today I started to get all the flaky rusty paint off the cabinet. I thought it was that flaky, it'd come off easily. Wrong. I wore a new wire knot wheel out completely getting it done.
old paint gone

And finally, got a coat of primer on:
Primed

First coat of colour tomorrow 8)
 
Looking very good, Tom. That bed wear looks perfectly ok and the gears look in good shape. That's a neat design, that the bed can be unscrewed. I had quite a job getting mine done.

Looking forward to the rest

Keith
 
Yup, that machine looks like a real "piece of work" - especially when I compare your parts with those on my little Chinese mini lathe (separate post)!

You probably said already, but remind me please, when was it made?

Nice work, looking forward to the rest.
 
AES":12n354c4 said:
Yup, that machine looks like a real "piece of work" - especially when I compare your parts with those on my little Chinese mini lathe (separate post)!

You fall on this one AES and it'll break you rather than the other way around! :lol:
 
According to lathes.co.uk, the HLV was made between the late 40's and 1959, when they replaced it with the HLV-H. New they were £1300 - £25k today.

Got the first coat of gloss done. Darker grey than I was hoping for, but I can live with it!

First coat

Also had a major auction score last week - enough 5C collets to fill all the gaps in my collection!
Collets
 
These are mostly genuine hardinge ones - they're still available new from hardinge - $44 each for the round fractional sizes, $62 each for the hex and squares :shock:
 
Back
Top