oddsocks
Established Member
A few months ago I agreed to build my daughter three projects, all to be delivered before her baby next March.....
To match with existing furniture the finish needed to be American White Oak, Limed (I think - not got to the bit of trying to get a good match yet!) and simple contemporary style.
Here's the final sketchup images that I used with the cutlist plugin and then my data transformation process to import into Optimik (I created a how to post a few months ago). The result showed that all three units could be built from 3 sheets of 19mm Oak veneered MDF, 2 sheets at 7mm veneered and a 1/2 sheet of 4mm ply (drawer bottoms). The solid wood (TV unit top, door frames, plinth and lippings to all the MDF components) needed approx 4 cu ft of white oak (this translated into me buying 12 but using 10 lengths of 2.5m at widths from 110 -280mm, most at 160-180mm).
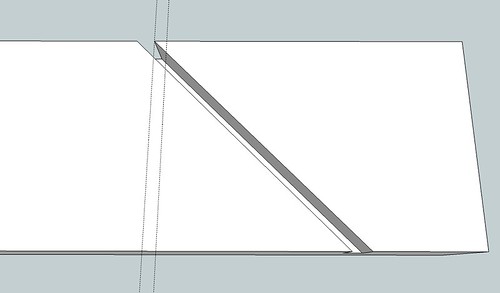
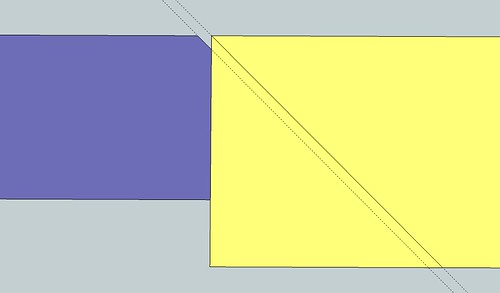
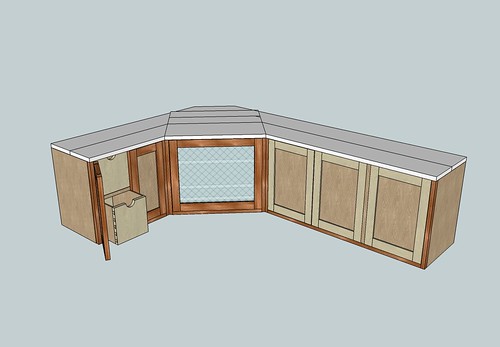
(ignore the colours on the images, I was showing the different materials). The top of the corner unit is solid wood, in this image I have replaced the original one component with the individual timber widths, so that I could get the needed lengths. I ended up with this layout as I think the grain will flow better and it avoids short grain at the front.
short side to wall corner is 1130mm, long side 1575mm, depth of top is 320mm (sized to hold two rows of DVDs after allowance for rear panel and doors). The drawers on the short side are to hold gaming handsets, the games console will be behind the door to the right of the drawers.
Wardrobe with height to fit in an alcove

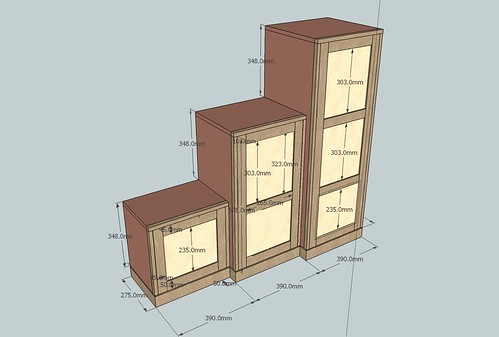
storage unit, to be built as three towers with one door on each tower and 1, 2 and 3 cubicles (the larger one takes full size A4 folders). Note that the lower rail on the middle and large towers is aligned to the small tower, which means the panels are not all the same size in these
I estimate the total cost will be just over £550 for all three....
So now to some WIP (not much progress yet but hopefully documenting here and having the March deadline will spur things on....)
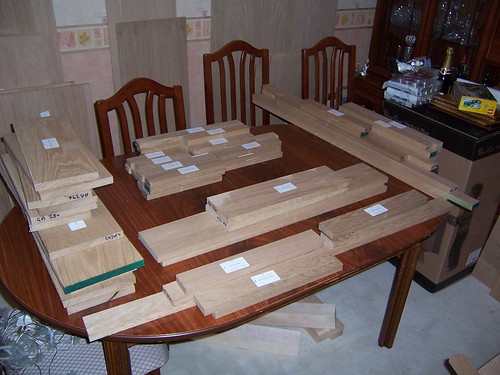
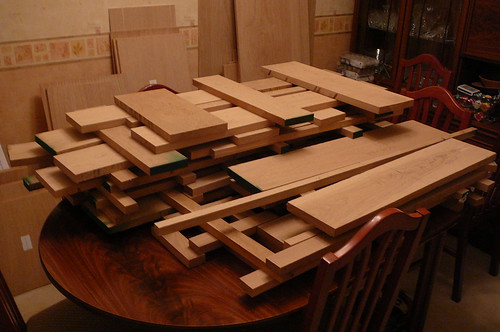
The cut MDF stacked against the wall, the initially dimensioned oak in stick on the dining room table (yes I had to move it all on Christmas eve!)
The labels on the MDF come out of the optimik program so hopefully i won't mix up the pieces. They are stacked by unit.
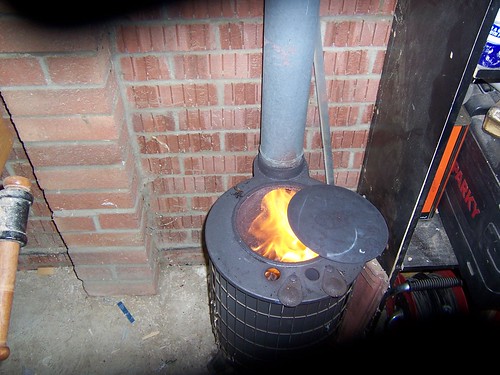
After Christmas I sharpened the blades on the dewalt planer /thicknesser and thicknessed all the oak to just over 20mm after getting the garage nice and warm....
good old Hotspot..still going after 12 years
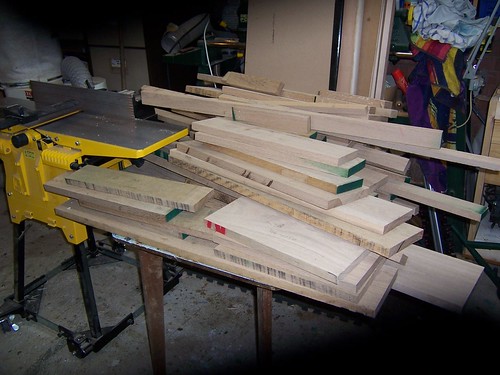
The wood waiting to be thicknessed (it took about 3 hours!)
[
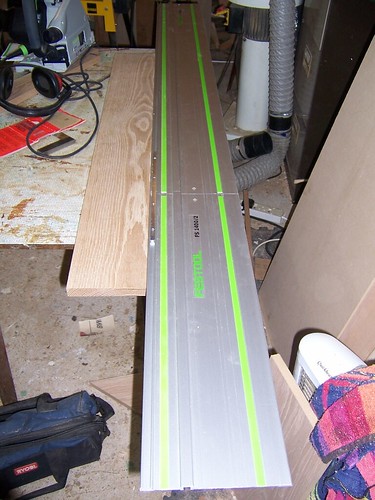
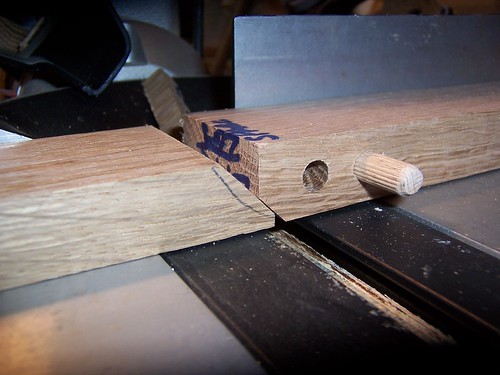
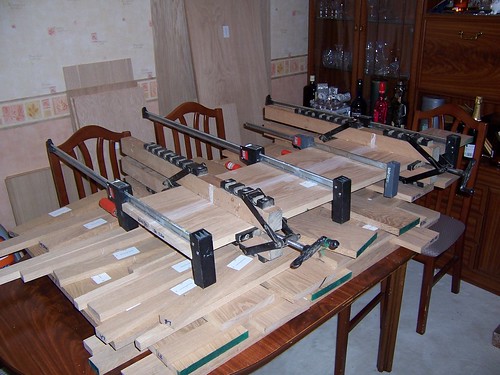
And this is where I'm at now....the wood is thicknessed, labelled and the TV unit long side top has been jointed (its indoors to allow the glue to dry). Hopefully by the end of the weekend I'll have the TV unit top 3 main components (short side, long side and centre) all jointed and maybe some of the MDF lipped.
Looking ahead...
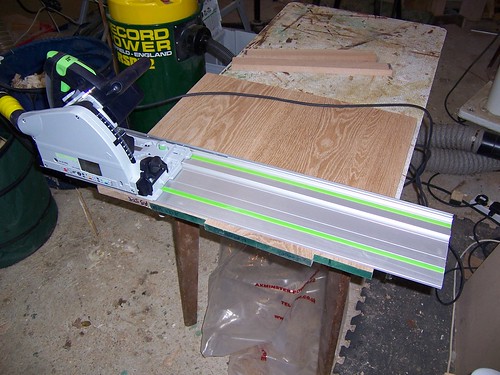
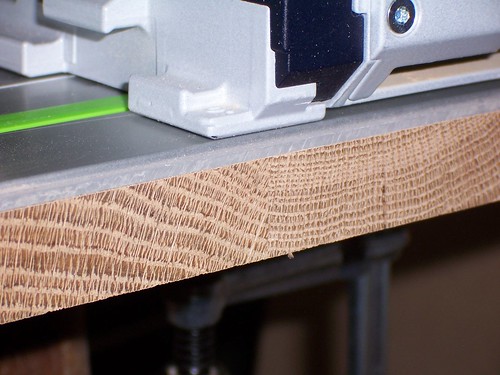
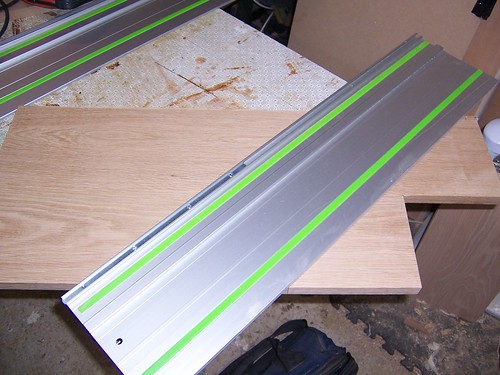
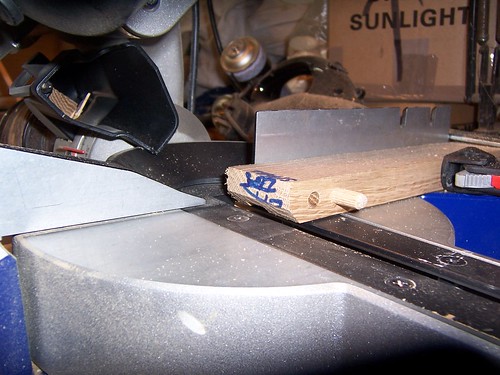
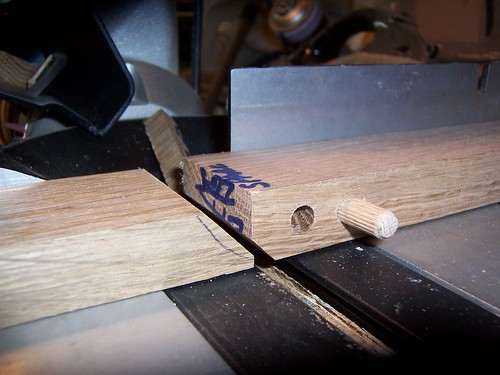
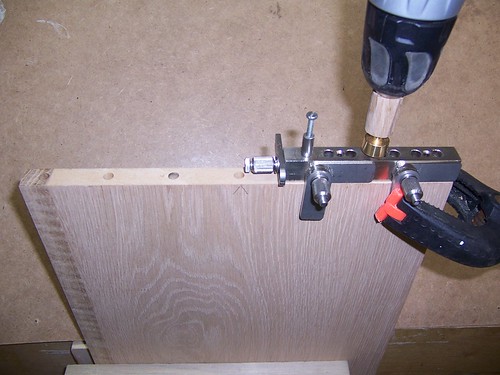
I intend to use my new joint genie to dowel the MDF components, and the freud door panel router set (bought at the DM tools show) for the door frames - I kept the component dimensions common across all three pieces of furniture.and have plenty of dimensioned test pieces......there may even be the odd gloat pic with my recently acquired festool TS 55 EBQ plunge saw and rail that jumped out me as a discounted bargain as ex demo stock (approved as demo stock because it had been sold and recovered within a few days due to the buyer going bust but by that time it had been used)......I only went in to buy a spanner':roll:'
The construction is hopefully not going to be too difficult, but I'll post progress and any good photos I'm able to take
To match with existing furniture the finish needed to be American White Oak, Limed (I think - not got to the bit of trying to get a good match yet!) and simple contemporary style.
Here's the final sketchup images that I used with the cutlist plugin and then my data transformation process to import into Optimik (I created a how to post a few months ago). The result showed that all three units could be built from 3 sheets of 19mm Oak veneered MDF, 2 sheets at 7mm veneered and a 1/2 sheet of 4mm ply (drawer bottoms). The solid wood (TV unit top, door frames, plinth and lippings to all the MDF components) needed approx 4 cu ft of white oak (this translated into me buying 12 but using 10 lengths of 2.5m at widths from 110 -280mm, most at 160-180mm).
(ignore the colours on the images, I was showing the different materials). The top of the corner unit is solid wood, in this image I have replaced the original one component with the individual timber widths, so that I could get the needed lengths. I ended up with this layout as I think the grain will flow better and it avoids short grain at the front.
short side to wall corner is 1130mm, long side 1575mm, depth of top is 320mm (sized to hold two rows of DVDs after allowance for rear panel and doors). The drawers on the short side are to hold gaming handsets, the games console will be behind the door to the right of the drawers.
Wardrobe with height to fit in an alcove
storage unit, to be built as three towers with one door on each tower and 1, 2 and 3 cubicles (the larger one takes full size A4 folders). Note that the lower rail on the middle and large towers is aligned to the small tower, which means the panels are not all the same size in these
I estimate the total cost will be just over £550 for all three....
Veneered MDF & Ply = £275... I give my local timber supplier (Bradhams) the optimik print out and they cut all the pieces for me free of charge - in this case that required a minimum of 80 cuts for the 5 sheets. They even label the usable offcuts as such.
American White Oak - £168 from Thorogoods....I selected 12 boards, all 2.5m long 1" thick with totalled 4.9 cu ft. I only needed 10 of the boards....next time I'll take the laptop with me and have optimik ready to allocate cuts based on the actual timber widths I select. What I actually did was assume in Optimik I had 100, 125, 150, 180 and 200mm widths and went with what it allocated. In the yard they were 140 etc so when I got home and put the true widths in Optimik was able to get all i needed out of just 10 lengths. Optimik and similar are really designed for sheet materials, but it did what I needed for solid as well.
Hinges, super magnets for doors etc £57 from ironmongery direct
Toughened glass for the TV unit centre door - quoted at £18 (not yet bought).
Glue, finish etc approx £30.
So now to some WIP (not much progress yet but hopefully documenting here and having the March deadline will spur things on....)
The cut MDF stacked against the wall, the initially dimensioned oak in stick on the dining room table (yes I had to move it all on Christmas eve!)
The labels on the MDF come out of the optimik program so hopefully i won't mix up the pieces. They are stacked by unit.
After Christmas I sharpened the blades on the dewalt planer /thicknesser and thicknessed all the oak to just over 20mm after getting the garage nice and warm....
good old Hotspot..still going after 12 years
The wood waiting to be thicknessed (it took about 3 hours!)
[
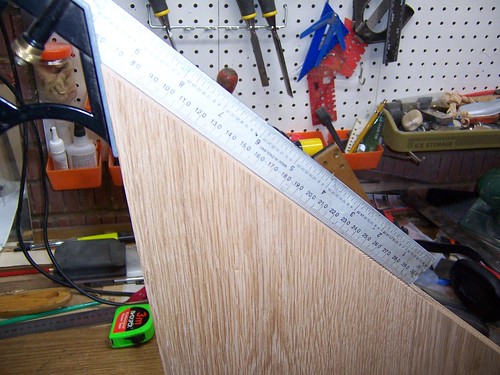
And this is where I'm at now....the wood is thicknessed, labelled and the TV unit long side top has been jointed (its indoors to allow the glue to dry). Hopefully by the end of the weekend I'll have the TV unit top 3 main components (short side, long side and centre) all jointed and maybe some of the MDF lipped.
Looking ahead...
I intend to use my new joint genie to dowel the MDF components, and the freud door panel router set (bought at the DM tools show) for the door frames - I kept the component dimensions common across all three pieces of furniture.and have plenty of dimensioned test pieces......there may even be the odd gloat pic with my recently acquired festool TS 55 EBQ plunge saw and rail that jumped out me as a discounted bargain as ex demo stock (approved as demo stock because it had been sold and recovered within a few days due to the buyer going bust but by that time it had been used)......I only went in to buy a spanner':roll:'
The construction is hopefully not going to be too difficult, but I'll post progress and any good photos I'm able to take