Wood for bandsaw box

UKworkshop.co.uk

Help Support UKworkshop.co.uk:

This site may earn a commission from merchant affiliate links, including eBay, Amazon, and others.

OscarG

Established Member
Joined
3 Jun 2016
Messages
988
Reaction score
3
Location
London
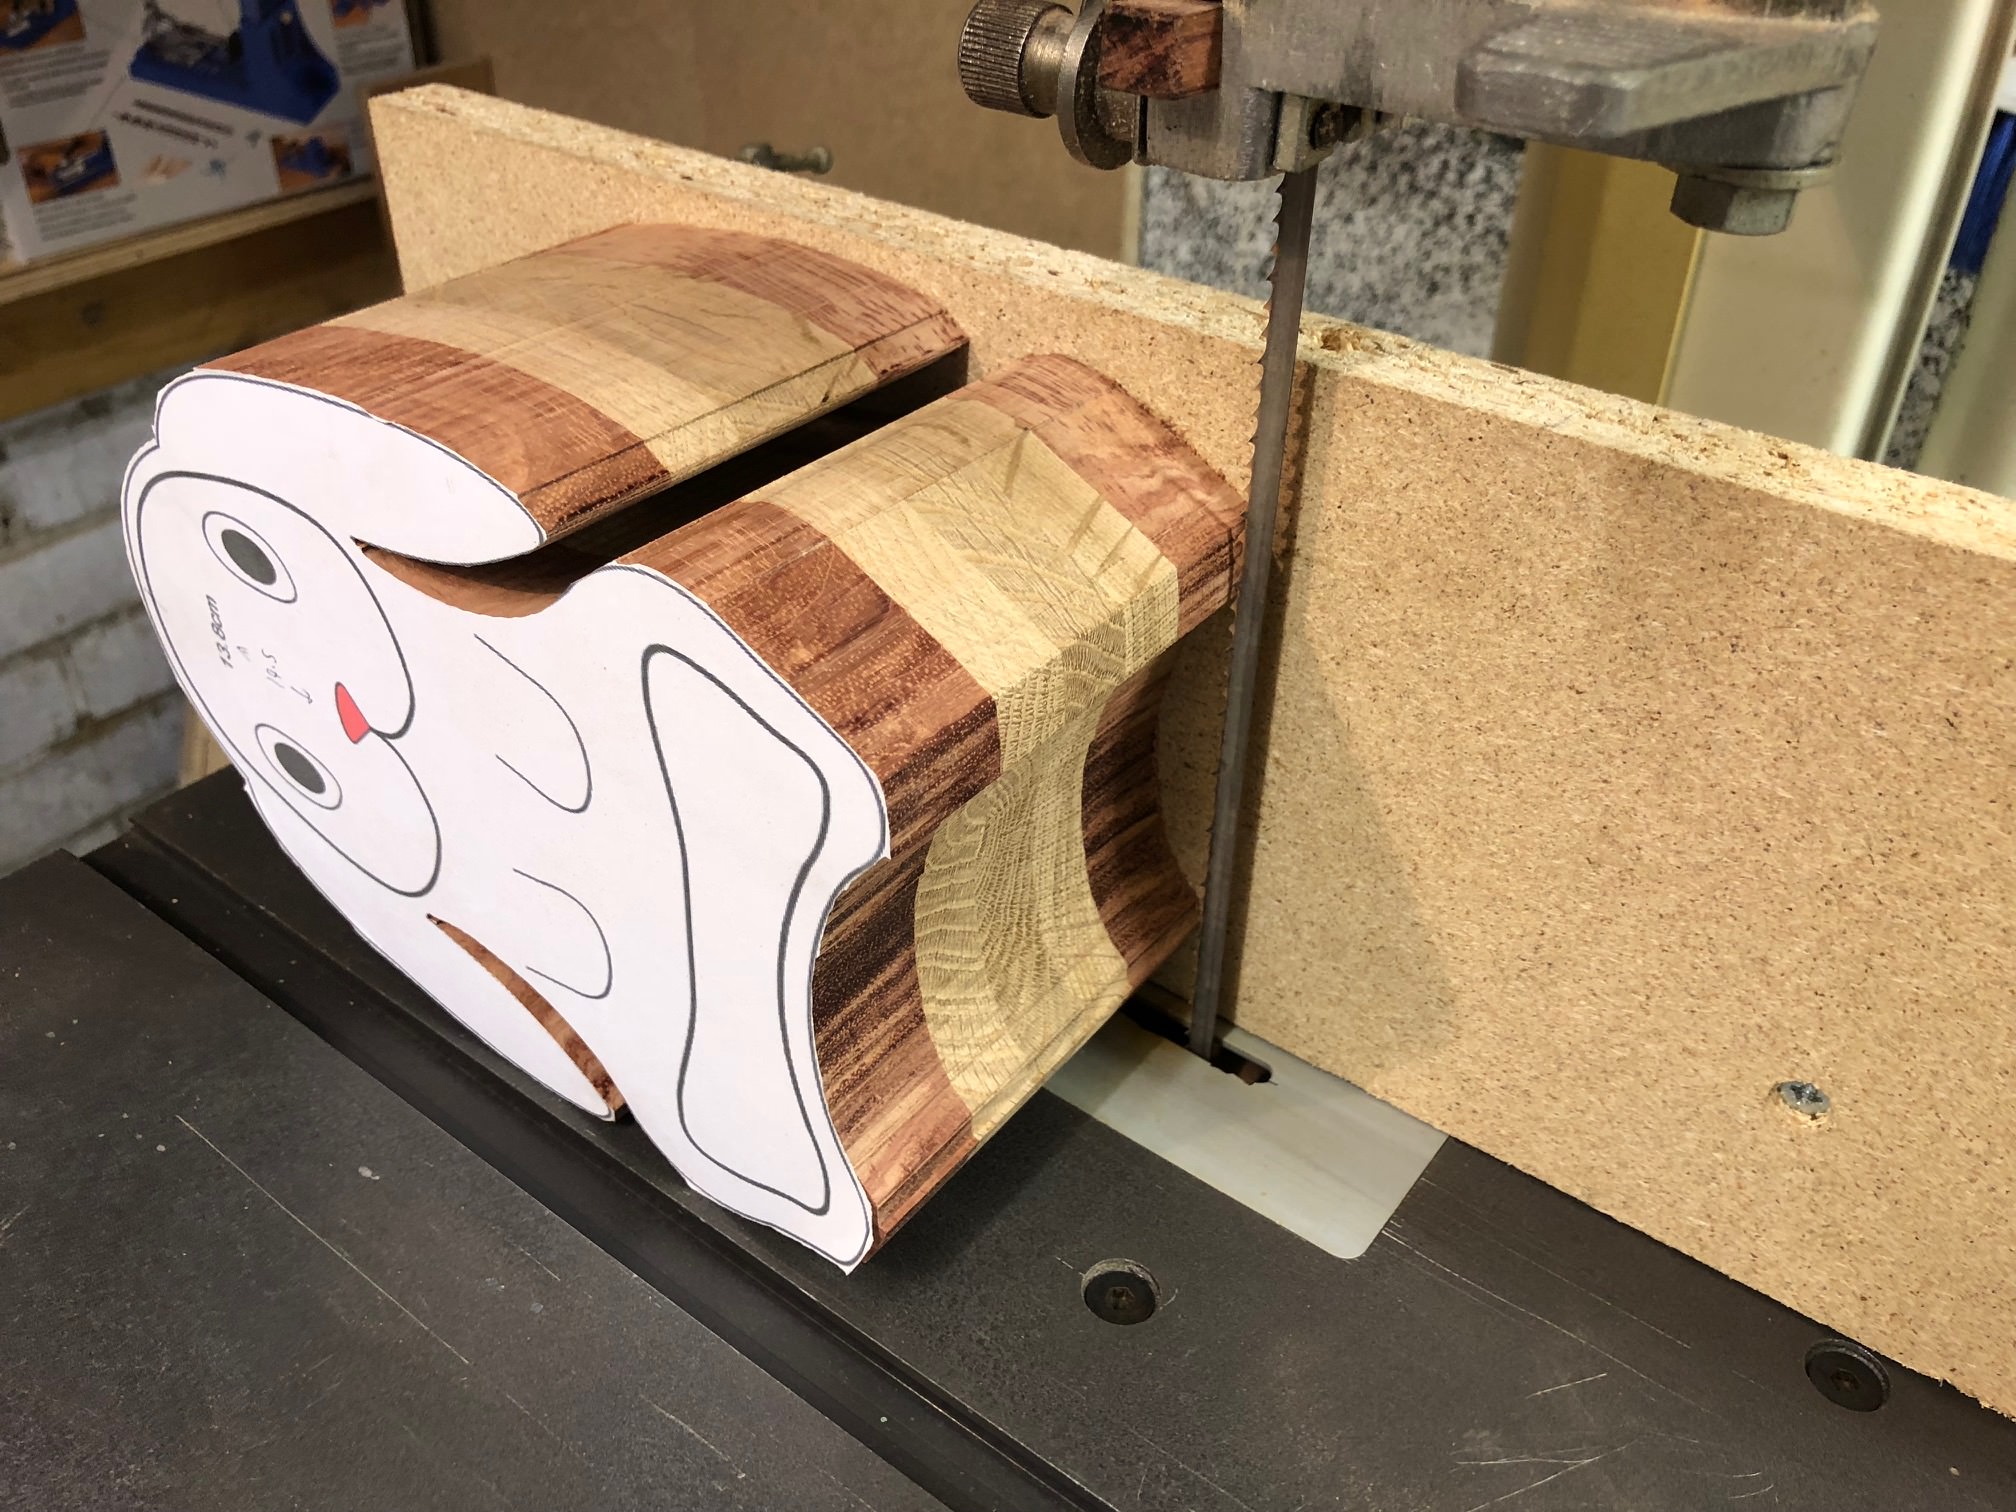
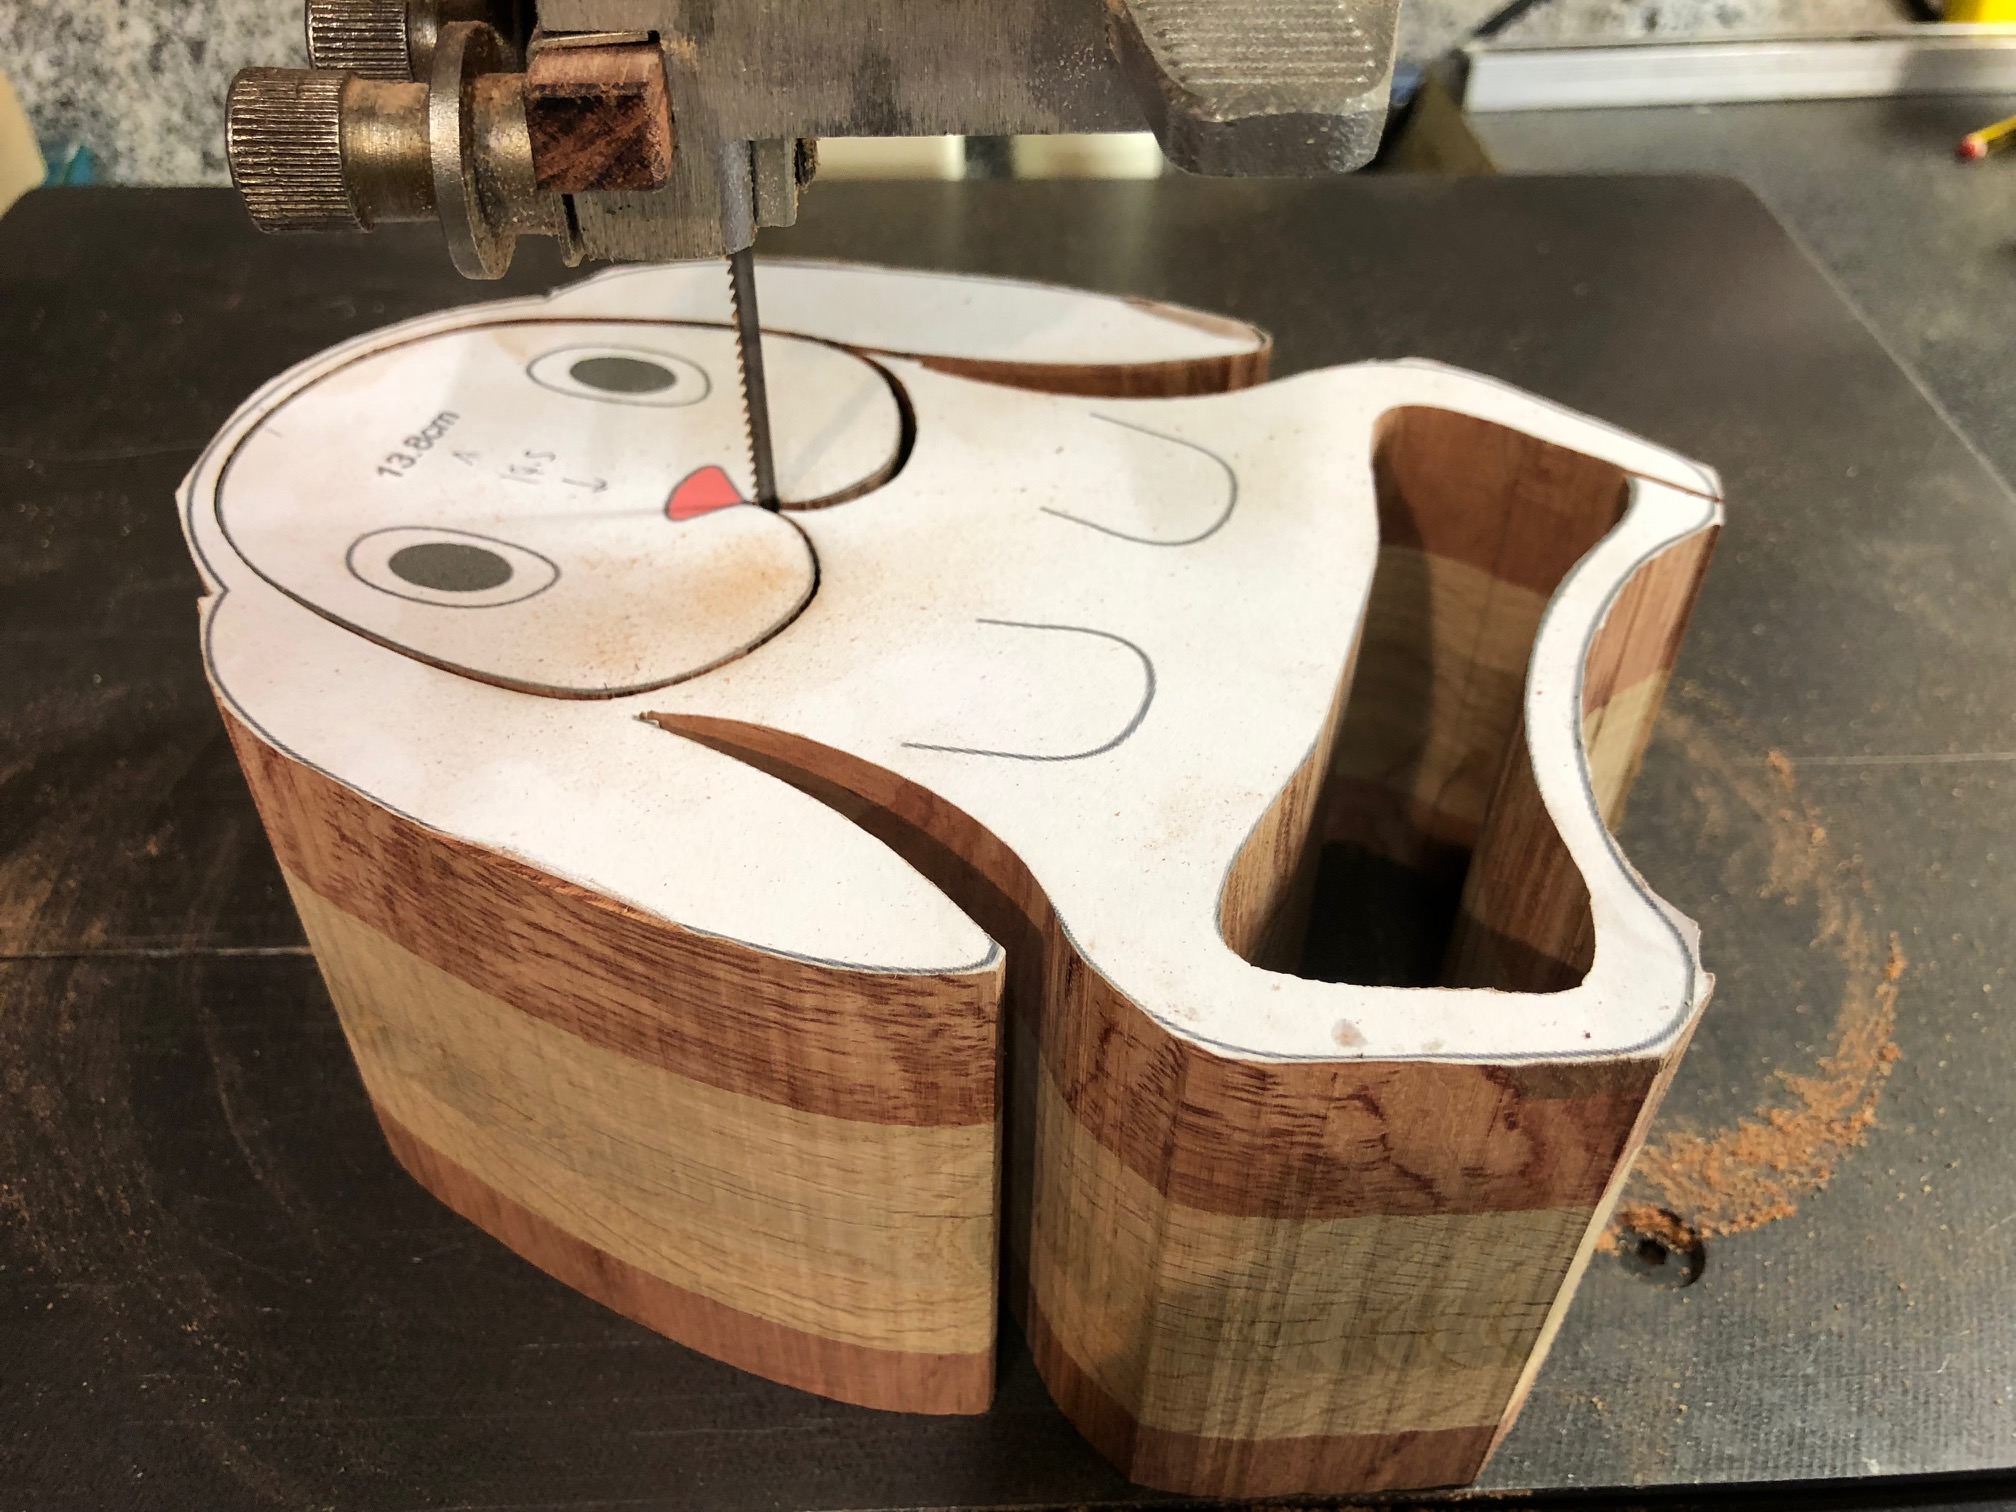
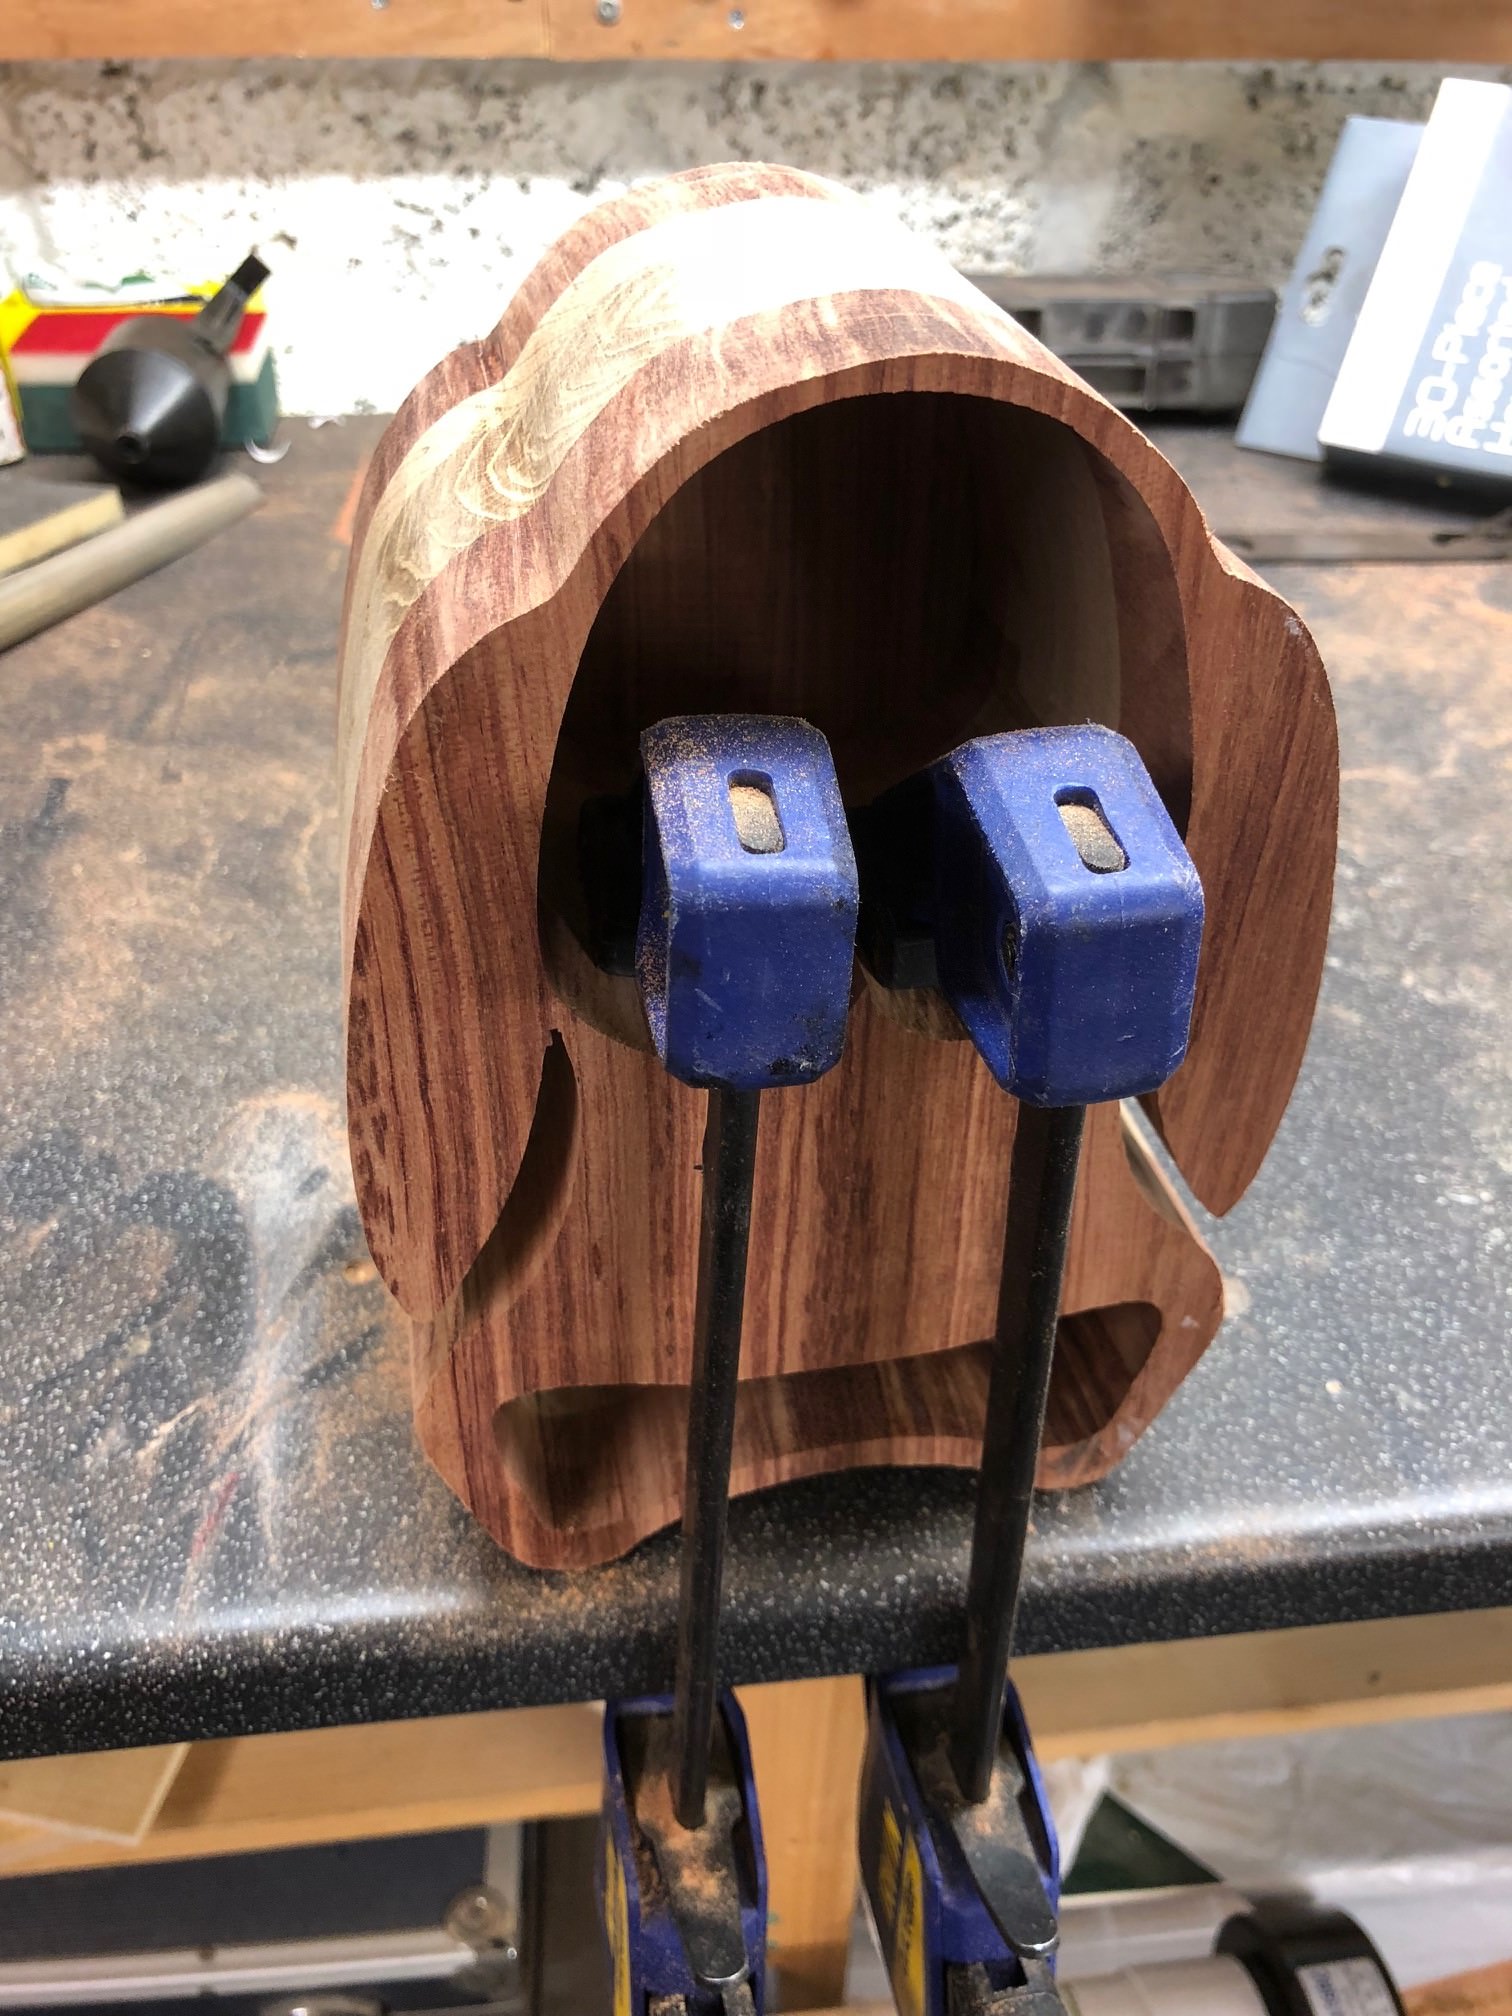
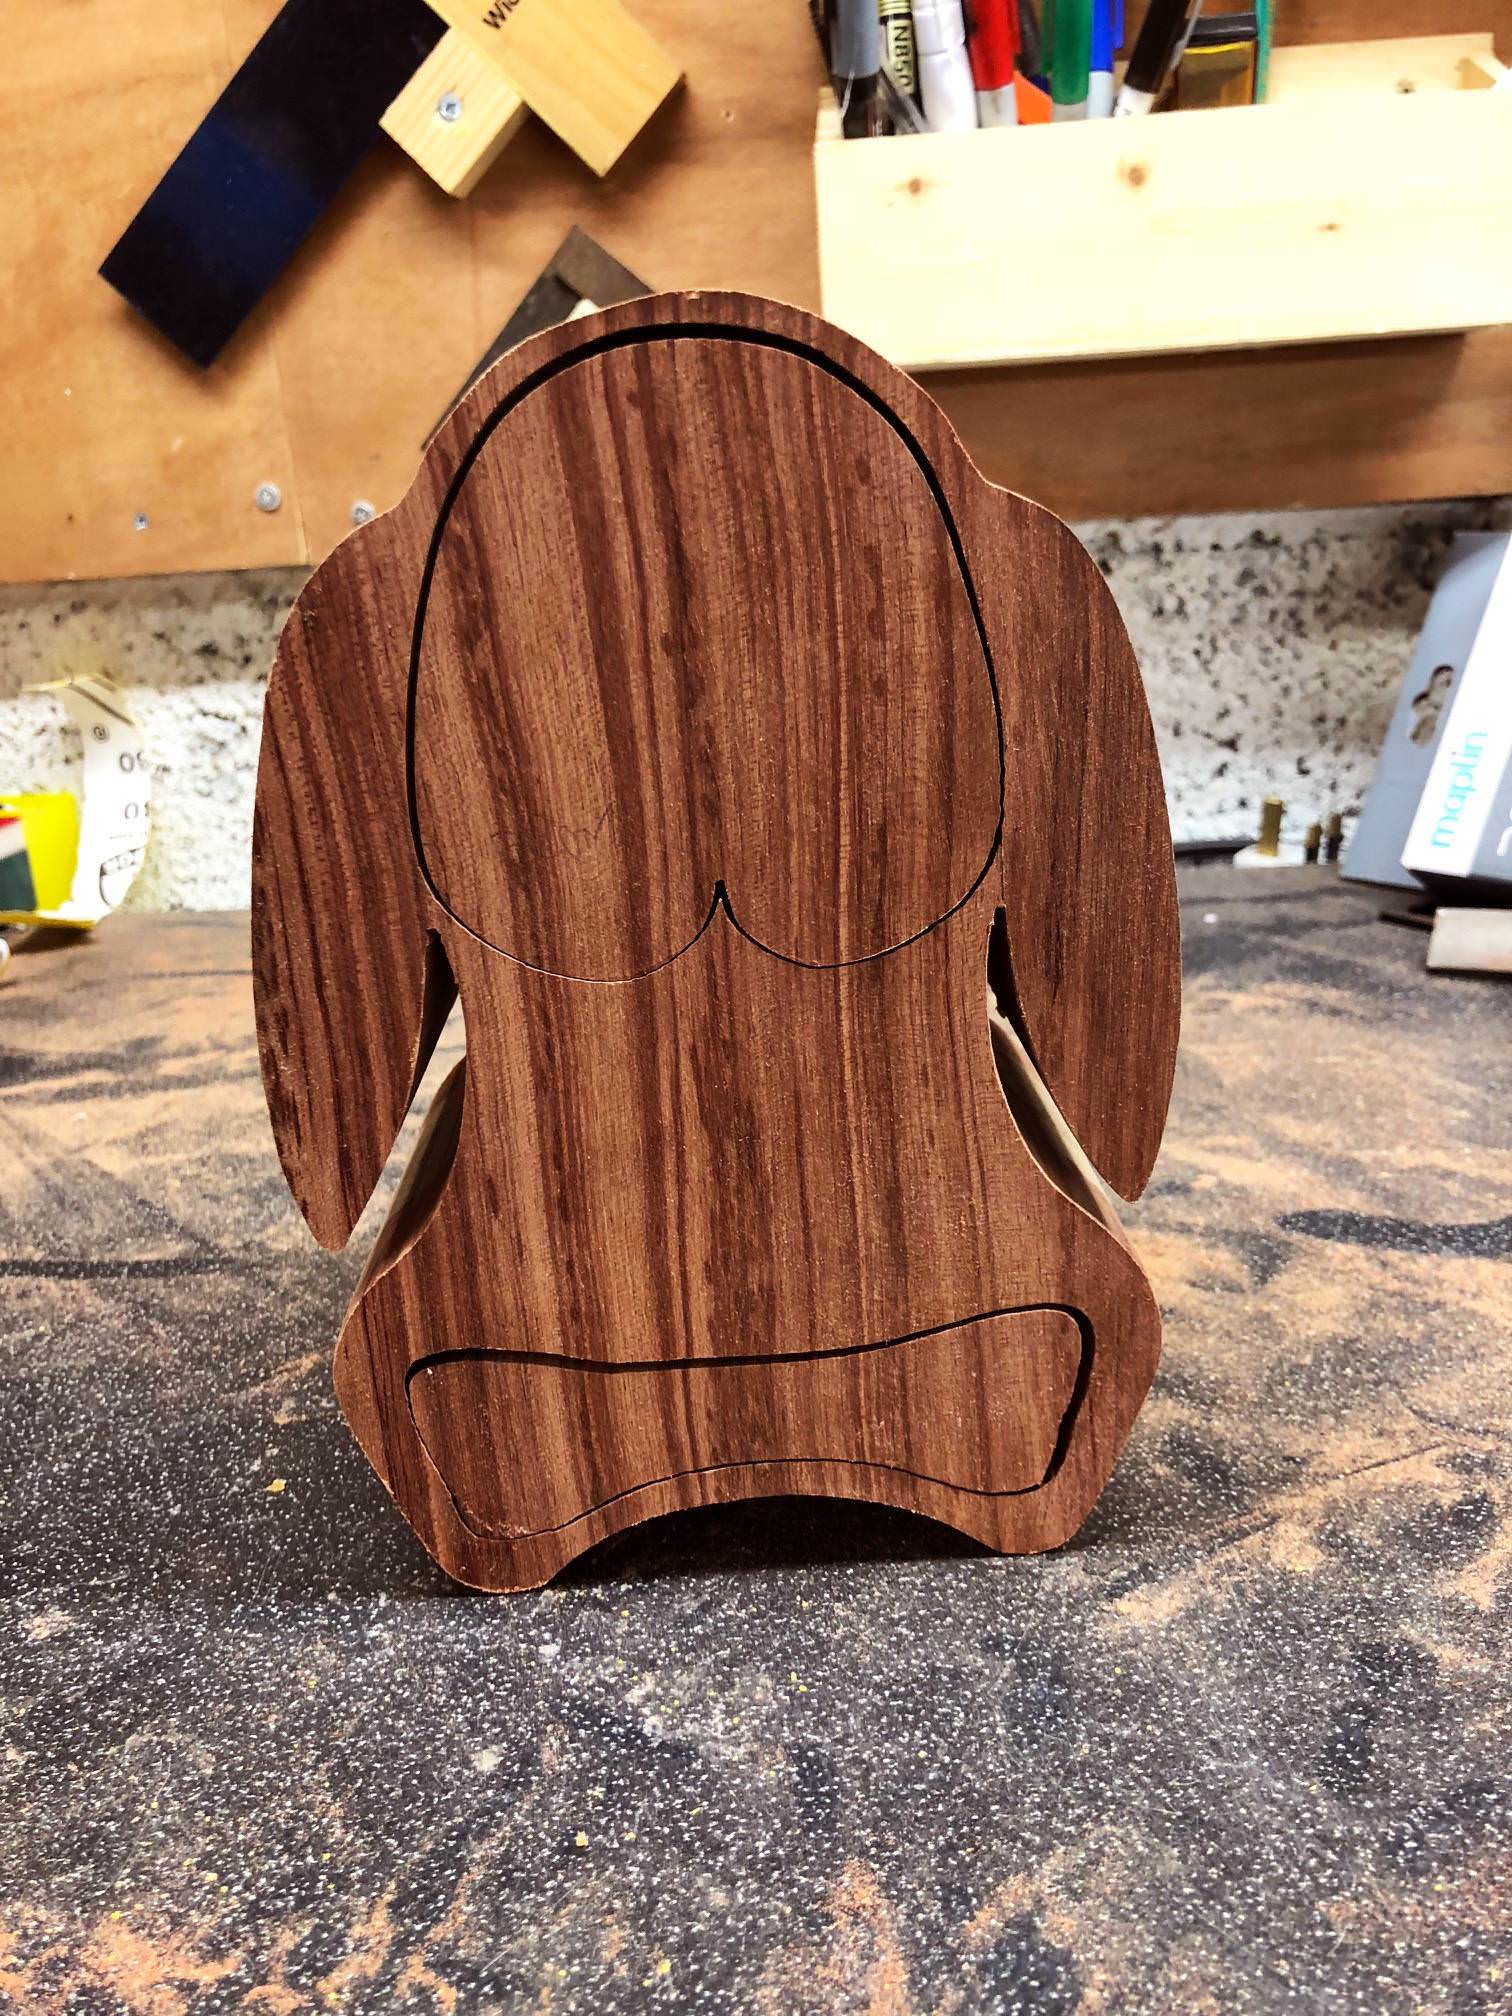
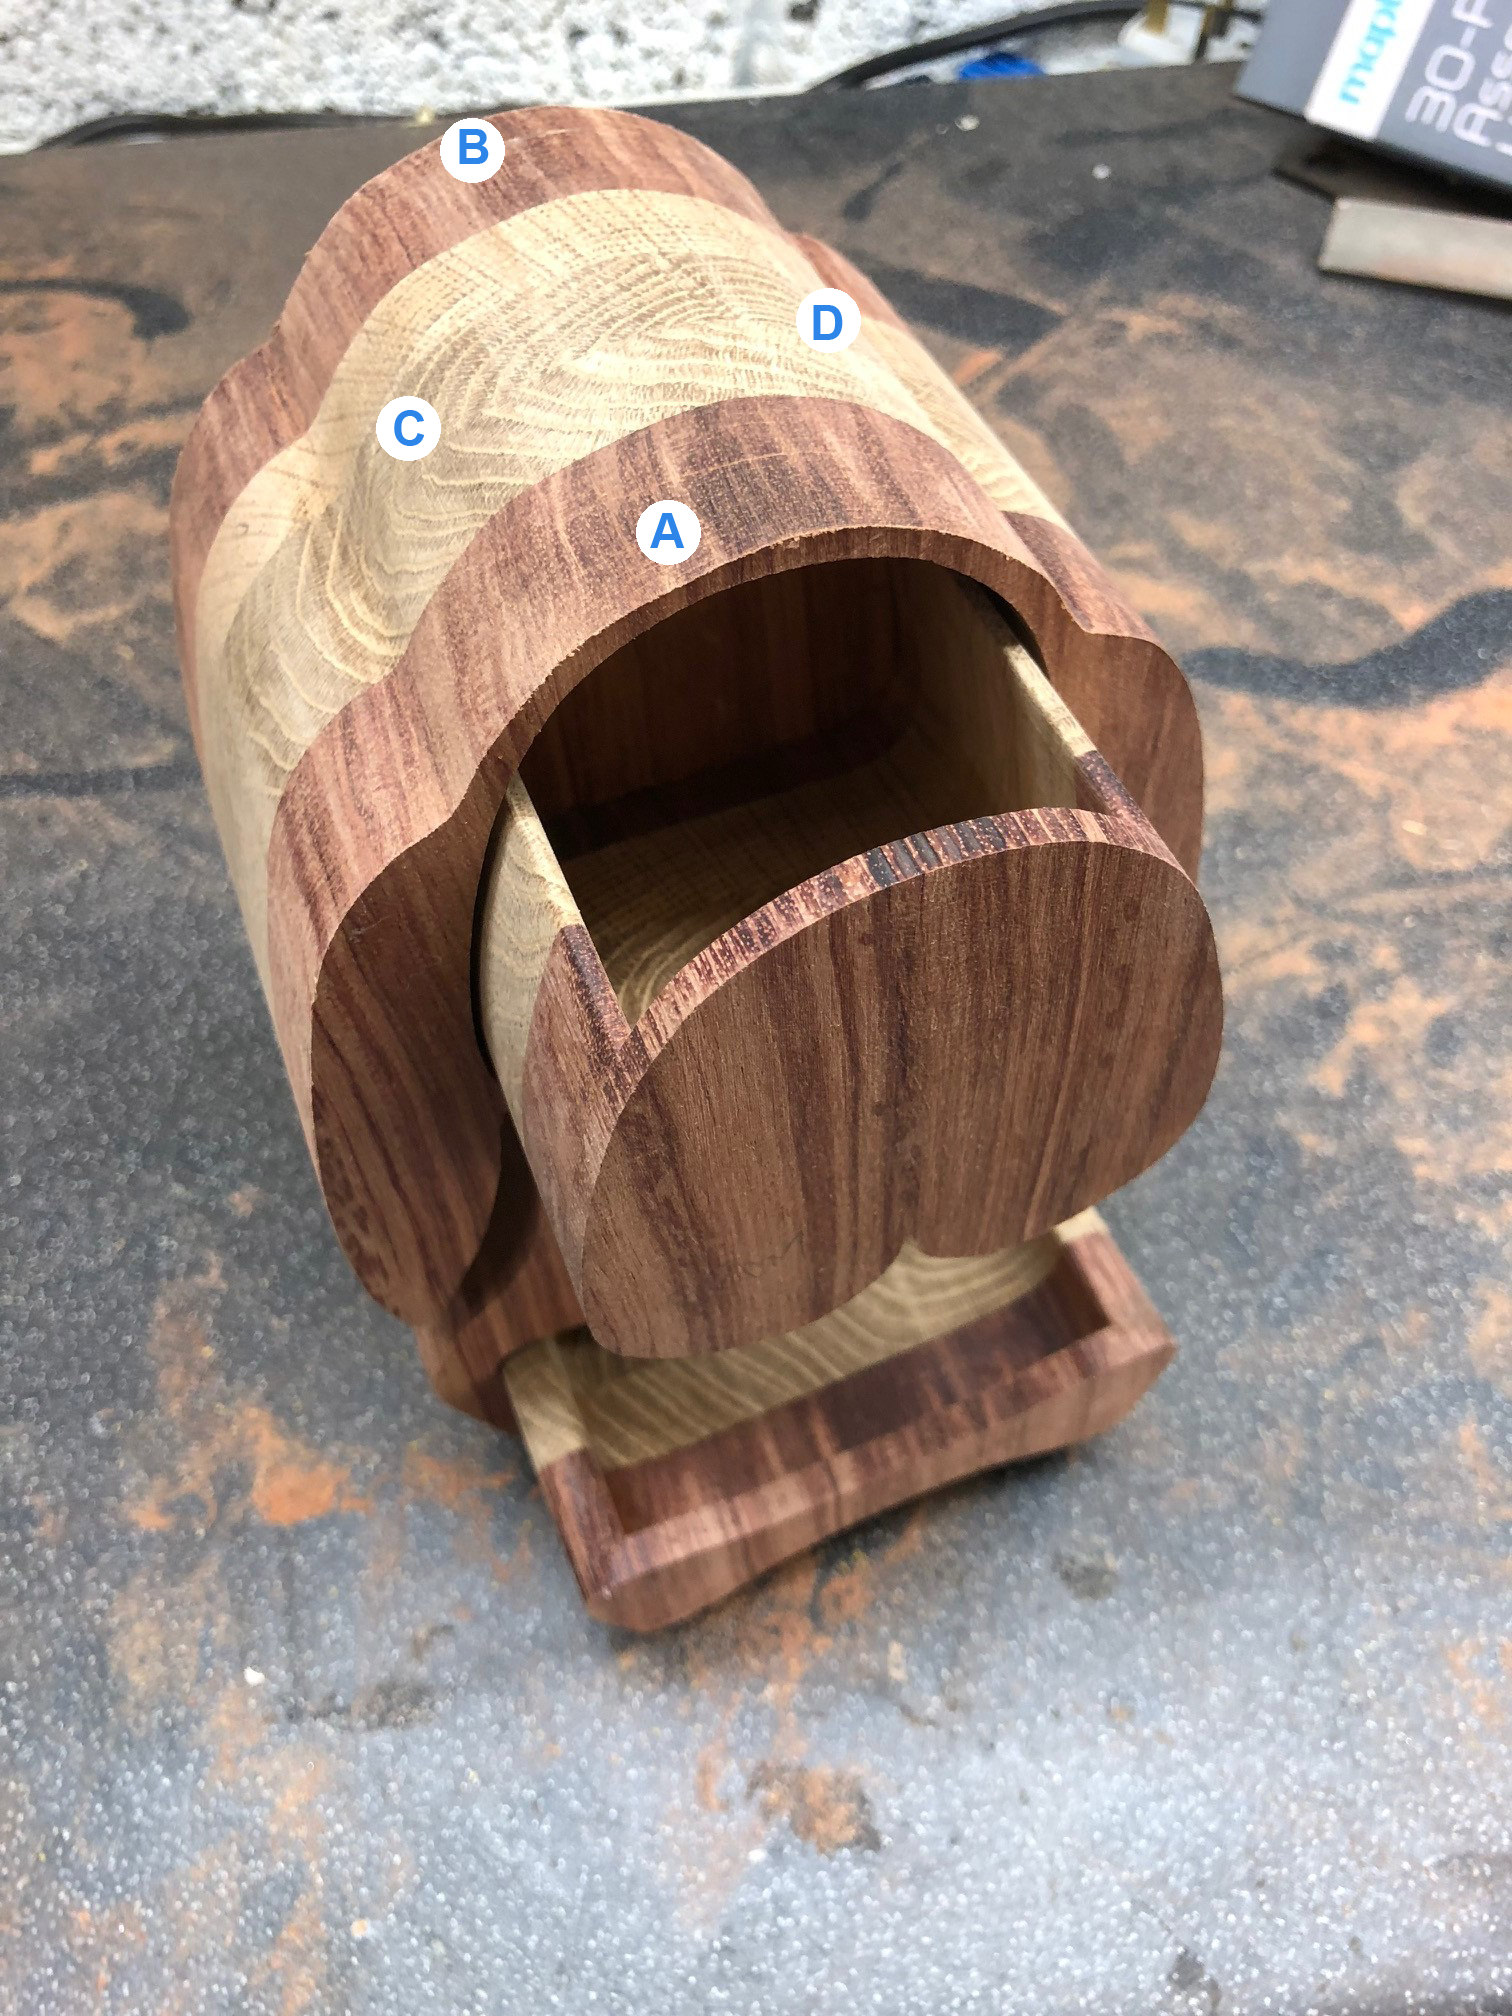
For an Xmas prezzie for my girly I'm gonna have a go at making my first bandsaw box. If it turns out **** I'll get her some slippers instead ;)

I have some nice oak floorboards that I'm going to recycle. I'd like another colour wood so I can have alternating colours in the glue-up.

I saw some Sapele Mahogany for sale but wondered if that would be a huge pain as it would need grain filling etc right?

Can you think of an easy-to-work wood that might be suitable?

Cheers!
 
wood does not HAVE to be grain filled.
I have never use grain filler on any of my boxes (you can browse from the project link in my signature).

Obviously, you CAN, but you dont HAVE to.

This is my latest box for my young grandaughter.
Bubinga and maple, hand sanded to 400 grit, and coated with home made wipe on poly.
If you dont like super gloss, just use satin or matte.

small horse.jpg
 

Attachments

  • small horse.jpg
    small horse.jpg
    113.5 KB · Views: 1,239
I'm a huge fan of your boxes Bob! I'll be very chuffed if I can reach anywhere near that standard.

I love the way you've done the handle for the drawers.

I'm gonna try and make a bunny with lop ears with big oval drawers for the eyes.
 
Oscar, thanks.
But its not difficult to make a good novelty box. unlike traditional jewellery boxes which are a PIG to make if you have skills as low as mine.
Find some stark contrasting wood, and follow the age old tradition of K.I.S.S.

(Keep It Simple, Stupid)

Draw out a bold shape, dont get fussy on details because its not a scale model. Dont put tight corners in because the blade will twist out of vertical. Use a tuffsaws blade (he even sends them to me here in Cyprus), and cut slowly, just enough to move through the wood without burning it.
See here how the drawers are big and curved. Curves are good because no one notices if its not completely symetrical :lol:
small bears drawers.jpg

Most of the time I spend on a box is sanding. Lots and lots of sanding. To get the finished shape I use 60 grit on the belt sander, 80 grit on a big block hand sander, then 150, 220, 320, and finally 400.
Then (usually) 3 coats of wipe on poly with a lick and a promise between each with 0000 wire wool.

Patience is much more important than skill for boxes like mine.
 

Attachments

  • small bears drawers.jpg
    small bears drawers.jpg
    184 KB · Views: 1,207
I love the finish you get bob, I've got to try making a wipe on poly varnish at some point, looks miles better imo than brushing on varnish and still pretty natural.
 
I think I'm destroying my own reputation here :shock: but again, wipe on poly is so much easier than traditional finishes, and perfectly suitable for small value fun boxes. :lol:

If for example, I was making a presentation box (would that I could!) that would be valued over a couple hundred quid, wipe on poly would not be suitable at all. But I'm making boxes mostly for grandparents to give to their grandkids, and selling them between 30 and 60 quid. No way am I going to spend 3 weeks and 90 pounds on materials to get a french polished surface.

But its getting harder to find oil based poly, even here where the PC brigade are struggling against Cypriot stubborness. I know its very difficult in the UK now. So buy several tins when you can!

Funnily enough, almost all of the boxes I have sold have gone back to the UK. I might have to register as an exporter in a years time. #-o #-o (hammer) (hammer)
 
Thanks for the tips Bob!

What size bandsaw blade do you use? I'm about to go shopping at Tuffsaws, wondering about width, TPI etc
 
I have a half dozen blades of varying thickness and teeth, mainly because everybody told me I needed them.
My go to blade is a 1/4" x 10tpi. I use it on stuff that would make most serious woodworkers cry out.

I cut mostly hardwoods, and with that blade I can rip 7" rosewood, then go straight into cutting bandsaw boxes.

I have found that feed rate is waaaaay more important than blade thickness. Some of my 1/2" and 3/4" blades have sat on the peg for a year or more now.
 
I got a design for a bunny box, need it to be one of those lop earred bunnies.

eZNrLVl.jpg


The thicker line to be the one opening drawer, nose will be the handle. The feet and paws will glued on after.

I know the bit under the nose looks tight, I thought I could cut from one side, then switch off, back off the blade and go again from other side.

Do you think that design will be ok with a 6mm blade?

I was quite pleased with design at first but now got big doubts, kinda think it looks a) like a turkey about to go in oven and b) like a chap's well....little chap :oops:

What do you think?! Think it's ok?
 
couple suggestions;
those ears are a bit long if this is for a small child. If they play with the box theres a danger the ears might break off along the grain if its running vertical.
You dont give a scale size. those ears need to be substantial to withstand a childs hugs and careless drops. Again, if its a young child, make sure the ends of the ears are rounded to avoid sharp edges and points.
If its for an older person who will just set it down and look at it, no problems.

appearances are in the mind of the beholder :roll: . Maybe just flatten the lower part of the drawer and burn the mouth shape in with a soldering iron. This is a good way of giving features and Keeping It Simple (Stupid) K.I.S.S. is my favourite motto for wood shaping. :lol: The mouth on streaky the money box is just a soldering iron branding;

small streaky.jpg


If you cut the actual drawer that shape, the internal space is going to be very small.
When you come to hollowing out the drawer after slicing off front and back, cut the sides to just below the top of the eyes. Otherwise the drawer will be too deep for its width and you wont get anything out of it without tipping it upside down.
 

Attachments

  • small streaky.jpg
    small streaky.jpg
    116.6 KB · Views: 944
ha...It's actually for my girlfriend, she's mad about bunnies!

I think you're right about the ears though, might be a bit fragile, worried about them breaking when I'm sanding etc, I'll shorten/round them over a bit.

Not sure about the size to be honest, I was thinking about 8 or 9 inches high.

Ah, that's a great tip about the soldering iron adding details, never thought of that. Hmmm might have a rethink about that drawer. Wondering if instead of using the nose as a handle I could cut out a small rebate where the mouth is and use that to hook a finger in and pull out the drawer.

Love that pig, awesome!

Thanks Bob!

ps. do you use flocking for the inside of your drawers?
 
Yes I use flocking if the bare wood isnt pretty. Dont discount leaving the inner surface bare if the wood has nice colour or grain.
To be honest, its a medium priced solution for a medium priced product. At the price range that I know i can sell at (20 - 60 quid) its perfectly adequate.

If I was making a special one off box to order, say valued at over a £100, I would go the route custard posted quite a detailed thread on, with either pigskin or suede or even pink padded satin.

The ears wont break while sanding unless youre an Arnie type of guy. But depending on type of wood and grain direction, could easily snap if it was accidentally dropped.
Height is good. with only one drawer thats going to be a hefty lump of wood. Make sure you dont upset her while she's holding it (hammer) (hammer)

If you put a finger hole in the drawer front, stuff will fall out or be on view.
Put a different colour button nose on it, like our ted here;

small bears drawers.jpg
 

Attachments

  • small bears drawers.jpg
    small bears drawers.jpg
    184 KB · Views: 902
Ha, that's gorgeous!

You do the contrast of woods very well.

Is that bubinga + zebrano?
 
close but no cigar. #-o
Rosewood and Zebrano, with Maple as the face.
Rosewood eyes, zebrano nose, and purpleheart lips.
Bubinga is a much brighter red, like red rum....

small horse.jpg

Thats bubinga with maple centre and drawer front.

I've been persuaded into these animal shapes. My first boxes were all variations of treasure chests, but then I started getting requests and all the animal boxes sell much quicker than the chests.
 

Attachments

  • small horse.jpg
    small horse.jpg
    113.5 KB · Views: 896
Bit of an update, guess this is turning into a WIP if anyone's interested?!

I did a terrible job of the glue-up, joins good but boards slipped a bit, lost a couple of mm sanding it all flat again. Annoying as my design didn't leave much spare wood.

I cut out the main shape with 1/4" blade, now cutting the back off. Made a 7mm slice for the back.
R9SFK1B.jpg


swap blades for a 1/8" to cut out inside drawers
fsmDRRA.jpg


mistake 1... top drawer way too close to edge, not much wood left on top, have to be very careful when sanding and haven't left enough meat for a proper round over, annoyed with myself for that. #-o
xFIaEJR.jpg


mistake 2... cut entry with direction of grain but guess I chose a bad spot as couldn't close up up even with clamps.
rOl3TjV.jpg


had to make a little shim from left overs to plug gap
iKv2sL3.jpg


Some lessons learned!
 
Nothing wrong with that. =D>
Mistake 1; no big deal. theres still enough to sand round, because there is no structural strain up there. Do you have a belt sander? i have mine vertical and have made a prper £fence" at 90 degrees so i can rest the wood on the fence and sand round most outside curves.

Mistake 2; yes, youre too close to the solid wood in the middle to be able to force it over. But I dont think theres a good entry point on that design.

How to cheat, part one;
carry on with the drawers, then for the bottom drawer make another face with either the same or a different colour, and make it oversized so that it covers the join. NOBODY pulls the drawer out and then looks for visible cuts. It also gives a 3D effect. 8)

How to cheat part two; When you slice a thin piece off the back half way through a layer, its almost impossible to hide the glue line, especially in a wood like bubinga that has almost no end grain to hide it in. When you work out your layers at the start of the box, DO NOT glue the back layer on. this has two benefits, it makes cutting the box that much easier, and after you have fully cut and shaped all the drawers, you can glue the oversized back plate on and then cut and sand to match the outline. hey presto, nobody can find the glue line.

Of course having told you this, you must promise not to pass it on to anyone else on pain of death (hammer) (hammer) (hammer) #-o
 
sunnybob":31vqqmye said:
Nothing wrong with that. =D>
Mistake 1; no big deal. theres still enough to sand round, because there is no structural strain up there. Do you have a belt sander? i have mine vertical and have made a prper £fence" at 90 degrees so i can rest the wood on the fence and sand round most outside curves.

Cheers Bob! Yeah I got one of those cheapo combined belt sander/bobbin sander things, does neither particularly well!

sunnybob":31vqqmye said:
How to cheat, part one;
carry on with the drawers, then for the bottom drawer make another face with either the same or a different colour, and make it oversized so that it covers the join. NOBODY pulls the drawer out and then looks for visible cuts. It also gives a 3D effect. 8)

I'm kind of doing something like that for bottom drawer. I'm going to add some bunny feet which will hide the join and act as handles.

sunnybob":31vqqmye said:
How to cheat part two; When you slice a thin piece off the back half way through a layer, its almost impossible to hide the glue line, especially in a wood like bubinga that has almost no end grain to hide it in. When you work out your layers at the start of the box, DO NOT glue the back layer on. this has two benefits, it makes cutting the box that much easier, and after you have fully cut and shaped all the drawers, you can glue the oversized back plate on and then cut and sand to match the outline. hey presto, nobody can find the glue line.

Ah... that is clever!

Would it work if you laminated and cut as normal but sliced off back exactly on the glue line too?
 
When using solid wood like yours, yes the glue line will just become the new joint face.
i use a lot of ply to add interest and colour and then its very difficult to get the ply flat and in line with the next layer.

I use my belt sander for quick removal of excess wood. Usually 80, sometimes 60 grit. Its quick and fast. All final shaping is done by hand. i use different sized blocks, and for curves I keep a selection of different sized off cuts of tubing.
I sand any direction thats easiest untill the last minute, then as I go through the finer grits i sand only with the grain, even though that is sometimes extremely difficult. I finish with 320 or 400 (depends what the shop has when I restock) before applying wipe on poly or wax.
 
Managed to steal a few of hours in workshop... did initial sanding to get final shape, still got about 10,000 hours of proper sanding to do.

clamped up, only way I could stop it rocking
yNjLp6x.jpg


drawers in, not very happy with uneven gaps, hoping a soft round over will conceal this a bit. Need to get some eyes on there as i worry it looks like a... helmet! :wink:
YT9L7XE.jpg


With drawers open...
MZFwJd2.jpg


I'm getting really confused about which direction to sand the top. It sounds idiotic but don't know whether to sand in the direction of A to B or C to D. It's smooth everywhere but top has some ridges, I have to be careful as not much wood on there.
 
Its end grain... you lose whichever way. #-o But dont let it get you down.
I have a worx sonic triangular head power tool that takes sanding pads and use that a lot. but the final sanding always come back to hand power.

The best way to sand a convex curve is by using an opposite rocking motion. think of your wood being the top half of a ball, resting on the bench, and your long block sander rocking back and fore as you and also up and down as you sand.
I've never tried to explain that in writing before, even though I've been using this method on metal for half a century. (hammer) (hammer) (hammer)
I'll see if theres a how to on utube.
 
Back
Top