W.I.P. - Fretless Bass Guitar

UKworkshop.co.uk

Help Support UKworkshop.co.uk:

This site may earn a commission from merchant affiliate links, including eBay, Amazon, and others.

Simo

Established Member
Joined
28 Mar 2009
Messages
177
Reaction score
89
I thought I'd post a work in progress thread to show the process of building one of my bass guitars. This one was started a couple of months back, so apologies for the amount of photos.


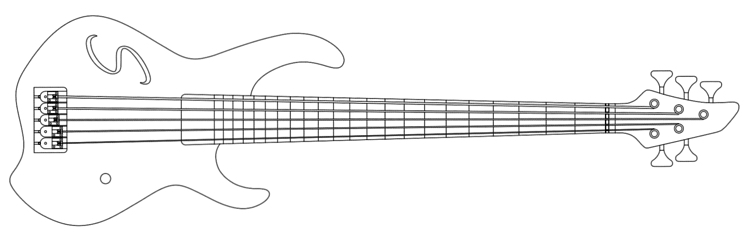
This will be a 33'' scale fretless, 5 string, 'piezo only' bass, fitted with a Hipshot bridge loaded with GraphTech Ghost saddles. The body wood is Black Walnut, with a Black Limba bookmatched top, Maple neck, and Ebony fingerboard. Something along these lines..

lhlIHF.jpg


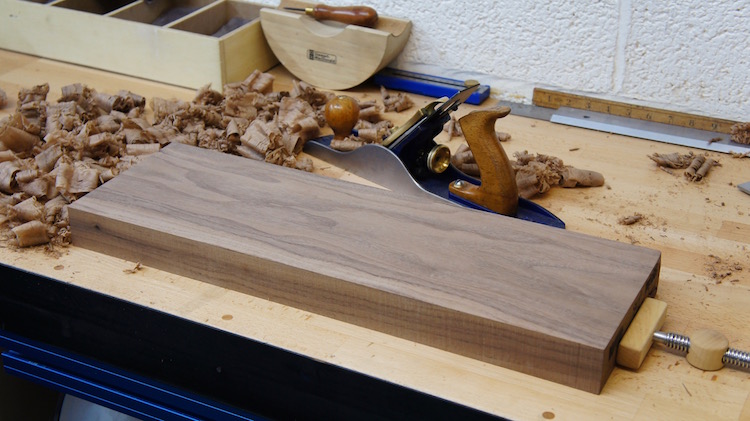
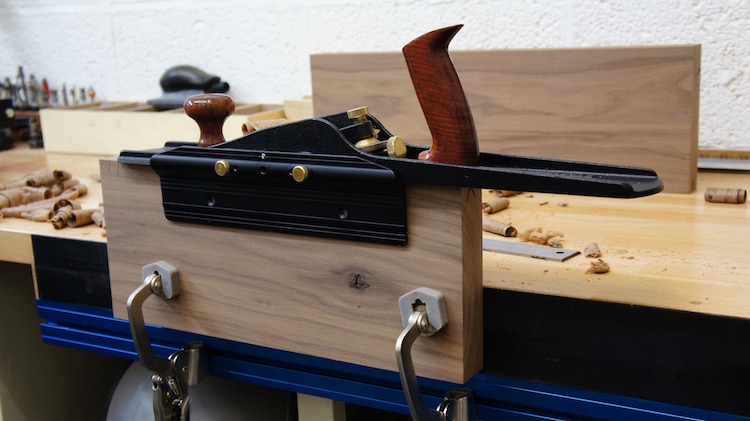
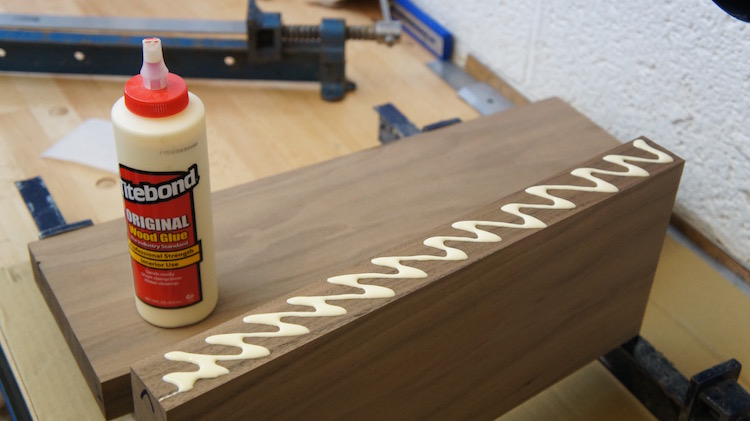
I already have a neck blank ready for this bass, so the first job to do is to plane the faces of the Black Walnut body blanks, and thickness them to the correct size. The pieces are then jointed by hand and glued together.

JPoSVS.jpg


mjhNLo.jpg


6UFTY8.jpg


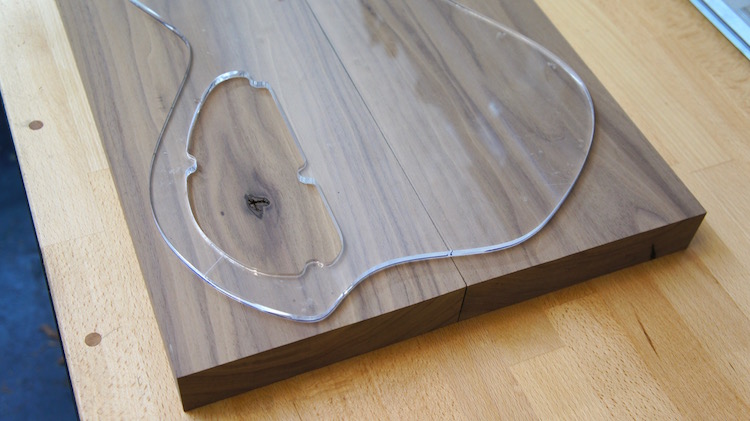
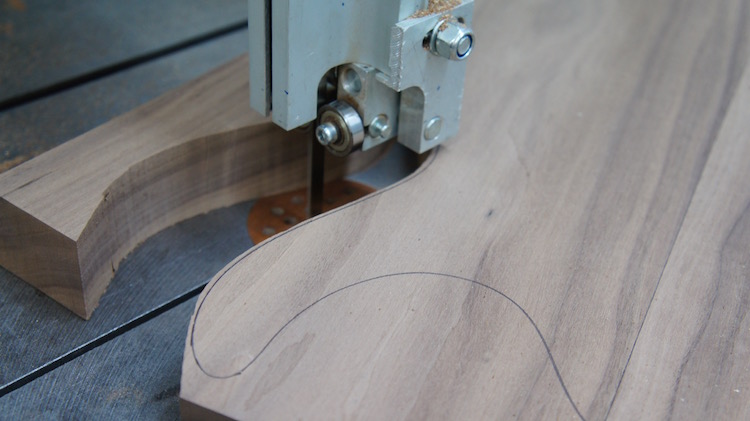
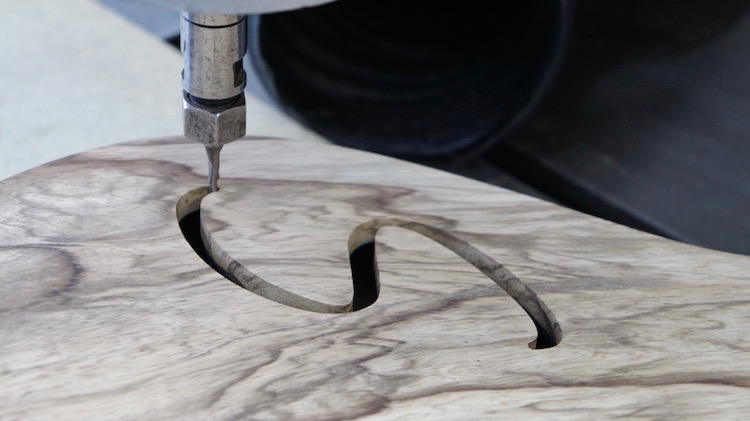
Once the glue has fully cured and the blank has had a final pass through the drum sander, I use a clear acrylic template to position the layout of the body shape. Then it's cut out on the bandsaw, leaving just a couple of millimetres to trim off with the router.

fN6Mk2.jpg


7RqeqR.jpg


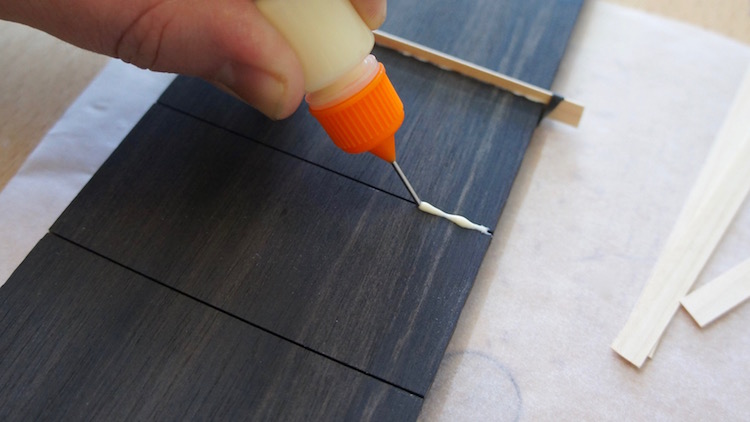
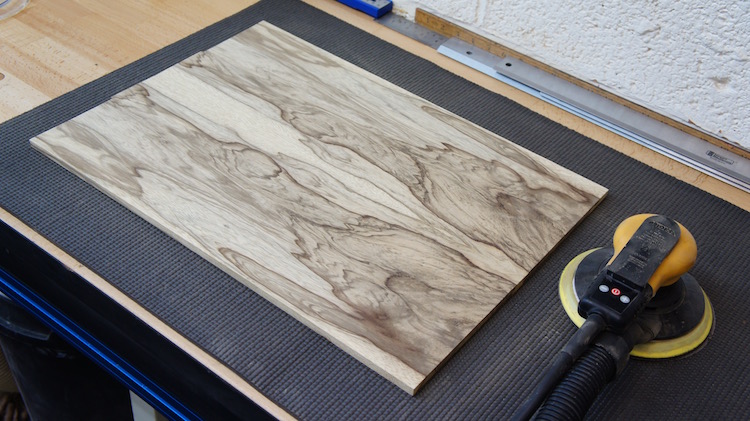
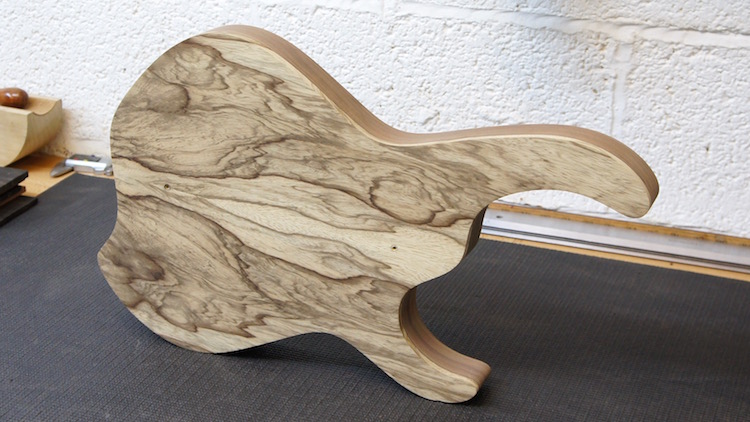
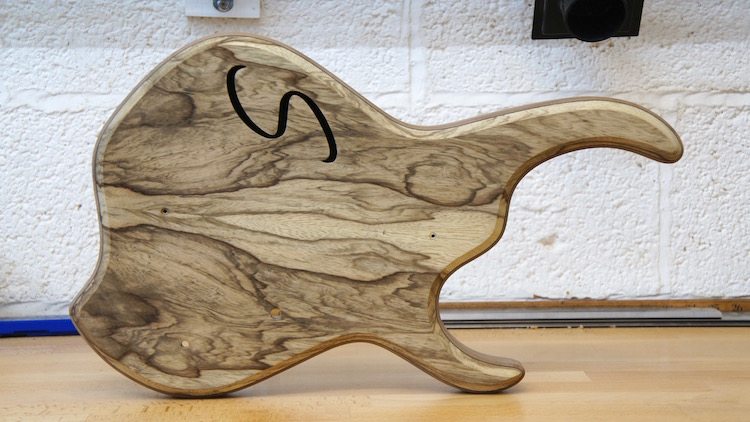
The Black Limba top is jointed and joined together using the 'tape tent' method. Once the glue is dry, it's sanded with a random orbit sander to remove the course drum sander marks.

DHCs08.jpg


y33XsL.jpg


nQyns3.jpg


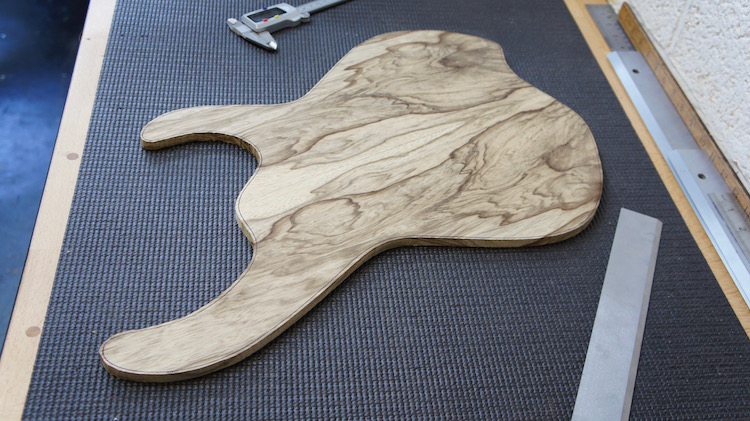
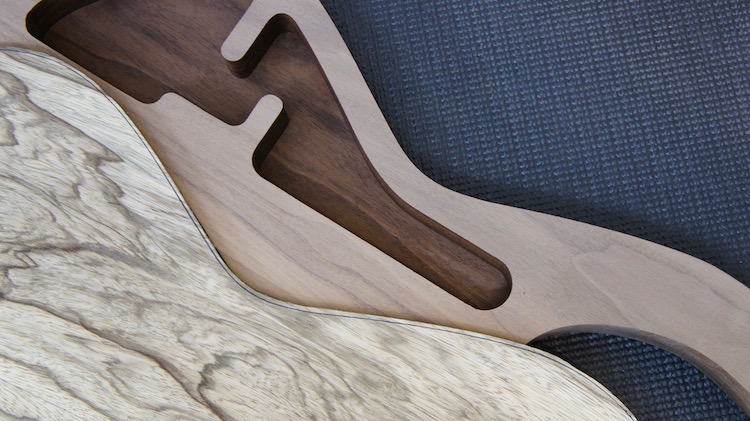
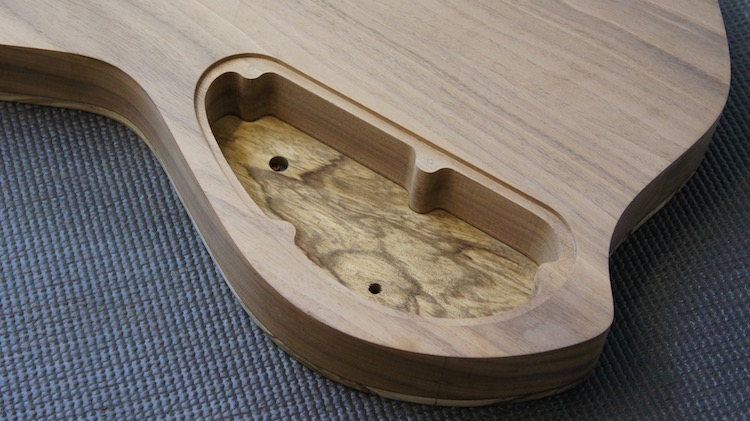
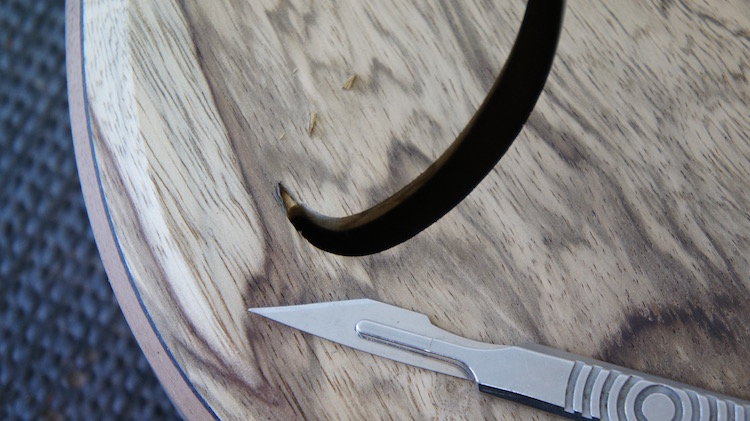
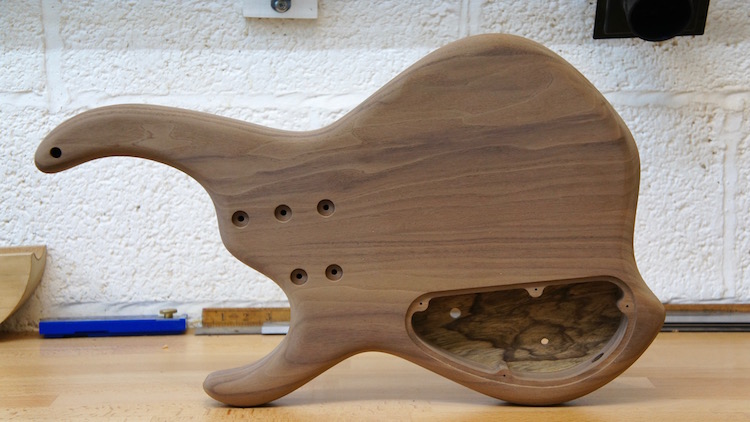
After trimming the body outline on the pin router, I also route out the chamber, which is then sealed with a coat of finish.

9Uwkov.jpg


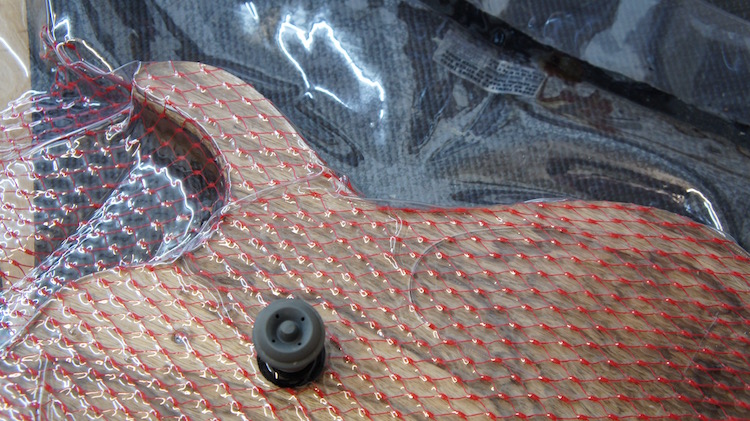
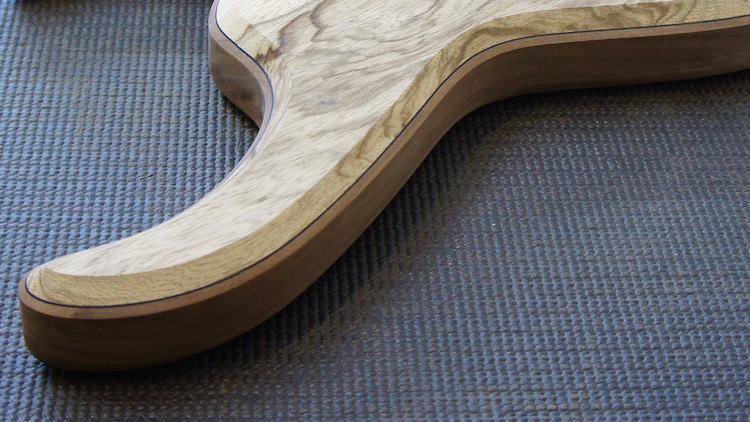
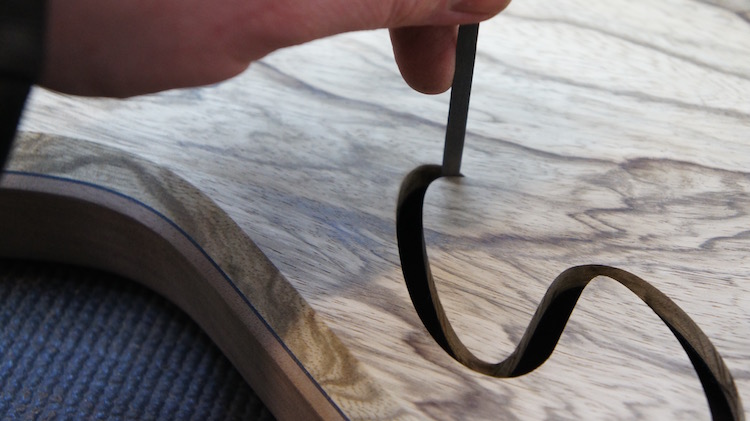
The top, along with a piece of black veneer, are attached to the Walnut body using the vacuum bag.

oxdVpH.jpg


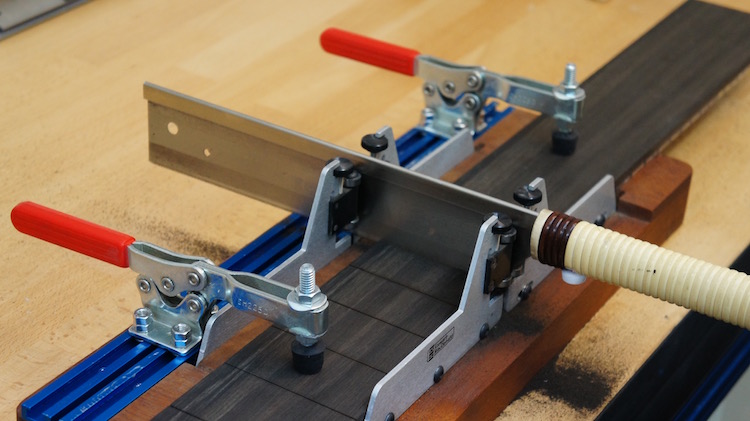
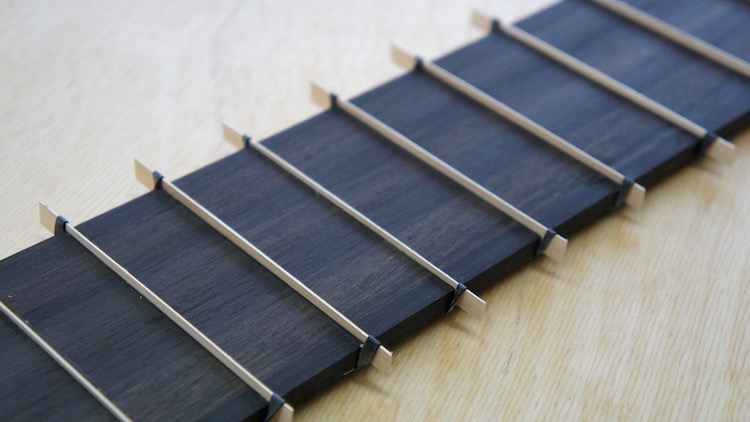
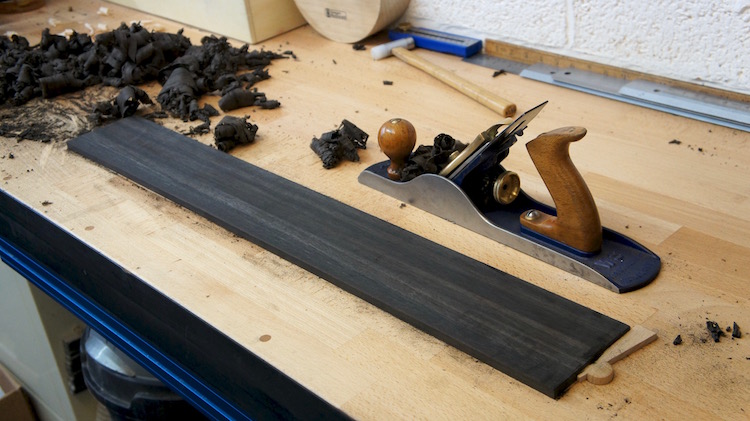
After selecting a piece of Ebony for the fingerboard, I hold it down to my workbench using a couple of bench dogs and a small wedge to lock it in place. Then it's time to plane it flat, ready for slotting.

znI2lb.jpg
 
After the top had been glued on, it was trimmed flush and then the edges of the body were sanded smooth using a bobbin sander, along with some hand sanding.

BdEbiB.jpg


The controls on this bass will be very simple, just a volume control and a mini toggle switch, to change between the mid/dark tone settings on the GraphTech preamp. I drill the holes first, then route out the control cavity on the rear of the body.

Y8rbEh.jpg


Next, I route a 1/2'' roundover on the back, and a bevel on the front.

oh0enn.jpg


The 'S' sound hole is also routed out, using a small spiral cutter to ensure a clean cut. The cutter can't get right into the corners, so I finish it by hand, using scalpel to carve out the shape, followed by a file, and then sandpaper.

eRPC0I.jpg


8xeI8r.jpg


RP7XQ2.jpg


The last job until the neck is ready, is to drill the holes/recesses for the jack socket, strap buttons, and neck ferrules.

pHjEPo.jpg


soRJu4.jpg


wII2s3.jpg
 
Yes indeedy!!

That is simply wonderful - I know bo-diddly about guitars (or music at all for that matter!) - but I do know when something looks like a work-of-art in the making.

Brilliant

Keep up the good work, S.

Greg
 
Excellent work. Thank you for sharing. As a matter of interest are you making speculatively for sale or to order?
 
Cheers guys, I'll have some more updates shortly :)

AJB Temple":11yns7tp said:
Excellent work. Thank you for sharing. As a matter of interest are you making speculatively for sale or to order?

At this point, I don't do anything to order. I have done some commissioned work in the past, but I prefer to build what I want, and then offer it for sale when it's complete.. providing I'm happy with the finished product.
 
Interesting. I have been making electric guitars (and some acoustics too) for a good few years (though hardly ever now - it was always only a hobby) but have never made anything on spec (always to order for friends and fellow musicians) and have never made a bass instrument as I find bass players are much less focussed on (or maybe willing to pay for) more exotic instruments than guitarists (who have been "educated by the PRS 10 top marketing et al). I certainly admire the quality of your work and shall be interested to see the finished product. It is very nice to see elegantly shaped work where the electrics go: so often the hidden areas lack quality.
 
Wonderful work, fascinating post. I love seeing well documented threads like this. Many thanks. It's amazing what you can learn from and be motivated by from what might seem like a 'simple stuff' to those that know. Even from the basic picture of the vacuum bags I've heard about but not come close to using I've learnt something. Cheers. As Nolegs says, more please. Excellent stuff.
 
I agree with other posts, a great project.

I am a bass player and it looks wonderful, I would love to play it to see if it sounds as good as it looks. I am also interested in your neck construction methods as well.

I want to make a bass for myself but the neck is the tricky bit so I am interested how you make them. I am also interested in making a Stick upright bass as well.
 
I appreciate that the chamber, and sound hole, are quite literally a signature feature, but surely the chamber
is too small to resonate usefully at such low frequencies, and the sound hole leaves
"points" supported by vulnerable short grain?

BugBear
 
Cutting 42: making a neck is not as difficult as you might think especially if you are going fretless. Setting frets though requires accuracy.
 
bugbear":1y2ivlq1 said:
I appreciate that the chamber, and sound hole, are quite literally a signature feature, but surely the chamber
is too small to resonate usefully at such low frequencies, and the sound hole leaves
"points" supported by vulnerable short grain?

BugBear

Although in my experience, chambering does have some affect on the attack/decay of the note, my main objective when chambering an electric instrument, is simply weight reduction, not to manipulate the tone or resonance.

You're correct about the sound hole, I ran into this problem the first time I built one similar to this design #-o Luckily the top wood was fairly thick on that build, so breaking the wood would require a lot of pressure.. but it did flex, if pushed hard enough. My solution was to incorporate two small supports in the design of the chamber (they're visible in the pic below), these are positioned directly under the 'wings' of the sound hole. All the basses I've built with these in place, have been solid as a rock.

9Uwkov.jpg
 
AJB Temple":iwkmkkp0 said:
Cutting 42: making a neck is not as difficult as you might think especially if you are going fretless. Setting frets though requires accuracy.

I have a 4 string fretless already but a 5 fretless is on the cards. What I really need currently is a 4 string fretted but speed might determine a purchase rather than a make.

Did you make the template as well?
 
Simo":3l7pkuom said:
You're correct about the sound hole, I ran into this problem the first time I built one similar to this design #-o Luckily the top wood was fairly thick on that build, so breaking the wood would require a lot of pressure.. but it did flex, if pushed hard enough. My solution was to incorporate two small supports in the design of the chamber (they're visible in the pic below), these are positioned directly under the 'wings' of the sound hole. All the basses I've built with these in place, have been solid as a rock.

9Uwkov.jpg

Oh, very good!

BugBear
 
Thanks for all the positive comments, much appreciated. I've had a lot time out of the workshop lately, so not a massive amount of updates.. but here's a few pictures showing how I line the fingerboard with veneer.

First, the Ebony is slotted by hand.. in this case for 22 fret positions (33'' scale). I use a fret slotting jig from Stew Mac, which I've modified to accommodate wider bass fretboards. I've also fitted a couple of toggle clamps, which slide along a piece of track, to hold the wood firmly in place while sawing.

W38K71.jpg


Previously, I've used CA glue to fit the veneers, but after developing a sensitivity to CA (cold like symptoms a few hours after use :x), I've switched to using standard Titebond. I use some a small needle bottle to help apply the glue into the slot, with a minimum amount of mess.

bXOyIc.jpg


In the past I've simply held the veneer in the slot for a few seconds, while the CA glue dries. Obviously the Titebond needs a little longer to cure, so my solution is to slice up a mountain bike inner tube.. the rubber bands are a perfect size and elasticity to hold the veneer in the slot. I apply a bead of glue, fit the veneer into the slot, slide it a little from side to side to spread the glue, I then hook the rubber band over one end, stretch it underneath and fasten it to the opposite end, before wiping away the glue squeeze out.

8ylFj1.jpg


6jDcvb.jpg


Once the glue has dried, I nip off the ends using my fret cutters, and then carefully slice off the veneer with a sharp chisel until they're flush...

NtdivA.jpg


mFDqvh.jpg


qYfBET.jpg


...a quick sand, and it's ready to go.

BhdkO8.jpg
 
Somehow I missed the beginning of this but have now read it all with great interest.

Like an earlier poster I know nothing whatever about guitars (and precious little about music except that I like about 99% of all genre), but like everyone else I found your write up fascinating and your pix excellent.

As the man said "more please" and thanks for taking all that trouble with posting.

=D>

AES
 
Back
Top