I'll need something to put my tools in...

UKworkshop.co.uk

Help Support UKworkshop.co.uk:

This site may earn a commission from merchant affiliate links, including eBay, Amazon, and others.
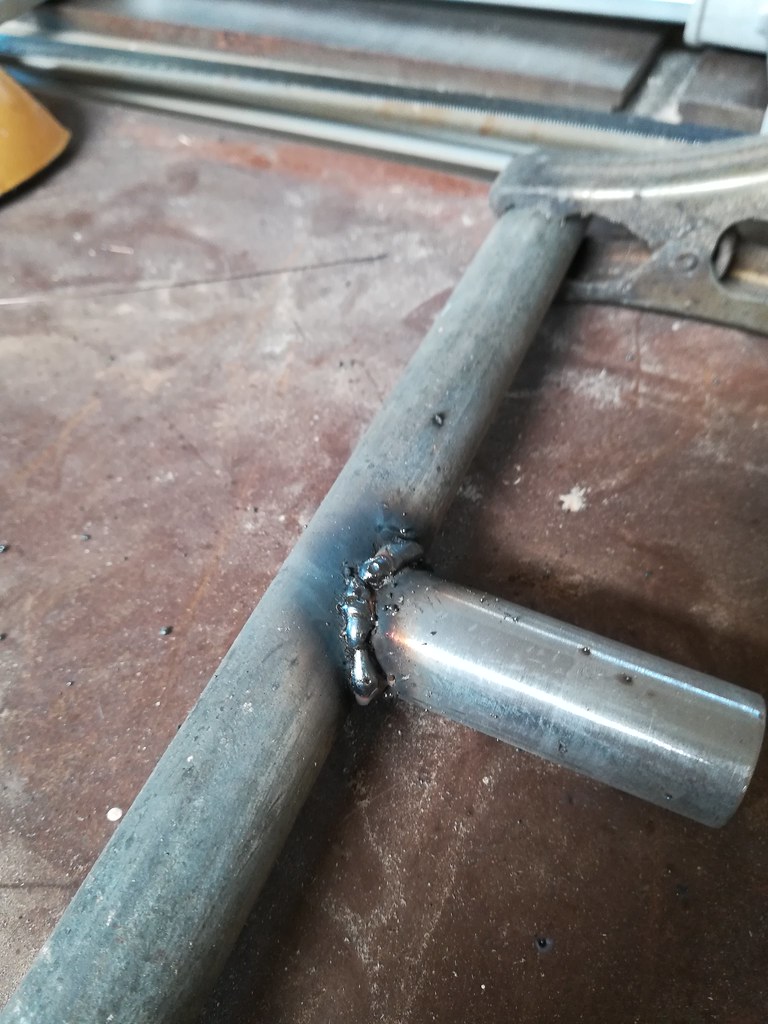
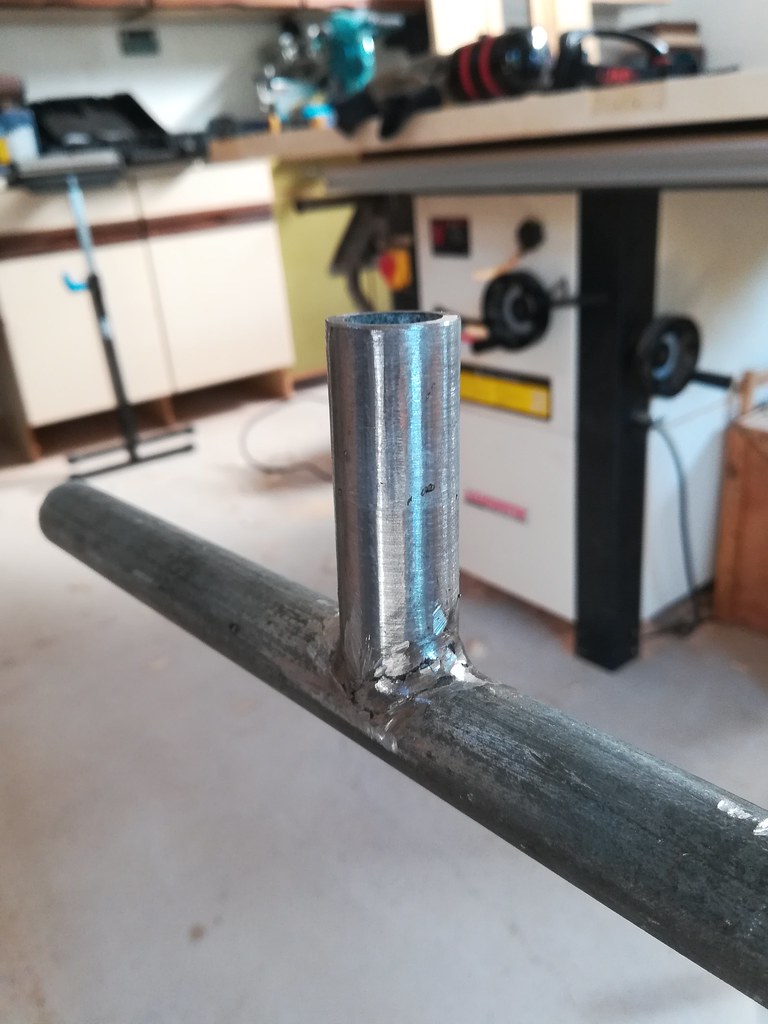
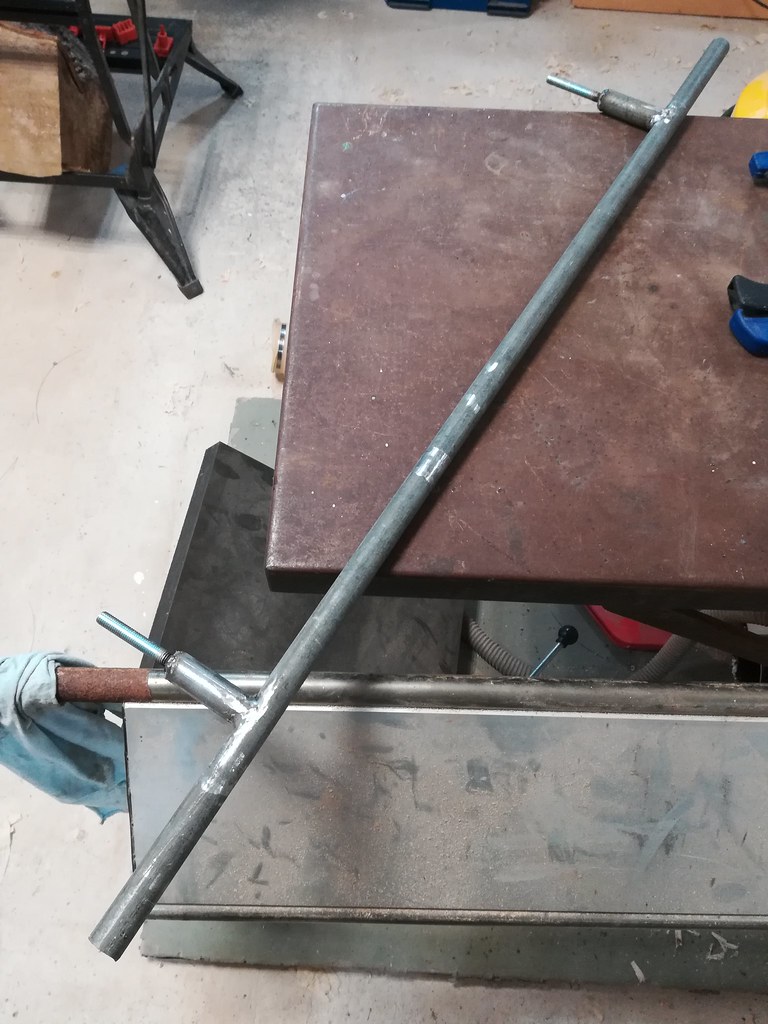
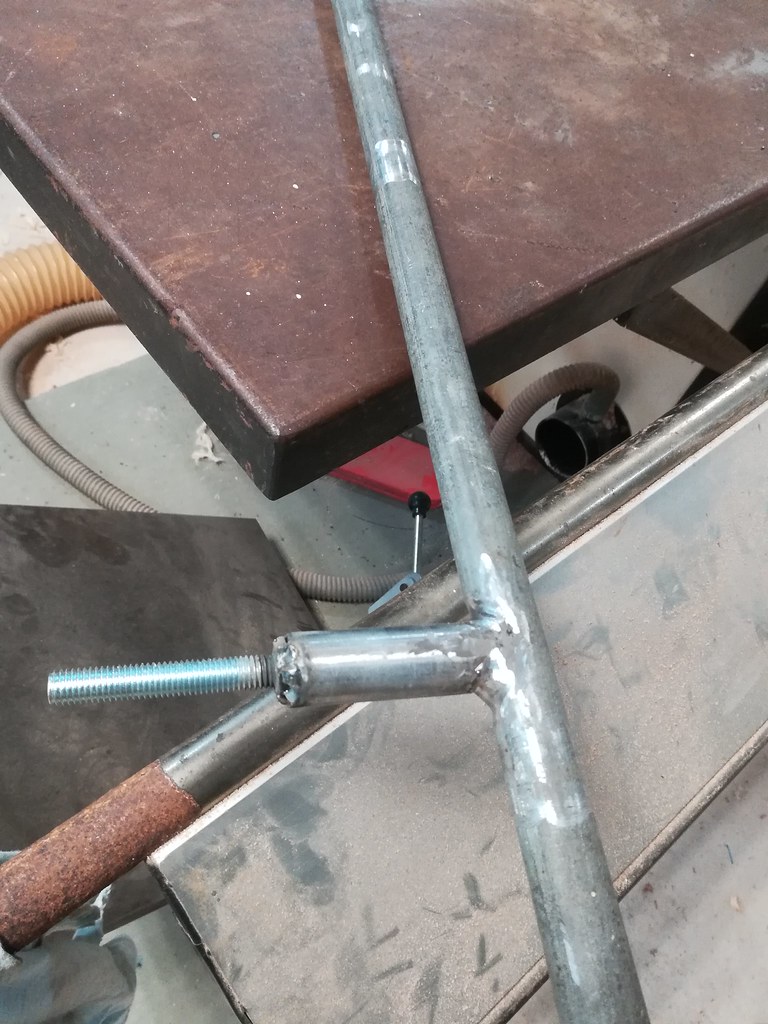
More progress with the door, the elbow seems to be doing well so I decided to risk cutting a mortice or two, which went pretty well.
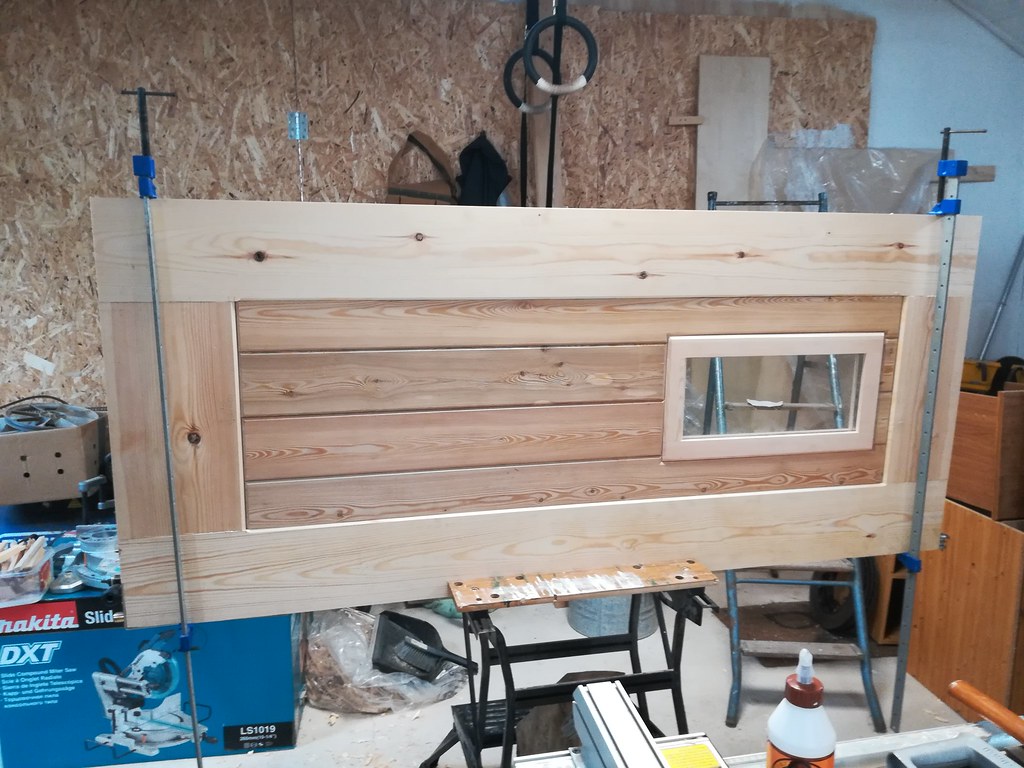
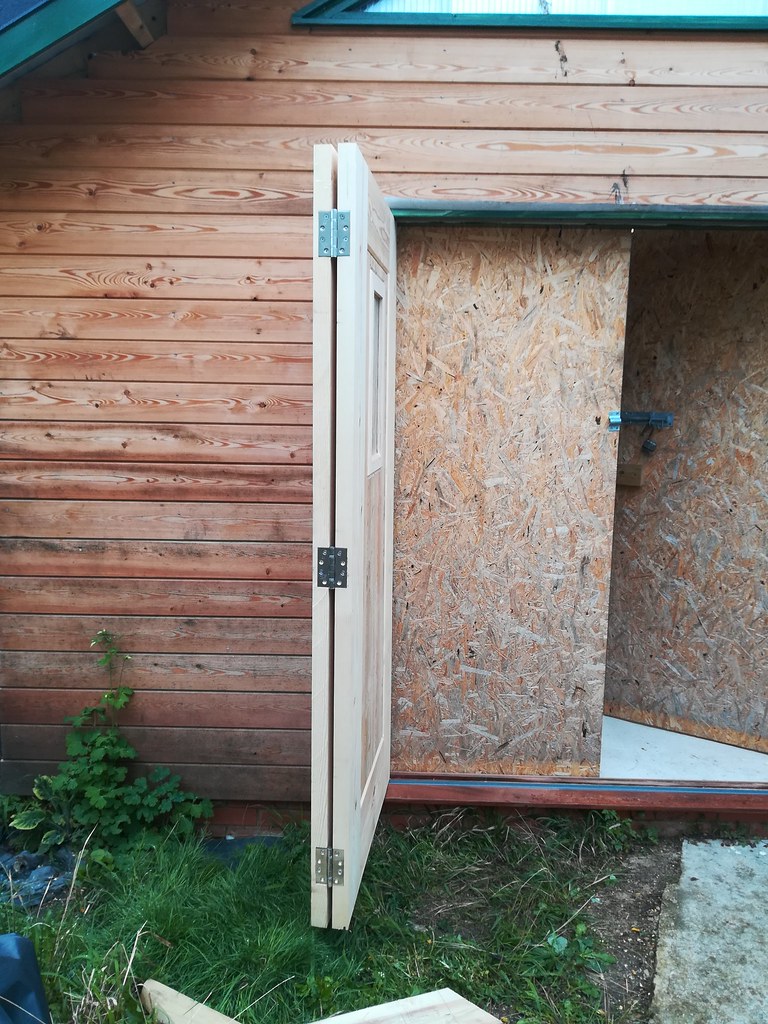
These mortices have definitely been the fastest and straightest that I have cut yet, the new wide japanese chisel is great for paring down the inside faces. I managed to put together 3/4 of a door:


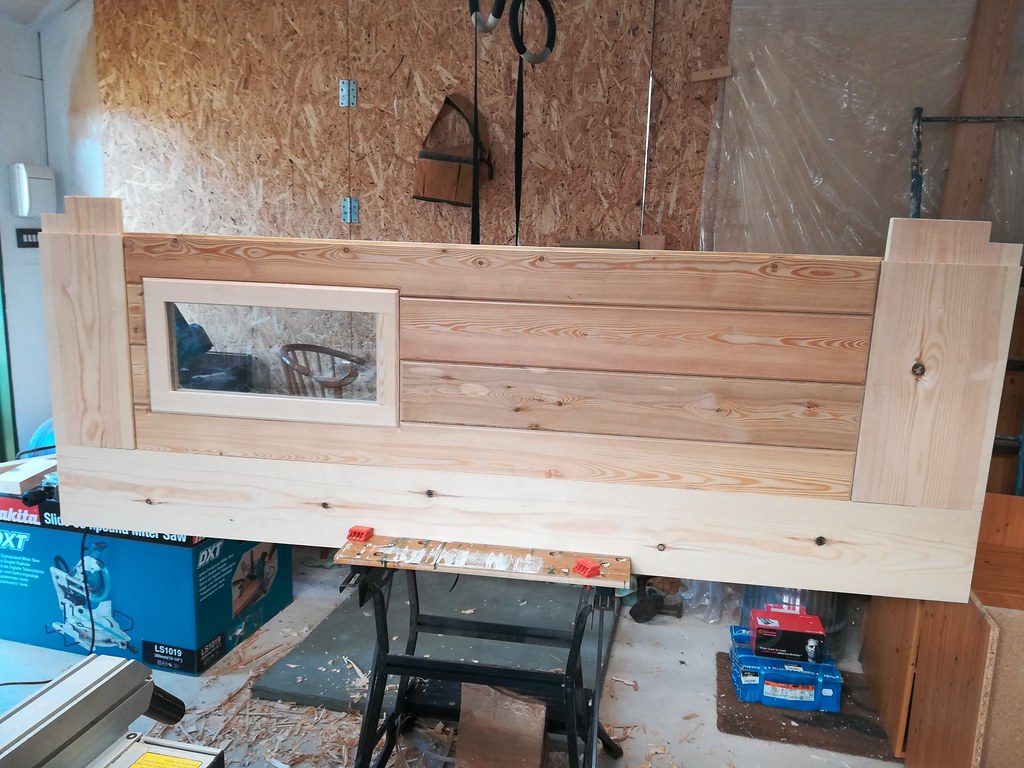
The cladding panels were a little snug so I shaved a little more off the ends of some to allow a bit of movement top to bottom, but aisde from that it is all ready bar the last stile.
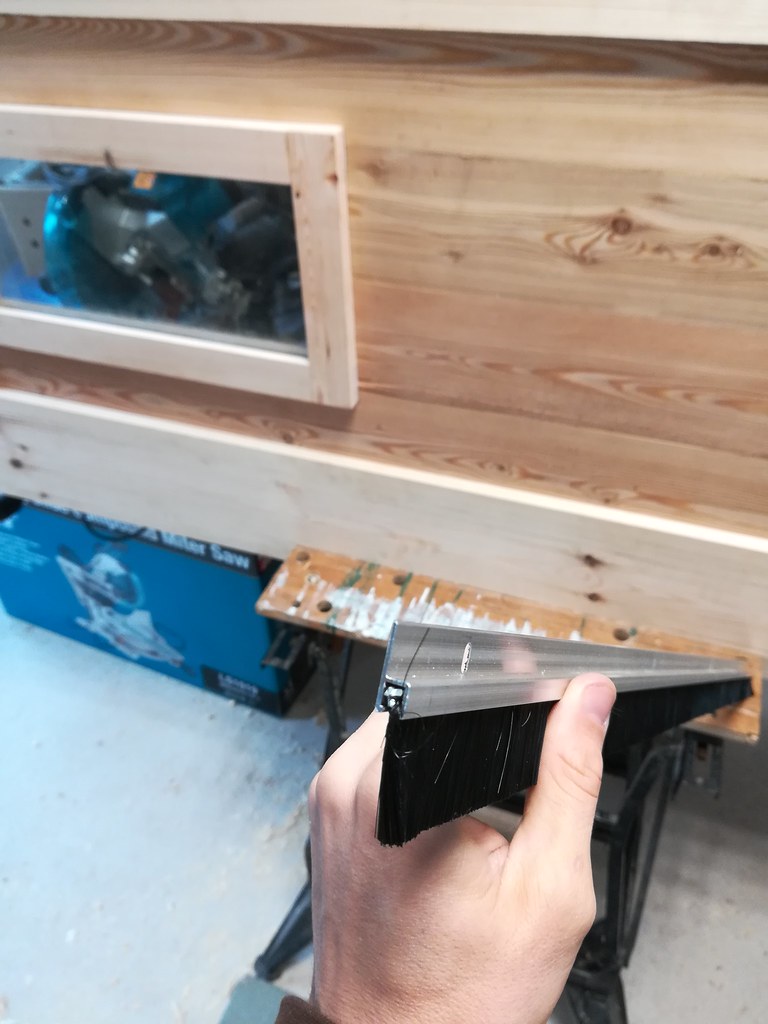
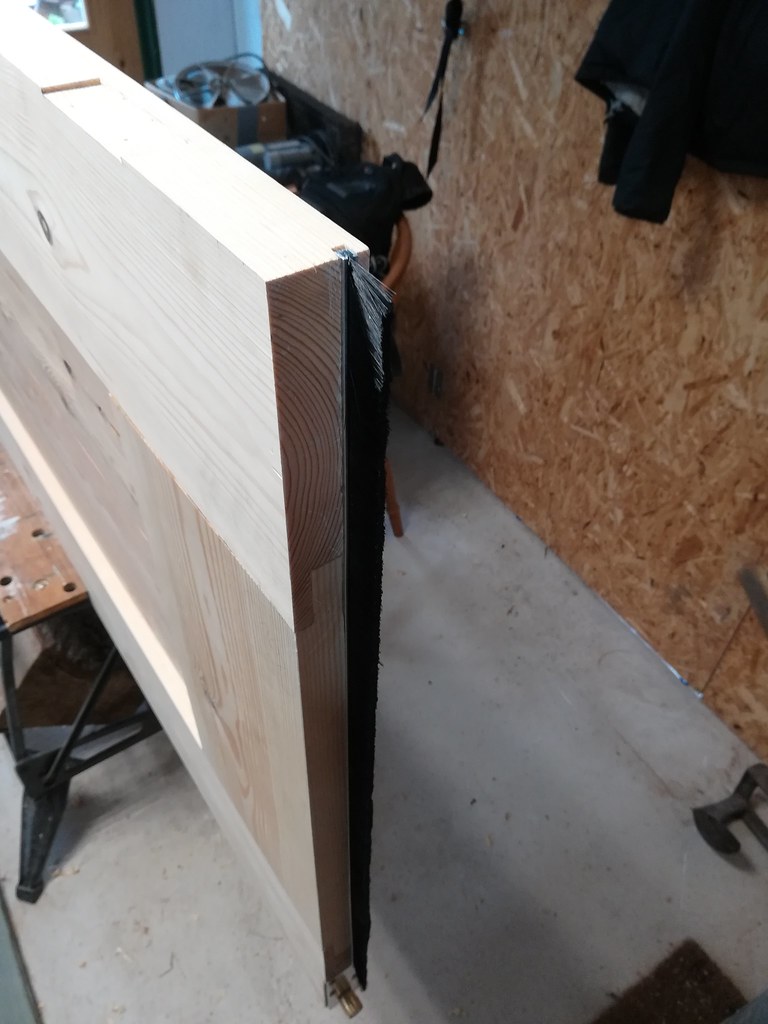
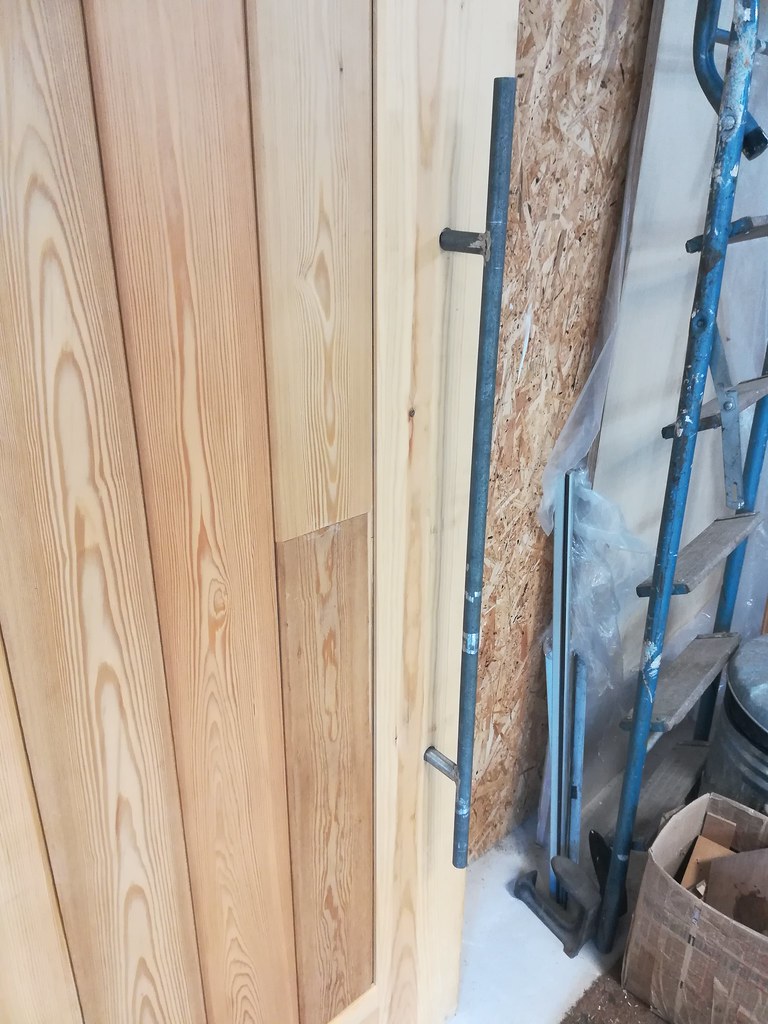
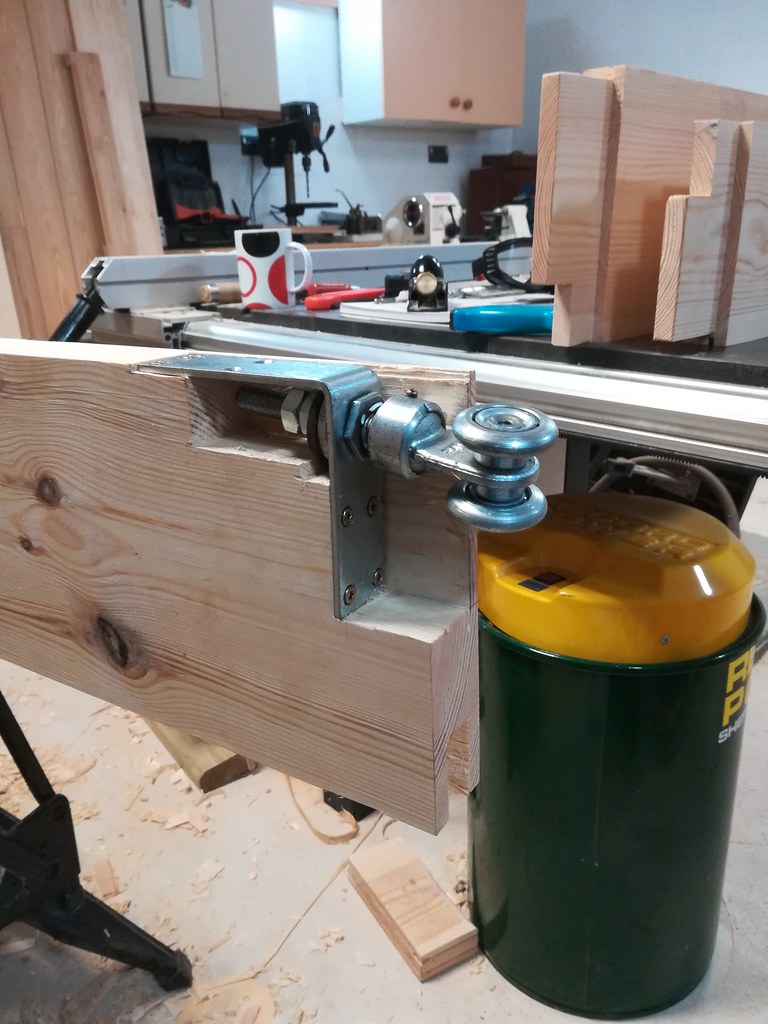
I've not cut the mortices in the last stile yet but I did fit the hardware for the bifold mechanism. The bottom has a runner, the edge of which will be visible when the door is closed but i'm ok with that:


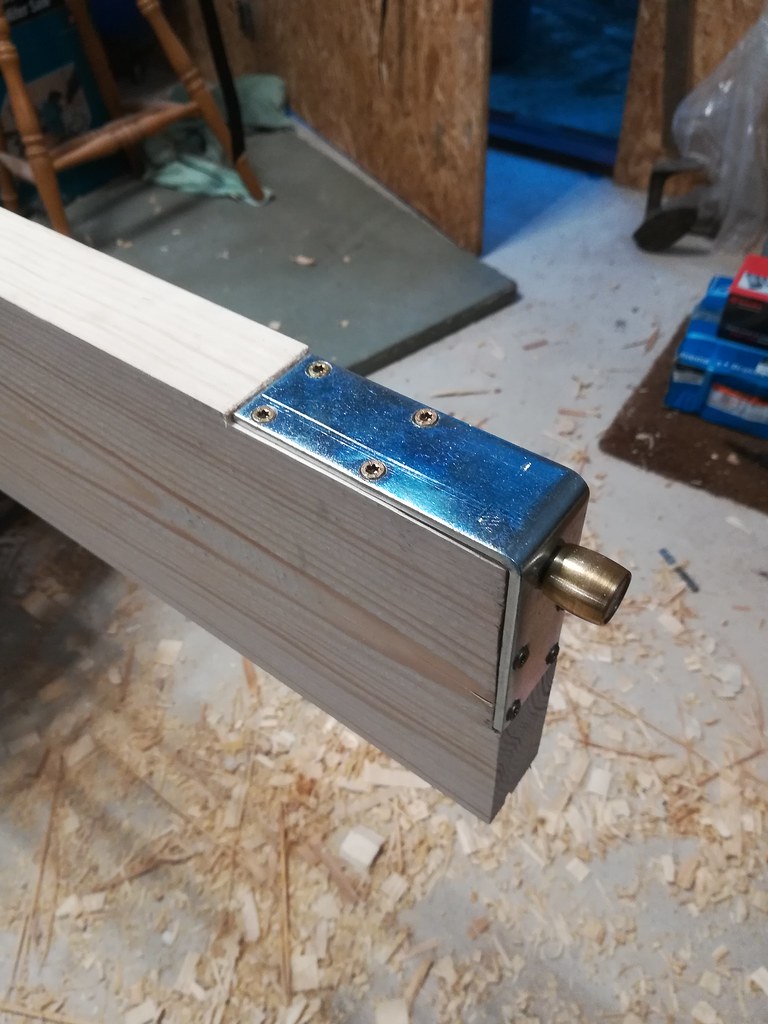
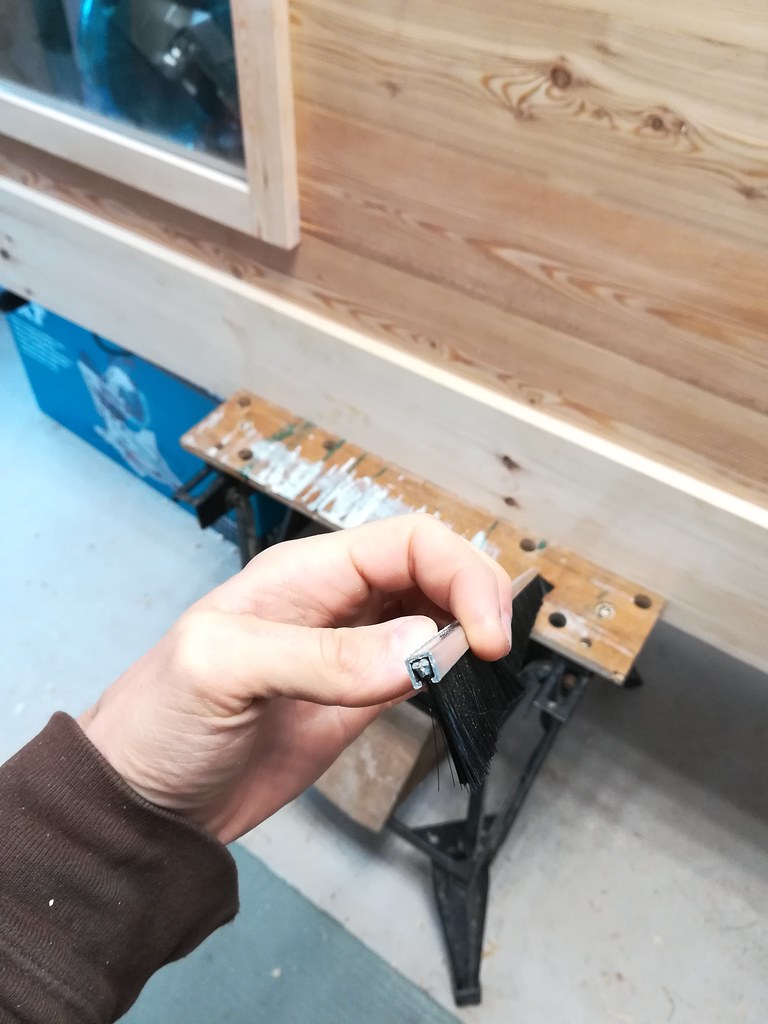
The top required a bit more faff, I actually ground the edge off the bracket so that I could leave some material on the outside face of the door, otherwise i'd have had a gaping hole into my workshop. From the back it looks like this:


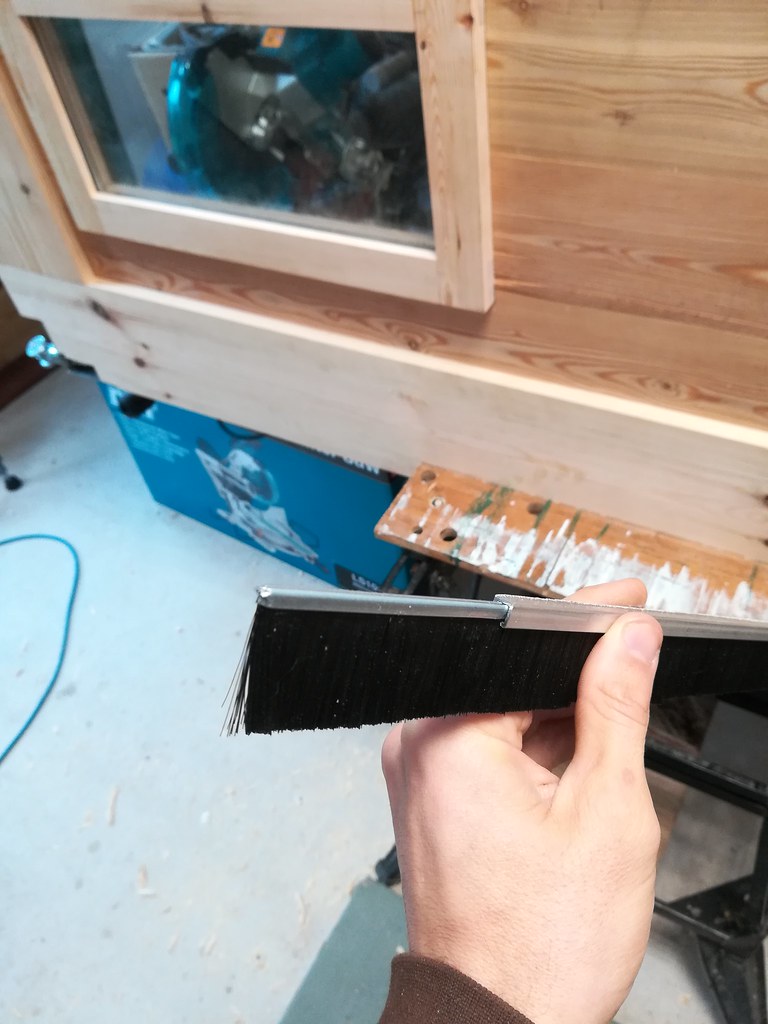
But from the front/outside it looks a little neater:


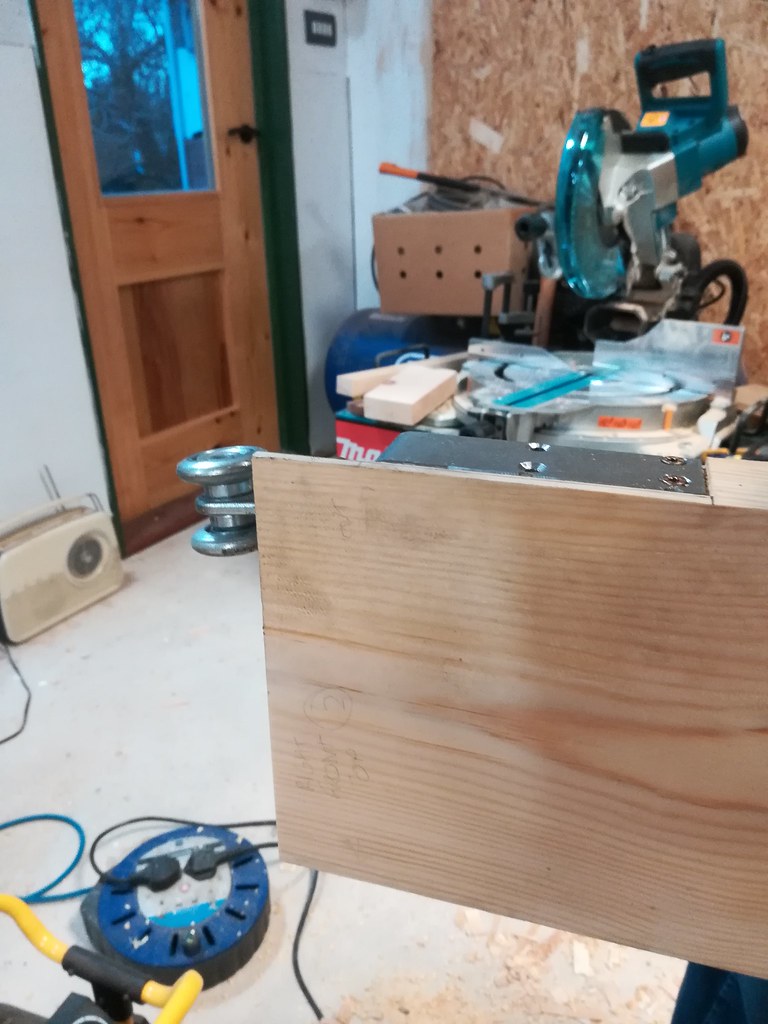
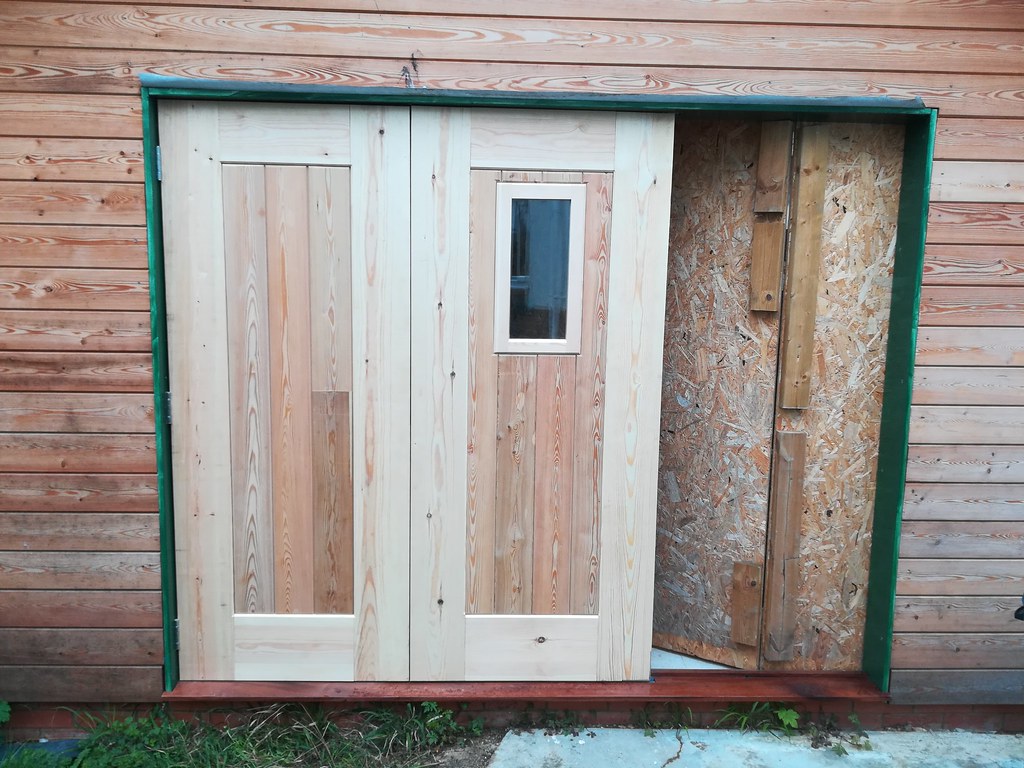
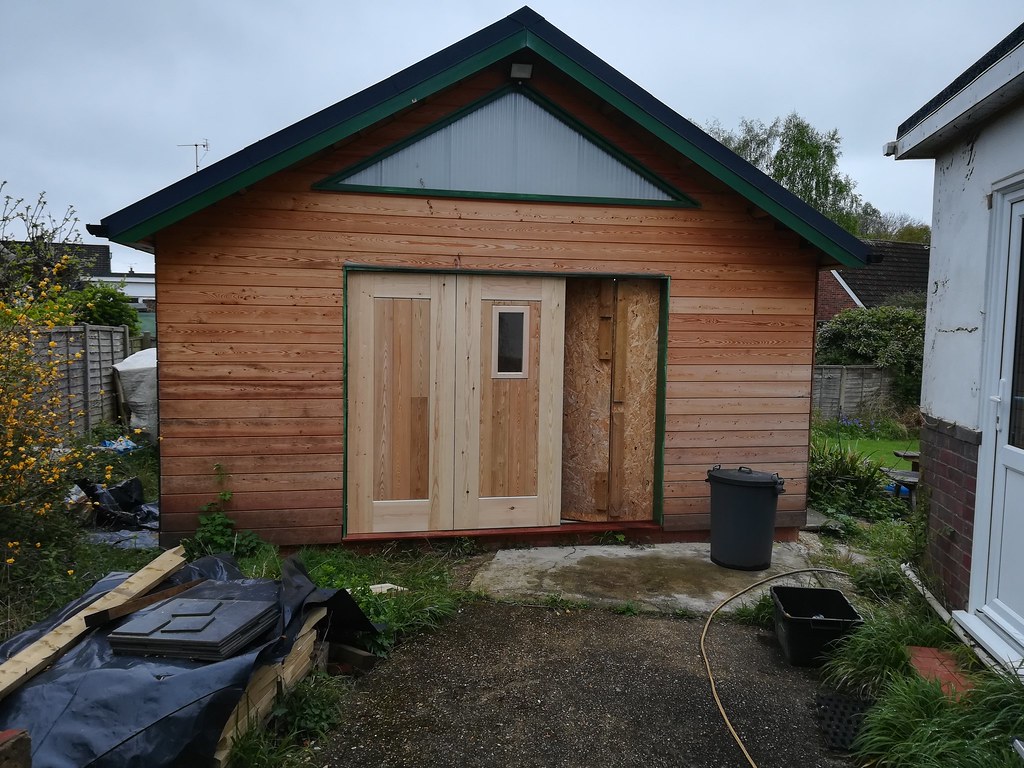
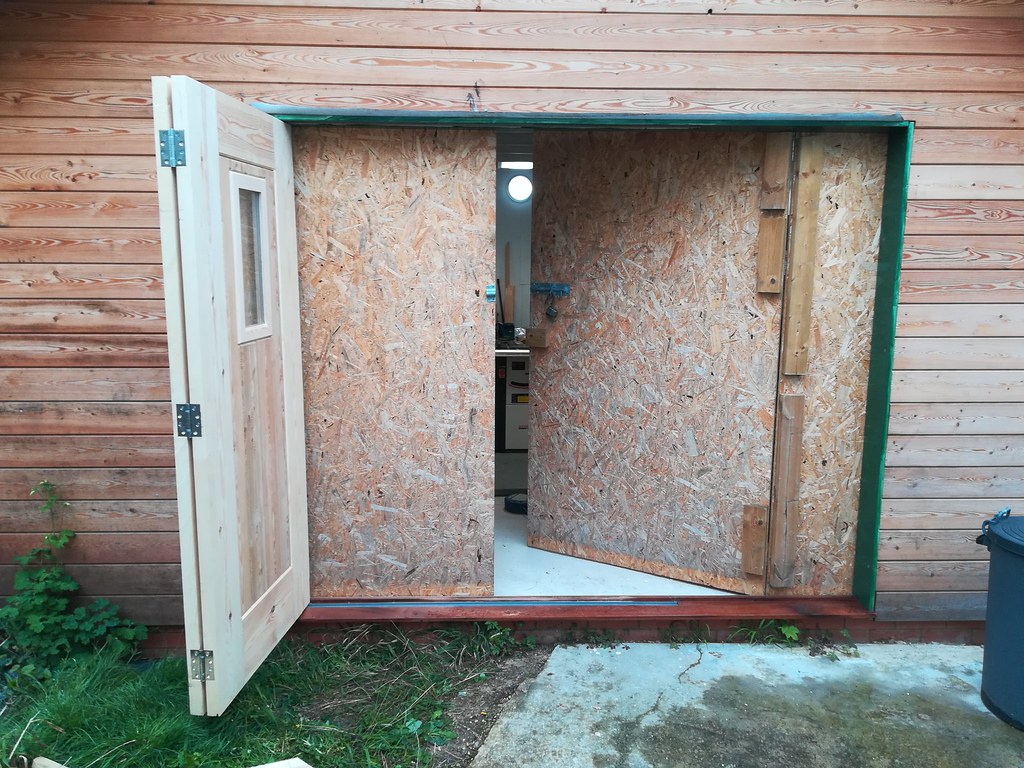
I did a test fit into the rail to check I hadn't got some calculation horribly wrong but it fits well. It did highlight that I need to pack out the top rail a little at one end though, i'm glad I checked as that is easy to do now but would be really hard to do after installing nearly 100kg of doors...

I'll try to get this glued up this week then I can do a test fit!
 
Door number 2 is glued up!


It was a good, flat, square glue up, very happy with the end result, although some of the join lines are still not all they could be, not from my poor tenon cutting this time, but from a much simpler error, my original machining and squaring of the stock wasn't as good as I thought so the stiles weren't entirely square in every orientation. How I manage to construct anything is a mystery...

I a fit of unaccustomed foresight, I cut a groove in the bottom of the door to accept a brush strip. Due to the way the bifold works, I thought this would be a better solution that a foam seal strip which would probably get torn up by the motion of the doors along the sill. Don't worry, I managed to mess this up too, I didn't cut a groove in the top rail, despite needing a brush strip there too...
The strips I got looked like this:


I wanted to turn that 'h' shaped extrusion into an 'n' shape, so I put the soft aluminium through the bandsaw:


Then I routed a matching groove in the rail, glued it up, chiselled the groove through the bottoms of the stiles, fitted the strip and then found out that the strip actually does this:


Which i'm pretty sure would fit perfectly into a saw kerf. Damn.
Anyway, got it in, and i'll know next time, although I suppose this way I can glue the extrusion in and still replace the brush if I ever need to...


I'm going to trim a load of the brush off, my fitment into the frame isn't quite that bad...

Anyway, after all that nonsense, it was time for a test fit. I have to be honest, I was pretty pleased with myself here, I knocked this whole thing up from scratch, did all the maths myself, trying to get a good fit with a bifold system that's designed for big, loose dairy farm doors, and this is that I got:


The doors open beautifully, smooth and solid, and go all the way back without catching or binding:


Here is a view square on, the doors angle outward slightly when fully open, making the access as easy as possible:


I spent the rest of the weekend glancing out the kitchen window and grinning to myself.
 
Thanks For the comments, really appreciate it!
Minor update here, i've been busy doing various other things so not a whole lot of progress. The workshop got to a point where I could barely see the floor so I had to spend a bit of time having a tidy and organising a few things. I moved some machines around and am much happier with where things are sitting now.
It started like this:


And ended up like this:

(I'm not sure why I look quite so perplexed)

Then it was straight back to the cock-ups. I measured up for the locking bolts for the bi-fold doors, which were intended to go into the rails and pull the door in hard against the jamb top and bottom. It wasn't until several nights later, lying in bed it suddenly came to me - I had placed them to push the door out - away from the jamb instead of the other way around. Typical.
Still, chance to give my new Robert Sorby turning tools (which I picked up at Makers Central) a quick try to make some plugs.


The left most door is now in the process of being varnished, so I'll be able to hang it for the final time soon. Meanwhile, I acquired some thick wall metal pipe from my dad to make the long door pull-handles that I always wanted, so I dug out the welder and had a go at sticking some metal together. For a first try it was pretty abysmal, I didn't melt the pipe at all so the weld just sat on the surface and there was no bond. More voltage required, i'll do some more practice runs this week.


(I easily snapped these pipes apart by hand right after taking the photo, no penetration at all.)
 
I admire your bravery in trying welding, and great job on the doors, they look really professional.
 
I finally figured out the issue with my welder, after buying new gas which was suggested by a welder friend which made no difference, it turned out it was the dirty feed wire that was causing a really intermittent feed. I unwound a whole layer off the reel to reveal shiny clean wire and now it works great! (I also have a spare gas bottle #-o )
Now I can stick bits of metal together, I managed to make this;


Which goes on the door something like this:


It needs end caps, a clean up and paint but i'm really happy with what I've done.

I was slightly less happy to nearly burn my workshop down though, top tip when learning to weld in a wood workshop, maybe have a little sweep up of the sawdust lying around before you start...


A bit of hot spatter got under the table saw and caught the sawdust hidden under there, it started gently smouldering away while I locked up and went out for dinner. I put the smoky smell down to the fact that I had just been welding. Two hours later we got home to find the power off, the workshop has a seperate breaker to the house before a main breaker so I knew that was the location of the cause and I went to investigate, finding a very smoky workshop. If this cable hadn't been in the sawdust and tripped the power to the house, I would have left it burning all night, somehow i've managed to get away with just a ruined bit of flex and a slightly smelly workshop, it could have been much worse! It was a cheap lesson learned but i'll treat it as if it were an expensive one...
 
That was a scare Dan, I would also find a different location for that grinder you displayed some time ago, they produce sparks and the could be a problem with that timber bits around.
 
Blimey! You were lucky mate, that could have been a LOT nastier!

Glad you got away with it, especially after all that excellent work on building and fitting out your shop.

+1 for the comment about having a grinder (and anything else that makes sparks) well away from sawdust, shavings, old rags, timber stocks, etc, etc.
 
Back
Top