Groove or M & T first in a frame?

UKworkshop.co.uk

Help Support UKworkshop.co.uk:

This site may earn a commission from merchant affiliate links, including eBay, Amazon, and others.

Andy Kev.

Established Member
UKW Supporter
Joined
20 Aug 2013
Messages
1,364
Reaction score
128
Location
Germany
Good Morning All,

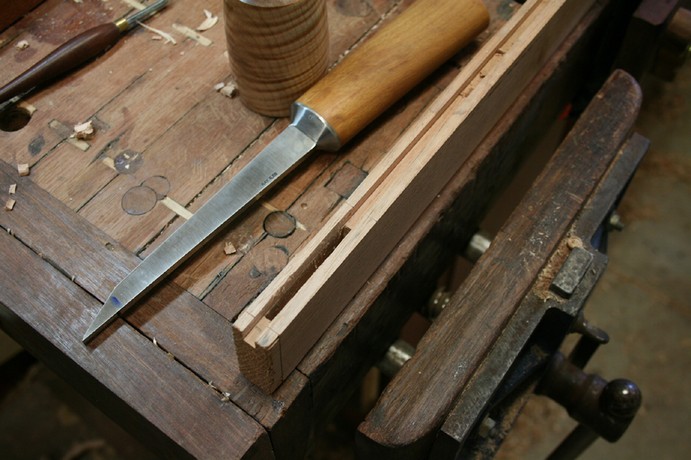
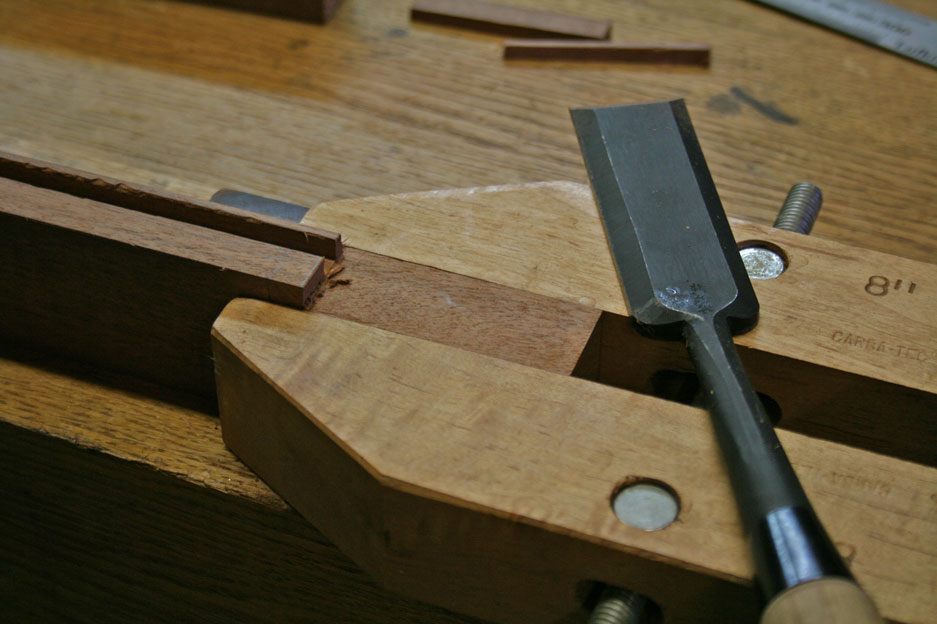
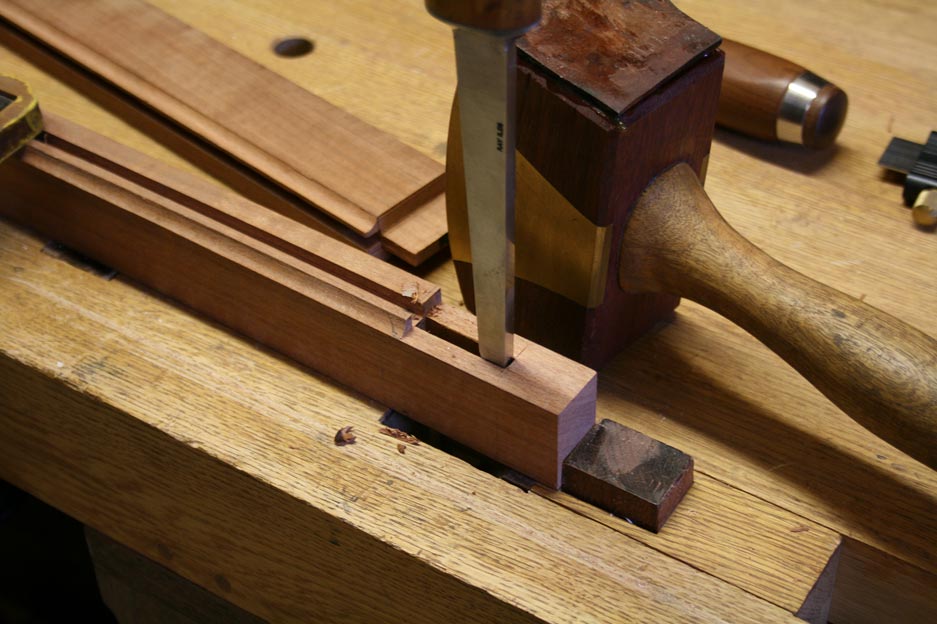
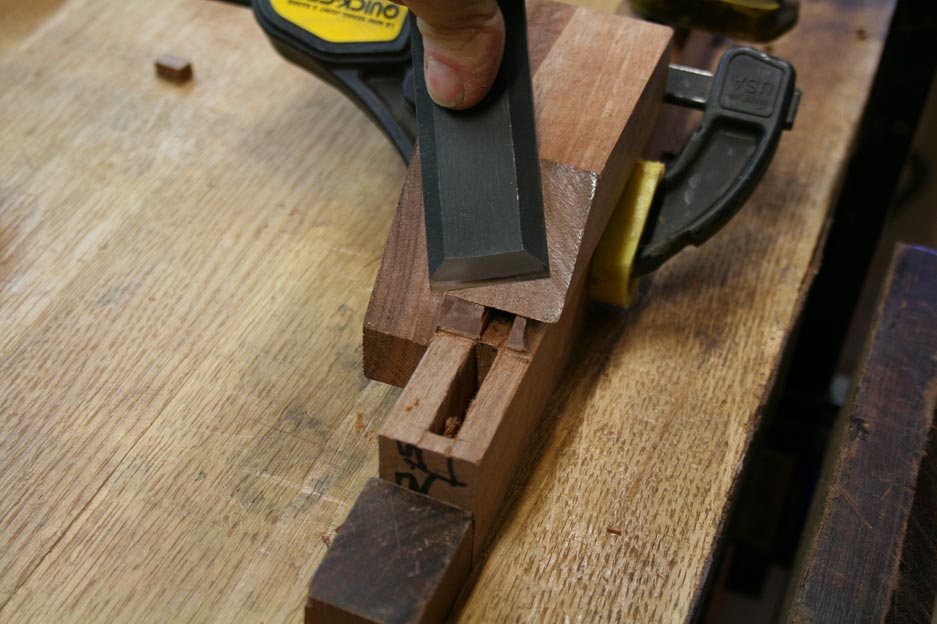
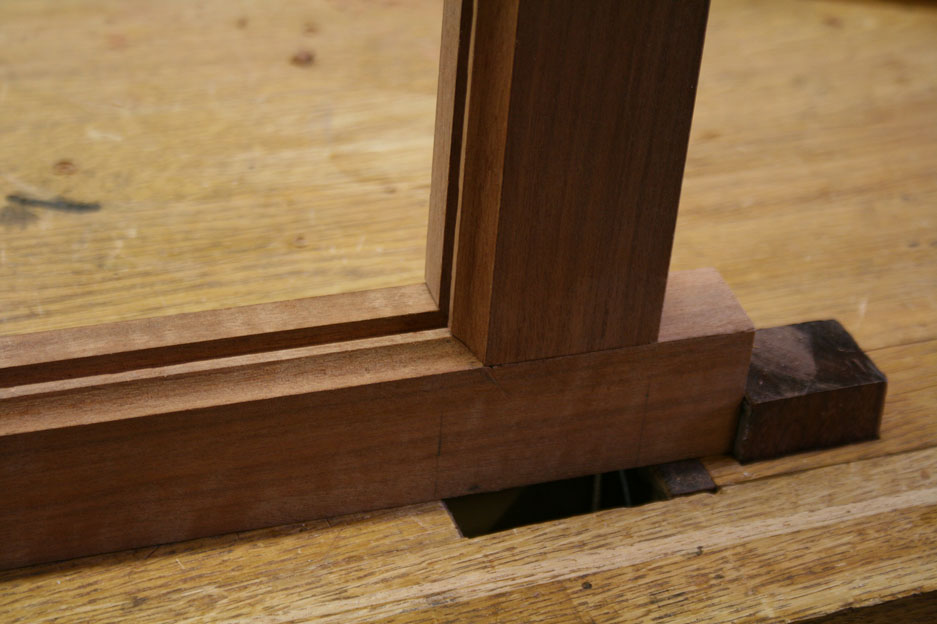
I intend shortly to make the lid for my version of the Anarchist's Tool Chest. It consists of a frame holding a central panel. The inside of the frame has a 3/8" groove to receive the panel and the frame members are connected to each other with through mortises.

The question is: should one cut the M&Ts first and then do the groove or do the groove first and use it as a starting guide for cutting the mortises? My initial thought is that the latter is the obvious approach but in his book Christopher Schwarz seems to recommend the opposite sequence. What do you reckon?

Thanks in advance.

Andy.
 
I'd go for groove first,

edited: if the mortise is the same width as the groove. Otherwise mortise first.
 
Andy Kev.":14pj3gto said:
Yes mortice and groove share the same width.

Peter, what leads you to choose M & T first?


If you mark out the mortice and then cut the groove your marking lines are removed, you may be left with marks on the outer edges of the stile but this leads to inaccuracy as your chisel starts cutting at the bottom of the groove not on your marking lines. If you take this up to the next level and make moulded frames again the tradition is mortice, groove or rebate then moulding, trying to market square lines across mouldings is very tricky.

Does Chris offer and reasoning for his approach?


Cheers Peter
 
In joinery we tend to machine the tenoner first, adjust morticer to suit, set up for grooving when joints are done.

If doing by hand I think the same routine would make sense, as peter says it is easier to do all marking out and do the morticing so you can see all of the lines clearly.

However, if you are morticing by hand there is the argument that it is easier to remove wood by grooving than chopping out with chisel, so if the groove is done first then part of the morticing is then done for you already.

Of course if the grooving is deep enough do you need to mortice any deeper....
 
Peter and Robin,

these are interesting replies. I ddn't think that the mortice marking lines will effectively be removed as they are identical for marking where the groove goes, so my thinking was that the groove in effect becomes a 3D marking line for the mortice (assuming of course that the groove has been planed square otherwise things will be all over the place). The boards are about 4" wide so these will be serious mortices. I failed at my first attempt as the mortices wandered off their line. This was simply down to poor technique due to inexperience of deeper mortices. This time I'm going to get some practice in on offcuts before starting.

I've also considered using augers with a diameter 1/16" less than the width of the mortice but have dismissed this at it seems to me to have even more risk of wandering off.

And no, Chris Schwarz gives no specific grounds for his chosen sequence of Actions but I assumed that there is a definite reason, hence my question.
 
I've done both, and if either are done with care and forethought, they both work when the mortice is the same thickness as the groove. However, Peter's point about accuracy of cutting the mortice when the gauge lines have been grooved away is a good one, especially with harder, less yielding woods; you can sometimes 'get away' with things in softer woods because they crush a bit to allow some inaccuracies.

With a 'mortice first' approach, I cut the haunches when sinking the mortice, but that can lead to a slight problem if the plough isn't perfectly aligned with the mortice; you end up with a slight extra trimming off of timber from the side of the haunch as the groove is run, and thus a slight gap when the joint is assembled. So Peter's advice to run the hauch as part of the groove is good. You can still end up with a gap because you can't add back timber you saw away when cutting the tenon; then it's 'sliver of veneer or a slice of offcut' time!

Also - it's an obvious one this, but I've fallen into the trap - if you cut the mortices first, allow for the groove depth when setting the tenon widths. If you cut a full-width mortice and tenon on the inside of the frame, the act of running the groove trims away a width of tenon equal to the depth of groove. Sliver of waste time again...

I think these days, in softer woods I'd groove first then mortice, and rely on the give of the timber to help me out with slight inaccuracies; in harder timbers, mortice first then groove. Do bear in mind that those are the gibberings of a bumbling amateur, though; I stand to be corrected by proper cabinetmakers!

Edit to add - I've tried the method of using a brace and bit to remove waste before finishing with a chisel, and I don't like it. The chisel tends to be deflected by the curve of the holes, and ends up cutting a bit full to width in places. Also, I've found it hard to keep the holes bang on centre of mortice; they usually drift a bit, even if it's only 1/32" you loose the tightness of fit at that spot. I think unless the mortice is a real biggy, it's quicker and more accurate to sink them just by chiselling. That's doing it all by hand methods - machine methods may be a different matter.
 
Just for interest, I thought I'd check what other people have written.
George Ellis, Ernest Joyce, Robert Wearing and Charles Hayward all say that you should cut the mortices first, then plough the grooves.
If I find anyone suggesting the other way round, for hand work, I'll let you know.
 
Yes -as above dont forget to mark out with groove width deducted or your mortice will be too wide!
 
Well, you've nothing to lose. Take an off cut and see which way you prefer.
White cat/ black cat, as Deng used to say. :)
 
Generally I will groove and then chop the mortice in the groove. This enables the haunch to fit inside the groove ..

Buildtheframe_html_1a9768fb.jpg


With a frame that featured a cove moulding, the groove was run first, the cove shaped, and then the area for the mortice removed ...

Coved-Frame-And-Panel_html_2a413f6c.jpg


The mortice was chopped ..

Coved-Frame-And-Panel_html_6872a492.jpg


.. mitred ...

Coved-Frame-And-Panel_html_m3816bb03.jpg


And the tenon section fitted ...

Coved-Frame-And-Panel_html_me961e0a.jpg


Regards from Perth

Derek
 
Derek, presumably those are small, blind mortices, all chopped from the top. Maybe, as so often, an answer which works for joinery ("keep the work square while mortising, then groove/rebate/mould") won't always apply in cabinet making, where other procedures can be ok.
 
AndyT":19rctpqx said:
Derek, presumably those are small, blind mortices, all chopped from the top. Maybe, as so often, an answer which works for joinery ("keep the work square while mortising, then groove/rebate/mould") won't always apply in cabinet making, where other procedures can be ok.
No the "joinery" method is better; mortices and tenon cheeks first, then mouldings/rebate, then the shoulders (detaching the cheeks). This way everything is left square as long as possible which helps with the moulding/rebate as you can run them through whilst there is still a bearing surface, it also helps with the mortices - a lot of bashing is involved and the mouldings could get damaged.
NB furniture making is still "joinery".
 
RobinBHM":1911evlb said:
In joinery we tend to machine the tenoner first, adjust morticer to suit, set up for grooving when joints are done.

If doing by hand I think the same routine would make sense, as peter says it is easier to do all marking out and do the morticing so you can see all of the lines clearly.

However, if you are morticing by hand there is the argument that it is easier to remove wood by grooving than chopping out with chisel, so if the groove is done first then part of the morticing is then done for you already.

Of course if the grooving is deep enough do you need to mortice any deeper....

Interested to know how you set the mortice to the size of the tenon? Unless you are morticing twice to form the width. I usually cut the mortice (which is dictated by the size of the chisel) and make the tenon to fit. I have found if you try and take a skim cut with a machine mortice chisel it bends into the open hole.

Cheers Peter
 
Everything should be set to the rod or design drawing. Taking marks from one component for another is amateurish, except in peculiar circumstances where it could be the only way
The size of your mortice chisel (hand or machine) dictates the size - measure the chisel and transfer that to the mortice gauge which then used to mark all the M&Ts. Some say to set the gauge to the chisel - it's not that easy somehow - I think it's better to measure it and then set to the scale.
 
Thanks for the replies. I think I'll probably settle for morticing in the groove as per Derek's pictures. The groove should effectively act like a jig with regards to maintaining vertical. That said I will practice both methods on scrap.
 
Hello,

Out of curiosity, how are you making the grooves, a plough plane?

If so, make sure the plough cutter matches your mortice chisel width precisely. Grind a plough cutter to match your chisel, if one doesn't naturally correspond. The ploughed groove will form the haunch, and the tenon must be the same width as the haunch, so the mortice must be the same also. If you are going to chop the mortice into the groove, then there will be no problems with matched tooling, but make the mortice wider than the groove, even a tiny bit and you must chop before running the grooves and obviously the haunch will wider too. You can't make the mortices thinner than the groove in any circumstance, with a ploughed groove.

Mike.
 
Back
Top