El Barto
👍
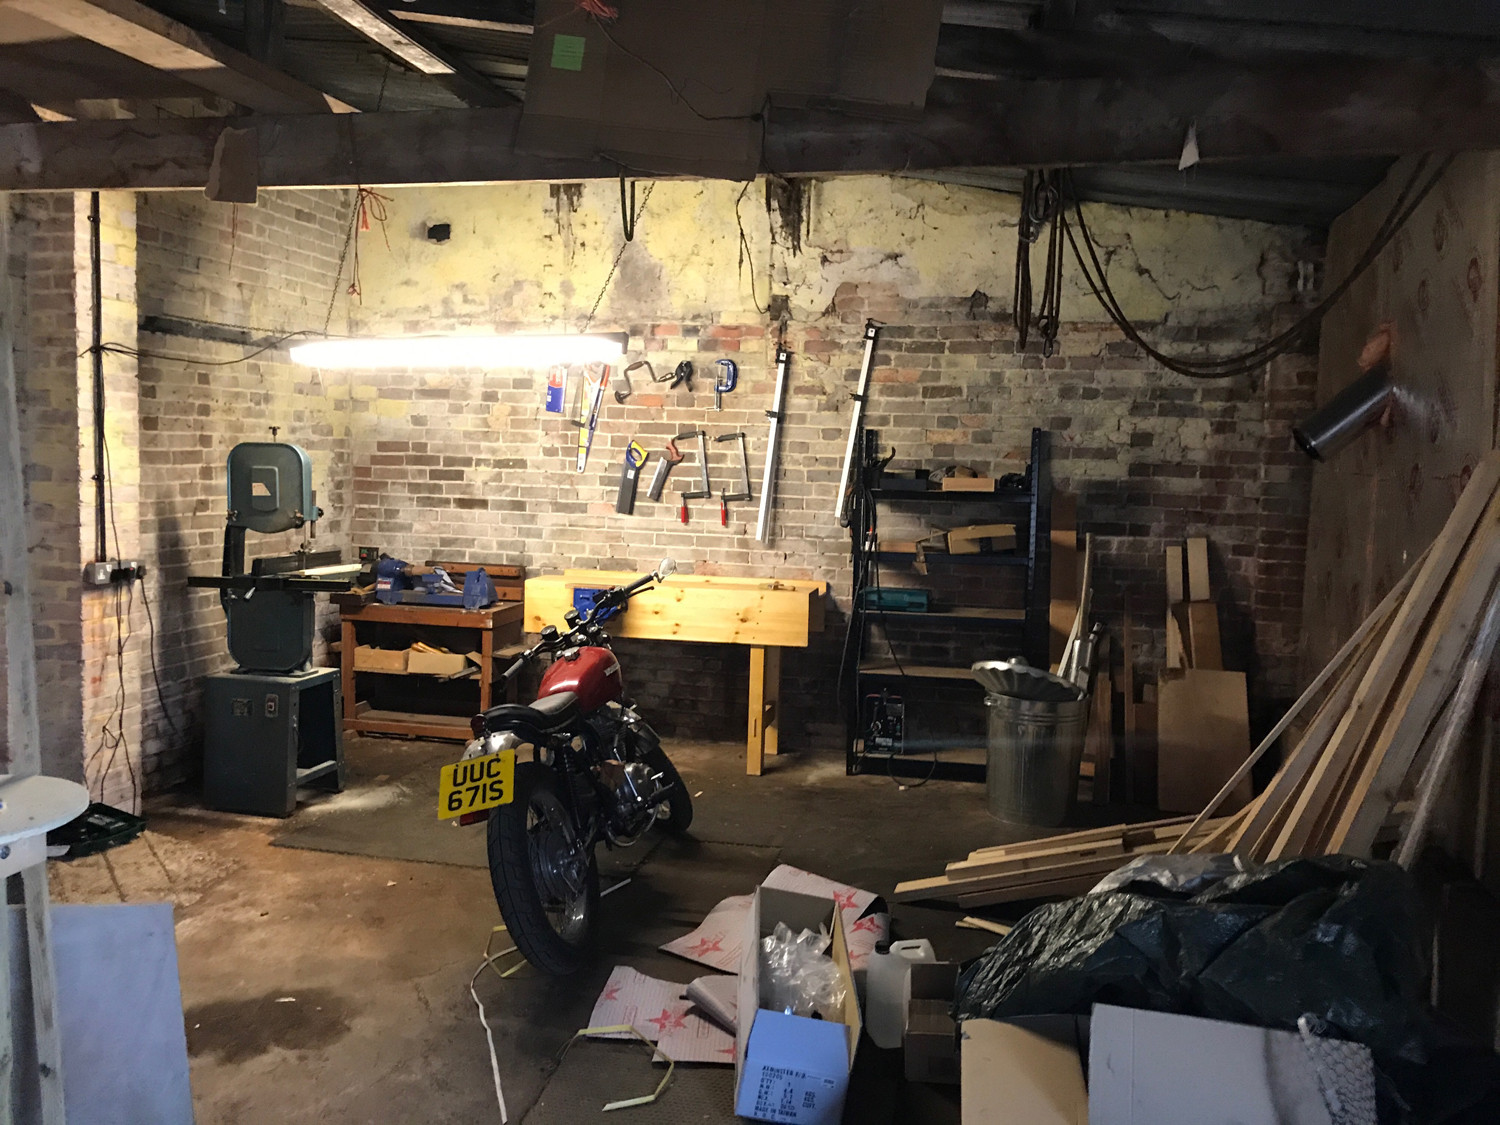
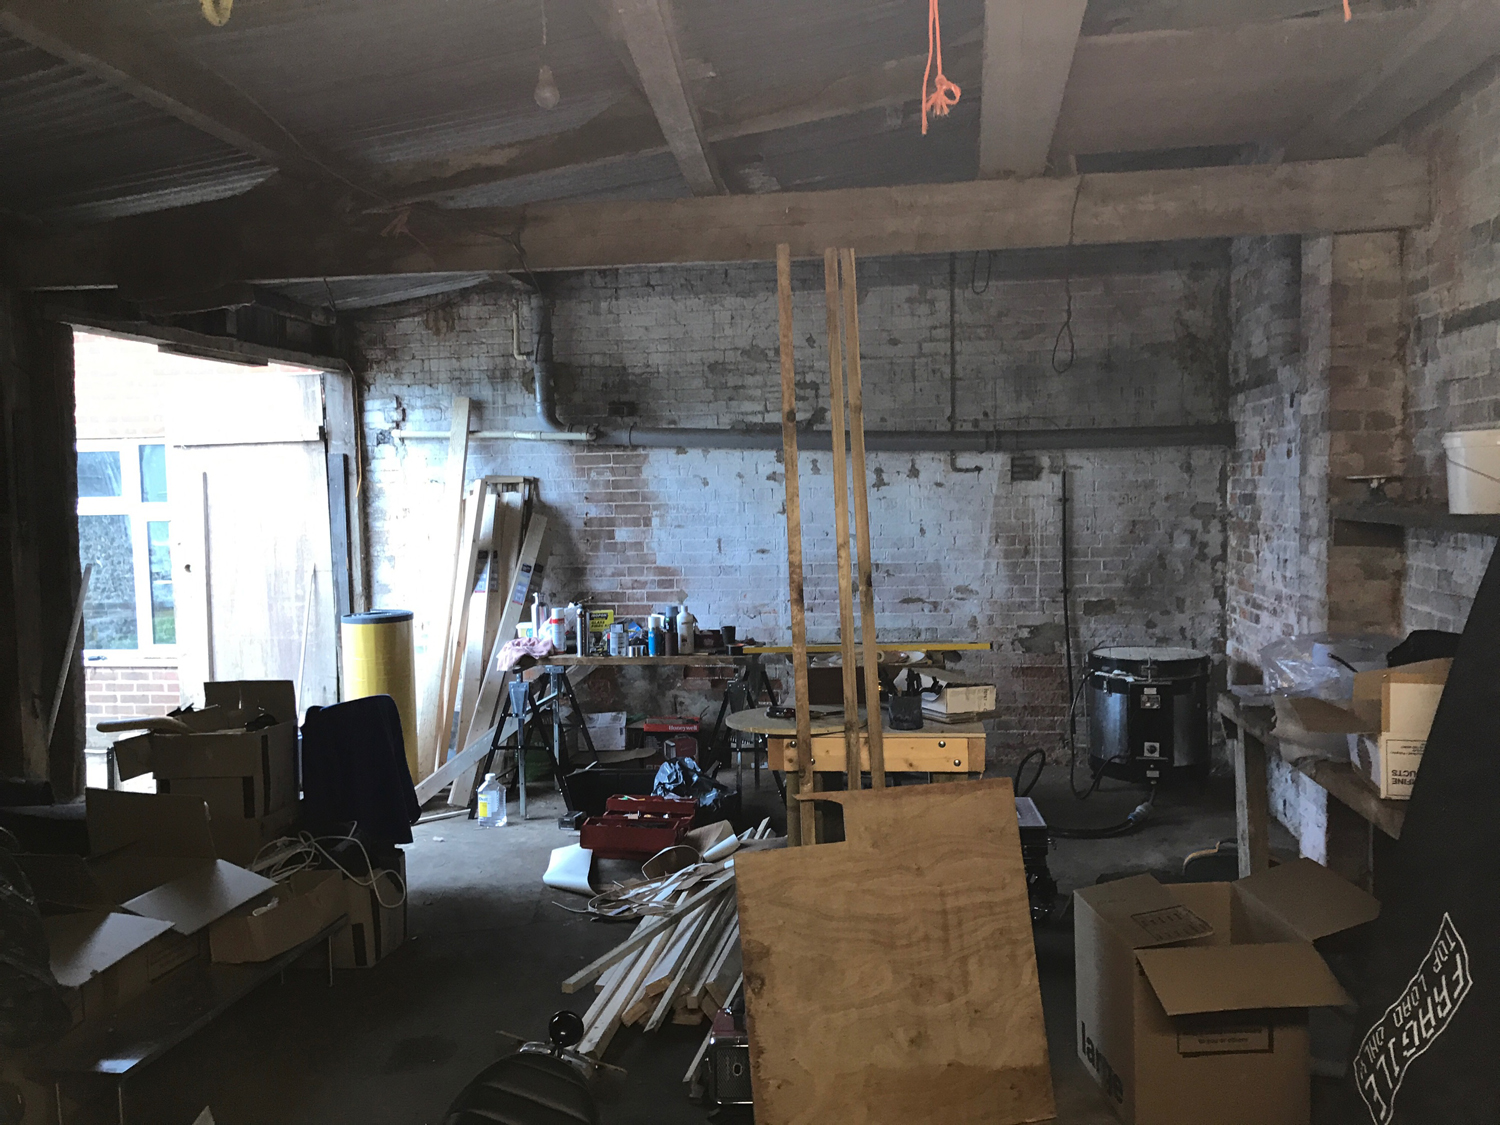
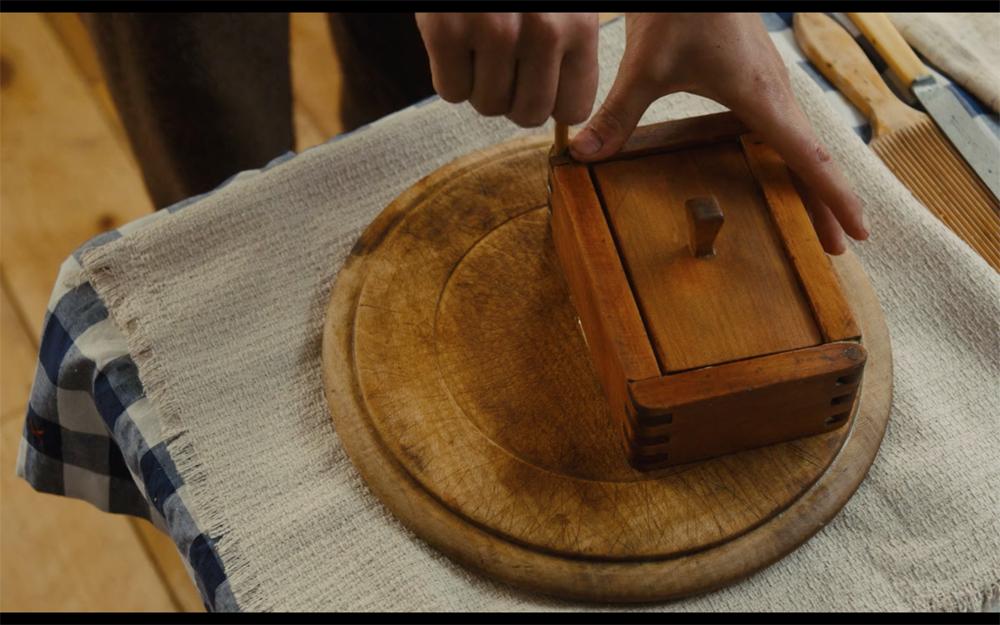
Now that I've got a proper workbench, I thought I'd better put it to use and for posterity, document it here. A while ago I watched the film Slow West. In it they return a couple of times to a butter dish and I thought, "I want to make one of them". So while my dish isn't going to be anything like the one in the film (mine is going to be a dovetail box), that's what inspired it. Below is a screen shot; maybe one day I'll make one of these too:
A few weeks ago Custard invited me over to his workshop to give me some tips and answer my many (probably inane) questions (thanks Custard). I told him about the butter dish idea and not only did he suggest I make it out of maple, he even gave me a couple of beautiful pieces to make it with. It really is stunning wood so I'm chuffed to be working with it, but also slightly nervous of messing it up. The photos here don't do it justice but I will make sure to get some that do.
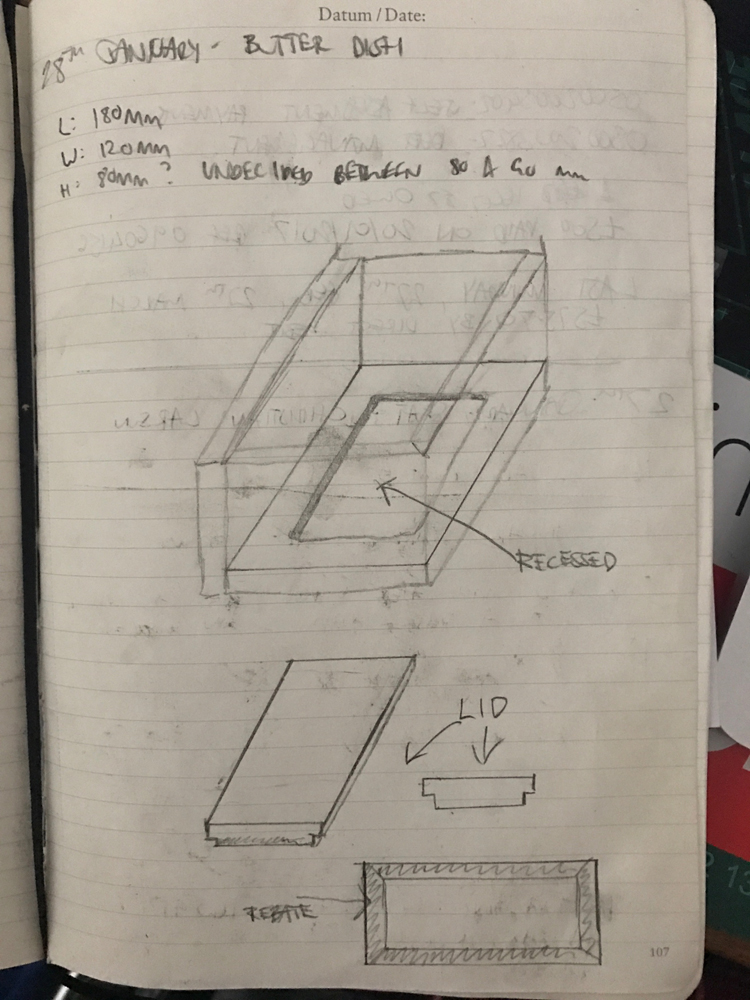
Anyway, here's a rough sketch. Originally I wanted to make a recess of 2mm in the bottom to house a piece of stainless steel that could be removed for cleaning. I still plan to do this but haven't yet figured out how to cut said recess... I don't have a router, only a router plane.
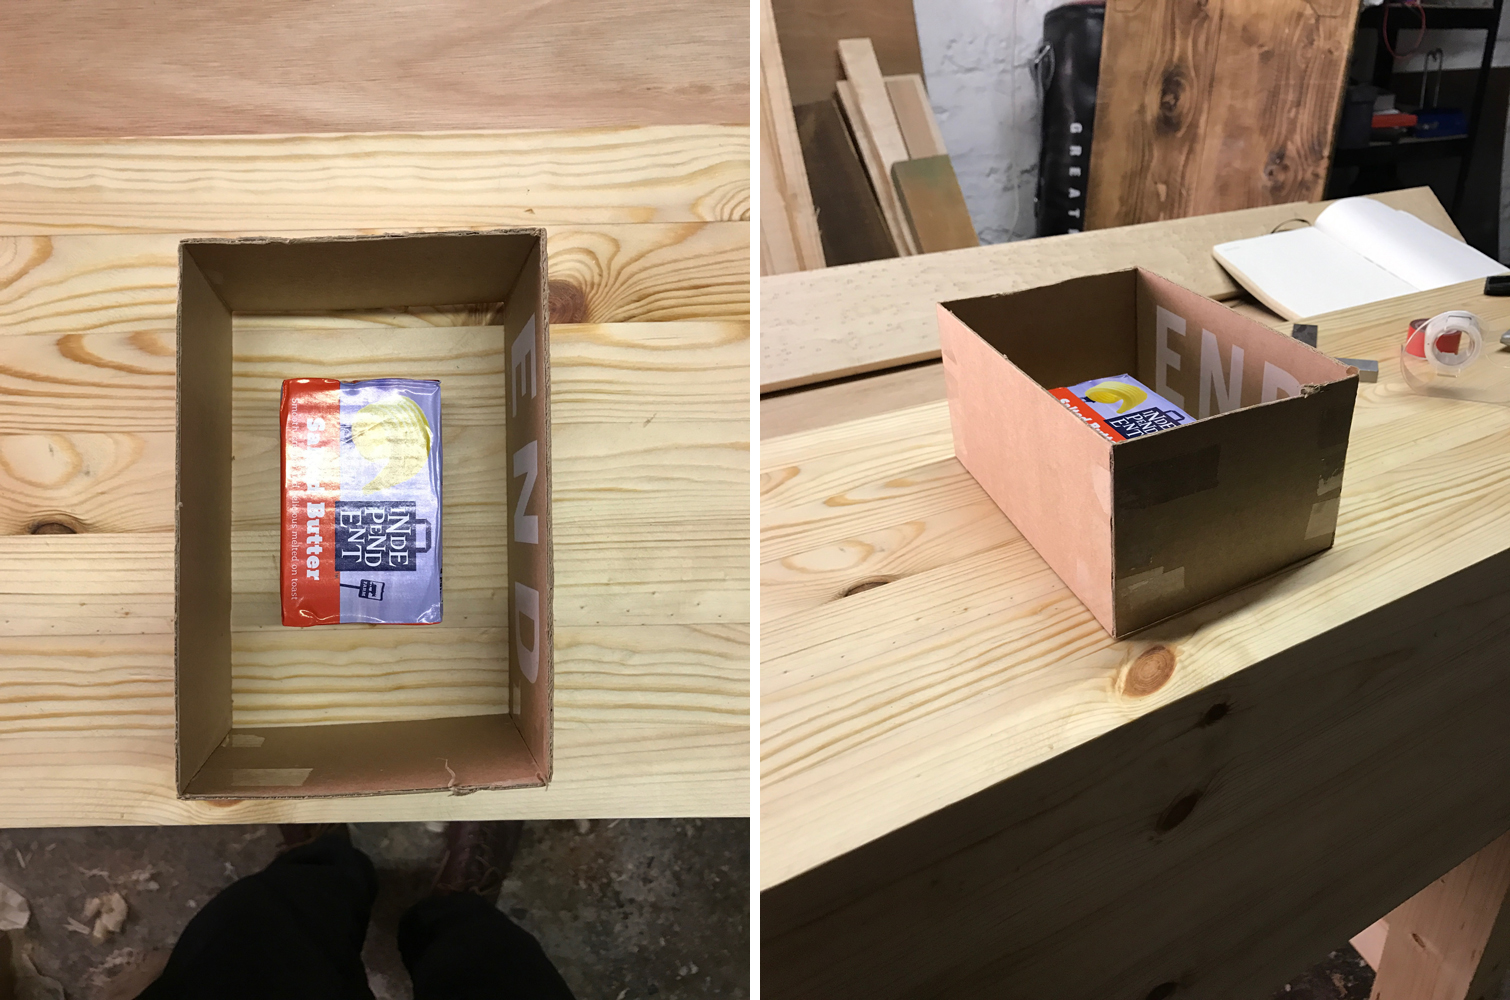
I then mocked up a couple of versions...
With the dimensions decided on I set about cutting the maple to size. This proved much more difficult than I expected. The actual cutting was ok, but squaring the end grain on such thin material was very tricky, especially when trying to avoid spelching. In the end I used an offcut at the end - this allowed me to plane straight through and avoid any splitting. But if anyone has any other tips I'd love to hear 'em!
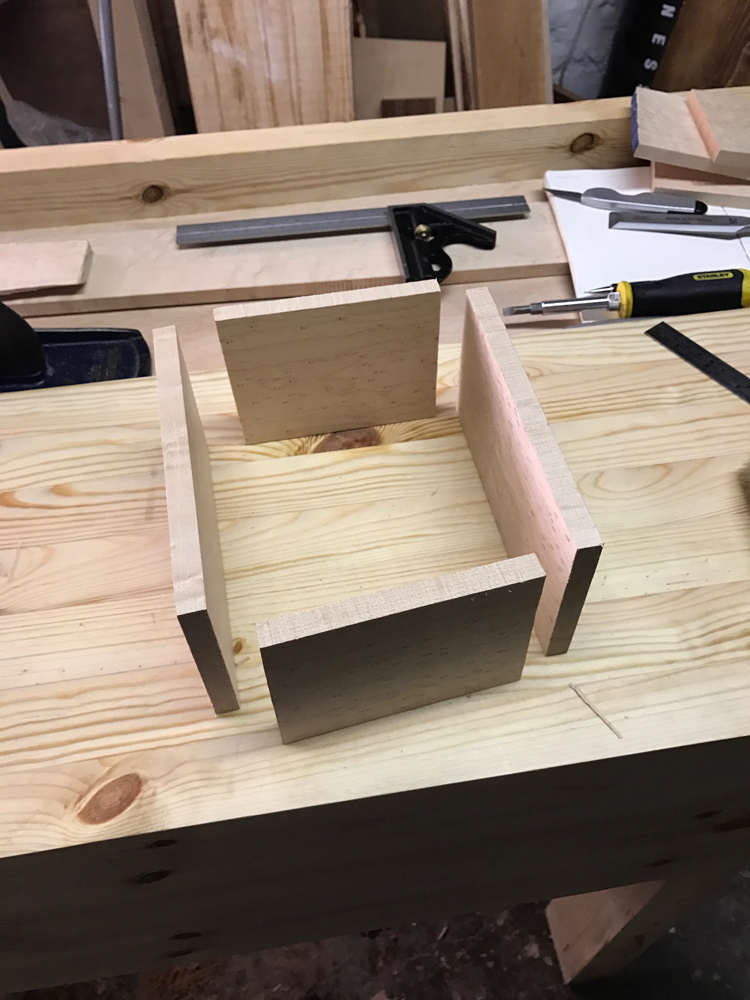
So in all, a slower start than I'd hoped due to the time consuming exercise of getting everything to size and square, but at least it is a start.
Next update in... the near future.
A few weeks ago Custard invited me over to his workshop to give me some tips and answer my many (probably inane) questions (thanks Custard). I told him about the butter dish idea and not only did he suggest I make it out of maple, he even gave me a couple of beautiful pieces to make it with. It really is stunning wood so I'm chuffed to be working with it, but also slightly nervous of messing it up. The photos here don't do it justice but I will make sure to get some that do.
Anyway, here's a rough sketch. Originally I wanted to make a recess of 2mm in the bottom to house a piece of stainless steel that could be removed for cleaning. I still plan to do this but haven't yet figured out how to cut said recess... I don't have a router, only a router plane.
I then mocked up a couple of versions...
With the dimensions decided on I set about cutting the maple to size. This proved much more difficult than I expected. The actual cutting was ok, but squaring the end grain on such thin material was very tricky, especially when trying to avoid spelching. In the end I used an offcut at the end - this allowed me to plane straight through and avoid any splitting. But if anyone has any other tips I'd love to hear 'em!
So in all, a slower start than I'd hoped due to the time consuming exercise of getting everything to size and square, but at least it is a start.
Next update in... the near future.