


Biliphuster
Established Member
I recently completed a small picture frame, and decided to build it like a miniature sash window. As I was doing it I made a conscious effort to think about the order in which I was doing things, and to try and make the process as efficient and accurate as possible. Any comments from those in the know on the order or method would be appreciated.
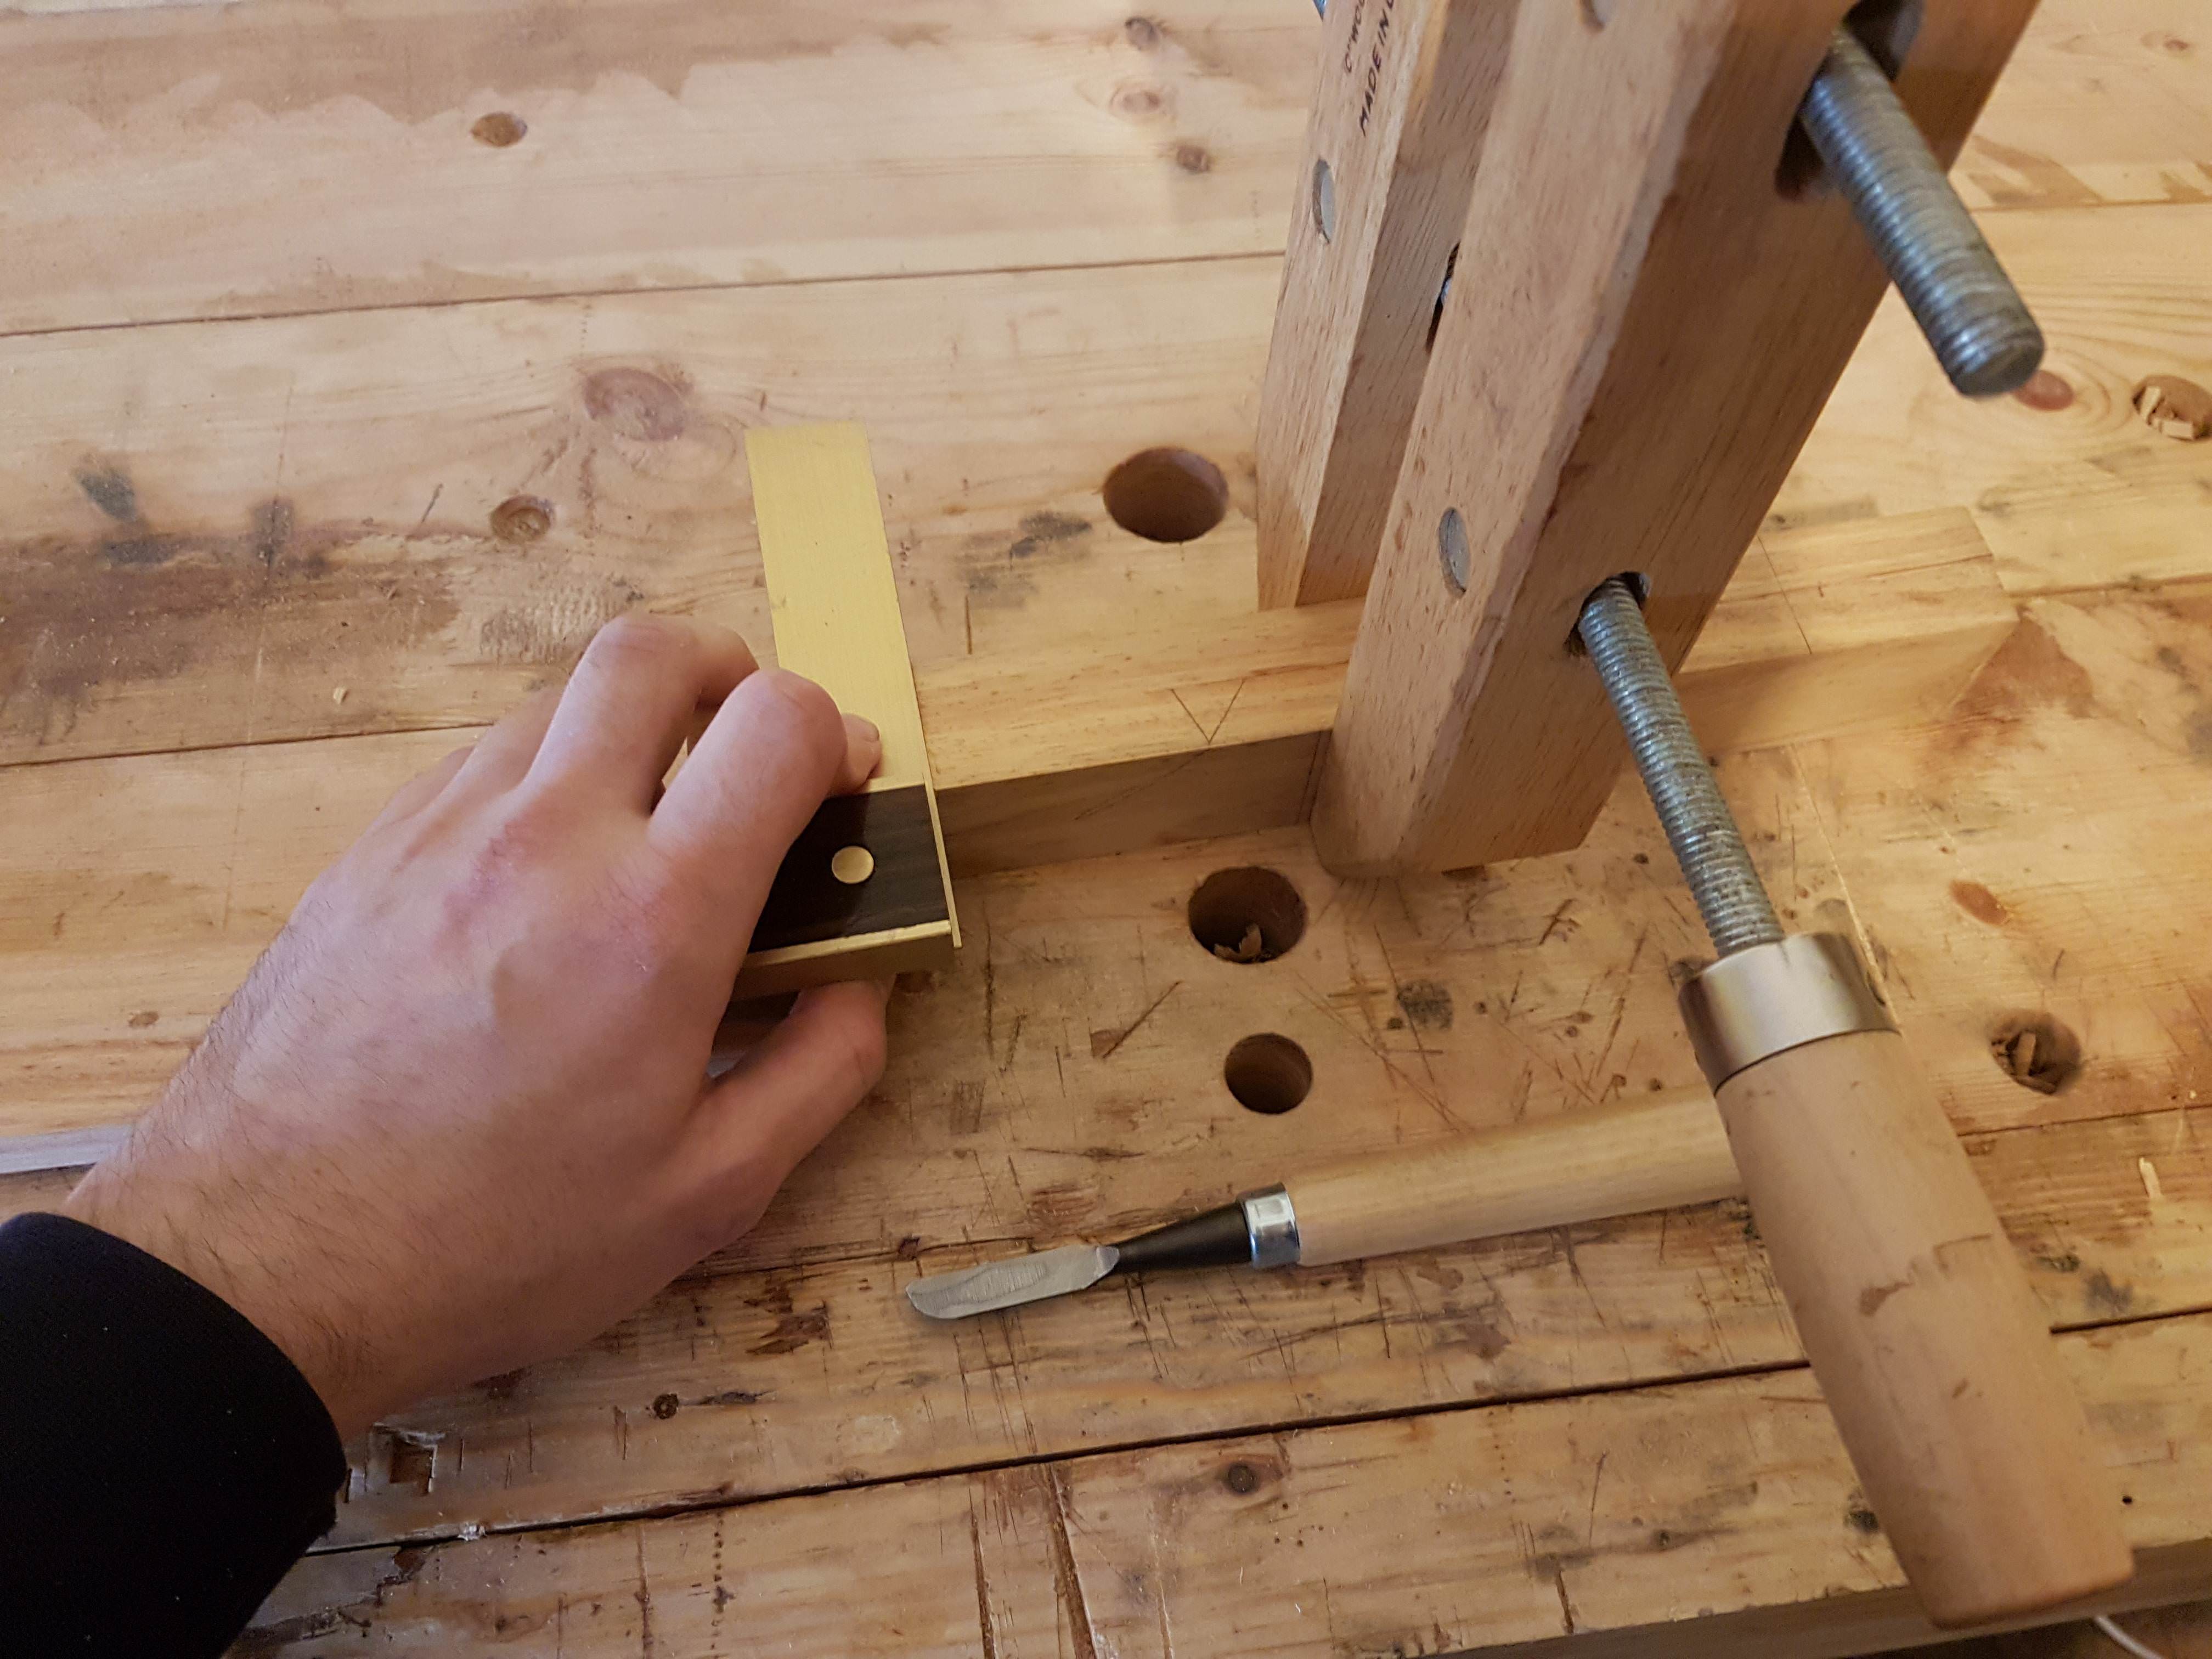
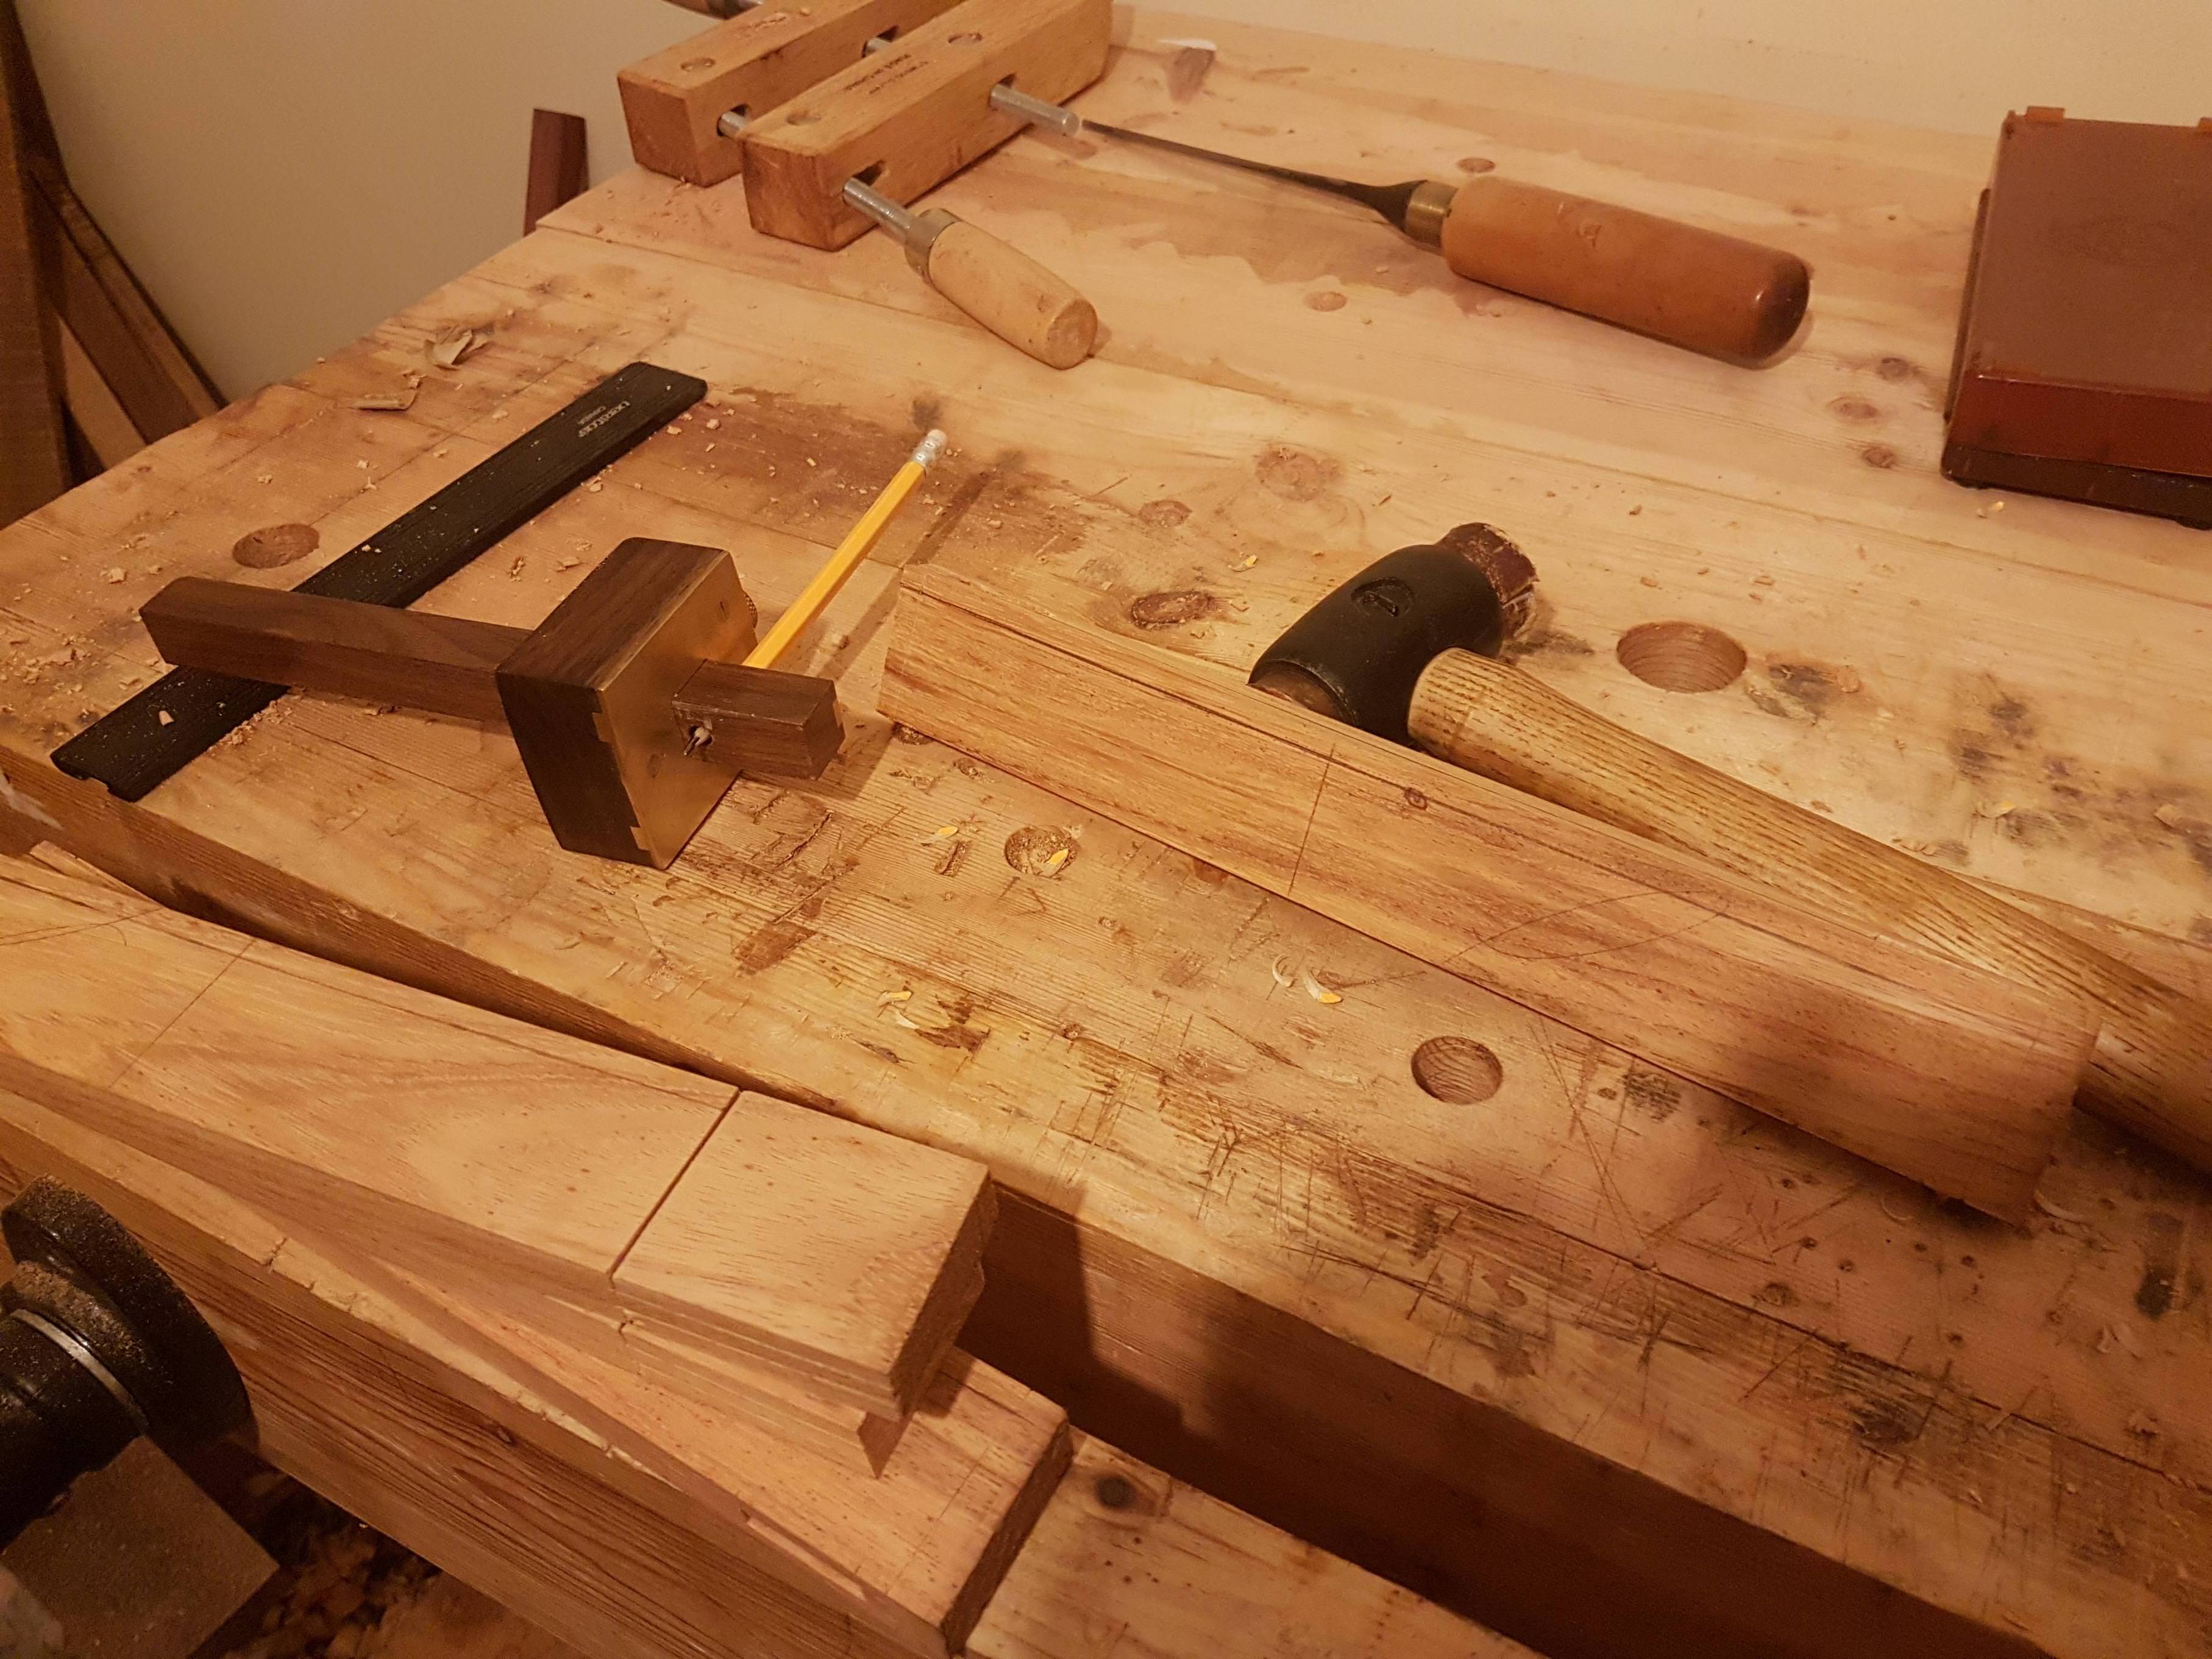
Start by laying out lengths across the rails or stiles, ganged up and marked across with a square and knife.
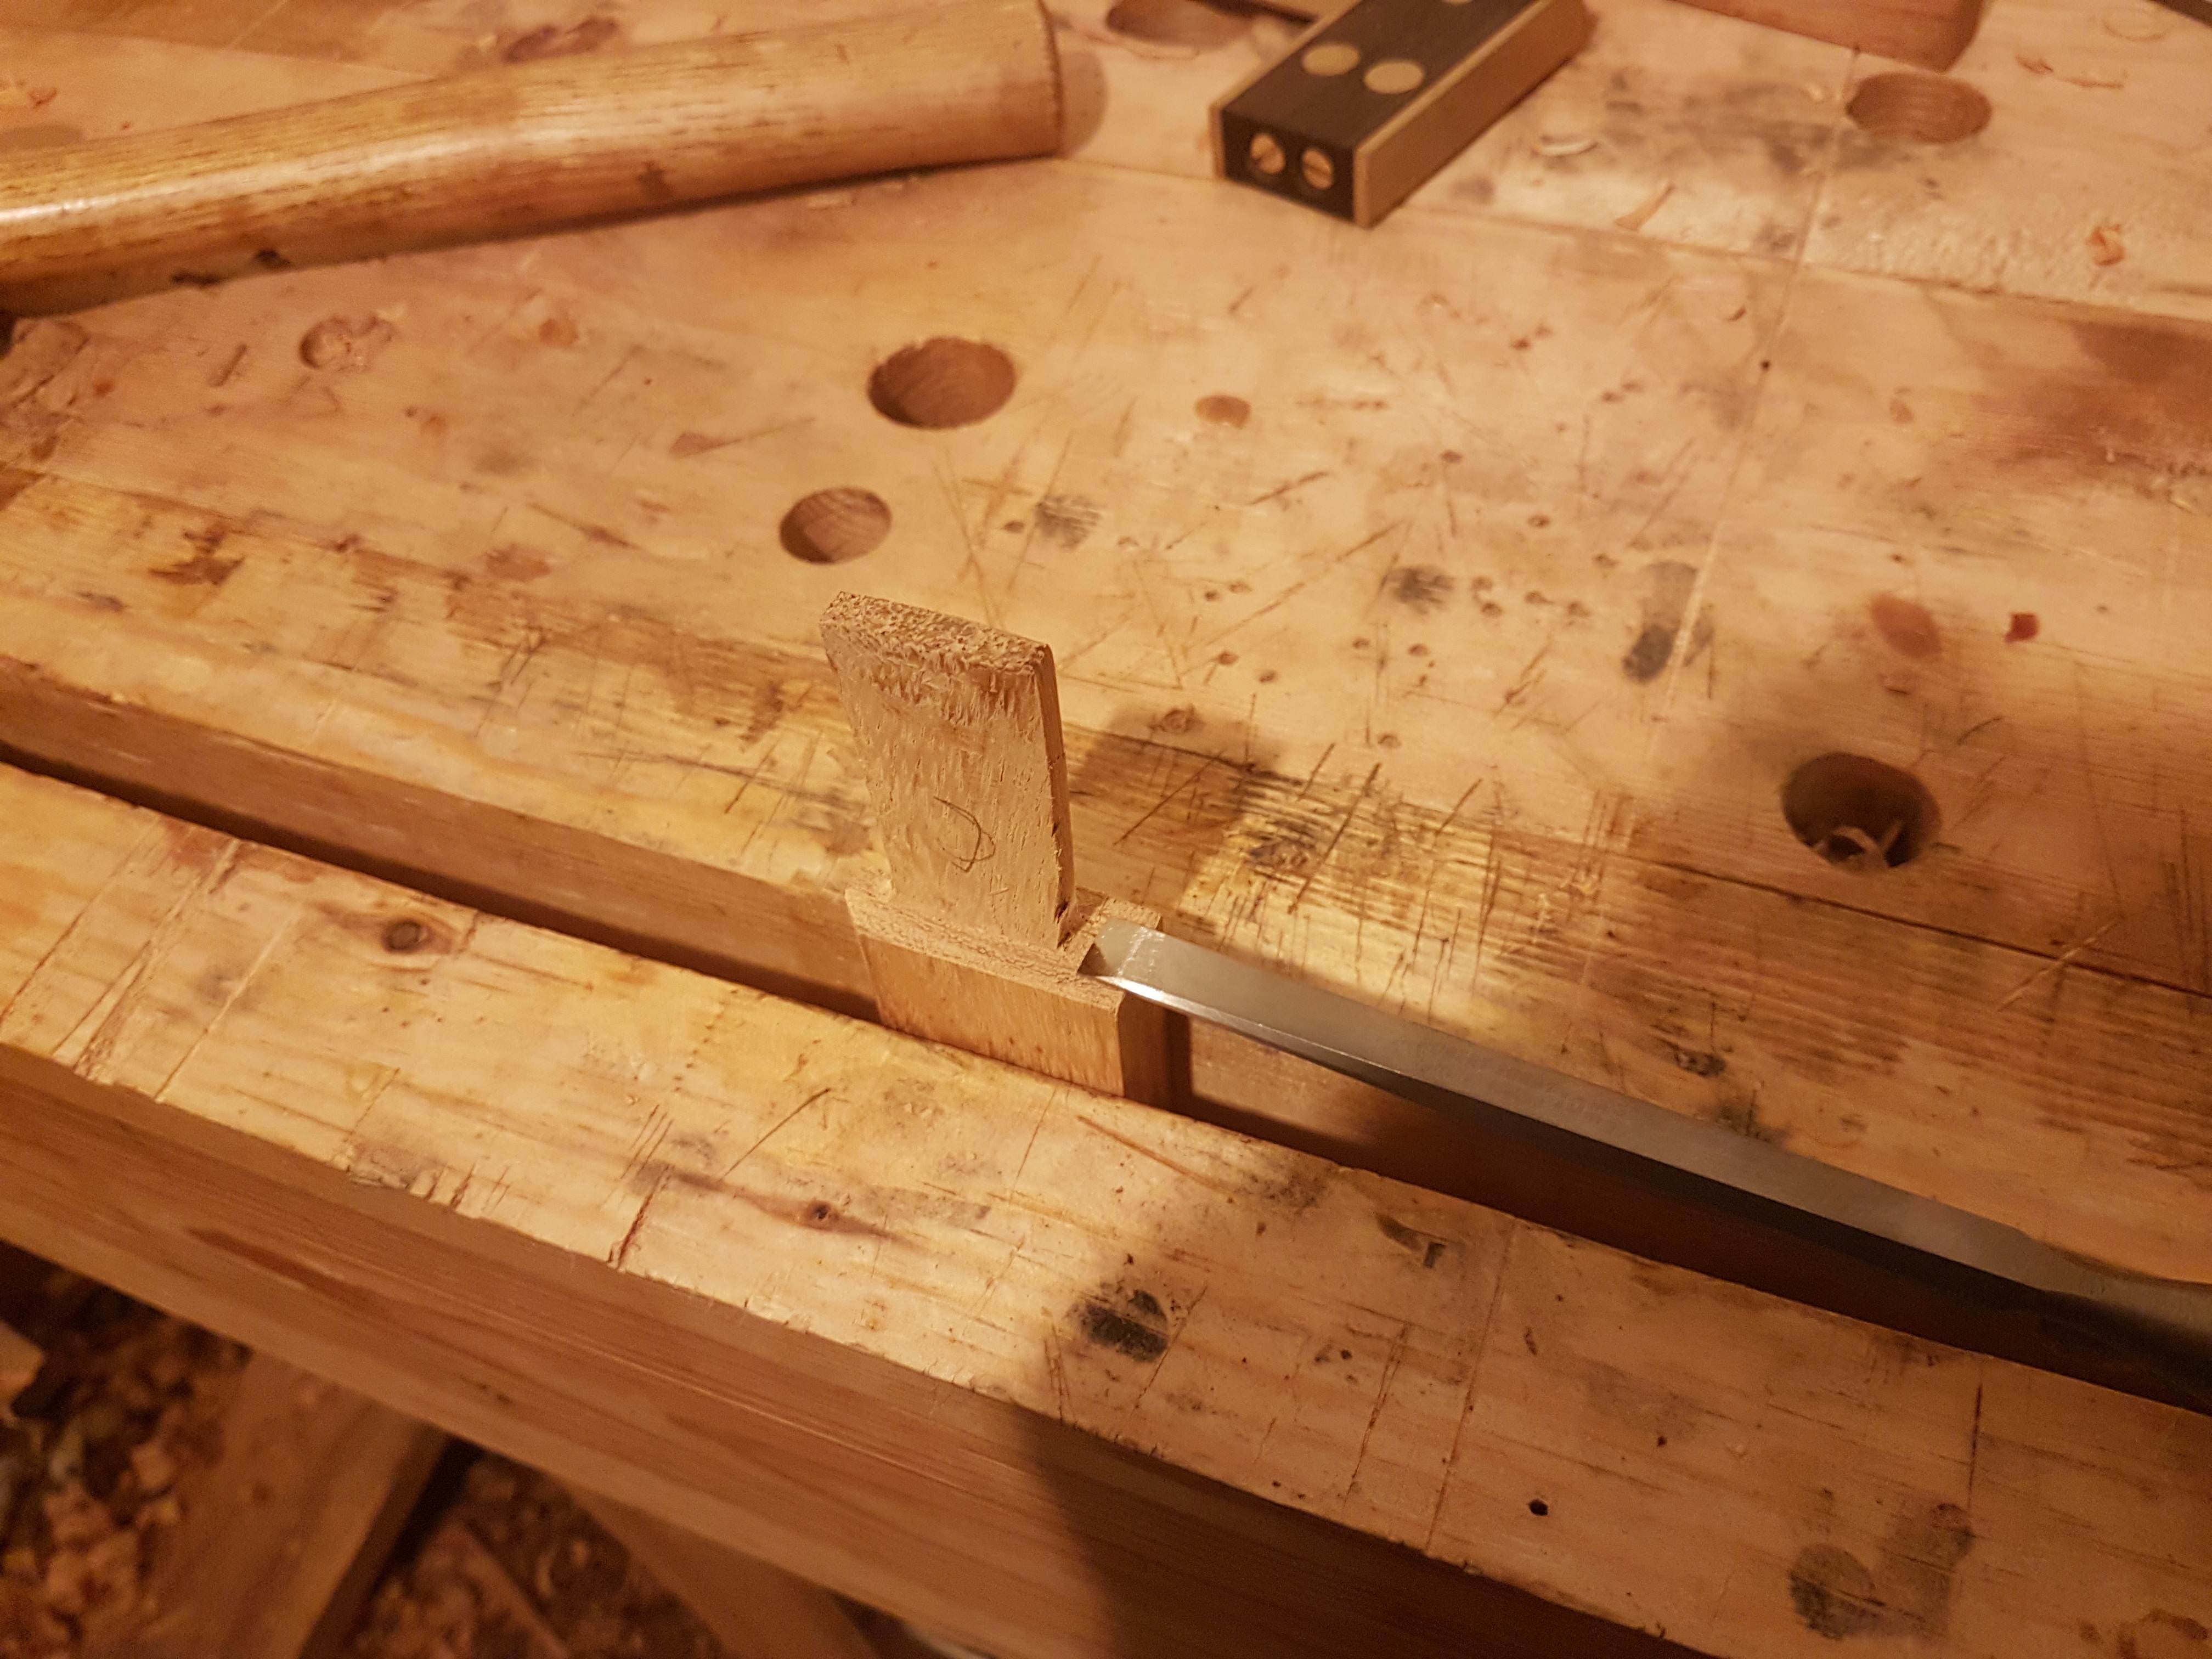
After this I started morticing, mostly from the back, and then finishing off from the show face. Despite taking my time and trying to keep the chisel straight, my morticing still leaves much to be desired.
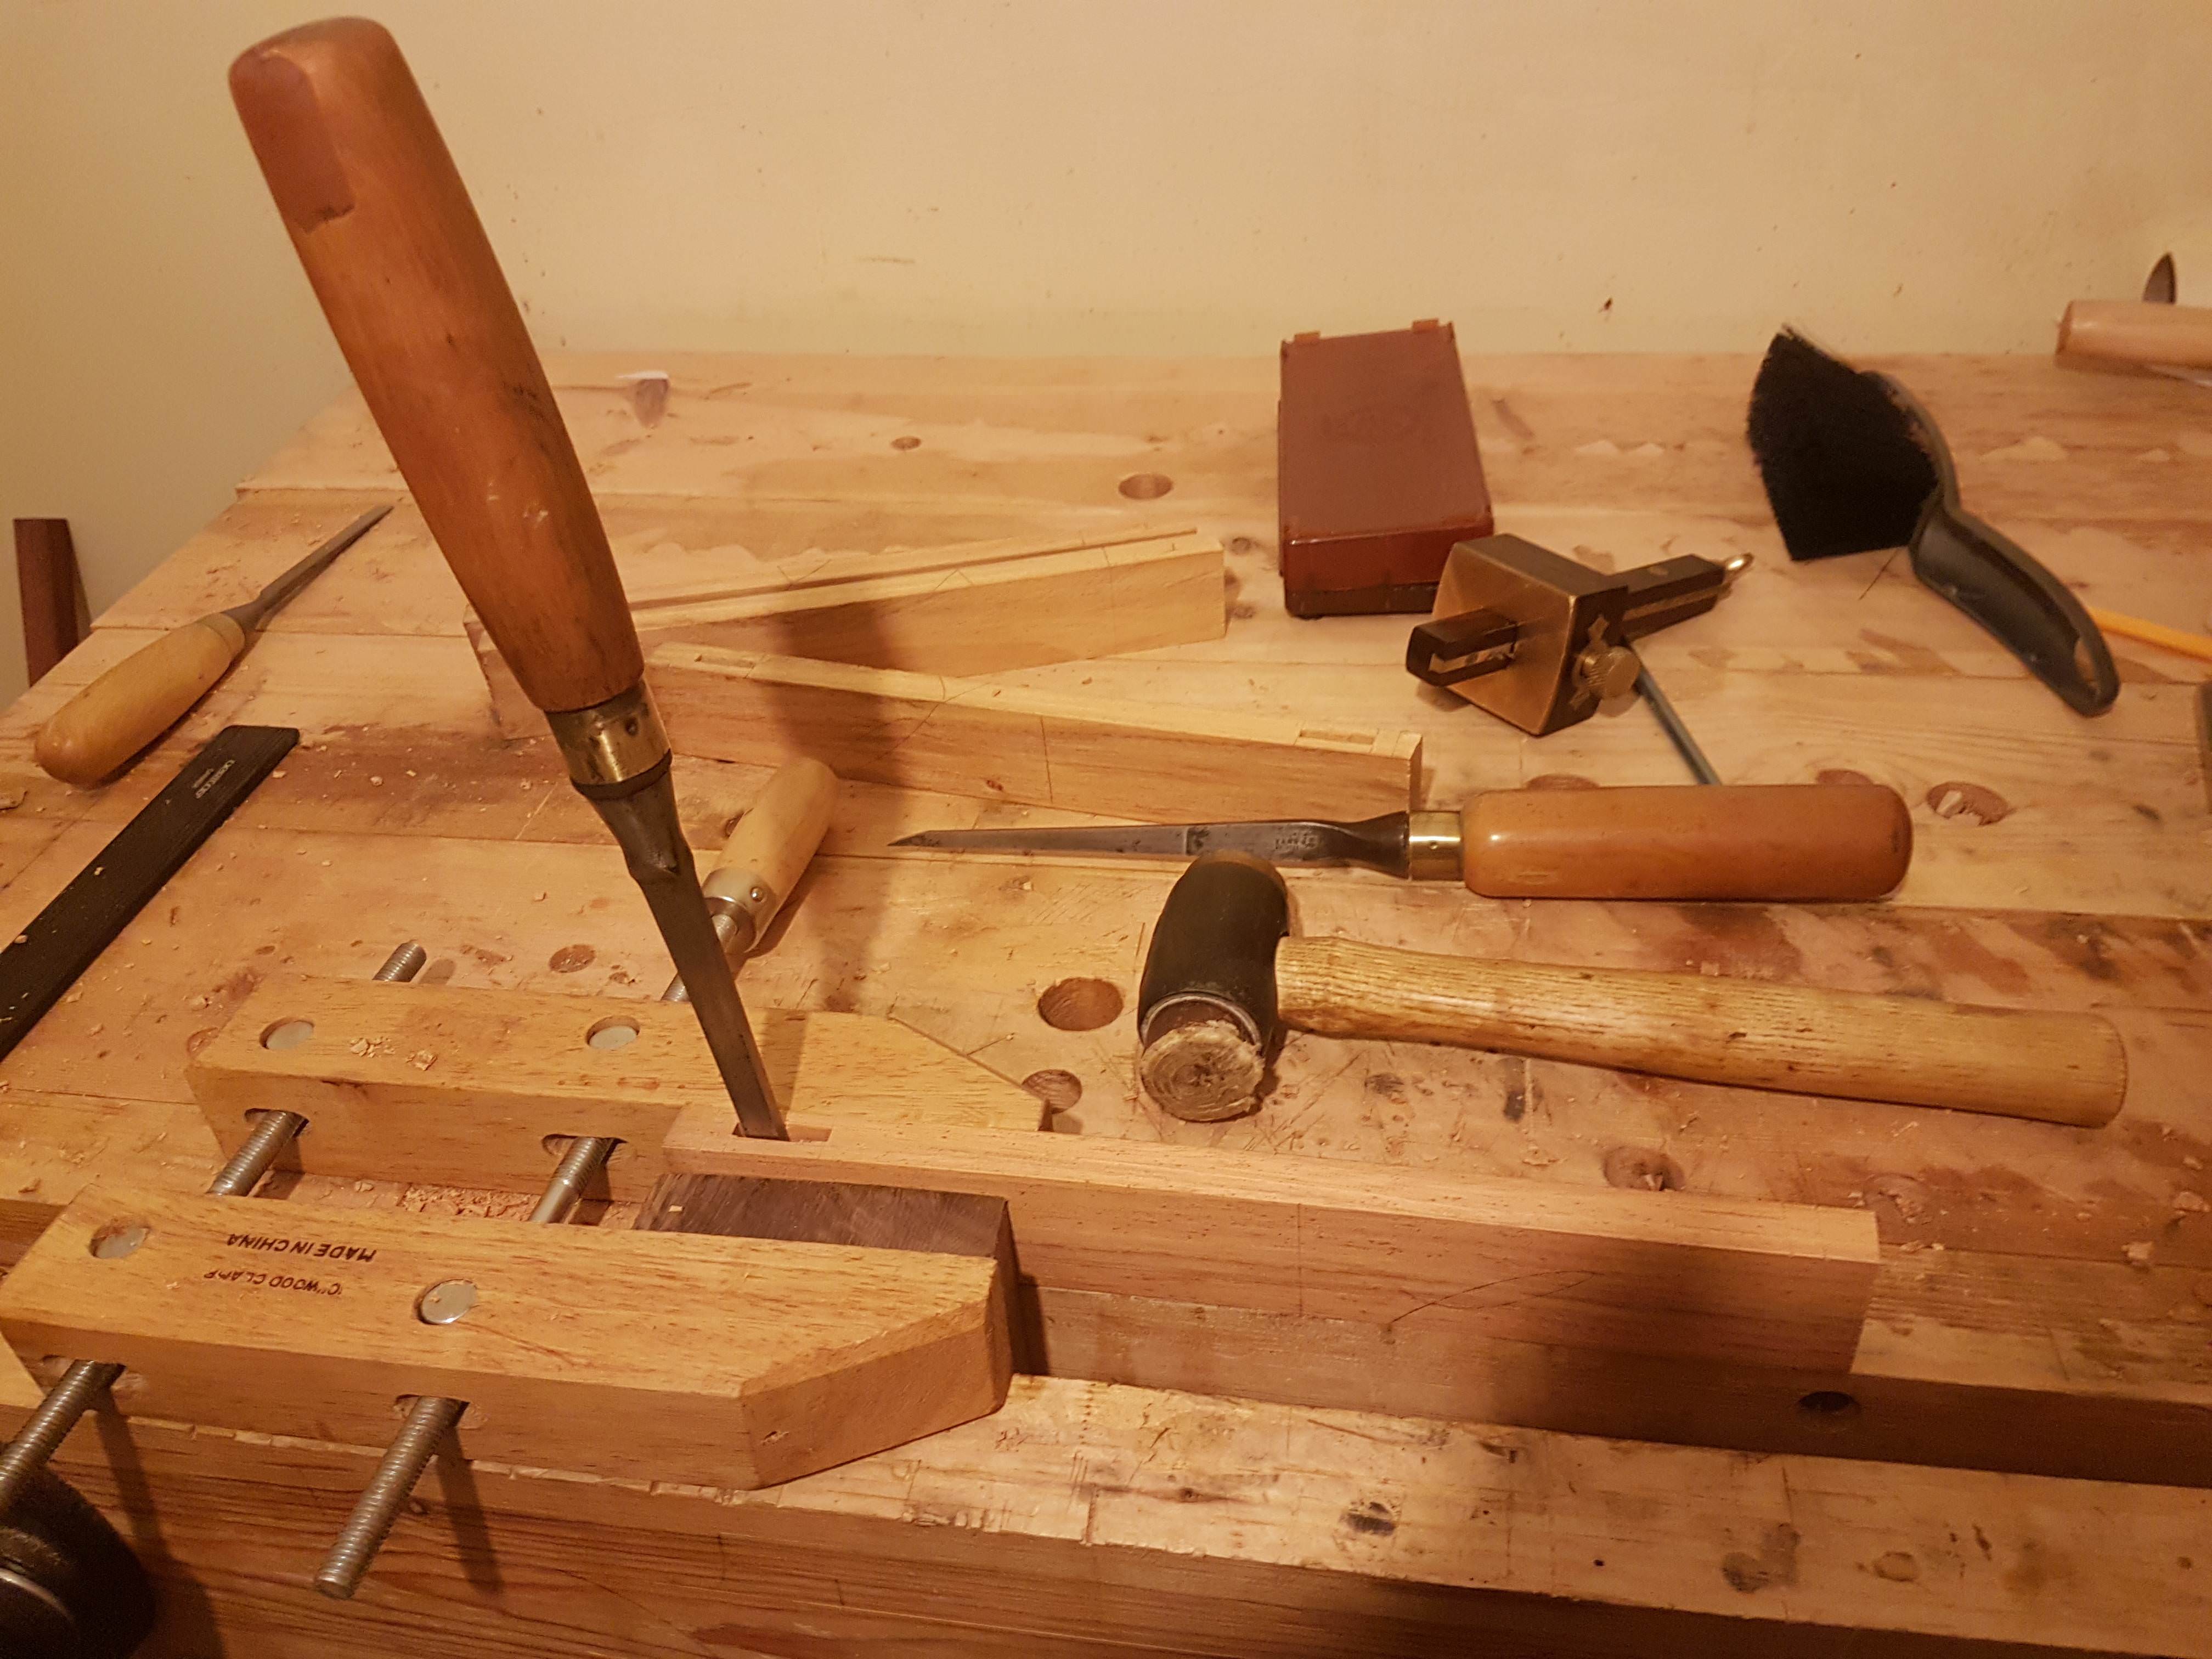
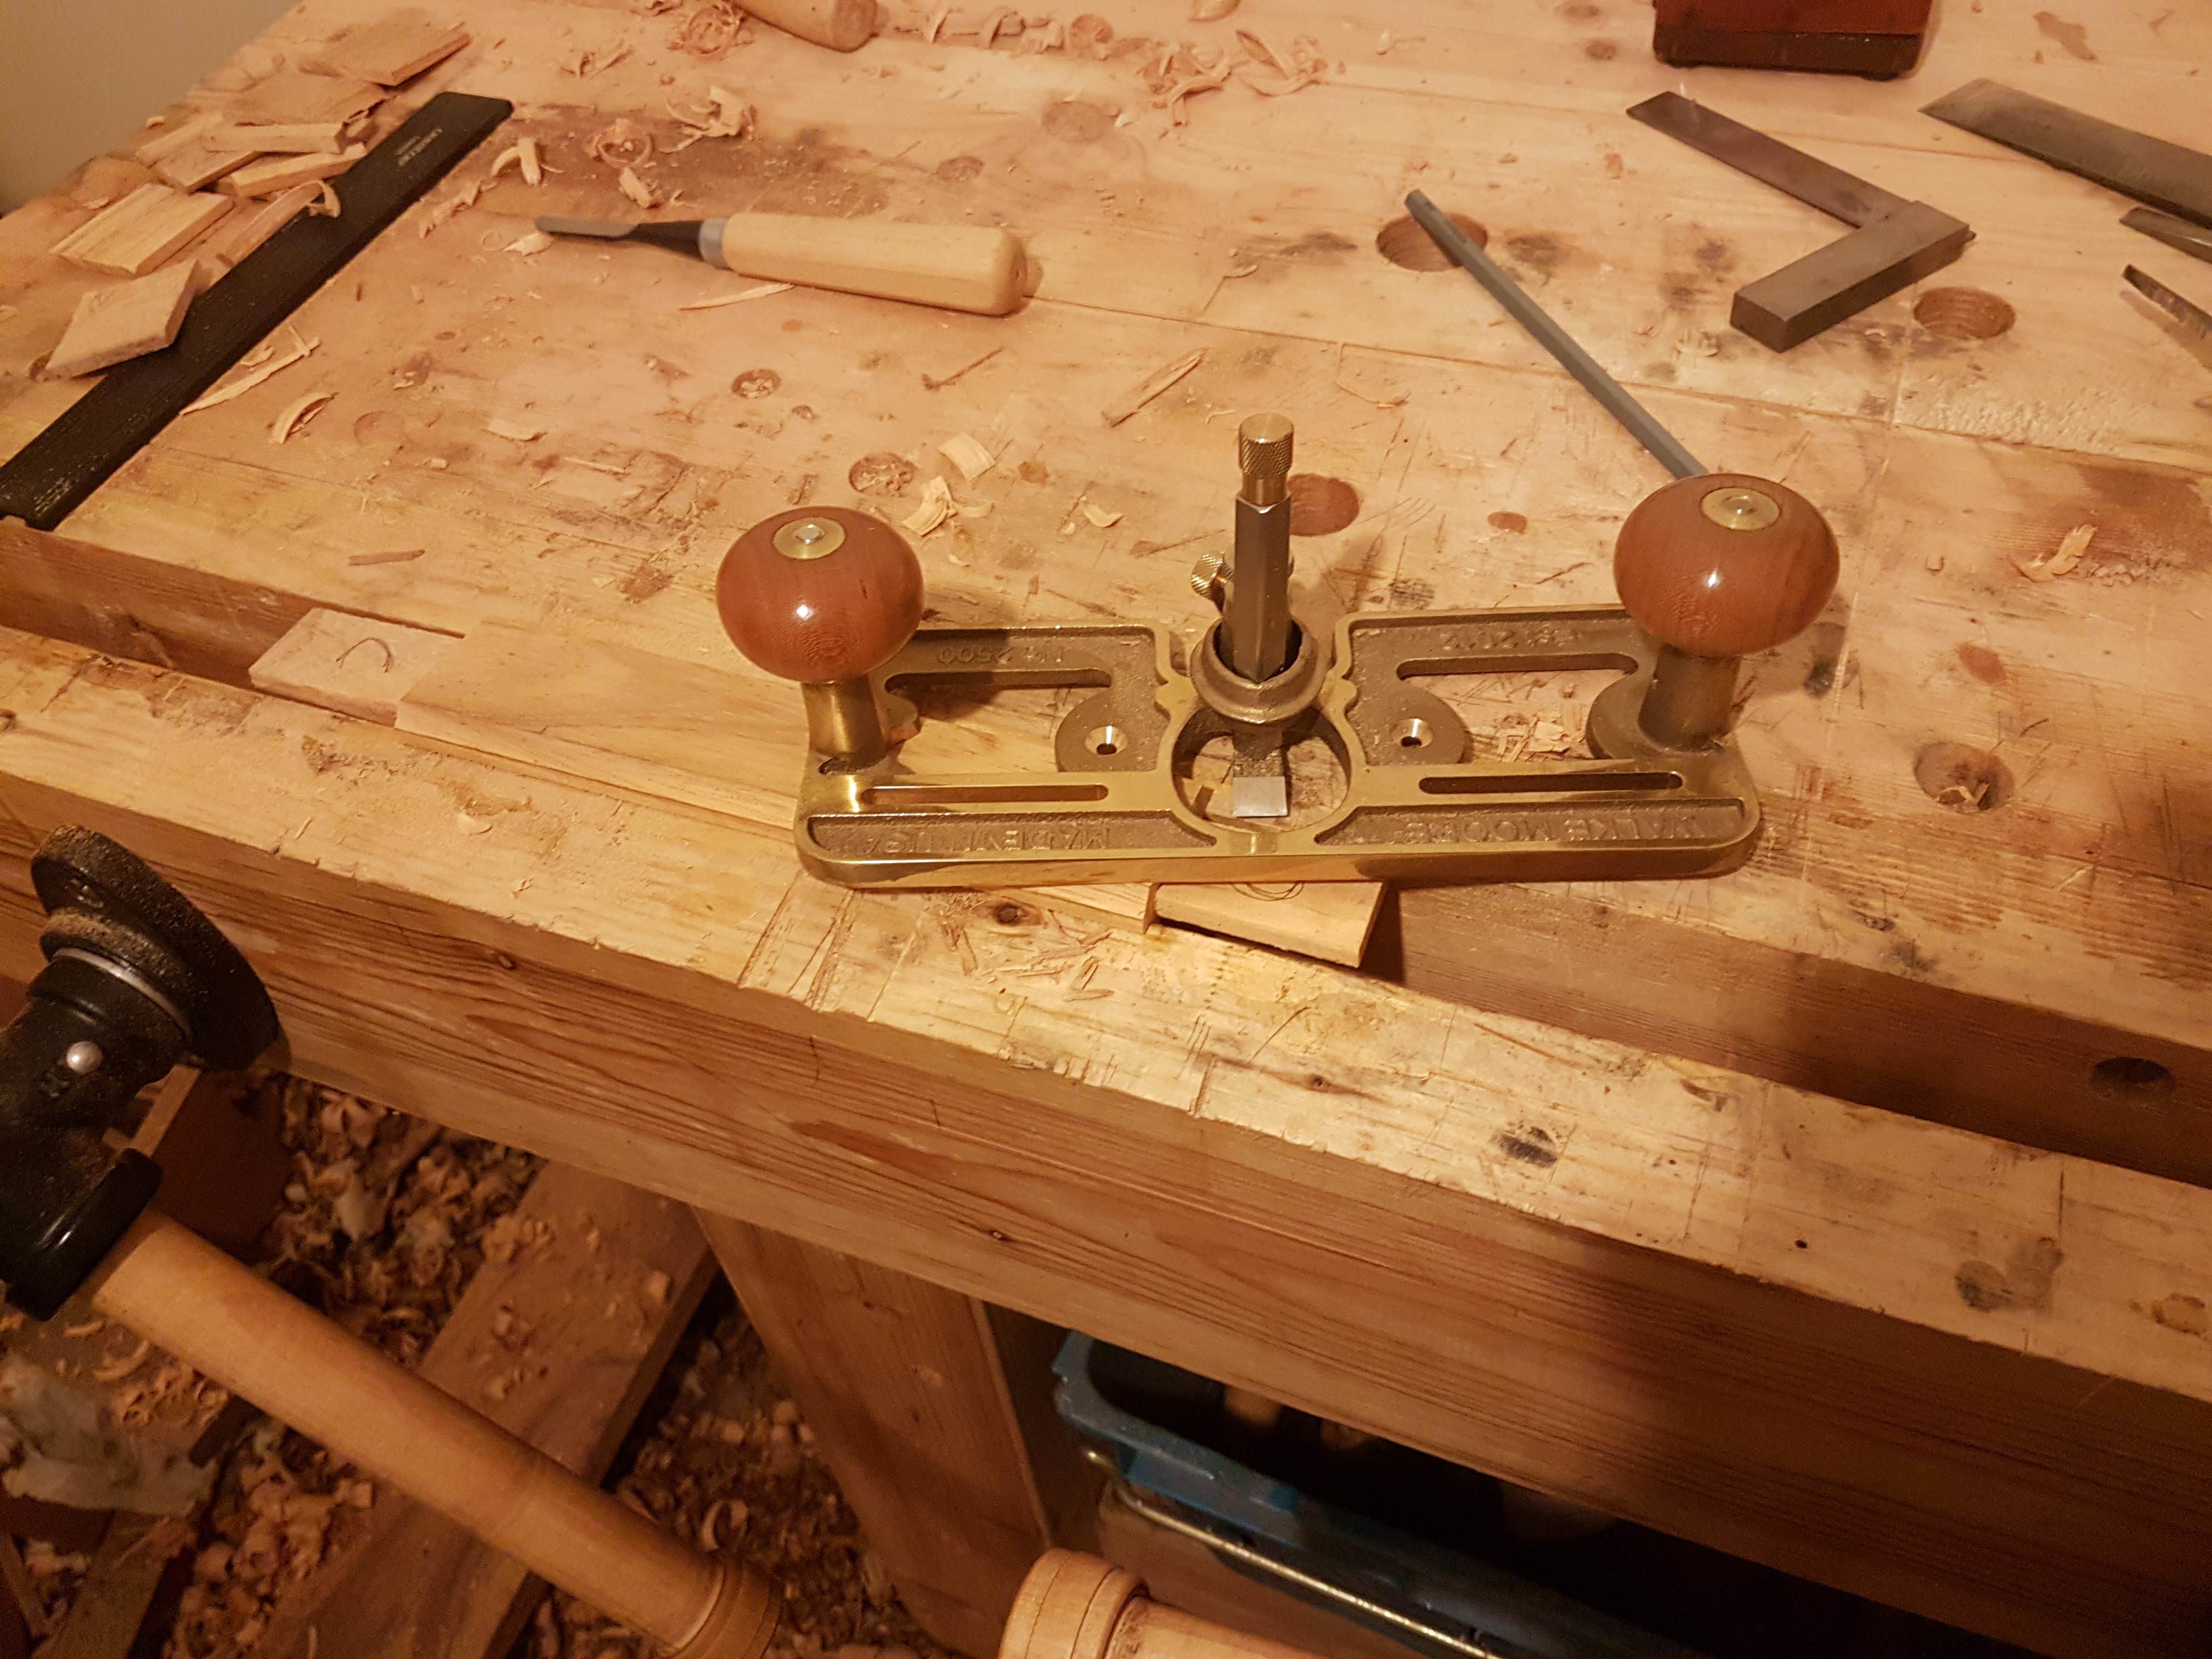
Cleaned up the mortice end walls with an edge float
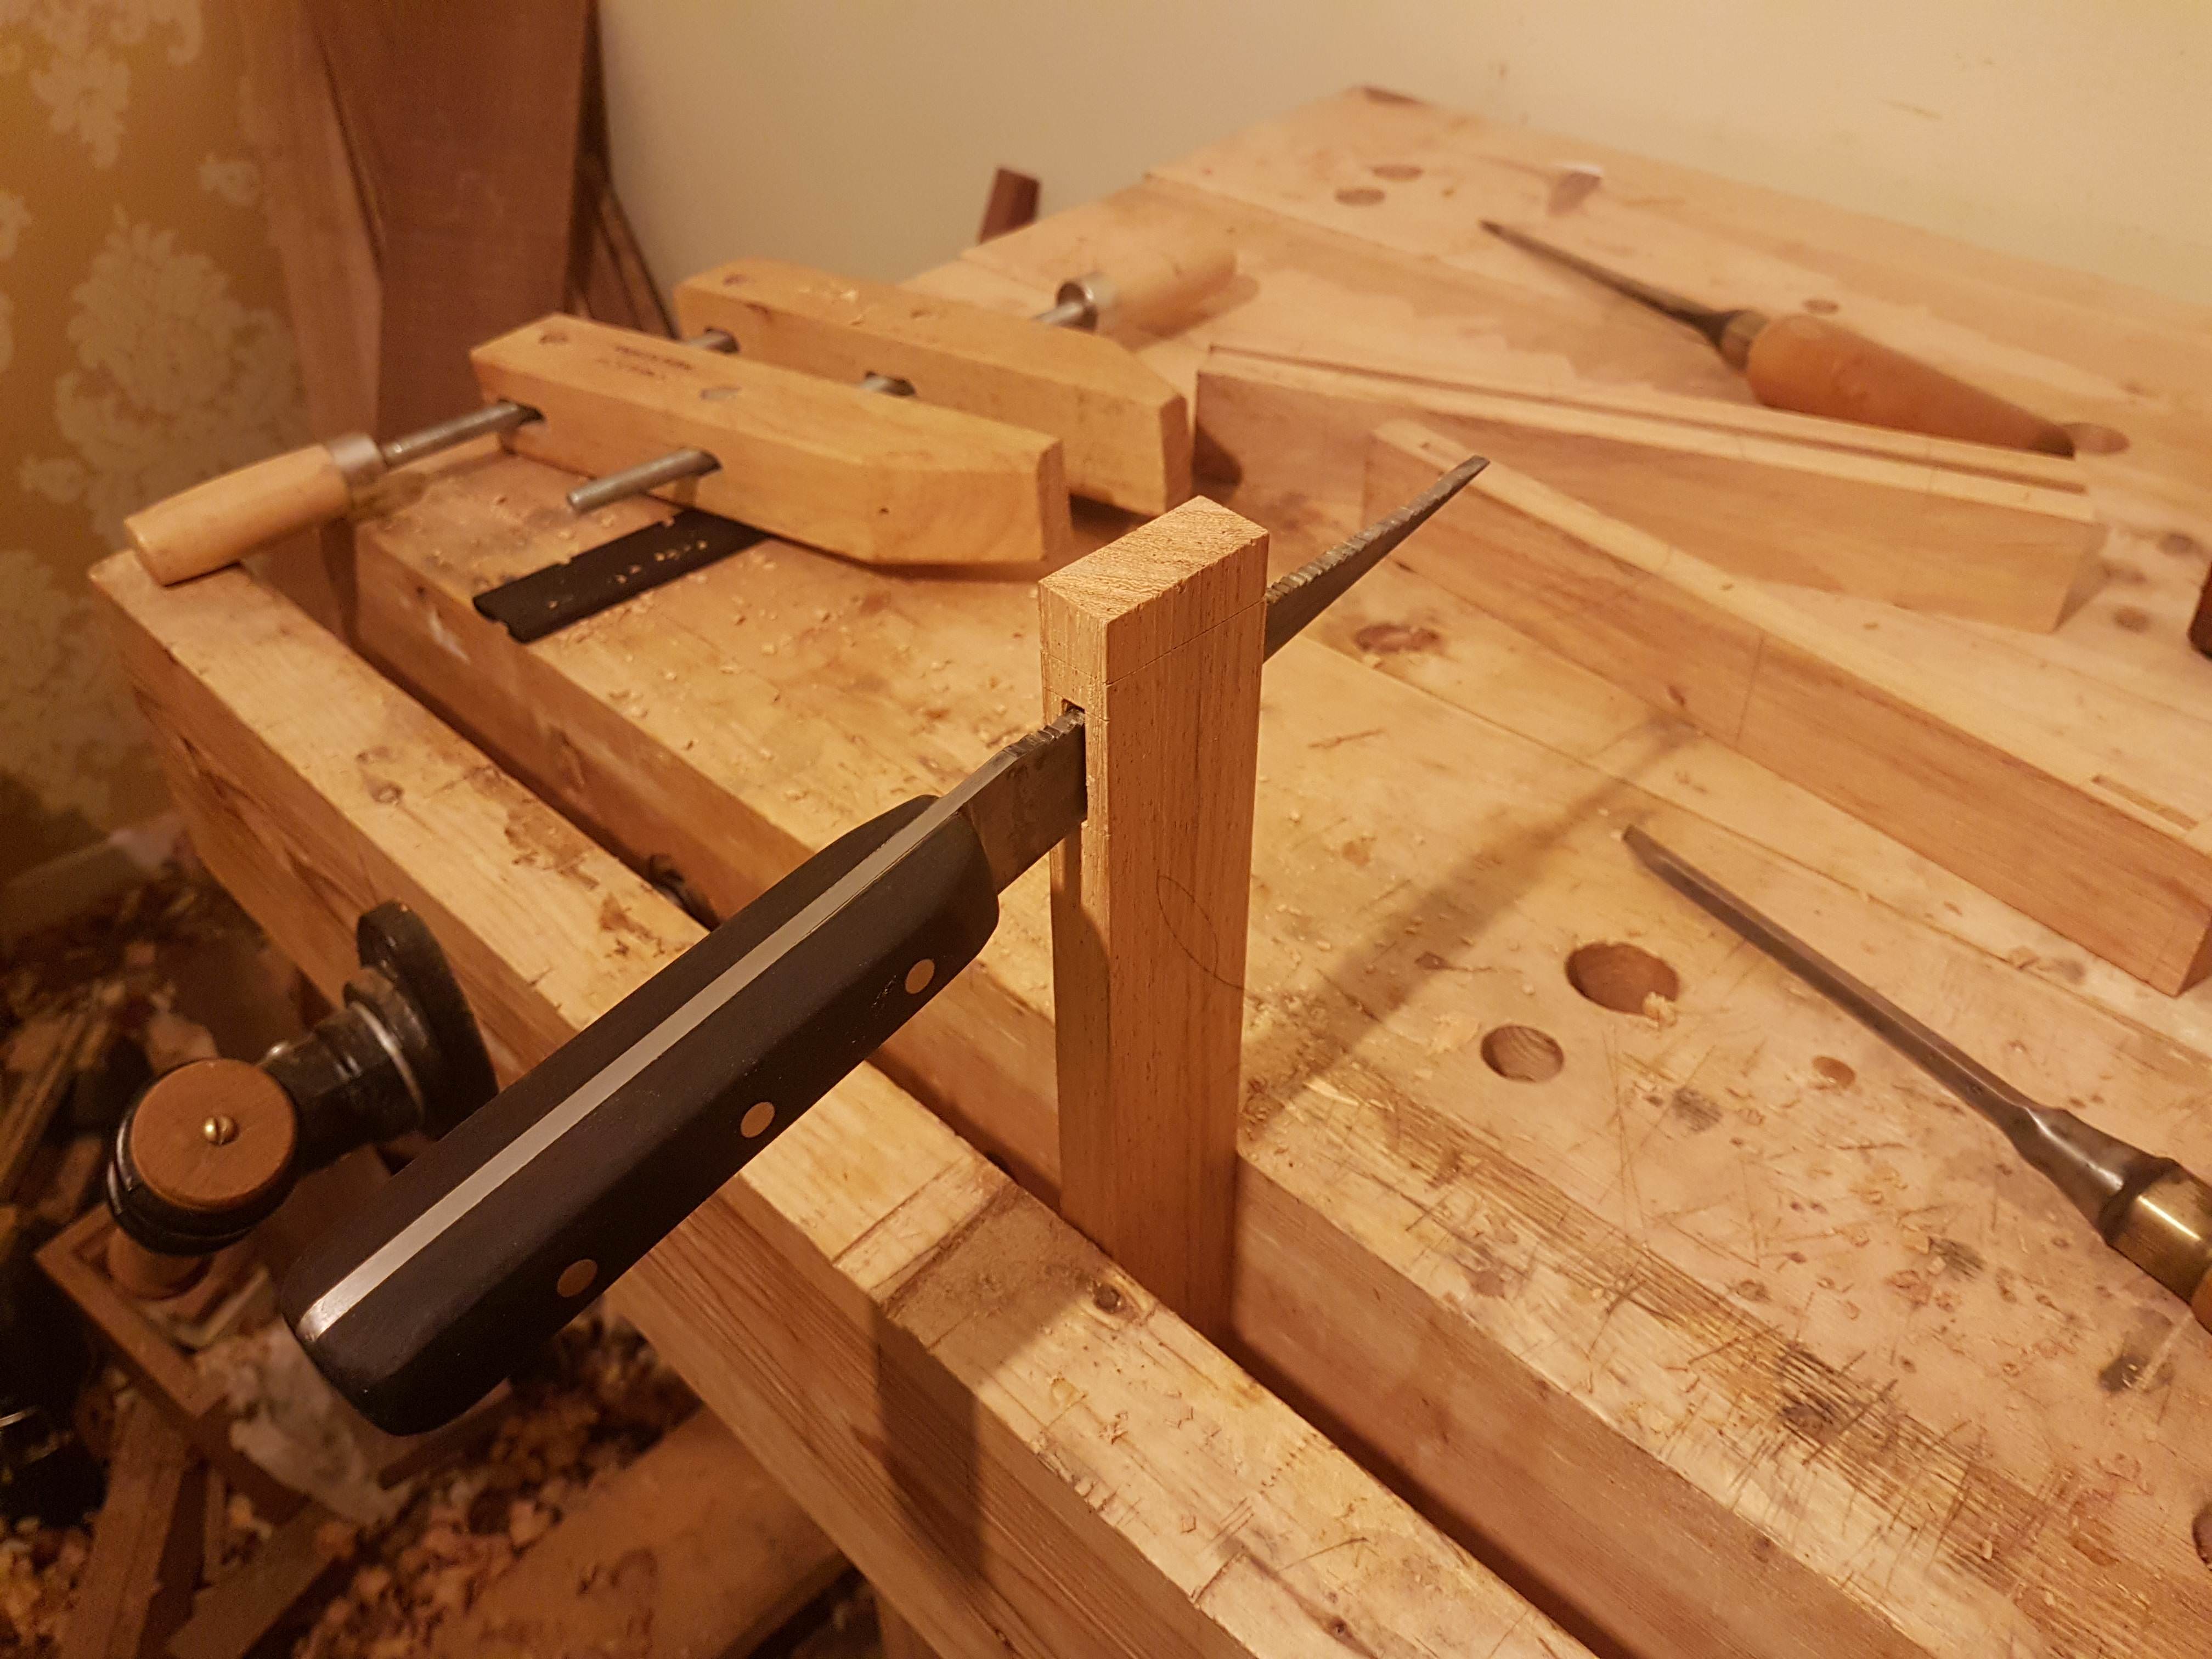
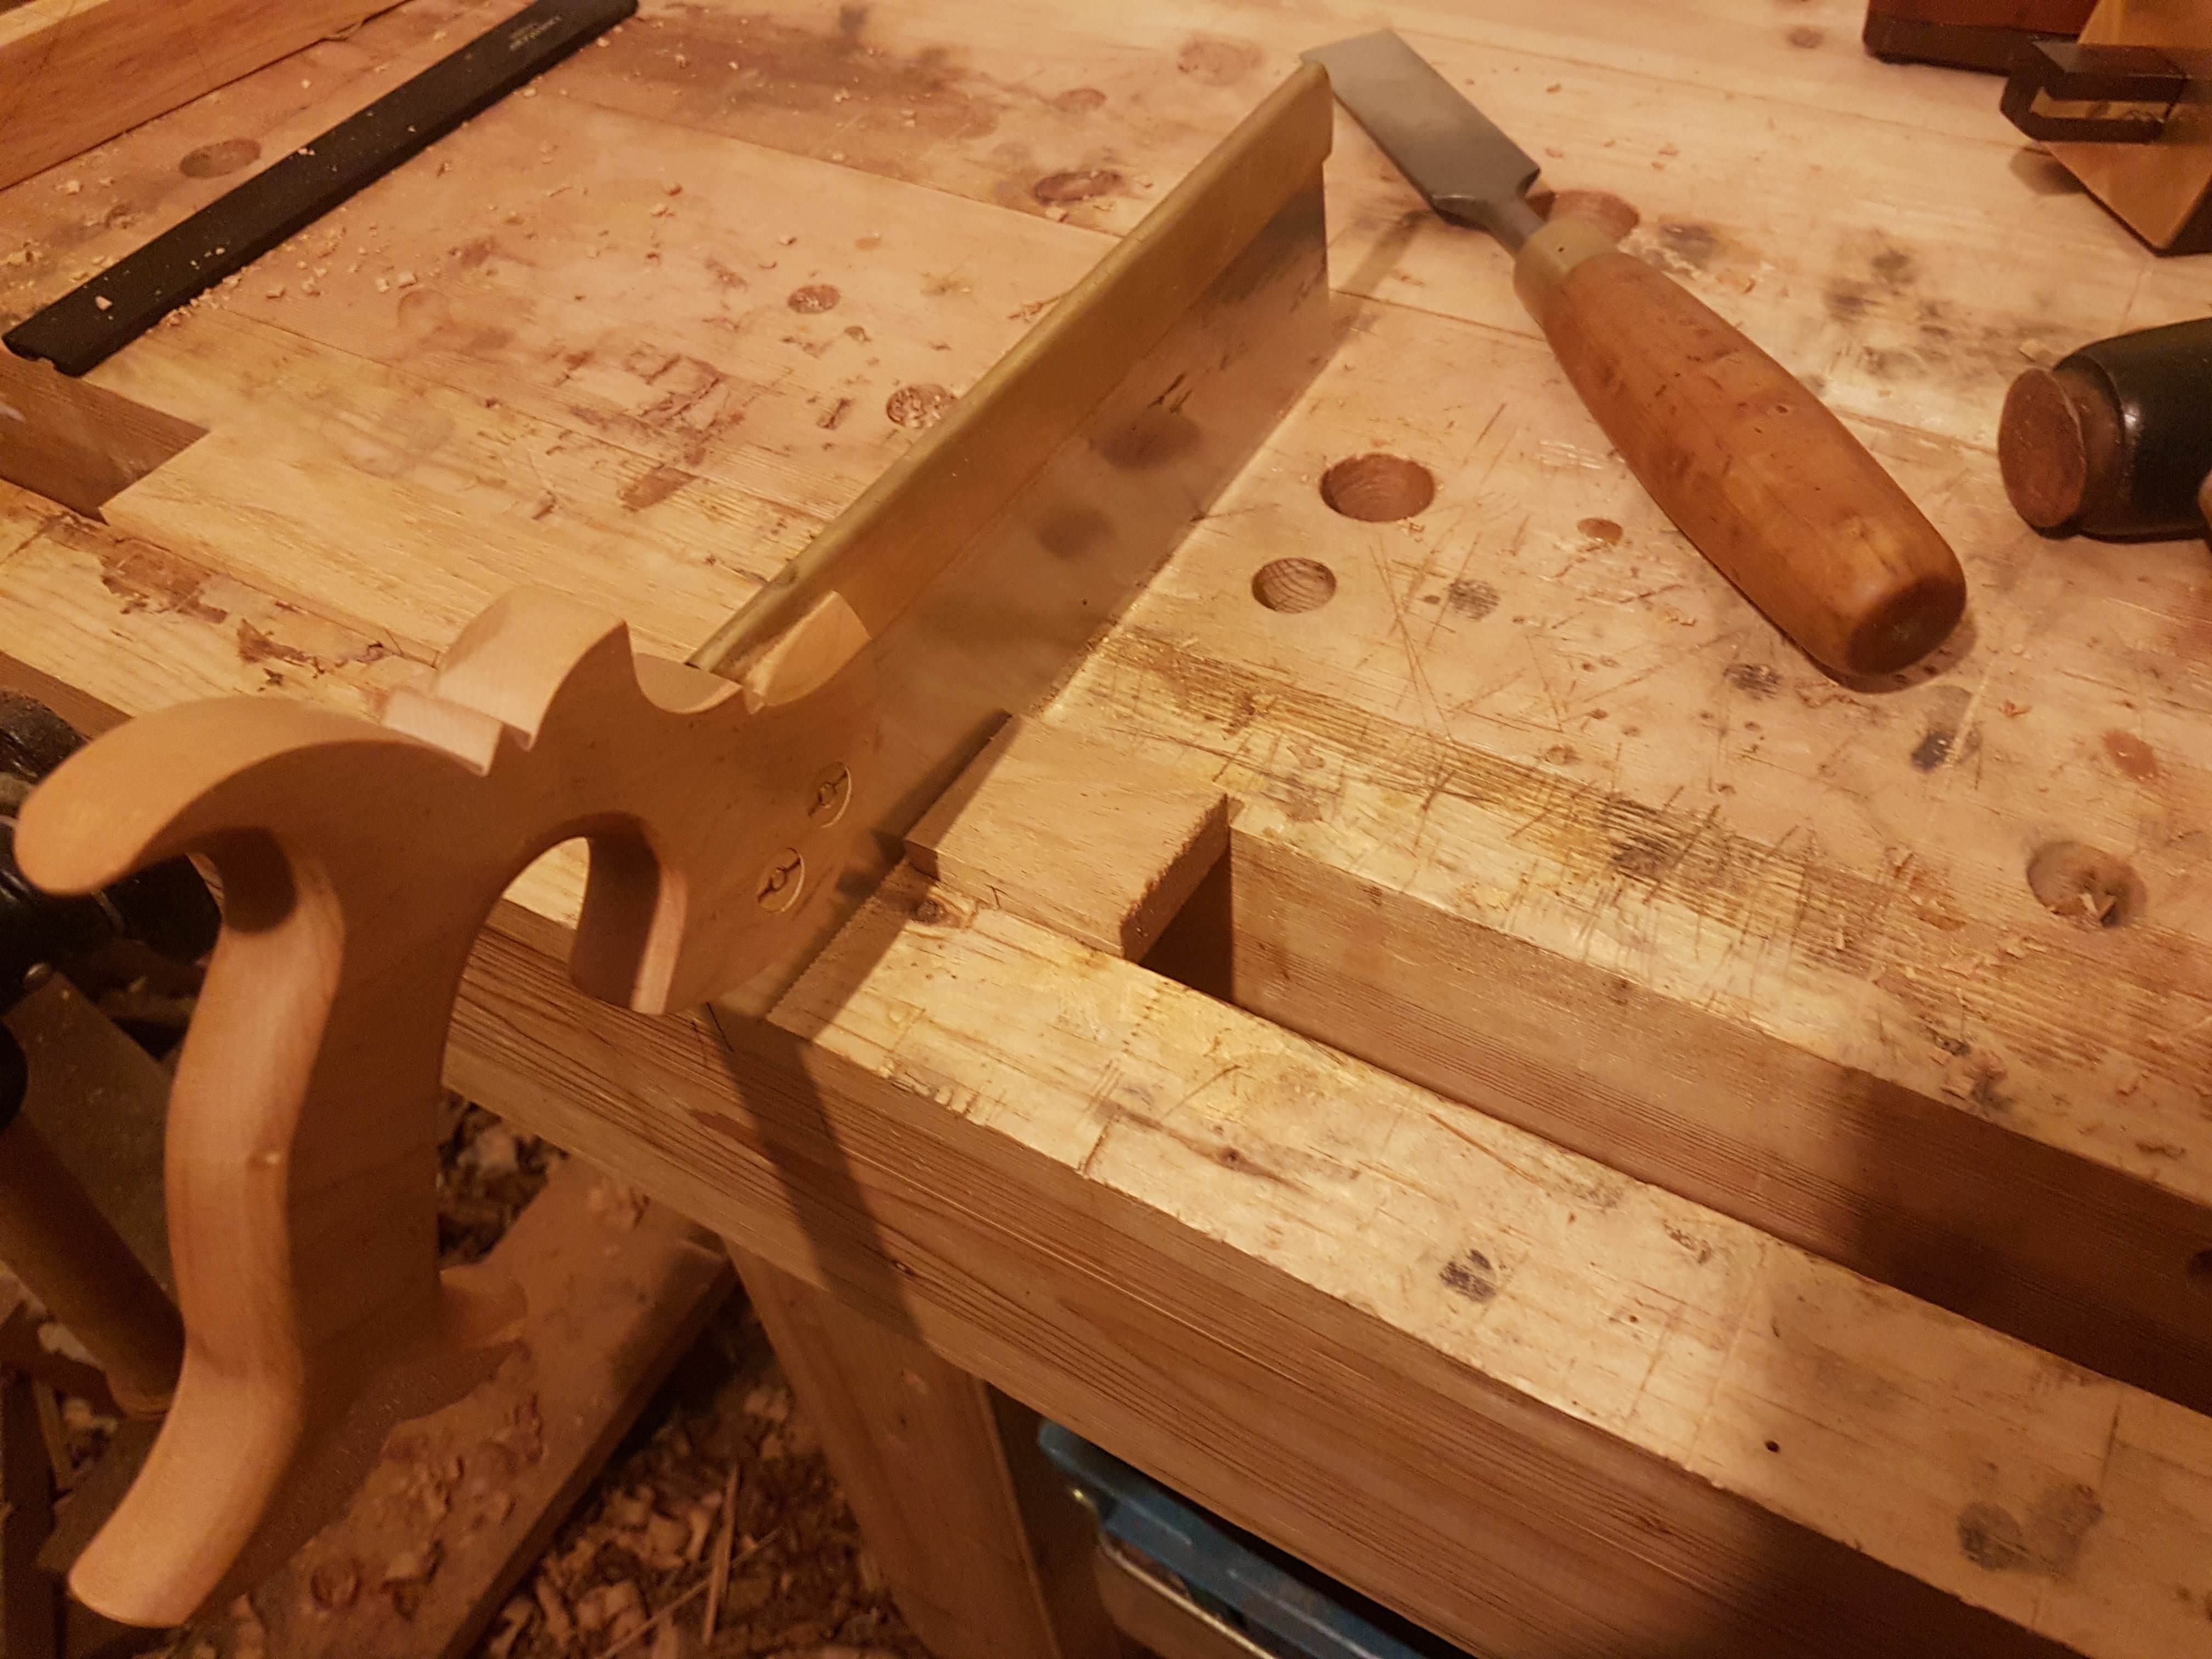
Then I cut in the tenon shoulders after putting in a strong knife line.
The material for this frame was only 5/8, and I don't have a small enough moulding plane to work a nice profile, so I marked out a simple chamfer.
Then planed it across the whole piece tenons and all).
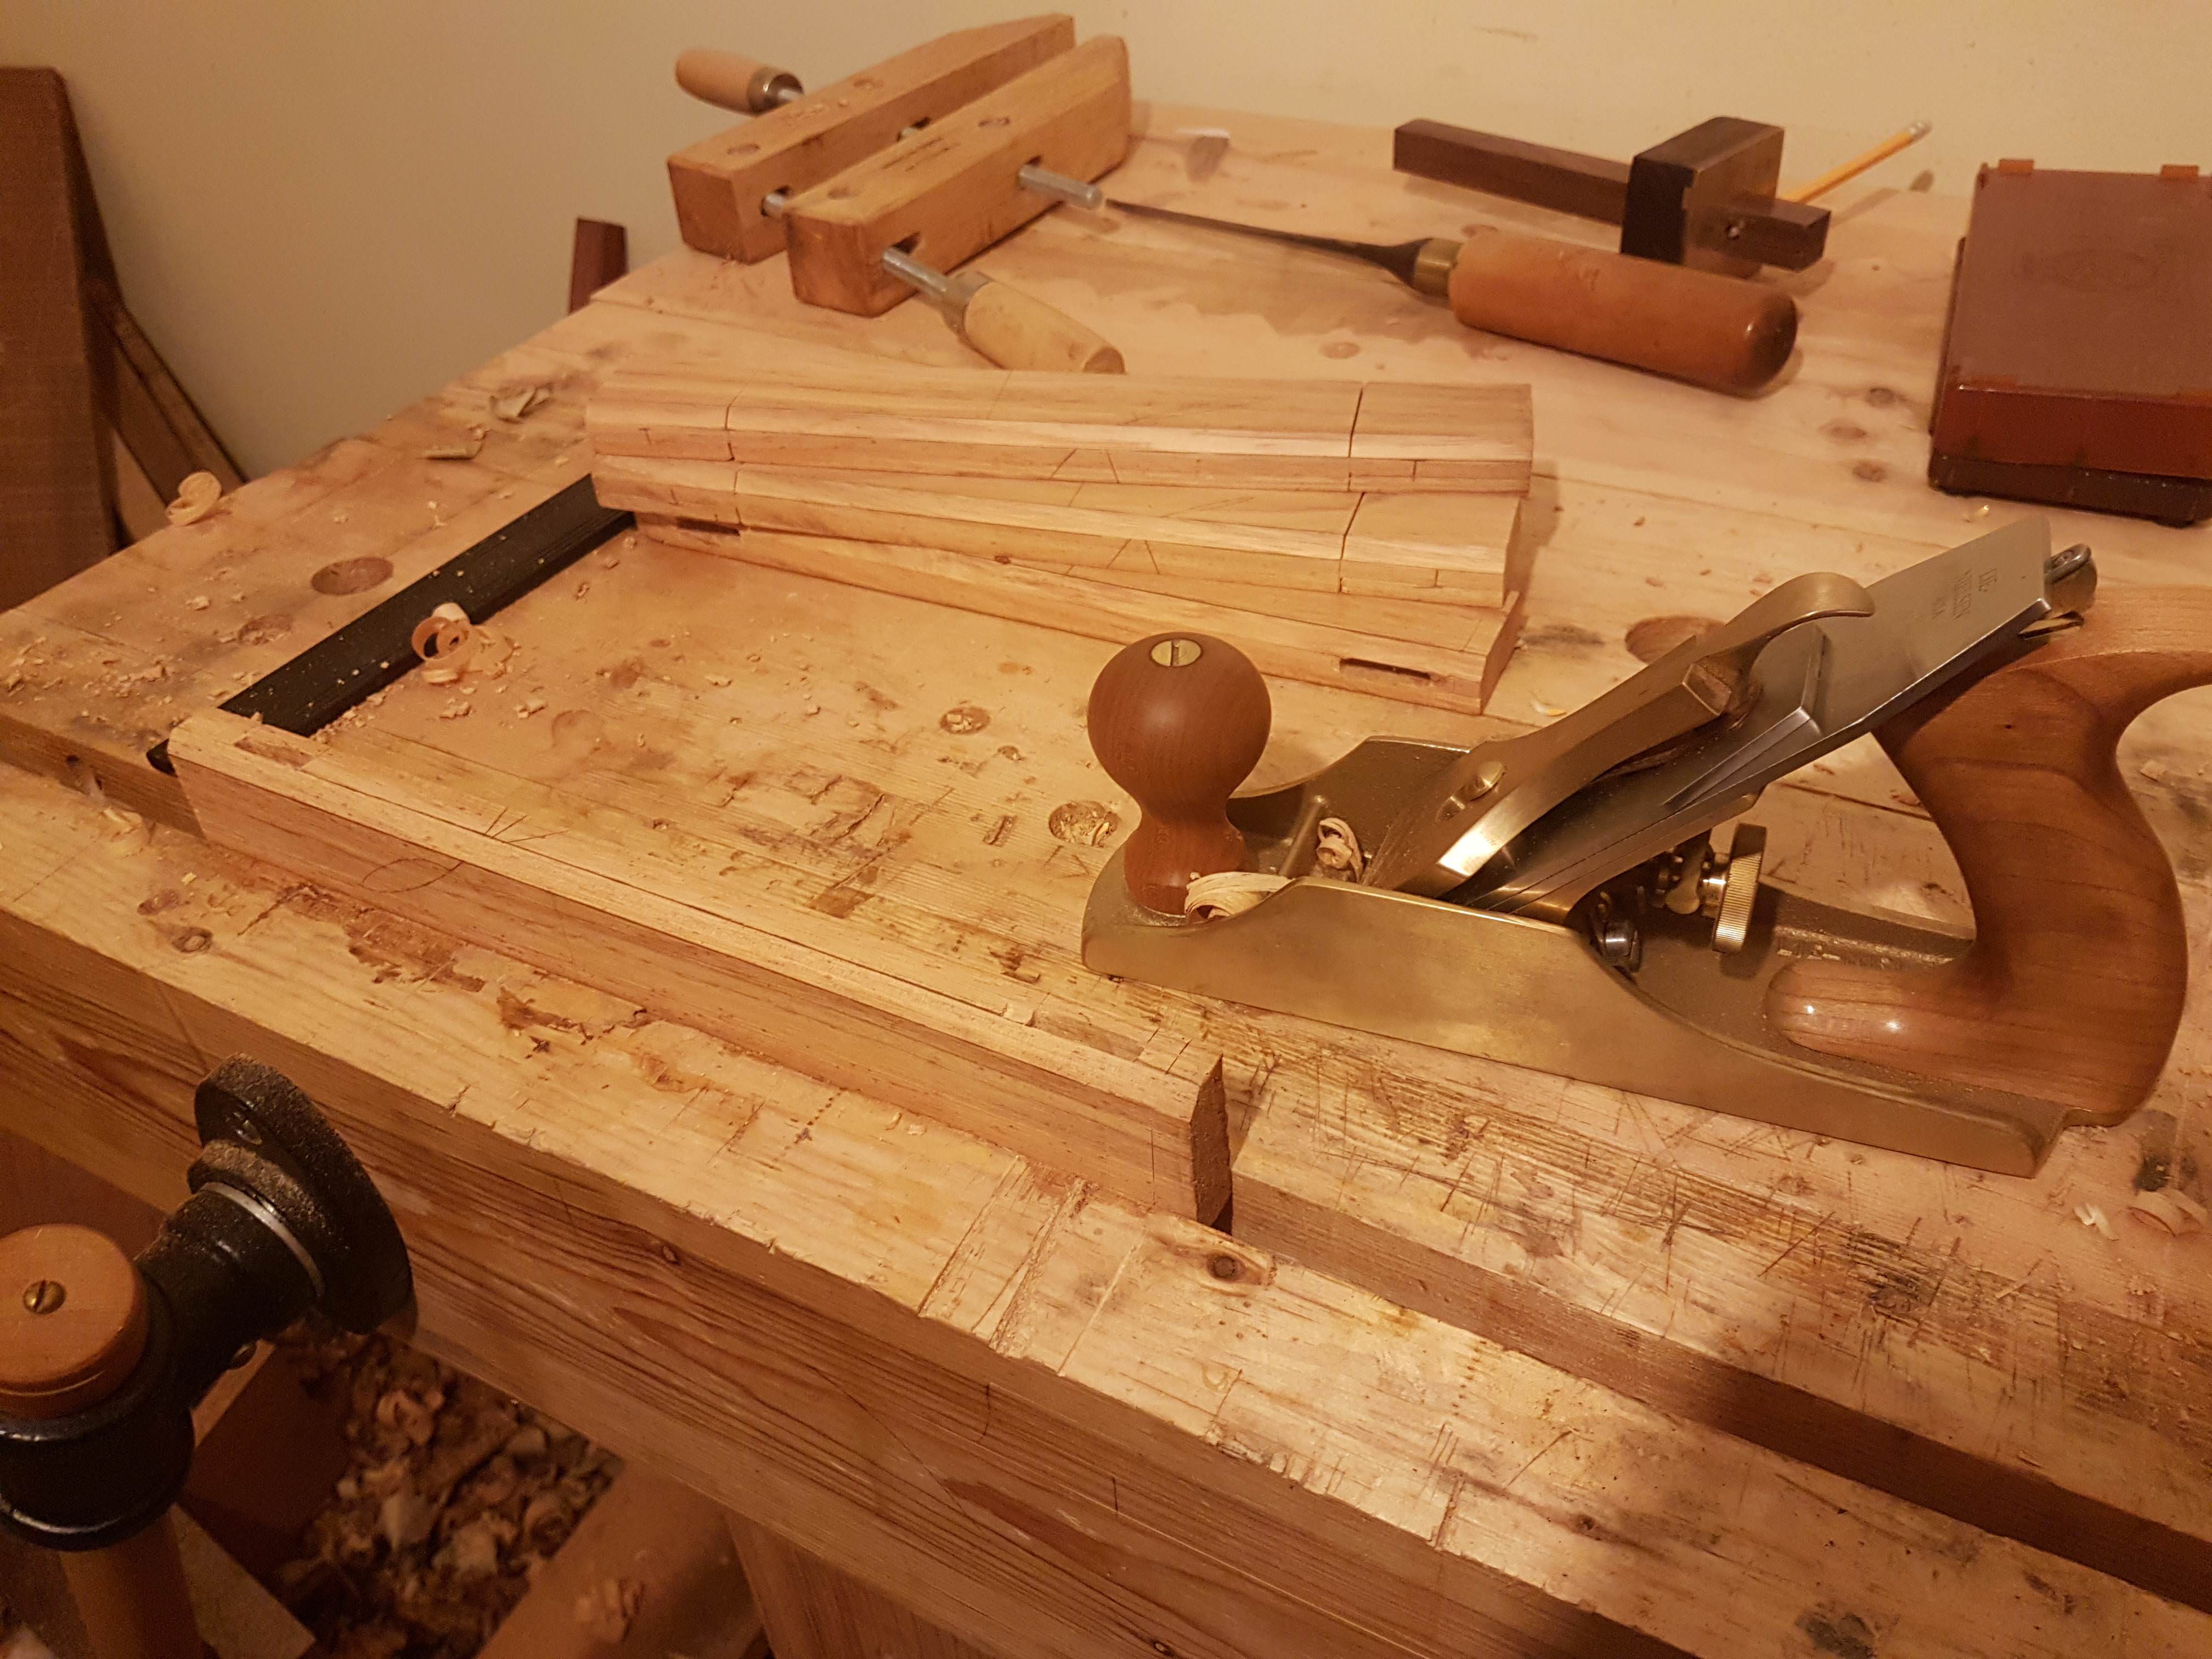
Once the chamfer was done, I planed the rebate on the back side, the parts were pretty much in equal thirds.
After this I leveled off the "landing face" around the mortice for the tenon shoulders to contact.
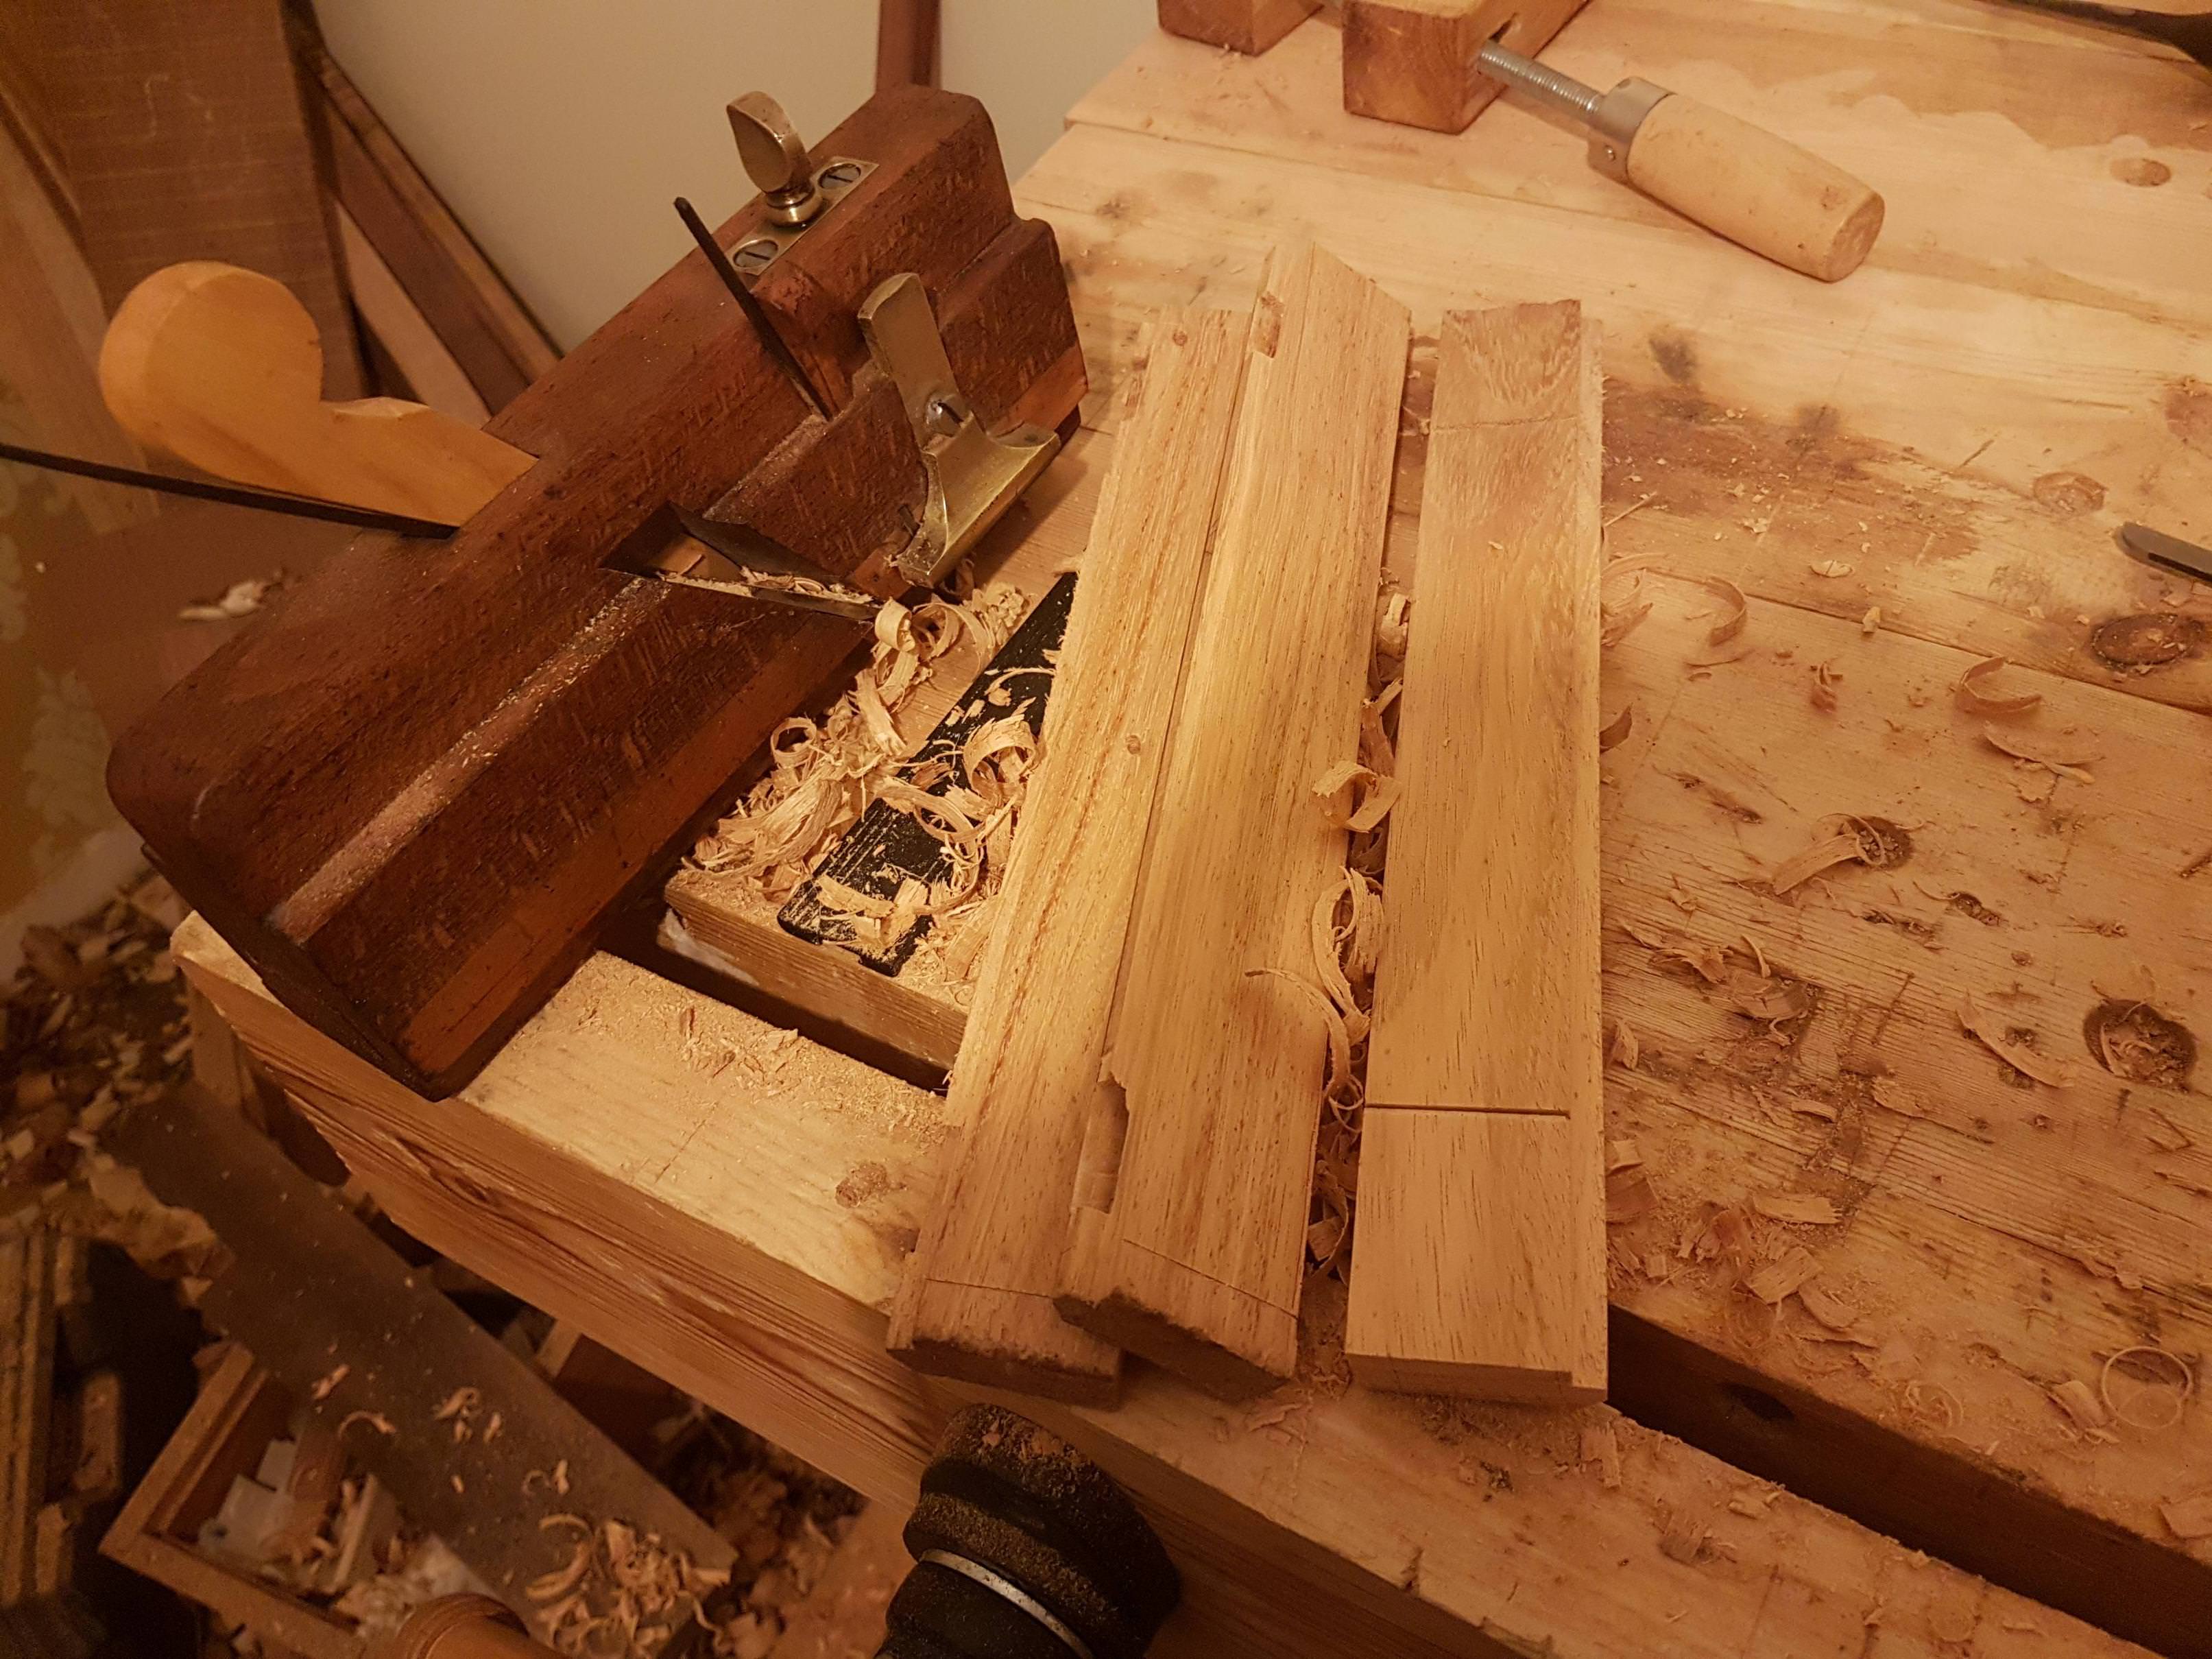
Then I set about the tenons, first doing the cheek cuts.

Trimming up the cheeks in parallel with the rest of the piece using a router plane.
Sort out the shoulders.
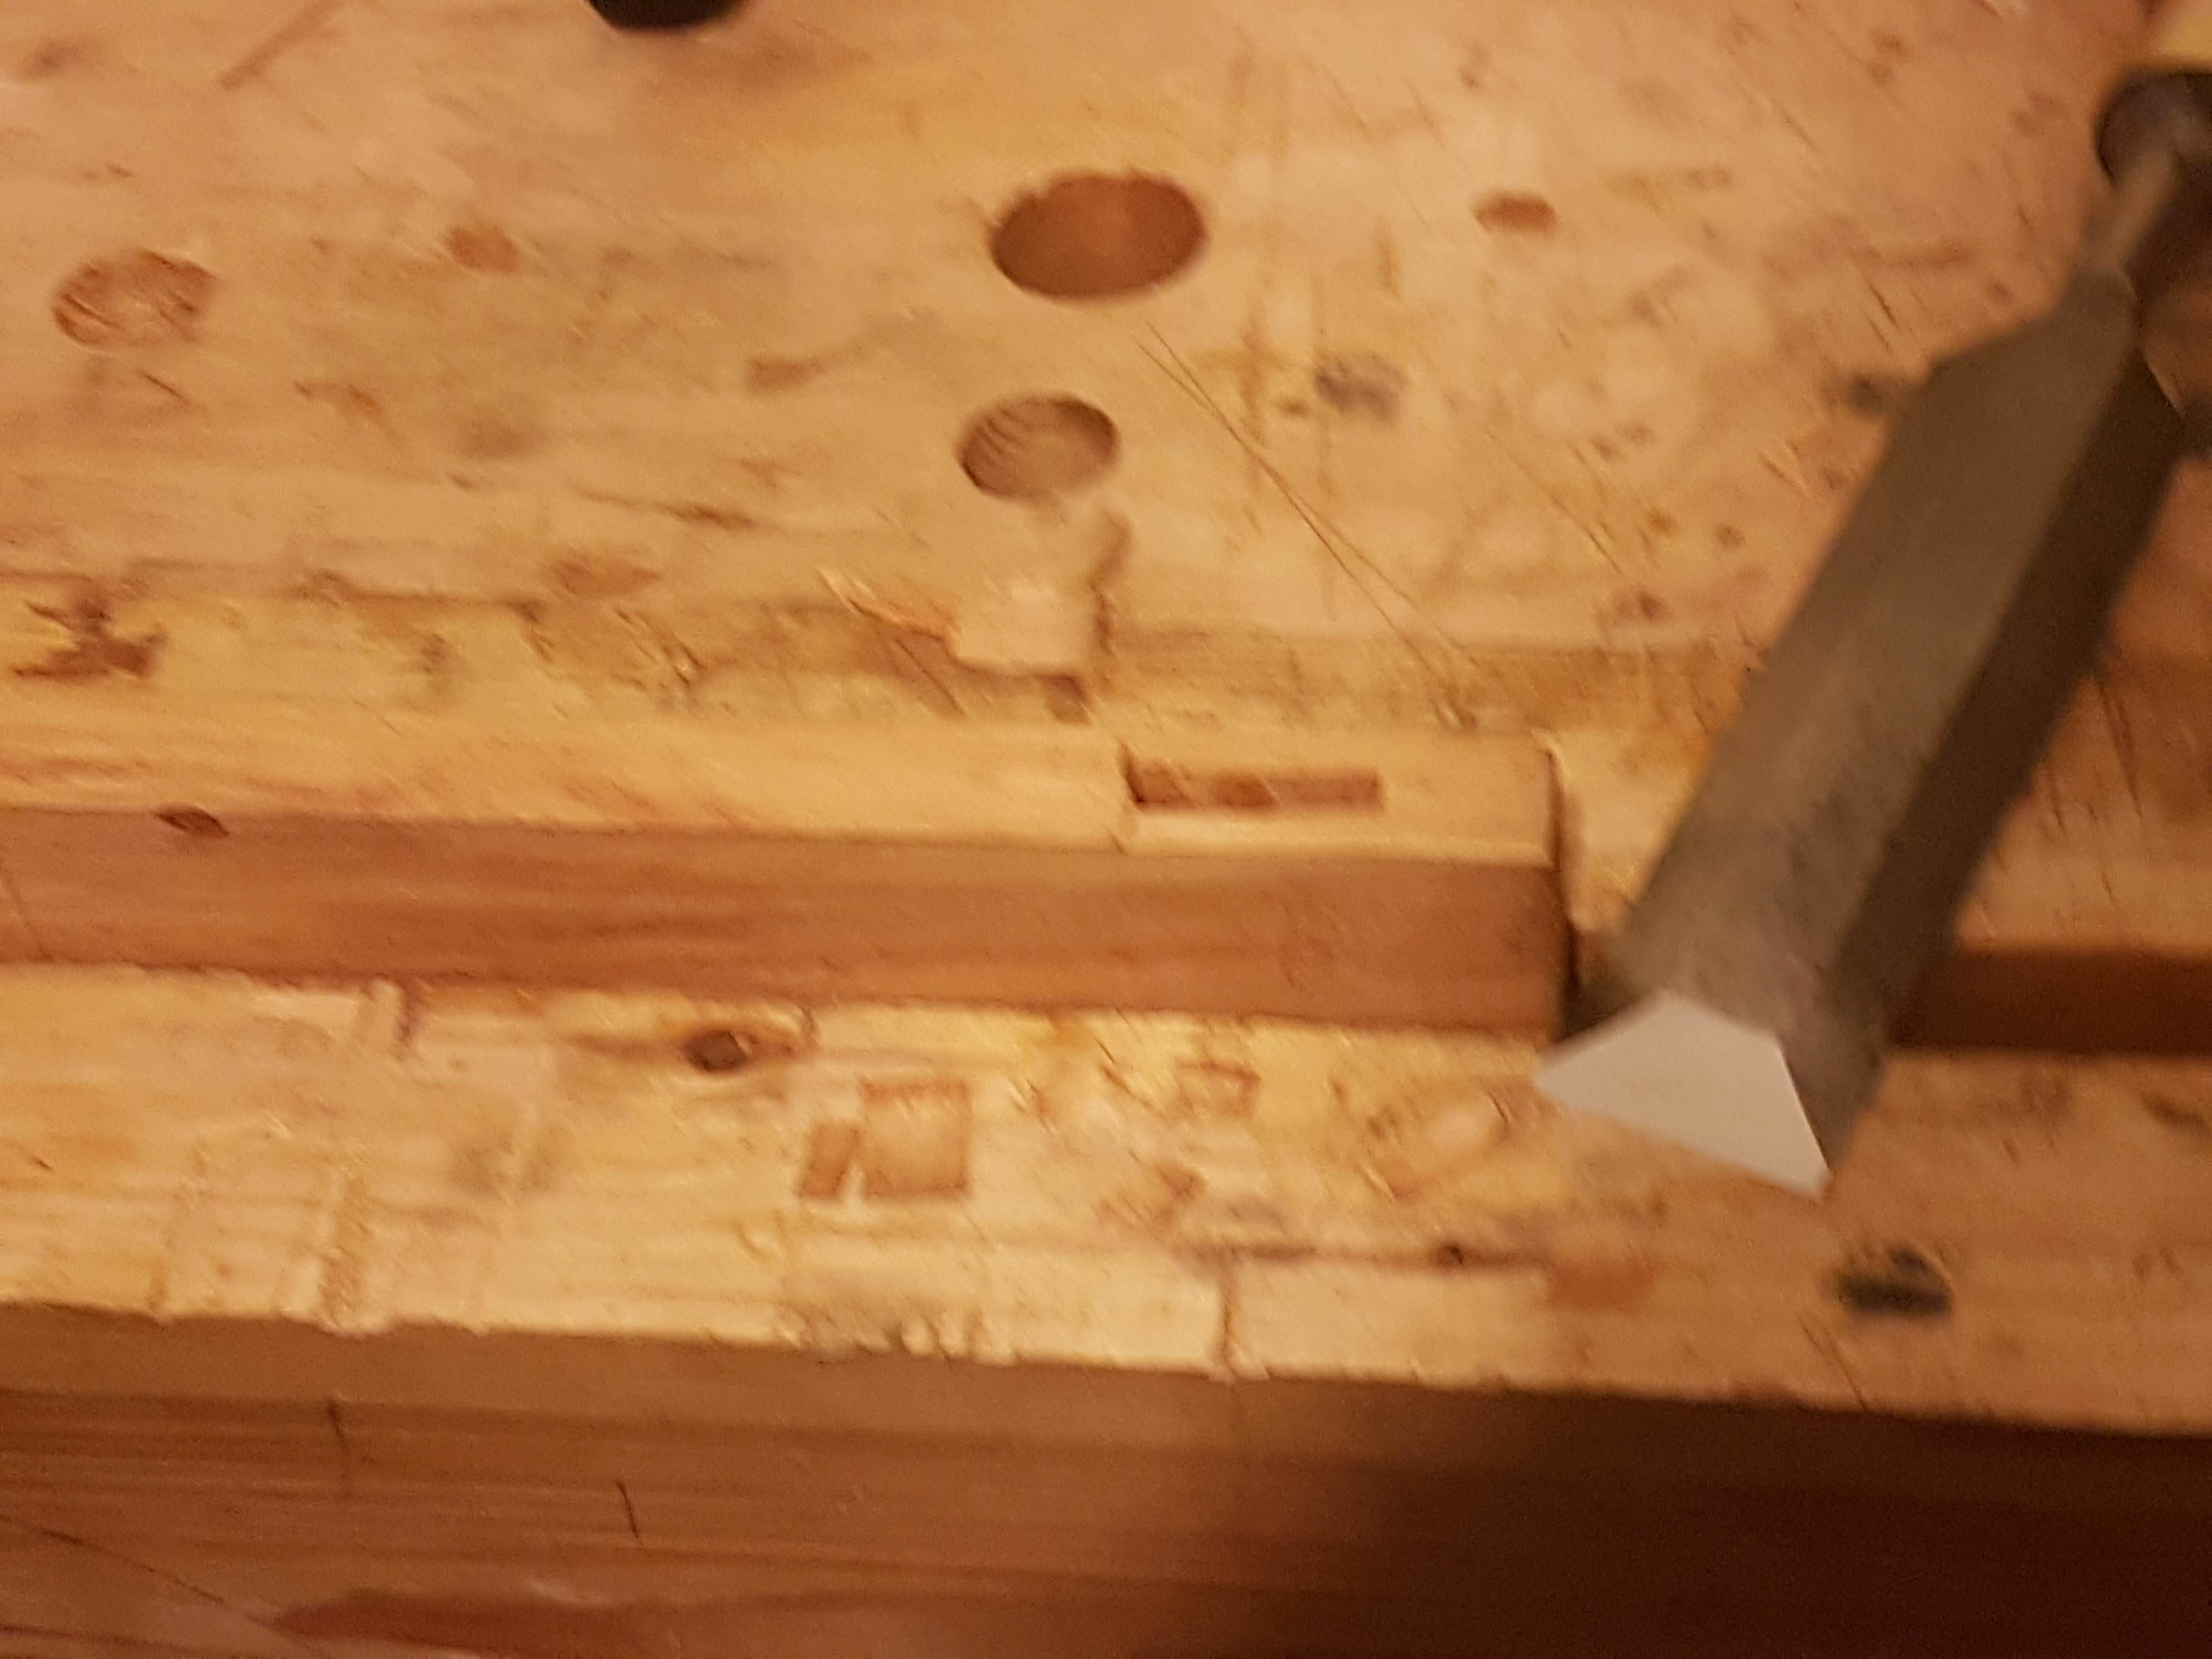
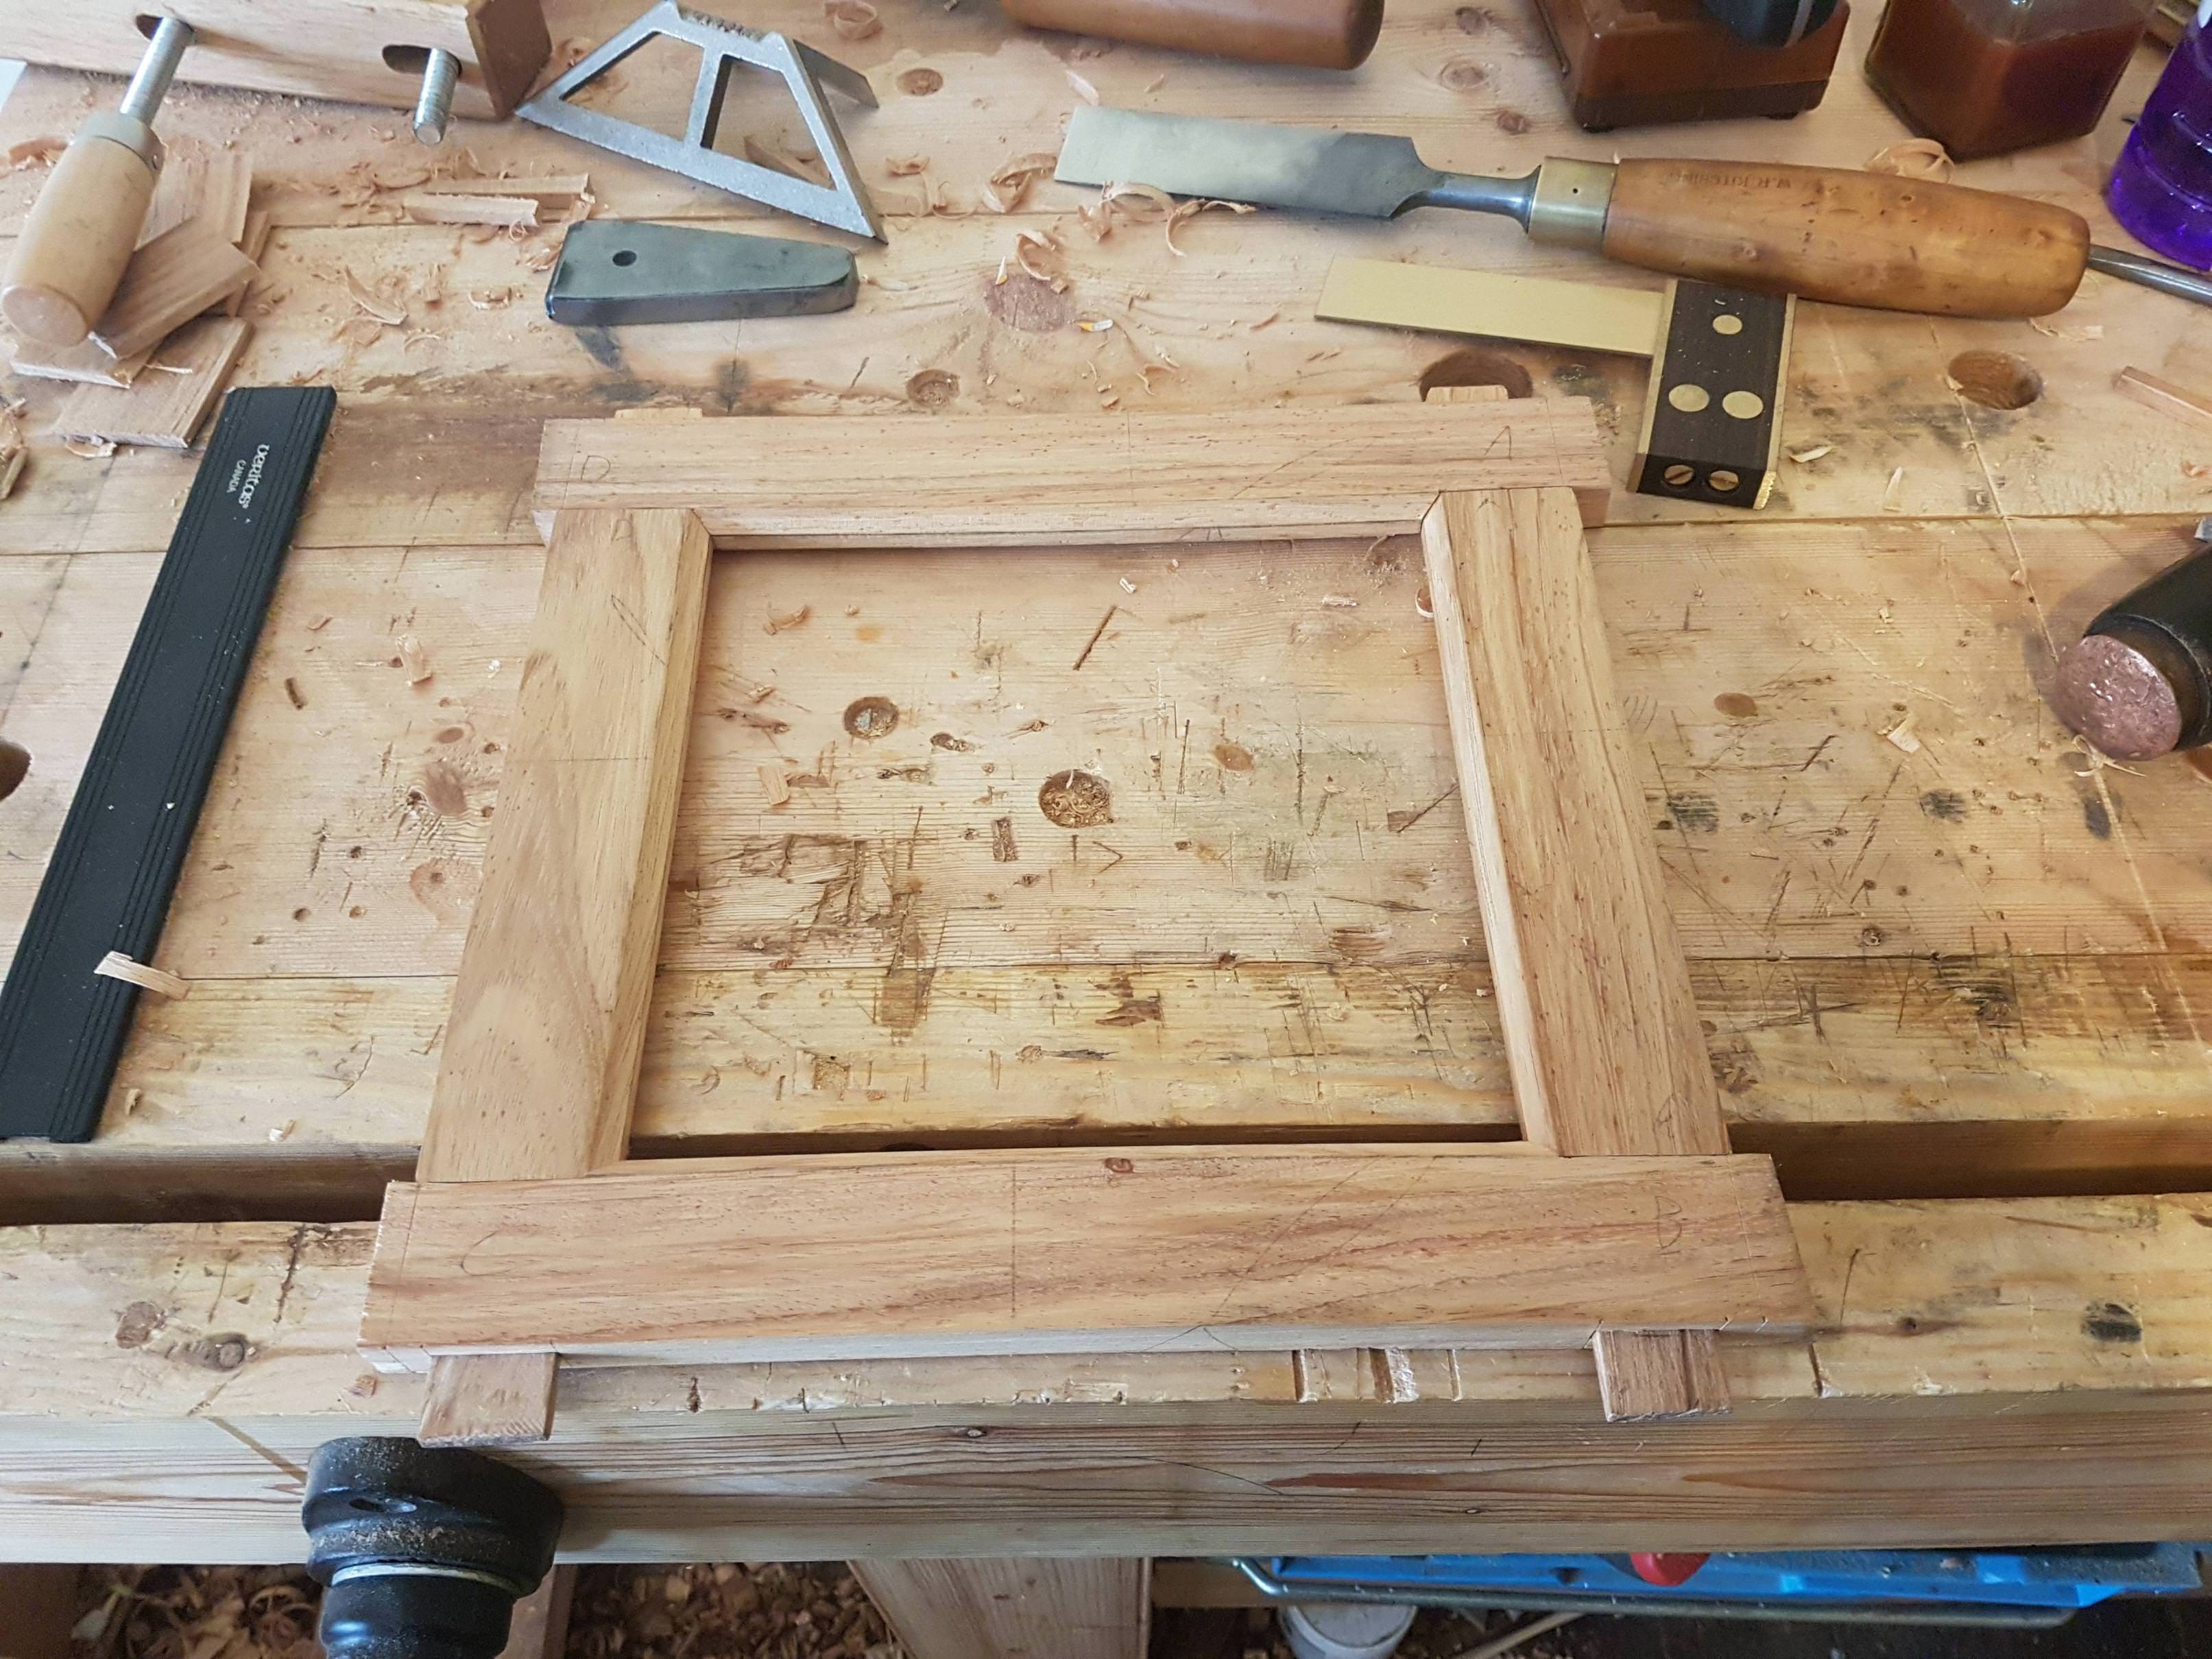
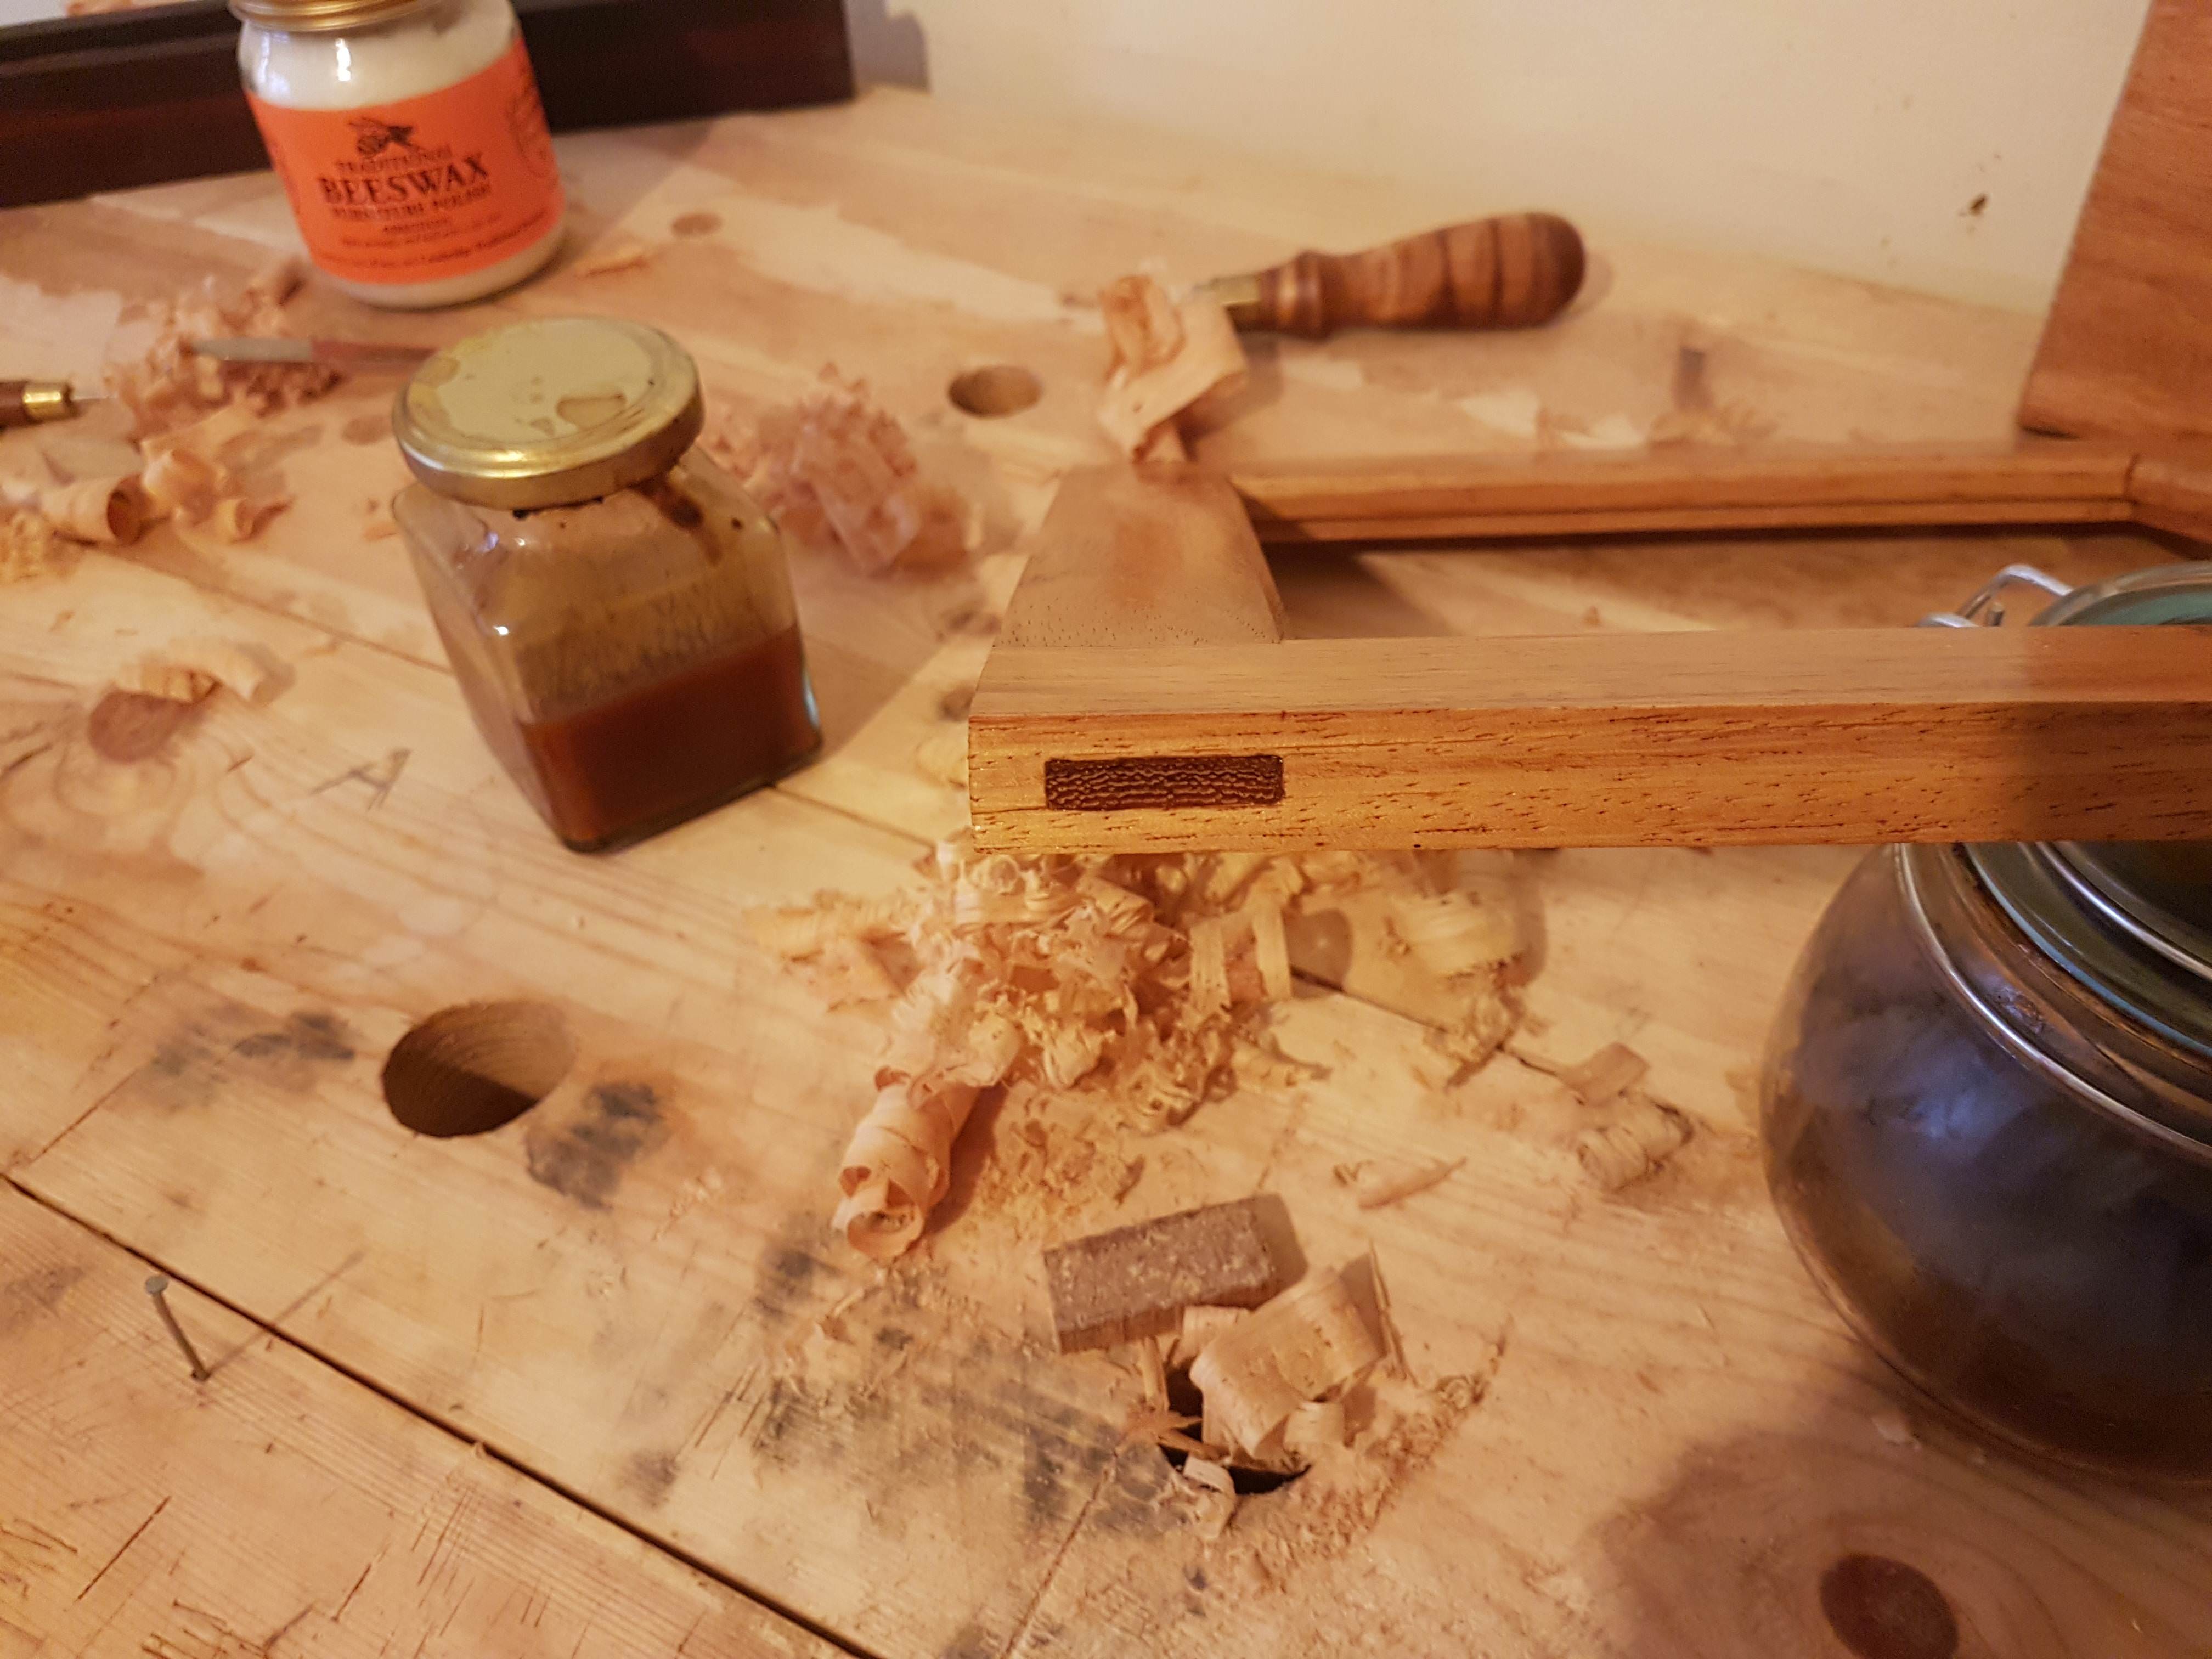
Then a quick knock together to see how things are looking. I used this opportunity to mark precisely where on the morticed stiles the moulding on the tenoned rails land.
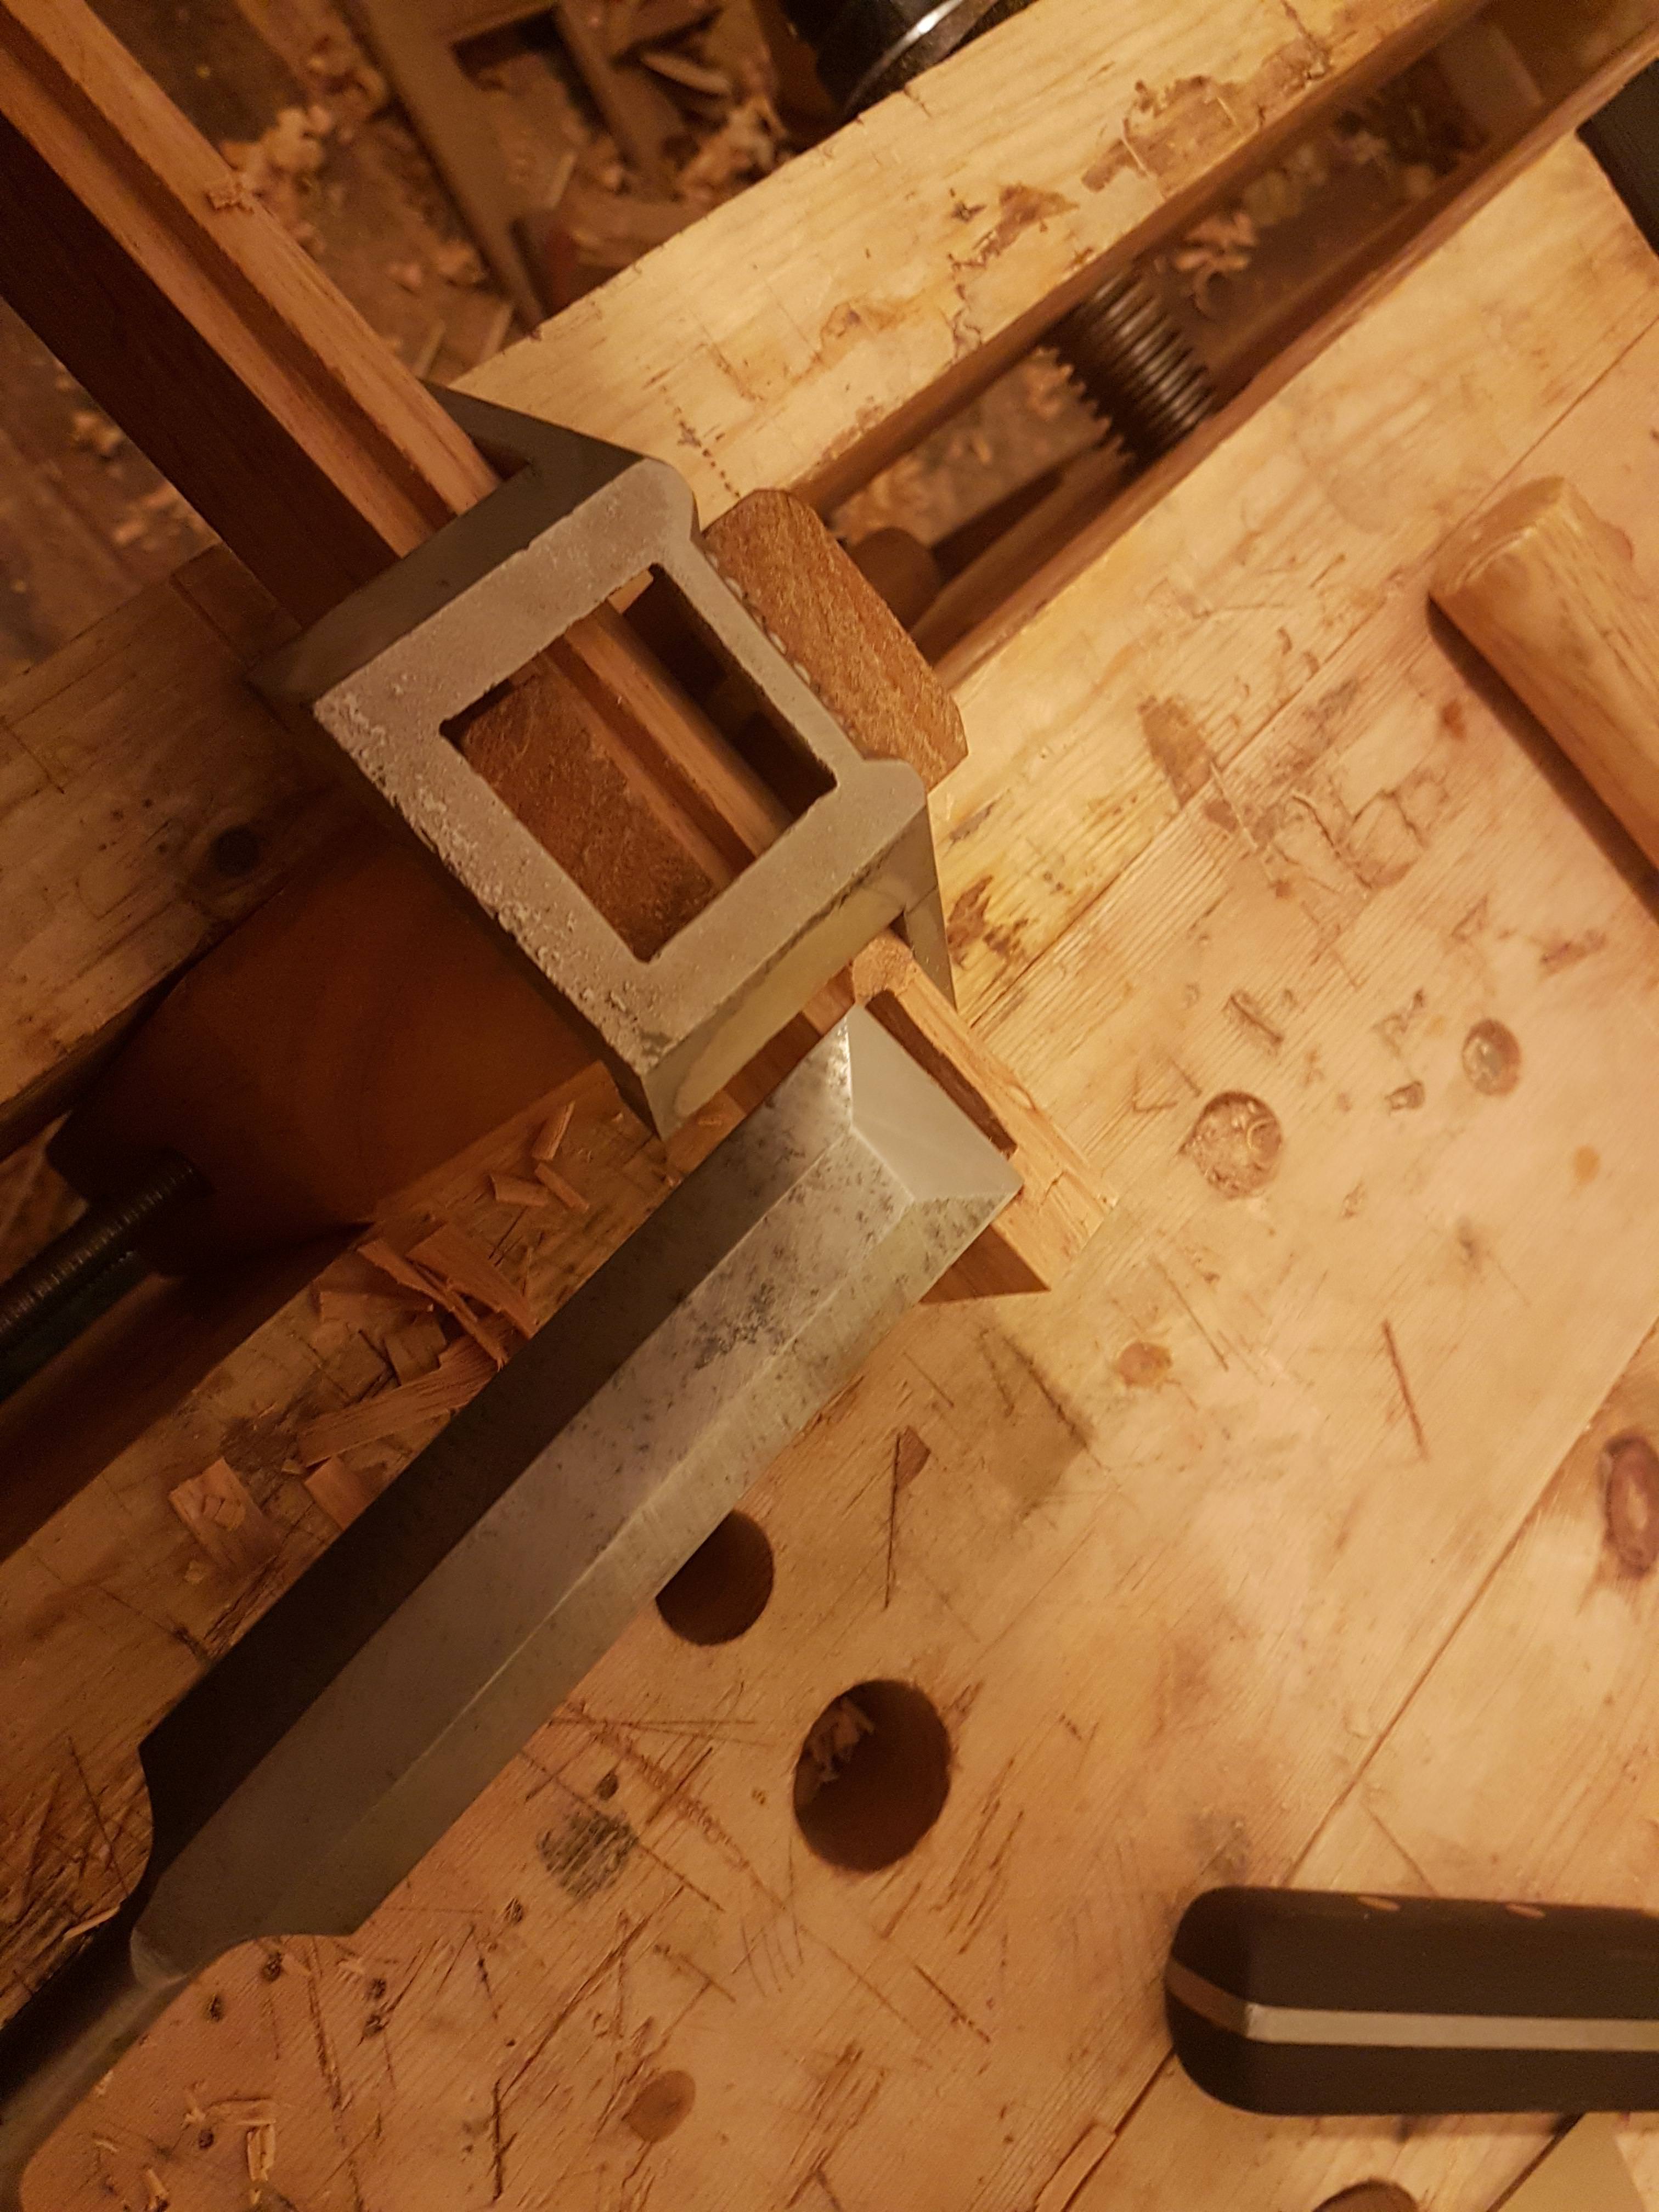
Using this mark I mitre the moulding down to the level of the rebate and mortice face, then cut away the end grain to form the cope, the moulding on the stile is left intact and this piece covers it. If only all mouldings were as easy to cope as a simple chamfer.
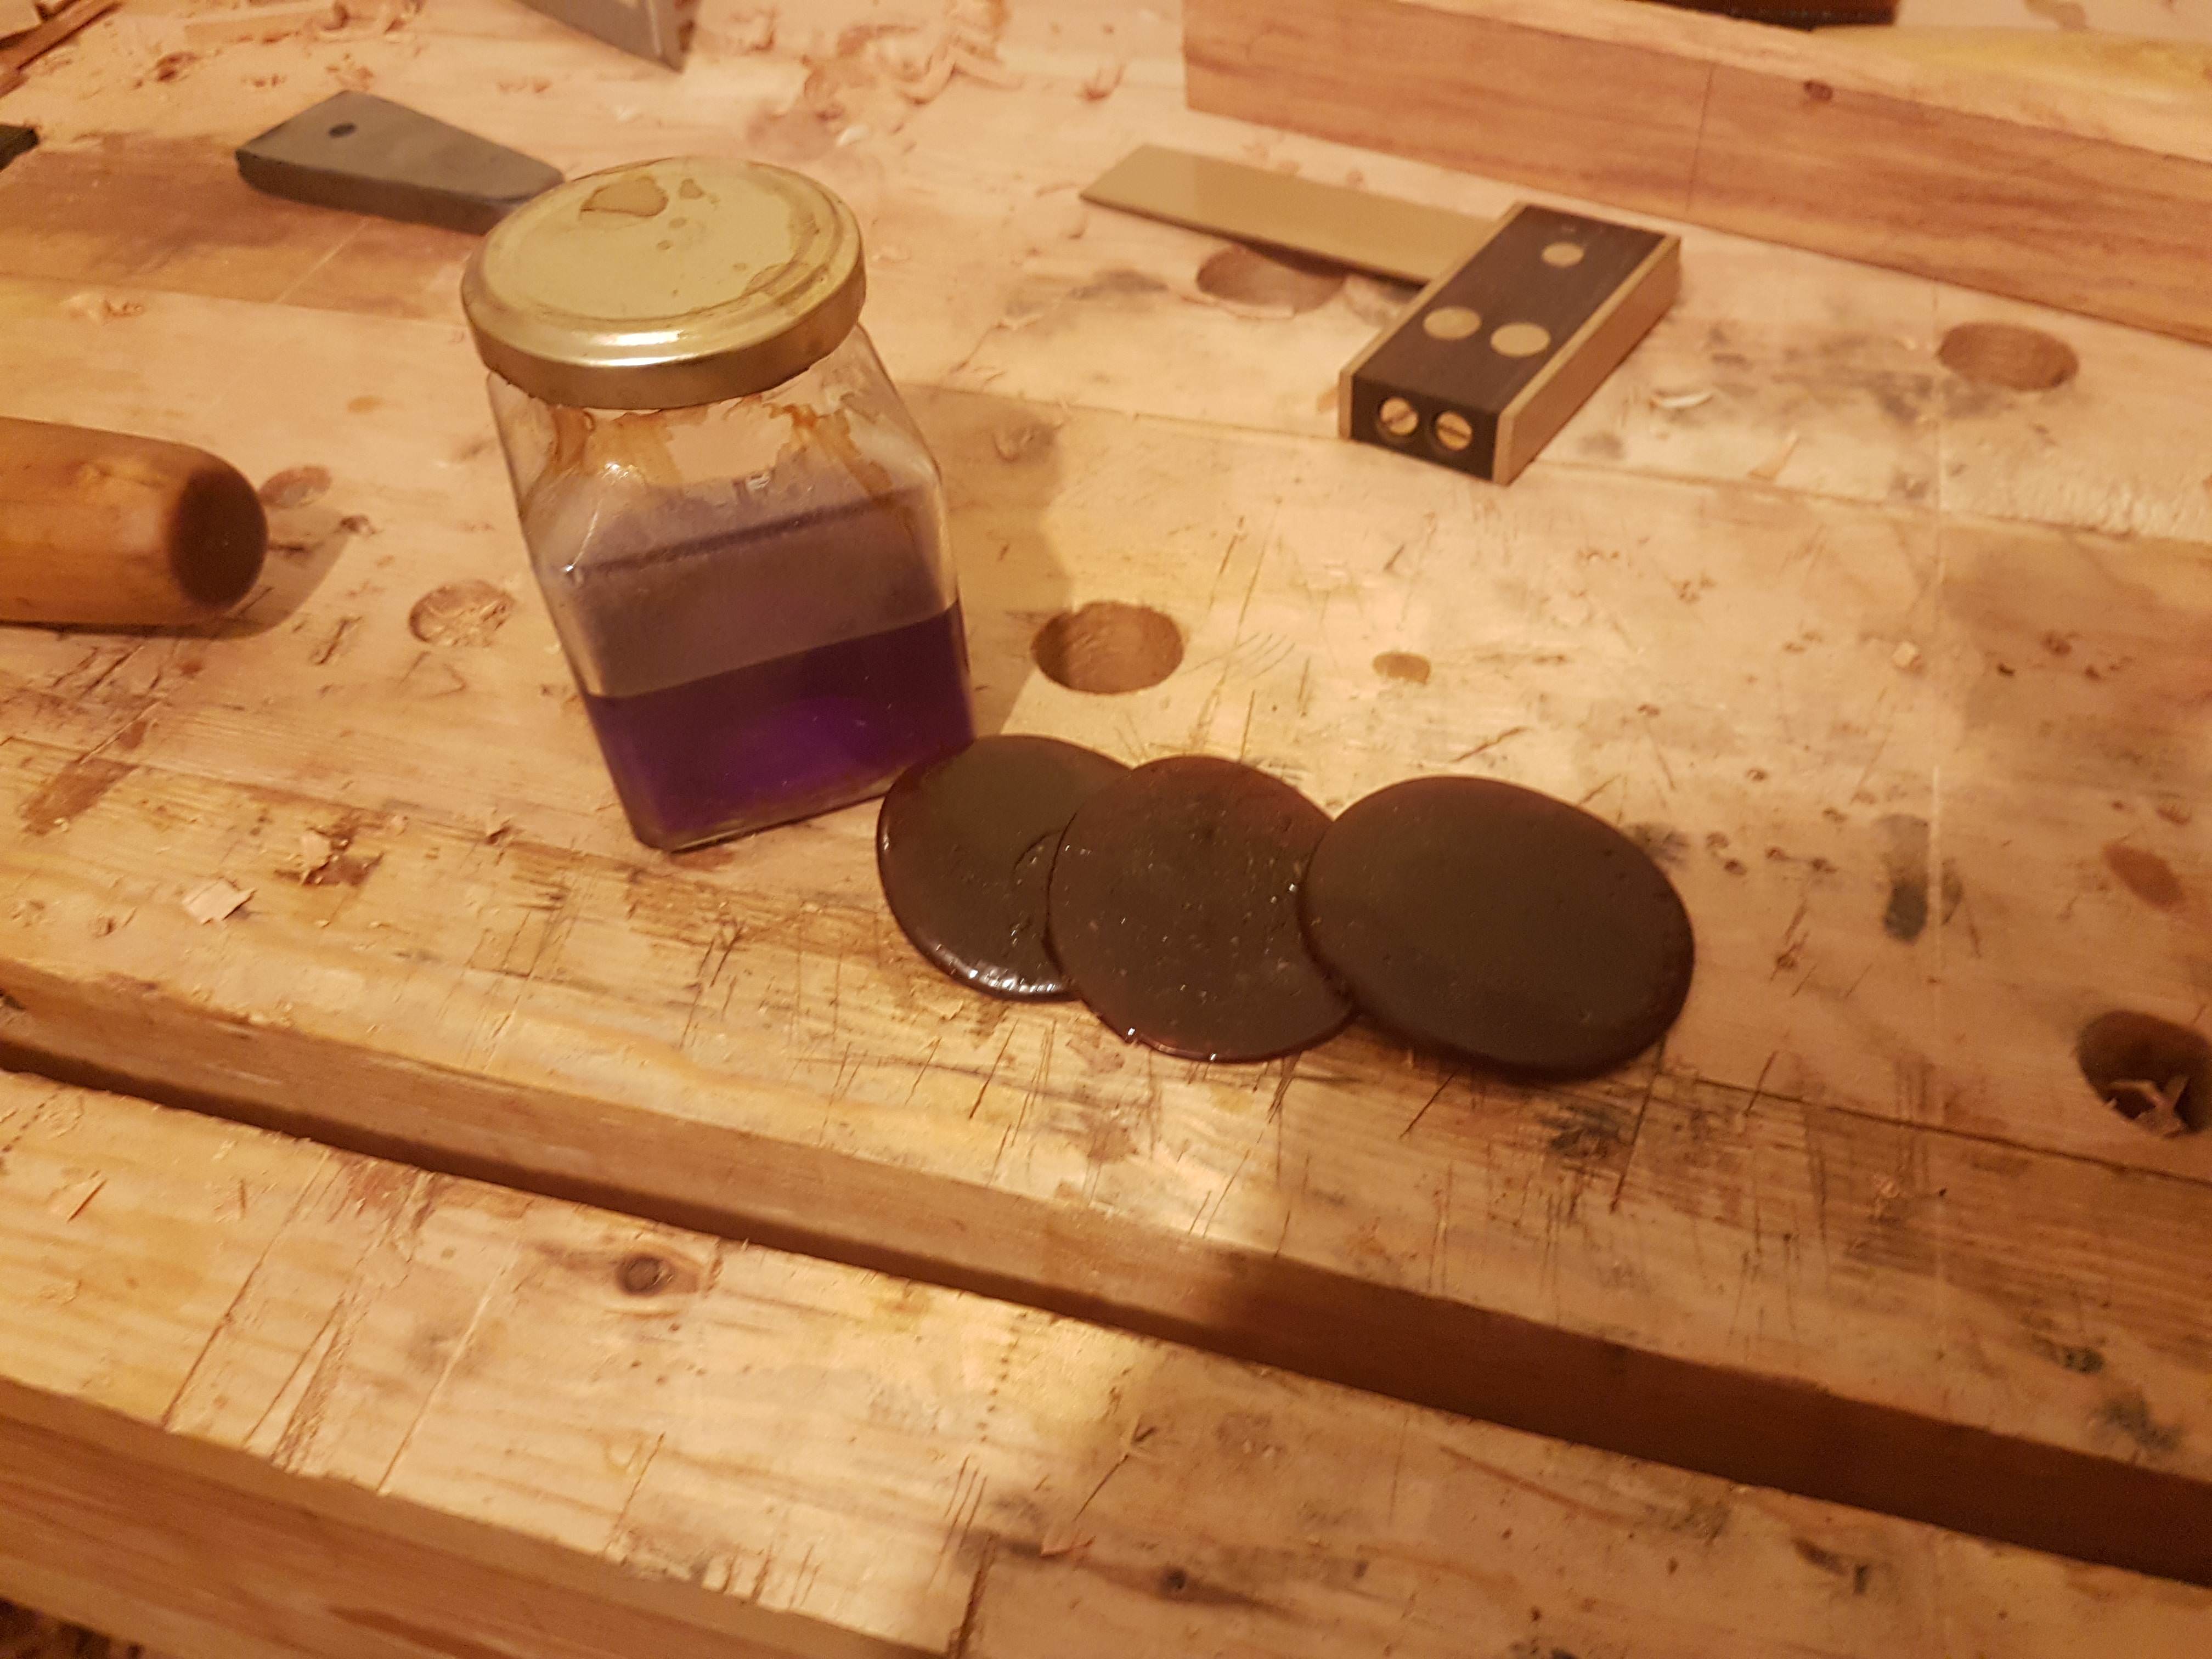
I then realised I should have mixed up my shellac days ago. This will be step 1 next time.
Another test fit, this time with mouldings coped. Not looking as terrible as it might.
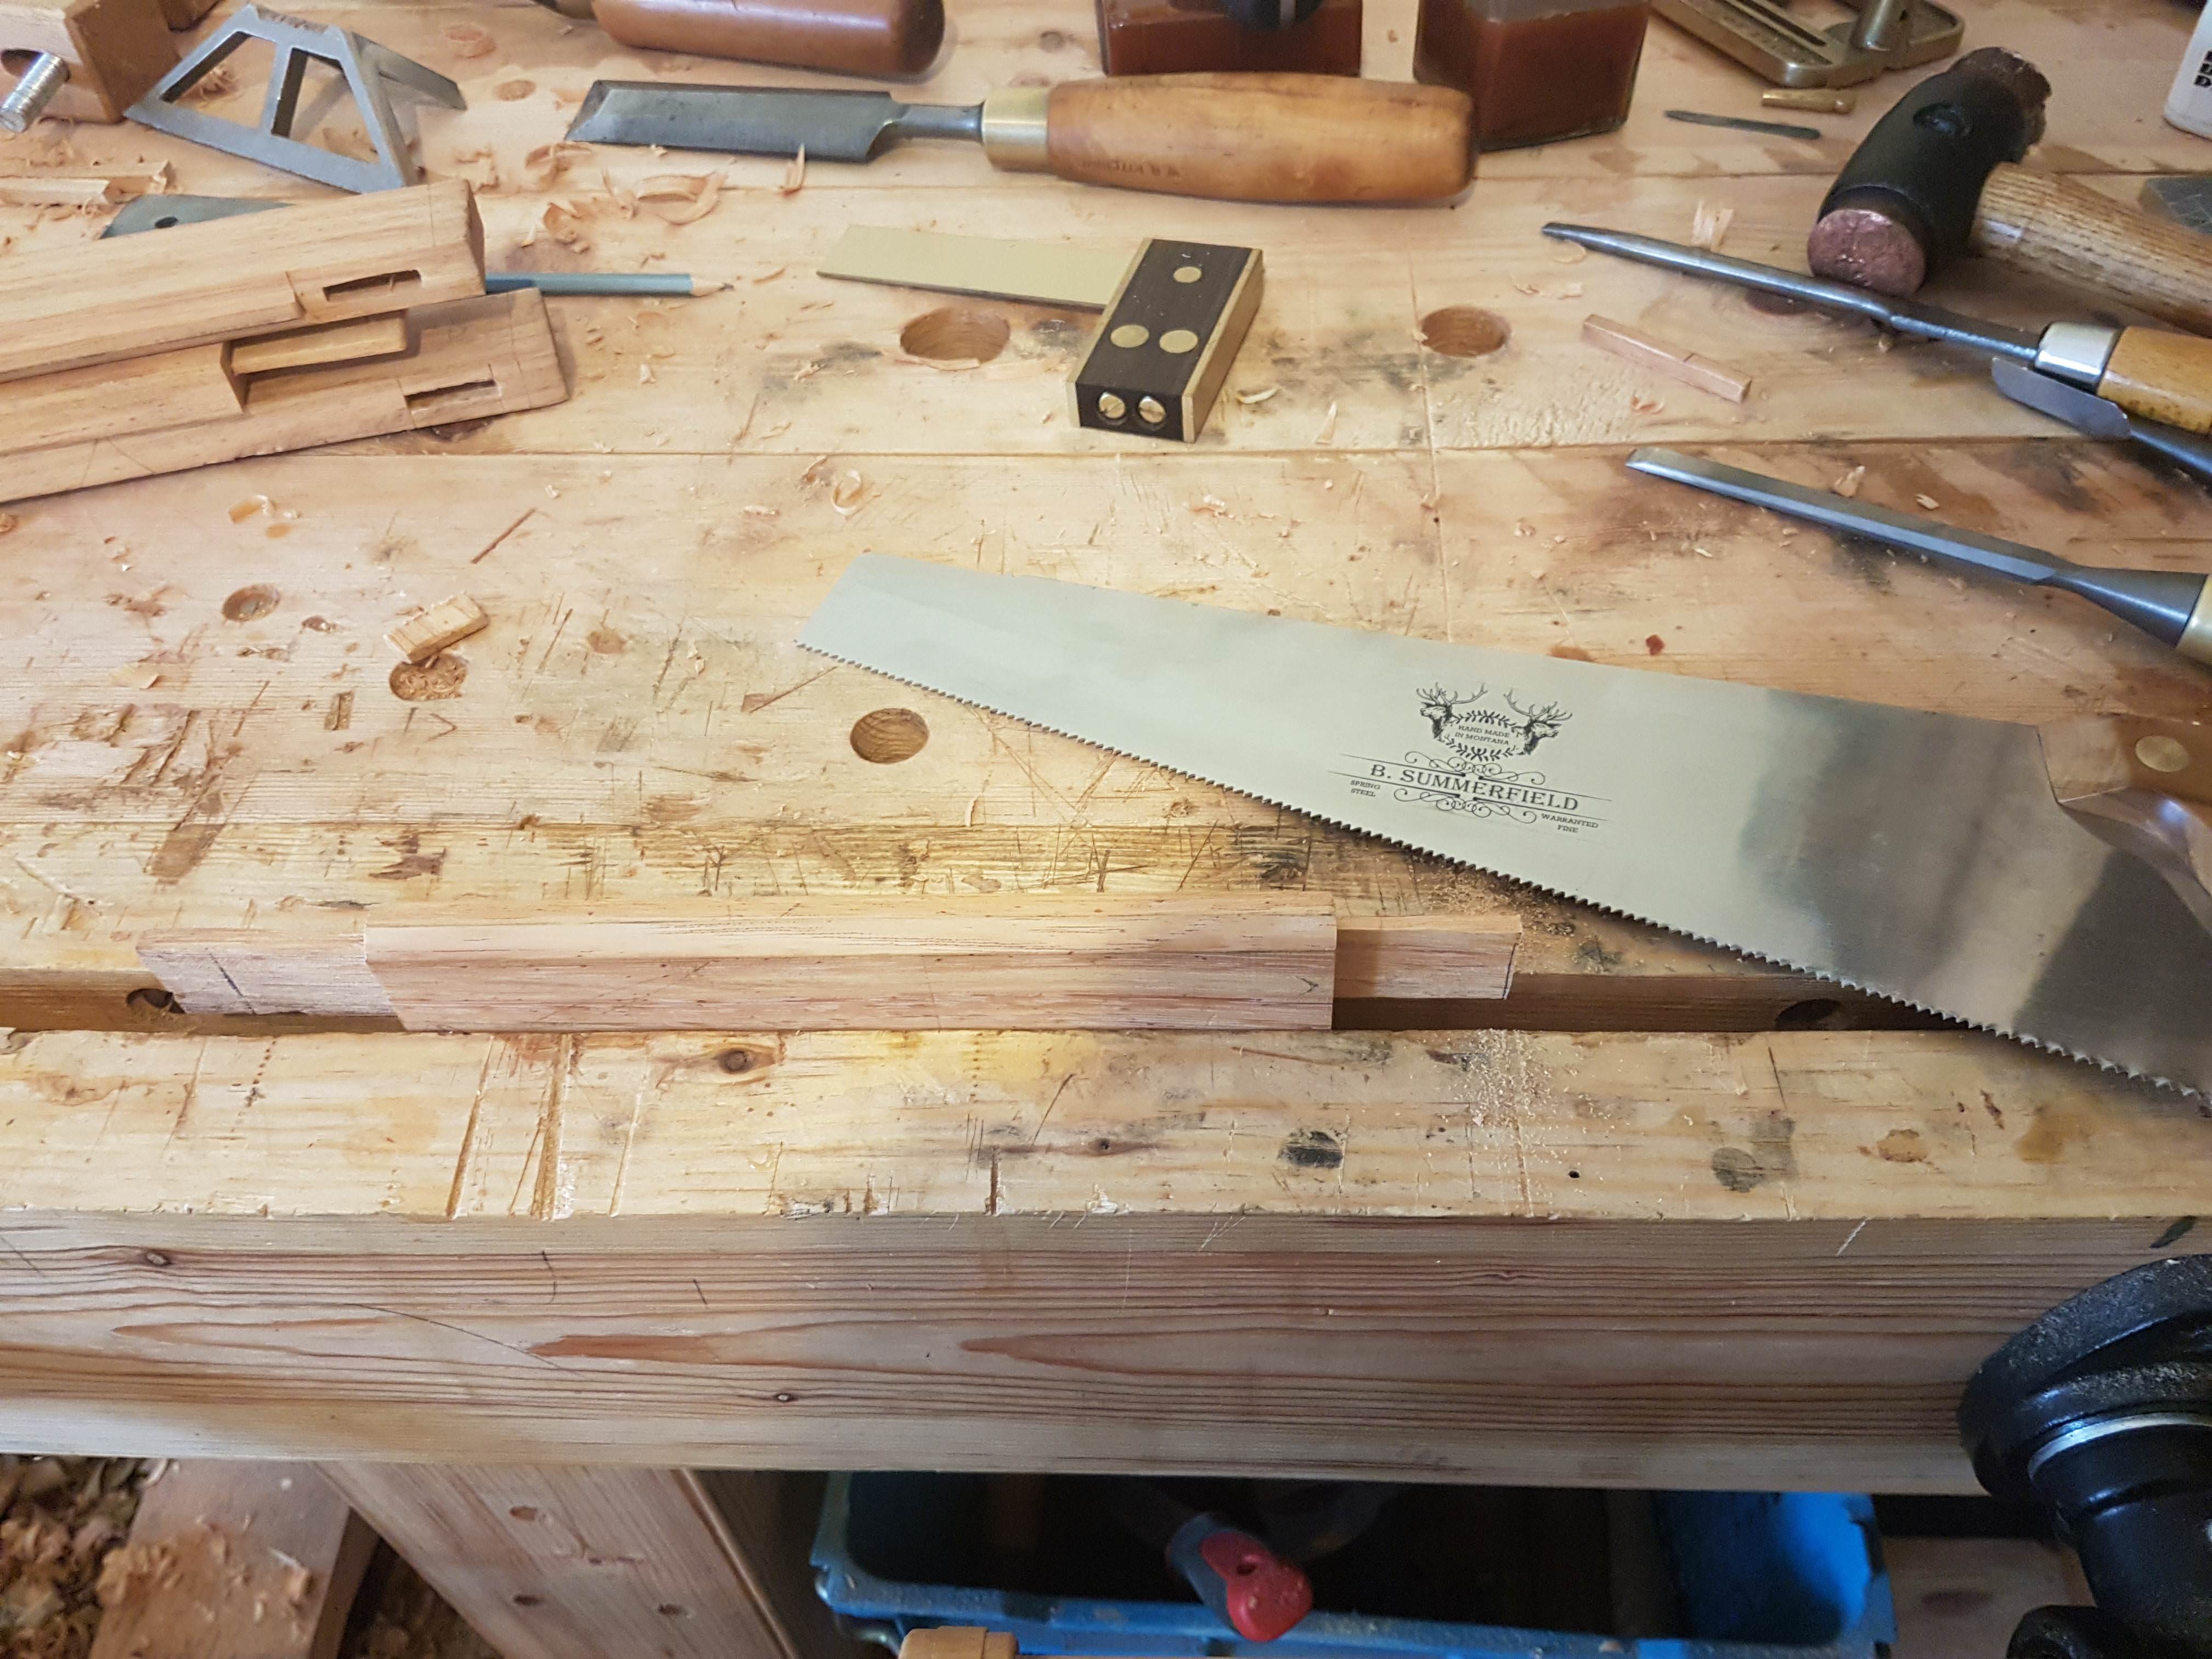
Trim tenons to more reasonable length
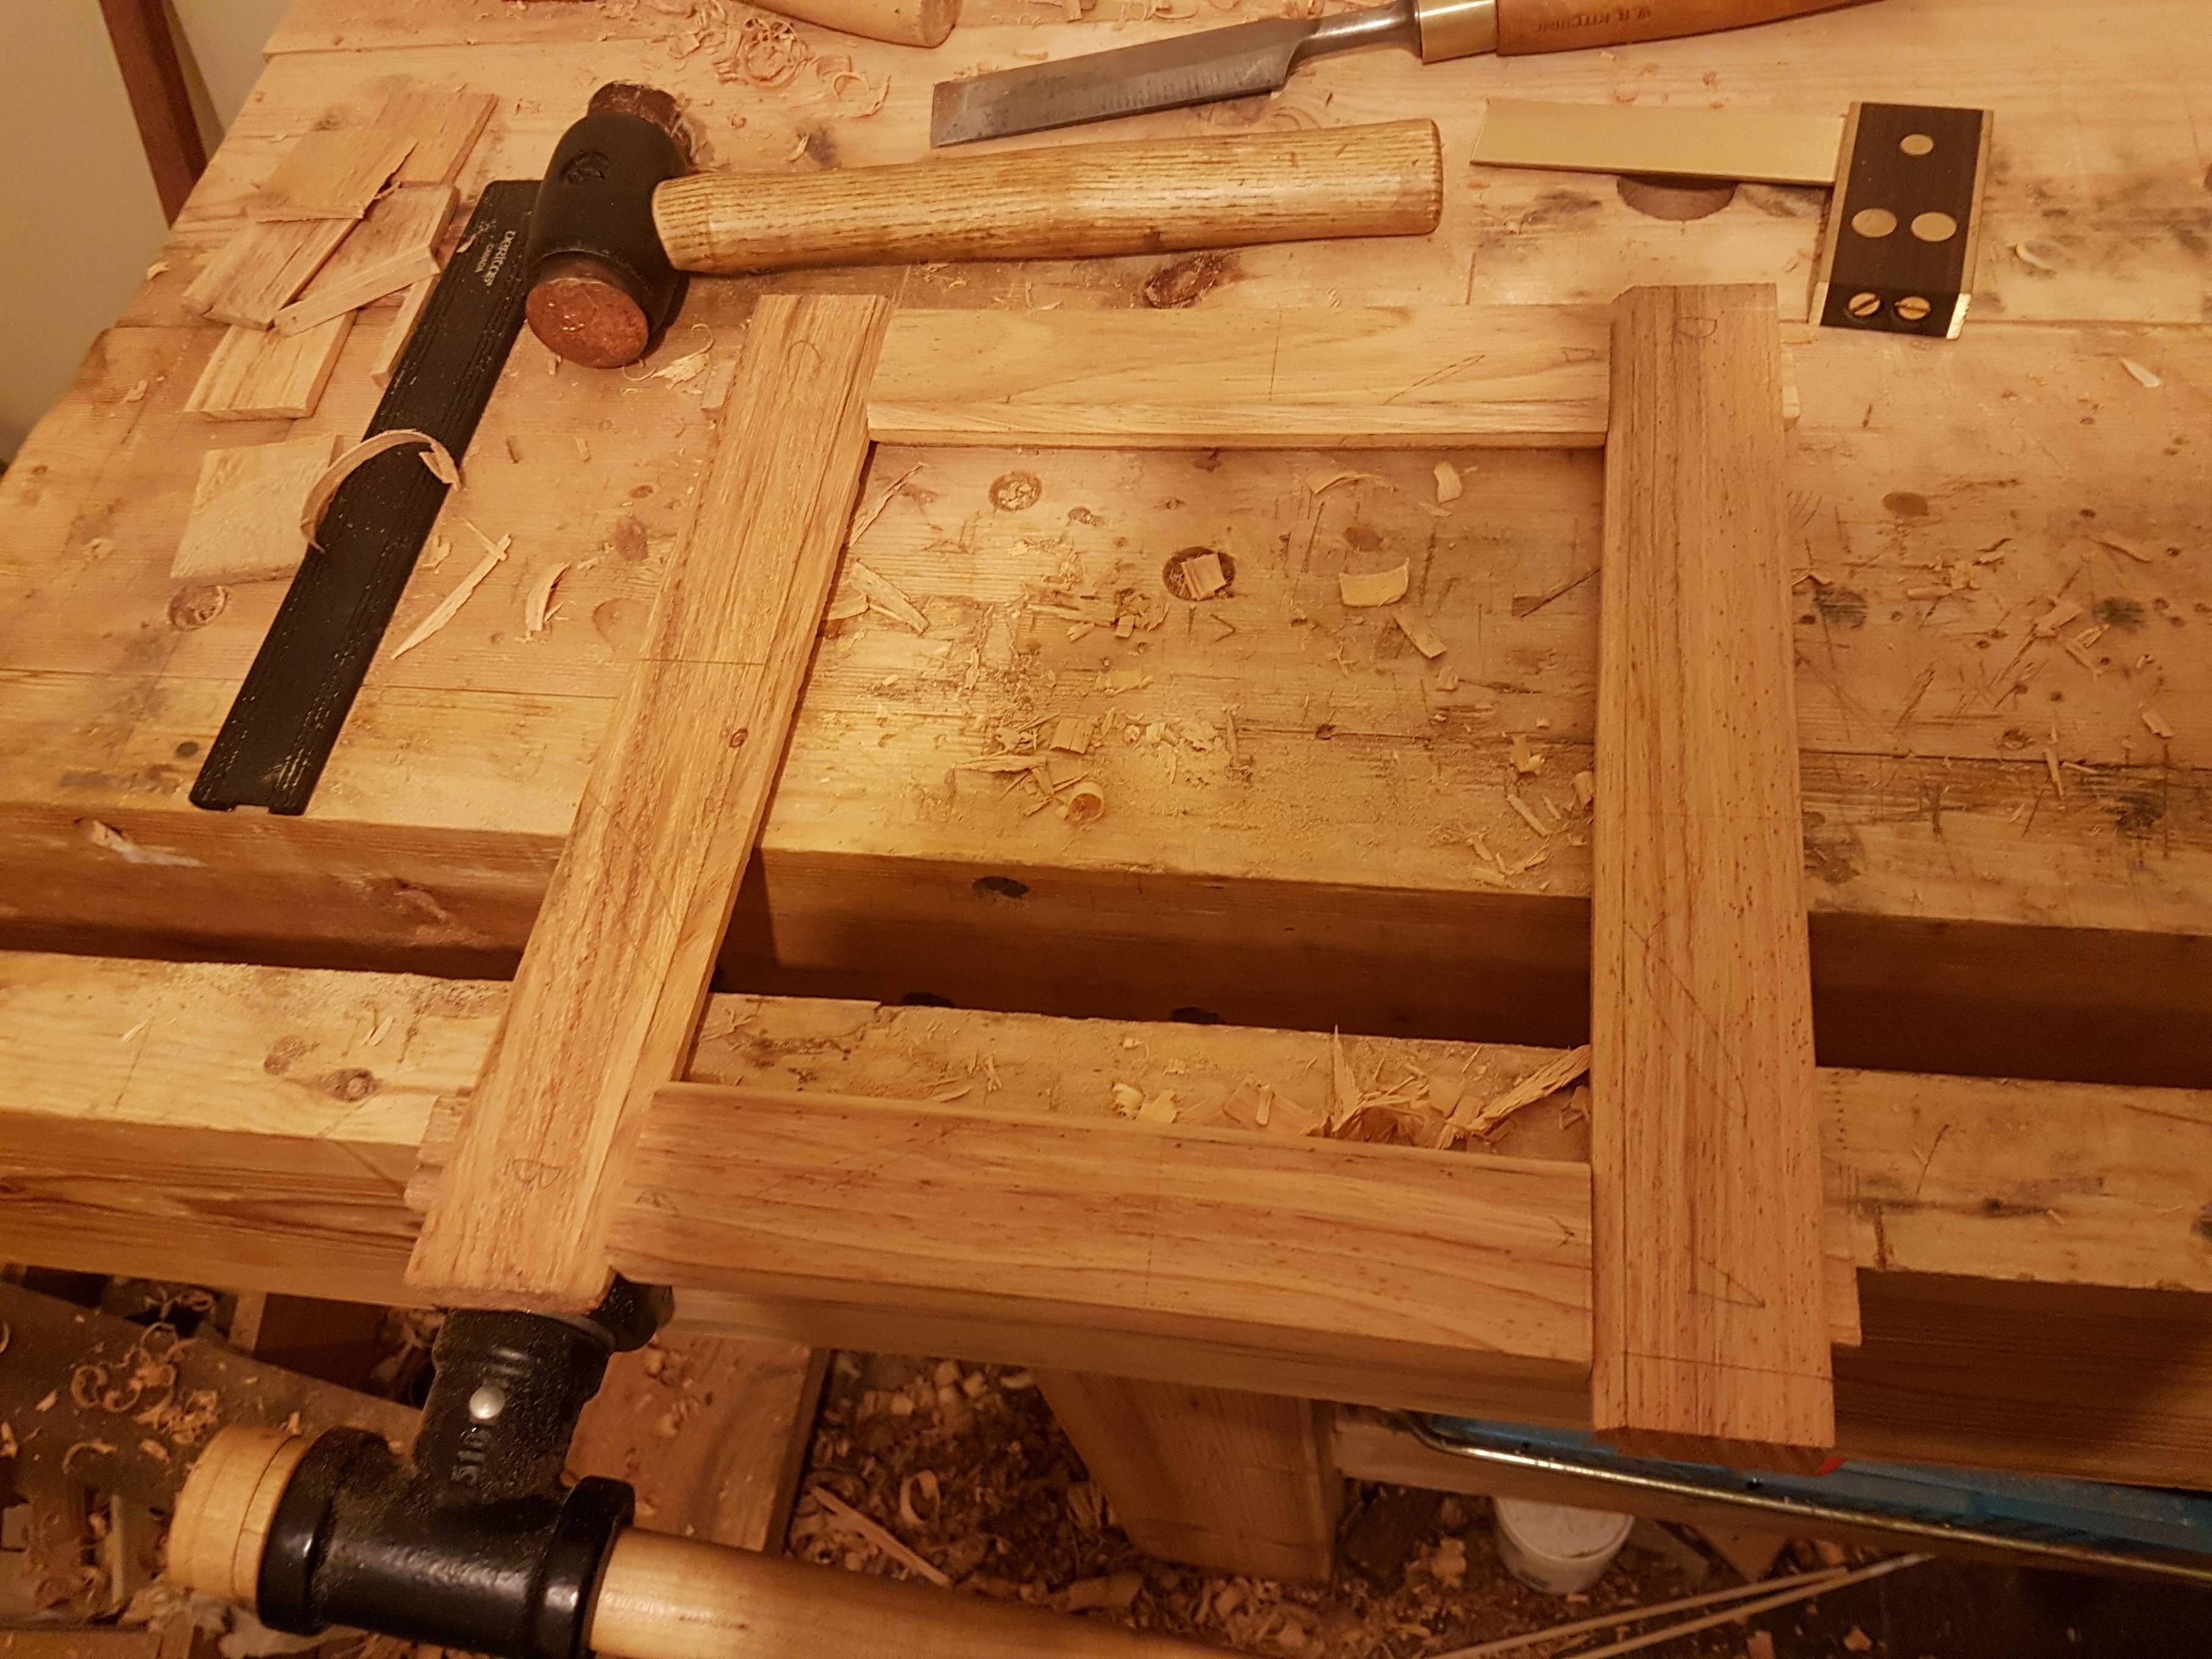
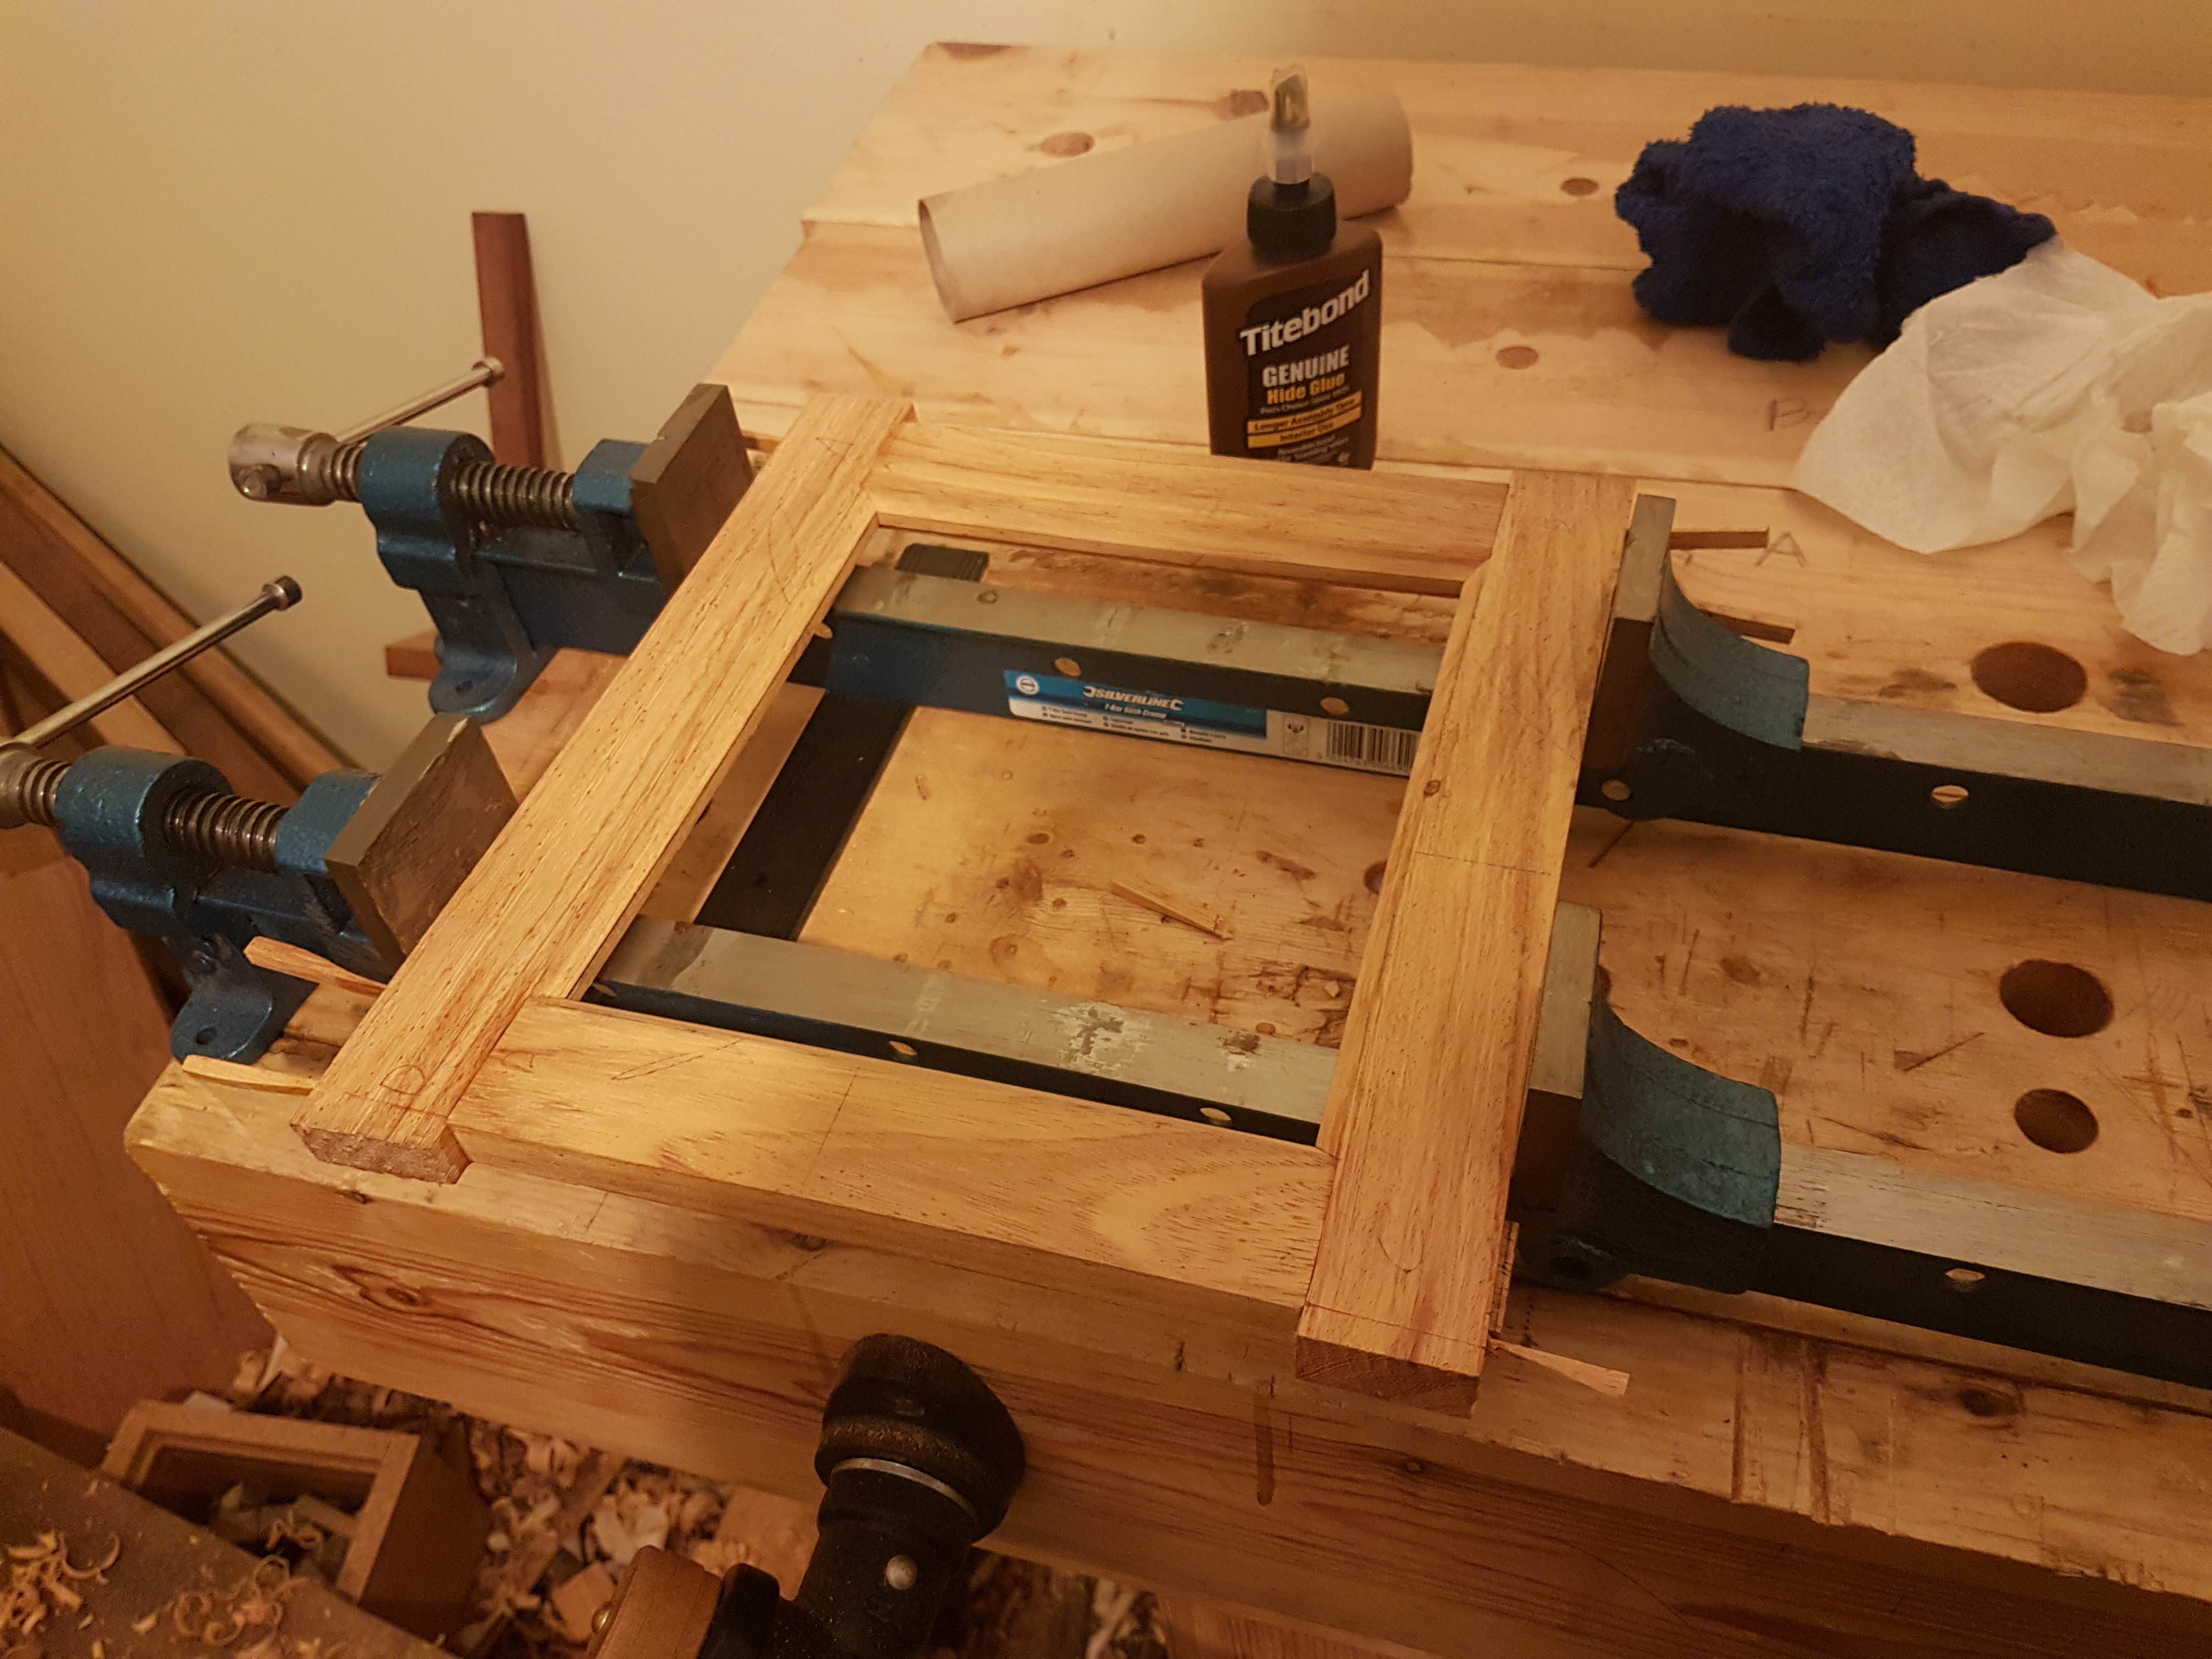
Apply glue, clamp up, knock in some wedges, two for each tenon. All the shoulders closed up, once enough clamping pressure had been applied (note: these are very, very, very strong clamps). After this I gave the whole thing a plane to level up the surfaces and neaten it up, as well as trim off excess stile beyond the mortices (left on for strength and sacrificial corners until this point).
After some shellac padded on and a quick wax not looking too shabby. I think it looks just different enough with the non mitred corners to make someone take a second look.
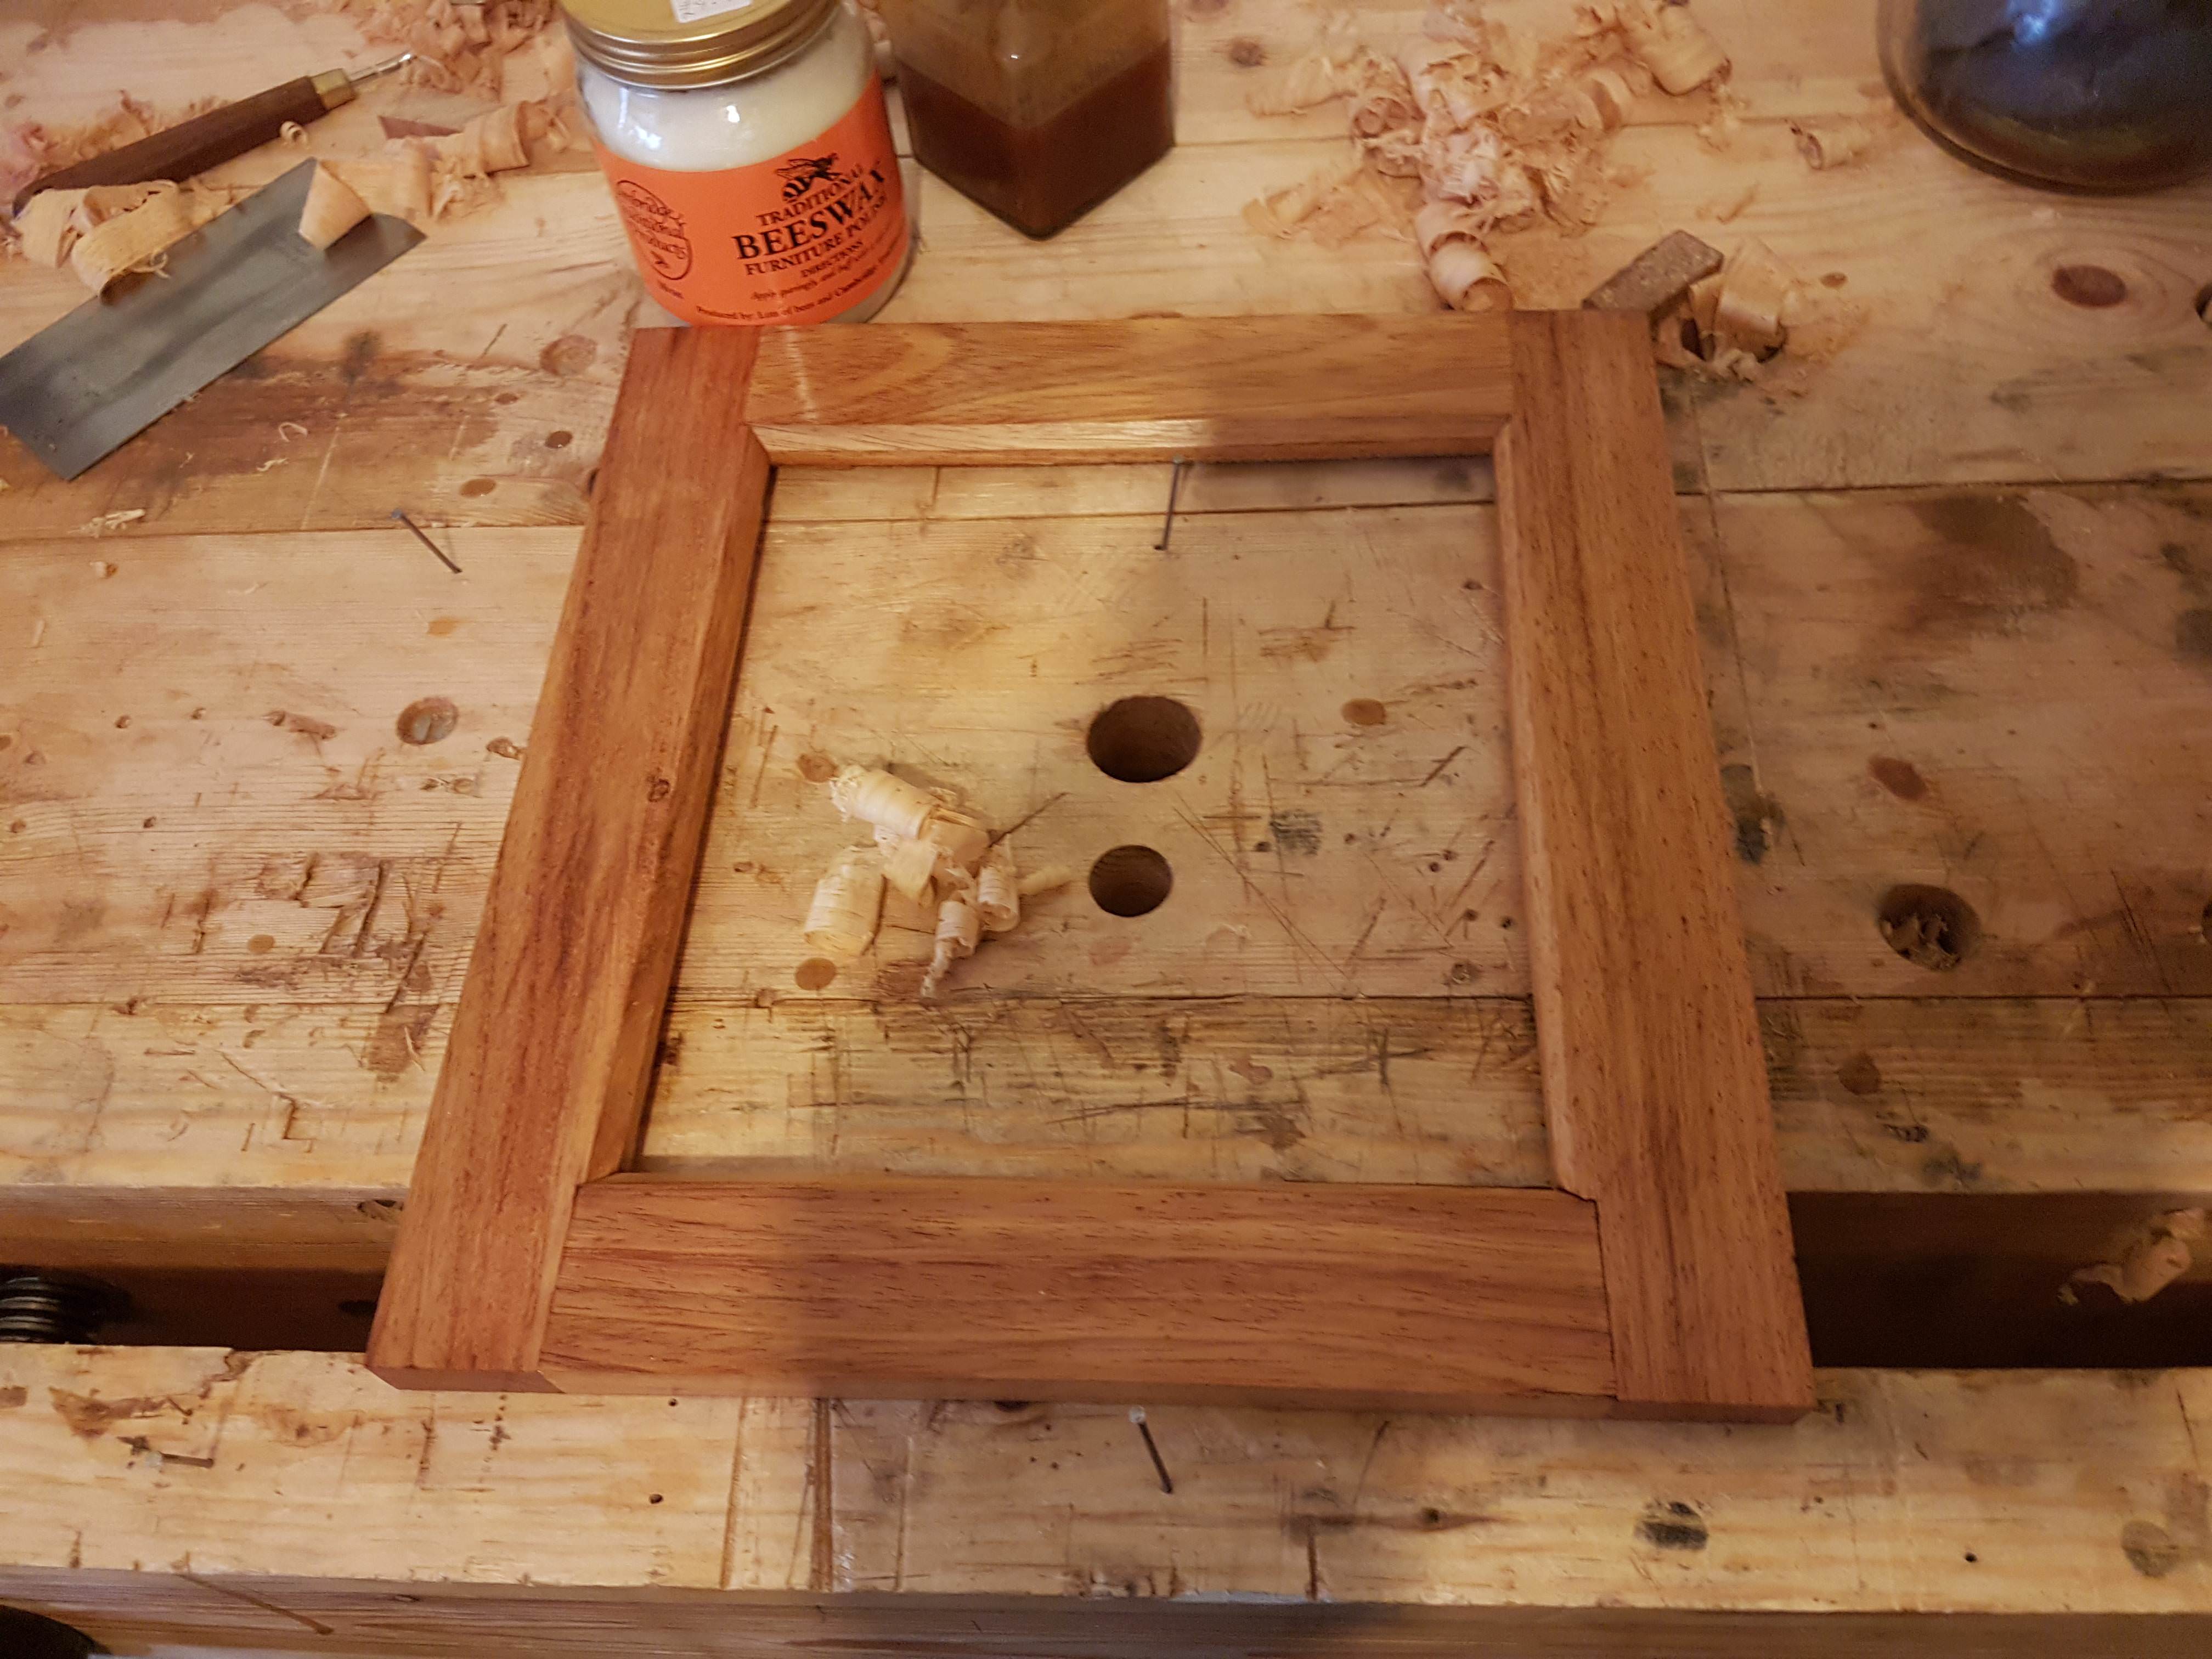
Unfortunately there was one problem, which was little split in one of the mortices, although it still held together well, and a picture frame is unlikely to have the roughest life, I think it will be fine. The tenons show quite nicely too for those who wish to take that second look.
The hardest parts of this were (as always) keeping the mortices neet, especially on the show side, and planing the face flush after gluing. This wood hates being planed across the grain, so there was a lot of dodgy plane ballet to get it round the corners nicely, there are still a few bumps here and there, but I was not really improving the situation the more I tried to get rid of them. Maybe I should have sanded it with a flat block.
Anyway, any comments appreciated, especially on things I could improve and better ways to plane around the corners with changing grain direction.
Cheers.
Start by laying out lengths across the rails or stiles, ganged up and marked across with a square and knife.
After this I started morticing, mostly from the back, and then finishing off from the show face. Despite taking my time and trying to keep the chisel straight, my morticing still leaves much to be desired.
Cleaned up the mortice end walls with an edge float
Then I cut in the tenon shoulders after putting in a strong knife line.
The material for this frame was only 5/8, and I don't have a small enough moulding plane to work a nice profile, so I marked out a simple chamfer.
Then planed it across the whole piece tenons and all).
Once the chamfer was done, I planed the rebate on the back side, the parts were pretty much in equal thirds.
After this I leveled off the "landing face" around the mortice for the tenon shoulders to contact.
Then I set about the tenons, first doing the cheek cuts.
Trimming up the cheeks in parallel with the rest of the piece using a router plane.
Sort out the shoulders.
Then a quick knock together to see how things are looking. I used this opportunity to mark precisely where on the morticed stiles the moulding on the tenoned rails land.
Using this mark I mitre the moulding down to the level of the rebate and mortice face, then cut away the end grain to form the cope, the moulding on the stile is left intact and this piece covers it. If only all mouldings were as easy to cope as a simple chamfer.
I then realised I should have mixed up my shellac days ago. This will be step 1 next time.
Another test fit, this time with mouldings coped. Not looking as terrible as it might.
Trim tenons to more reasonable length
Apply glue, clamp up, knock in some wedges, two for each tenon. All the shoulders closed up, once enough clamping pressure had been applied (note: these are very, very, very strong clamps). After this I gave the whole thing a plane to level up the surfaces and neaten it up, as well as trim off excess stile beyond the mortices (left on for strength and sacrificial corners until this point).
After some shellac padded on and a quick wax not looking too shabby. I think it looks just different enough with the non mitred corners to make someone take a second look.
Unfortunately there was one problem, which was little split in one of the mortices, although it still held together well, and a picture frame is unlikely to have the roughest life, I think it will be fine. The tenons show quite nicely too for those who wish to take that second look.
The hardest parts of this were (as always) keeping the mortices neet, especially on the show side, and planing the face flush after gluing. This wood hates being planed across the grain, so there was a lot of dodgy plane ballet to get it round the corners nicely, there are still a few bumps here and there, but I was not really improving the situation the more I tried to get rid of them. Maybe I should have sanded it with a flat block.
Anyway, any comments appreciated, especially on things I could improve and better ways to plane around the corners with changing grain direction.
Cheers.
")