Haldane
Established Member
Hello All
Now its almost finished I thought I'd post some pictures of my new shed / workshop (not sure what the difference is?) Any way started the build in middle of last Feb when had week off work ordered the materials for the base the previous week great weather and lots of sunshine, which changed completely as soon as I set foot outdoors on my weeks holiday
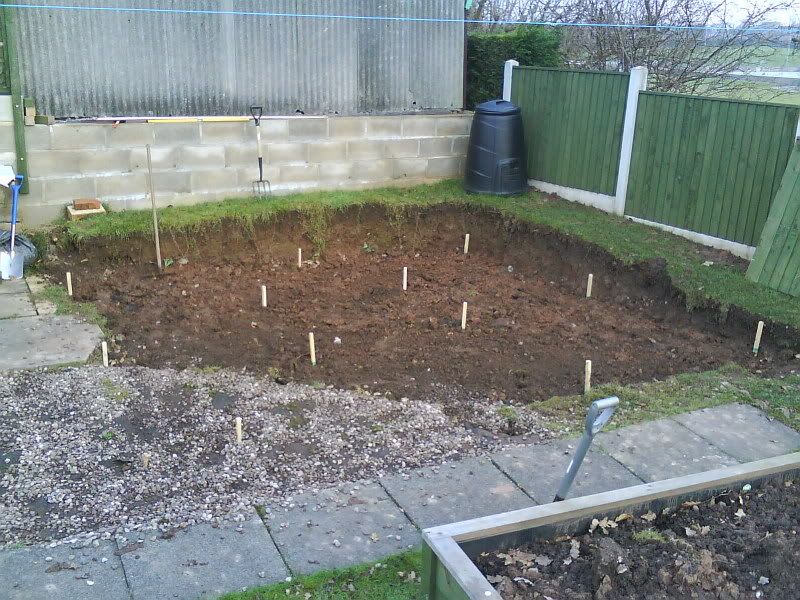
Area dug out and marked with pegs to try and level
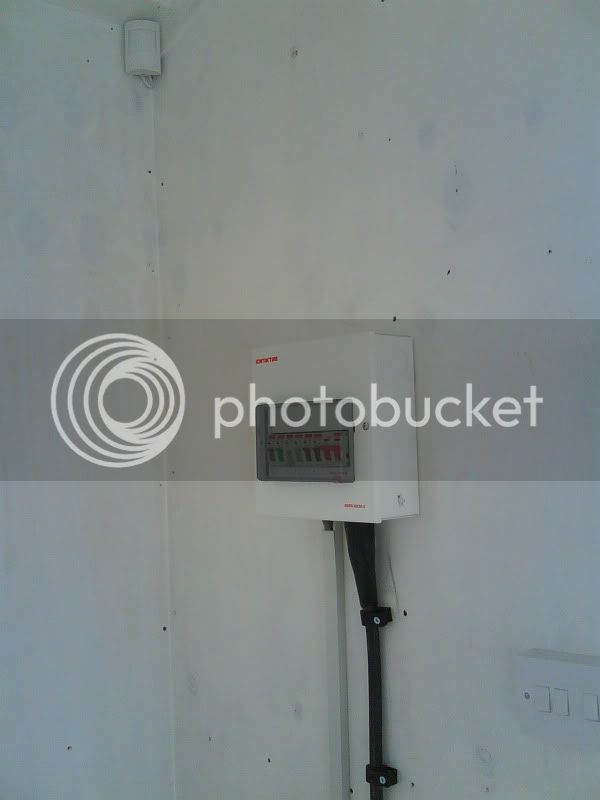
Armoured power and alarm cable buried and run out from house in readiness (shed to have its own zone on the main alarm panel) also
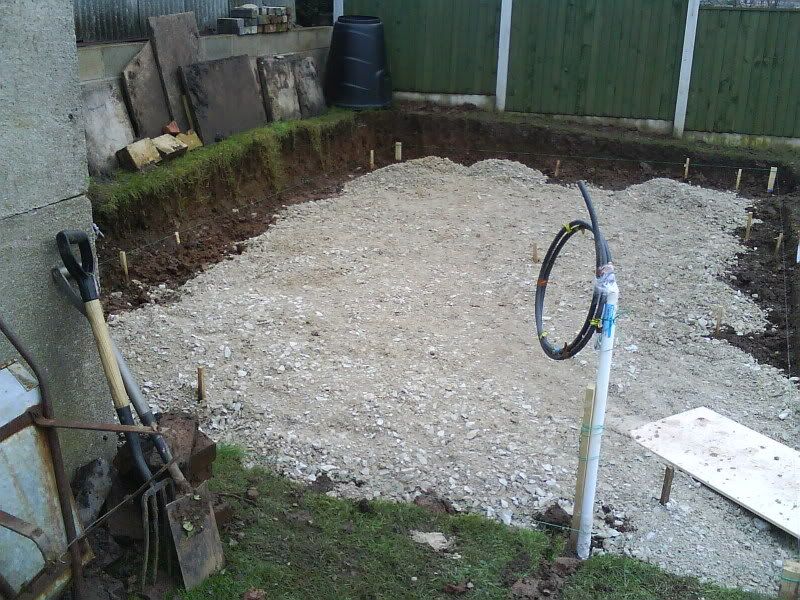
start to move roadstone (about 6 tonne) from front of house by
wheelbarrow no access for deliveries around back
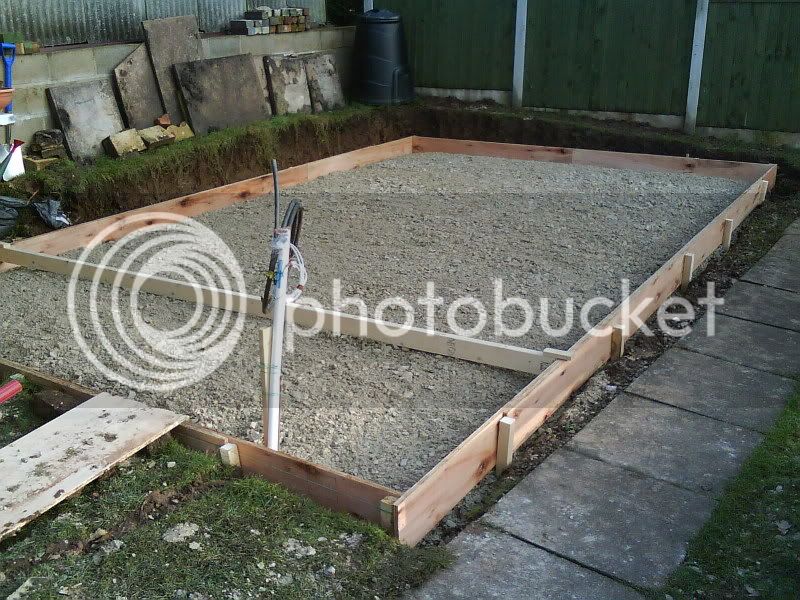
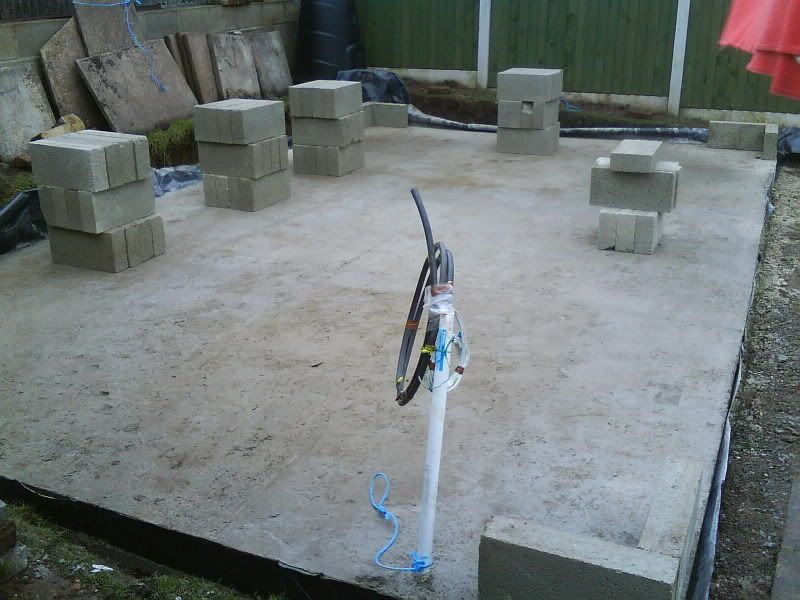
Shuttering installed and roadstone leveled and compacted
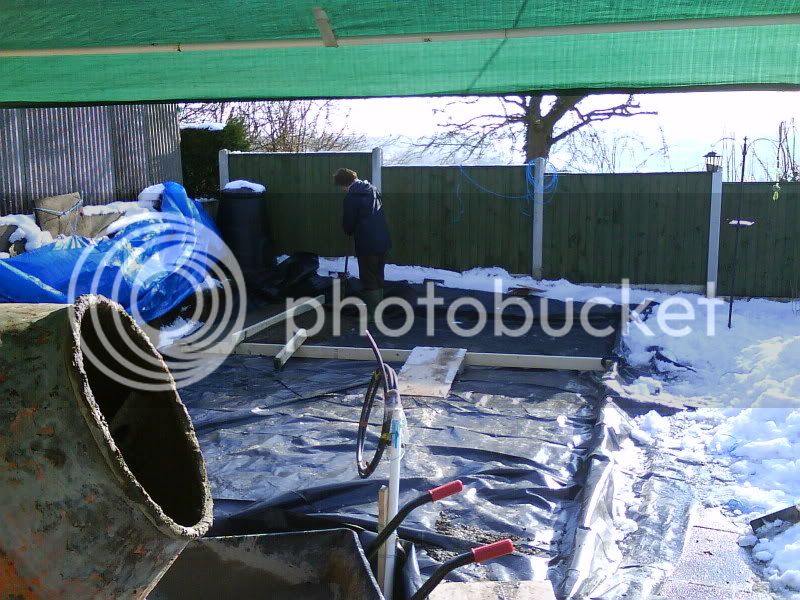
DPM layed then it snowed bloody typical! worried about laying concrete in such cold conditions but took advice from builders merchant where I got ballast and cement from, used additive to help cure the mix and went for it, especially as the mixer had to go back at the end of the week.
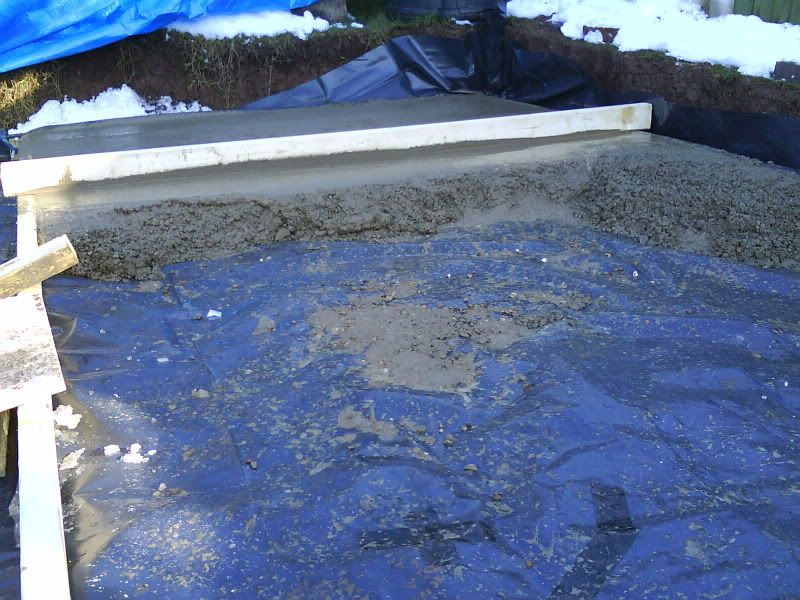
Layed the slab in three sections outer two first then filled in centre section
using outer slabs as reference to get centre level as best as possible
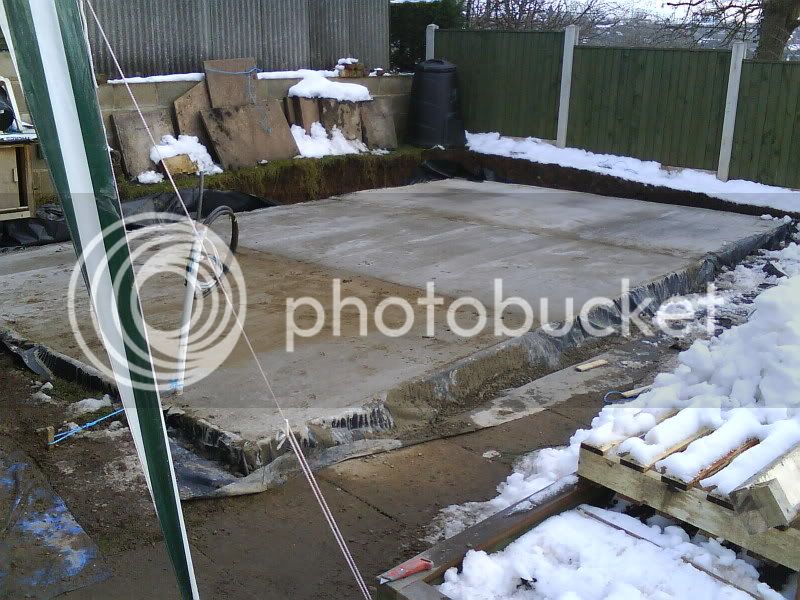
Took 4 days hard work to get base down in freezing conditions but it
turned out ok (worried a lot about the possibility of it cracking or the
surface finish flaking badly)
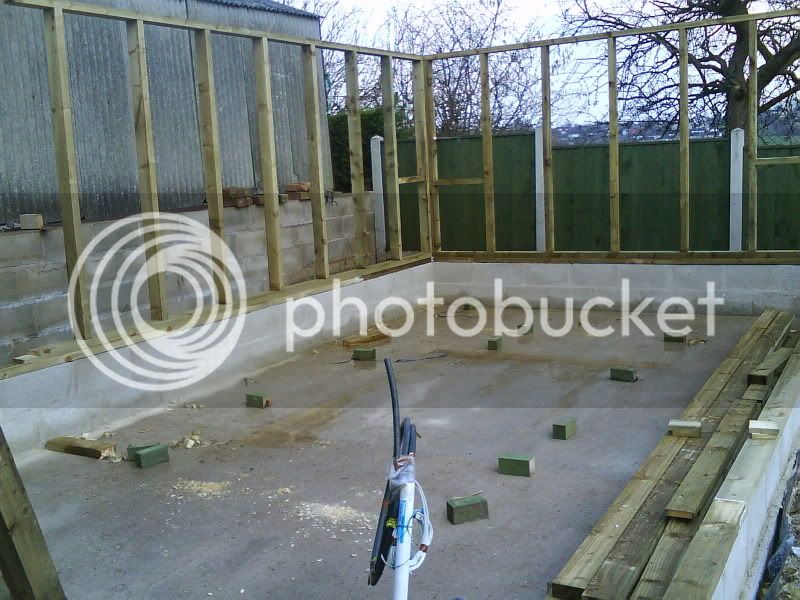
Concrete blocks for part retaining wall along the two back edges but also for keeping timber frame well away from damp thanks to Mike Garnham
and other who answered my question and gave advise last year when I was at the planning stage
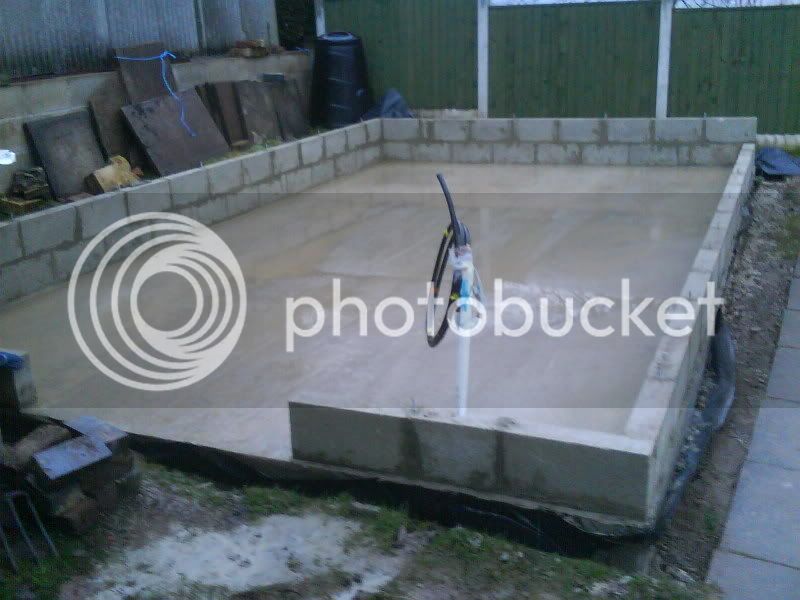
Not a very good builder so brought one of those Marshall Bricky tools
you usually see advertised on shopping channels works really well and
surprised how good results and finish I got. spent a lot of time measuring and double checking everything square and level
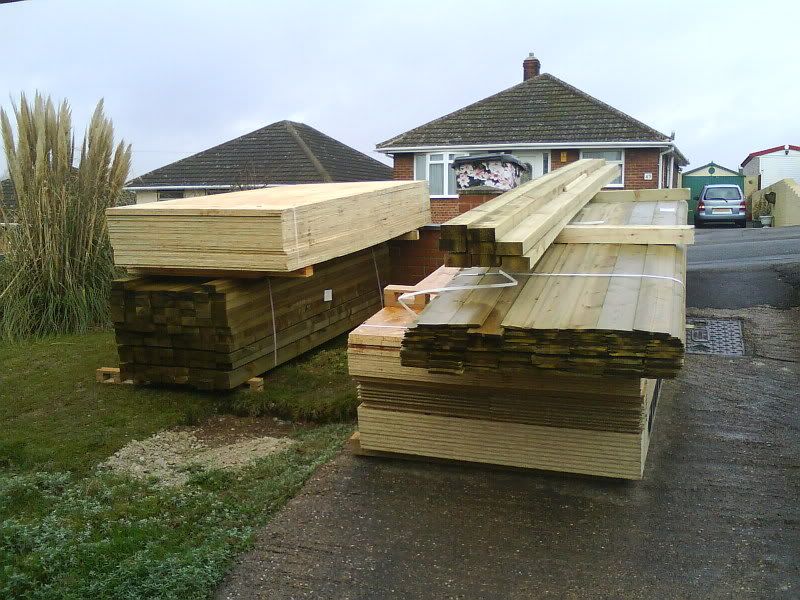
Timber arrives Yeh!
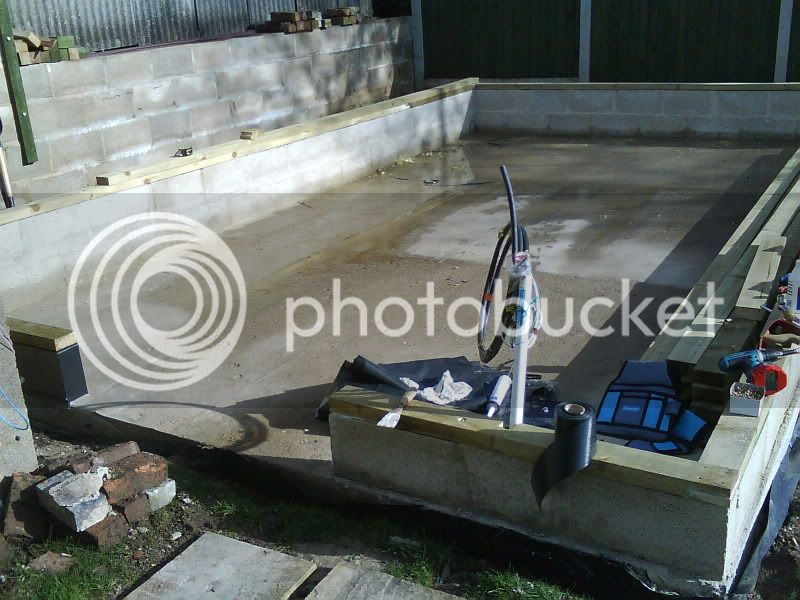
When I was building the wall I inserted 10mm threaded rods between the blocks to anchor the frame too (Tommy Walshs ultimate workshop?) strip of polythene DPC between blocks and 4x2 timber drilled and bolted down

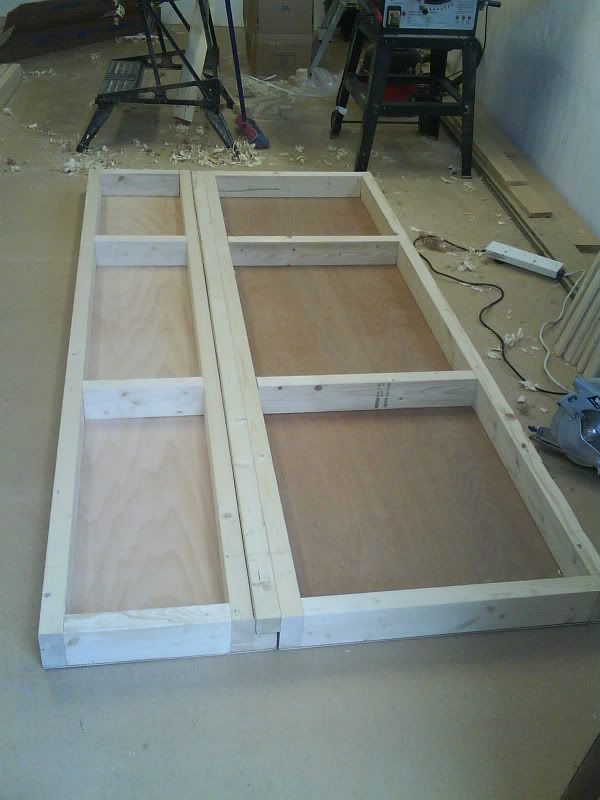
Tried to base the design on 8x4 sheet material to be used in modular way
Started to build frames for wall
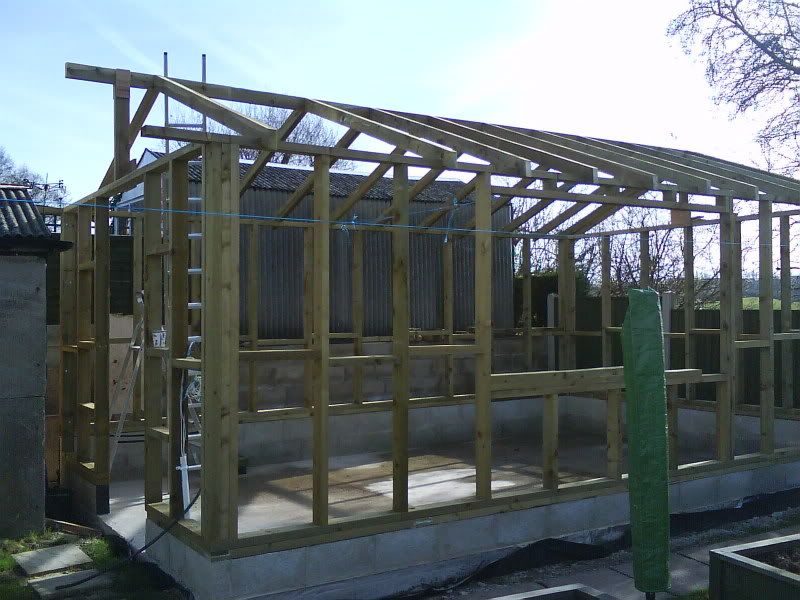
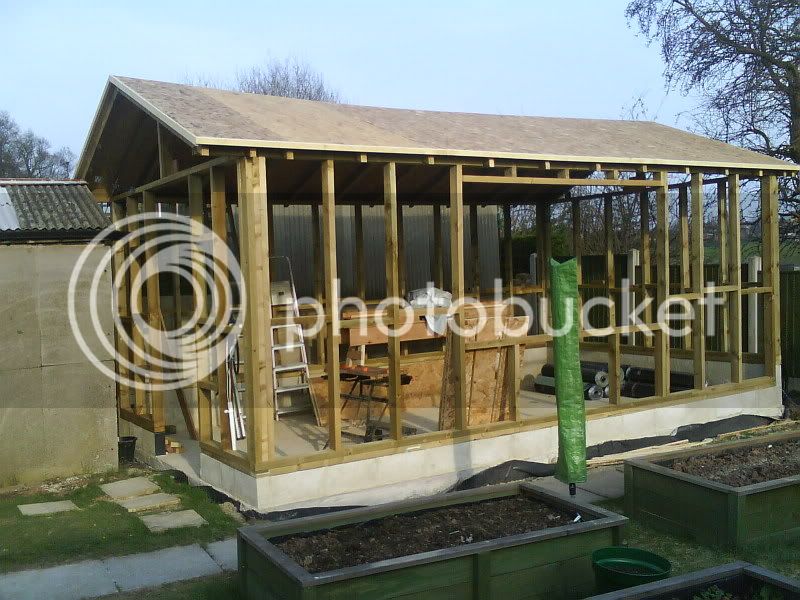
Bit of a shock when first put up. I mean you do a scale drawing and in your minds eye you know what 8 ft tall looks like But once the wall was up it looked massive far to big, the missus wanted to know if I was building a snooker hall in the garden!
Almost paniced at this point and reduced the height but decided to keep it as the design and plough on regardless (really glad I did)

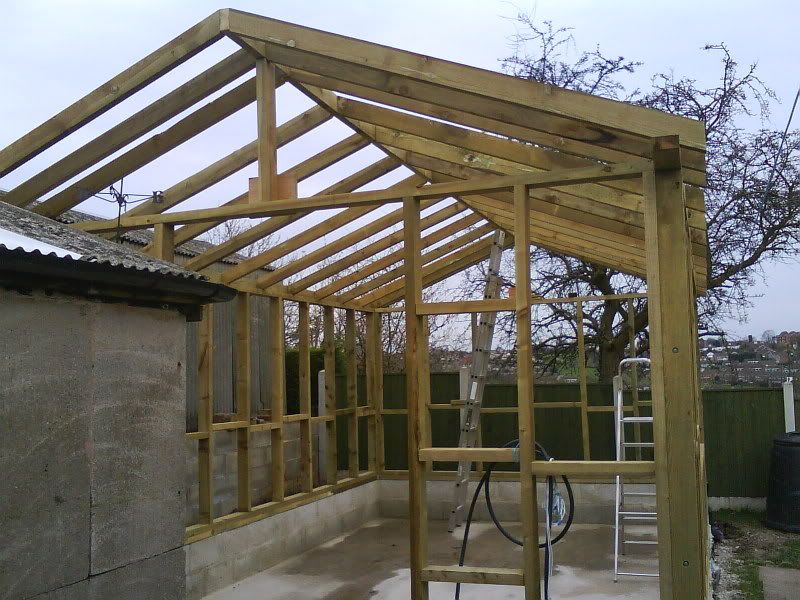
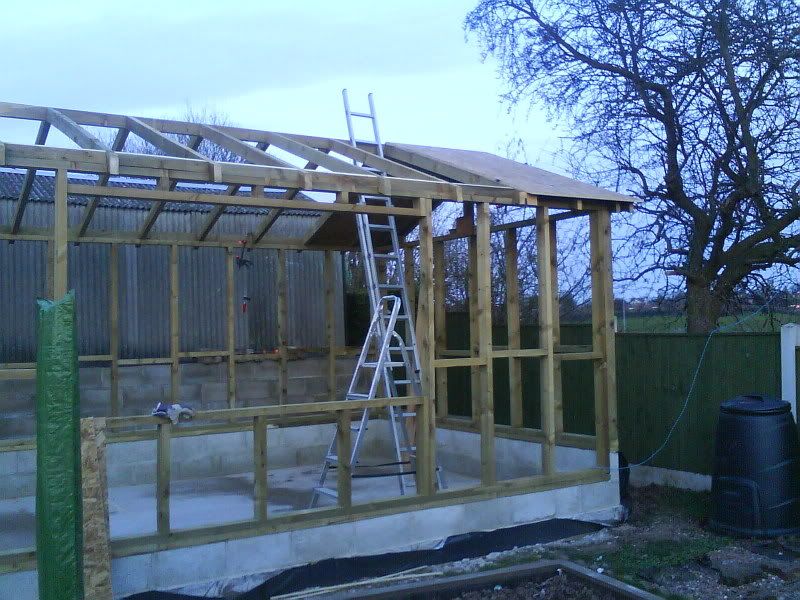
18mm OSB boards for roof starting to go on
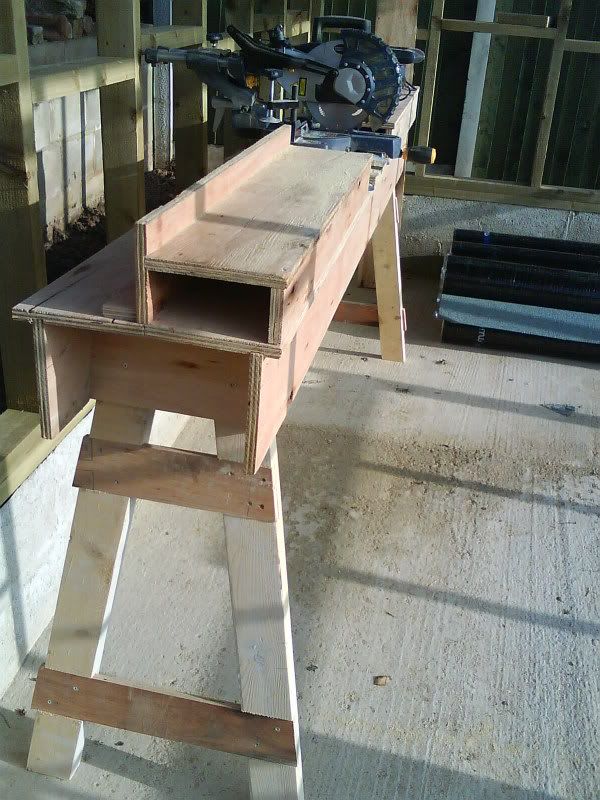
Slight detour in pictures. This stand for the mitre saw was made from the concrete shuttering after it was pulled up (based on one of Norms designs)
really useful and made the joinery a lot easier to complete.
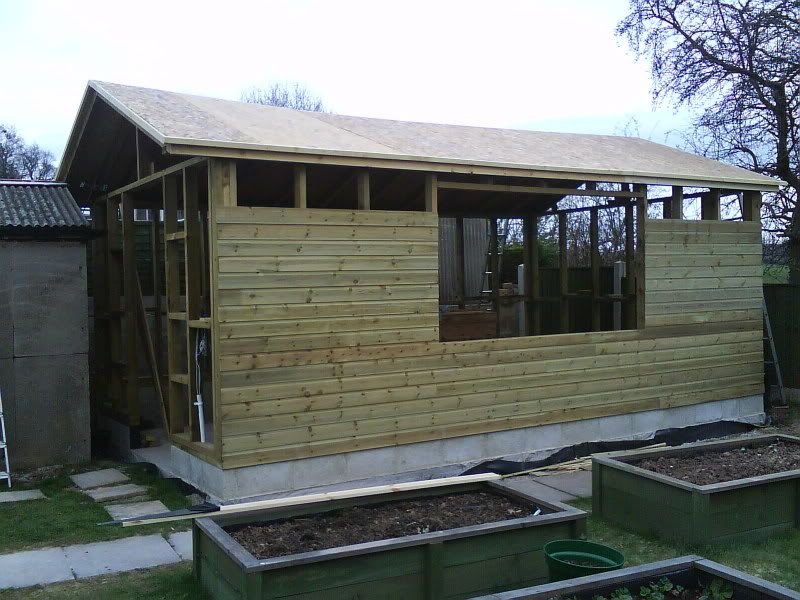
Shiplap cladding going on whilst waiting for the roof to be made waterproof (praying for no rain)
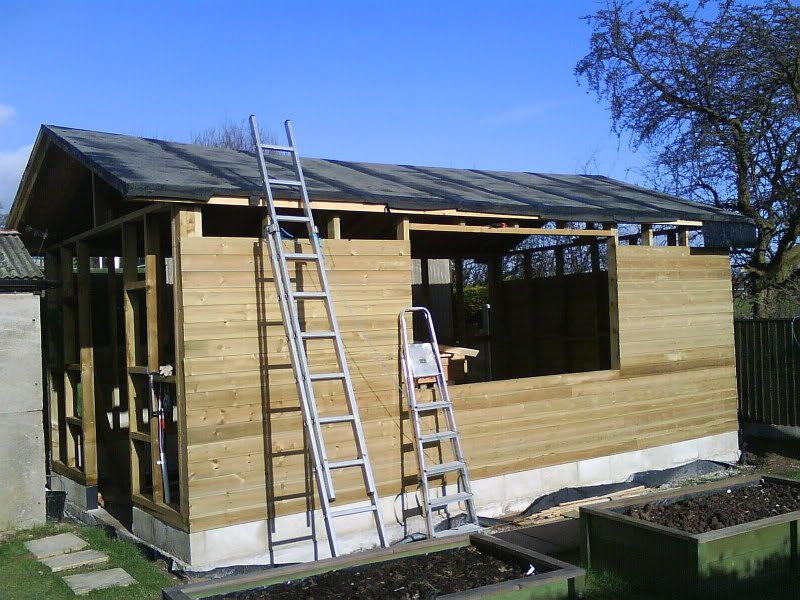
2mm torch on ashphalt underlay applied roof now watertight thank god it didn't rain for 4 days while waiting for the roofer to arrive!
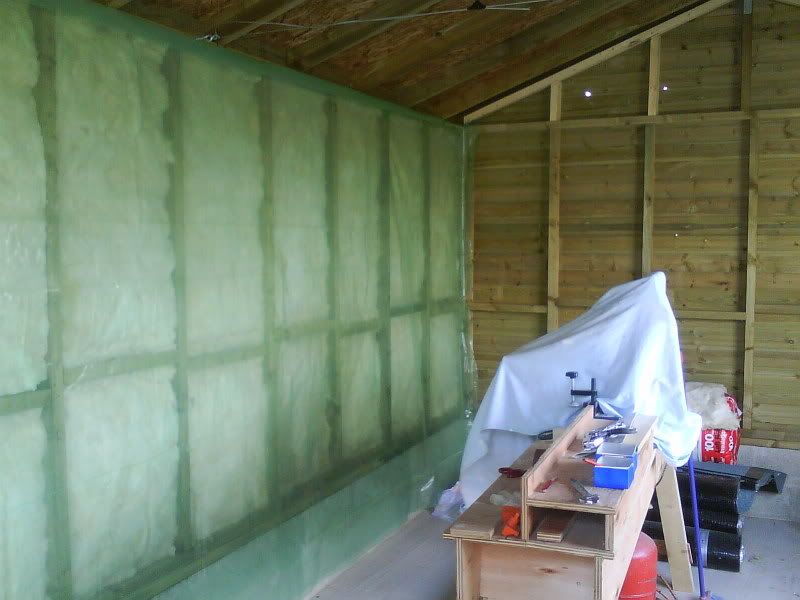
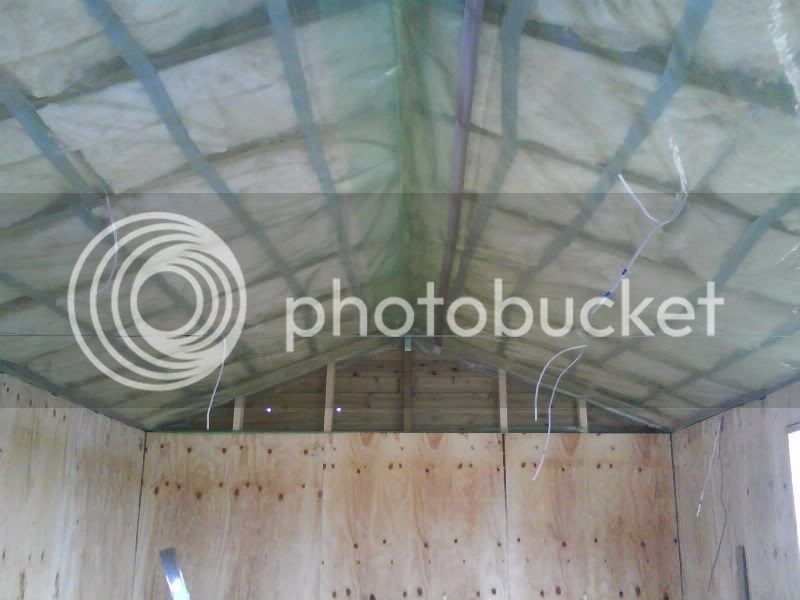
Wanted to insulate with kingspan type boarding but just could not afford it
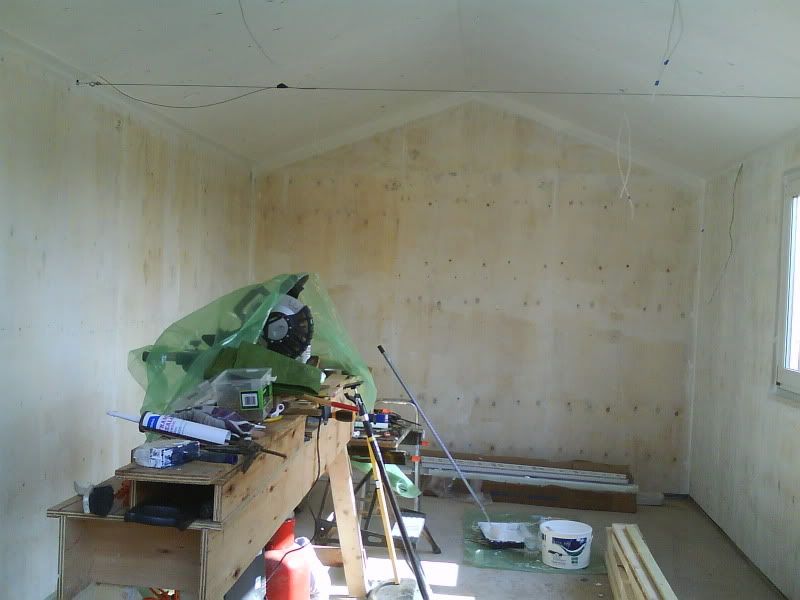
ended up using wickes loft insulation for the roof and walls (on offer 2 for 1) covering with vapour barrier then 18mm ply on the walls and 11mm OSB on the ceiling.


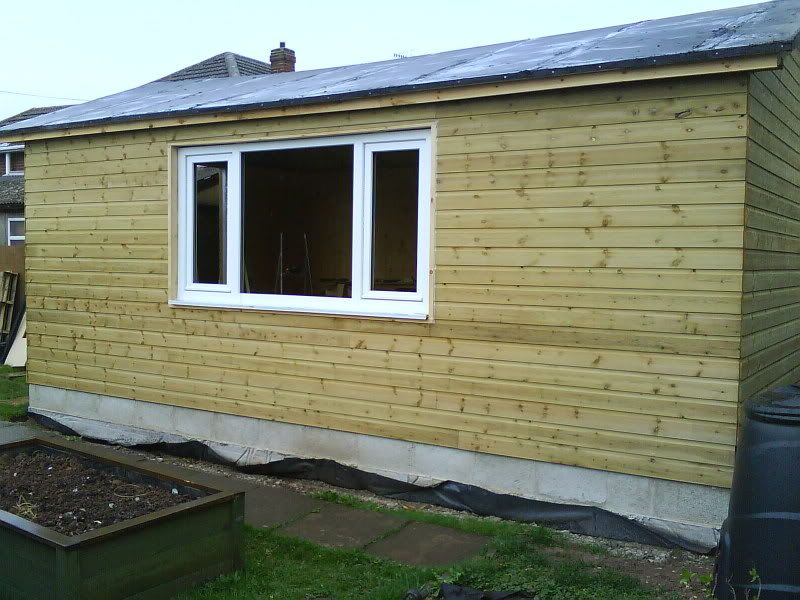
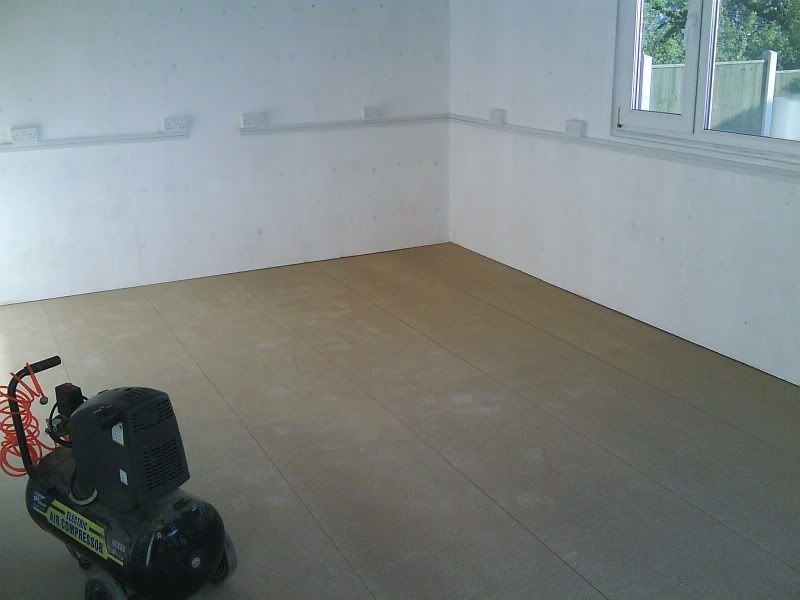
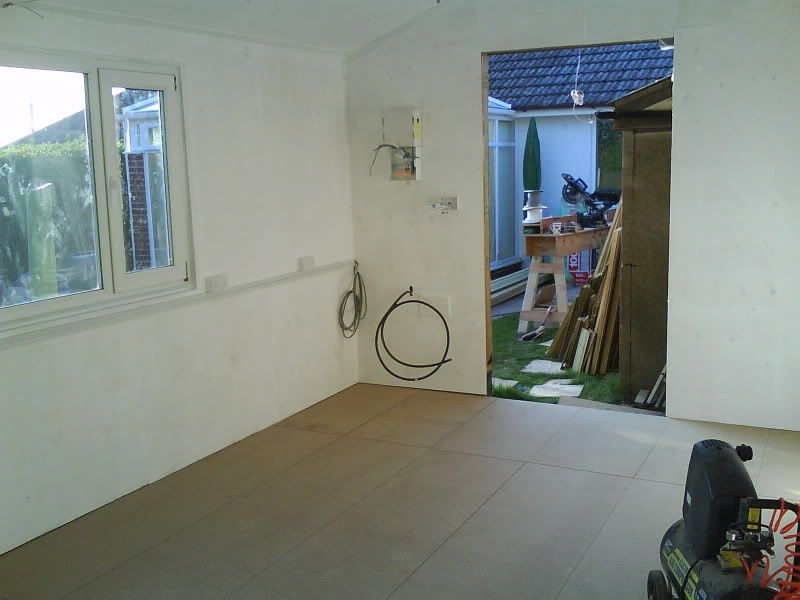
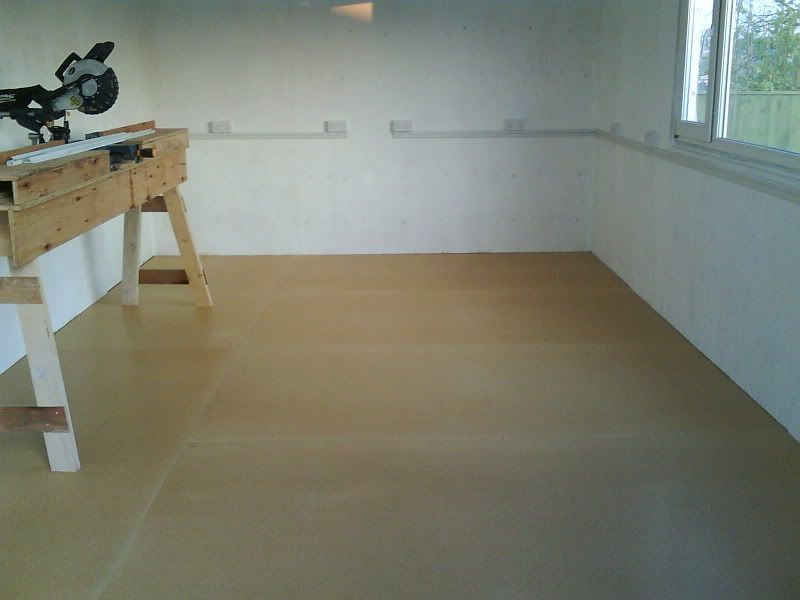
Contacted the company who had fitted widows for our house couple of years earlier explained I was building the shed and asked if he had got anything suitable that were seconds/cheap. He had the widow in the picture in his shed it had been removed from one off his clients because she did not like it and wanted it replacing with a bay type window, anyway I got it complete with double glazed units for £80 which seemed a bargin very happy with it.
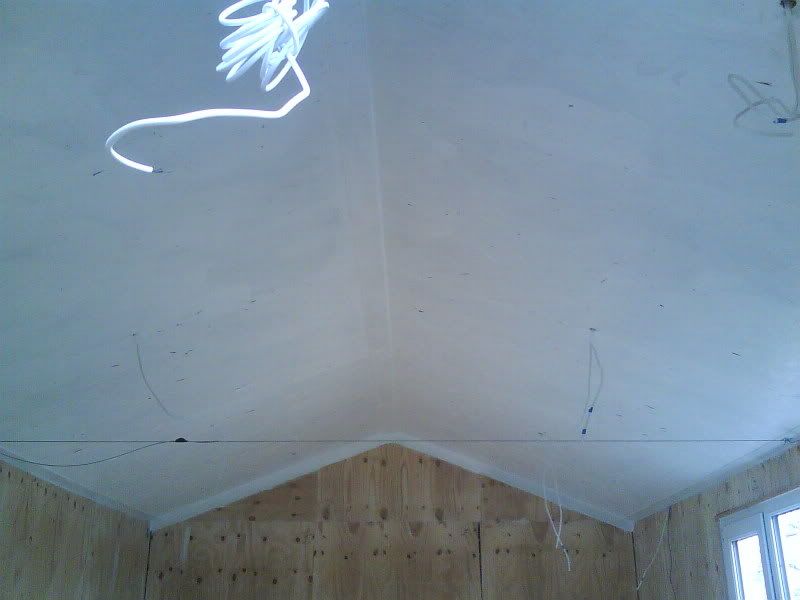
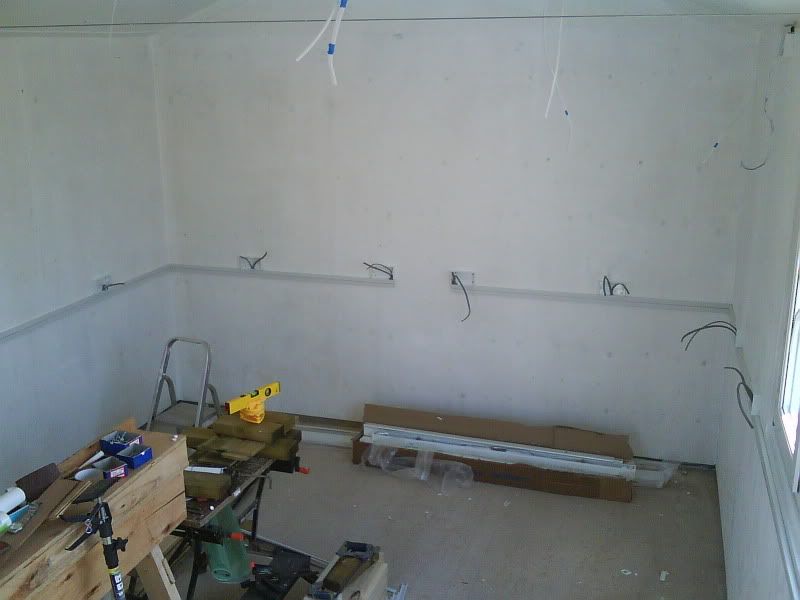
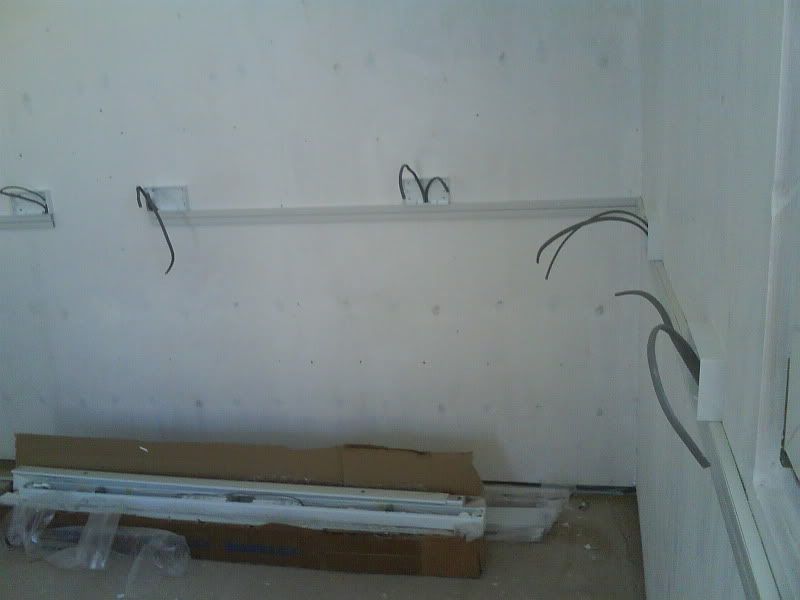
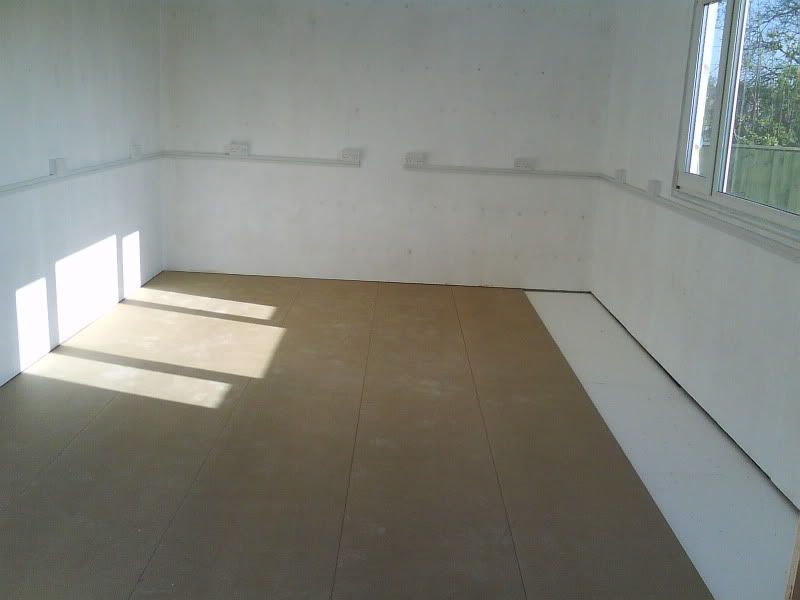
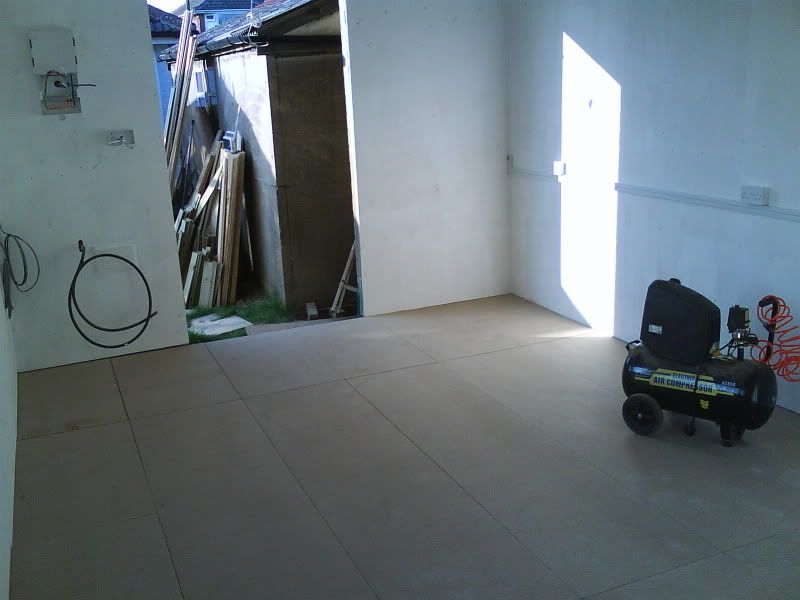
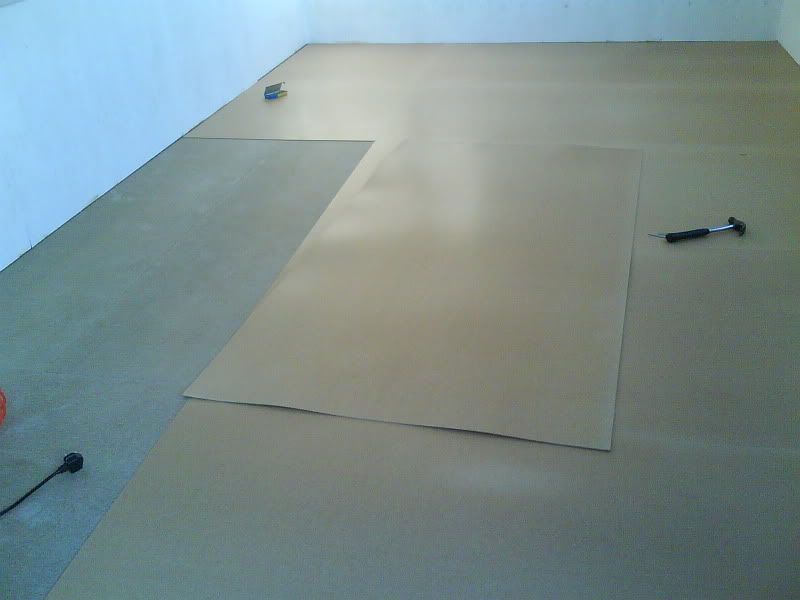
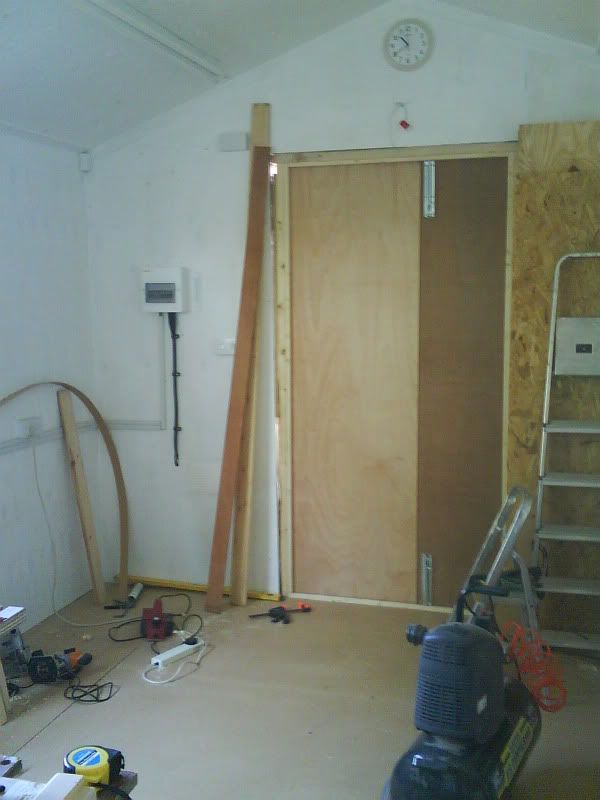
Started to paint interior while relatively empty.
More to follow soon
Now its almost finished I thought I'd post some pictures of my new shed / workshop (not sure what the difference is?) Any way started the build in middle of last Feb when had week off work ordered the materials for the base the previous week great weather and lots of sunshine, which changed completely as soon as I set foot outdoors on my weeks holiday
Area dug out and marked with pegs to try and level
Armoured power and alarm cable buried and run out from house in readiness (shed to have its own zone on the main alarm panel) also
start to move roadstone (about 6 tonne) from front of house by
wheelbarrow no access for deliveries around back
Shuttering installed and roadstone leveled and compacted
DPM layed then it snowed bloody typical! worried about laying concrete in such cold conditions but took advice from builders merchant where I got ballast and cement from, used additive to help cure the mix and went for it, especially as the mixer had to go back at the end of the week.
Layed the slab in three sections outer two first then filled in centre section
using outer slabs as reference to get centre level as best as possible
Took 4 days hard work to get base down in freezing conditions but it
turned out ok (worried a lot about the possibility of it cracking or the
surface finish flaking badly)
Concrete blocks for part retaining wall along the two back edges but also for keeping timber frame well away from damp thanks to Mike Garnham
and other who answered my question and gave advise last year when I was at the planning stage
Not a very good builder so brought one of those Marshall Bricky tools
you usually see advertised on shopping channels works really well and
surprised how good results and finish I got. spent a lot of time measuring and double checking everything square and level
Timber arrives Yeh!
When I was building the wall I inserted 10mm threaded rods between the blocks to anchor the frame too (Tommy Walshs ultimate workshop?) strip of polythene DPC between blocks and 4x2 timber drilled and bolted down
Tried to base the design on 8x4 sheet material to be used in modular way
Started to build frames for wall
Bit of a shock when first put up. I mean you do a scale drawing and in your minds eye you know what 8 ft tall looks like But once the wall was up it looked massive far to big, the missus wanted to know if I was building a snooker hall in the garden!
Almost paniced at this point and reduced the height but decided to keep it as the design and plough on regardless (really glad I did)
18mm OSB boards for roof starting to go on
Slight detour in pictures. This stand for the mitre saw was made from the concrete shuttering after it was pulled up (based on one of Norms designs)
really useful and made the joinery a lot easier to complete.
Shiplap cladding going on whilst waiting for the roof to be made waterproof (praying for no rain)
2mm torch on ashphalt underlay applied roof now watertight thank god it didn't rain for 4 days while waiting for the roofer to arrive!
Wanted to insulate with kingspan type boarding but just could not afford it
ended up using wickes loft insulation for the roof and walls (on offer 2 for 1) covering with vapour barrier then 18mm ply on the walls and 11mm OSB on the ceiling.
Contacted the company who had fitted widows for our house couple of years earlier explained I was building the shed and asked if he had got anything suitable that were seconds/cheap. He had the widow in the picture in his shed it had been removed from one off his clients because she did not like it and wanted it replacing with a bay type window, anyway I got it complete with double glazed units for £80 which seemed a bargin very happy with it.
Started to paint interior while relatively empty.
More to follow soon