Richard T
Established Member
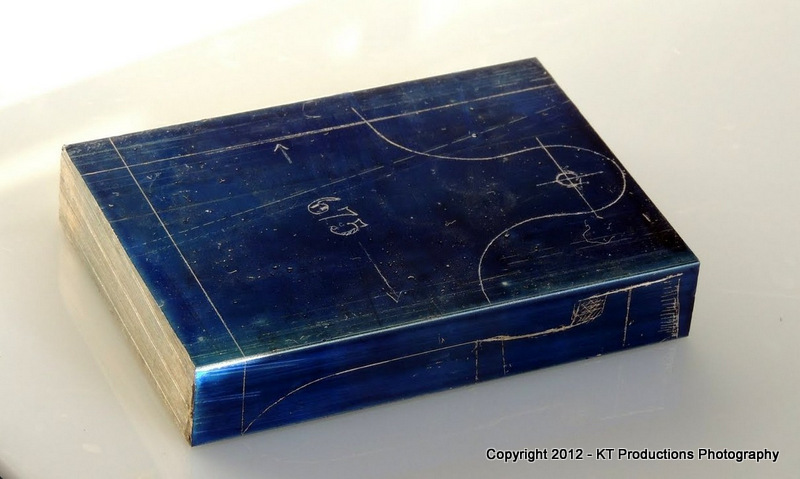
In the dark days before Christmas we made a trip to Brum to Keatley's Non Ferrous and scored some 3/4" brass to make some lever caps.
Having arrived on the off - chance it turned out that the only bit of 3/4 they had was in the form of a large off cut chunk, so I had them cut it into two strips; one just over 2 - 1/8" and the other was left at just over 2 - 1/2".
I started on a lever to fit the plane that I am furthest along with, using the narrower bar.
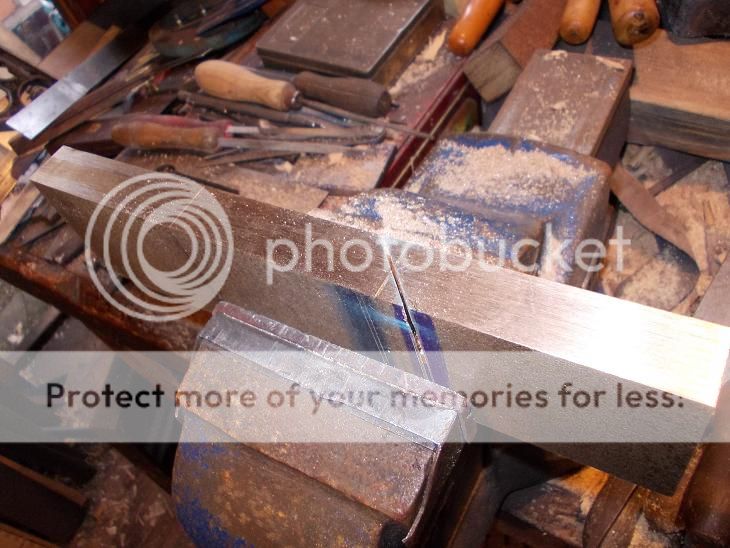
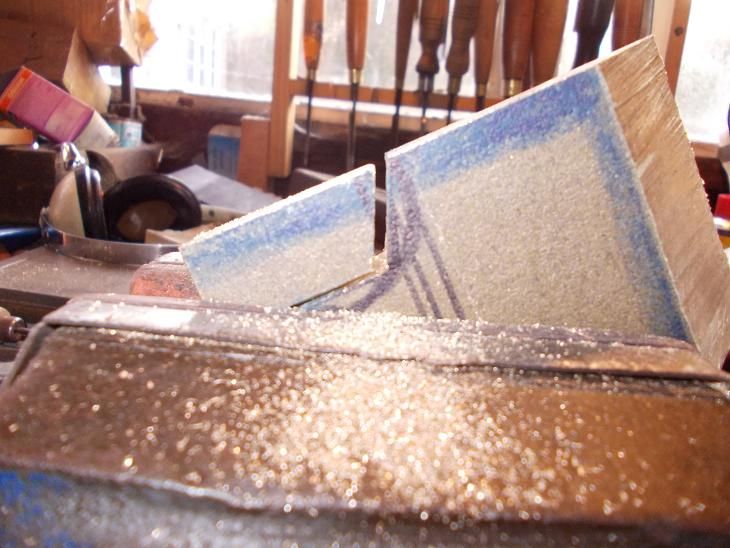
I had divided it into thirds and while these are dissapointingly just short of the standard Norris length, I resolved to cut the first two at 45 degrees through the line thus gaining length on each and reducing the file work.
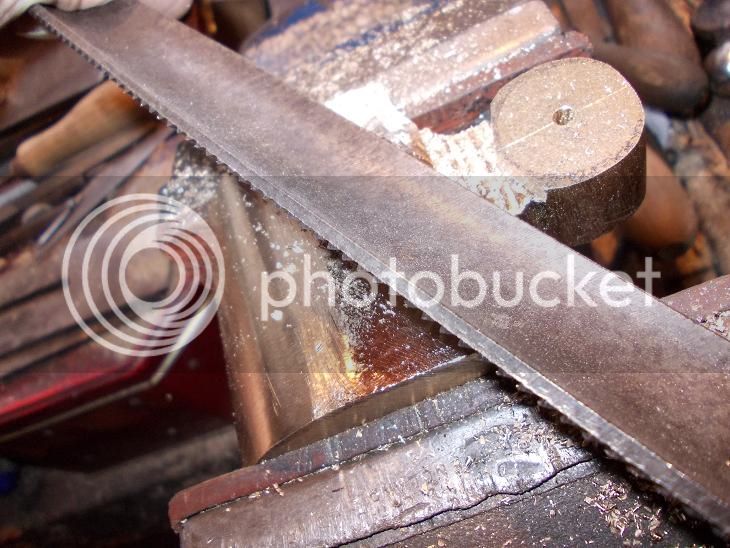
Not a bad cut and it cut like butter with an 18tpi hacksaw.
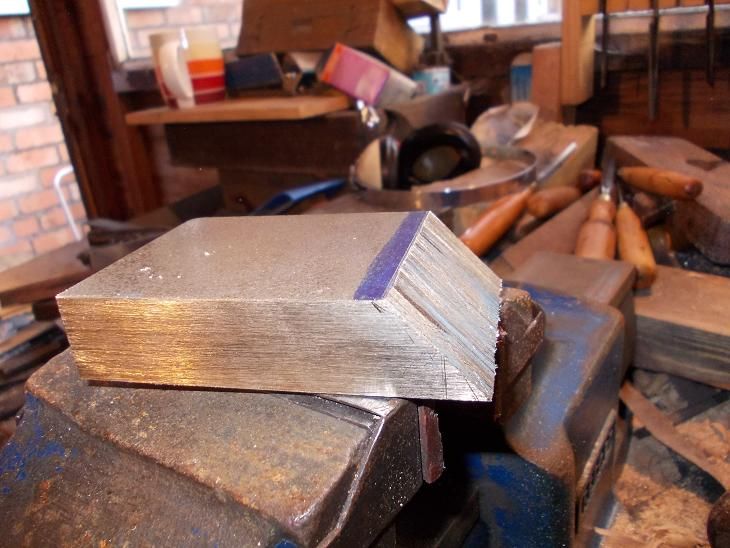
Here I fitted it into its plane after taking it down to width. It was too small a slither to saw so I had to file it. It was at this point that I realised that it was so soft that only the most vicious (and 'bristly' if you will) tools would make any significant cut. I soon found that the curved Dreadnought was the only realistic thing to use.

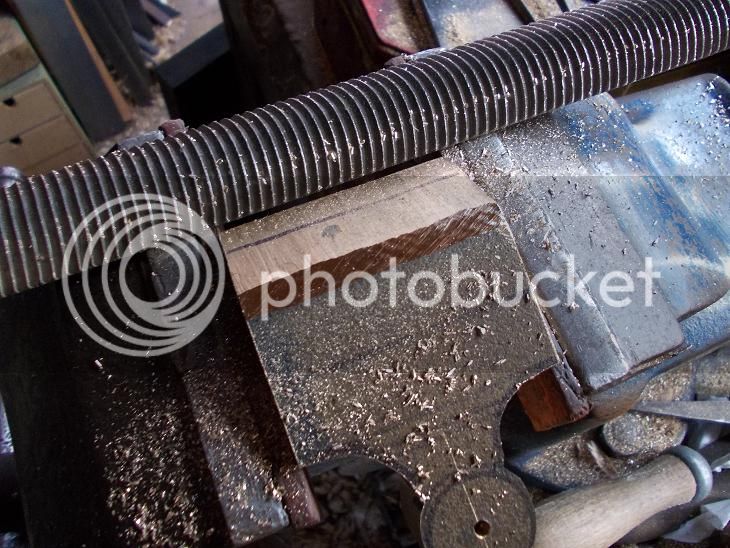
Fortunately the saw is sufficiently bristly and makes short work of everything that can be done with it. Here I have rough marked it and can cut away the majority of the shoulders.
Then approach the shape with the curved Dreadnought again.
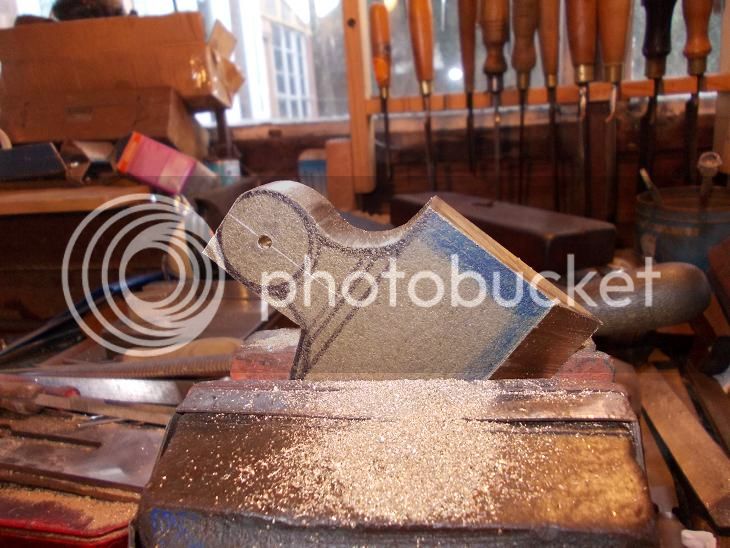
Before getting too close I put a pilot hole through to give me an idea of centre.
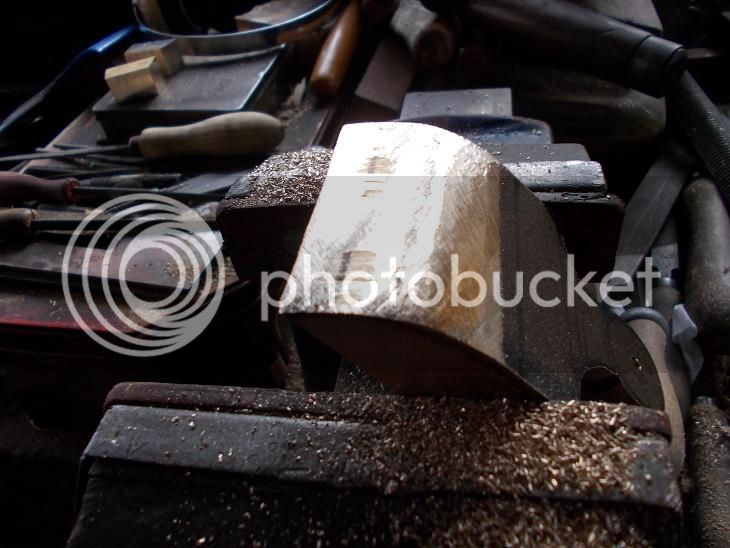
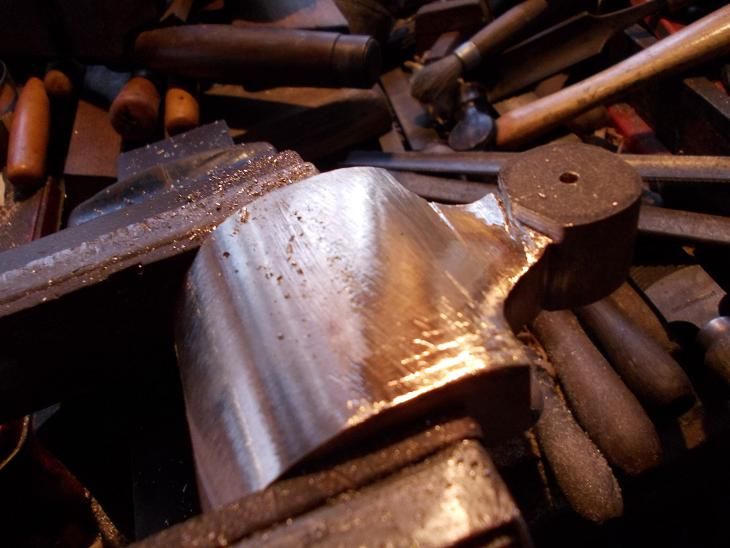
Then I started the real slog of shaping the front - and found it didn't take long at all. This stuff is spoiling me. It will be a nasty shock to go back to working steel.
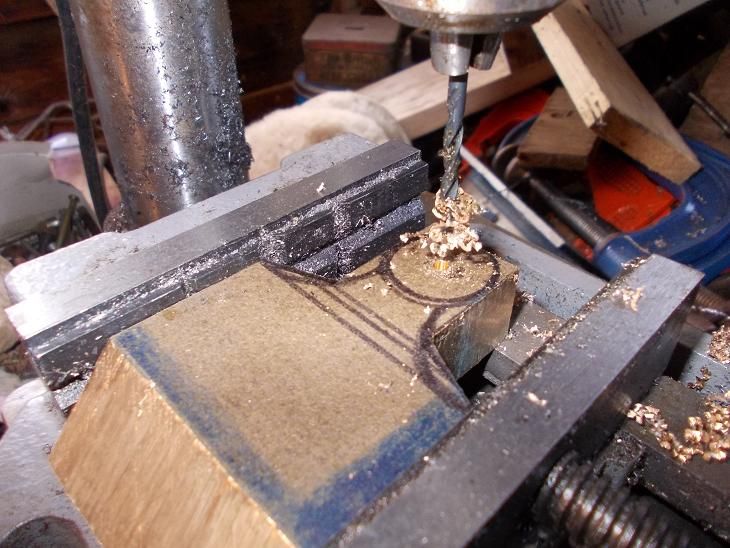
Then shaping the back. A tad trickier. I had sawn two diagonals across the underside of the bit the screw goes through. It would be very much easier to have used a hole saw to do this but I don't have one small enough. Must investigate if such a thing exists.
Then I went along cutting slots ( a la metal dovetail cutting) and cold chiselled them out. Again, cut like butter.
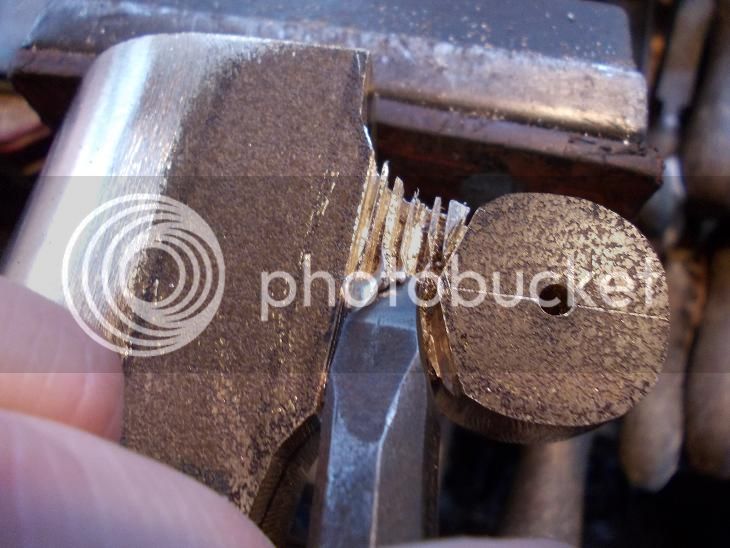
Then in again with the Dreadnought.

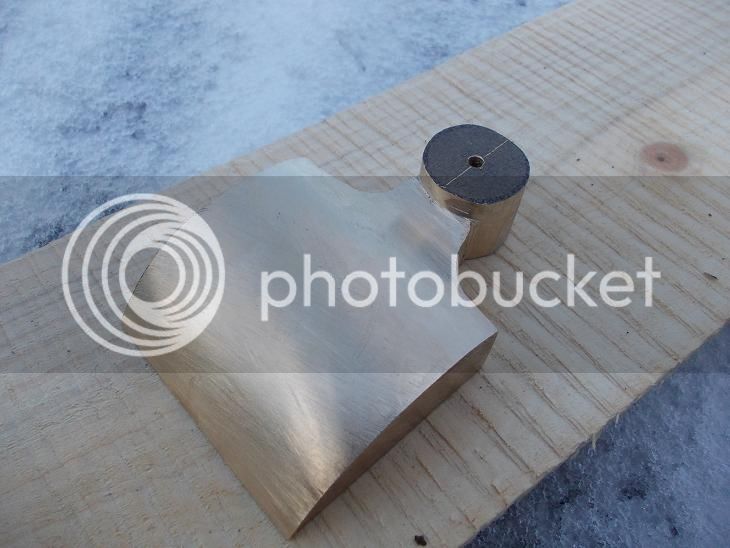
Until there was nothing for it but to use smoother files. It's weird filing brass, it feels so unresponsive but when this close to finishing it's not so soul destroying.
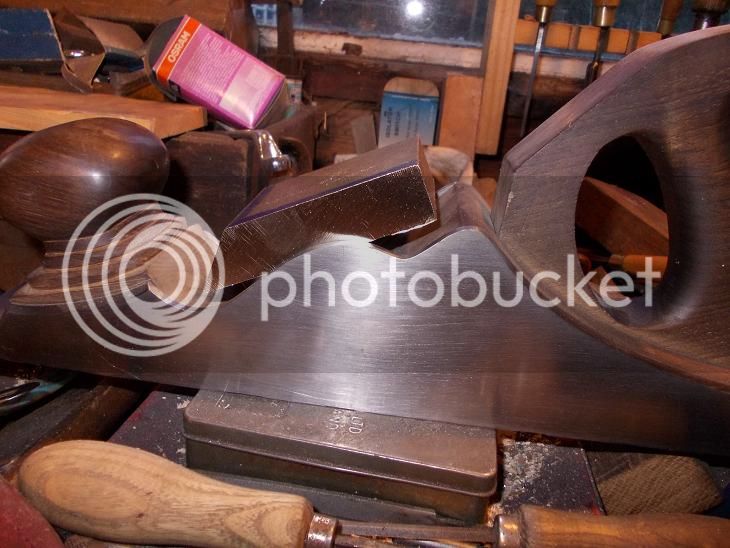
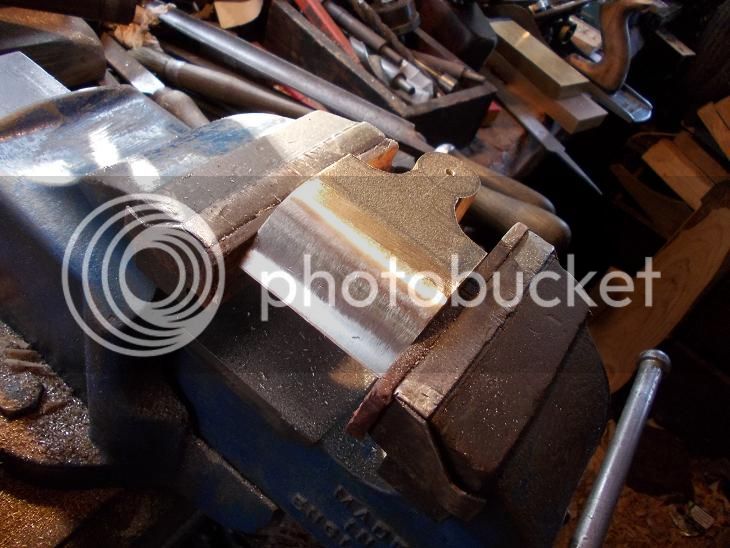
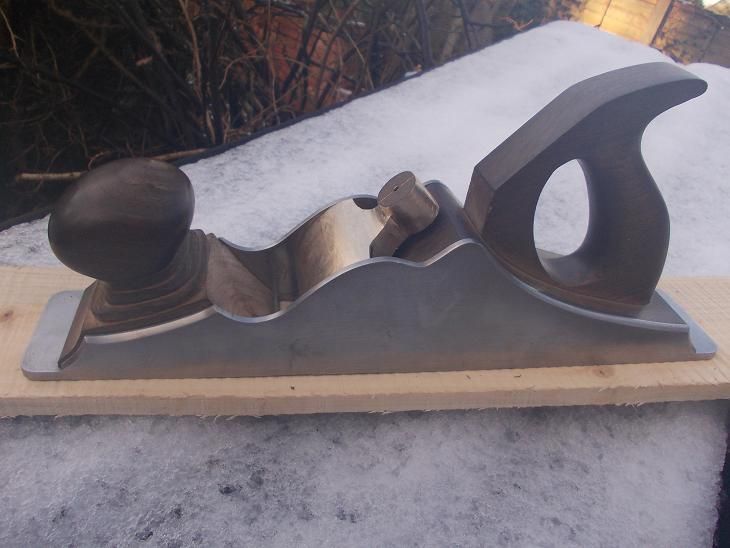
Here it is up to date.
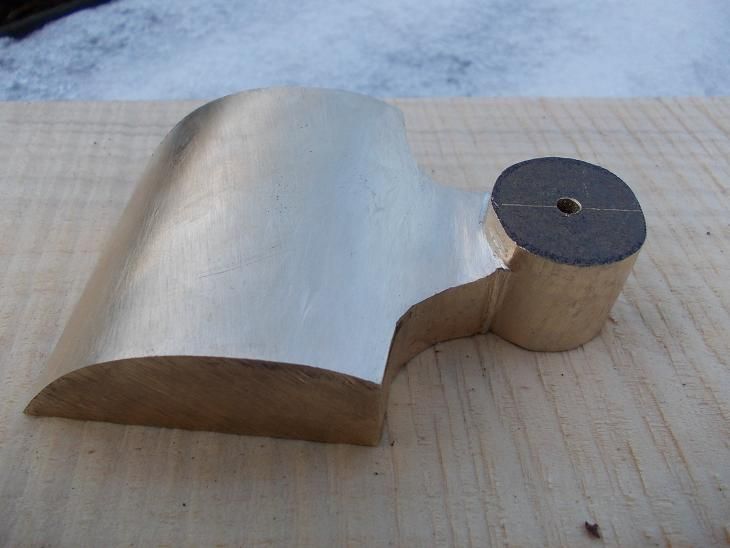
It's far from finished but I couldn't resist a test fitting.
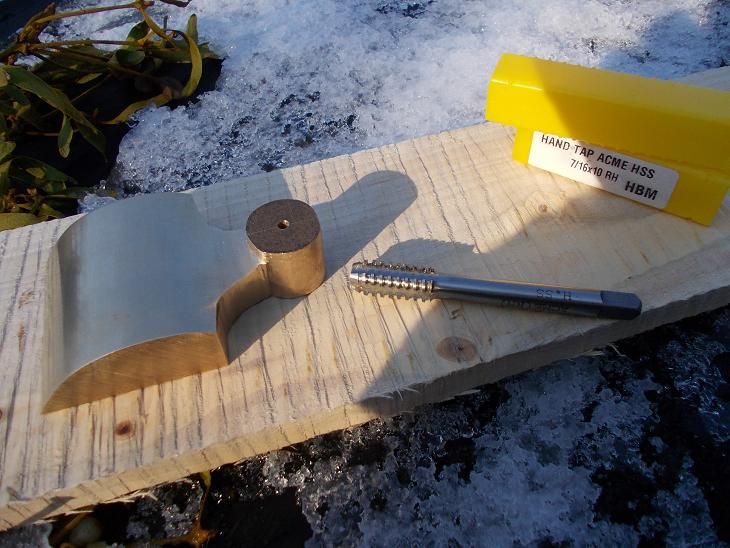
Now all I have to do is drill it, tap it, drill its pivot holes and make sure it sits straight. :shock: [-o<
Having arrived on the off - chance it turned out that the only bit of 3/4 they had was in the form of a large off cut chunk, so I had them cut it into two strips; one just over 2 - 1/8" and the other was left at just over 2 - 1/2".
I started on a lever to fit the plane that I am furthest along with, using the narrower bar.
I had divided it into thirds and while these are dissapointingly just short of the standard Norris length, I resolved to cut the first two at 45 degrees through the line thus gaining length on each and reducing the file work.
Not a bad cut and it cut like butter with an 18tpi hacksaw.
Here I fitted it into its plane after taking it down to width. It was too small a slither to saw so I had to file it. It was at this point that I realised that it was so soft that only the most vicious (and 'bristly' if you will) tools would make any significant cut. I soon found that the curved Dreadnought was the only realistic thing to use.
Fortunately the saw is sufficiently bristly and makes short work of everything that can be done with it. Here I have rough marked it and can cut away the majority of the shoulders.
Then approach the shape with the curved Dreadnought again.
Before getting too close I put a pilot hole through to give me an idea of centre.
Then I started the real slog of shaping the front - and found it didn't take long at all. This stuff is spoiling me. It will be a nasty shock to go back to working steel.
Then shaping the back. A tad trickier. I had sawn two diagonals across the underside of the bit the screw goes through. It would be very much easier to have used a hole saw to do this but I don't have one small enough. Must investigate if such a thing exists.
Then I went along cutting slots ( a la metal dovetail cutting) and cold chiselled them out. Again, cut like butter.
Then in again with the Dreadnought.
Until there was nothing for it but to use smoother files. It's weird filing brass, it feels so unresponsive but when this close to finishing it's not so soul destroying.
Here it is up to date.
It's far from finished but I couldn't resist a test fitting.
Now all I have to do is drill it, tap it, drill its pivot holes and make sure it sits straight. :shock: [-o<
")