Pekka Huhta's part 2 intermediate submission

UKworkshop.co.uk

Help Support UKworkshop.co.uk:

This site may earn a commission from merchant affiliate links, including eBay, Amazon, and others.

Pekka Huhta

Established Member
Joined
19 Jul 2006
Messages
412
Reaction score
0
Location
Finland
The whole bathroom project has taken years, so it is quite a different woodworking project than all the others in the competition. I have thought about it a bit and divided the whole project in smaller parts, most of it being left out of the competition scope. As I was still in the middle of the preparations during the Competition Part 1 submittal date I didn't have too much to submit, but I'll include some of the new drawings to my second part.

Part 1, preparations to be done in the house. Moving doors, repairing windows and preparing the available space for the bathroom.
Part 2, framework, plumbing, electrics, walls. Nothing fancy in them either.
Part 3, interiors: Panelling, trim, floors, interiors. This would already be a part of the competition, whenever I get there.
Part 4, furniture. If my schedule goes completely wrong, I'll finish the cabinetry in any case for the competition.

So parts 1-2 are just for background, but as I've taken all the photos anyway I thought that someone might be interested in them as well so I'll post them anyway.

this post is about the part 1. I guess that I'll be able to post the part 2 and some new drawings by the end of this month, majority of part 3 on the intermediate submission on September and the rest (hopefully) on October.


But to the case:

The house has been built 1919 and when we bought it it was in quite sad state. the last renovations had included building a "bathroom" in the corner of the upstairs hall. The real estate guy really had the nerve to call it "a bathroom".
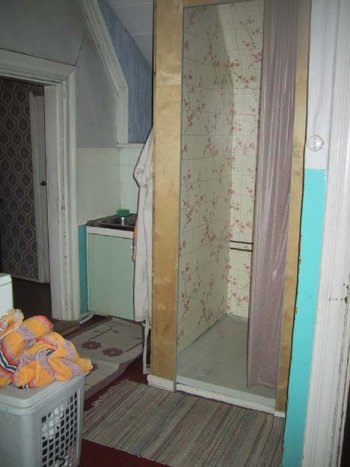
01-vanhakylppi.jpg


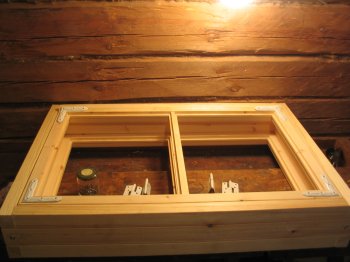
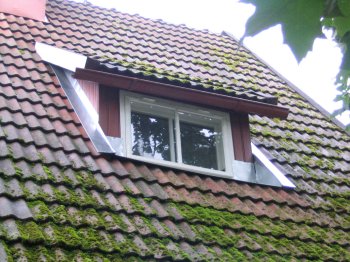
Actually the bathroom project started almost a year ago when we started restoring windows on the wall where the bathroom is being built. The roof window was not in it's prime anymore, there was absolutely no putty on the window, the panelling was rotten, and the windowsill leaked.
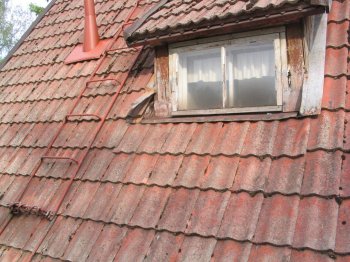
03-kattoikkuna.jpg


I re-insulated the walls around the window with cellulose insulation (actually recycled newspapers). the panelling was replaced and I got a friend of mine to build new windows. I had to glaze, paint and install the hardware for them. Another friend bent the sheet metal plates around the windows and I installed them.
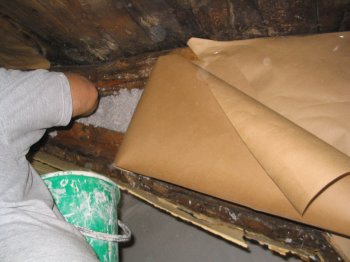
04-eristeet.jpg
05-poka.jpg

06-valmisikkuna.jpg


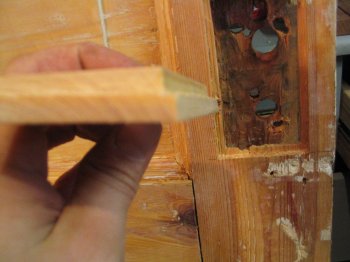
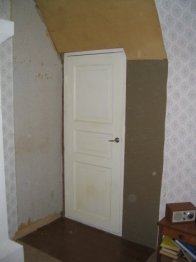
There was an old door to the attic on the bathroom corner and that had to be moved. I got an old recycled door, but it needed some work: stripping the paint, clamping it together and fixing the wood around the lock. There had be at least two different locks installed and there was nothing left to screw a new lock on.
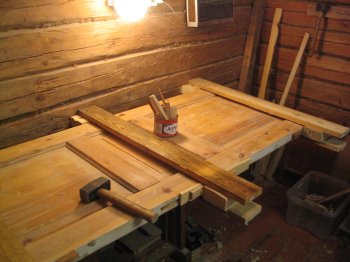
07-ovi.jpg
08-ovi.jpg
09-ovi.jpg


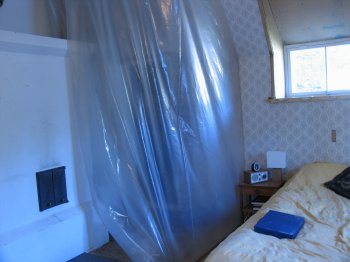
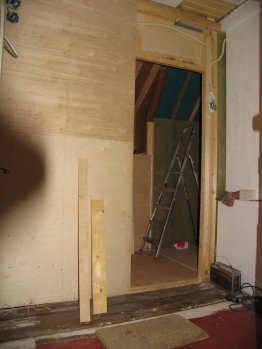
Moving the door was simple: removing an old wardrobe, some creative chainsawing and voilá, a new door installed. With a proper tent buolt around the area you can very well live in the middle of the project.
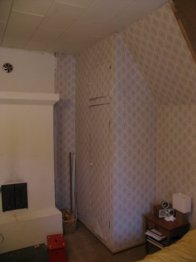
10-makkari.jpg
11-makkari.jpg
12-makkari.jpg


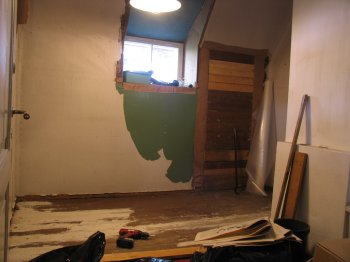
The old door was removed and patched with the same wood and insulation materials which were taken off the old door. On the last picture you see the size of the available space for the bathroom.
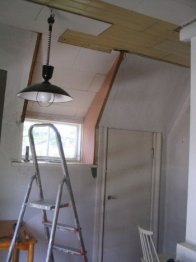
13-tukittu.jpg
14-tukittu.jpg


This is the starting point. I'll finish the walls within a week or two so I'll post more WIP pictures before the end of the month...

Pekka
 
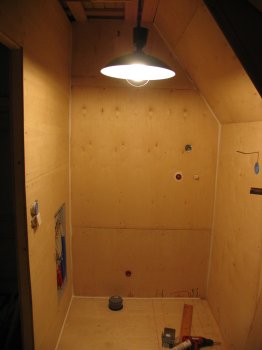
An update of the bathroom. The room is ready and I'm starting the actual competition work :)

I'll try not to bore people with too detailed pictorials of the framing, but a few short glimpses anyway.

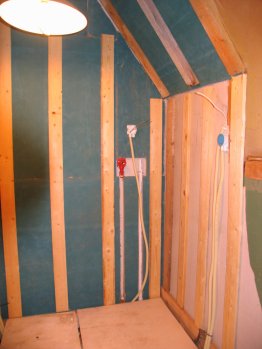
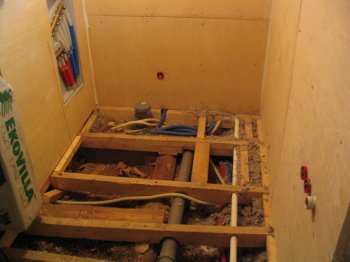
As it's an old house and will be moving around, I framed all the walls 1" in and left a ventilation space behind. Even if I mess up with the waterproofing, any small leakages can dry out anyway. The yucky turquoise colour is your most beloved woodworking material, fiberboard, just treated for exterior work. I added an inch of it as added insulation as those surfaces could not be insulated from outside.

15-kylp2.jpg


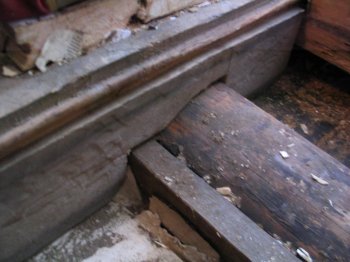
I had to make some supports for the timbers inside the floor, as I had to cut a few beams because of the plumbing

16-kylp2.jpg
17-kylp2.jpg


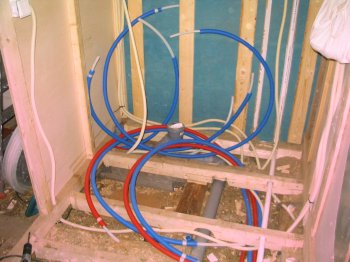
The dear plumber visited me once and then dumped me. Meaning I had all the components but had to do the plumbing myself. Next time I won't bother to even spit on a plumber before I have two feet of water on the floor. It took me two weeks to go from pic 1 to pic 2

18-kylp2.jpg
19-kylp2.jpg


Here is the current state of things:

20-kylp2.jpg
21-kylp2.jpg


But on to the competition.

It's a pity that I did not have time for the proper drawings of the cabinetry at the time of the part 1, but I was a bit too busy building the framing and walls. And after all, I would have had to re-draw everything anyway as the dimensions changed slightly during building.

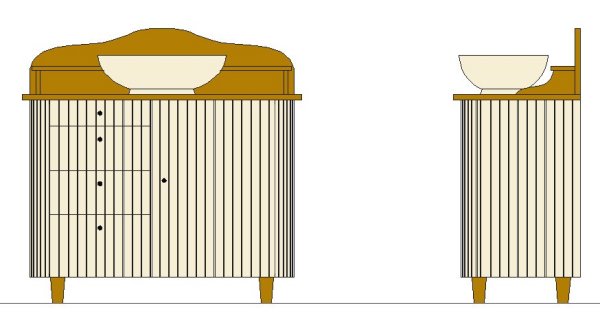
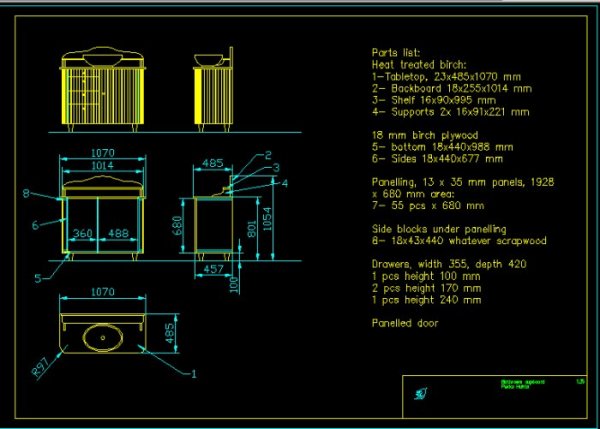
But (ta-dah), I was able to finalize the drawings for the cabinet. If you click on the picture of the CAD drawing you can download the drawing in PDF.

Kaappi1.jpg


It seems that I may be able to finish everything in time, but the City building instructors are coming next week and they may come up with something creative.

If things end up difficult, I'll submit the bathroom drawings as the part 1 but end up submitting the cupboard only for part 2. I hope I will have the time for completing the whole bathroom, but it's still just 2 months away...

And next time I'll show some woodwork as well :D

Pekka
 
I finally started building the cabinet, so I'm not boring you to death with the building pics at the moment.

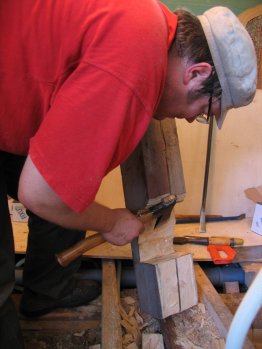
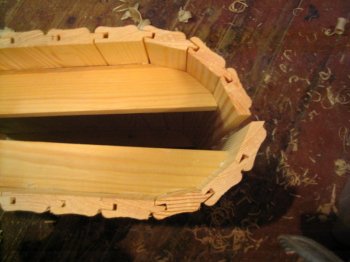
I'm building the whole cabinet "backwards", from the outside in. I wanted to make sure that the panelling would fit perfectly so that I would not have to split any panels or interrupt the rythm of the panelling on doors or drawers. Also the rounded corners were a bit tricky, so I decided to build the panelling perfect and then fine-tune the dimensions of the insides to fit the panelling. I got pretty close with CAD, but the actual bend on the corner is very hard (and quite useless) to design accurately on the screen. So after all I ended up widening the whole cabinet by 12 mm which isn't much but would have been enough to mess the panelling up.

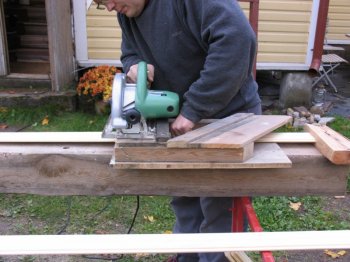
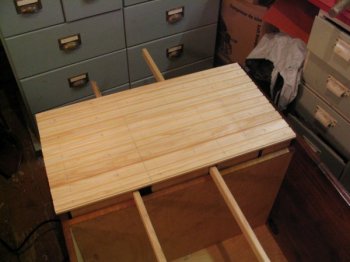
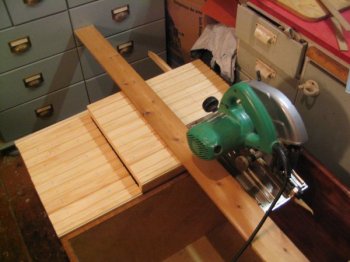
I don't have a chopsaw so I had to improvise on cutting the panelling. I have built a miter box for my portable circular saw and it's only a matter of screwing the box to a beam and the length stop to the correct length. It isn't as versatile as a chopsaw, but then again I bought one expensive saw and not two cheap ones.


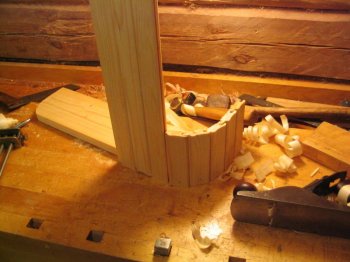
I knew the round part would be a bit of a problem, so I built a quick mock-up from scraps. This saved a lot of time as I used the short pieces of panelling as the patterns for planing the actual panels. Also the short frames for the panelling were copied from the mock-up.


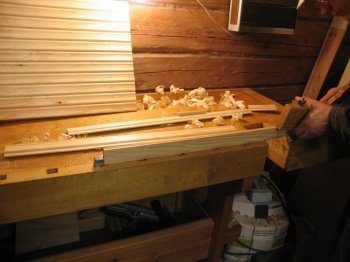
Planing the panelling to the curve was fairly simple. After the first tiny accident I noted that it's a good idea to knock the iron a bit in from the corner so thet the corner won't damage the panelling.


Putting the end panels together took surprisingly short time. Making a good model helps with a bit trickier jobs.


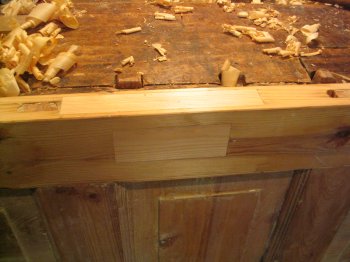
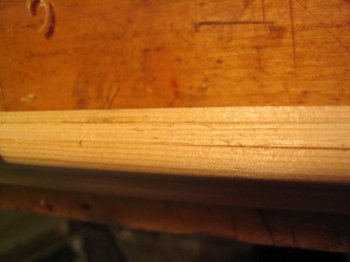
Next was the door. On the doors and lockers the tongues of panelling have to be cut off and the grooves patched. What would be easier than slitting the tongue off and gluing it to the groove?


The frame of the door was made from some pine offcuts. As I intended to glue the whole thing together, half-lap miter joints were a bit of an overkill, but I wanted to do it proper. Pics are in the camera, more coming during the weekend...

Pekka
 
OK, here is the progress from the weekend. A panelled door and some sliding dovetails.

The door was simple one.

First, laying out the cabinet door and framing. Cutting the half-lap miter joints was simplest to do with the pieces clamped together, so after that it was only a matter of marking out and sawing the lap open.
ovi1-350.jpg
ovi2-350.jpg
ovi3-350.jpg
ovi4-350.jpg


...Or so I say anyway. I tend to be a bit too quick on my sawing so some of the joints were quite thick. Planing the excess off is easier than trying to saw it perfect from the first place.
ovi6-350.jpg
ovi7-350.jpg


Because of my makeshift miter box system the panels were not perfectly identical, so I ended up planing them up on the shooting board. Finally I still added a diagonal just for looks although the frame was glued to the panels.
ovi9-350.jpg
ovi10-350.jpg


The dovetails were a much more interesting bit.

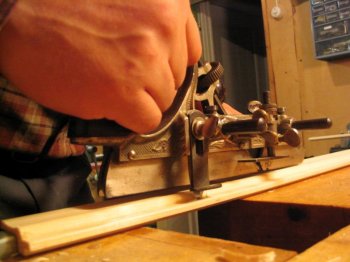
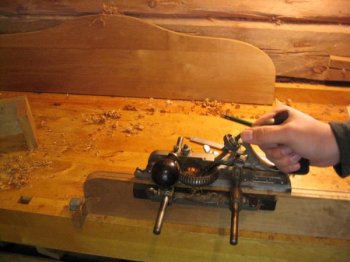
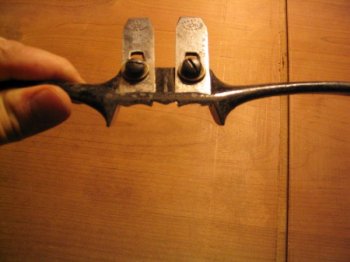
I modified a cutter for a #55 to get a dovetail plane. I had started building a completely new dovetail plane previously, but frankly thought that it wouldn't do a bit more than the #55. It does a pretty nice job even on the baltic birch plywood I'm using for the sides of the cabinet, even though it is not even skewed.
lohi1.JPG
lohi6.jpg


After getting the angle right, I planed a false dovetail to the side of a oak offcut and used that for the saw guide. As a nice touch I drilled clamping holes to the saw guide as I hate hitting my knuckles to clamps on top of the guide.
lohi2.JPG
lohi3.JPG


My stair saw had nice bolts protruding from both sides so I had to file them smooth before using the saw together with the saw guide.
lohi4.jpg
lohi5.jpg

lohi7.jpg


Then it was only a matter of routing the bottom of the dovetail clean. I've never owned a skewed chisel, but noticed that in this place it is really handy in cleaning the corners. Considering that it's a three minute job making one I only regret I did not do it any earlier.
lohi11.jpg
lohi8.jpg


Here we go, a nicely fitting sliding dovetail.
lohi10.jpg


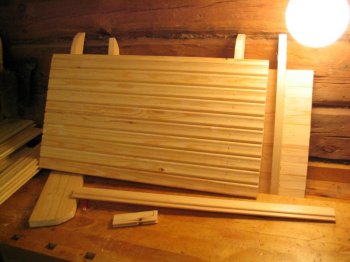
So after the weekend here is the progress, the frame and the panels. Click them bigger if interested.


I already started building the tabletop, but it gets slow now as I have only a few hours every night to build. More coming soon...

Pekka
 
Some progress again.

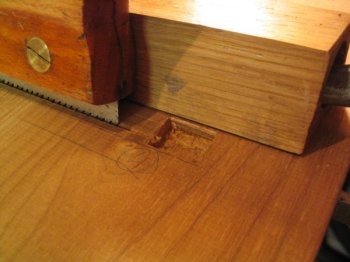
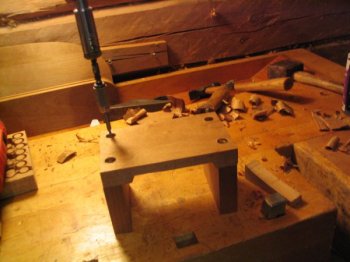
The tabletop was dovetailed the same way as the bottom, but with ended dovetails. Just a short opening chiselled out for the saw does the trick.


Unfortunately I don't have pictures from gluing up the tabletop. I bought all the wood for the project at April and took the whole lot to our city wood workshop. Anyone can go there for a few euros per hour, so I planed the planks, cut all parts to rough length and glued up the tabletop.

The wood is heat treated birch. On the heat treatment the wood is heated on about 300 °C for a few hours. It makes a huge difference on the rot resistance of the wood and increases the stability. Plus, of course it gives a very nice color to the wood. Drawbacks are that the wood gets a bit brittle, like spalted wood. This makes the use of power tools nasty, for example sawdust is really dust and really gets to your nose. Heat treated wood is also prone to splintering, but with careful woodwork it's tolerable stuff and the stability and rot resistance pay off, I think. And I really don't like to use exotic woods anyway.

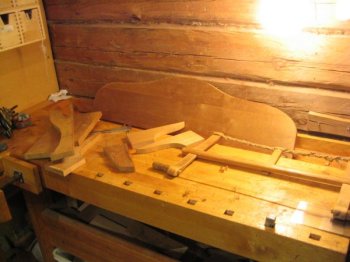
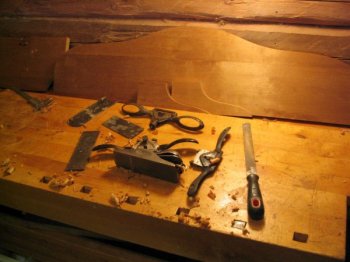
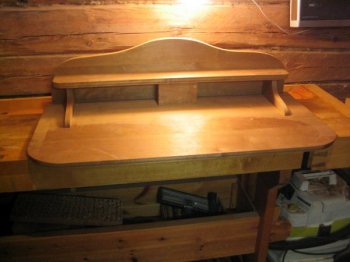
Next part was to saw out the parts of the shelf. I did that with a bow saw and finished with spokeshaves,


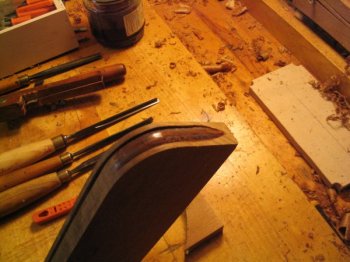
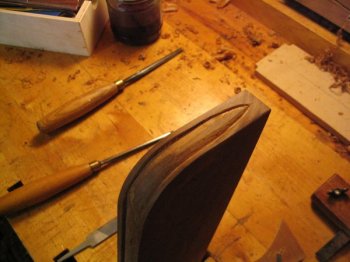
I wanted something to lighten the edge of the shelf, so I planed a 1/6 circle as a "bead" to the edge. It was done with a #45 and a hollow iron originally intended for a #55.


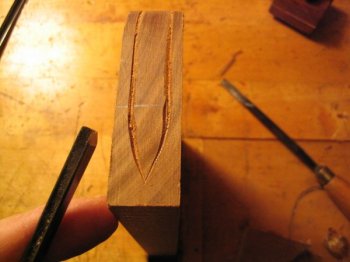
The ends caused a bit of a problem for me. As I said, the wood is brittle so after a few tests with scrapwood and a router I noted that if I tried to just scrape past the back edge of the shelf, I got splinters whatever I did. So the easiest and fastest (really) way was to carve a nice ending to the bead.

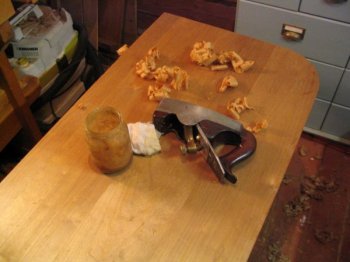
The endgrain acted a bit like softwood, the brittleness caused the wood to tear, so I used the same trick that I use with softwoods: adding some shellac to the area to harden the wood. With shellac the surface hardens enough to prevent tearout and you can't even notice the shellac trom the finished piece.


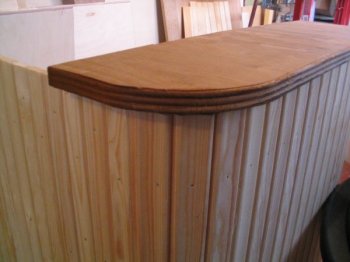
The edge of the tabletop got molded with a Preston "Oveloe" ovolo spokeshave. I tried first to scrape a series of beads to the edge, but heat treated birch definitely does not scrape well. I had my reservations about planing end grain with the spokeshave, but it proved to be very easy and clean. And then it was just a matter of making a small box for the plumbing and dry assembly of the tabletop. The shelf and backboard were assembled with screws and glue. I want the top to be removable in case someone ever wants to change the tap or sink.


Knocking the frame together was so fast that I don't even have pictures about it. I first inserted the sides to the dovetails on the top without glue to allow a bit of movement between plywood and birch. On the bottom I made the dovetails a tad loose, so that I could get all of the three dovetails hammered in at the same time. With some PU glue as lubrcant they went in so easy that I could have made the dovetails just as tight as on the top.


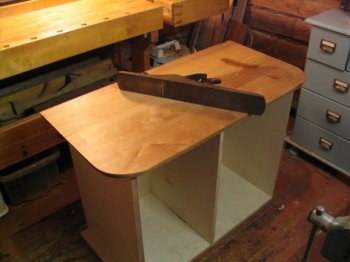
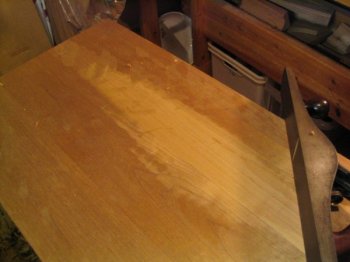
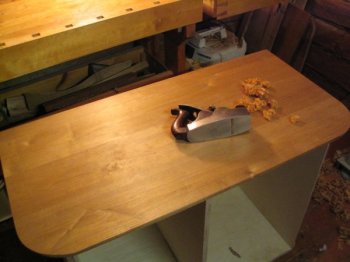
I had planed the tabletop roughly to smooth earlier, but I wanted to do the final smoothing as late as possible. Smoothing the tabletop went just as usual, with one exeption: there was a strange "micro-tearout" on the finishing passes on several spots of the tabletop. Probably a result of the heat treatment as well. It finally got solved with a Spiers :)


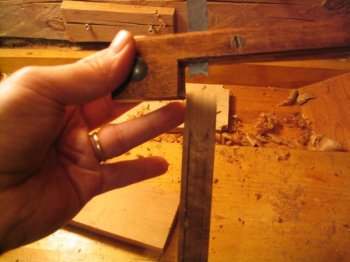
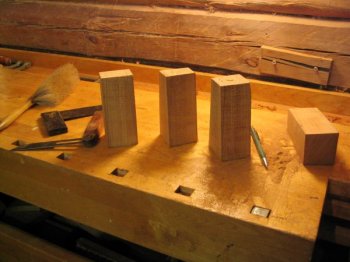
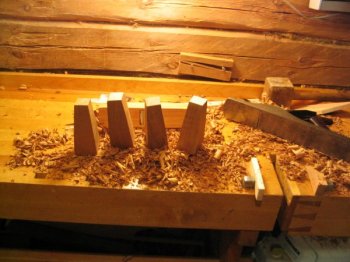
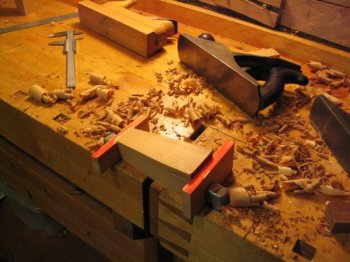
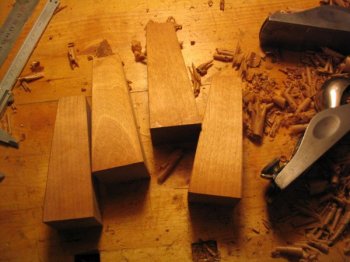
The legs were cut off from 55 mm rough stock. Nothing special in them either, but the way of doing identical legs fast is nice: First roughing out approximately identical pieces, then measuring the smallest dimensions and then making protective pads for bench dogs to the same dimensions, making a makeshift jig for the legs. Tapers and dimensions get planed identical very easily. Note the red color on the jig; pine is so much softer that you may plane several passes off the jig before noticing, so I colored the ends with a felt tip pen to note it better.


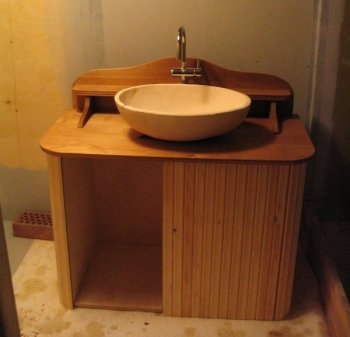
And voilá, the first test assembly of the parts. I still have to fit the drawers and glue in the legs, but otherwise it looks pretty nice. The sink is still sketch version 1.0 that I got from the potter to visualize the dimensions on the table. It's still very, very rough, but usable for figuring out what the end product should look like.


I hope I have the time for painting and varnishing before the end of the month. At least I'm sure that I can't finish the whole bathroom, but I just have to post the rest of the progress on that later on.

Pekka
 
Last intermediate submission before tomorrows grande finale.

I'm badly behind the schedule. Most probably you'll get my submission at two minutes to midnight tomorrow. Theproblem is that besides turning the knobs for the door and drawers there isn't much else to do than (literally) watching the paint to dry. It just dries a bit slowly.

I knew I was going to cheat with the drawers from the start. Actually, the whole cupboard was drawn so that I could recycle old drawers to this and re-make a few drawers to my kitchen. When I drew our kitchen two years ago, I did not design all of the details as I thought the carpenter would do the detais as she liked. Well, she did a very good job otherwise, but on one tall cabinet she misunderstood the concept of the drawer runners and made the drawers too short, just the length of the runner. Well, this left the dawers 15 cm too short, so I decided I would use those for this project and build new drawers to kitchen. As you can see on the pic, the drawers don't open a full 60 cm, but maybe closer to 45.


I am a traditionalist if anyone, but I really appreciate the smooth action of the concealed drawer runners. And as they are hidden under the drawers, there isn't that much violence done to a traditional design. And the installation was dead easy.


It can be said that I "cheated" with the panelling as well, or then I'm just a genius :). Instead of cutting the panelling for each individual drawer I bluntly nailed and glued the full-length panels to all drawers at the same time. And then it was just a matter of tacking a guide batten to the panelling and chopping the drawers off one by one.


I regret that there are no pictures on the first steps on varnishing and painting, because varnishing the tabletop and the shelf had some magic in it. I have been restoring old wooden boats for about ten years as a hobby and over here we impregnate the boats with linseed oil before varnishing. Oil soaks in very deep, darkens the wood a bit and most importantly creates a thick barrier for water inside the wood. It isn't as critical if the varnish gets a ding or a scratch, the wood on the outmost few millimeters is full of oil so there's no place for the water to go to.

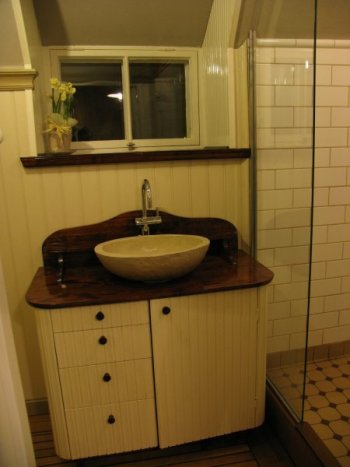
Usually oil darkens the color of the wood a bit, but the effect on heat treated birch is prettiest I've ever seen. The surface had a nice sheen in it already after planing the surface clean, but adding oil made the wood look transparent, just like you would see inside the wood. Also the color change was dramatic: there is no dye or stain used, the color comes just from the oil and linseed/tung oil varnish.

The doors were primed with linseed oil paint well thinned with raw linseed oil.

The sides, door and drawer fronts are painted with linseed oil paint. Three coats of paint and two of varnish: the varnish gives the same effect as on a 'candy paint' on a car; color gets deeper and the surface looks a bit transparent, shiny.


I'm just afraid that the paint won't dry till tomorrow evening. In case it doesn't I just have to assemble it carefully, take the photos and maybe take it apart again later for applying one more coat of paint.

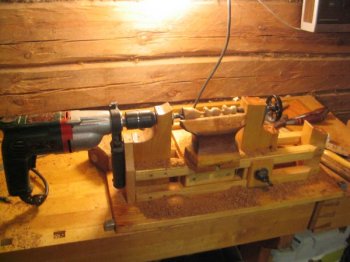
Last detail will be the knobs for the door and drawers. Nothing fancy, just small knobs turned from heat treated birch. If I have time I will add a small black contrast piece or washer under the knobs, but probably not by tomorrow. I originally built the lathe for turning chisel handles, but it's pretty handy in all these small projects as well.


My schedule did what schedules usually do. Next goal might be Christmas for the whole project, so I'll have to submit only the cupboard for the competition, instead of the whole finished bathroom. Well, things go as they go, I just have to keep you posted about the rest of the progress later on.

Pekka
 
Well, now the bathroom is finally ready. I had imagined getting it ready by October, then by christmas, but it took a bit longer...

I've been lazy taking pictures from the progress, but I thought someone might be interested in seeing the finished bathroom.

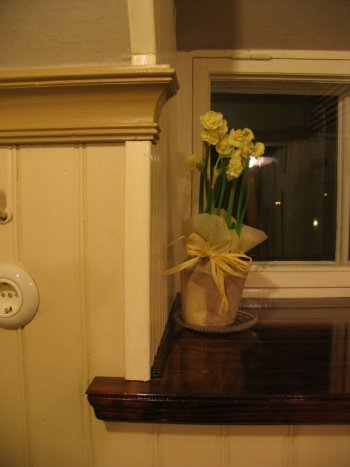
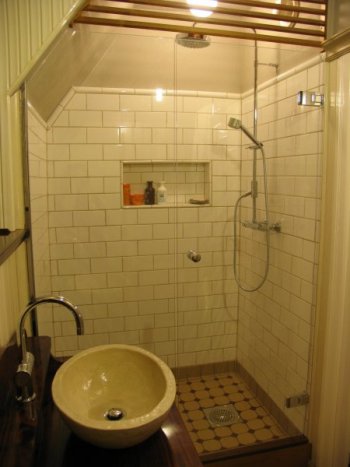
From the door you see the prize-winning cabinet :D The sink is handmade. A local potter made it for me, I just carved the mold for him. All moldings in the bathroom are hand planed and the ends carved by hand.


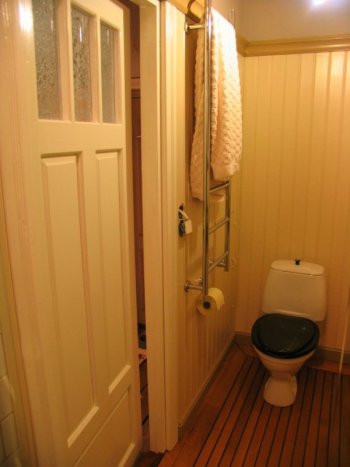
Left from the door you see the toilet, there's also a small room for a washing machine. The "teak floor" is actually heat treated birch, protected by wood wax. The color is very close to teak, although you know the difference if you look any closer.


On the other side there is the shower. A ready-made shower cabinet would have been a waste of space, so one end of the bathroom is divided as a separate shower area. It also made it possible to use a wood floor on the "dry" side.


I'll try to make some more detailed pictorials about the floor, hand planed moldings and some other items. This week I only sit there and admire the place. I can hardly believe that it finally is ready...

Pekka
 
Back
Top