That's the other gable battened out. My workshop currently looks like a Tron tribute.
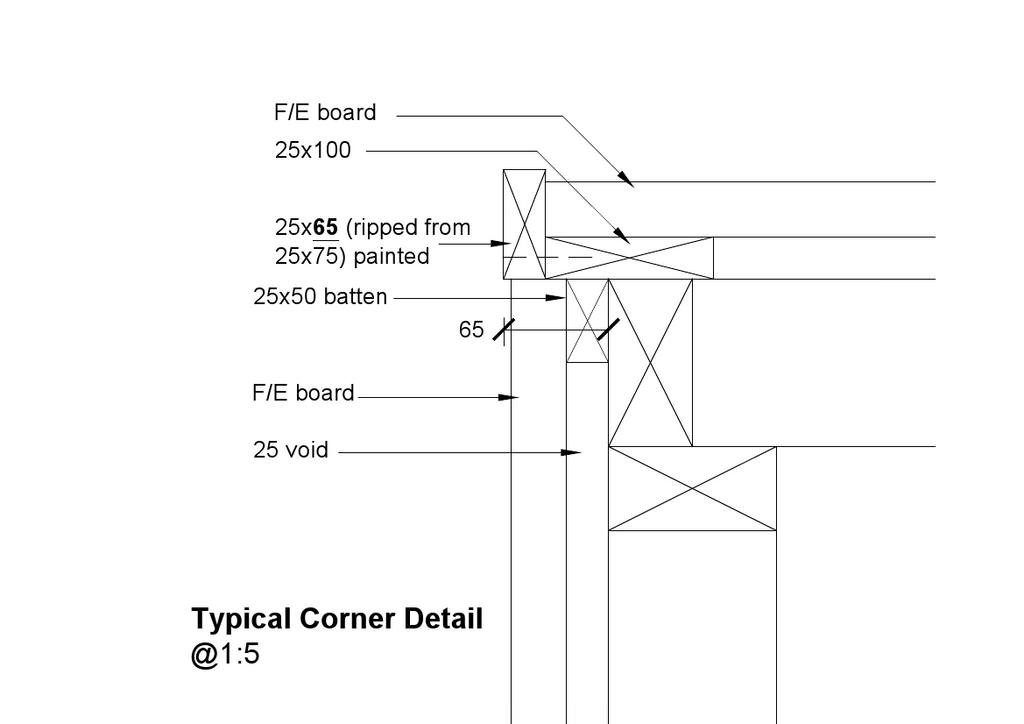
I then spent some time sorting these corner details out. Making sure I had the battens in the right place, 25x100 in the right place and 25x65 in the right place, as per Mikes drawing.
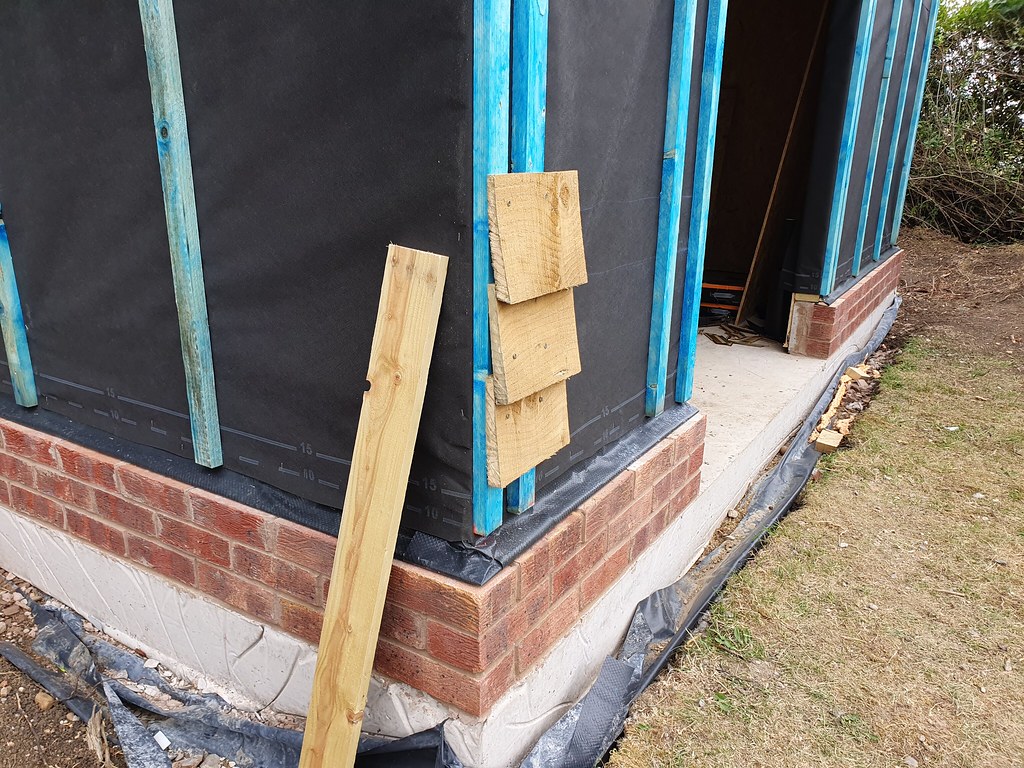
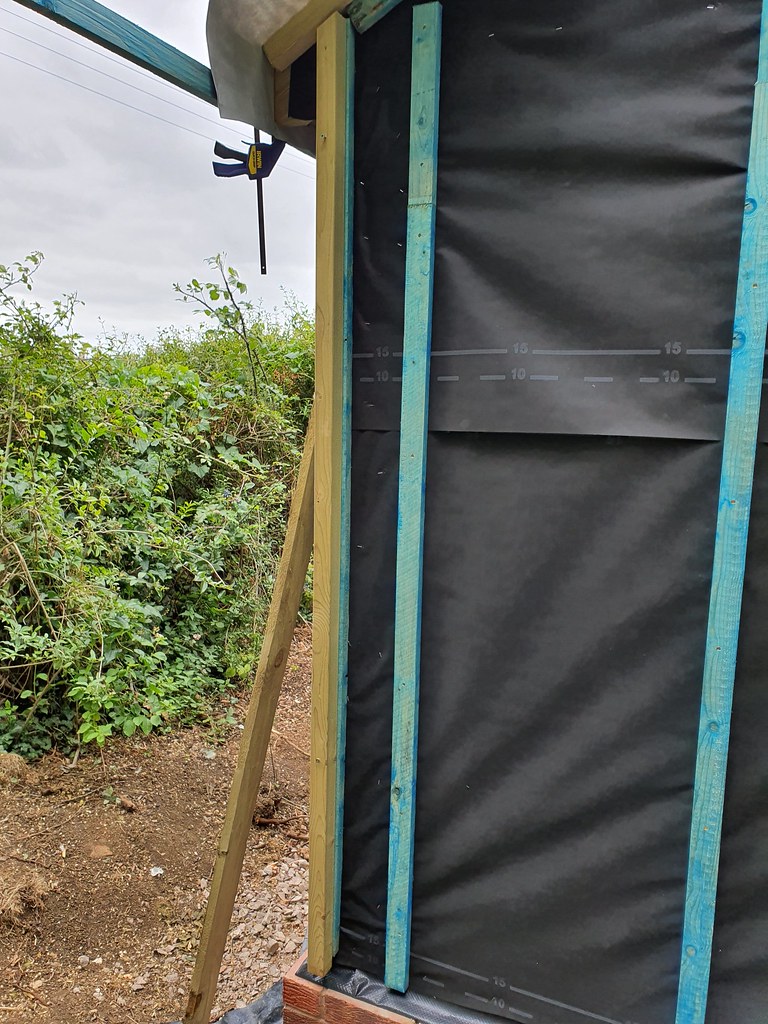
I secured a bit of 45x45 to the batten which gave me the leading edge I needed to mount to as that's how far my FE will protrude as measured from my 200mm demo section pictured earlier. Trying to hold up bits in the wind and measure and screw them was pointless so this solved that as I had something I could clamp the 25x100 to as well.
45x45 mounted to batten as a gauge and clamping point
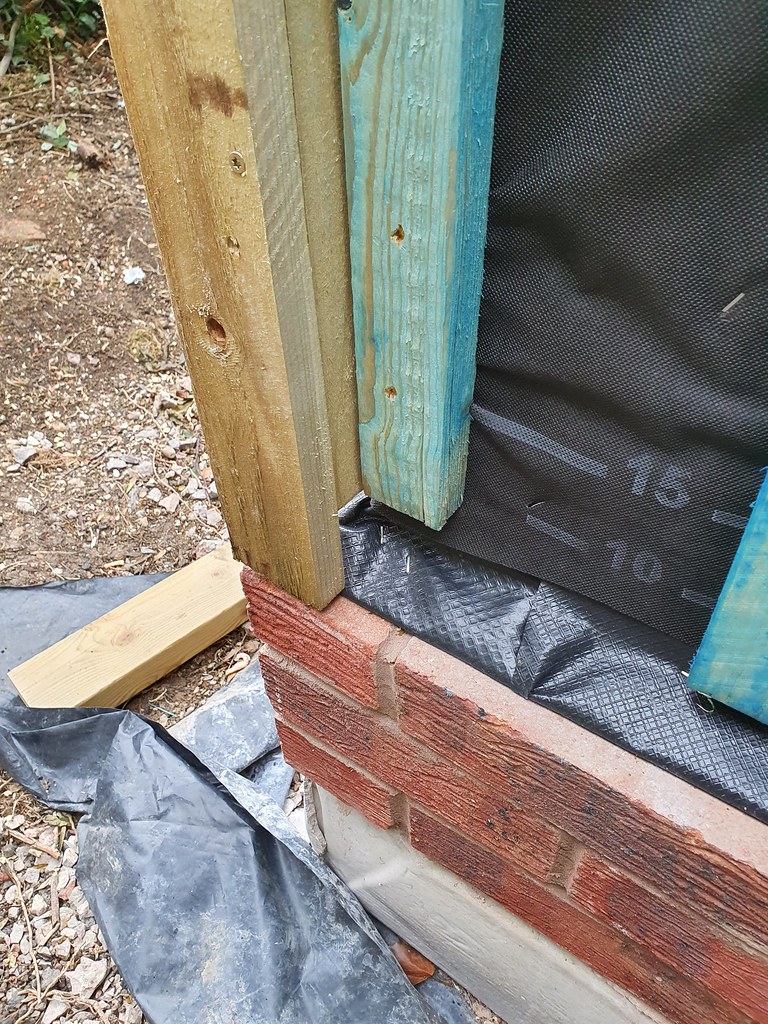
Once finished the 25x65 bit to be painted was sticking out way past the brickwork. NOOOOOO I specifically did the brick and block plinth to help avoid this. I got it wrong.

Fortunately it was only a test run with everything screwed in place. I had the 25x100 mounted so that IT would cover the whole ends of the FE, which then meant that the 25x65 trim would stick out past it. Once I worked that out I re fitted and now it looks much better.
Fitted correctly, and nicely aligned with the plinth
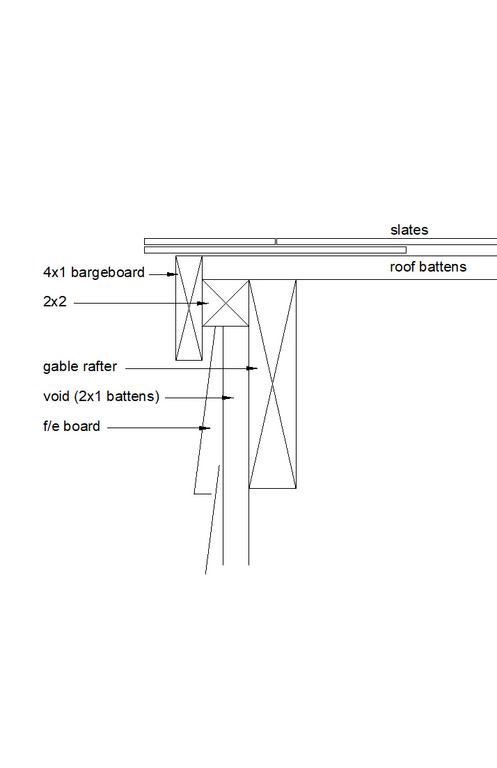
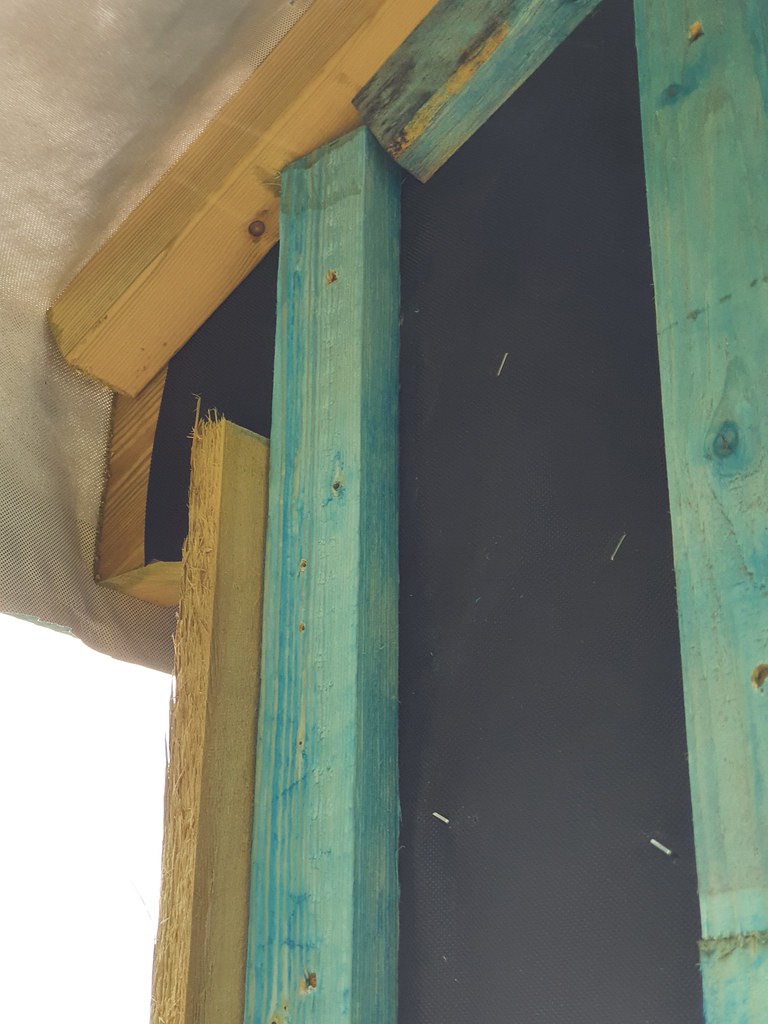
What I'm still working out is the top. This test was just using an offcut for the 25x65 bit, so its only 600mm long and down at the bottom of the wall. For the top I need to work out where it will end, because there is a barge board to come down under the tiles as well as a fascia to fit to the plumb cut on the rafters. I don't the fiddly details, they don't show huge progress in just a few hours like framing or getting walls up!
What to do at the top for the corner detail.
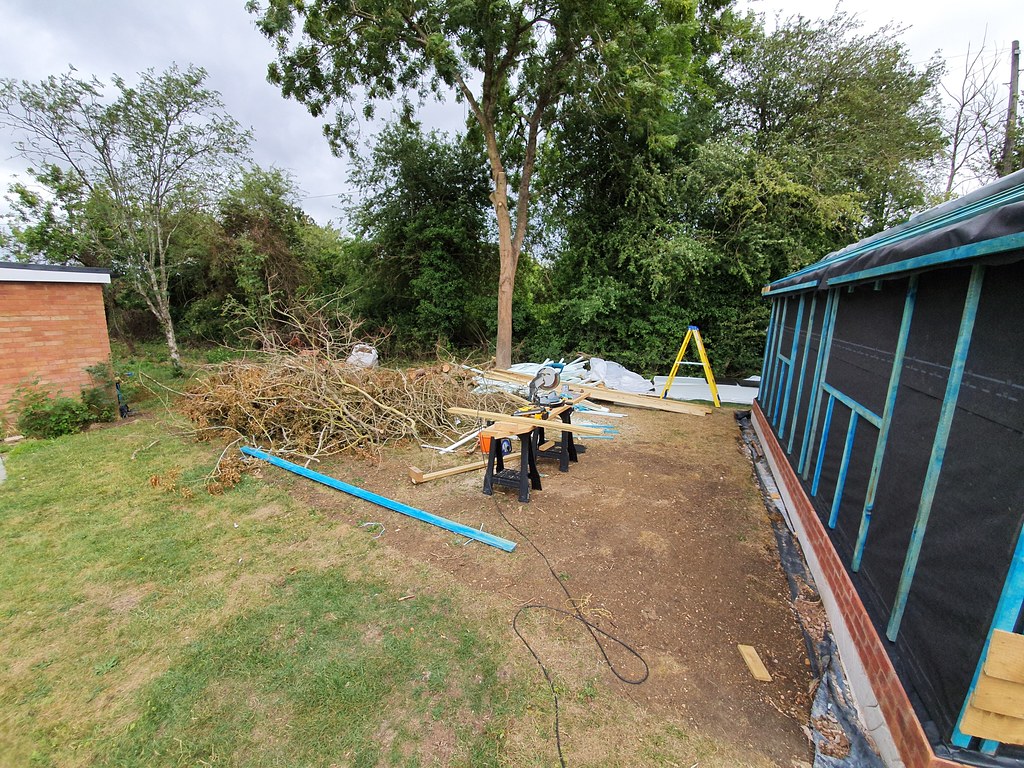
It's now pouring with rain again. So I can work this out, then look at more paint and maybe just finalyl tidy up inside the workshop as its still a dump. I had hoped to start on tidying the garden too.
Sw1fty":2b35wvr9 said:
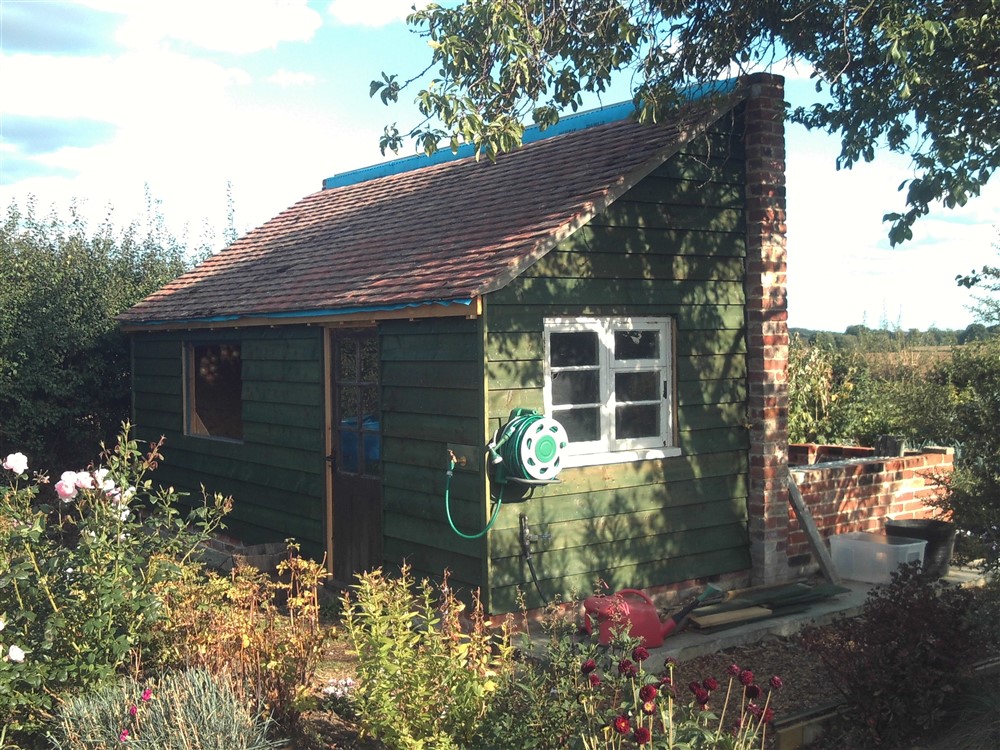
ok...well the overriding feeling here is embarrassment for the state of the garden and disrepair of the cabin ! However, as promised, here are a couple of pictures. I took a few that varied in brightness as the clouds were blowing over, these 2 look to be the best representation of the colour.
Please don't judge me...I am in the middle of some jobs here and wasn't expecting anyone to see it in this state
Thanks for the pics! I really do appreciate it. I can show them to the good lady and see.
To make you feel better, here is the messy area in my garden. Yours is fine!