DBT85
Established Member
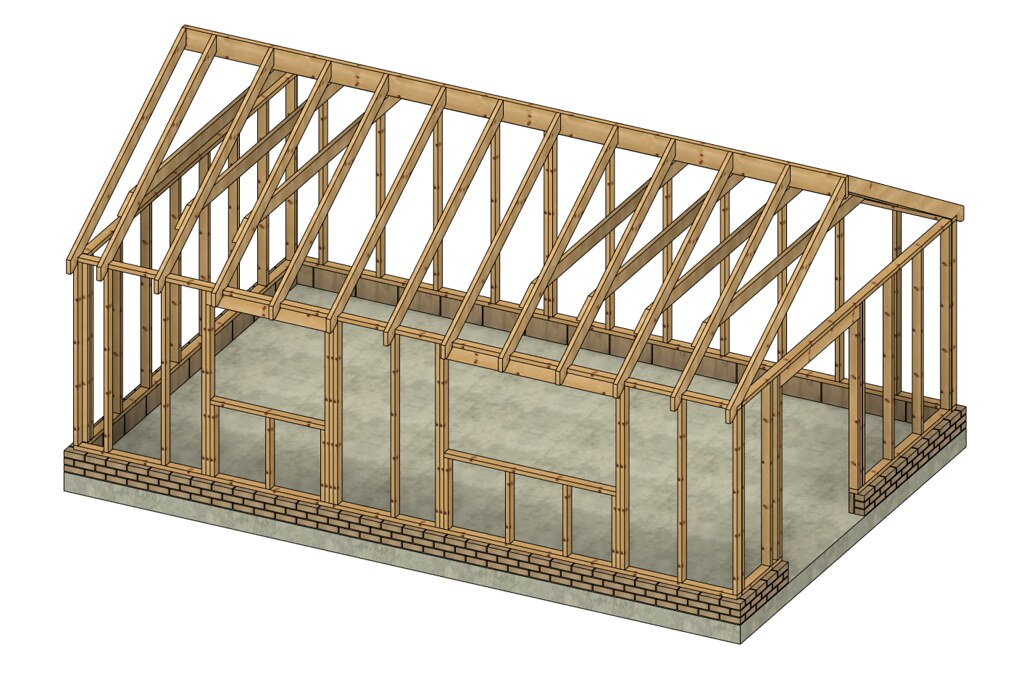
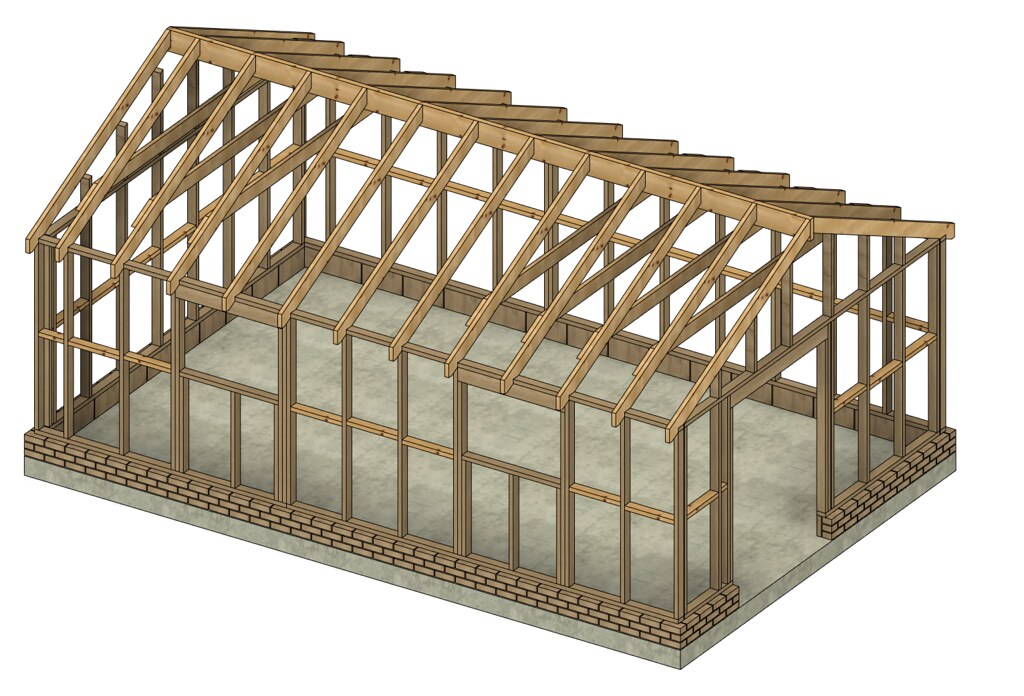
HOJ":2ngd159t said:As I say, my work is regulated, so I would have engineer calcs done for the structure, in any case I would be inclined to put collar ties on in that section, with bolts and star washers in between any meeting faces, + plus a couple of 4.5mm galv nails.
Whist it makes a good space for storage, take it from me, once you start storing stuff up there, you really don't need it any more.
Catching up on you last post don't spoil it all be trying to recylce old bricks that have been lying around, more than likely be all different sizes, covered in algae, and possibly frost damaged, & if you haven't done much brick laying could be very challenging.
Oh it's OK, the bricks that are here that I'd use are all good clean. One batch of about 210 still have the plastic wrap on.
Thanks for the other details too.