A cut string stair in oak, blow by blow.

UKworkshop.co.uk

Help Support UKworkshop.co.uk:

This site may earn a commission from merchant affiliate links, including eBay, Amazon, and others.
Bm101":2zsre2hu said:
And then there's the likes of me. How utterly amazing that I could be in written correspondence with you amateurs.
I hope you realise how lucky you all are.

:eek: The man who popularised googly eyes on newel posts himself!

giphy.gif
 
Mike watching your shed build and then this staircase is not only a great source of learning to myself and others but also very inspirational. Your work ethic attention to detail and then document and photograph for UKW stands you out as a pretty special fella. Your a credit to this forum sir.
Thanks and =D> =D>
 
I have missed the porch build that's my next viewing sorted. :)
Its a shame if the mods do want rid of you. I don't think you suffer fools gladly do you? If its down to conflict Mike first sign of any then just ignore and move on. Arguing with faceless people is futile you can't win.
Anyway I hope you don't do a Jacob and vanish unlike him you would be missed
 
As an indication of your worth: I flattened a piece of wood with a hand plane yesterday. All your fault/inspiration. I have owned the plane since I was 7 years old, and it was the very fist time I used it as intended. Because of this site, and your posts would rank highly amongst the sources of inspiration, I actually now know how to sharpen the plane, possibly how to put it back together, and how and why to plane the wood itself. You did that - perhaps trivial, but quite a big deal for me.

Accept any plaudits offered, because life never gives you enough praise or recognition. I know this :)
 
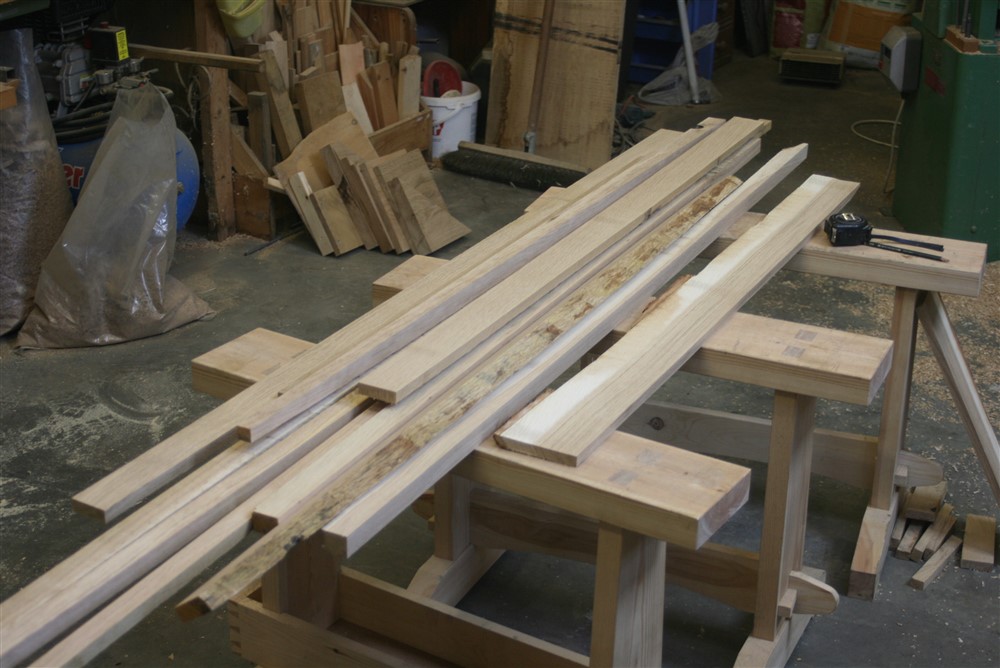
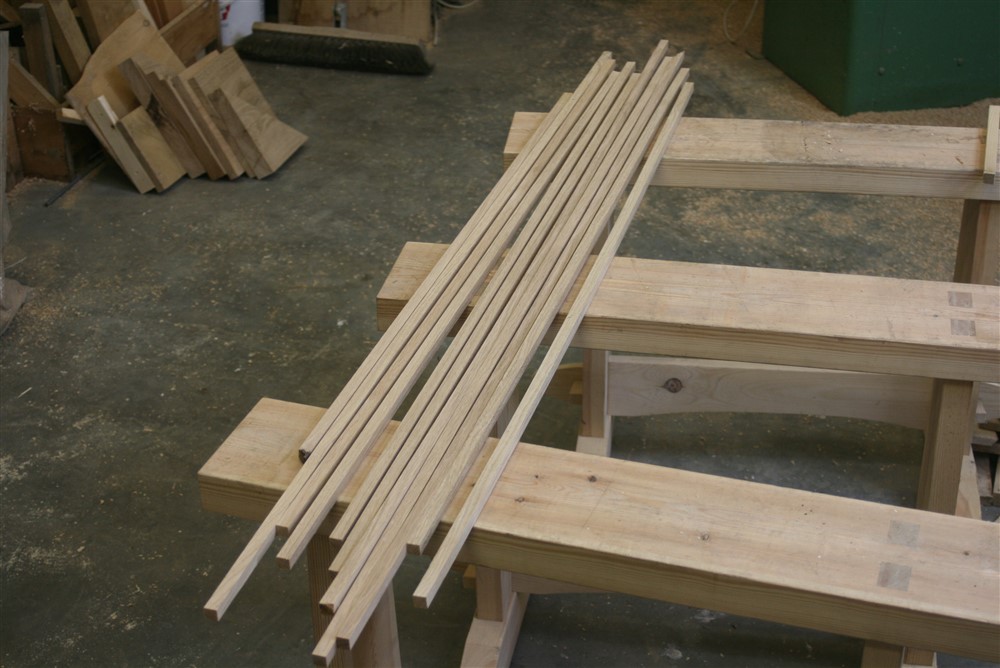
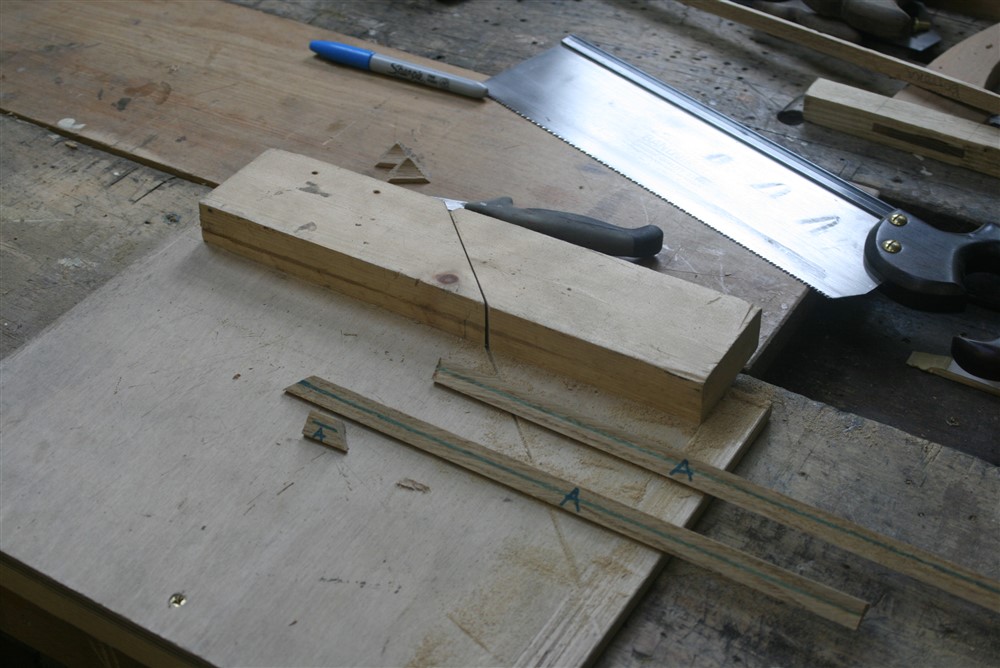
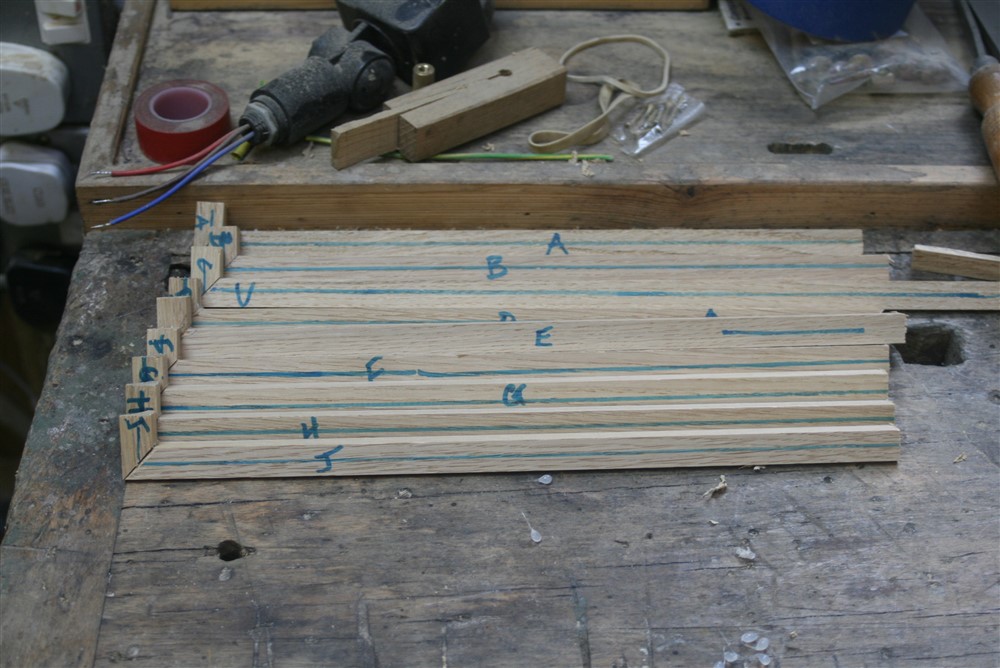
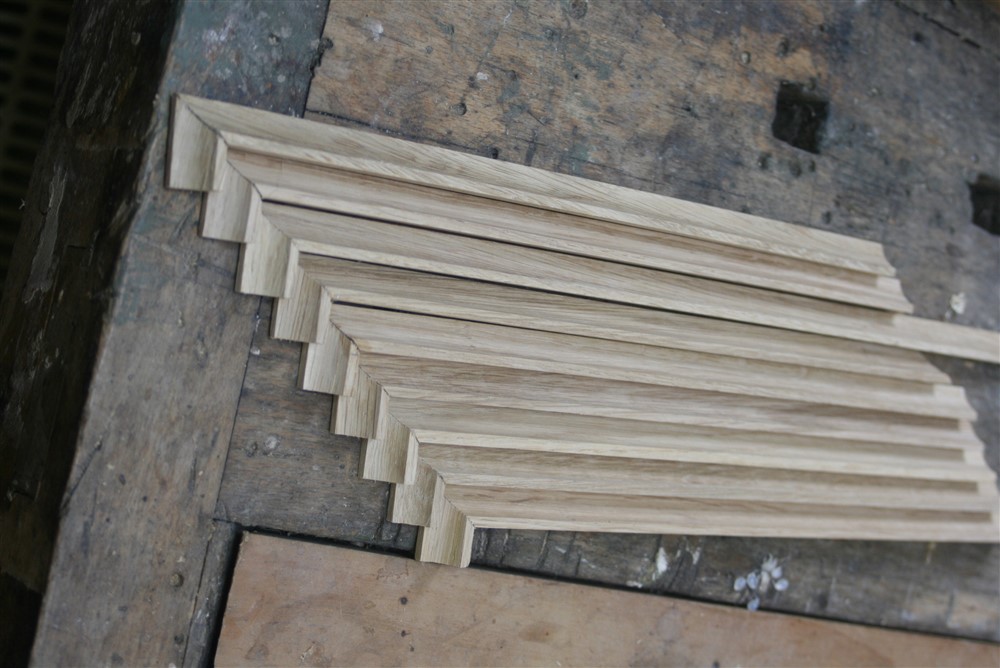
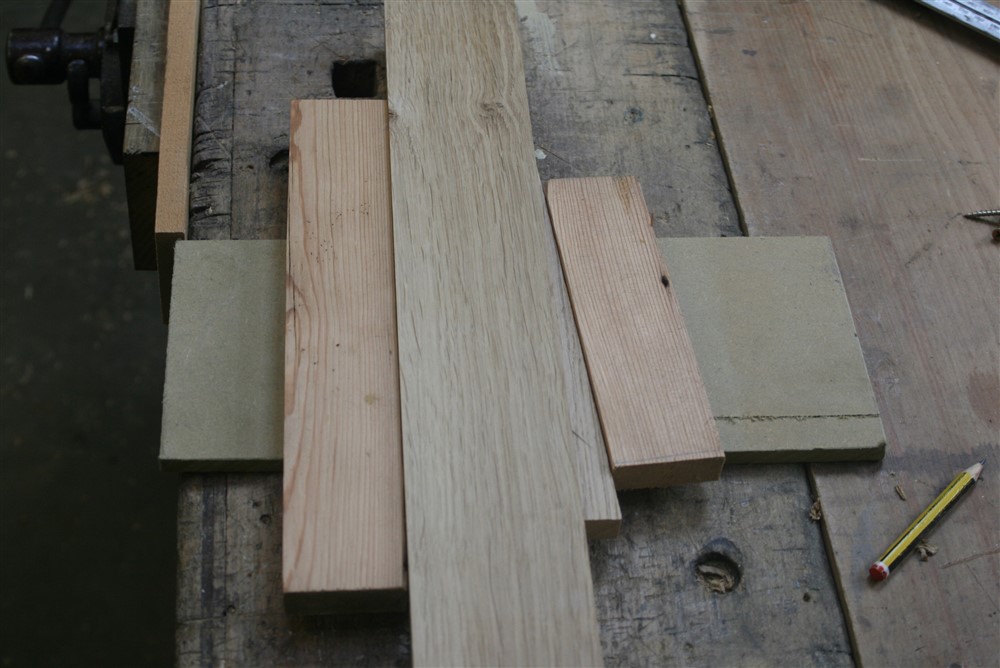
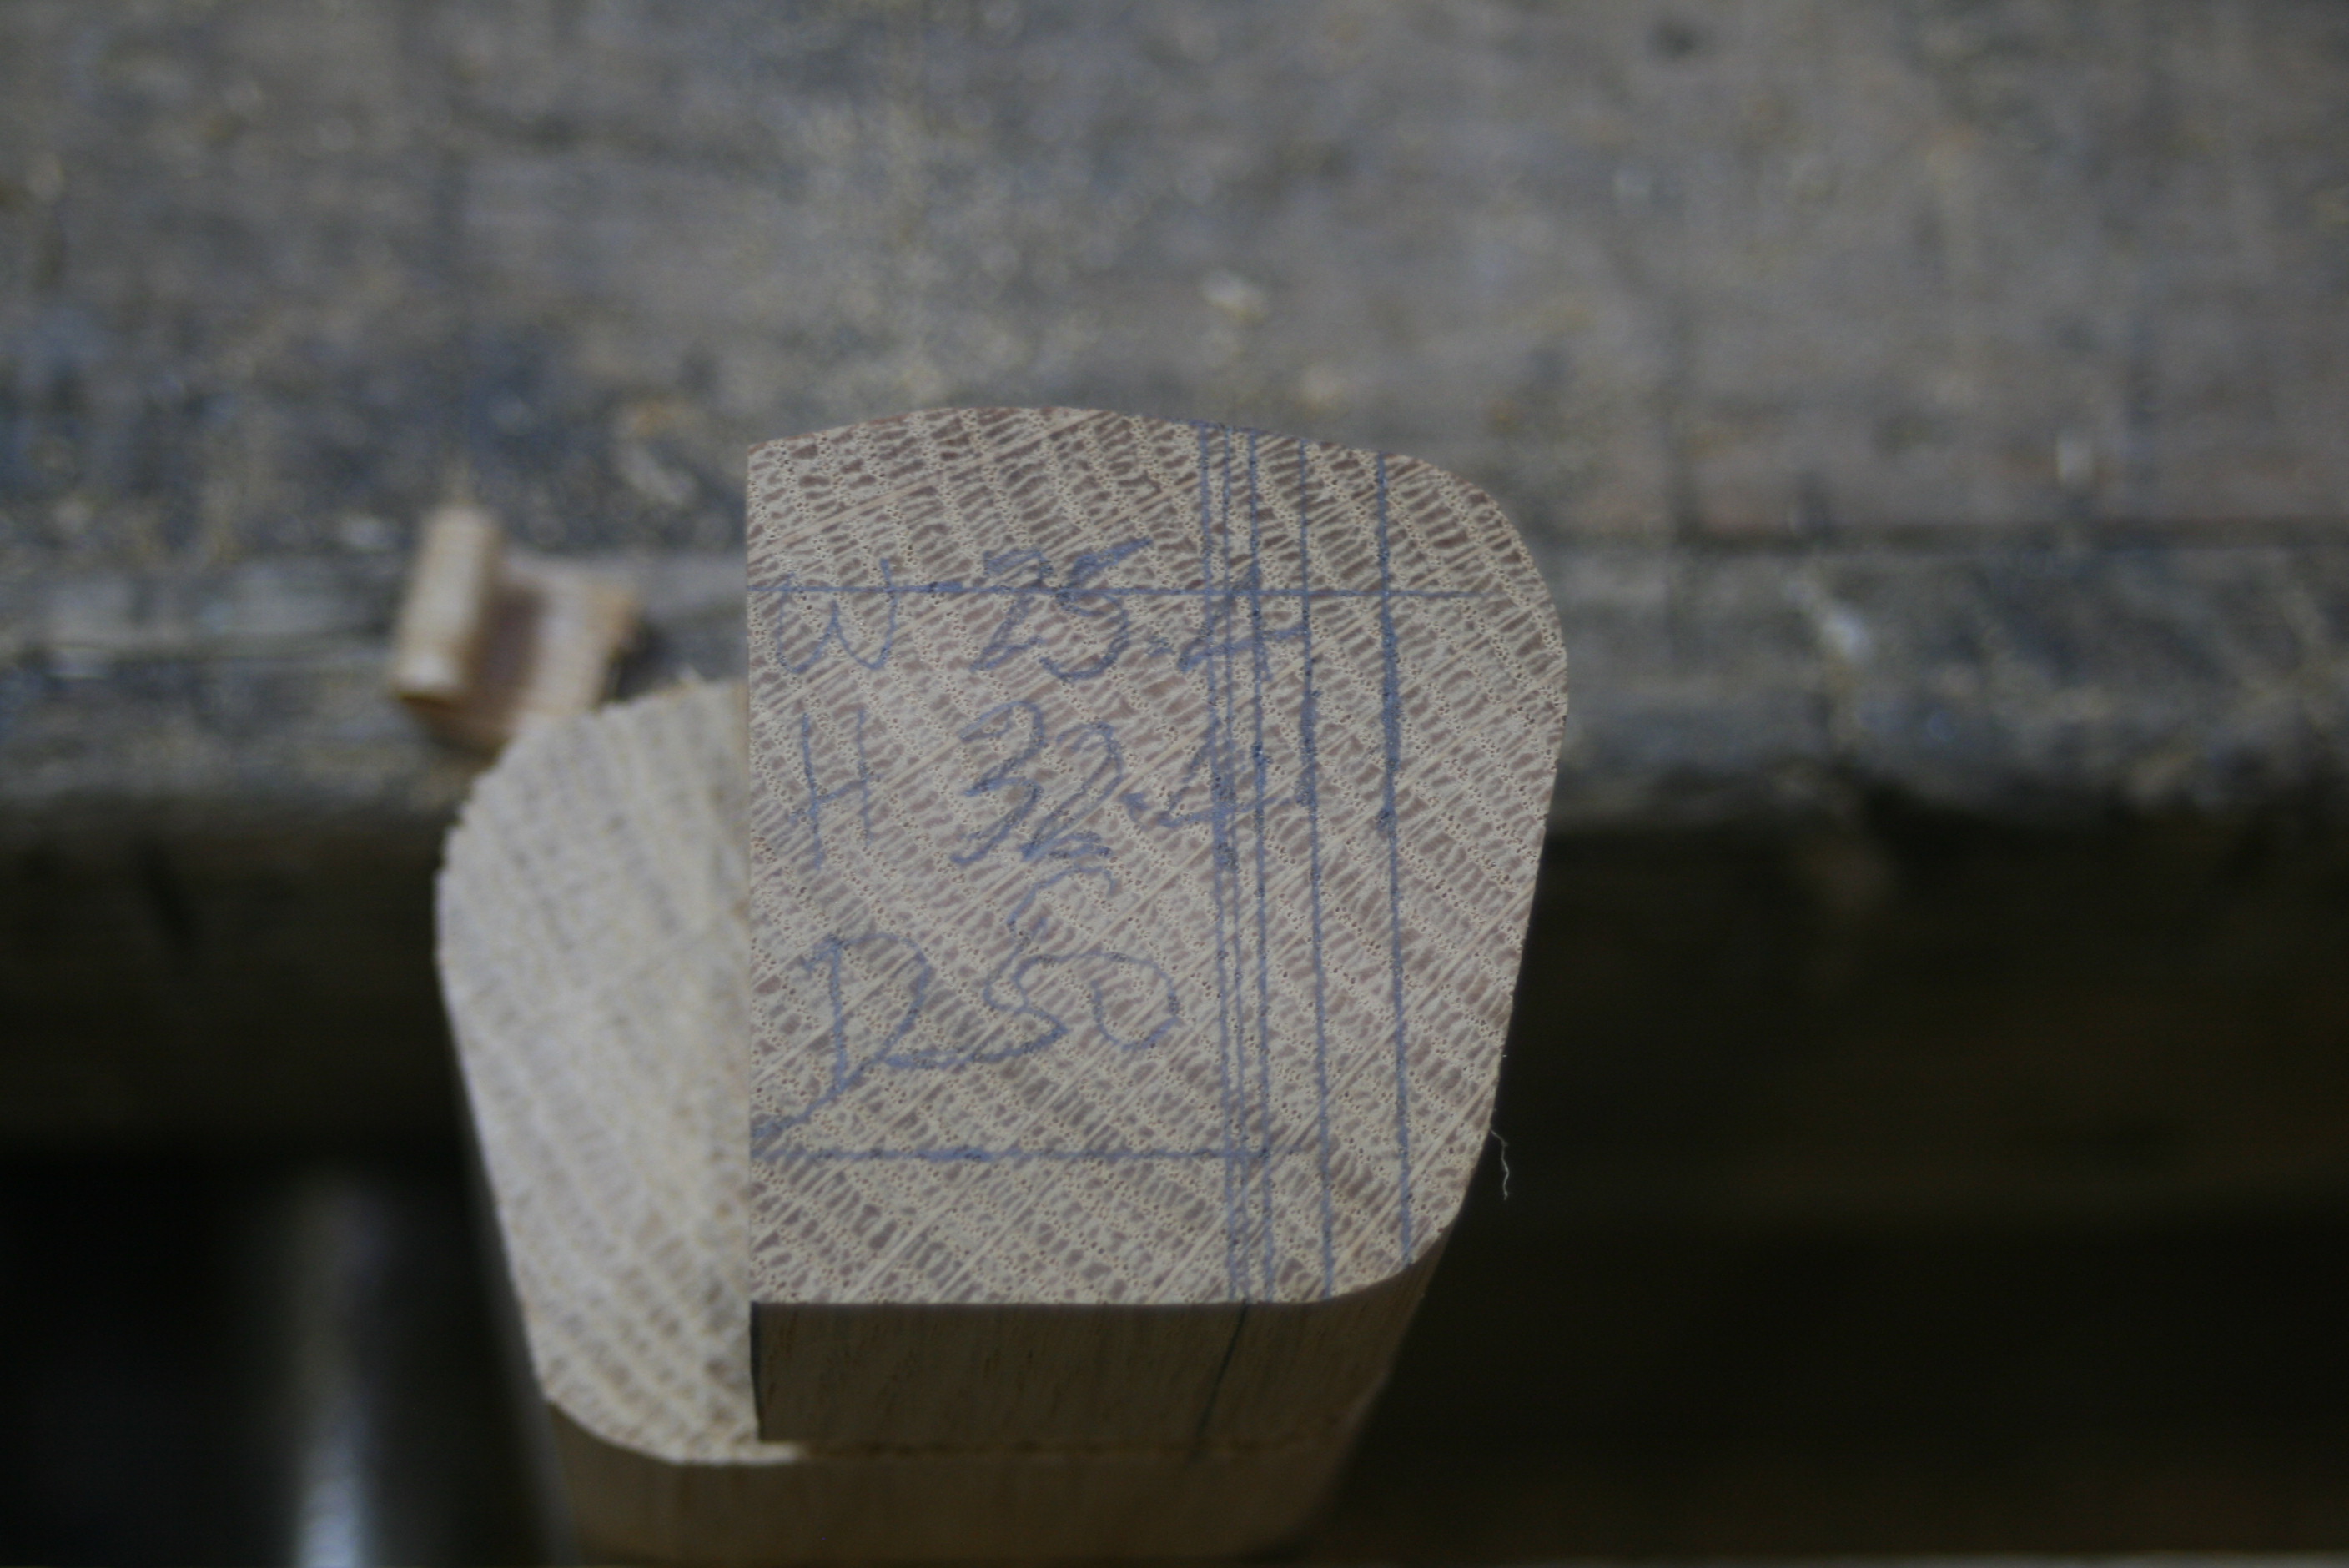
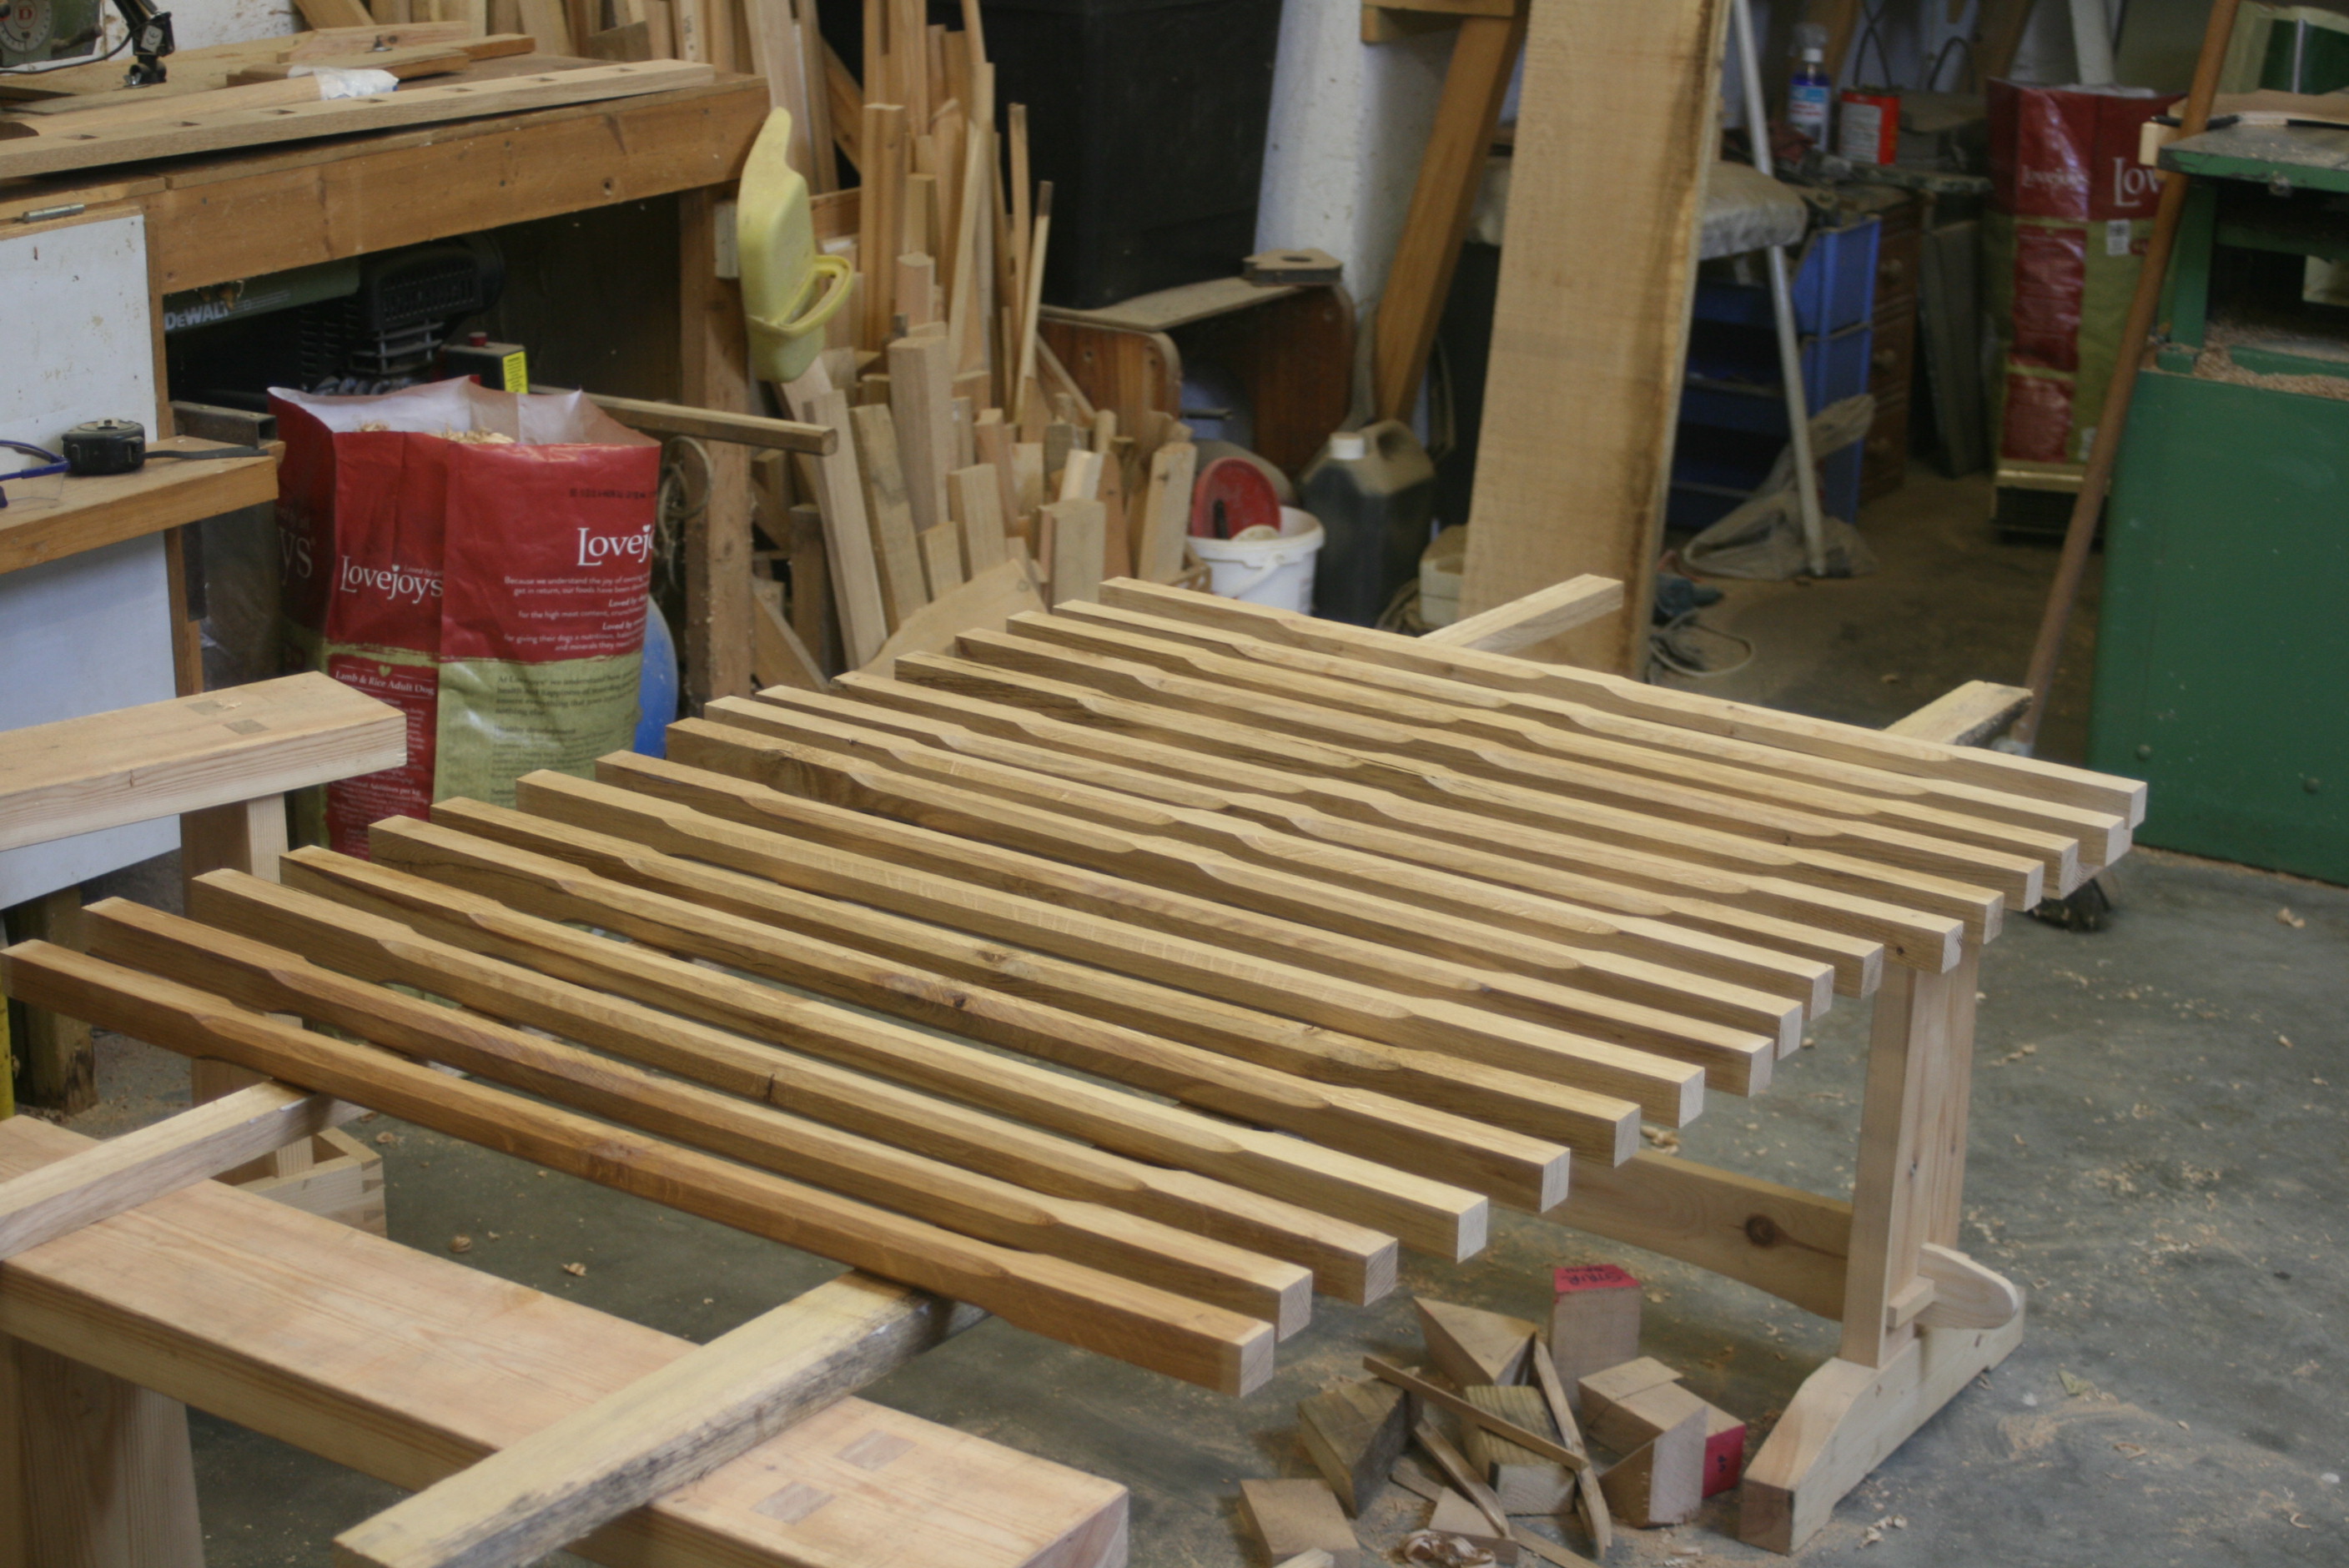
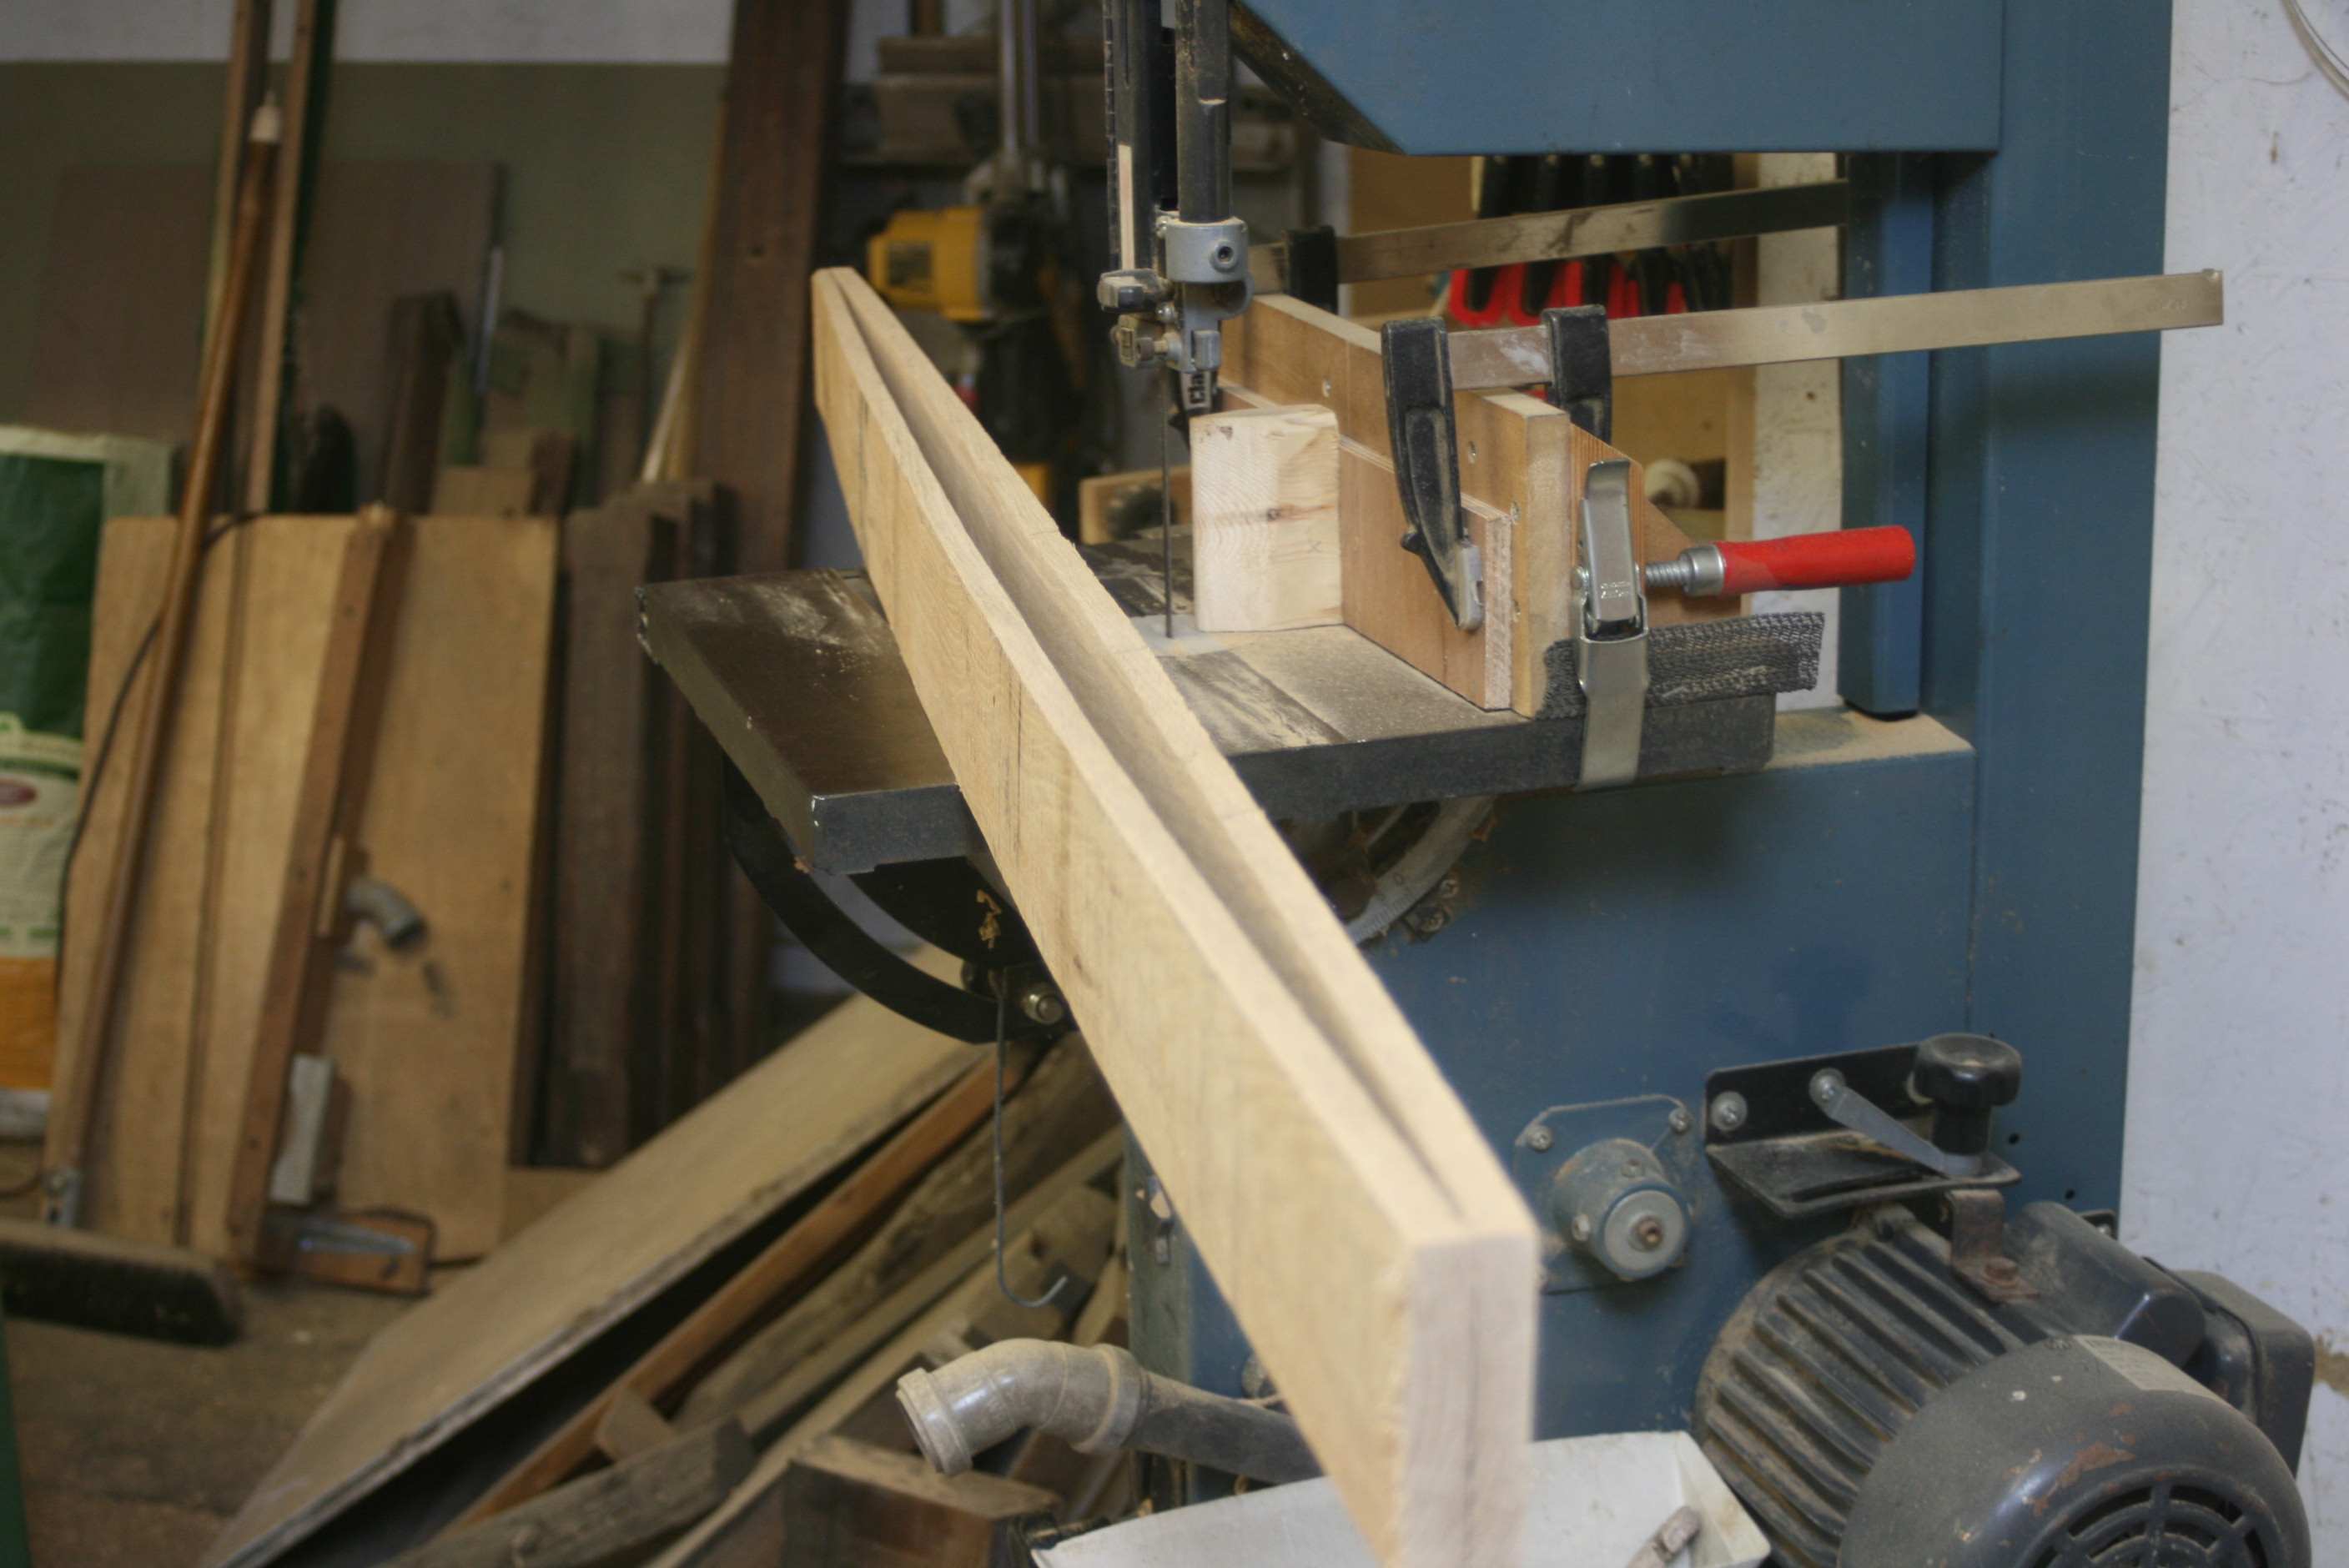
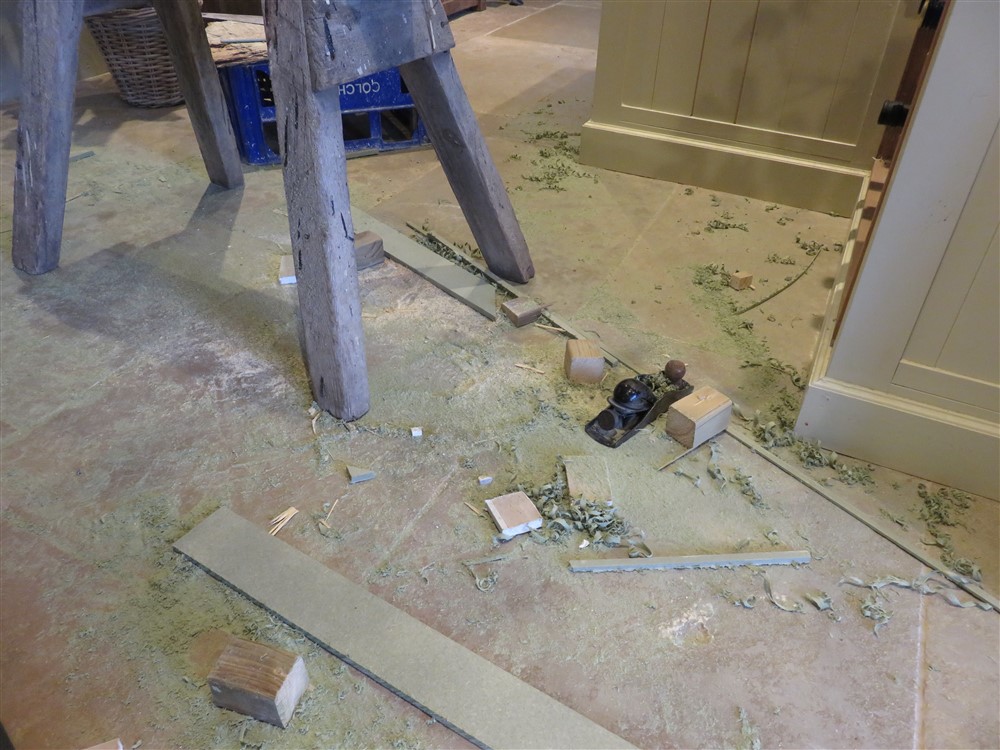
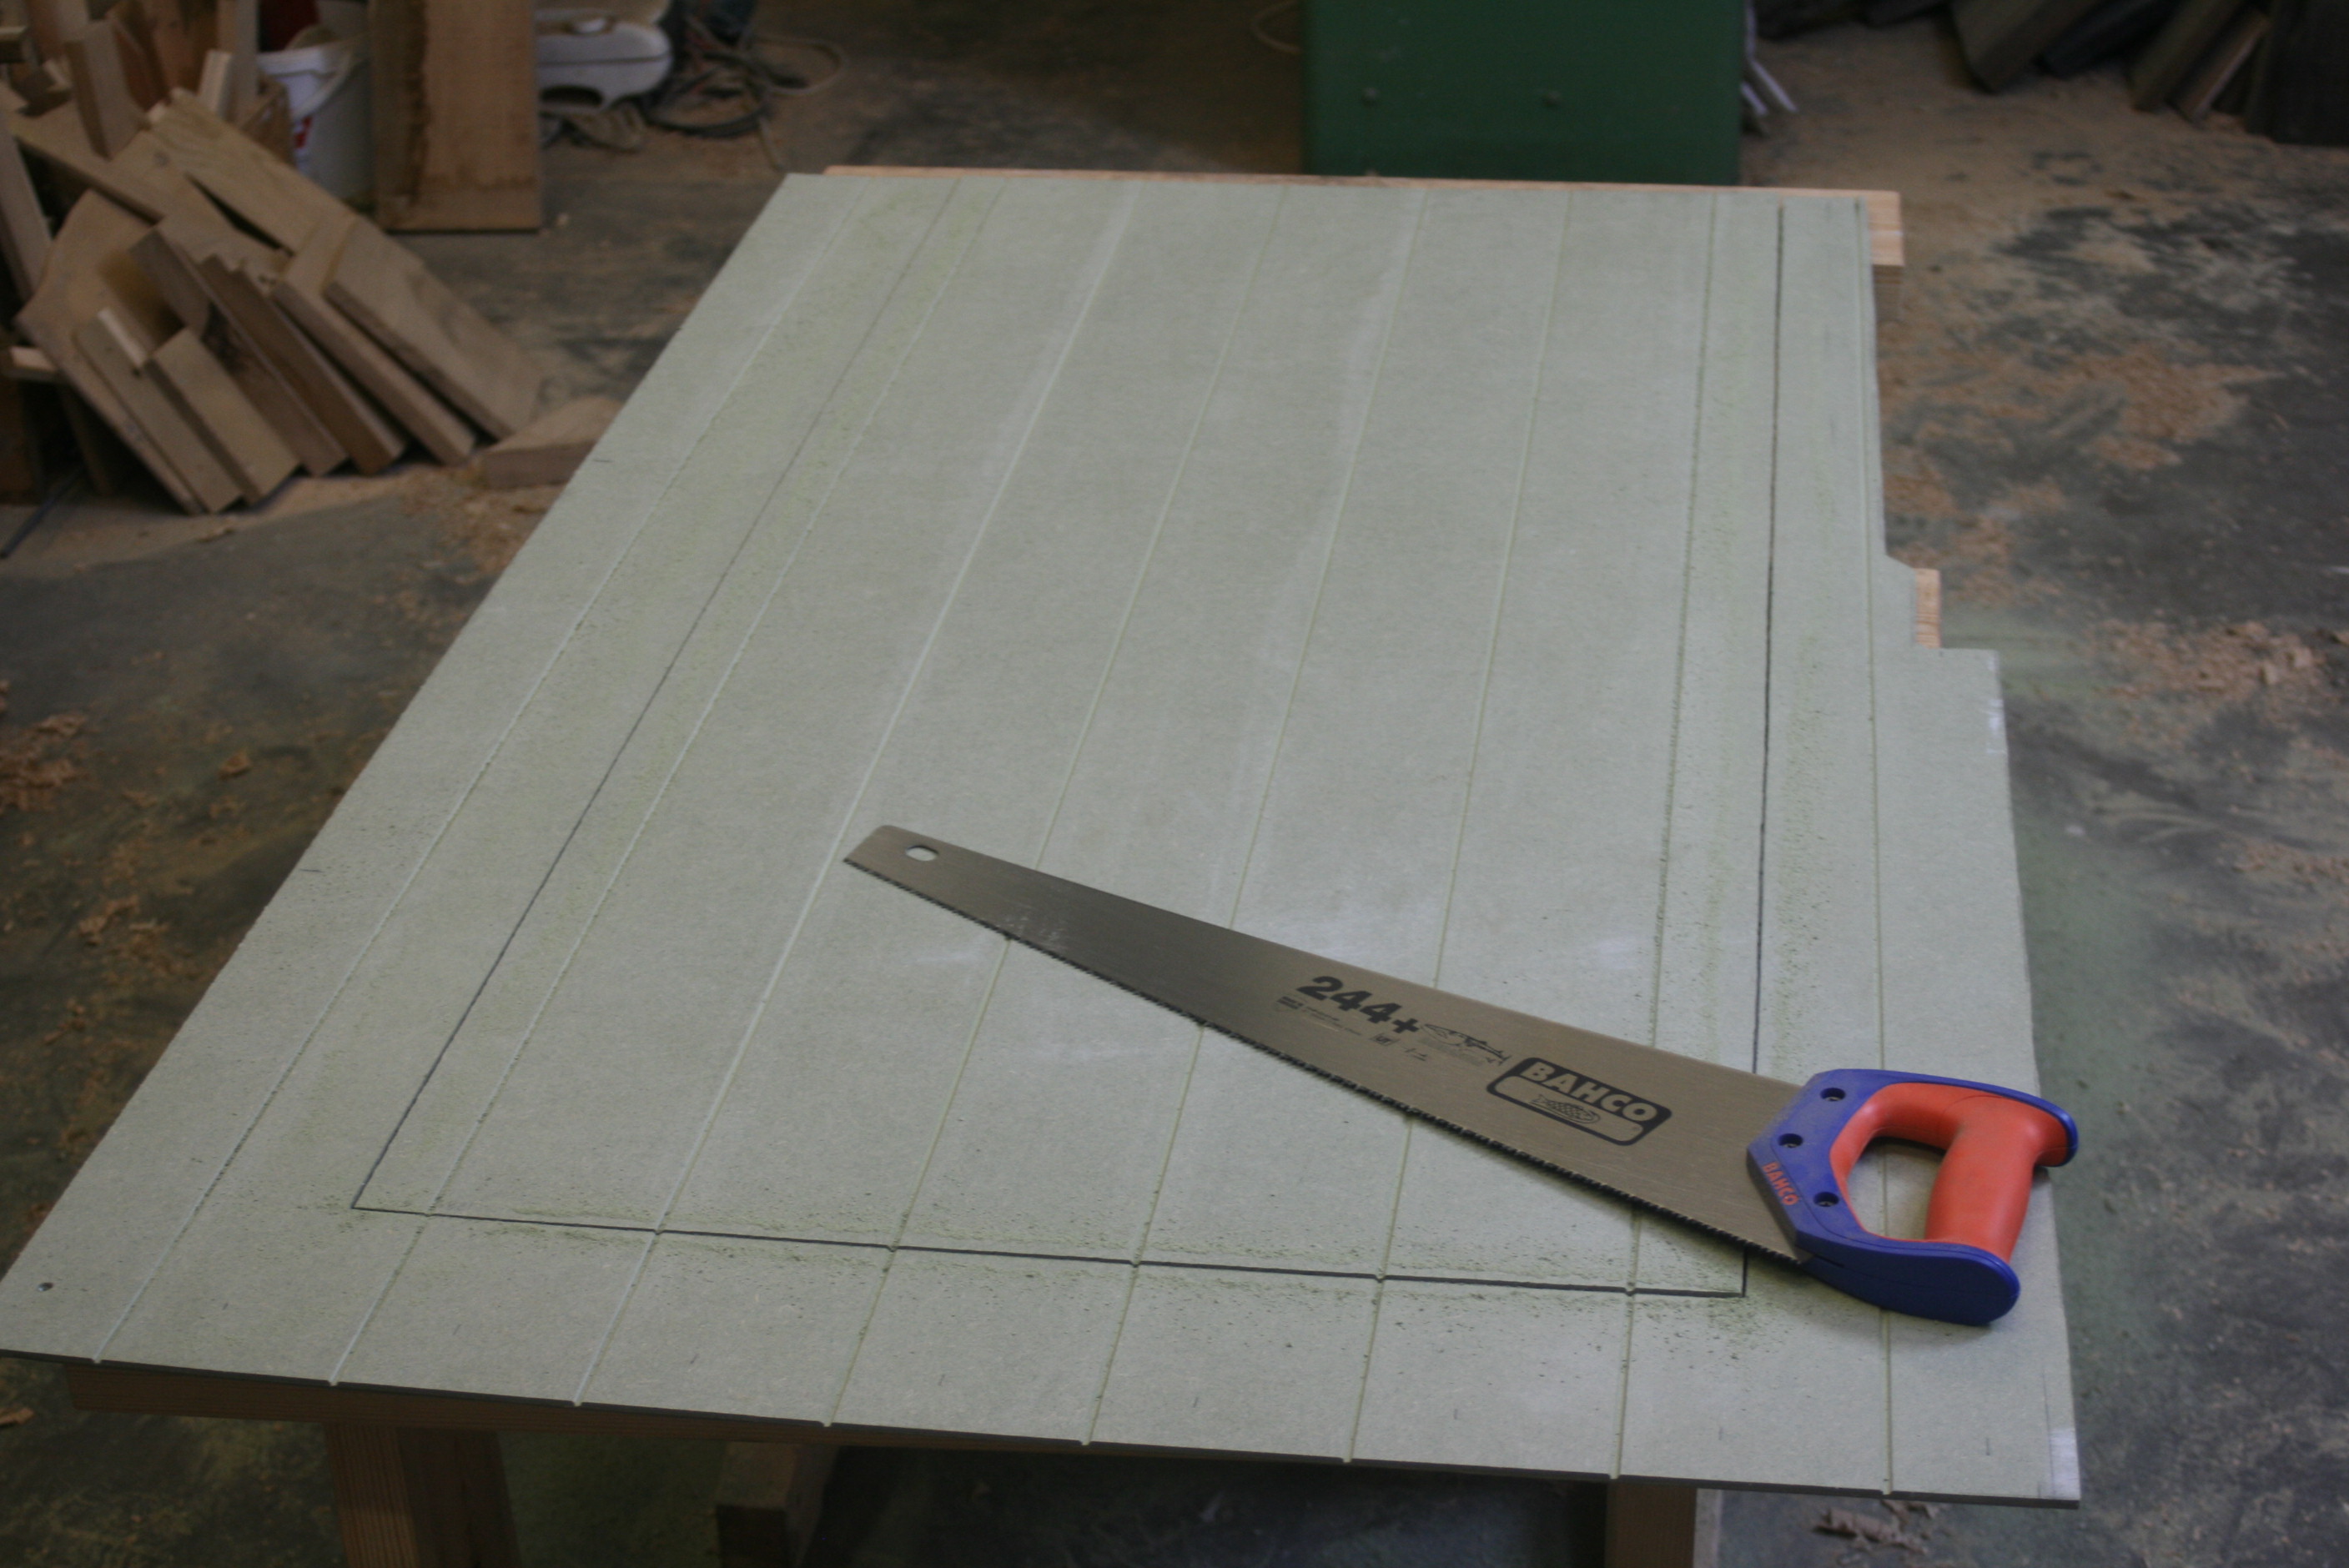
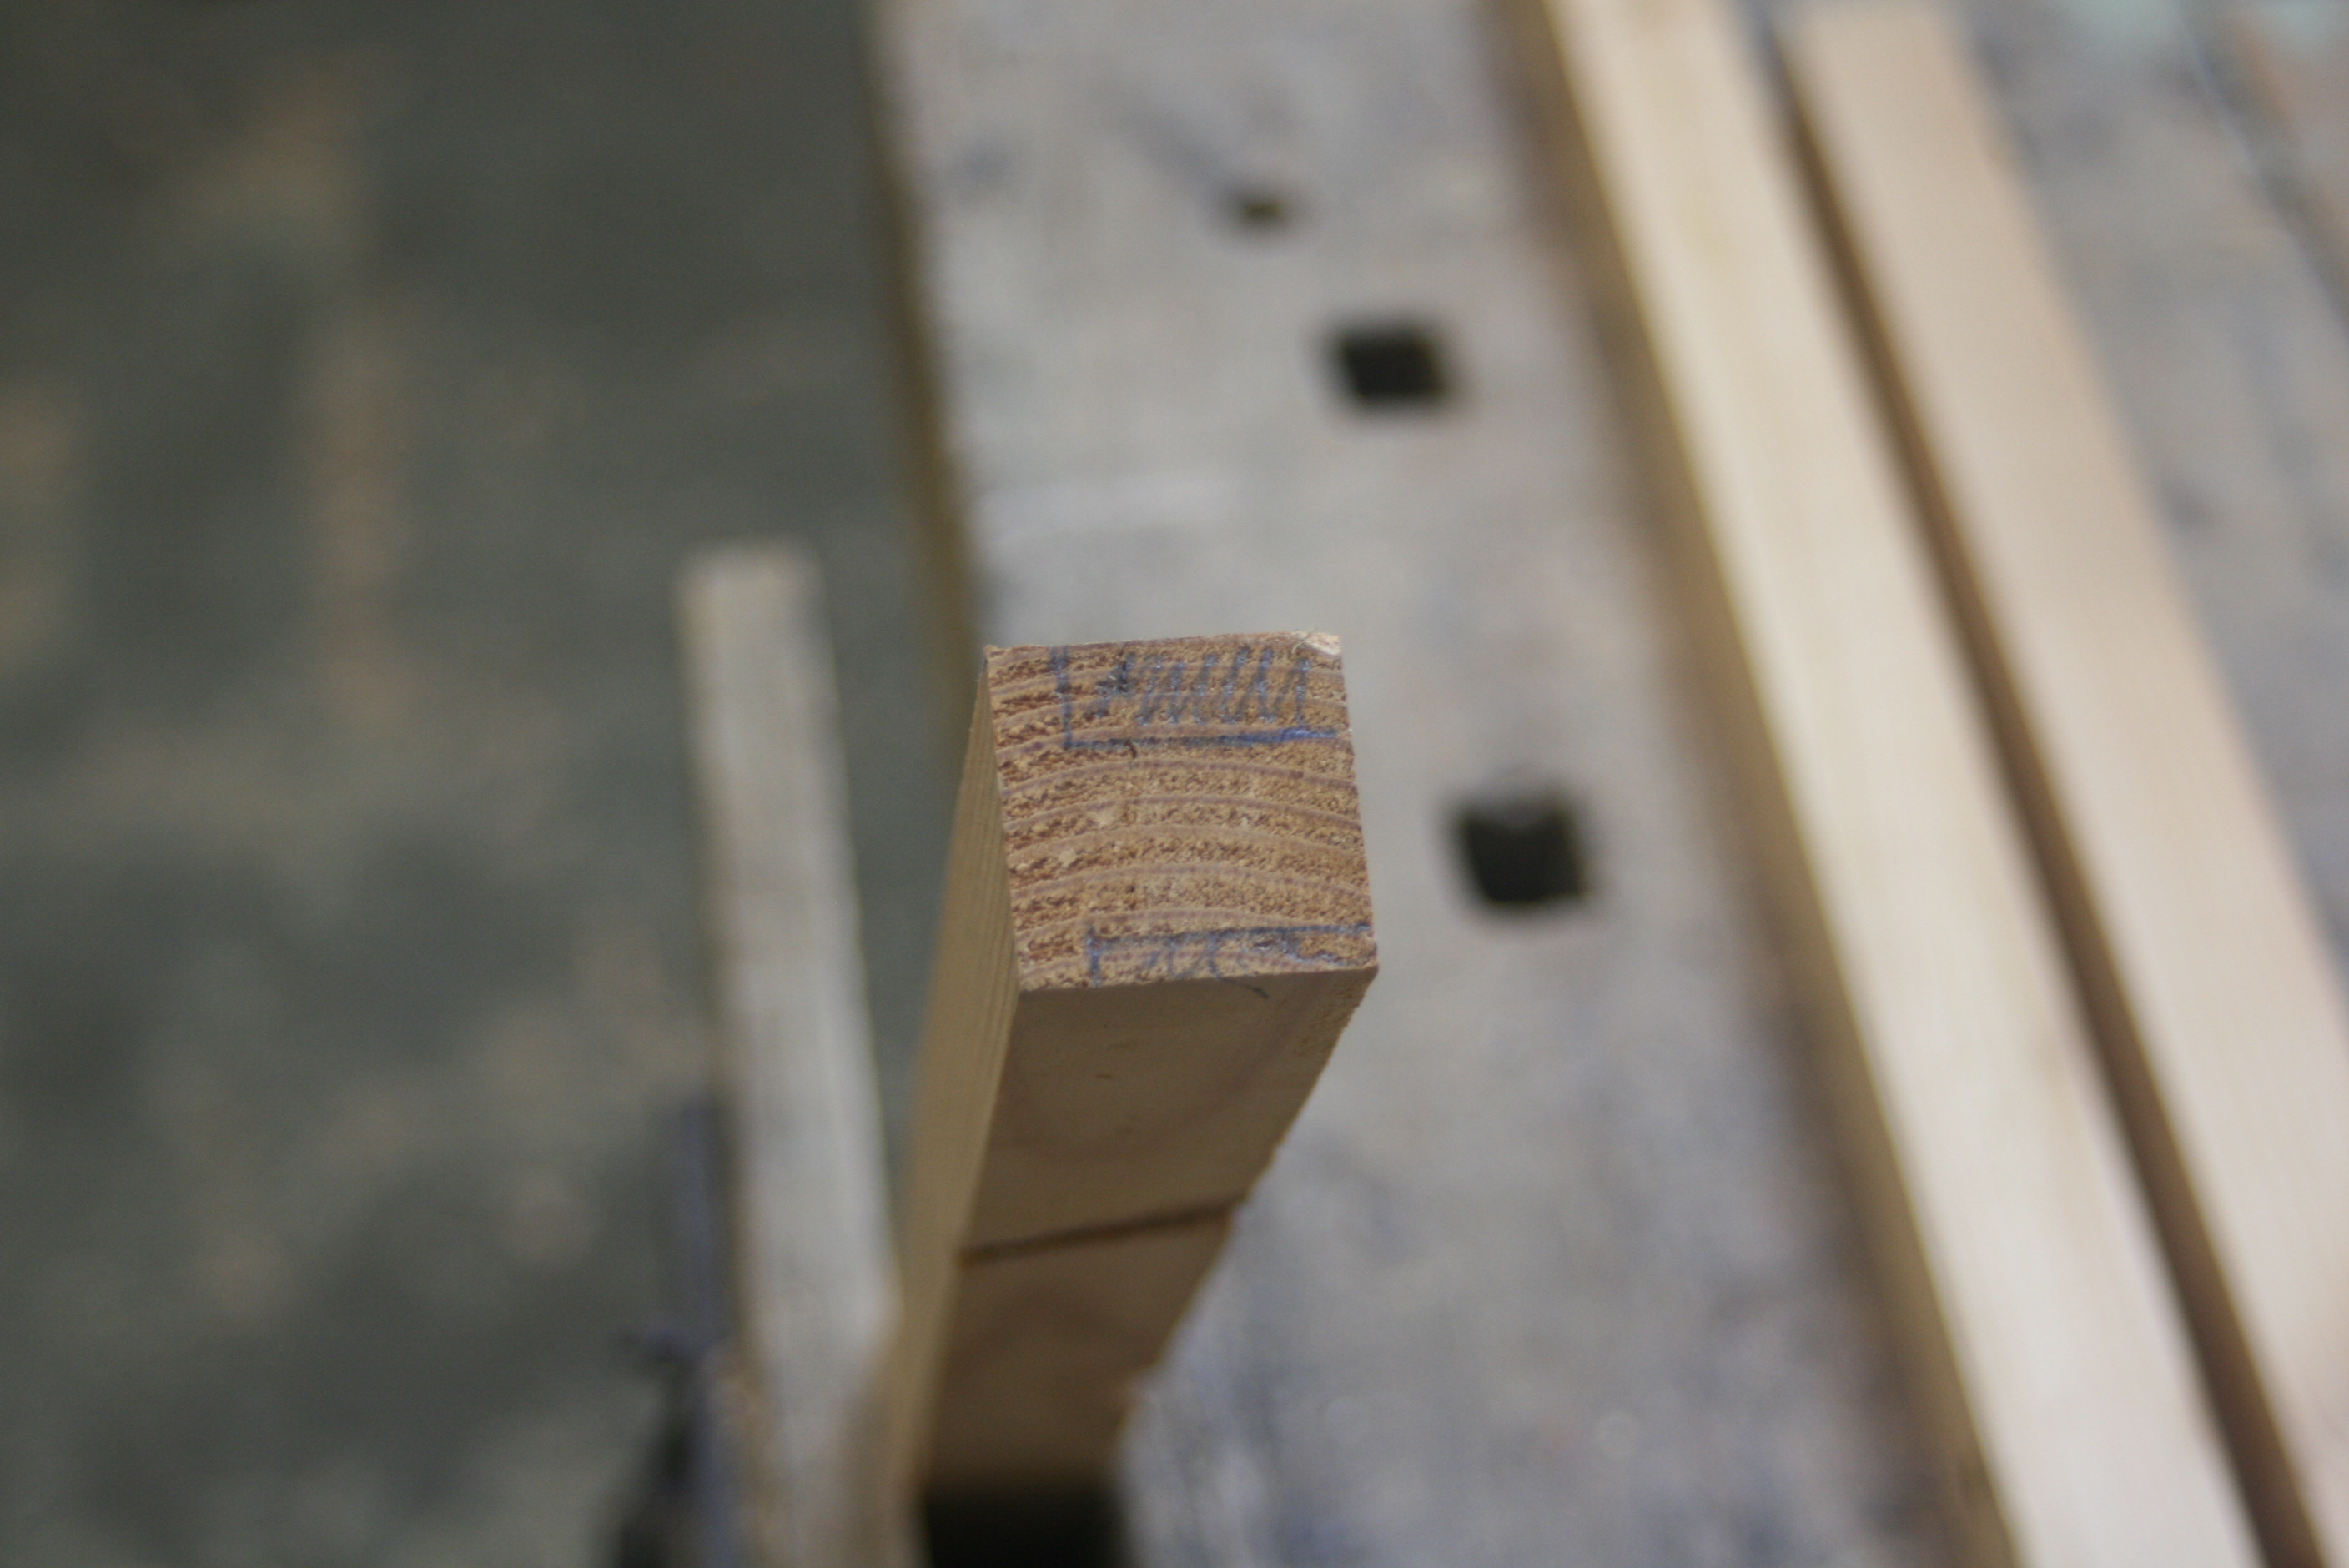
The next job was to put a little trim under the overhang of each tread, at both the front and the sides. I gathered up all the trimmings from when I had cut up the original boards, and ripped them and thicknessed them to size:

uOk50ze.jpg


GhV8q6m.jpg


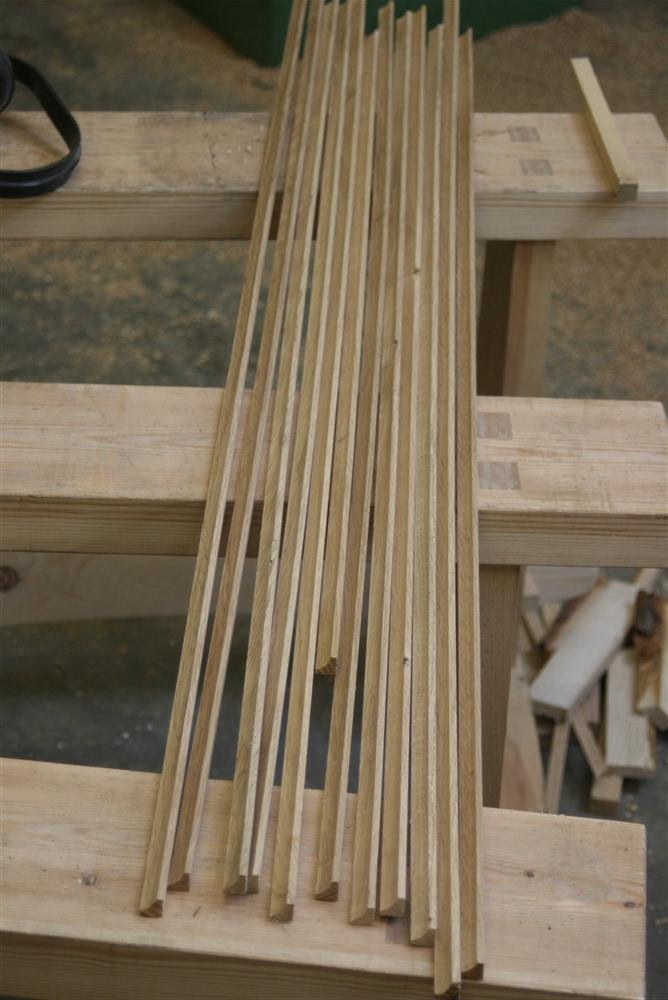
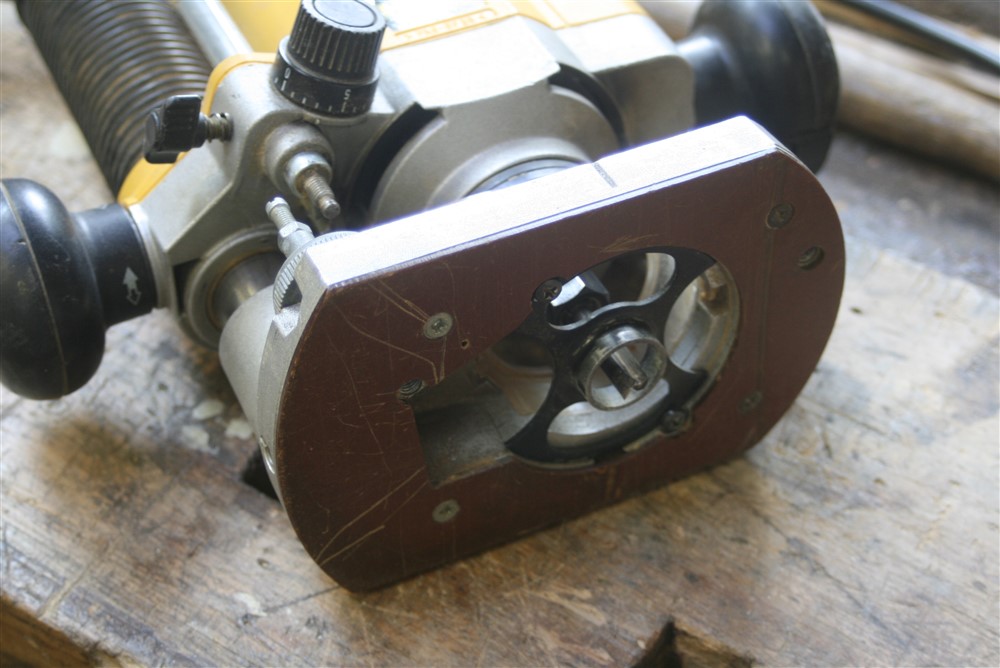
I used a simple cove bit to make the moulding on my router table:

GstP59B.jpg


tFrYBFy.jpg


ksSJcKC.jpg


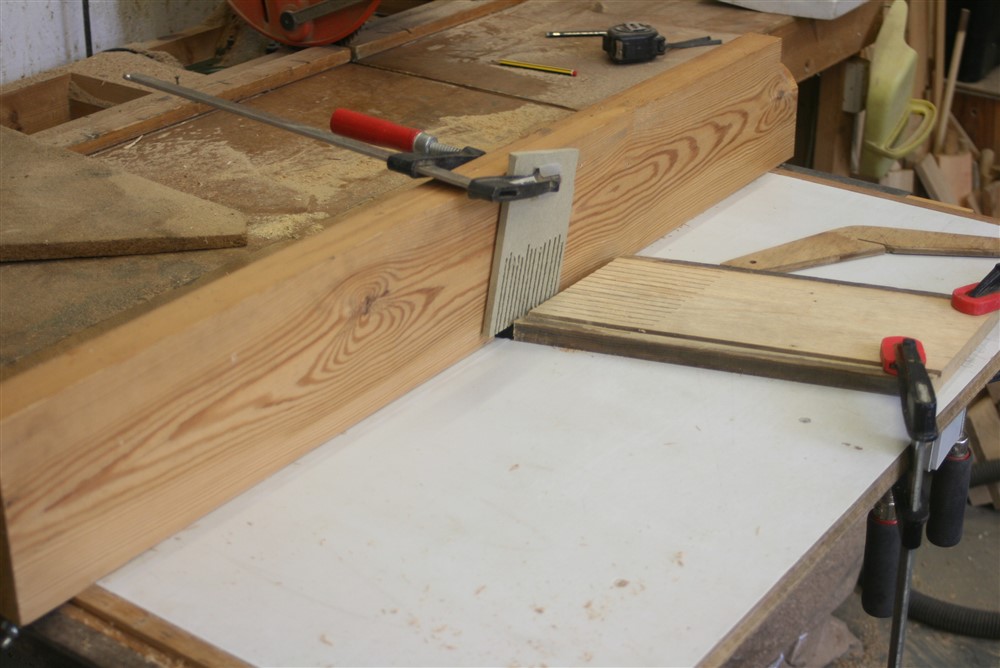
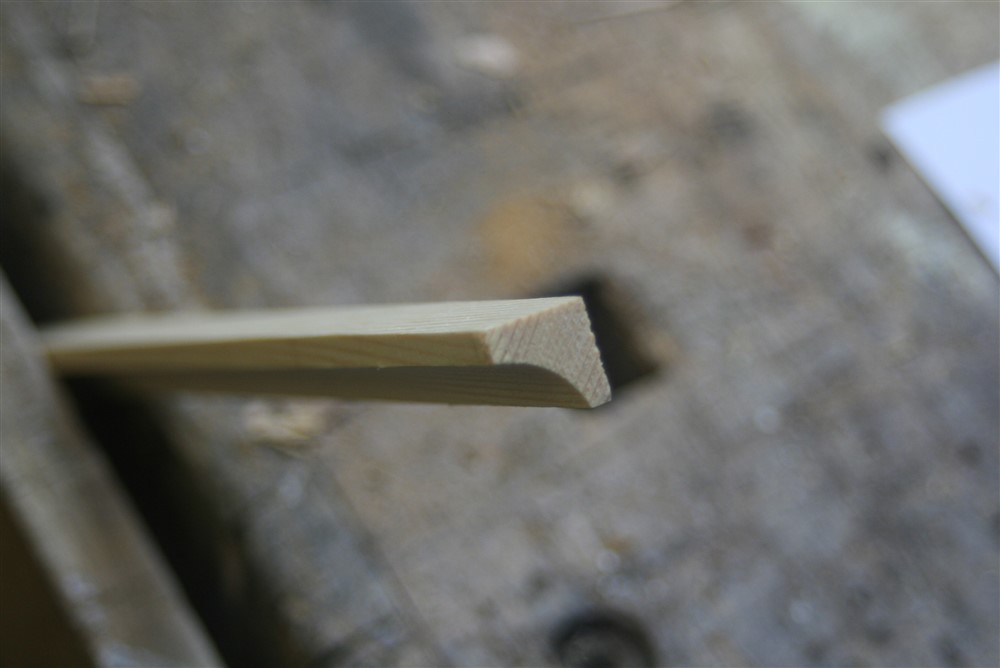
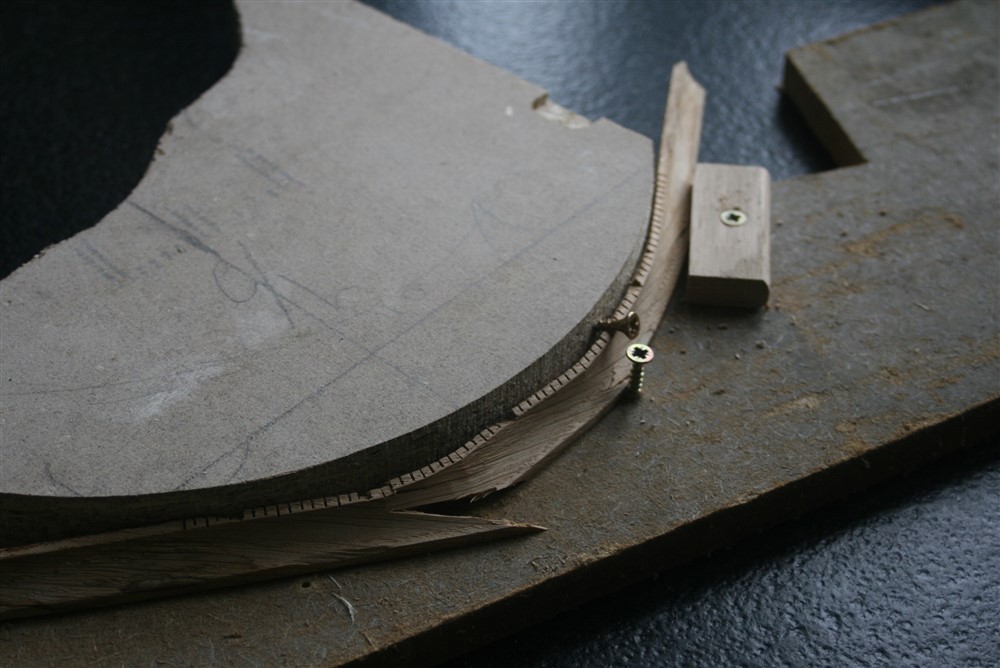
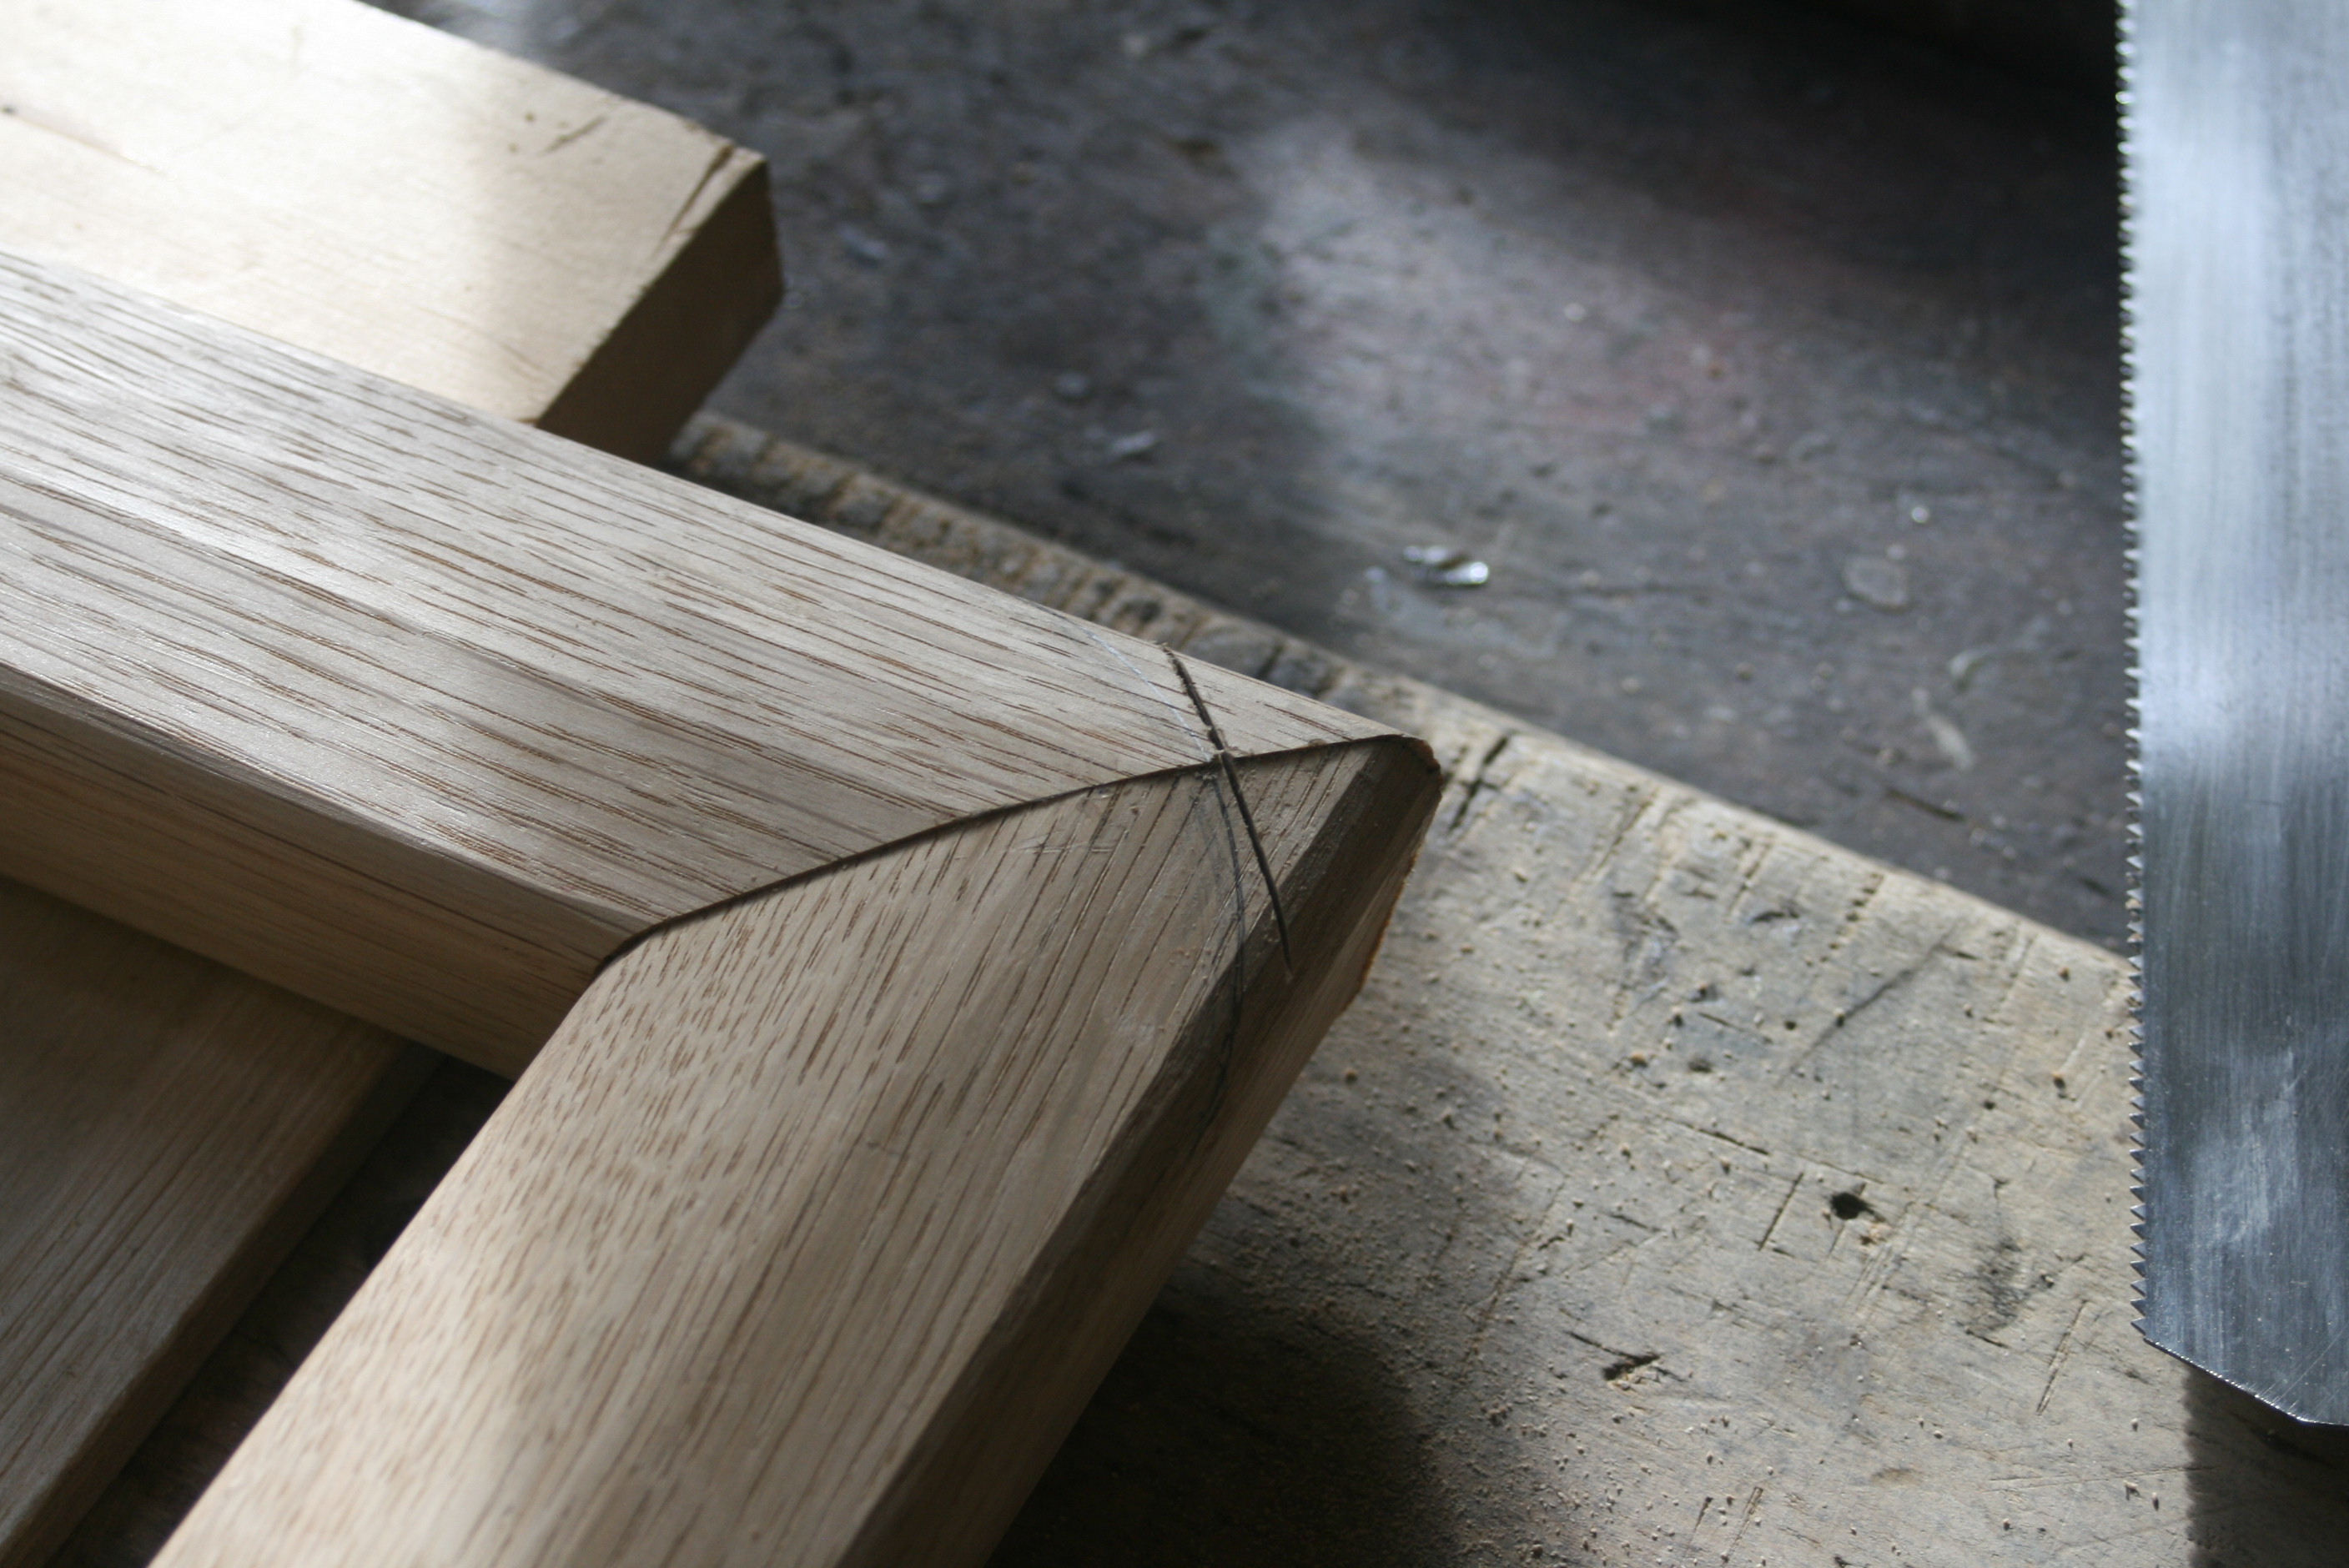
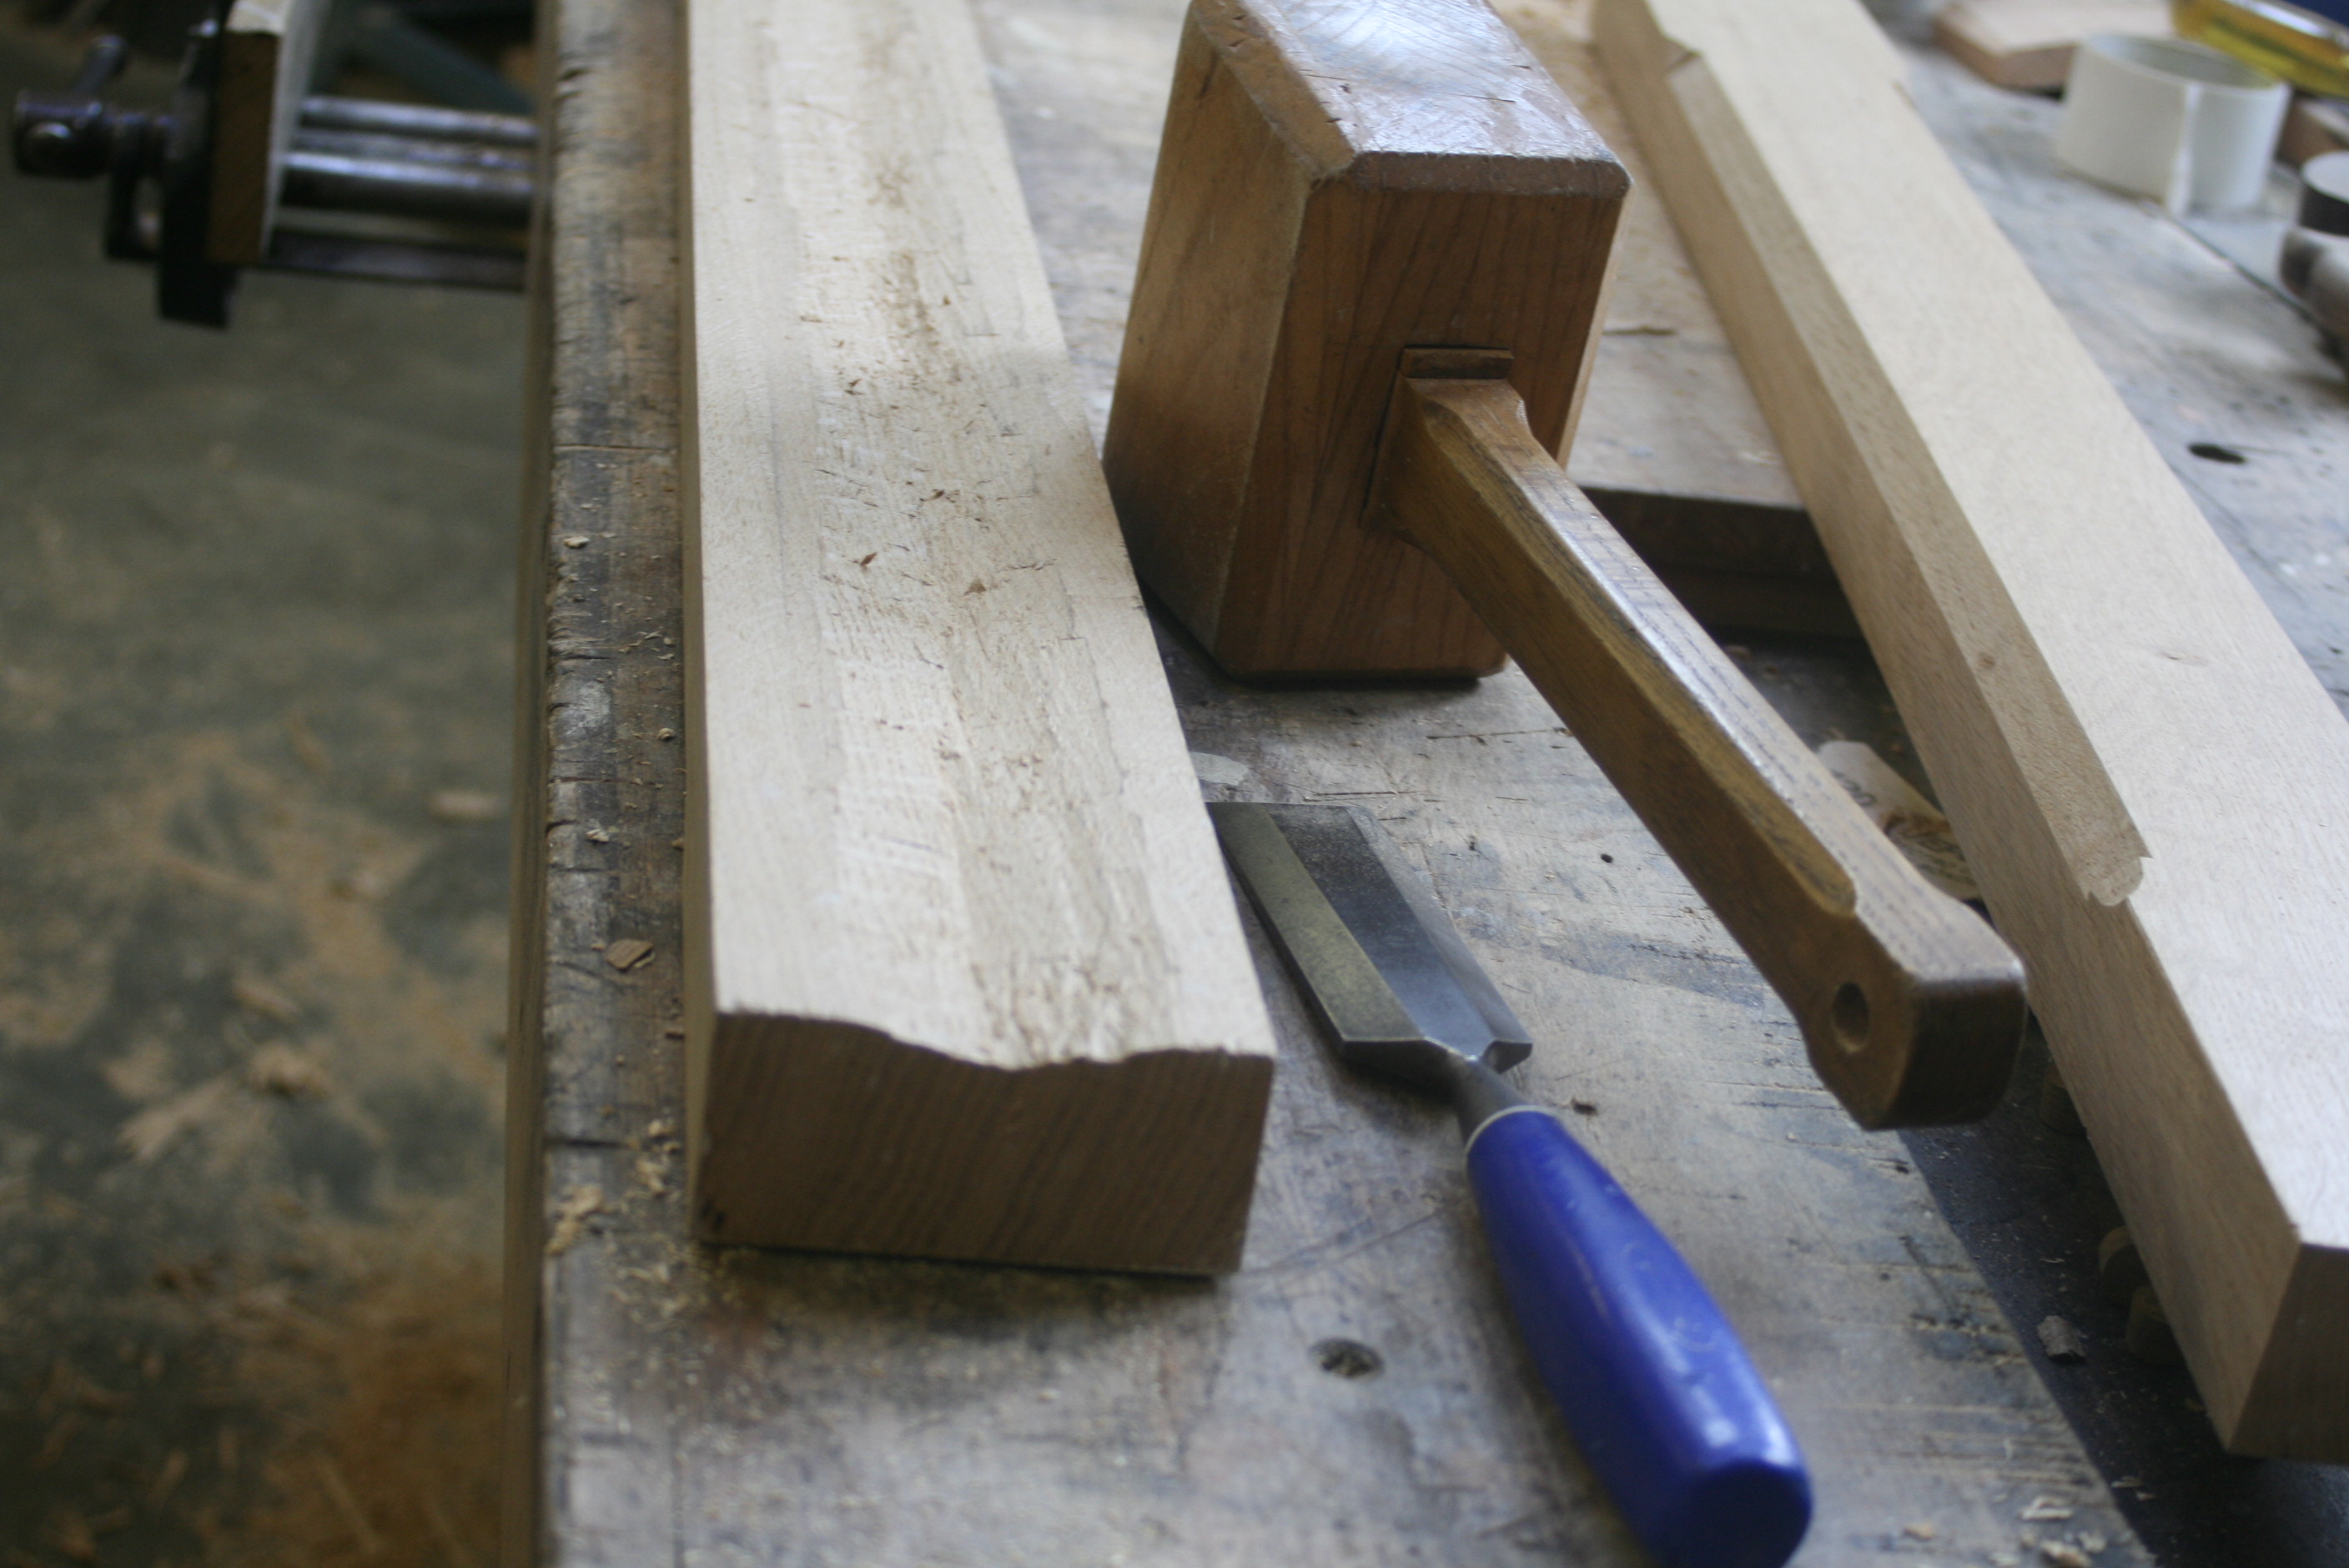
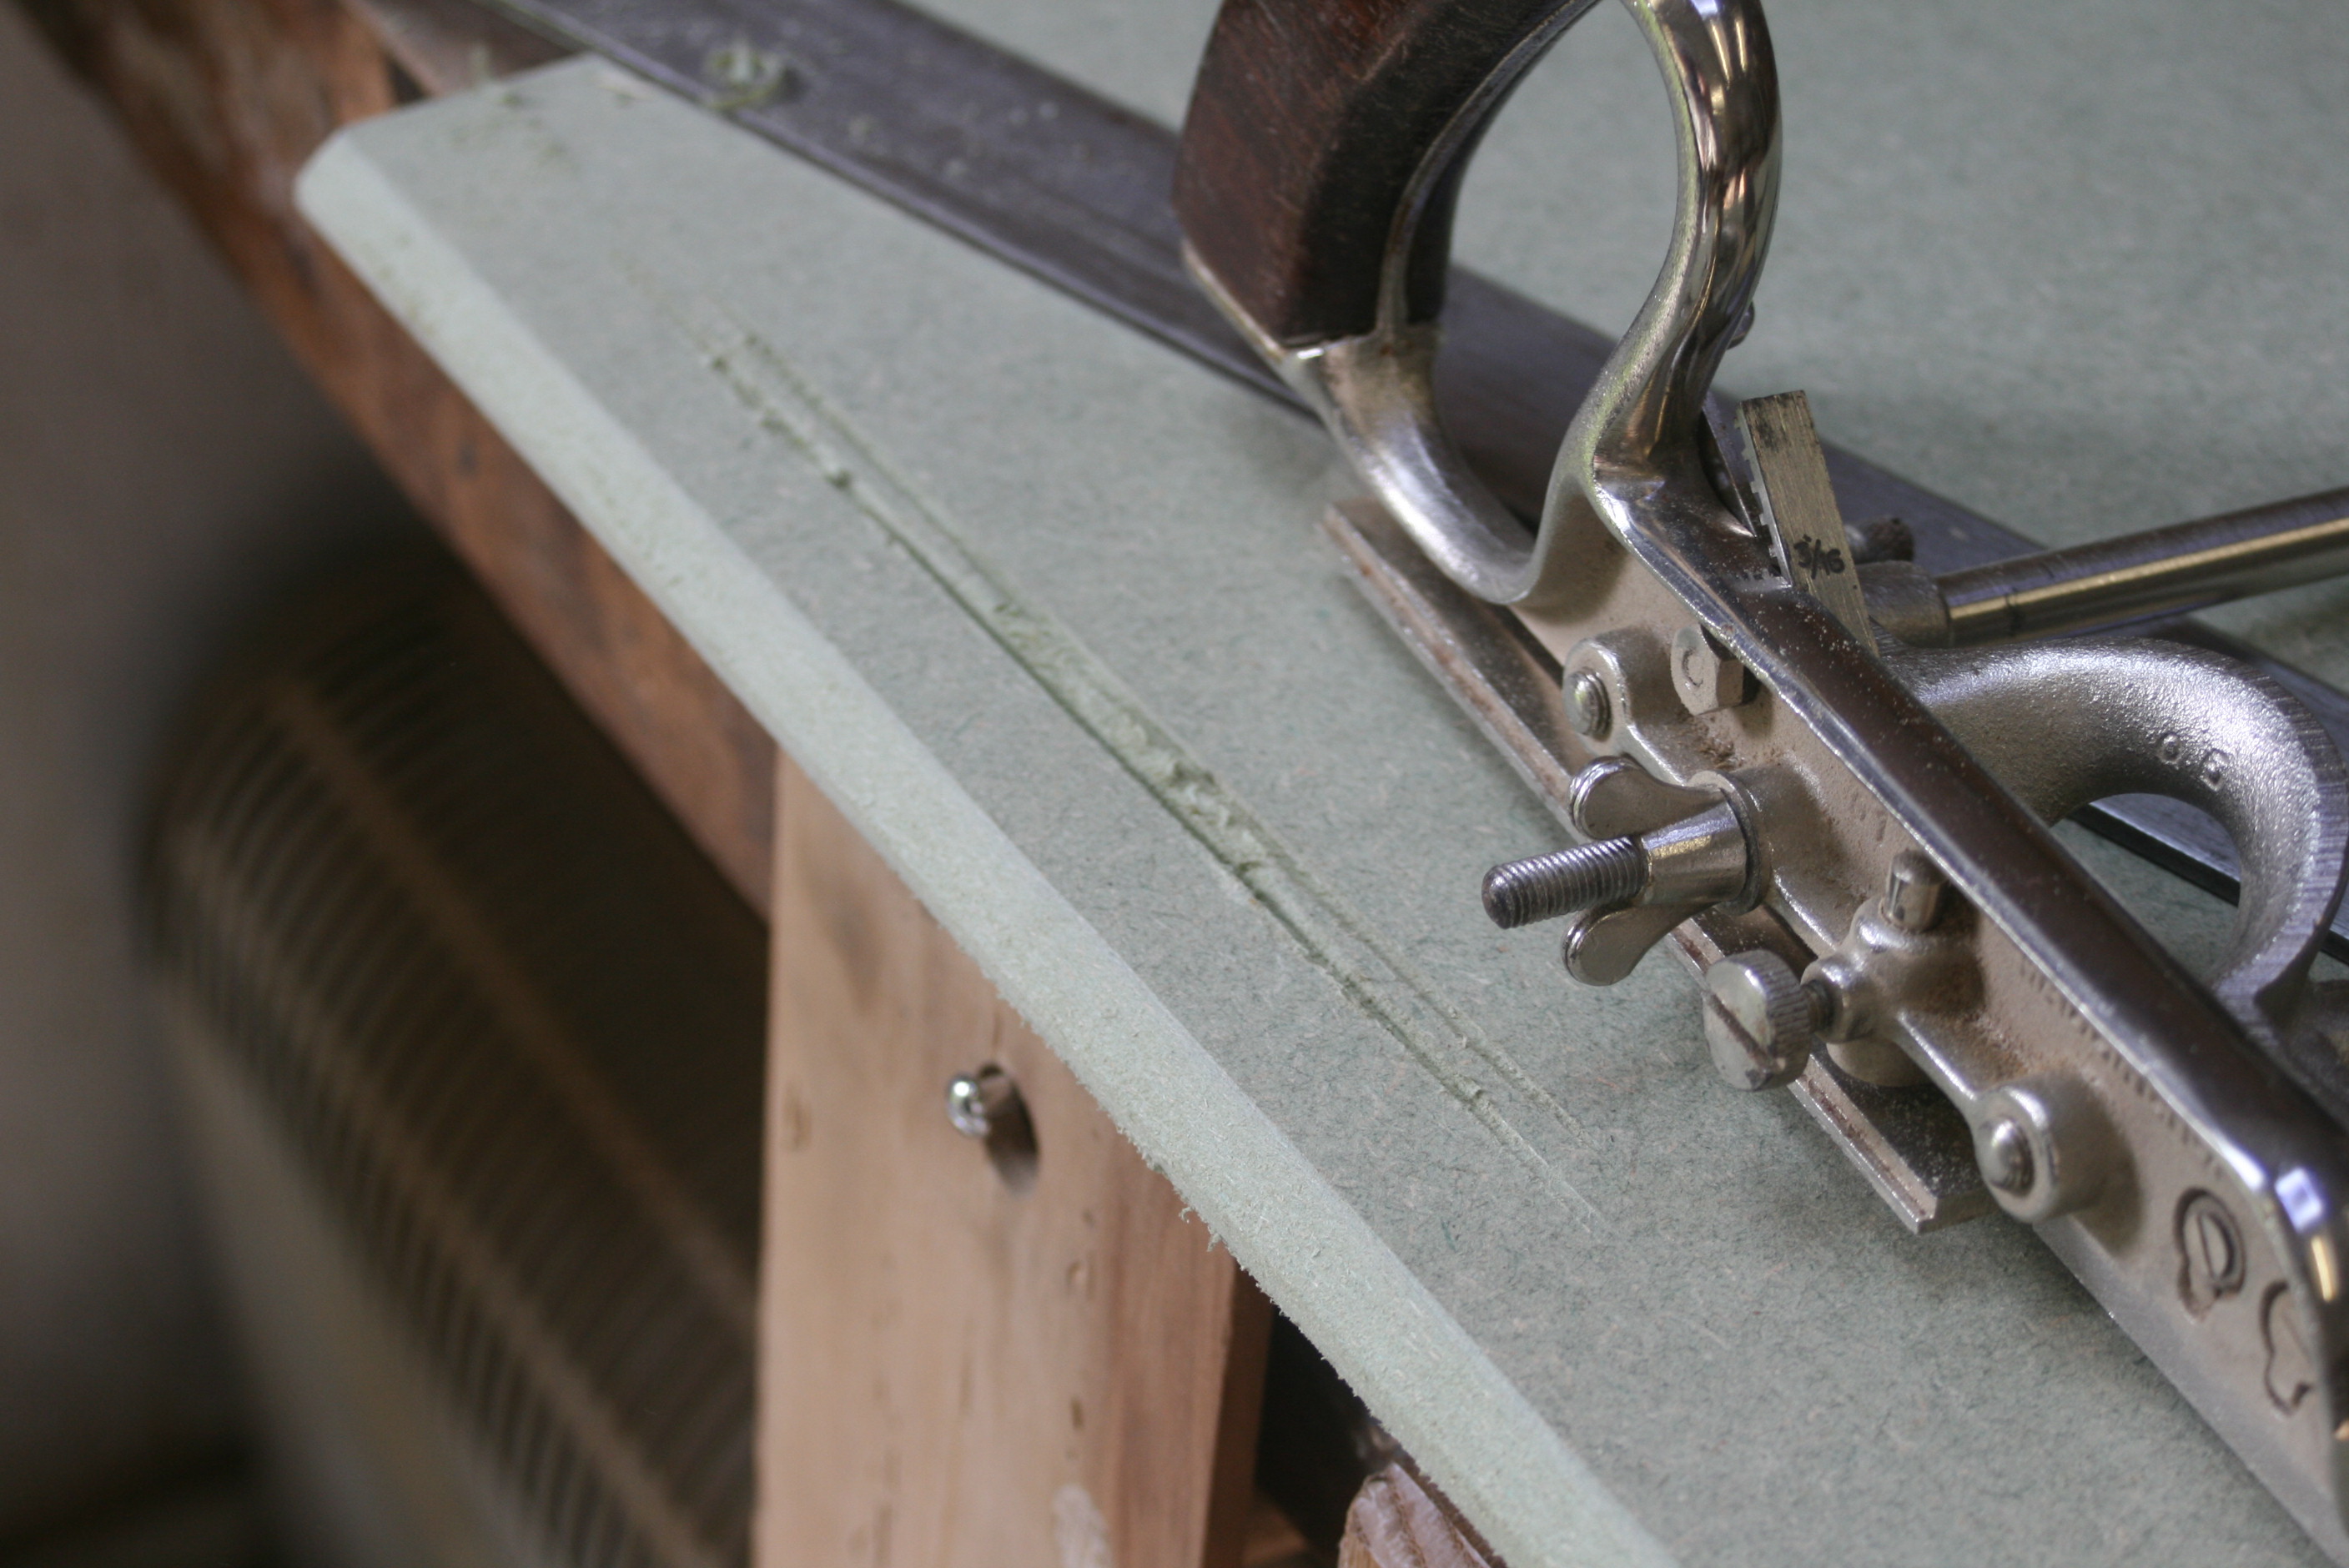
I hate mitres. I don't know if I've mentioned it. Anyway, not only do these mouldings need a mitre at the corner, but they also need one at the end:

a3G0i9o.jpg


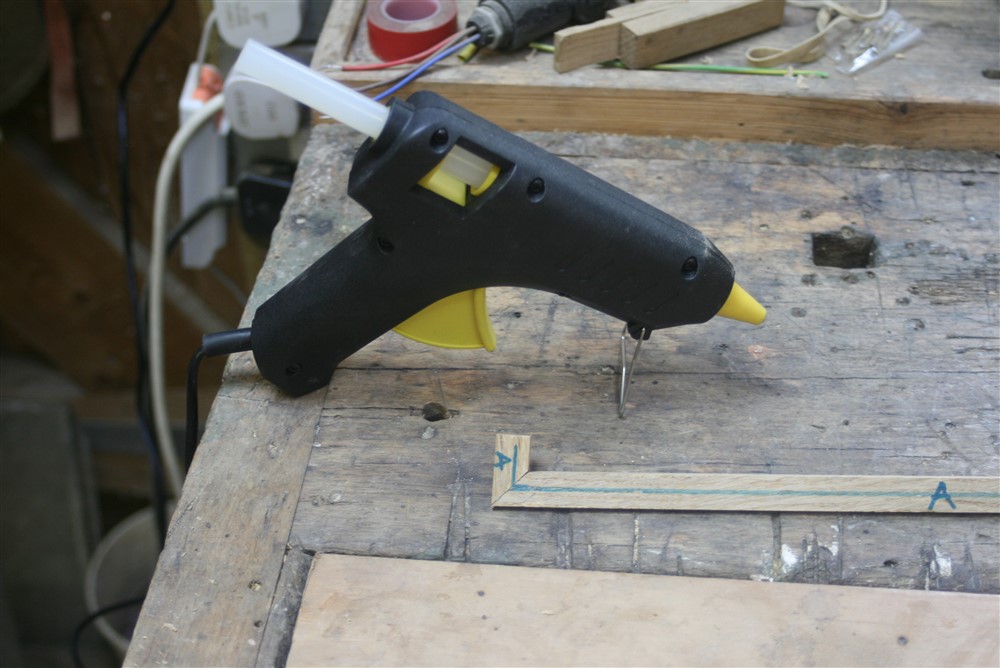
The tiny little end return caused me a headache, but in the end the hot melt glue gun solved the problem:

xswixbd.jpg


N2Gted3.jpg


W4QZgKT.jpg


I position on the stair the moulding is glued and pinned all round, so there is no strength needed in the mitre.

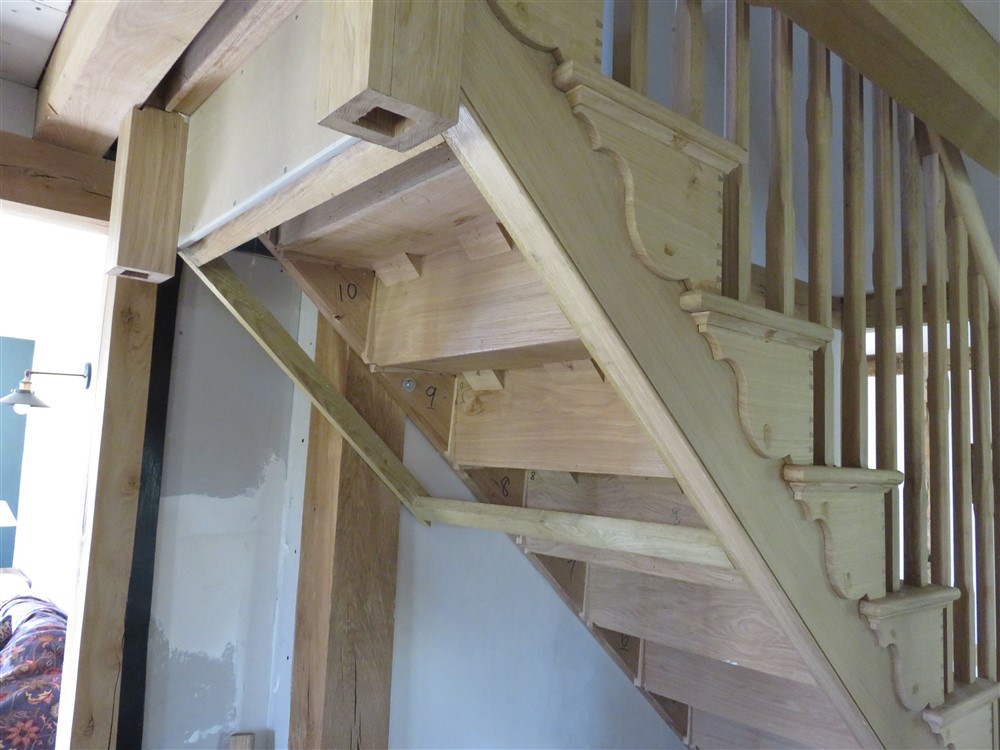
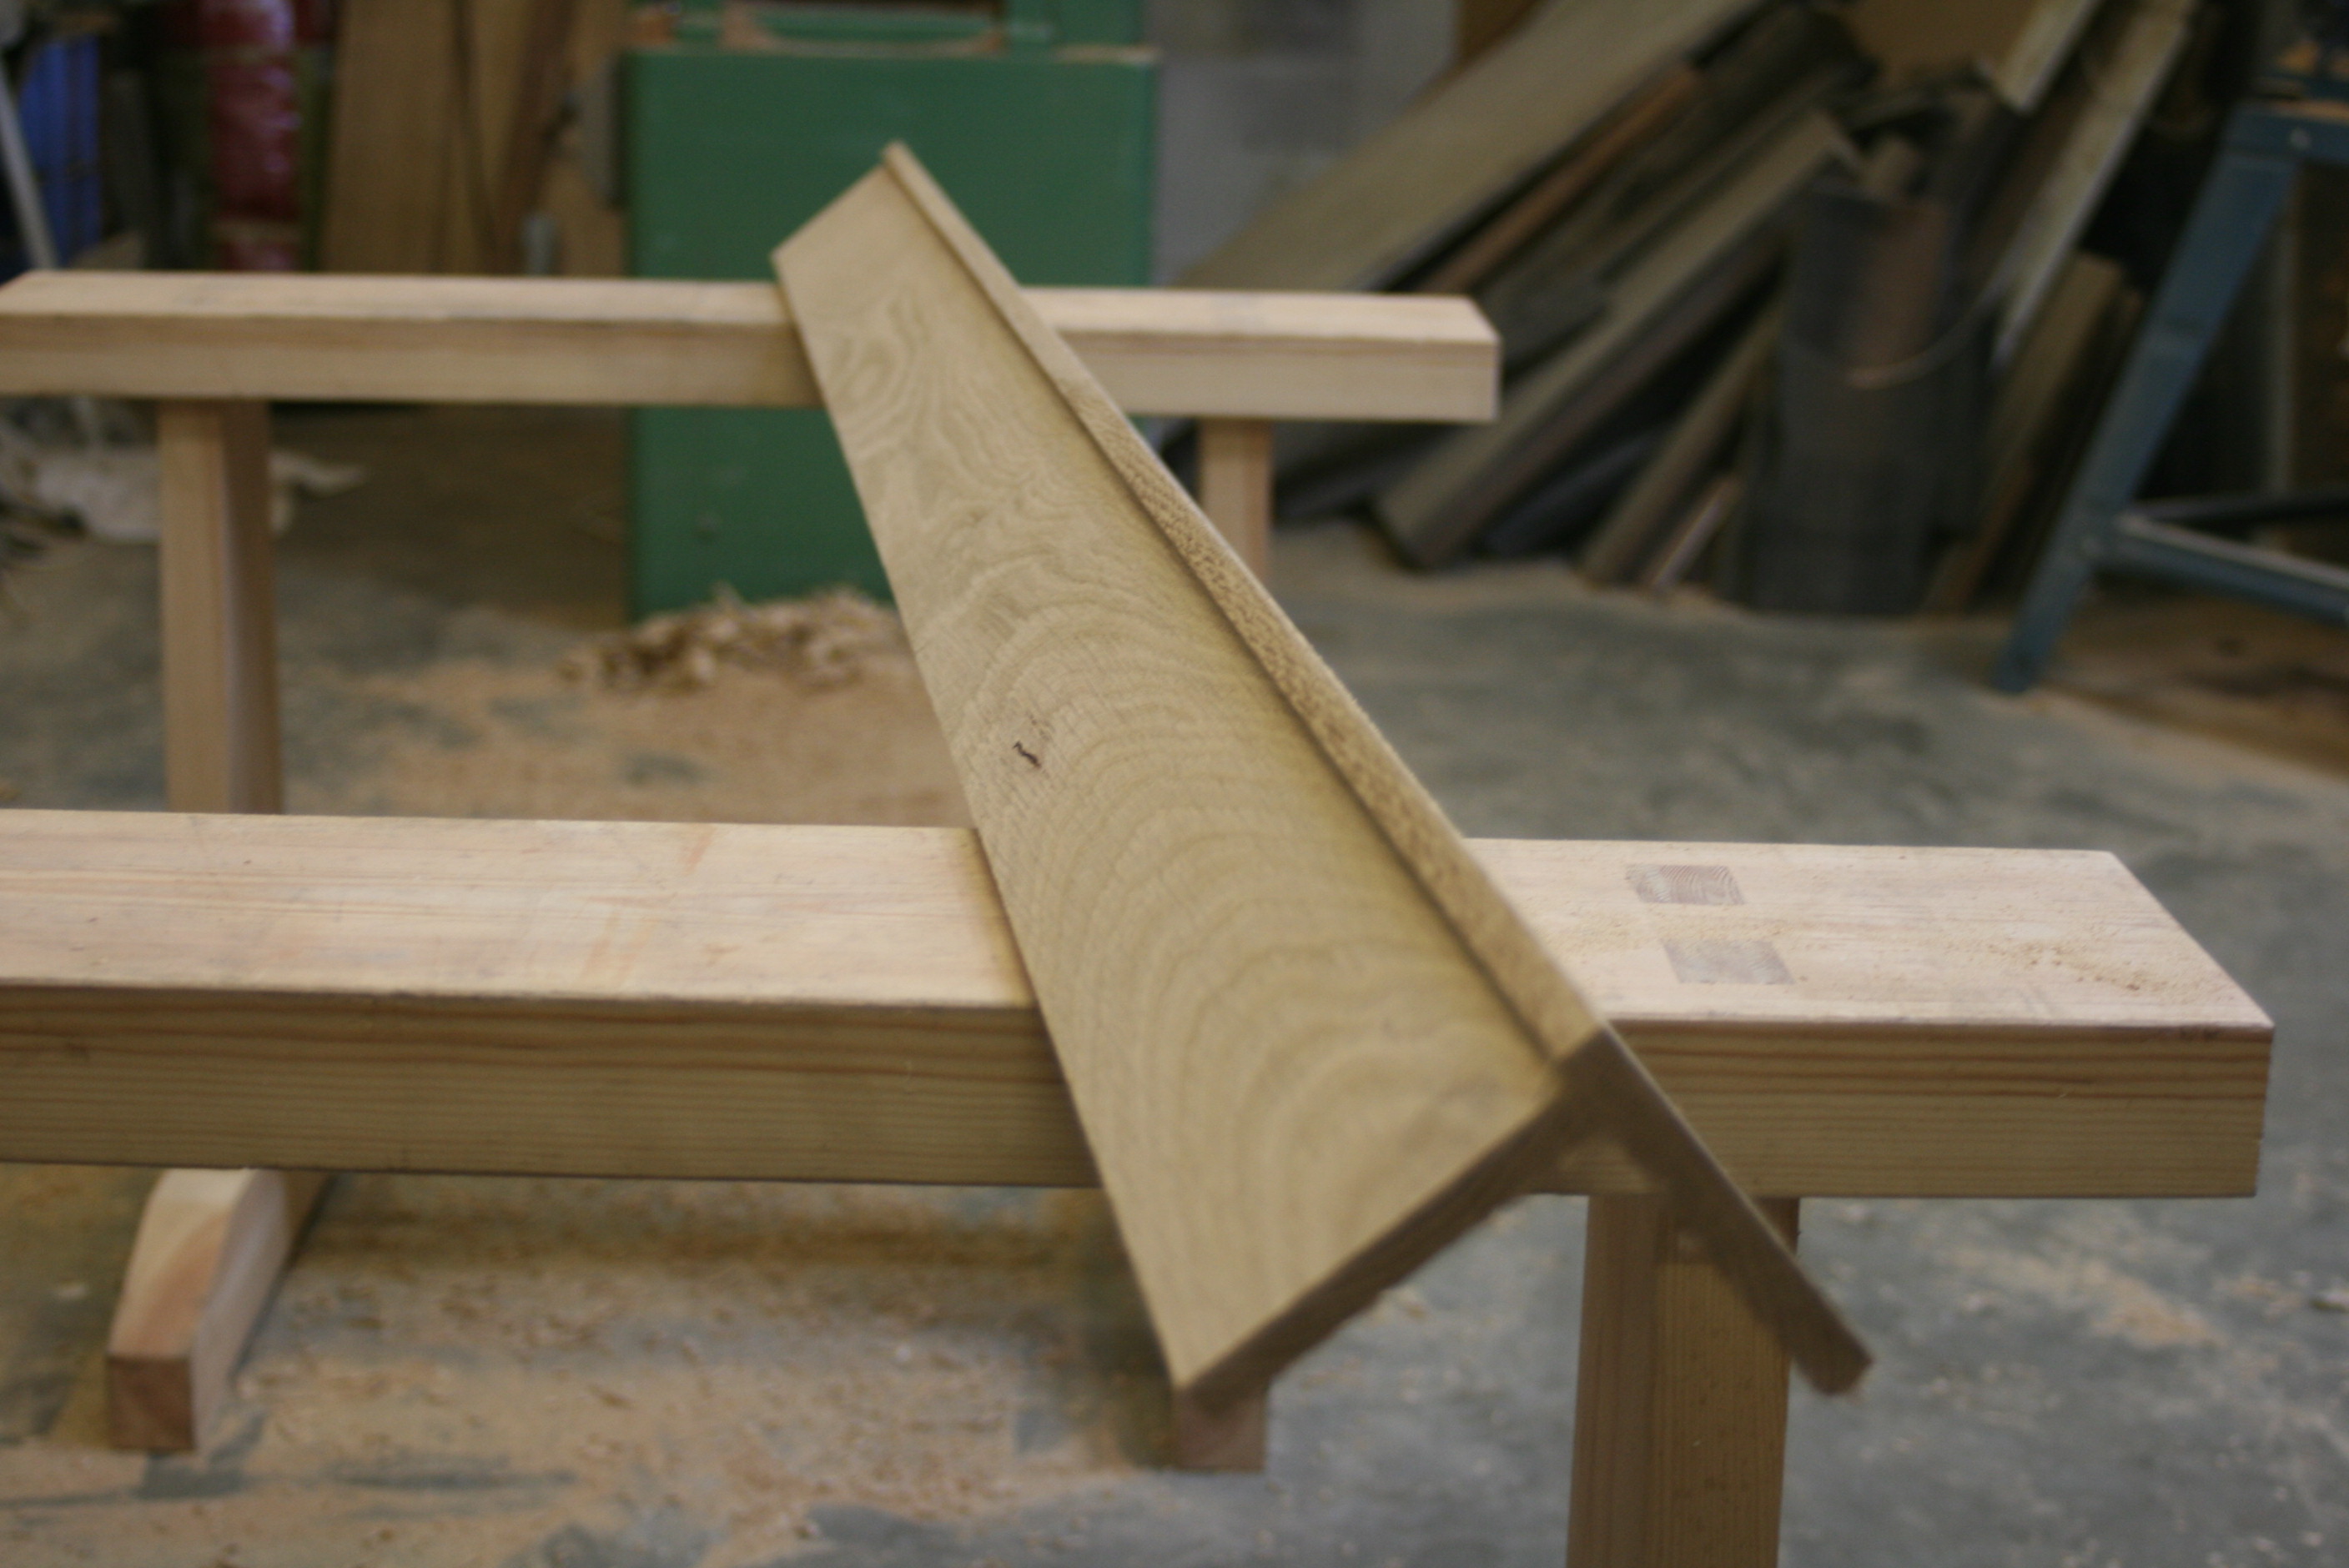
I don't seem to have taken a photo of fitting them, but this later photo shows the moulding in place:

Qpn5sMn.jpg


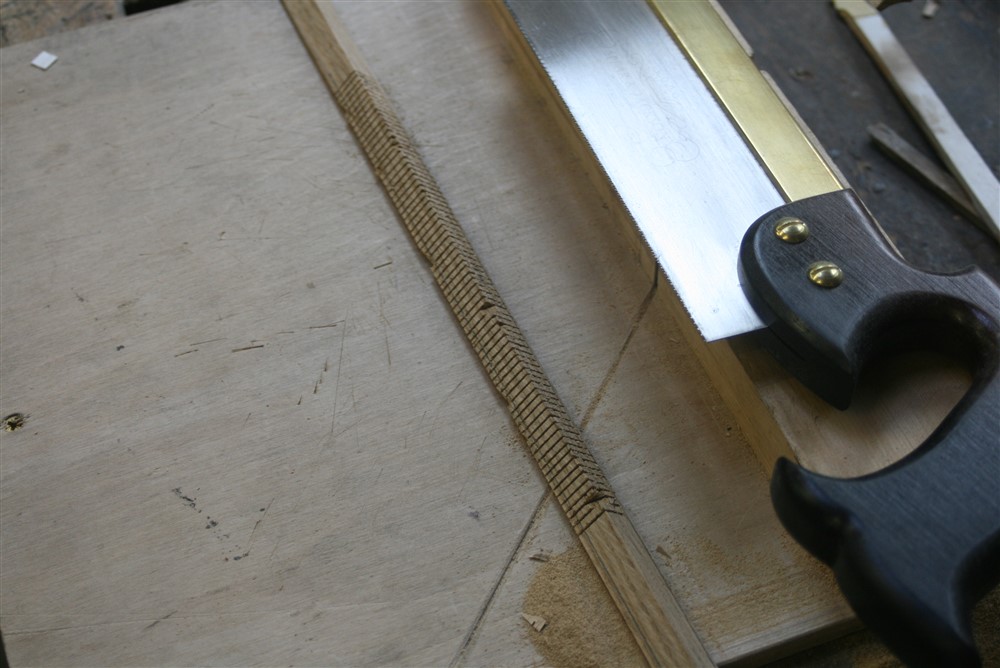
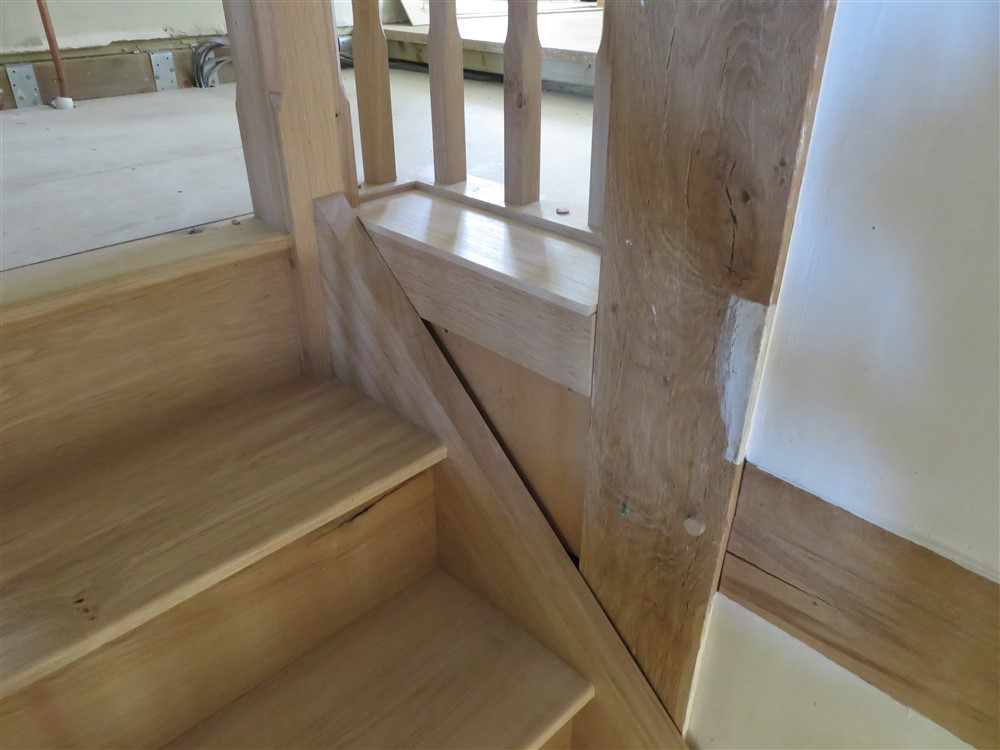
The bottom step, you may recall, is a bull nose. It has a curve with a very tight radius. I thought I would try a combination of kerfing and steaming to bend the moulding around it:

iYBQCFB.jpg


5zPG1Cq.jpg


coiEvQL.jpg


RcIOj7M.jpg


Oh well! Turns out you need to be lying on the floor to see the lack of moulding under the bottom step, so there isn't one.

-

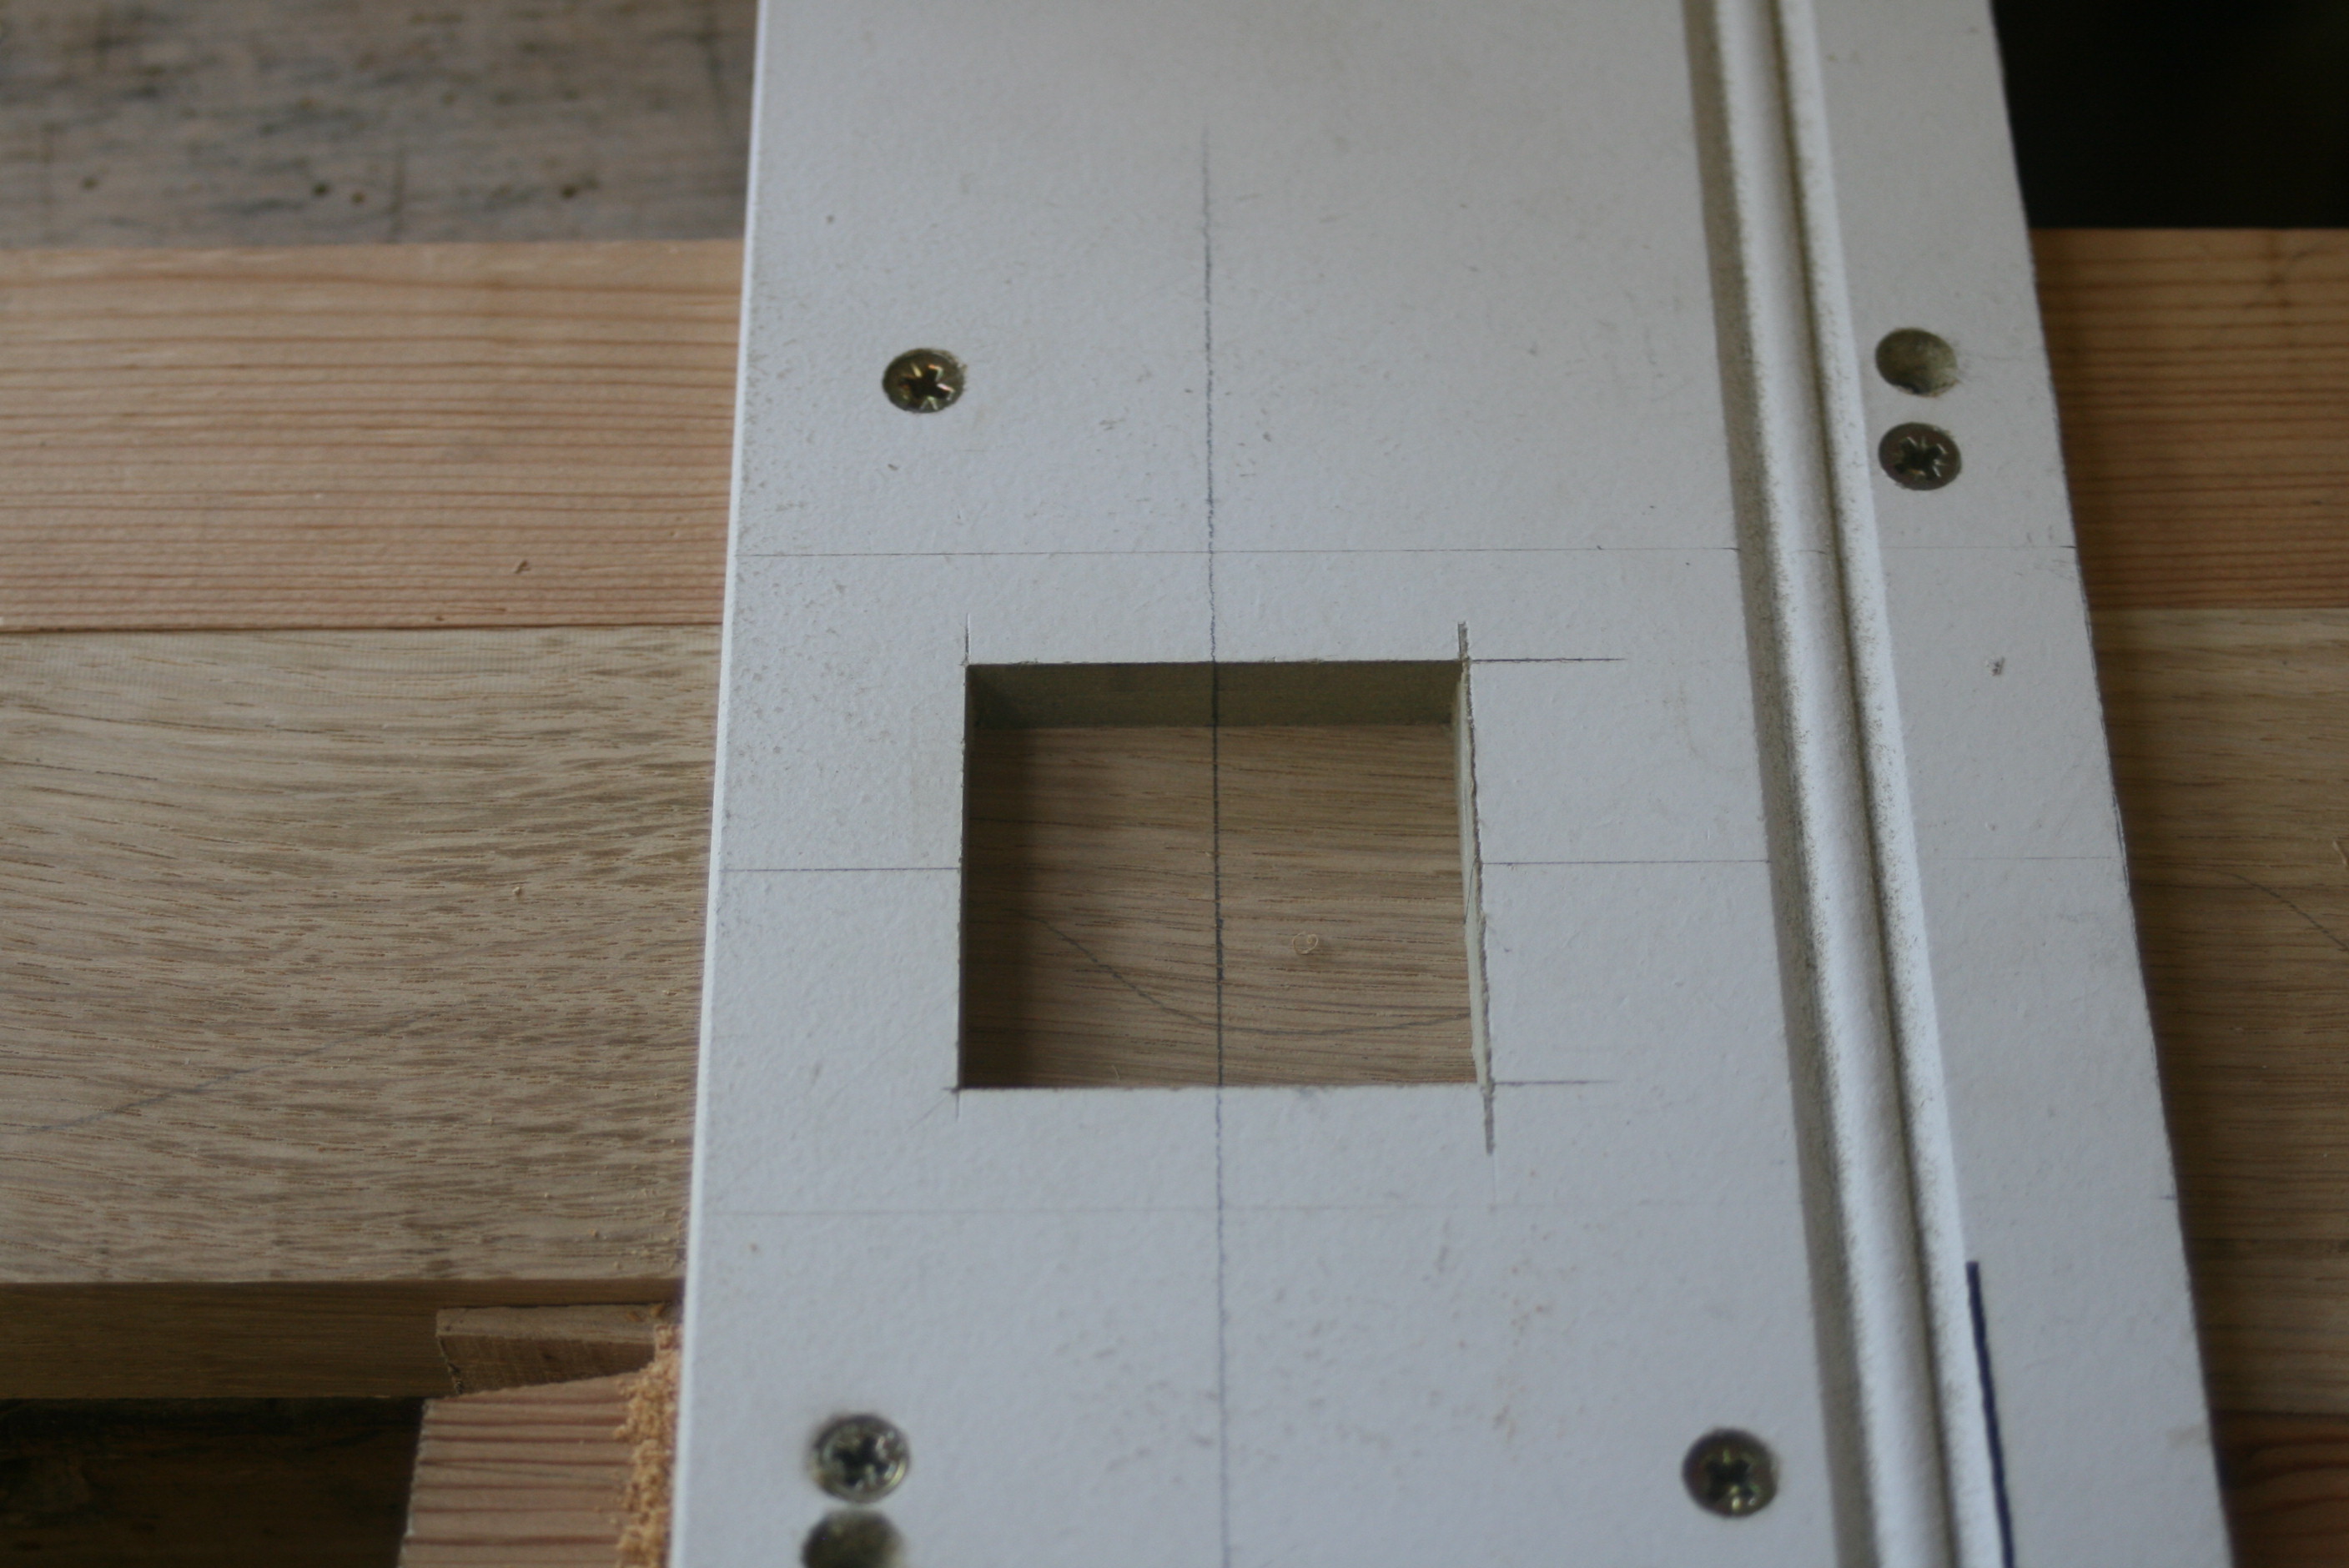
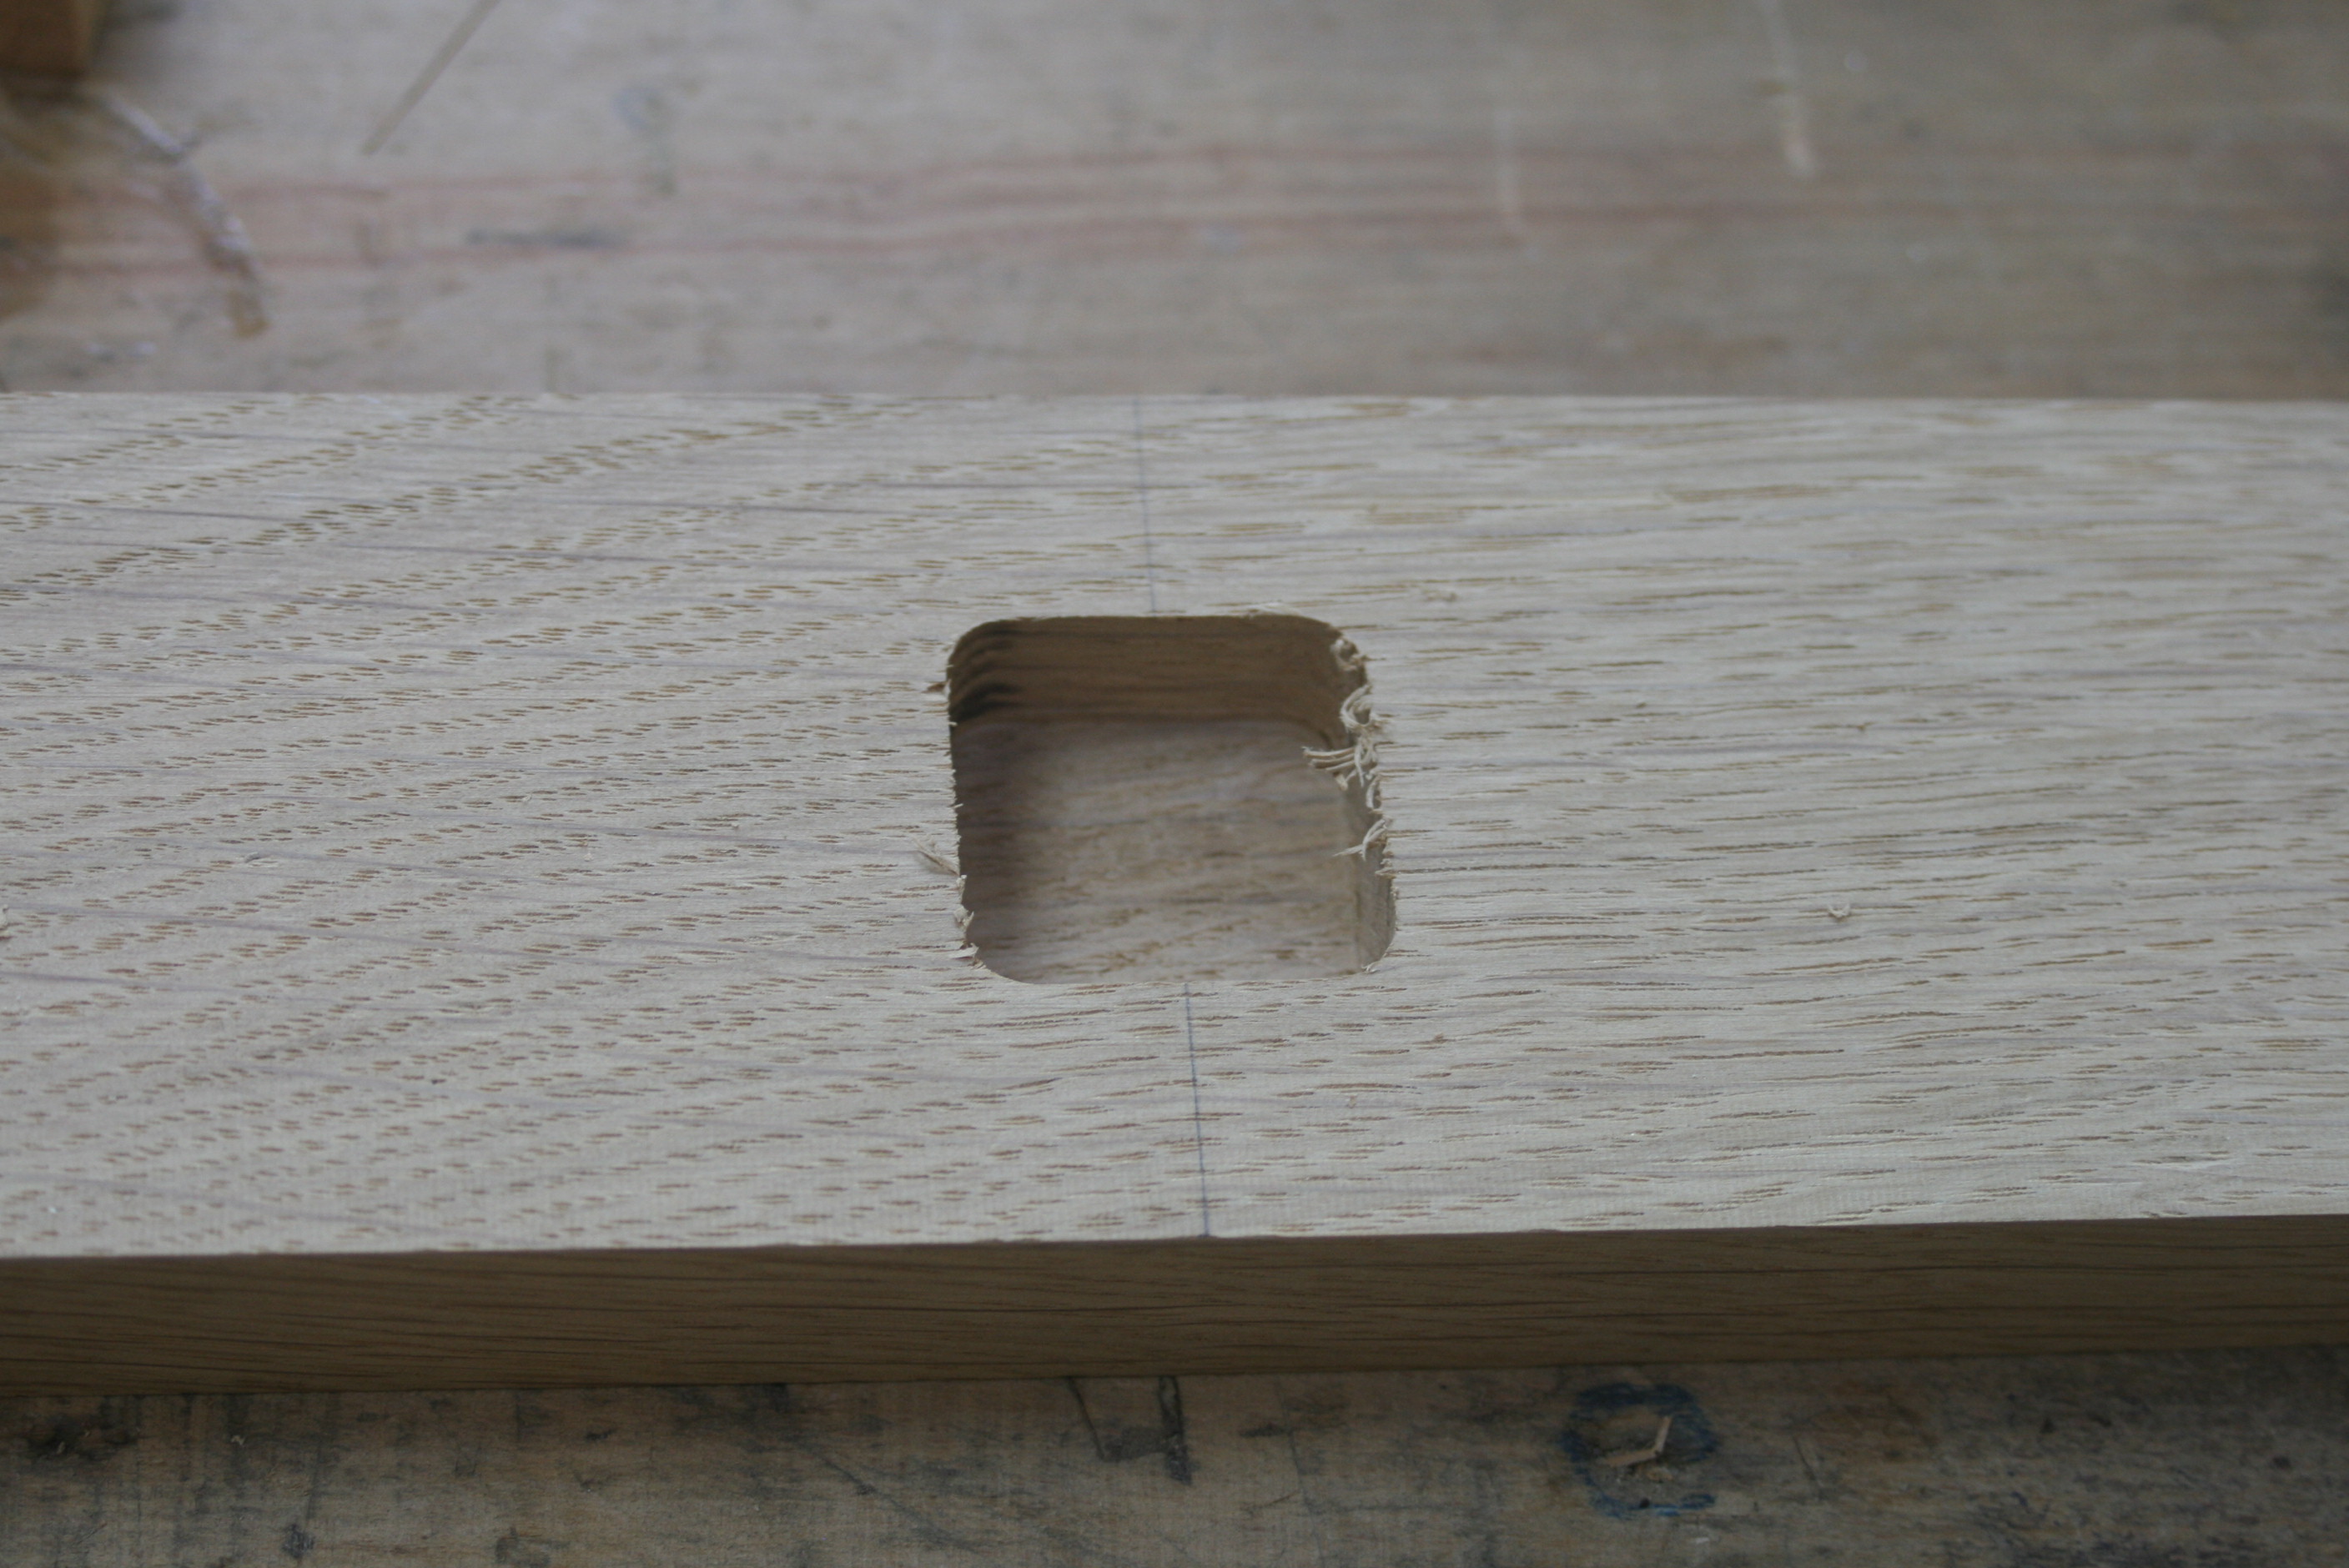
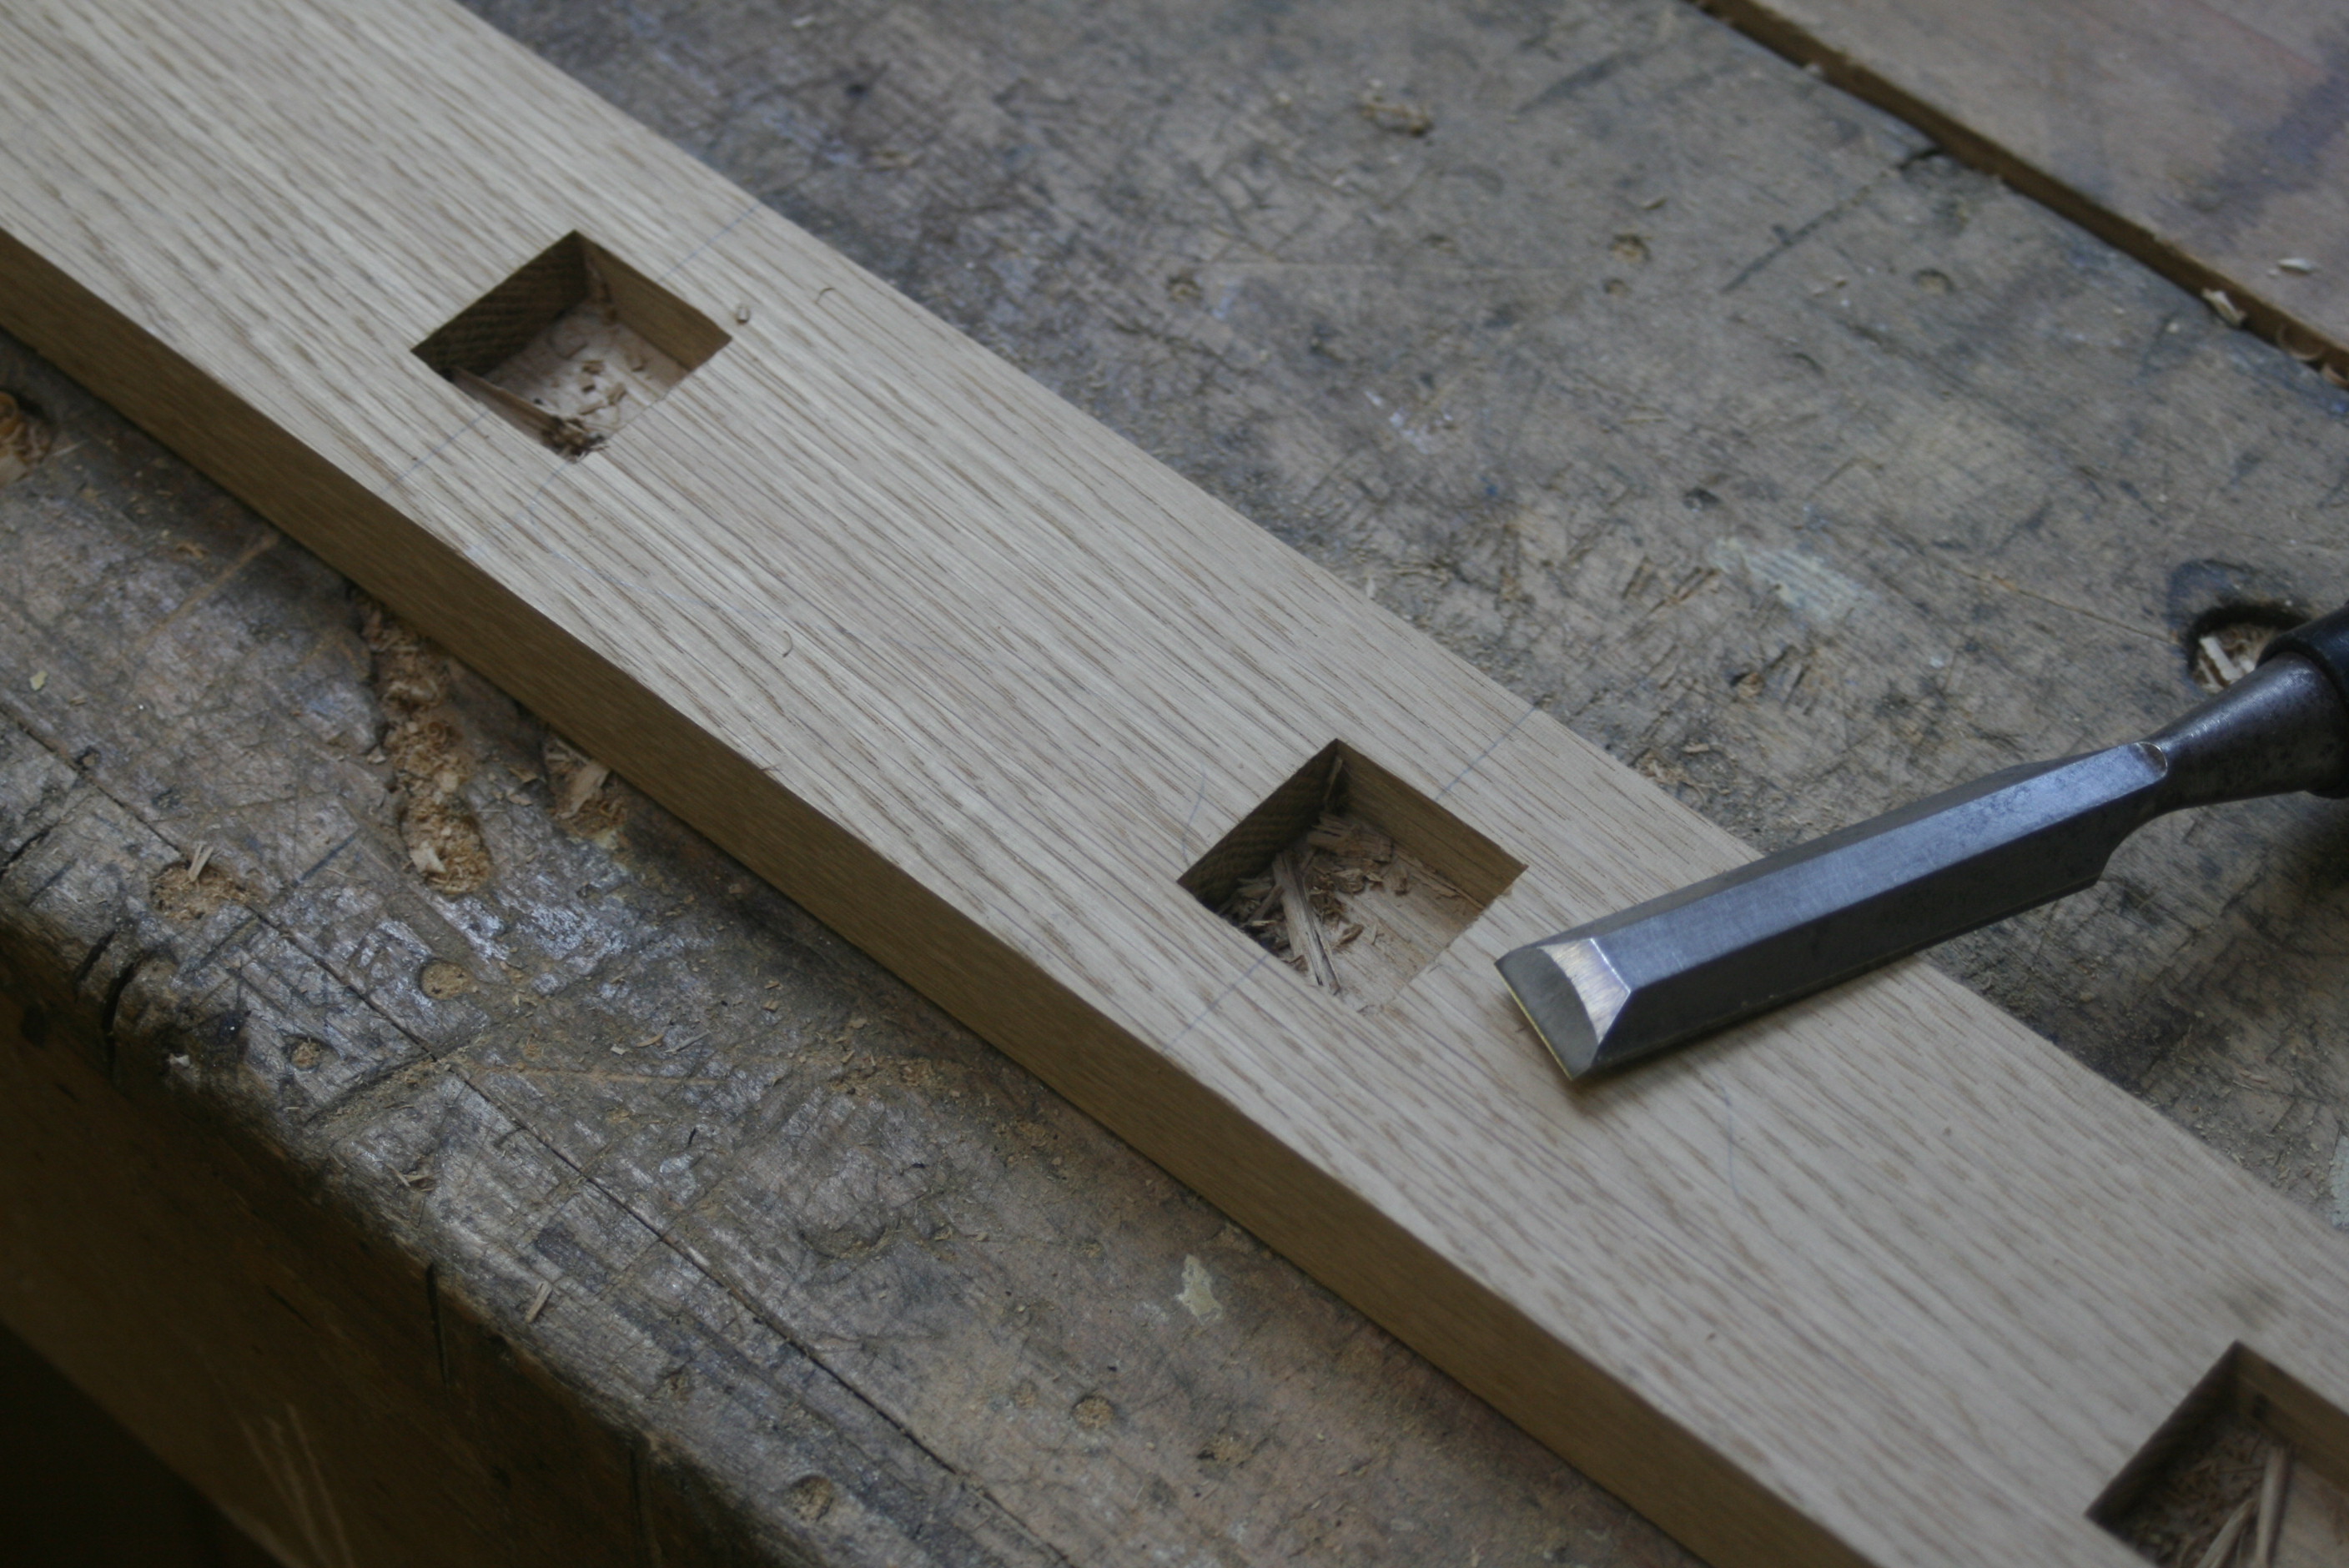
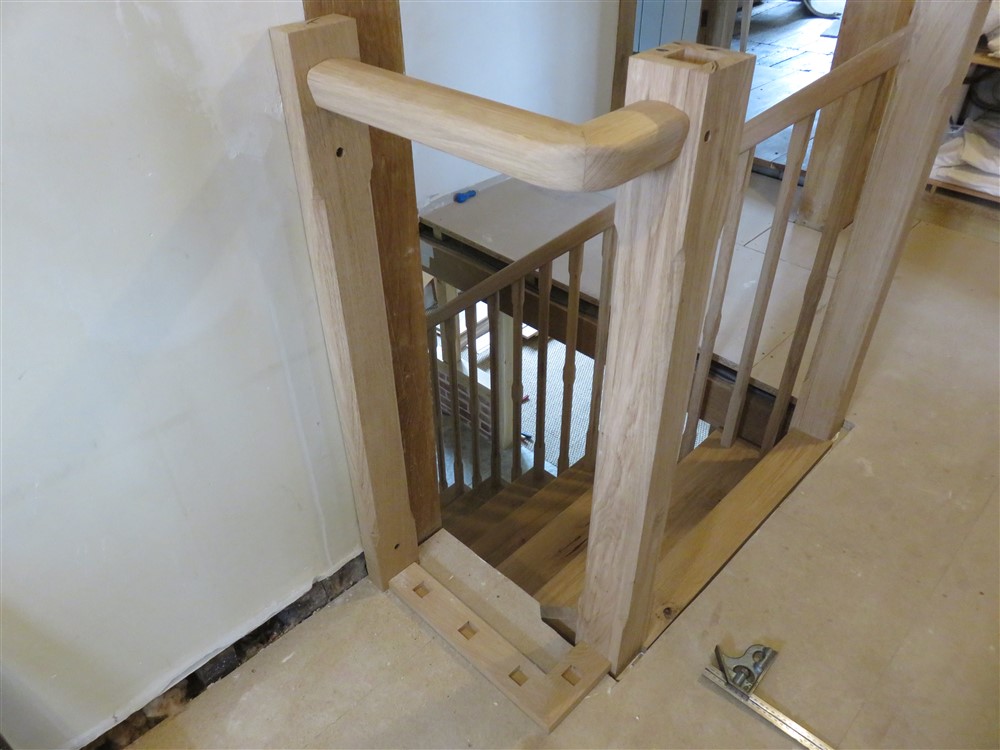
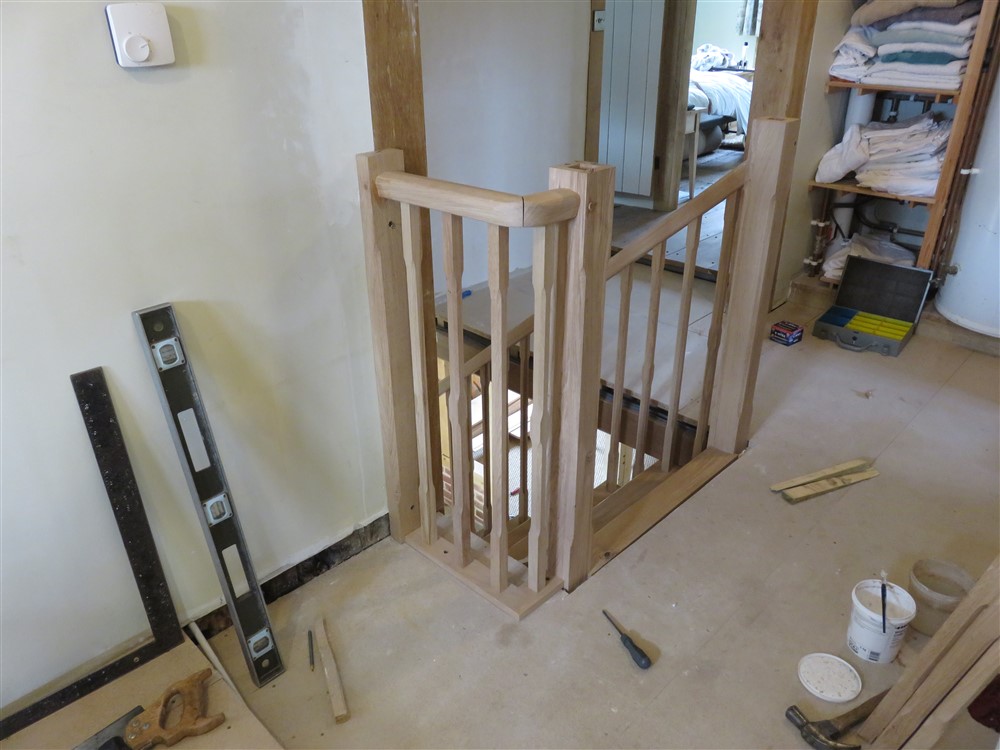
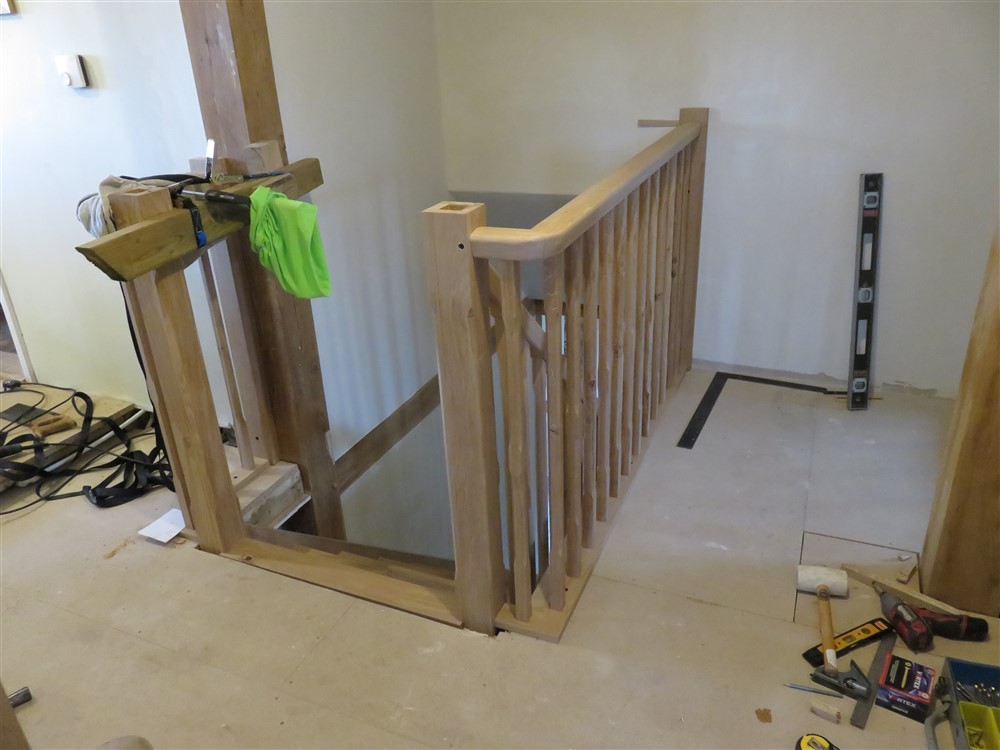
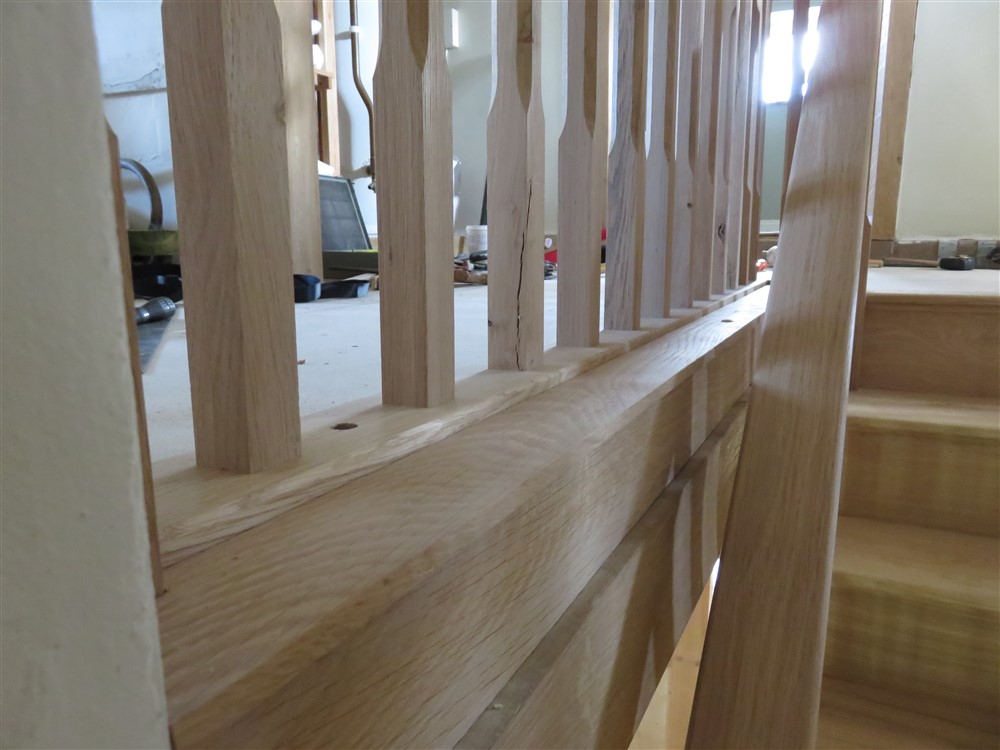
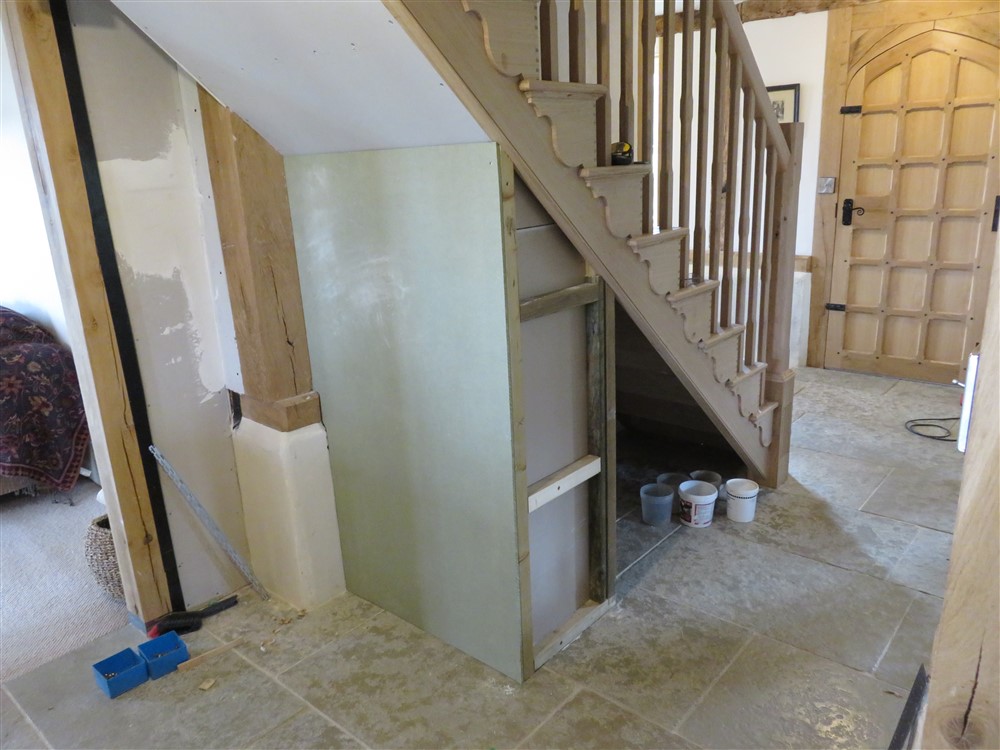
On to the ballustrading on the landing. This had to be done in conjunction with the apron around the floor edge, because access wouldn't be possible to do the latter once the ballustrade was in place. As with the handrail on the stair itself, there will be individual mortises for each balluster. Unlike the stair handrail, though, they can be done with a router and a jig because the mortise is at right angles, not pitched. I made a quick wedged jig:

HE2GCLK.jpg


yYfk6Dw.jpg


BsfYgZB.jpg


xq7Cb9H.jpg


I spent rather a lot of time laying out the positions of the ballusters, then set to with the router:

U9WxDfI.jpg


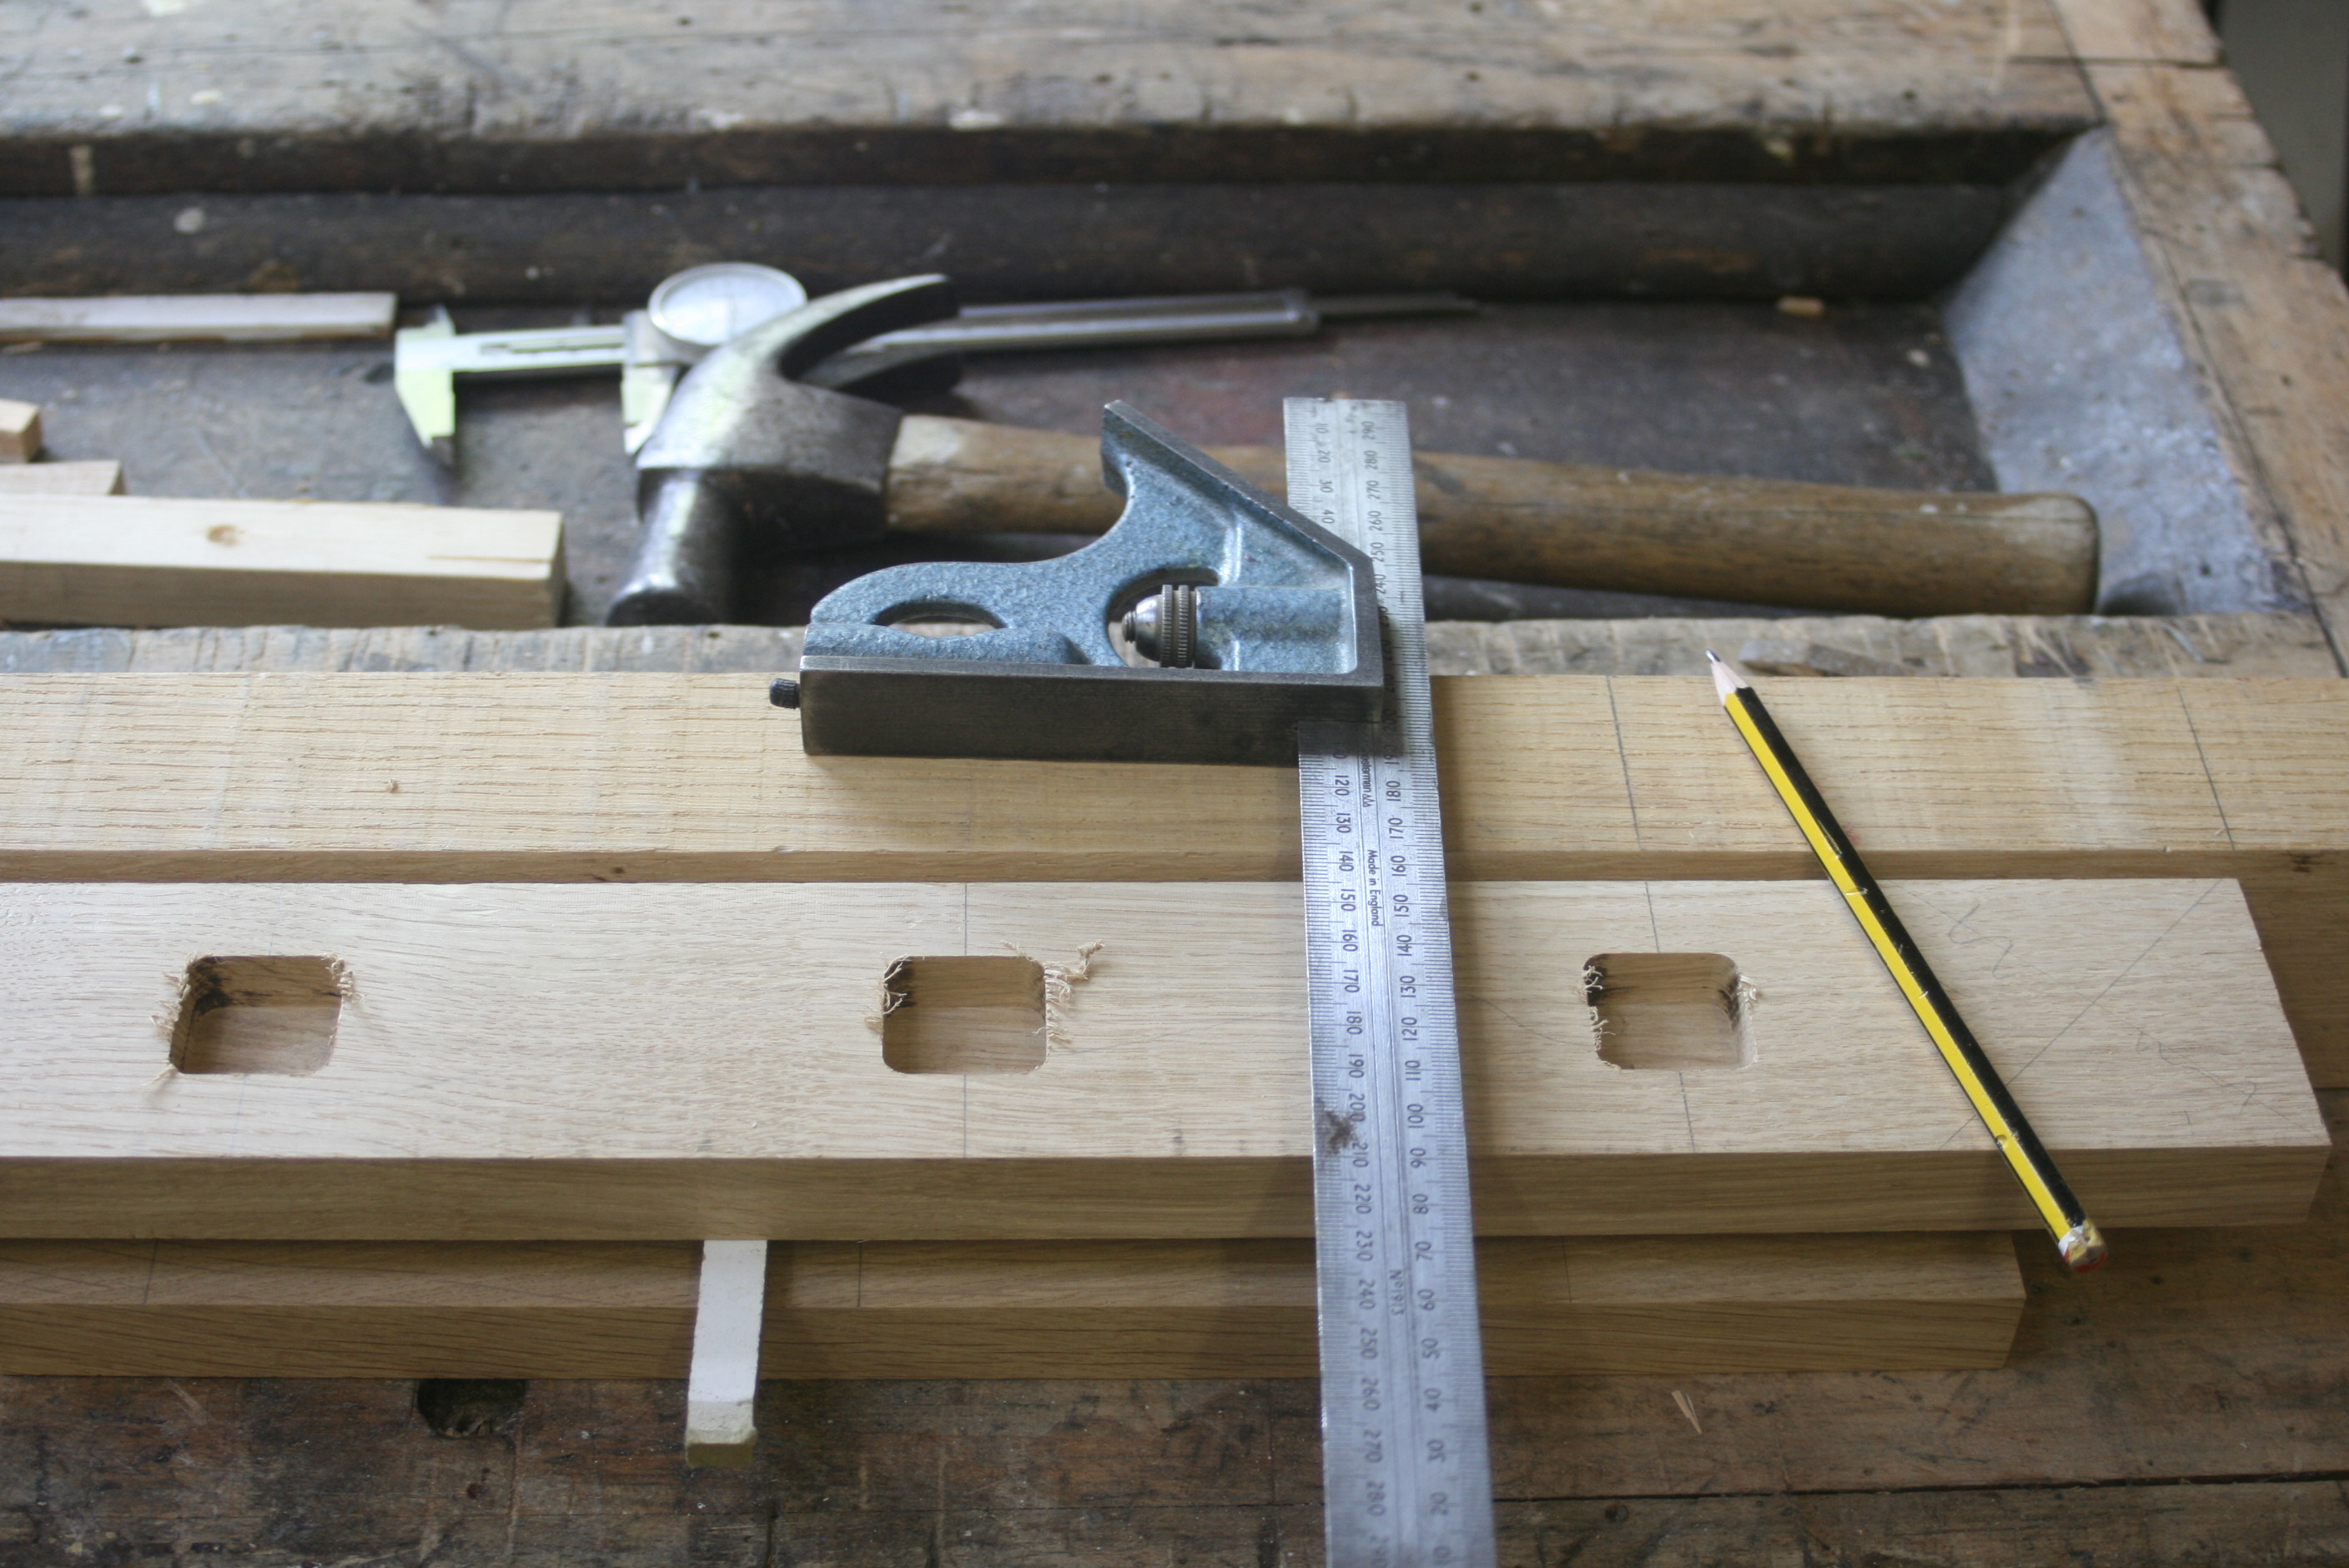
Transferring the base board setting out to the handrail:

so6gJwb.jpg


That's the base board (no idea what it's called). The underside of the handrails was a bit more complex, in that there were sloped side. This meant the jig couldn't reference the sides, nor could it be wedged. So I ended up screwing it in place each time. No big deal:

JgzAz9X.jpg


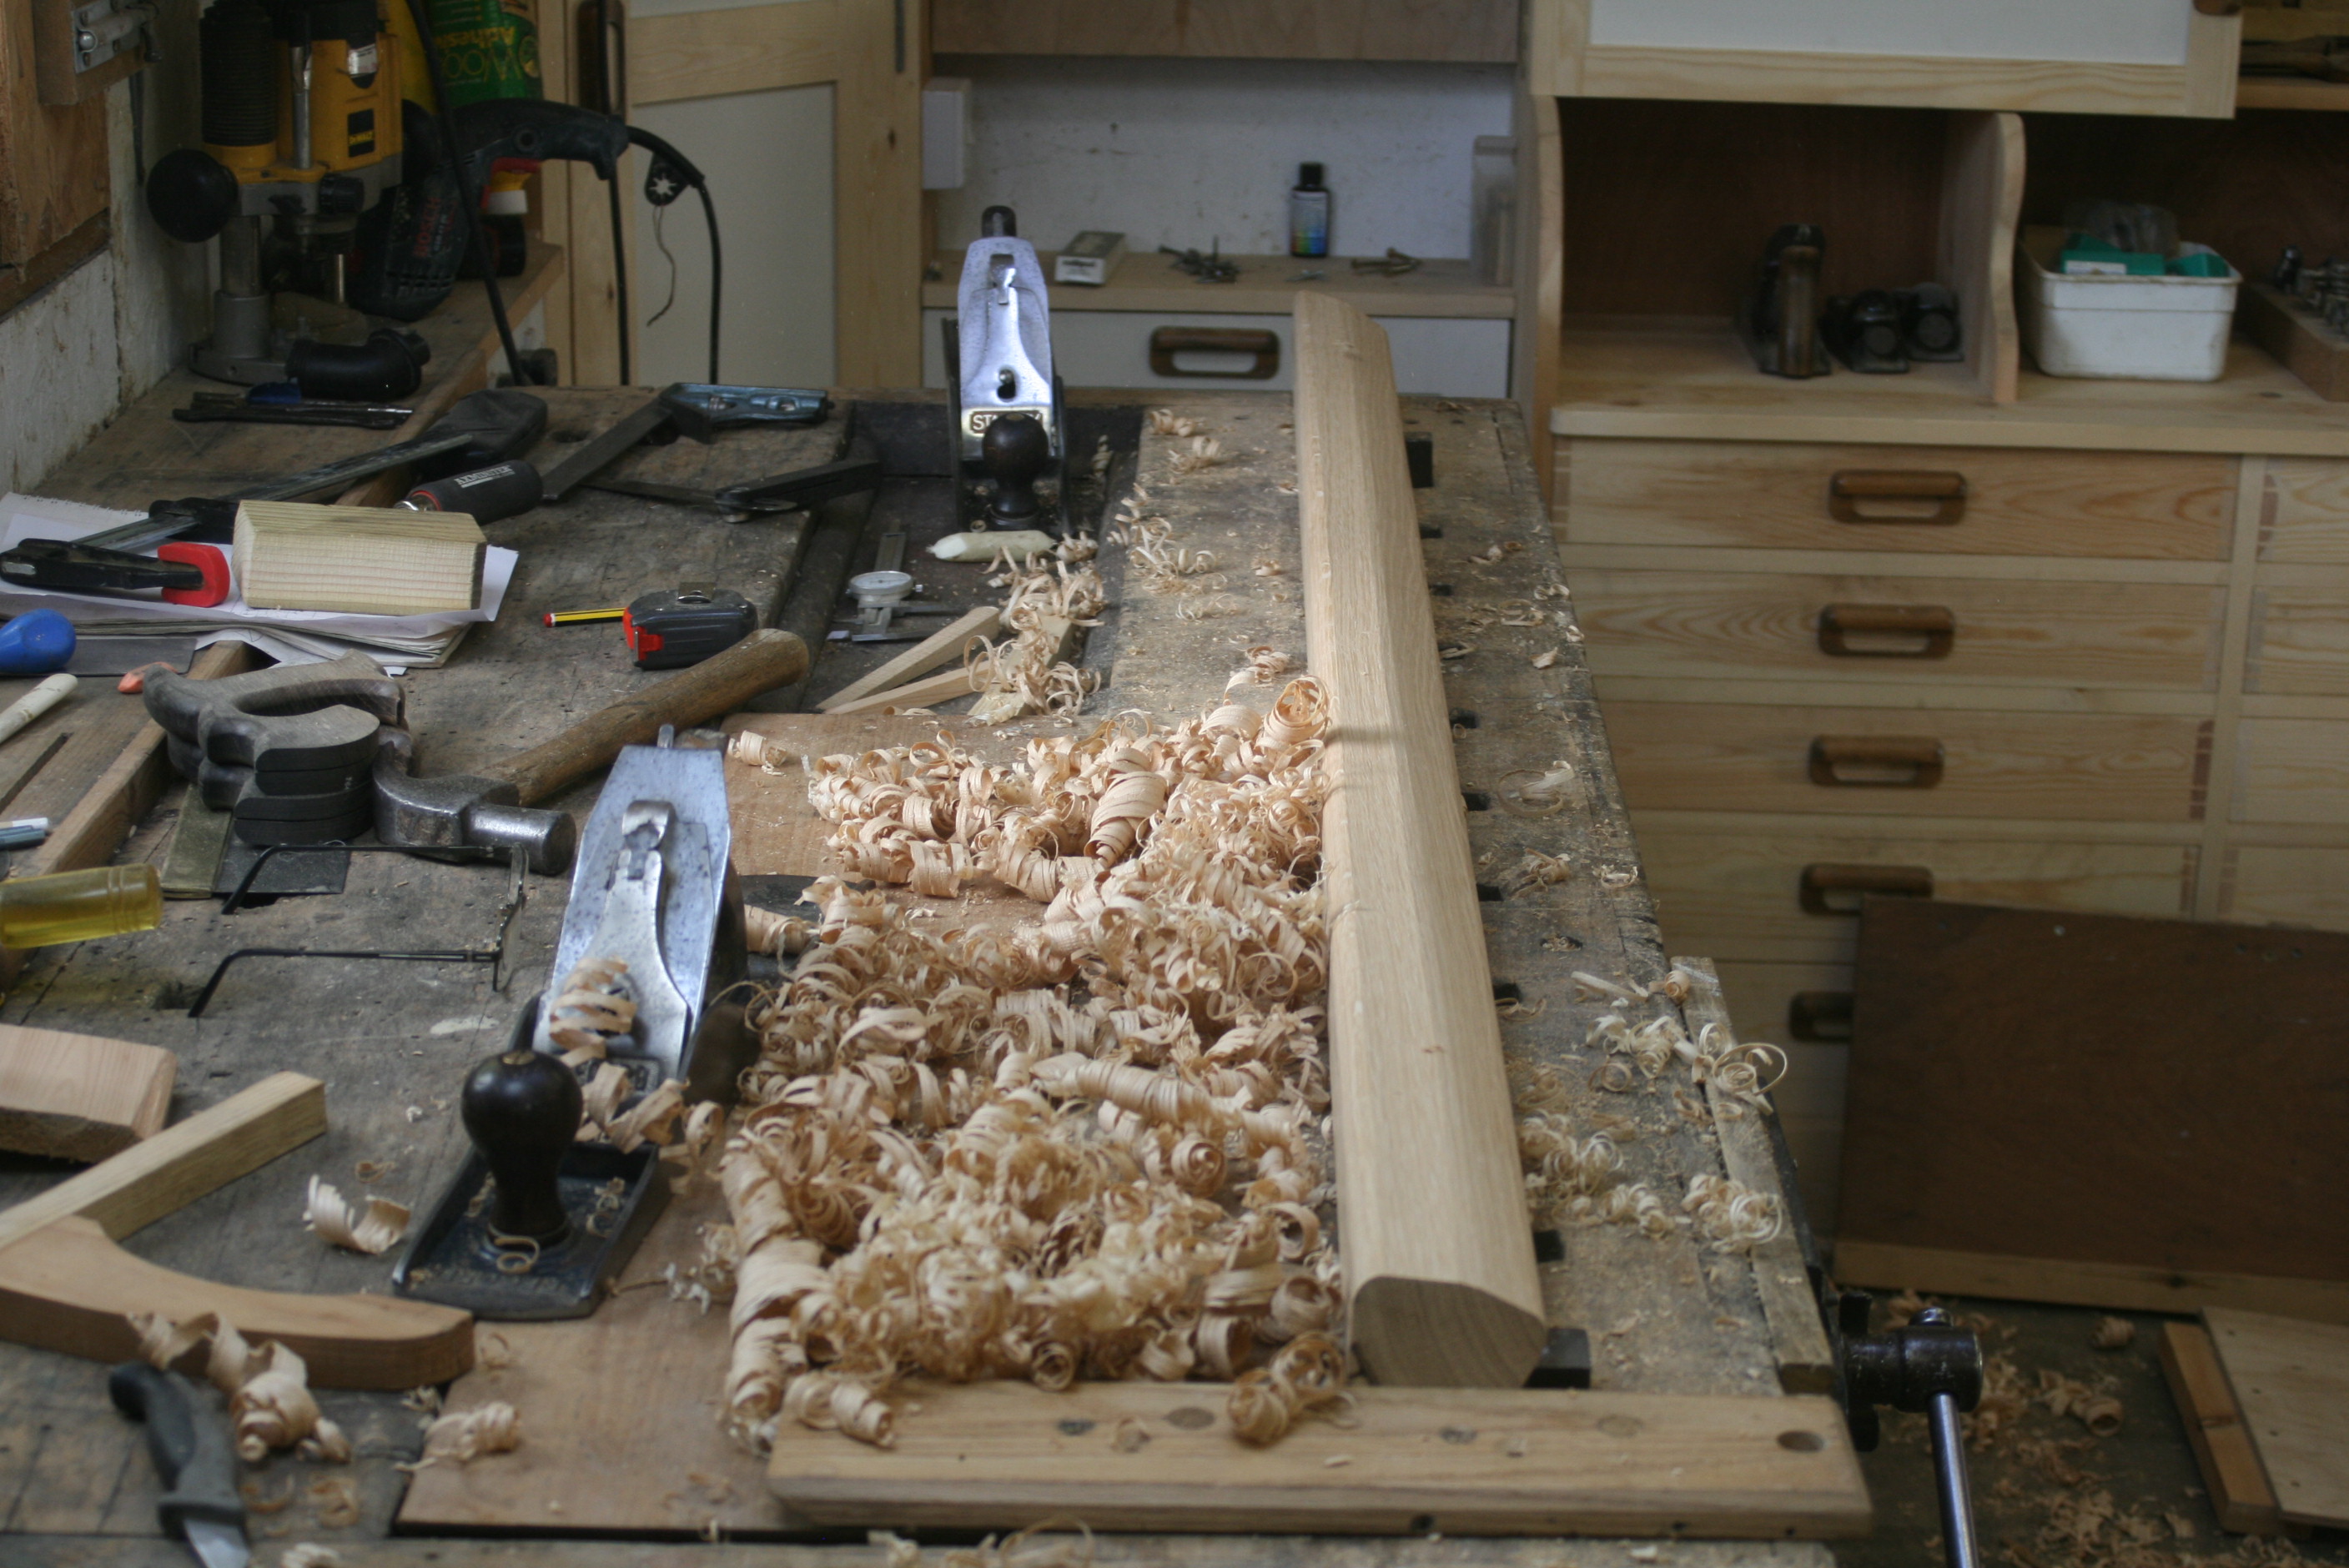
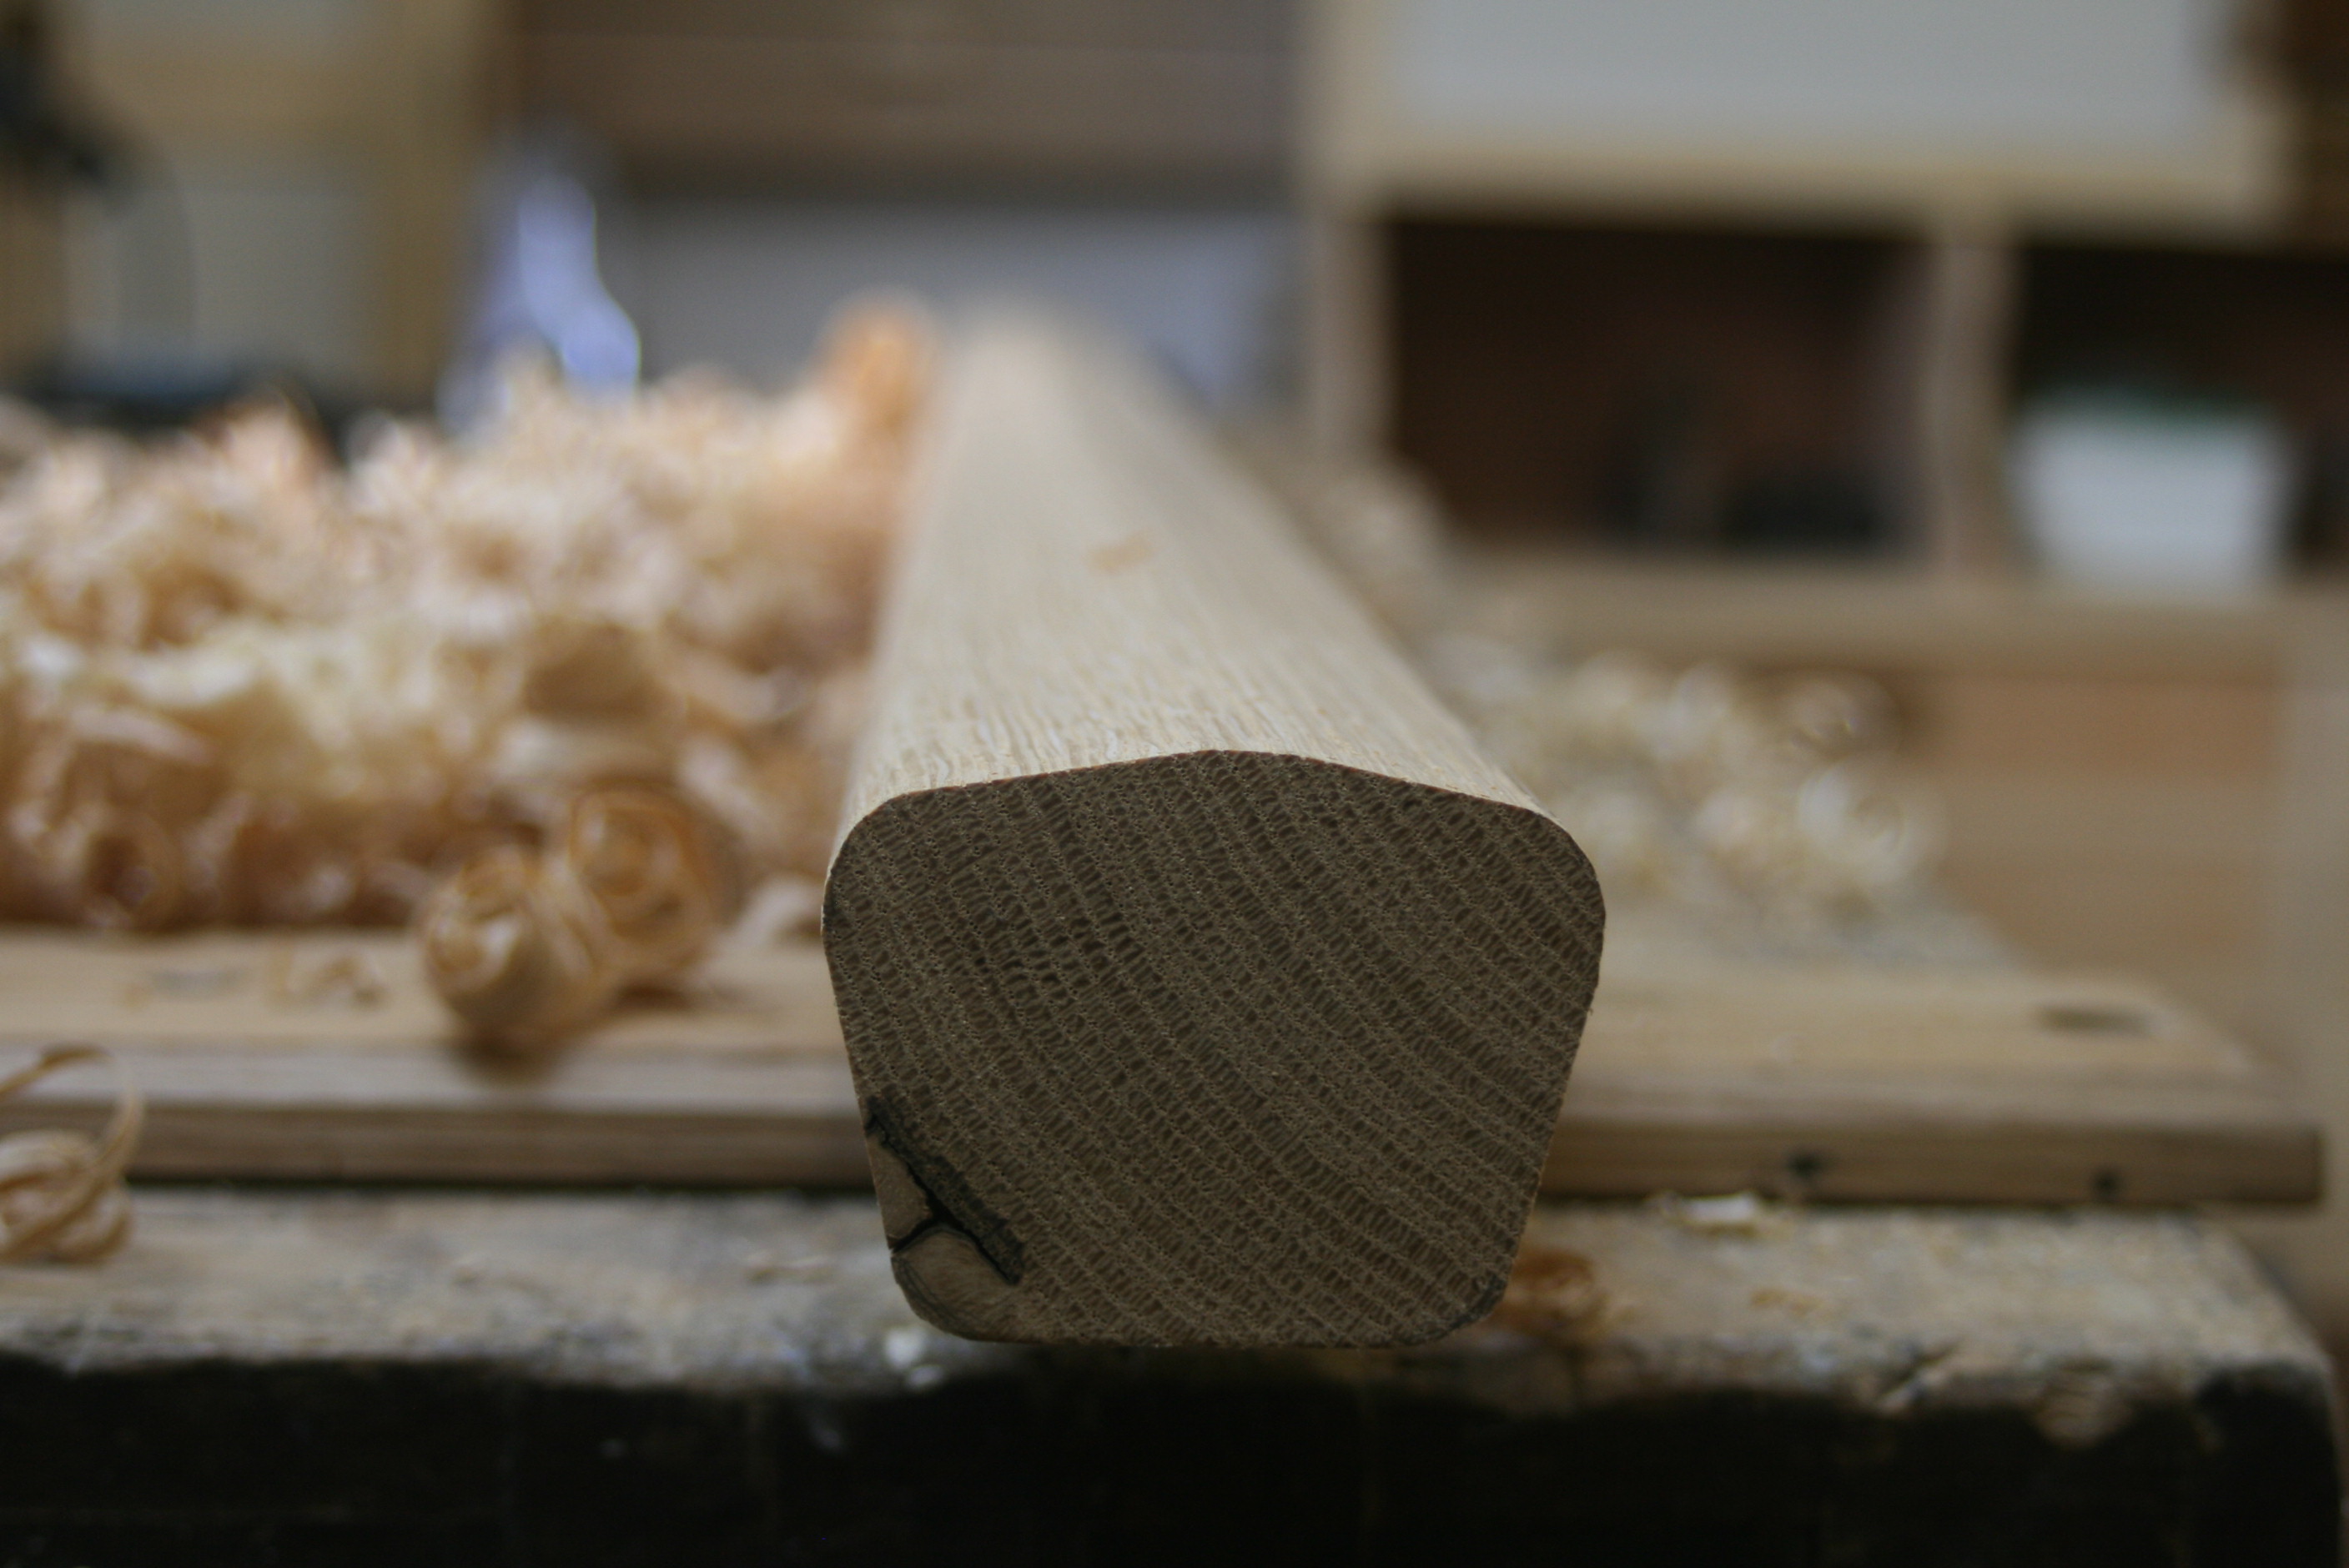
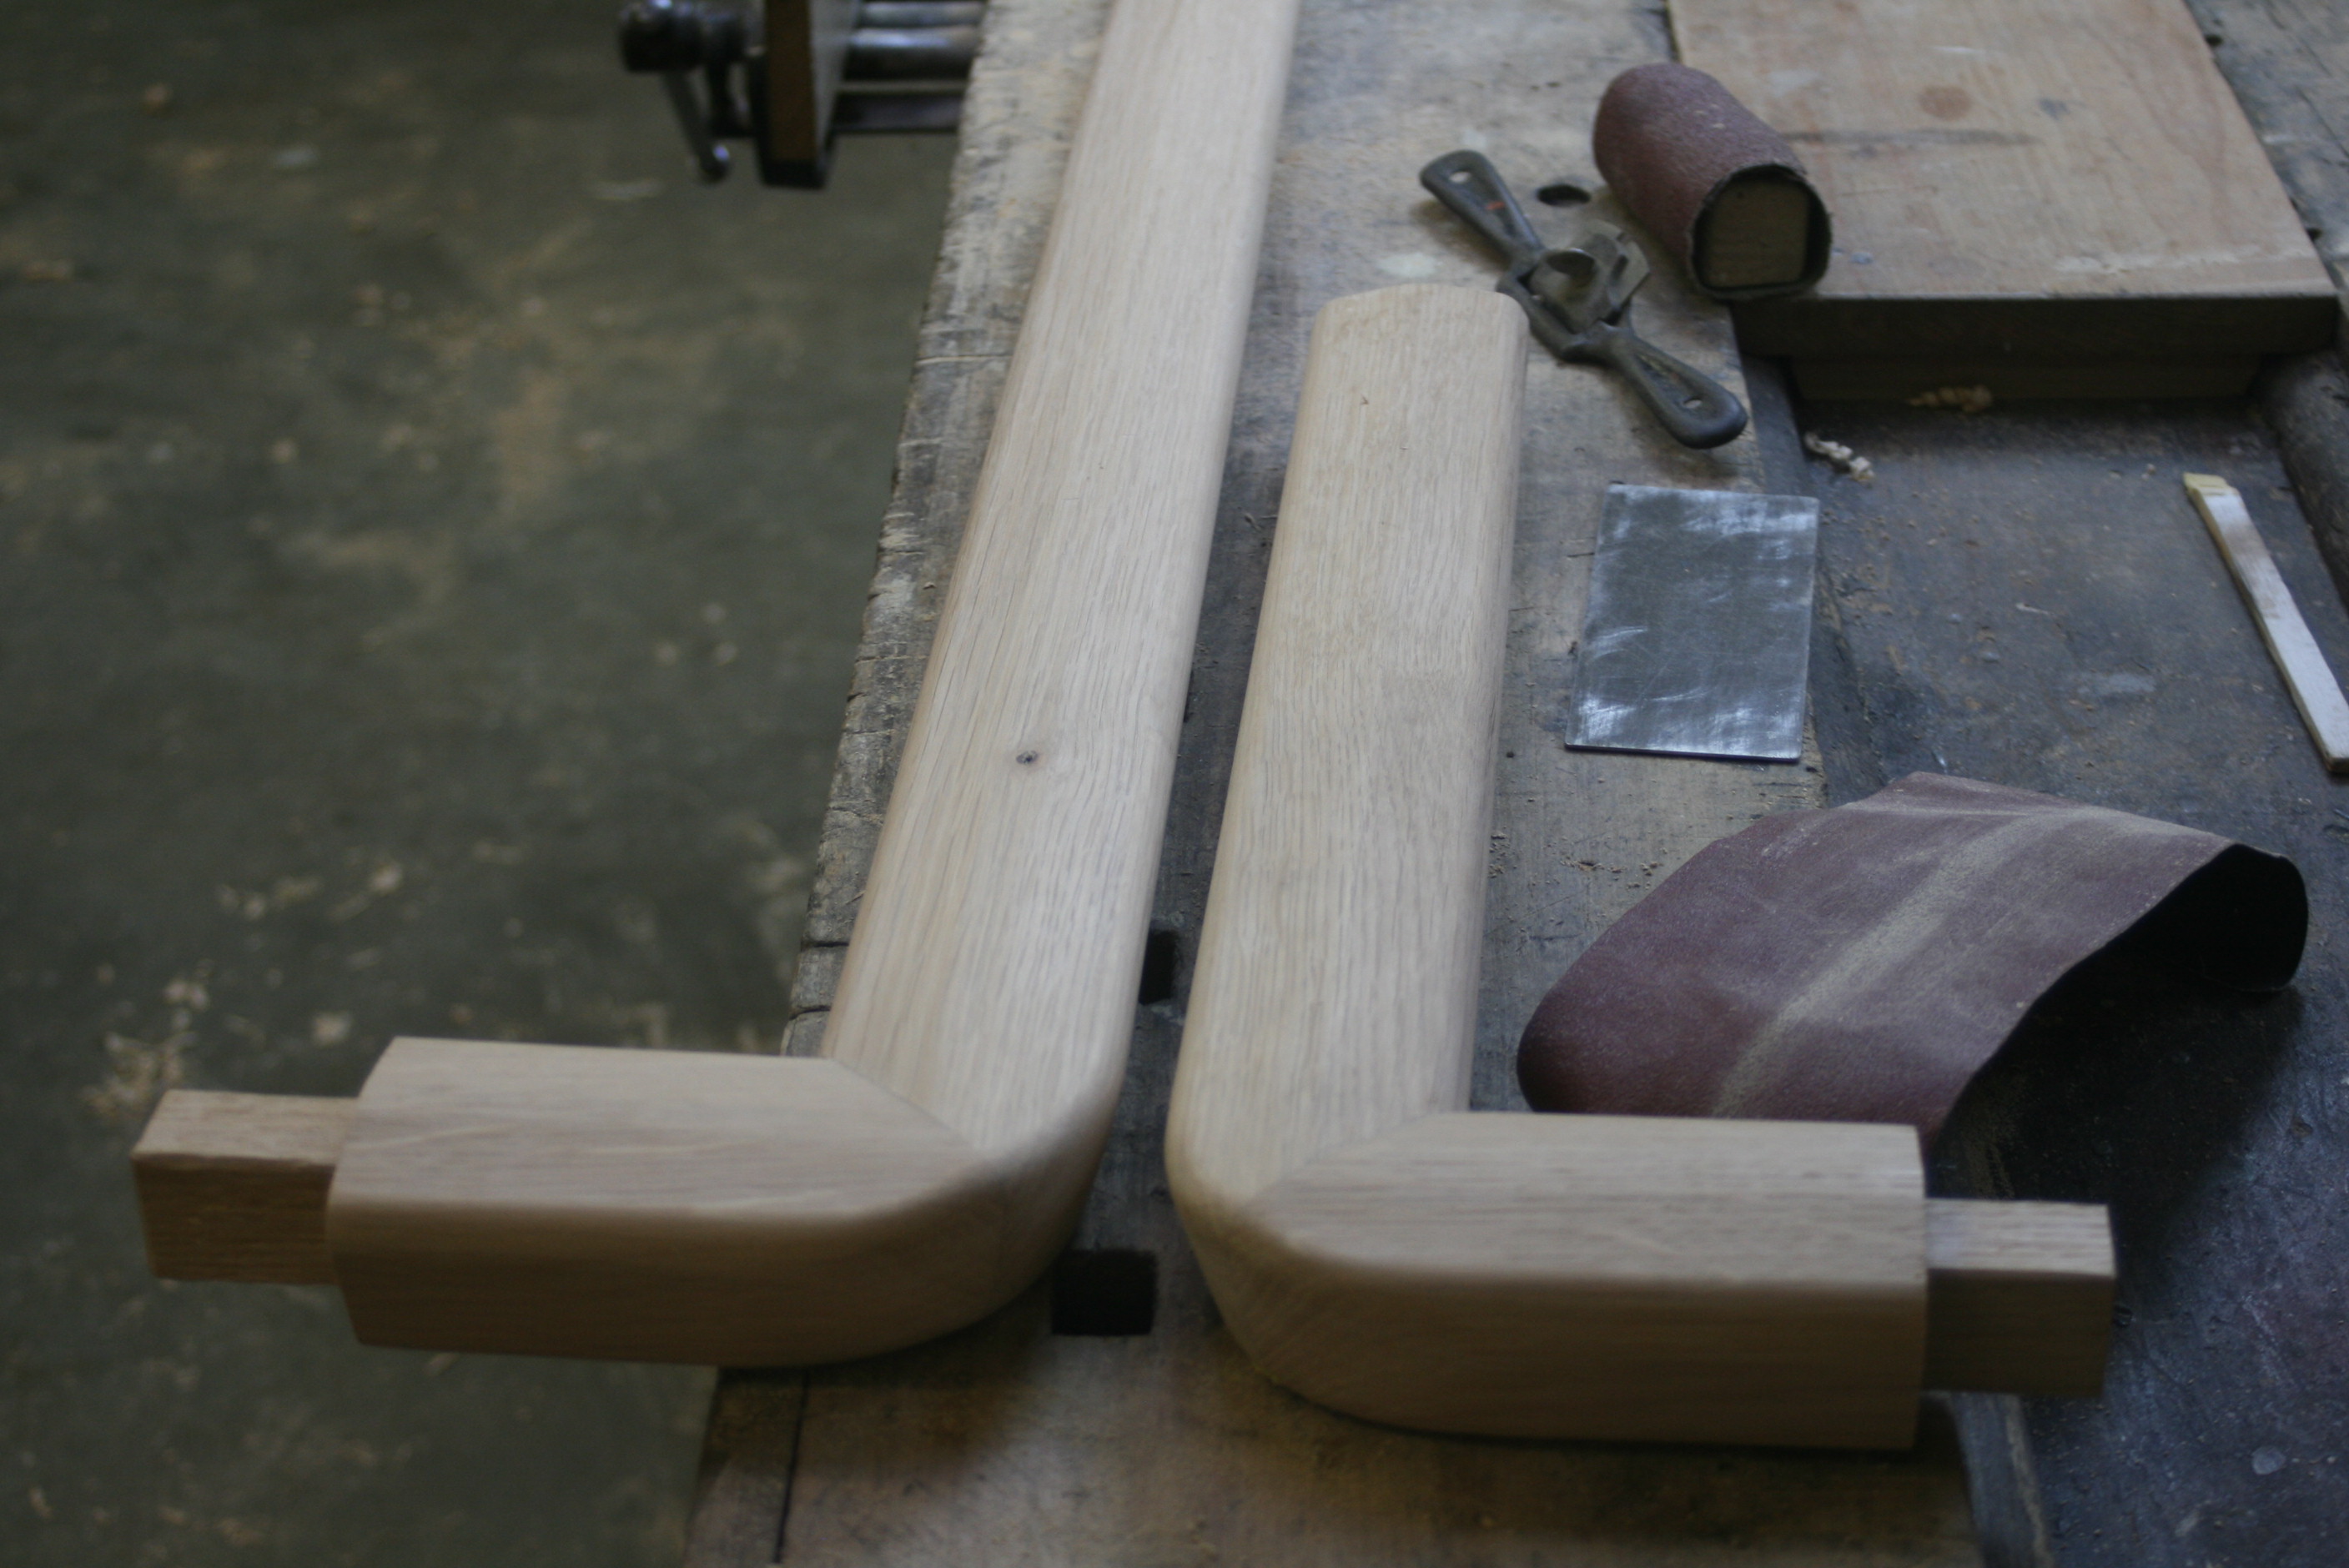
Then I could shape the handrails, all with a plane:

Q84C5N6.jpg


In4yNJP.jpg


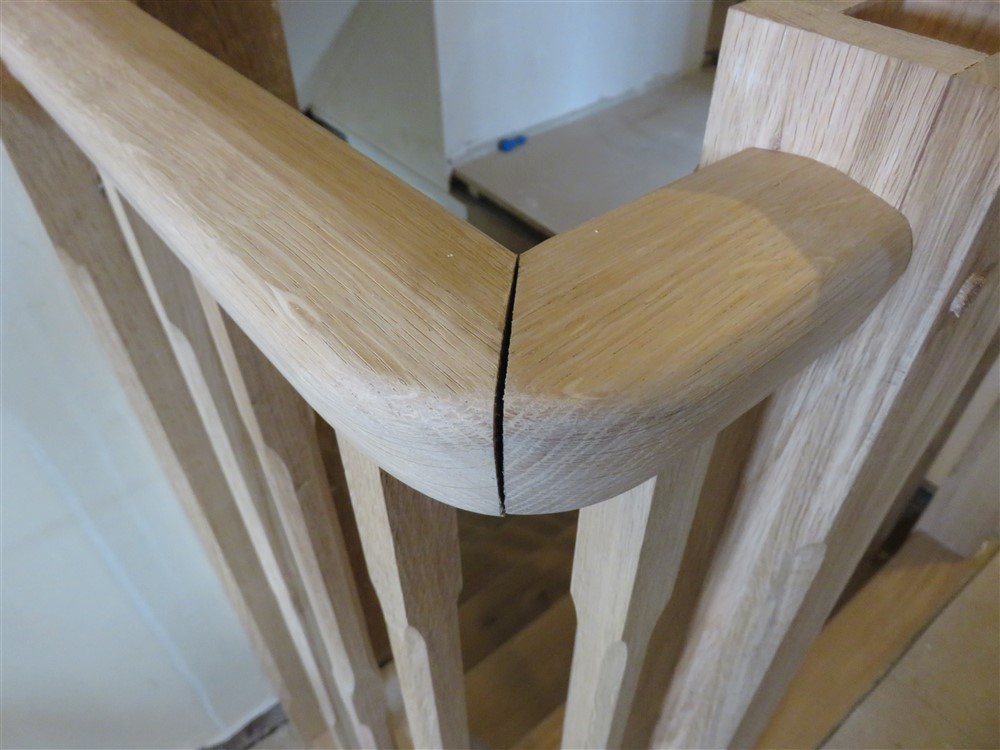
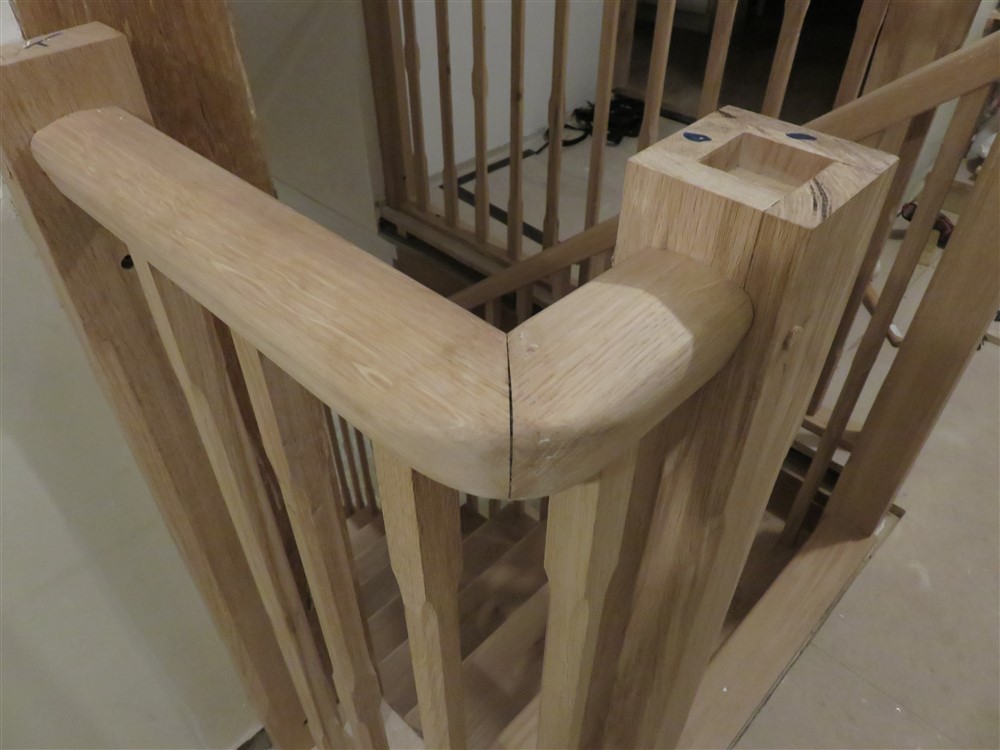
Mitres. I love mitres, more than I can say. My love is justified, as we'll see soon enough:

55ZjV5s.jpg


8My2RlD.jpg


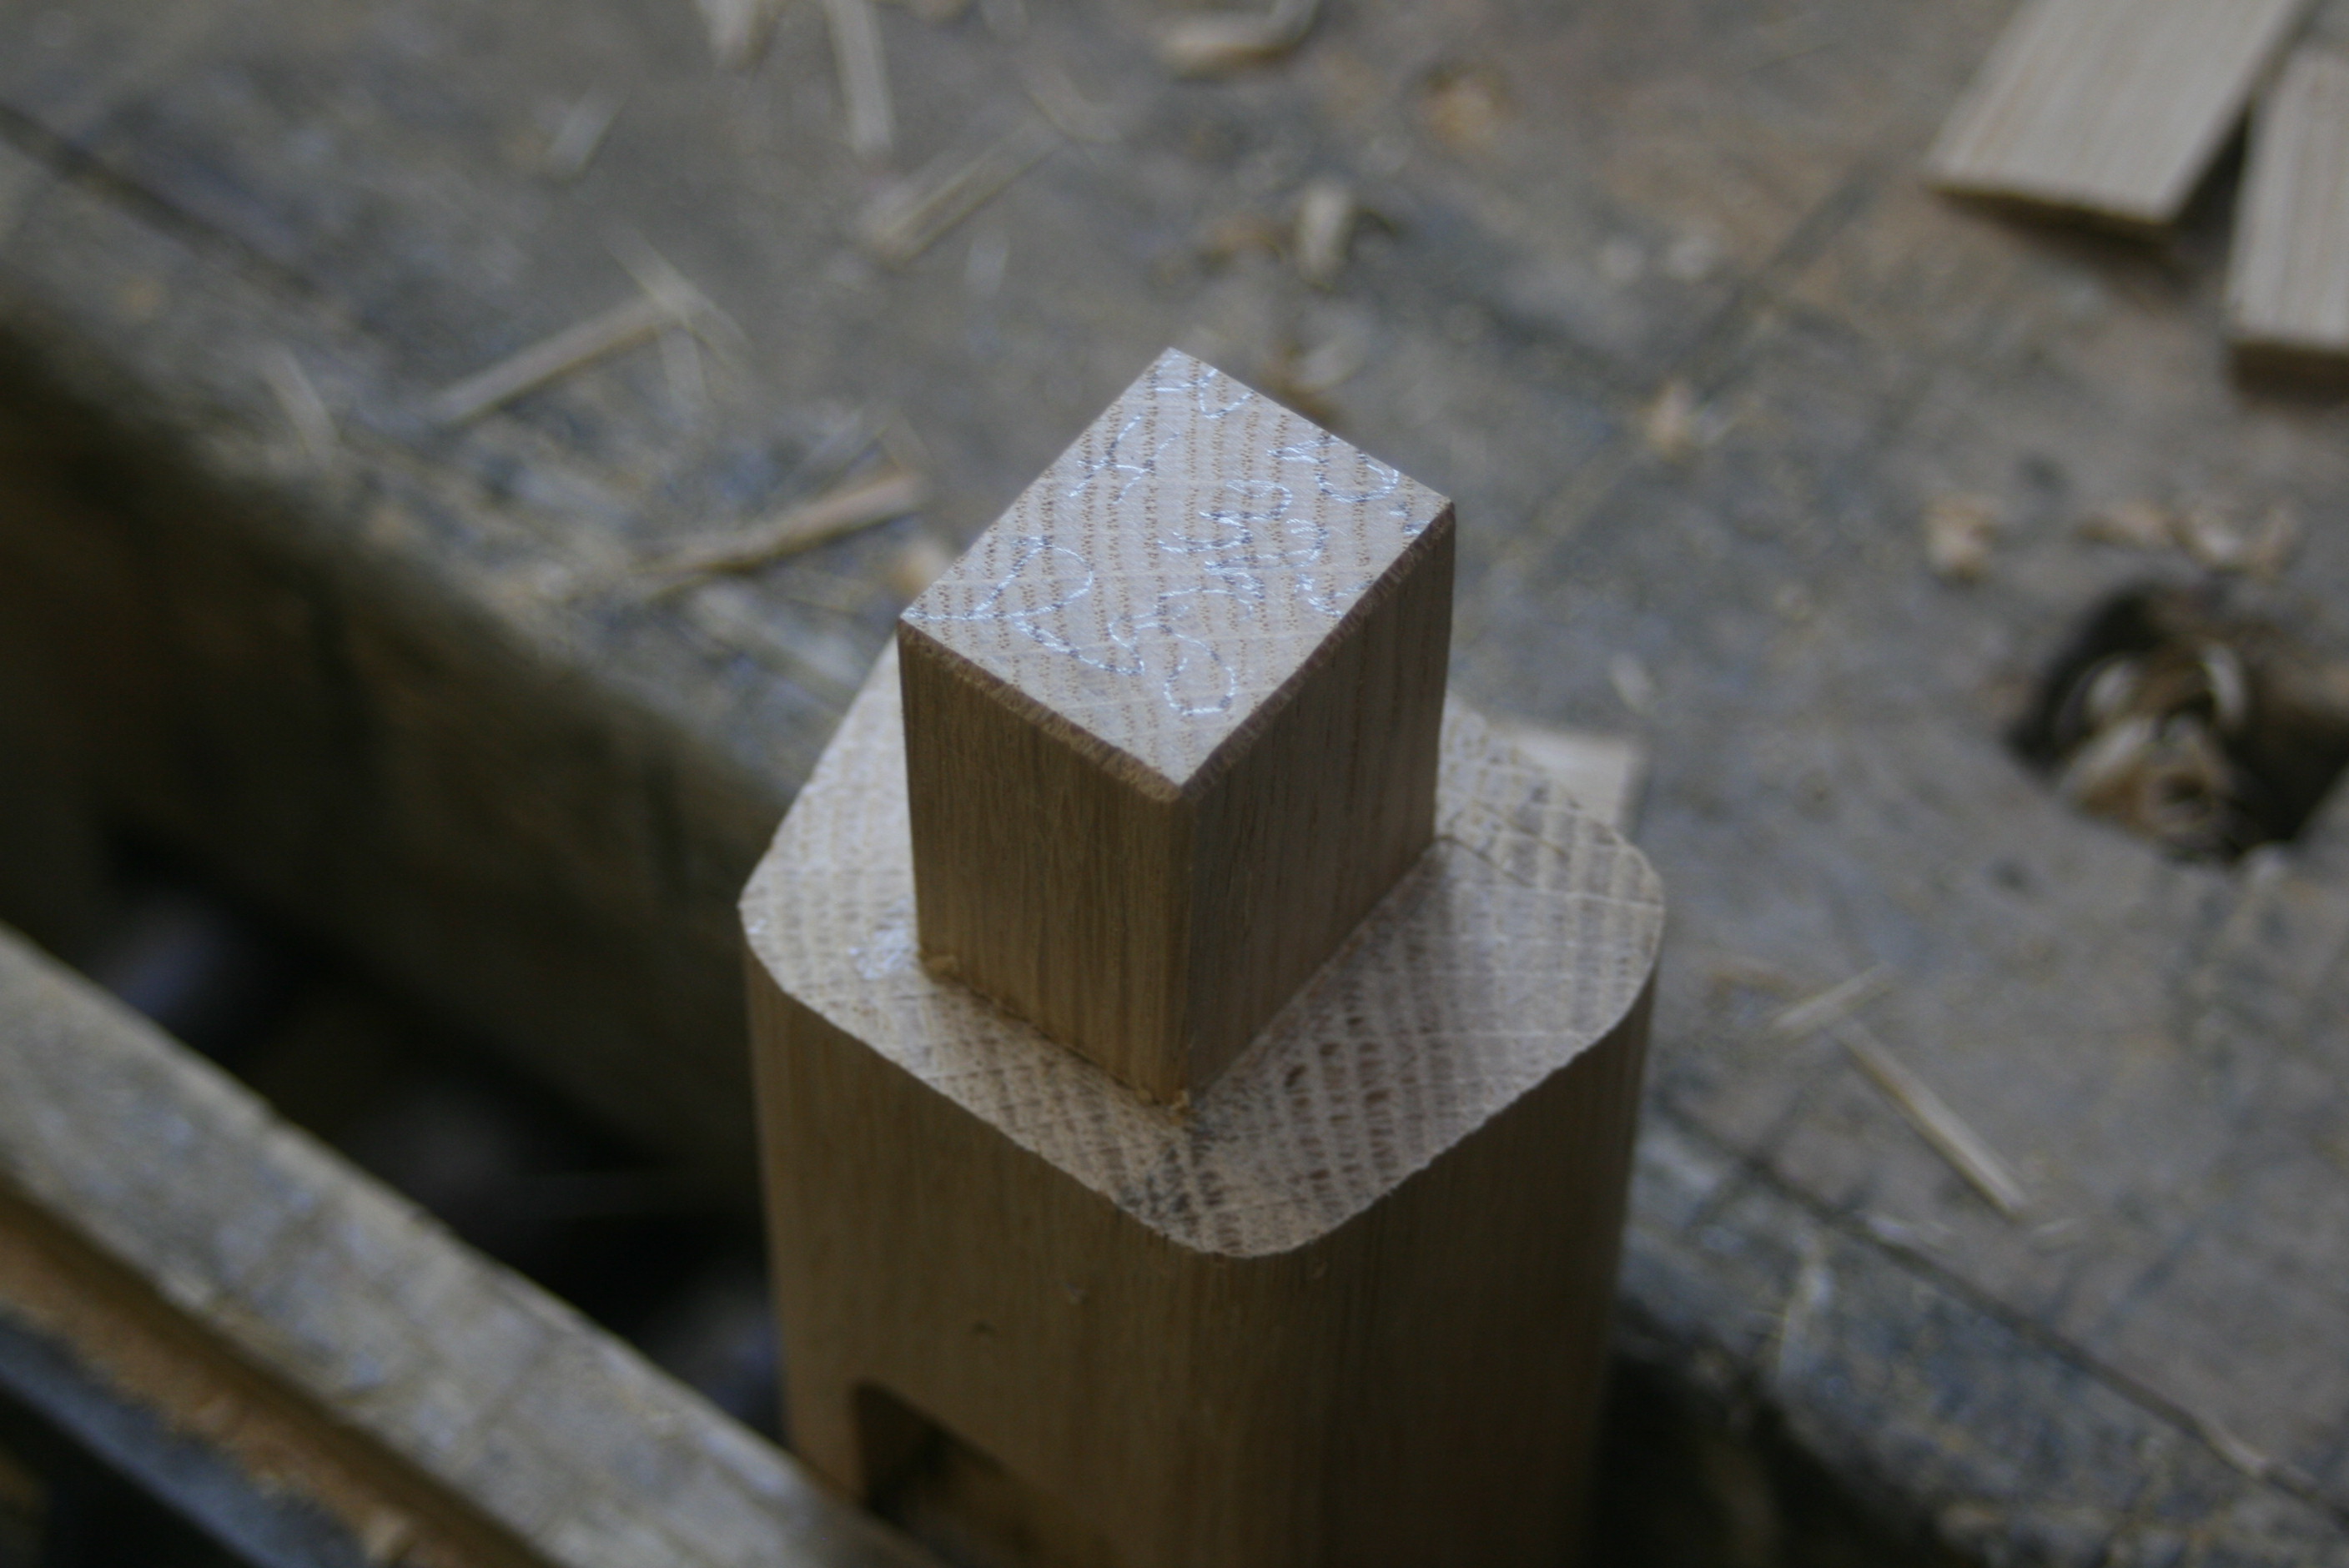
The tenons on the ends of the handrail for joining the newels needed doing next. There was a bit of to-ing and fro-ing to the house for measurements, because the old walls taking the half-newels weren't vertical. Anyway, I thought I would lay out visually how Mike's Rule of Halves works when chiseling. This is such beautiful straight grained timber that I was only ever going to make the tenons with a chisel:

cyw9RGq.jpg


I've already chiseled away the left hand cheek, and quickly marked up on the RH one where roughly I'll chisel., halving the distance to the gauge line with each cut. This allows you to sneak up on the line, reading the grain. If it looks like the cleave is going to dive under the line, you just come in from the side and persuade it to your way of thinking. Seconds of a job:

1gWCsI2.jpg


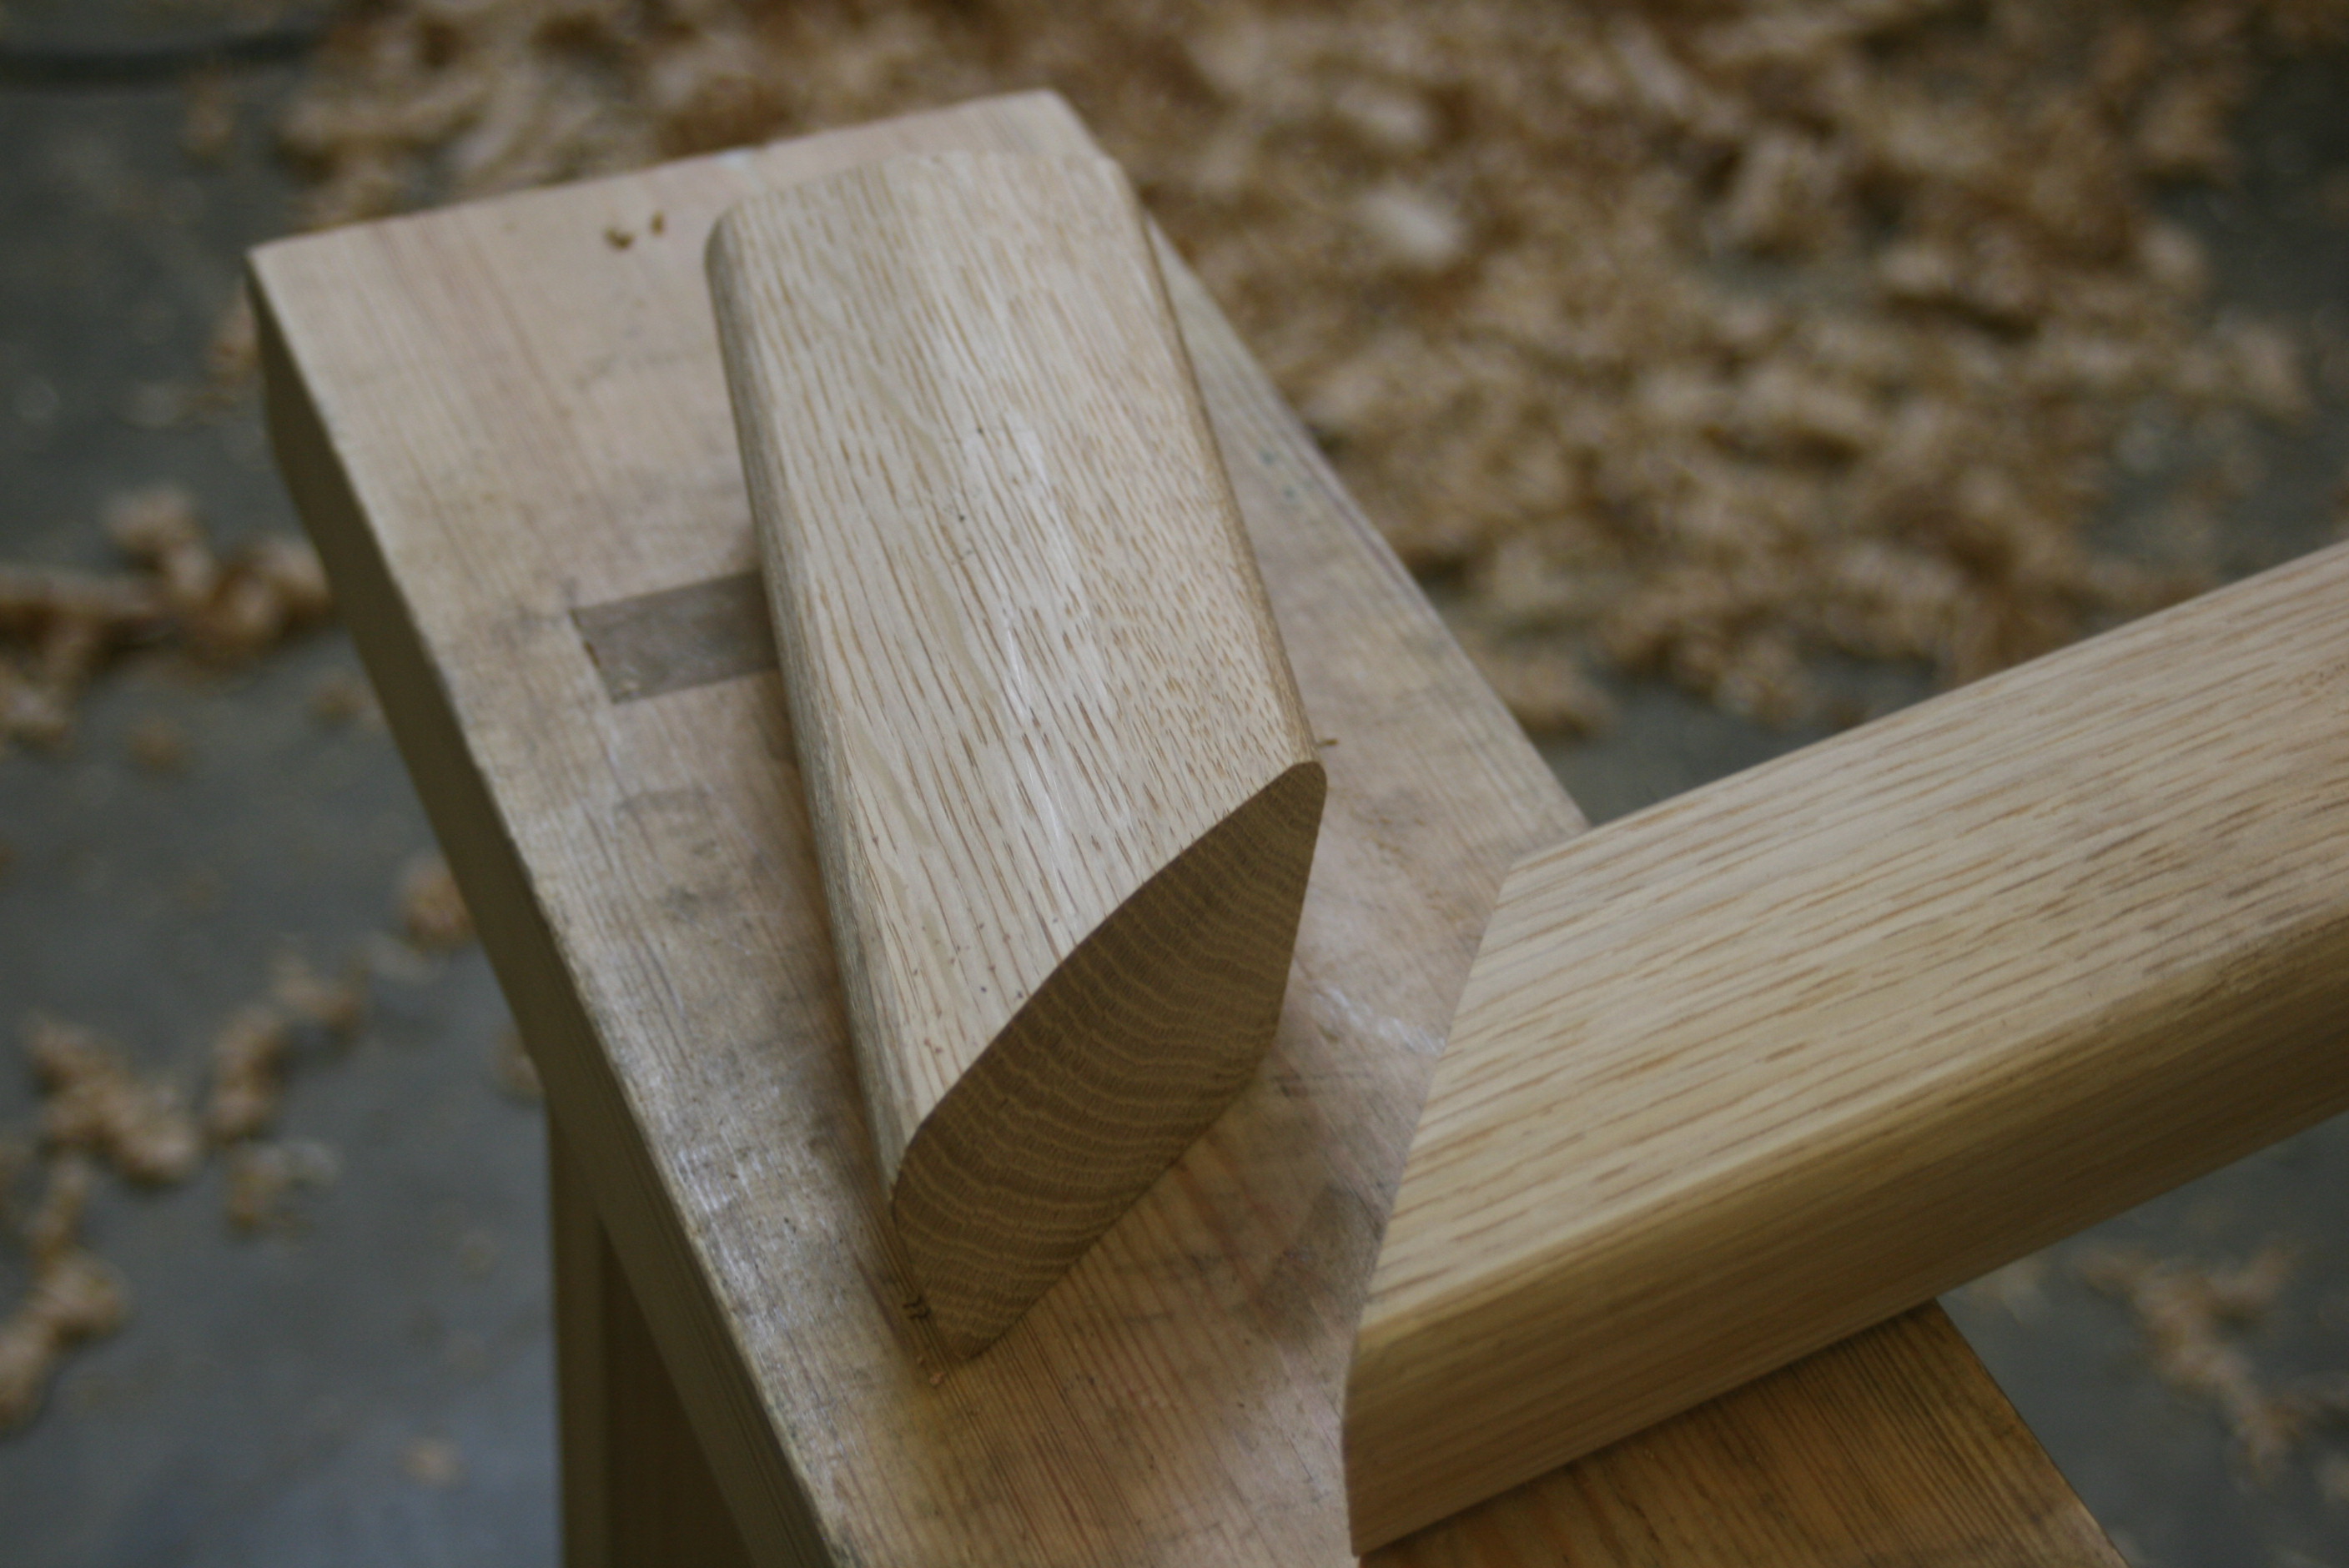
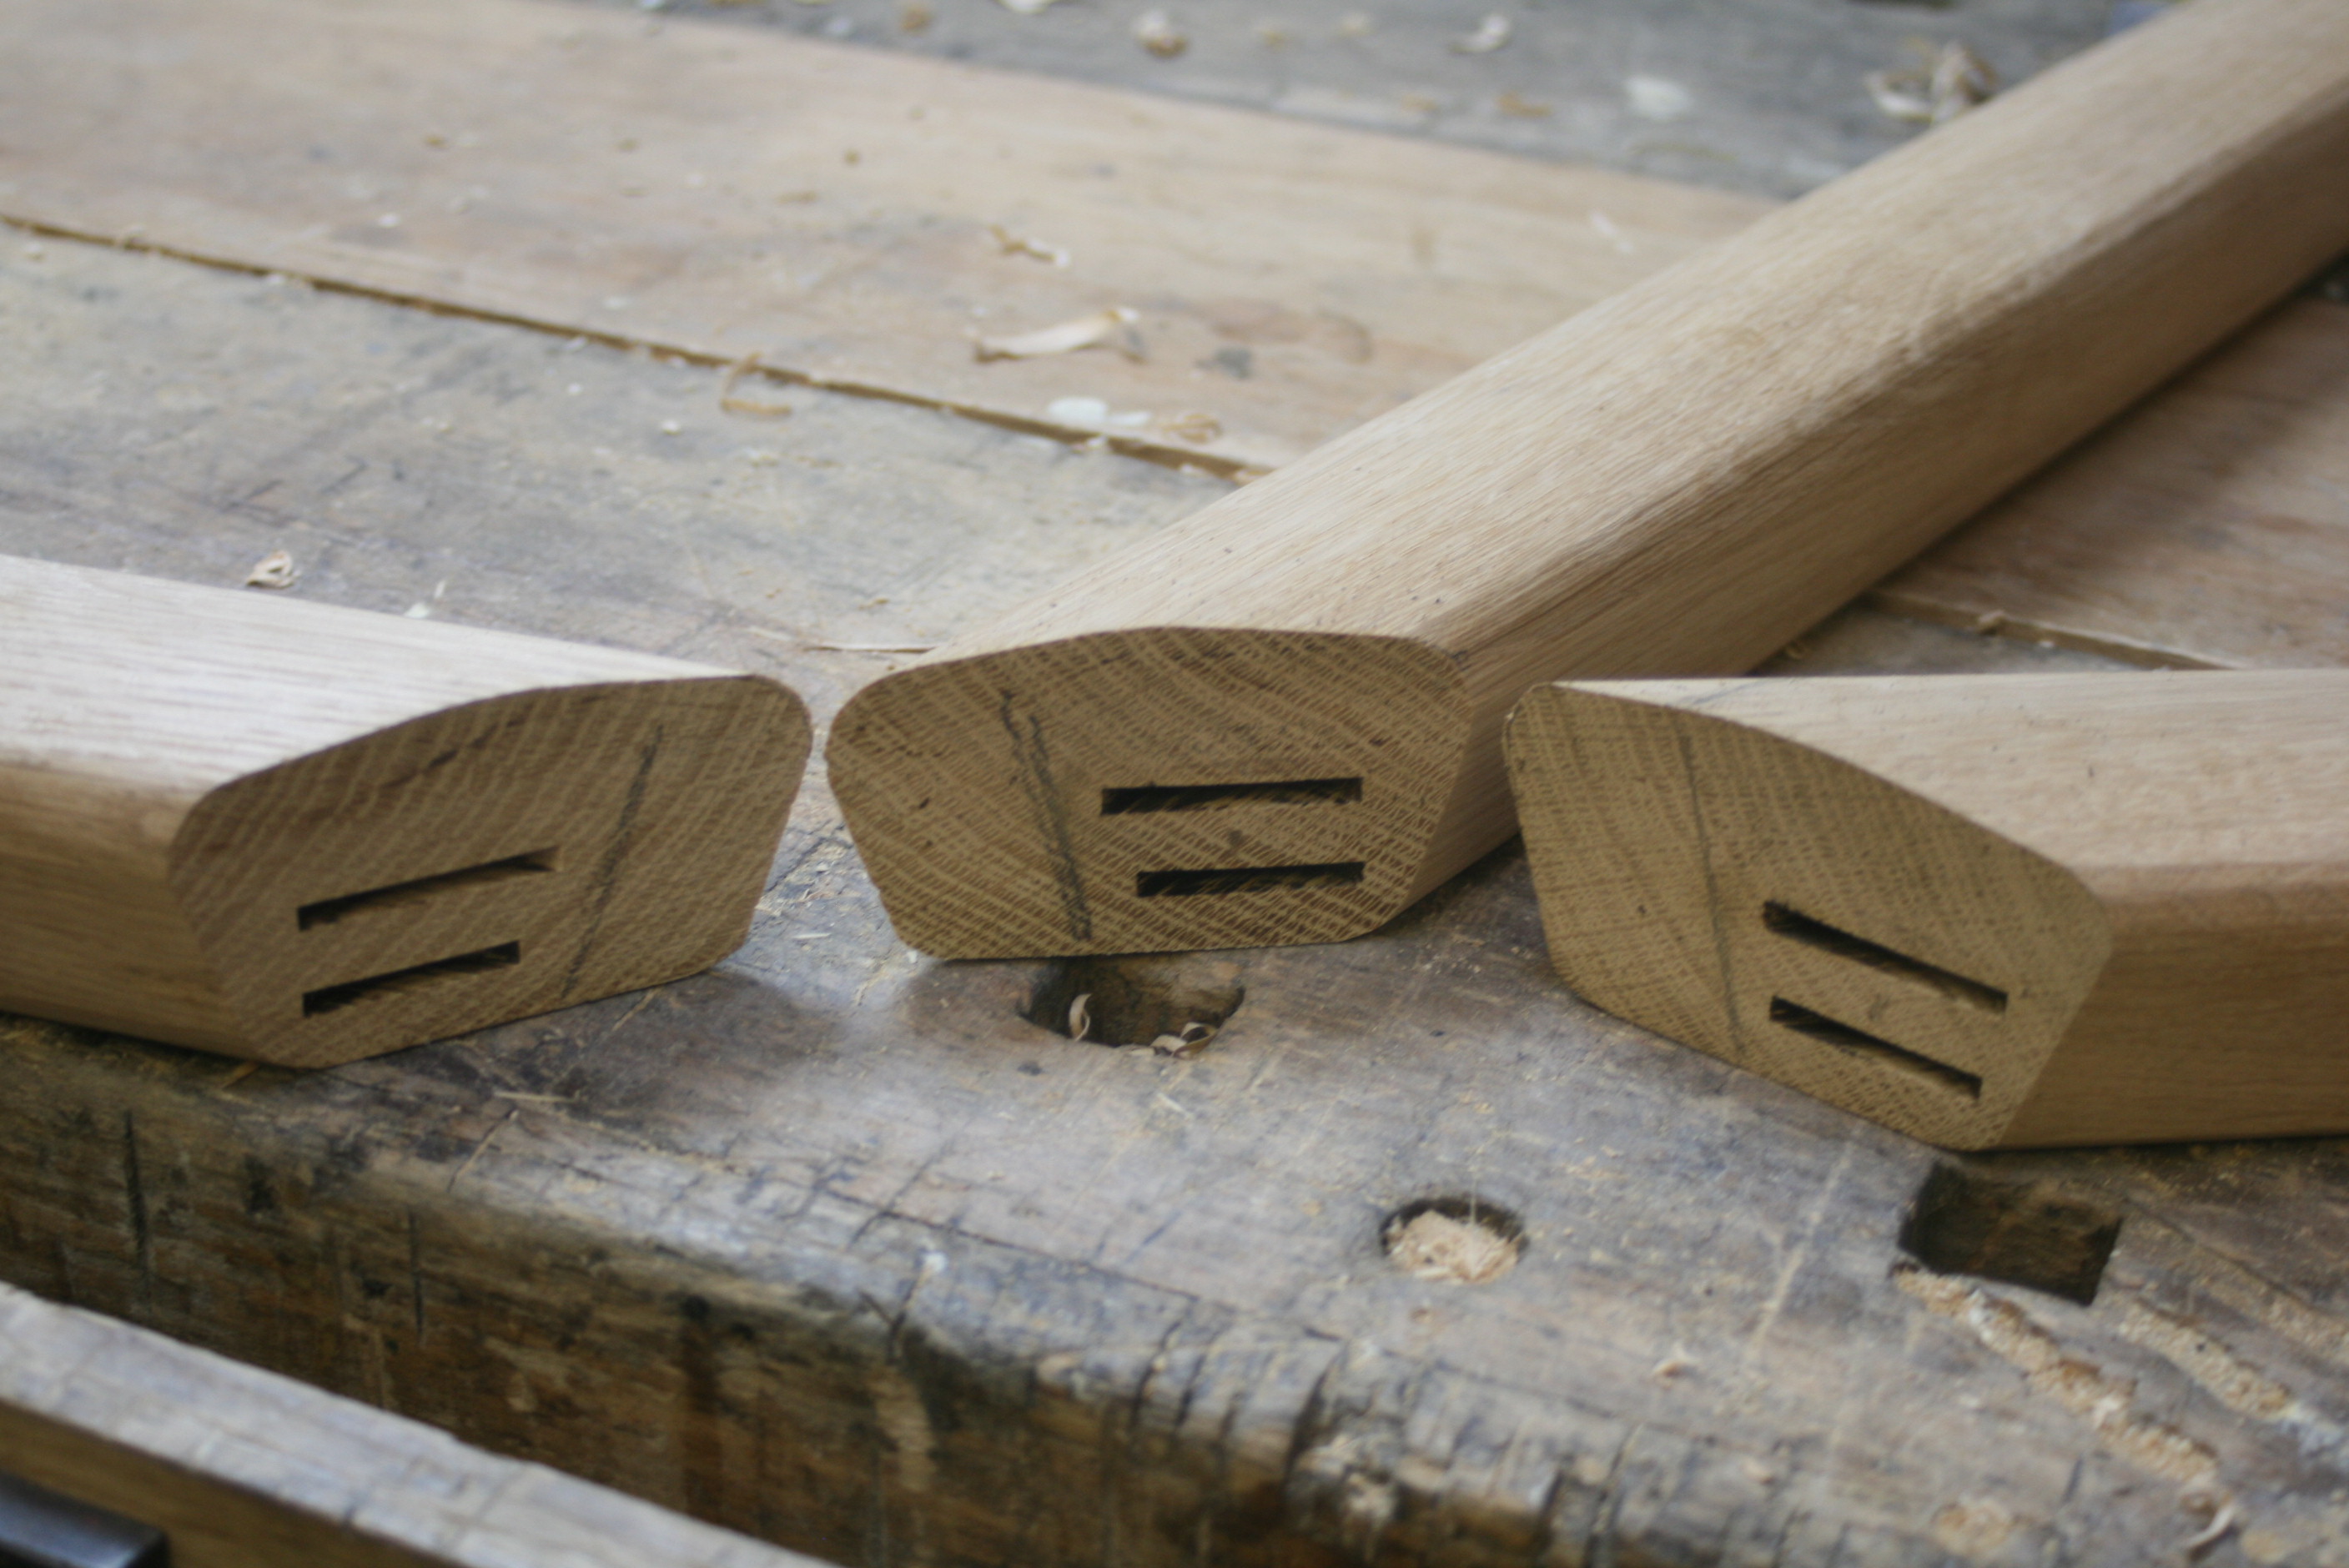
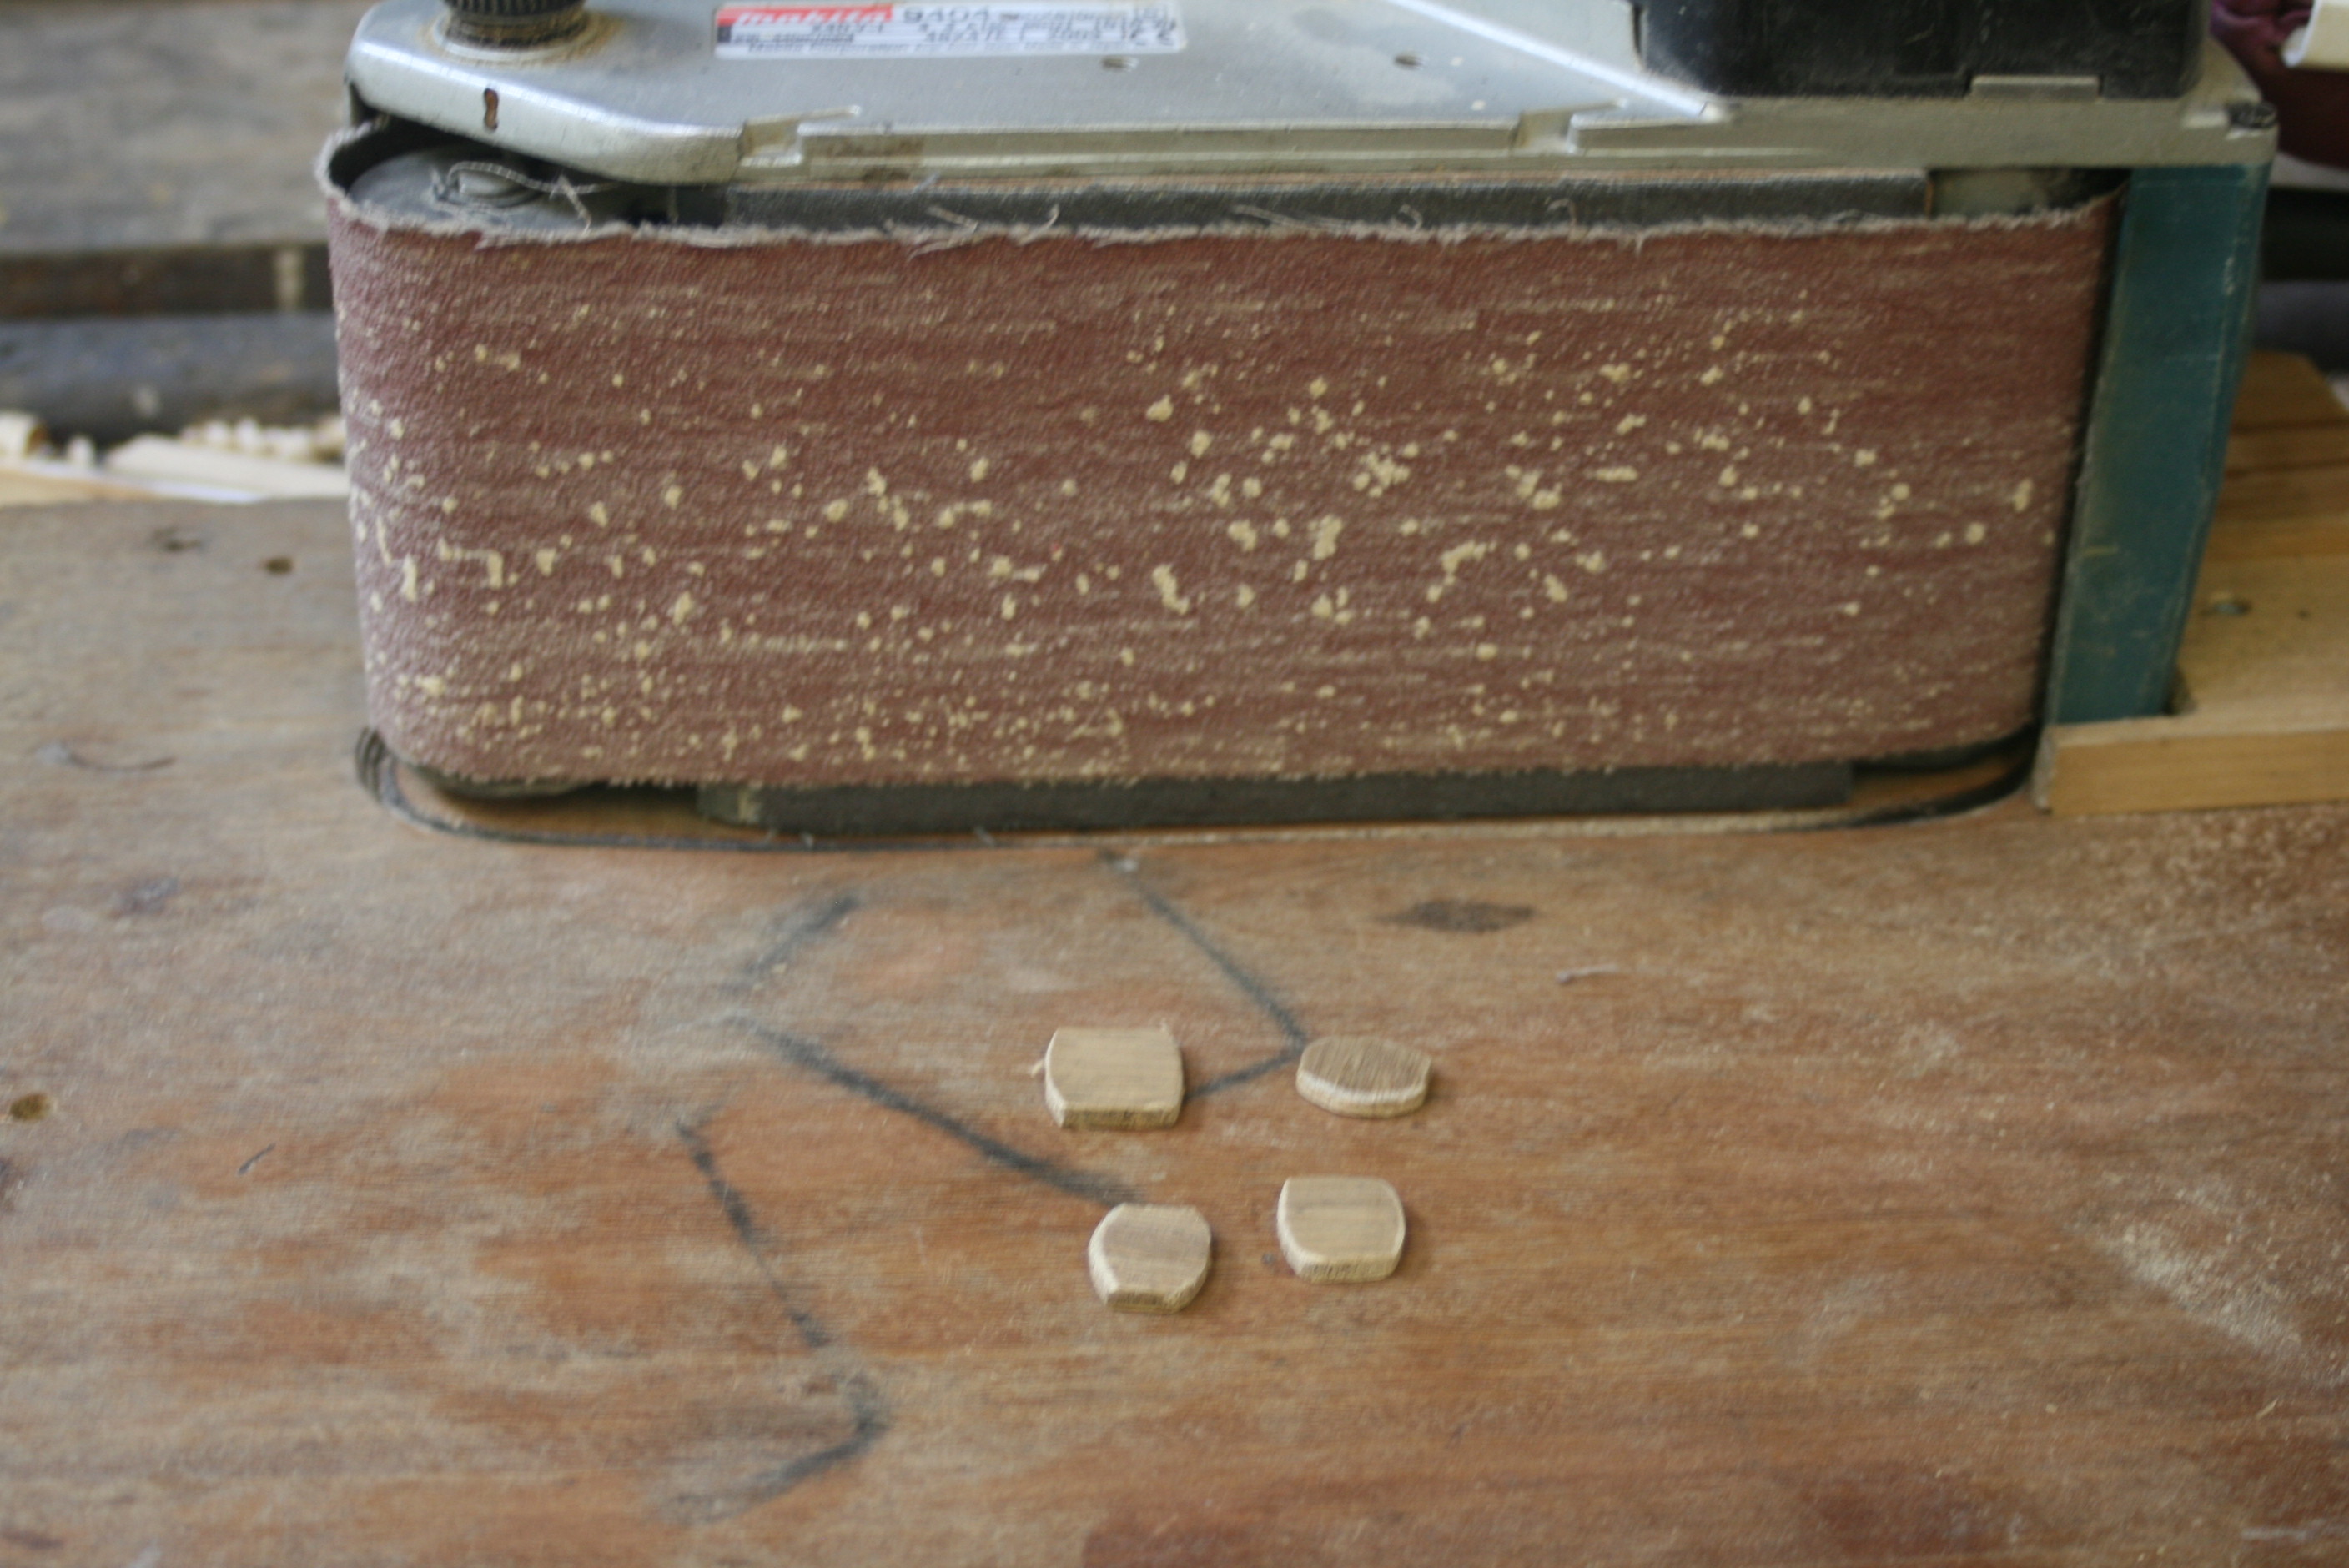
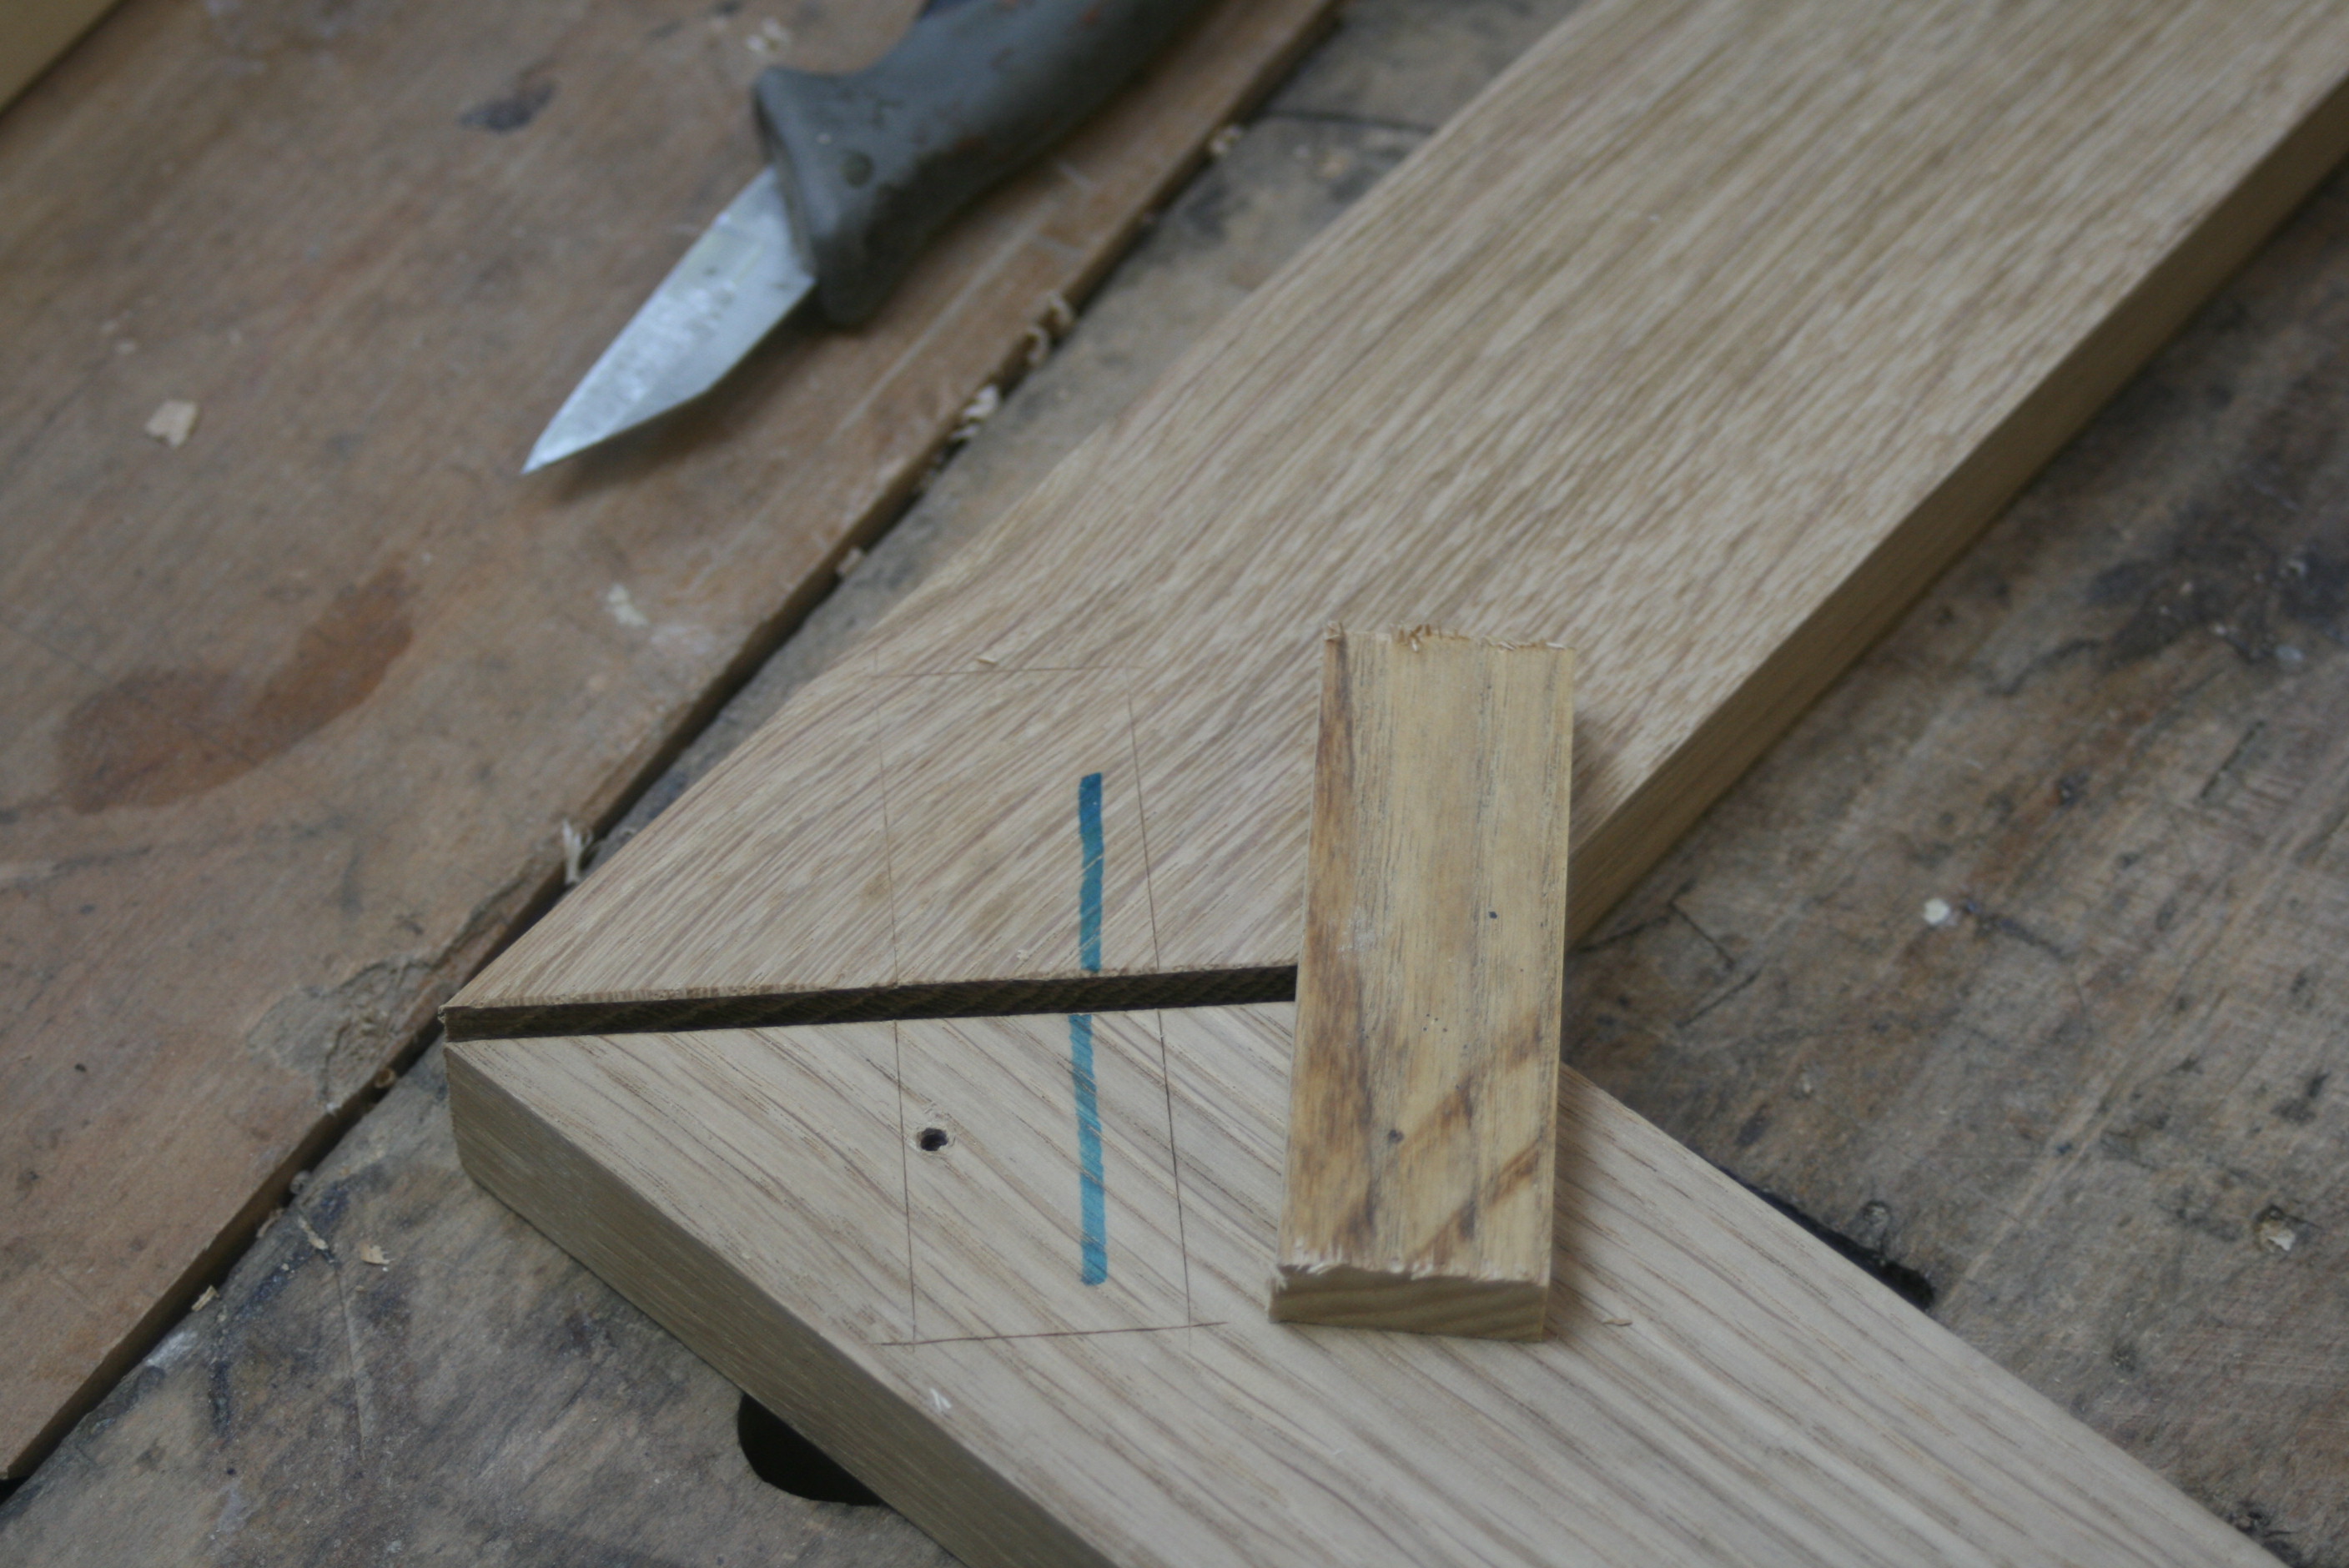
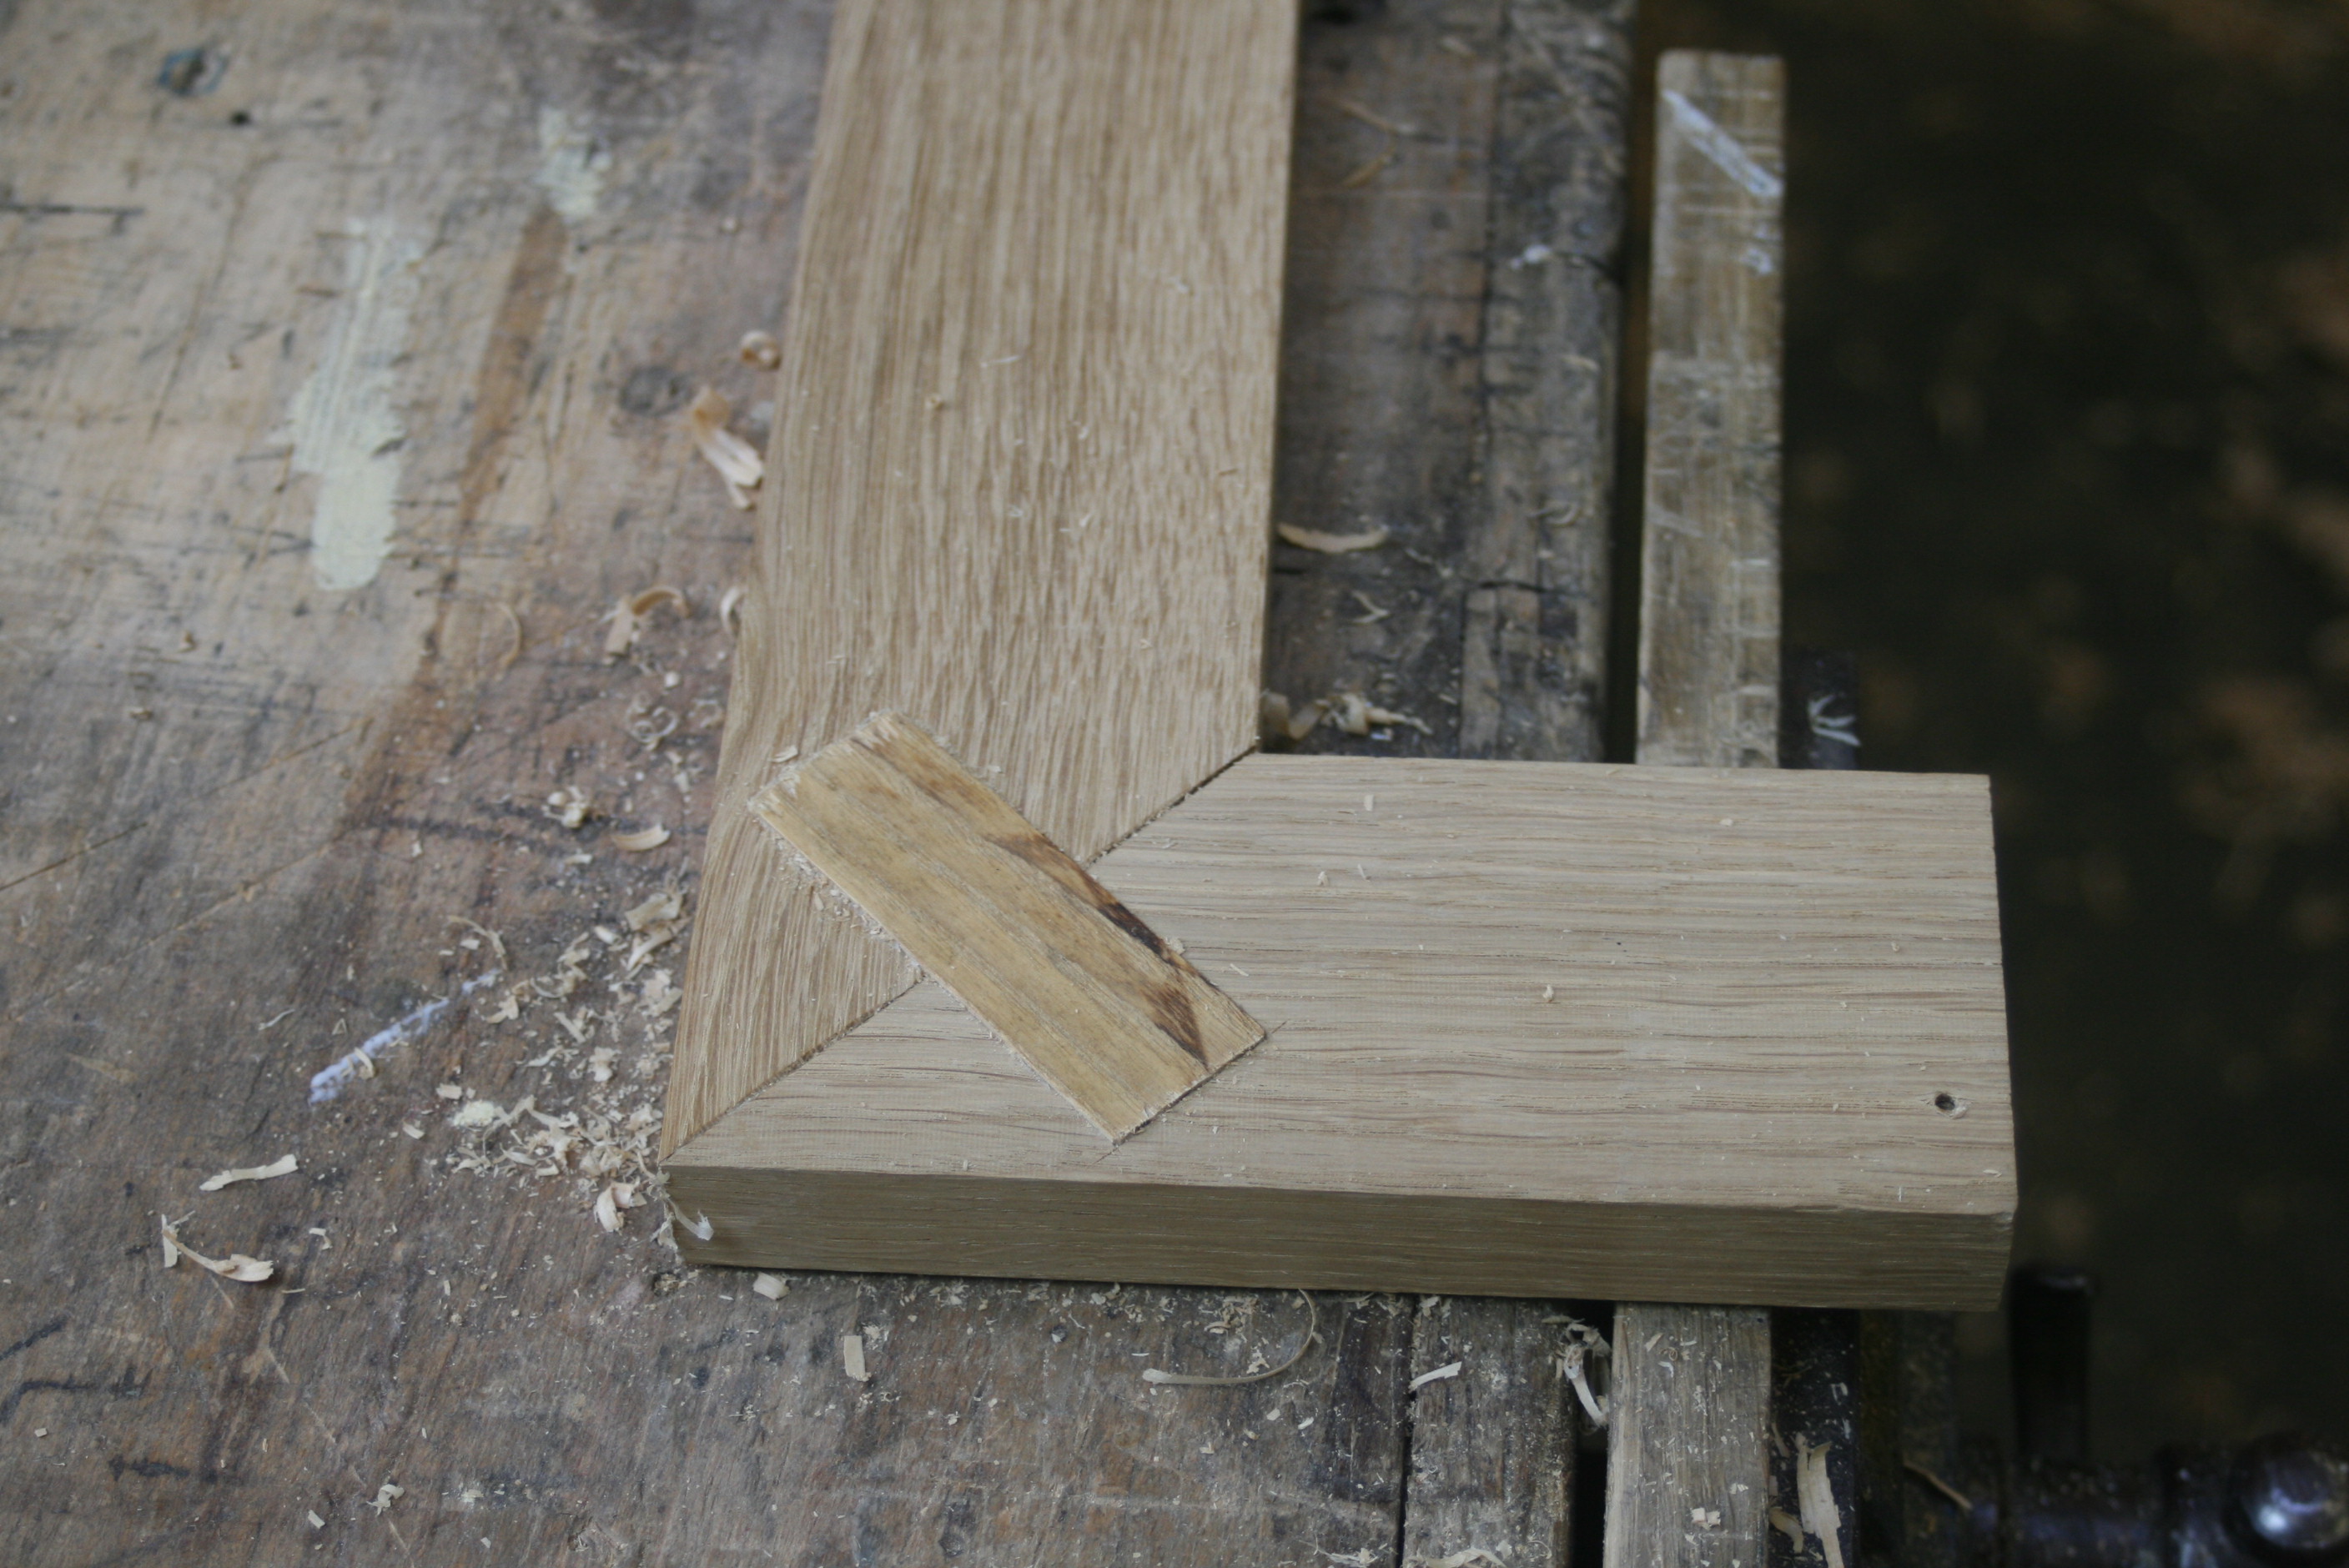
At the other end of the handrail sections, there are some lovely, lovely mitres. I thought I would add some floating tongues for a bit of strength and to help with alignment, but as I was planning to round the corners they turned out to be a bit smaller than I'd have liked:

J1WOZeb.jpg


aFyd95d.jpg


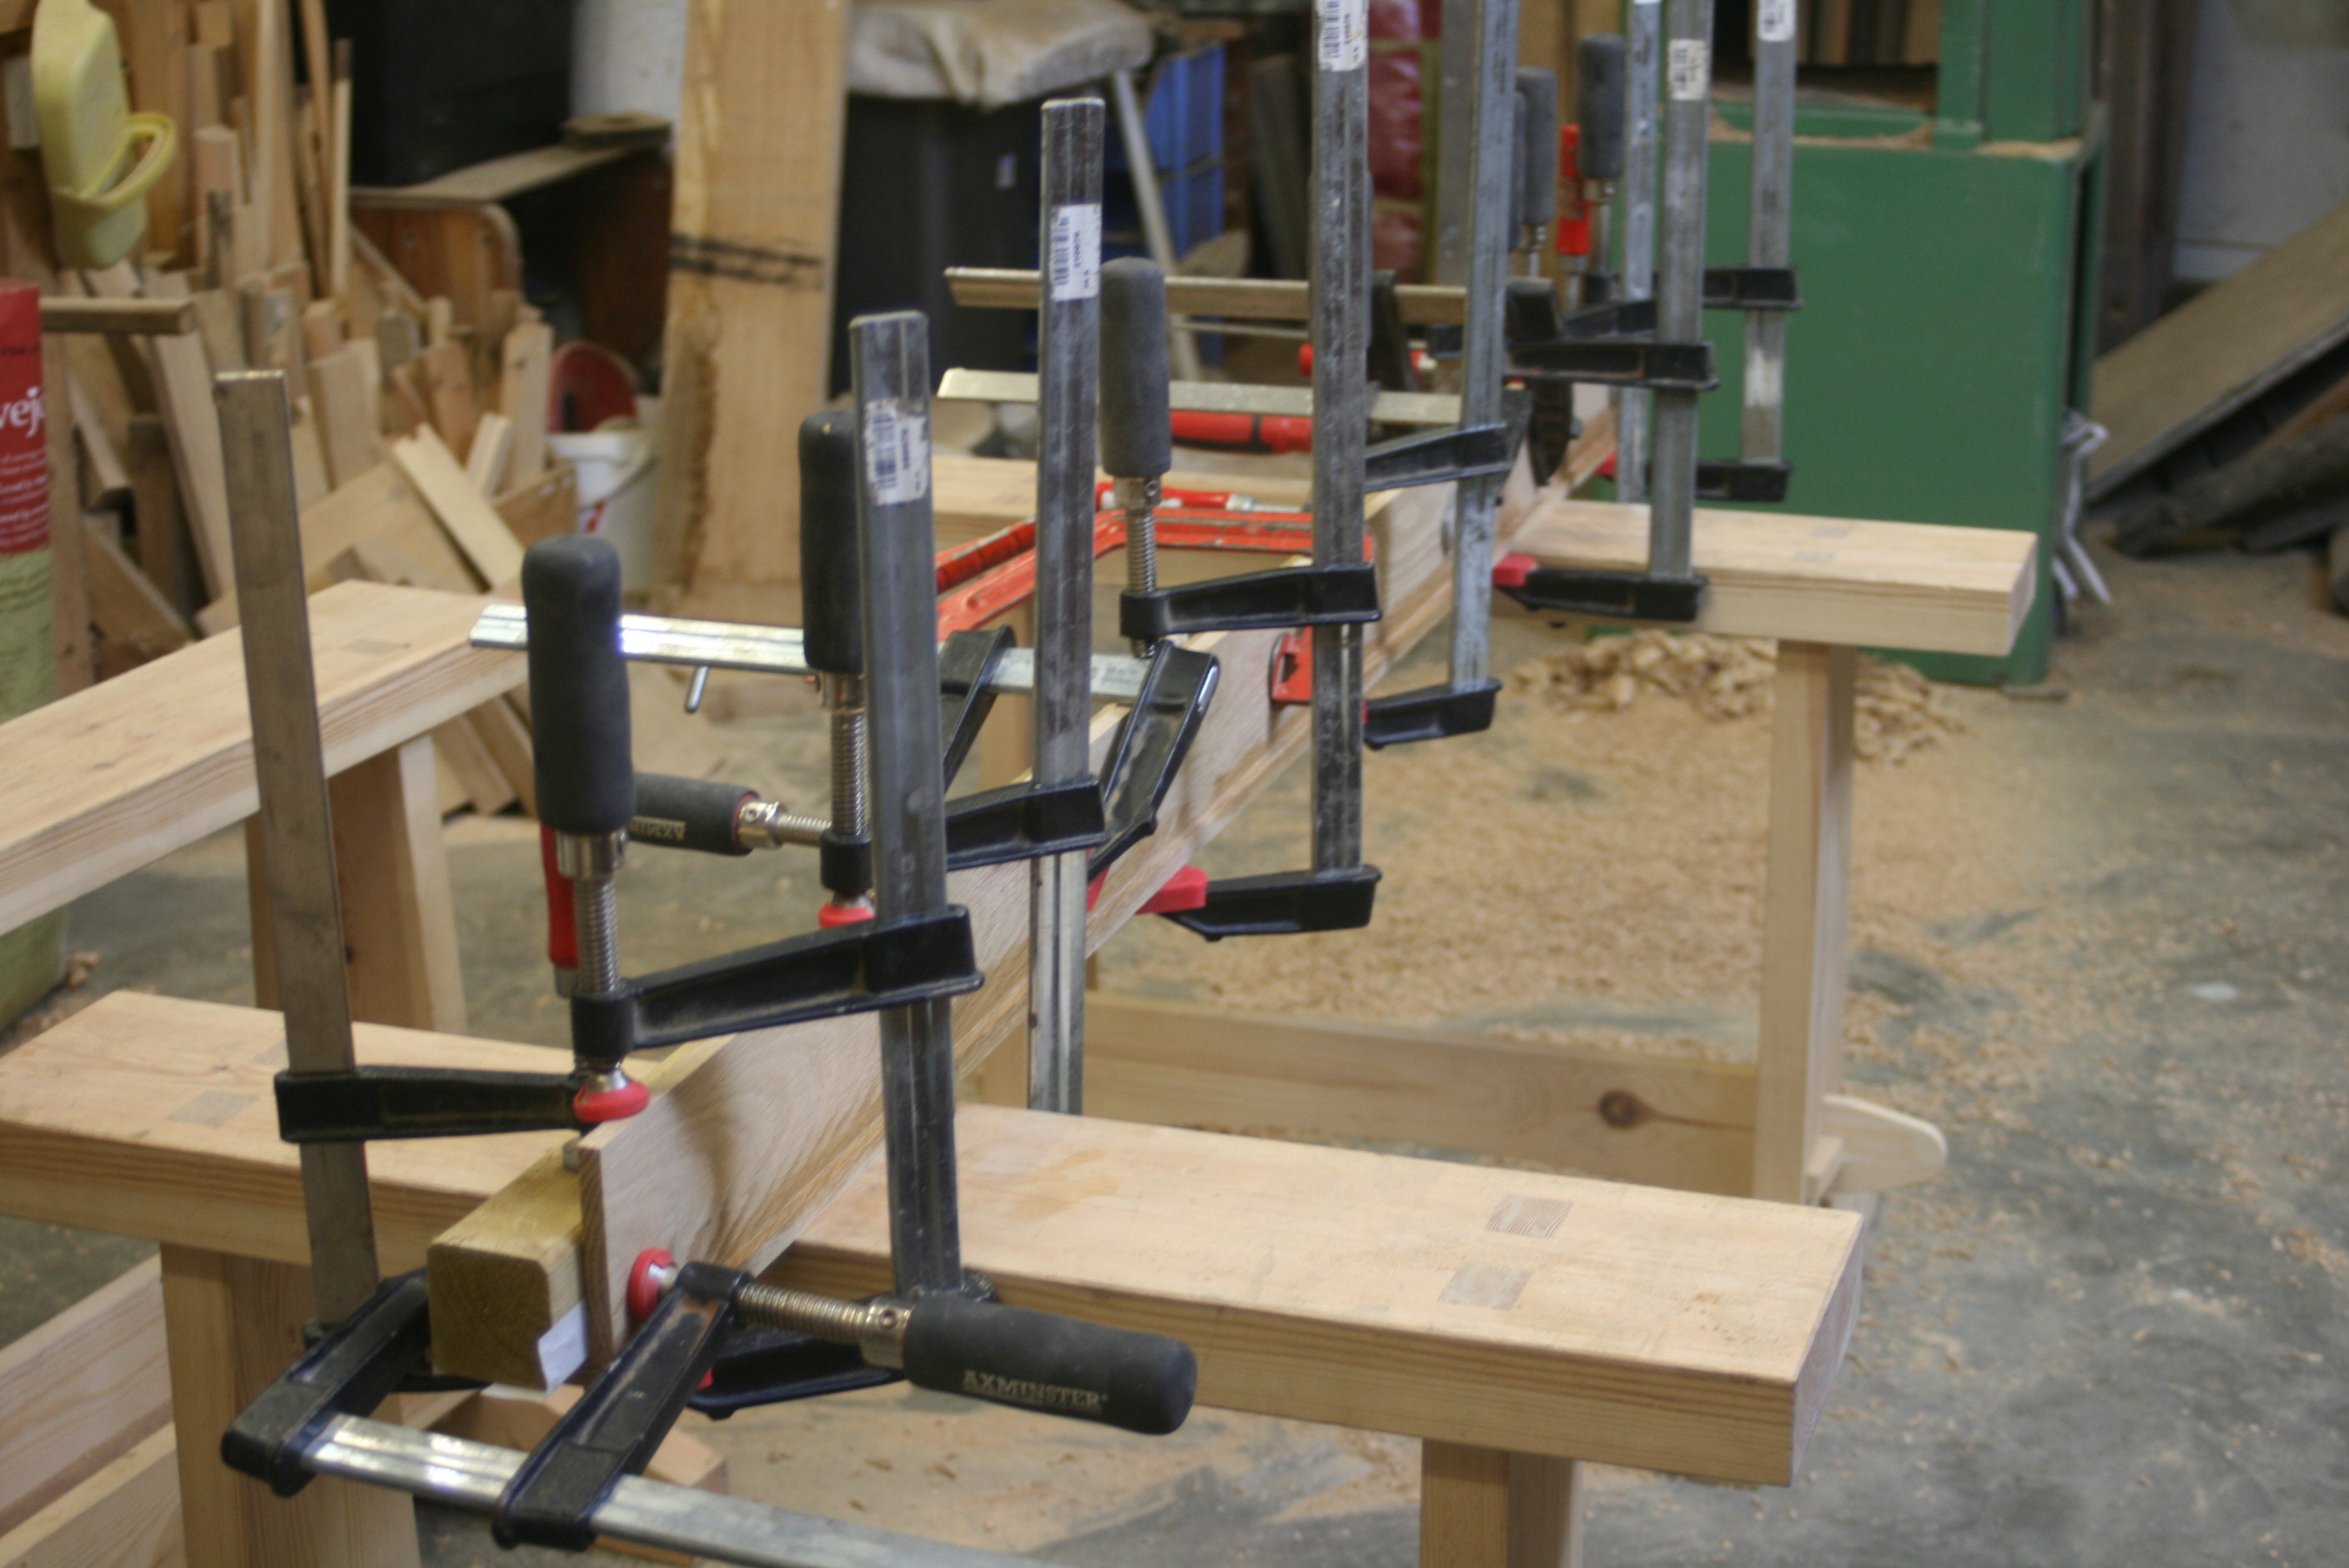
I glued everything up and clamped them in the usual way:

f1fhh79.jpg


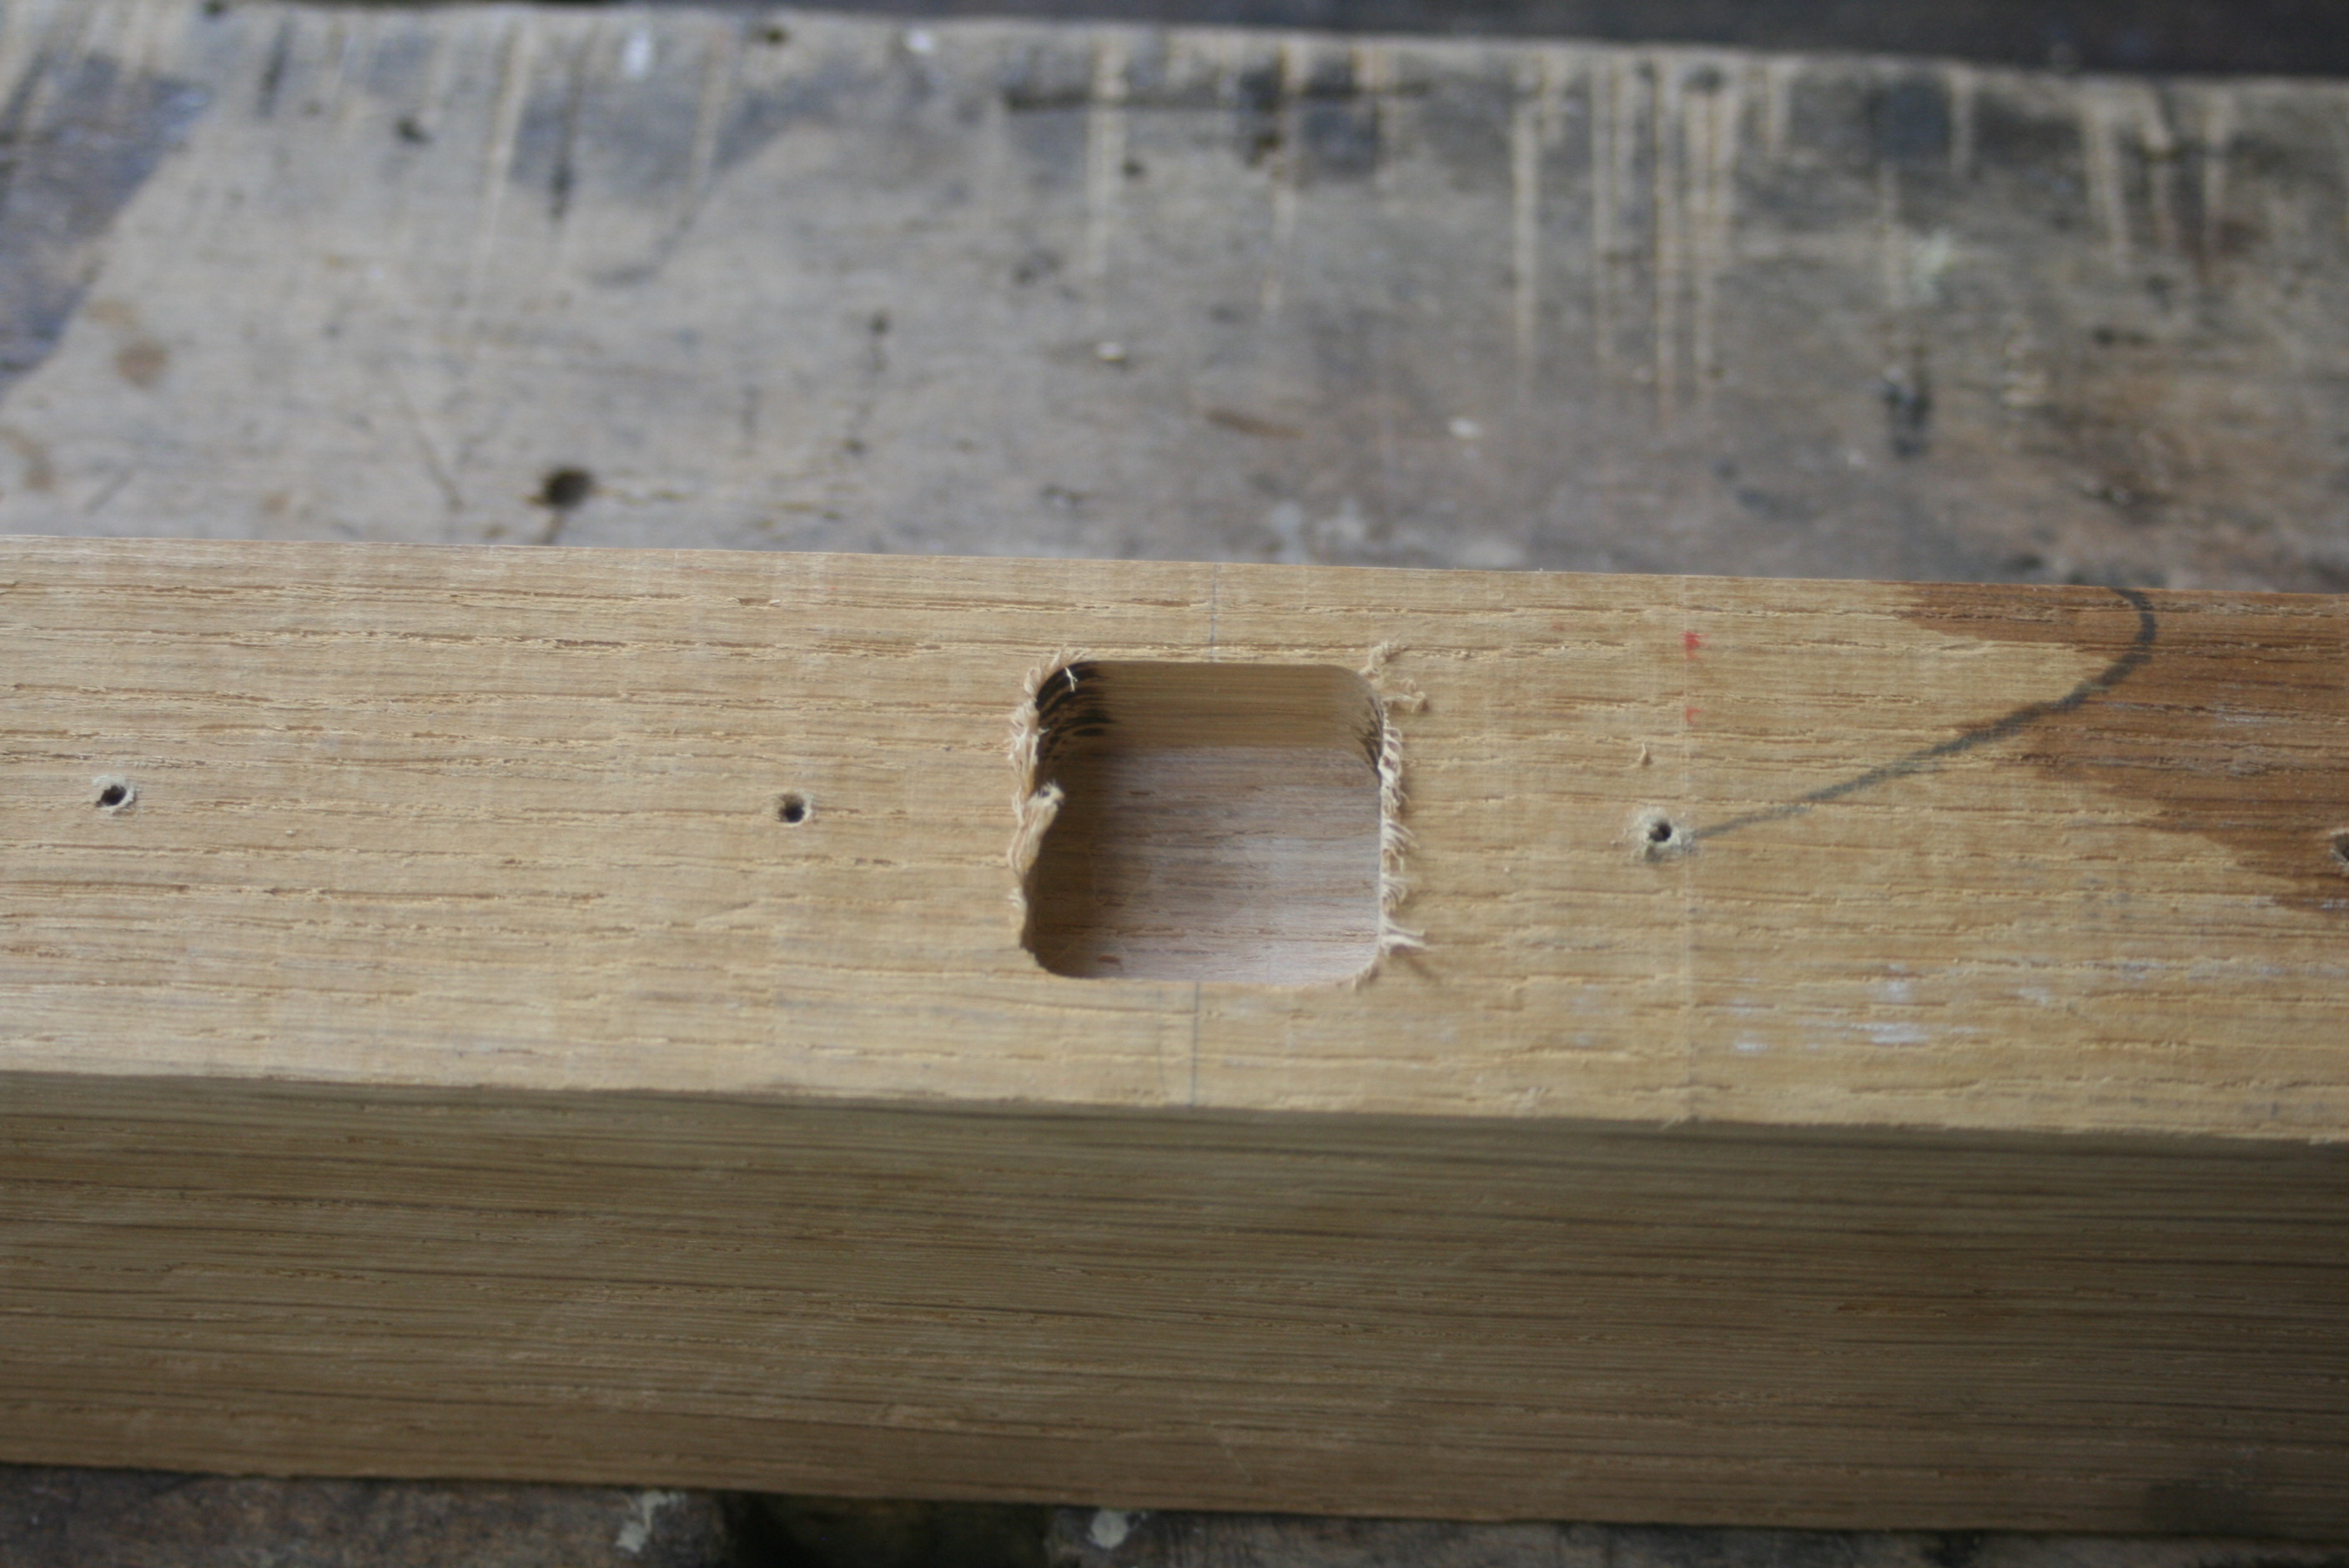
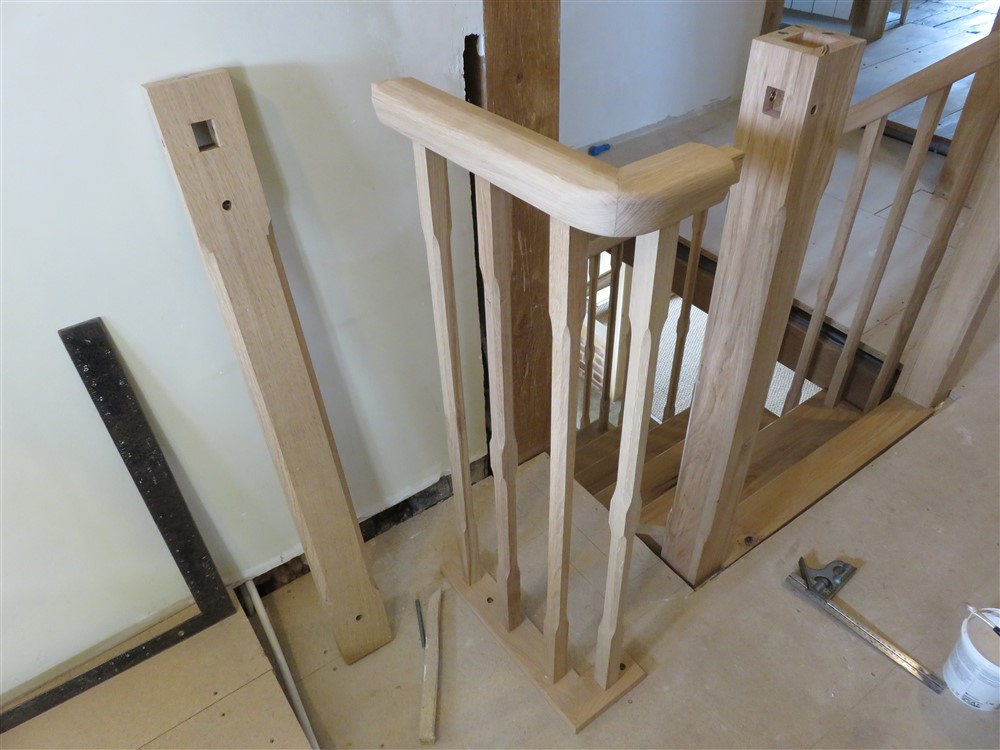
Whilst they were drying I cleaned up the round corners of the balluster mortises, and joined the mitres of the base boards:

ZBOFHiG.jpg


7OawEll.jpg


PLU30qv.jpg


And applied a coat of finish to the ballusters:

kI8CU3T.jpg


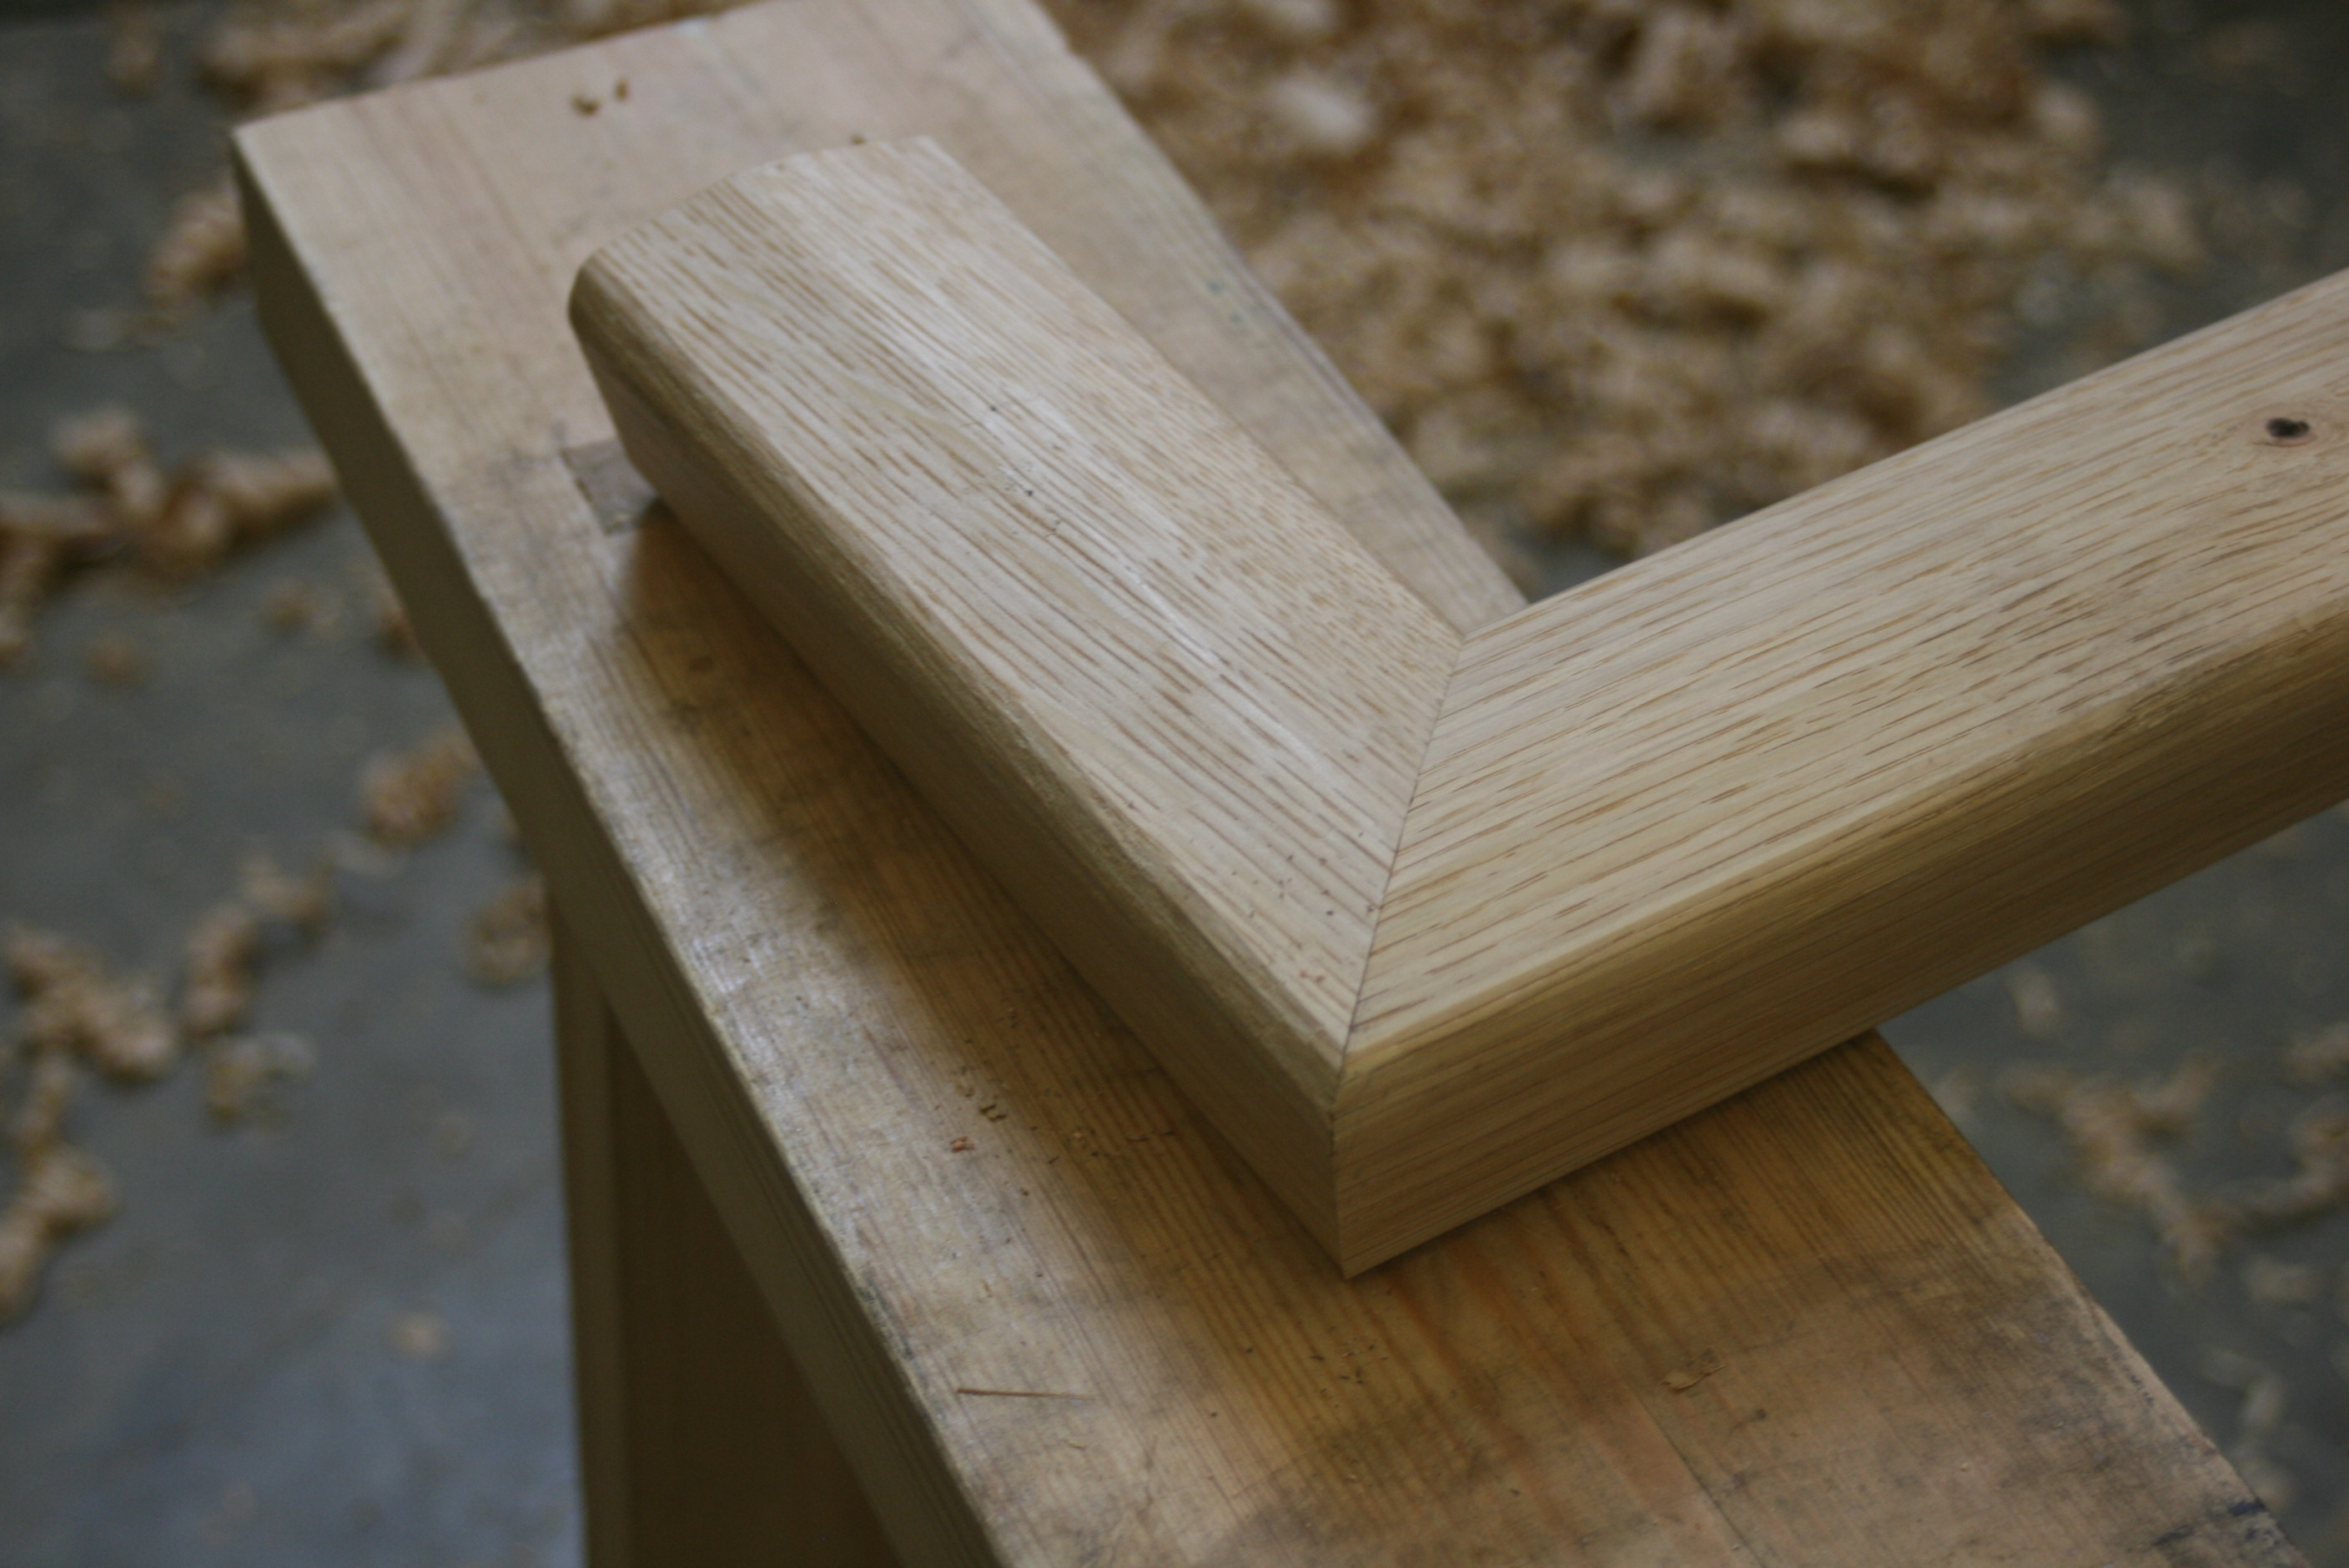
Came out well, the handrail mitres. Time to hack them to shape:

RDvxoA7.jpg


DEIRsqy.jpg


Actually, they cleaned up pretty well. Obviously the profile doesn't run true around the curve. In commercial handrail kits the corner piece isn't a mitre, and the profile runs around the curve perfectly. Never mind, at least it will stop people bruising their hip when they misjudge the corner in the dark.Time to go inside.....

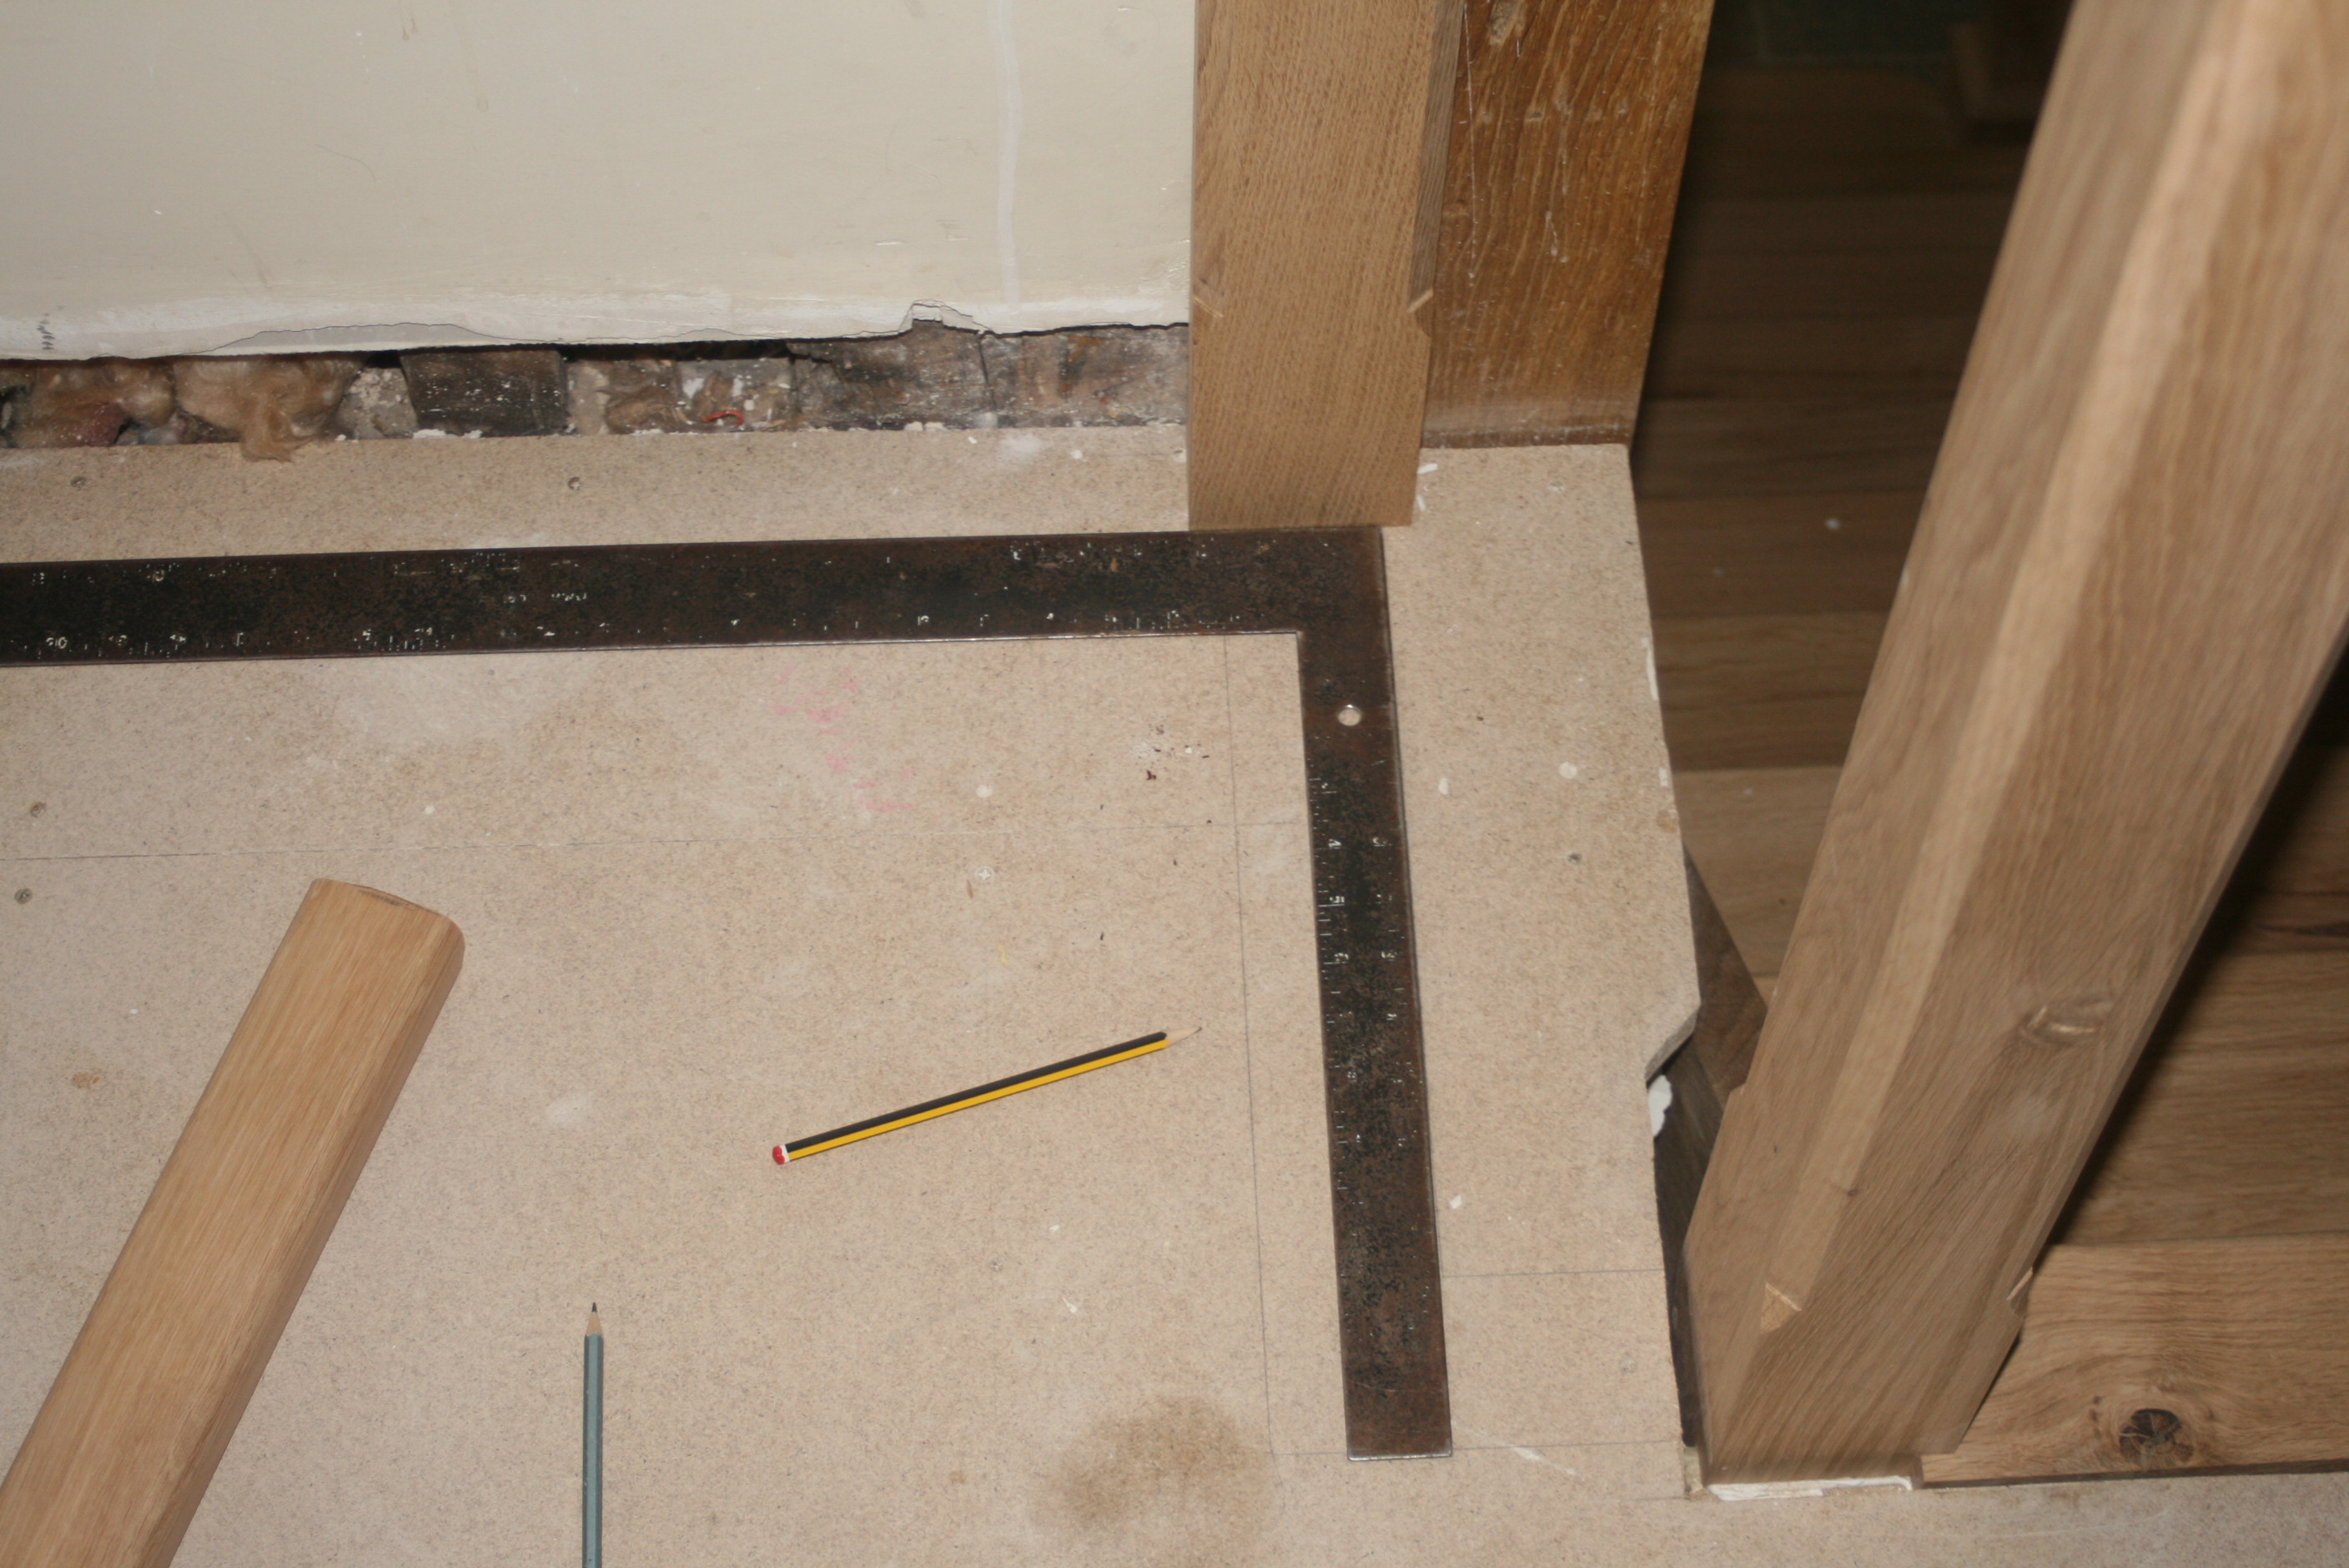
Setting out the baseboard locations:

LywAF9z.jpg


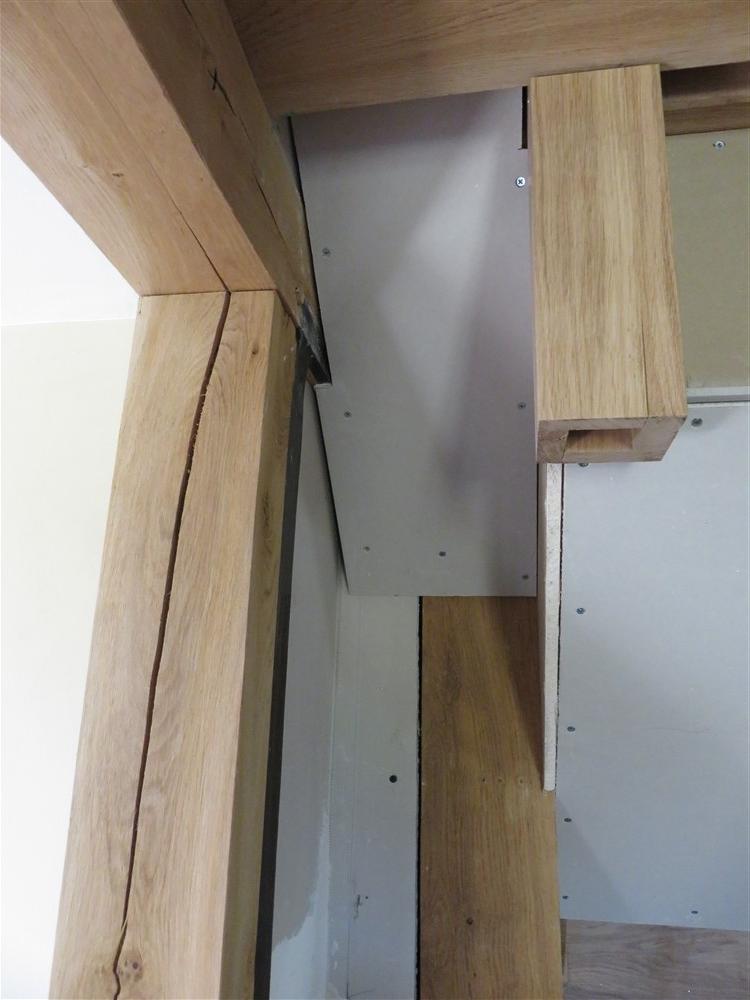
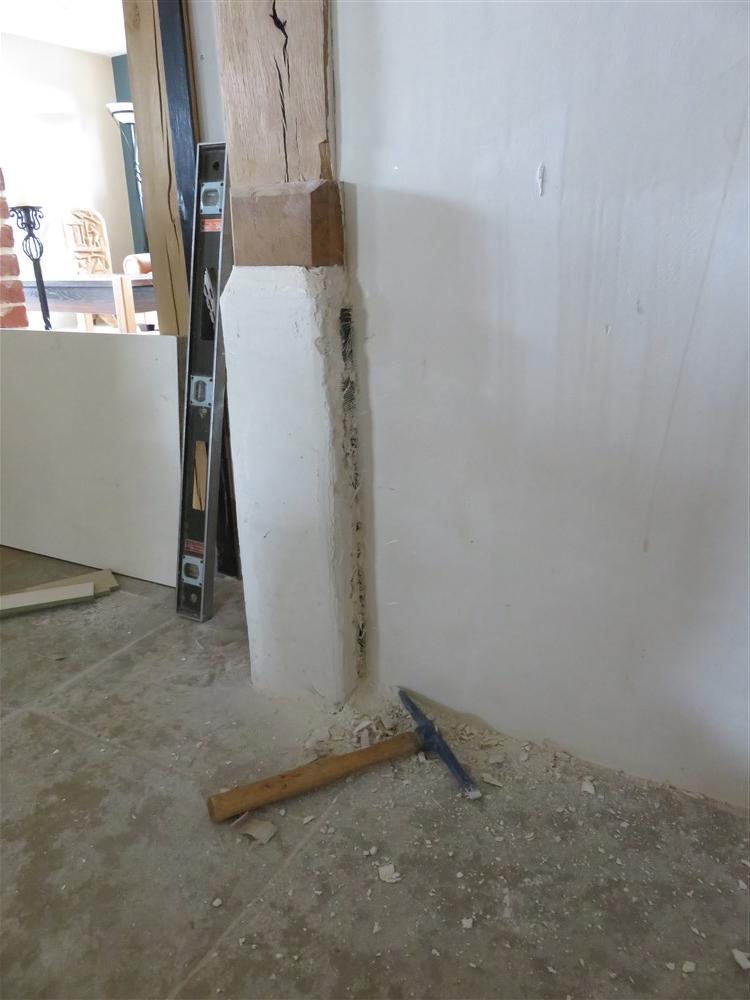
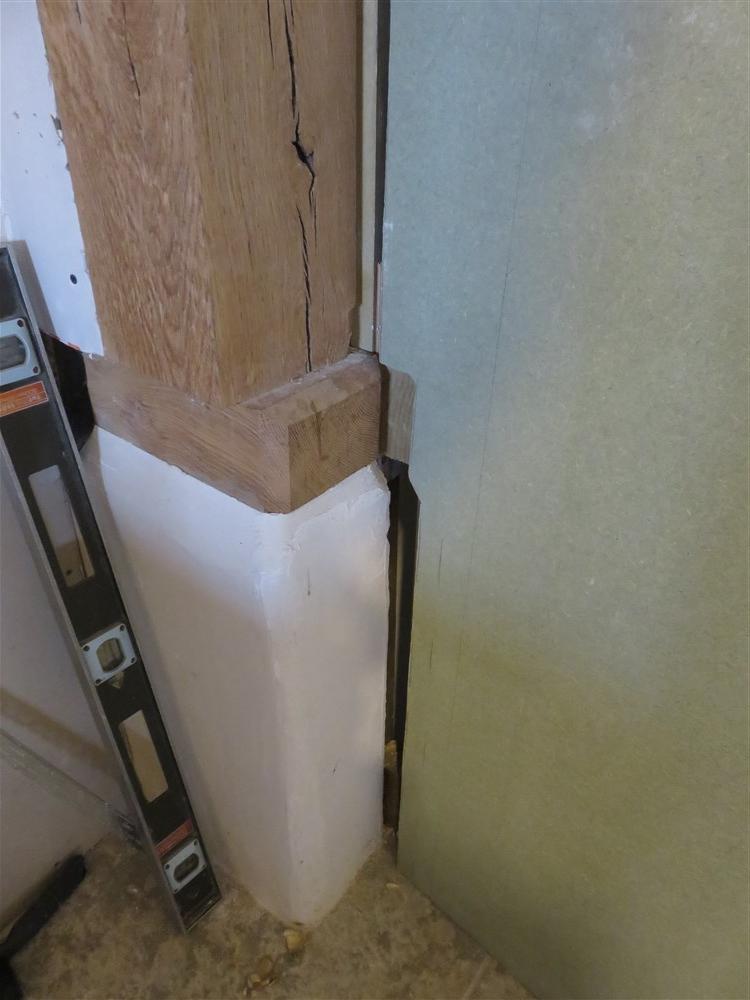
This half newel is against a twisted oak post, so needed profiling until it could sit against the wall:

wRM6WRS.jpg


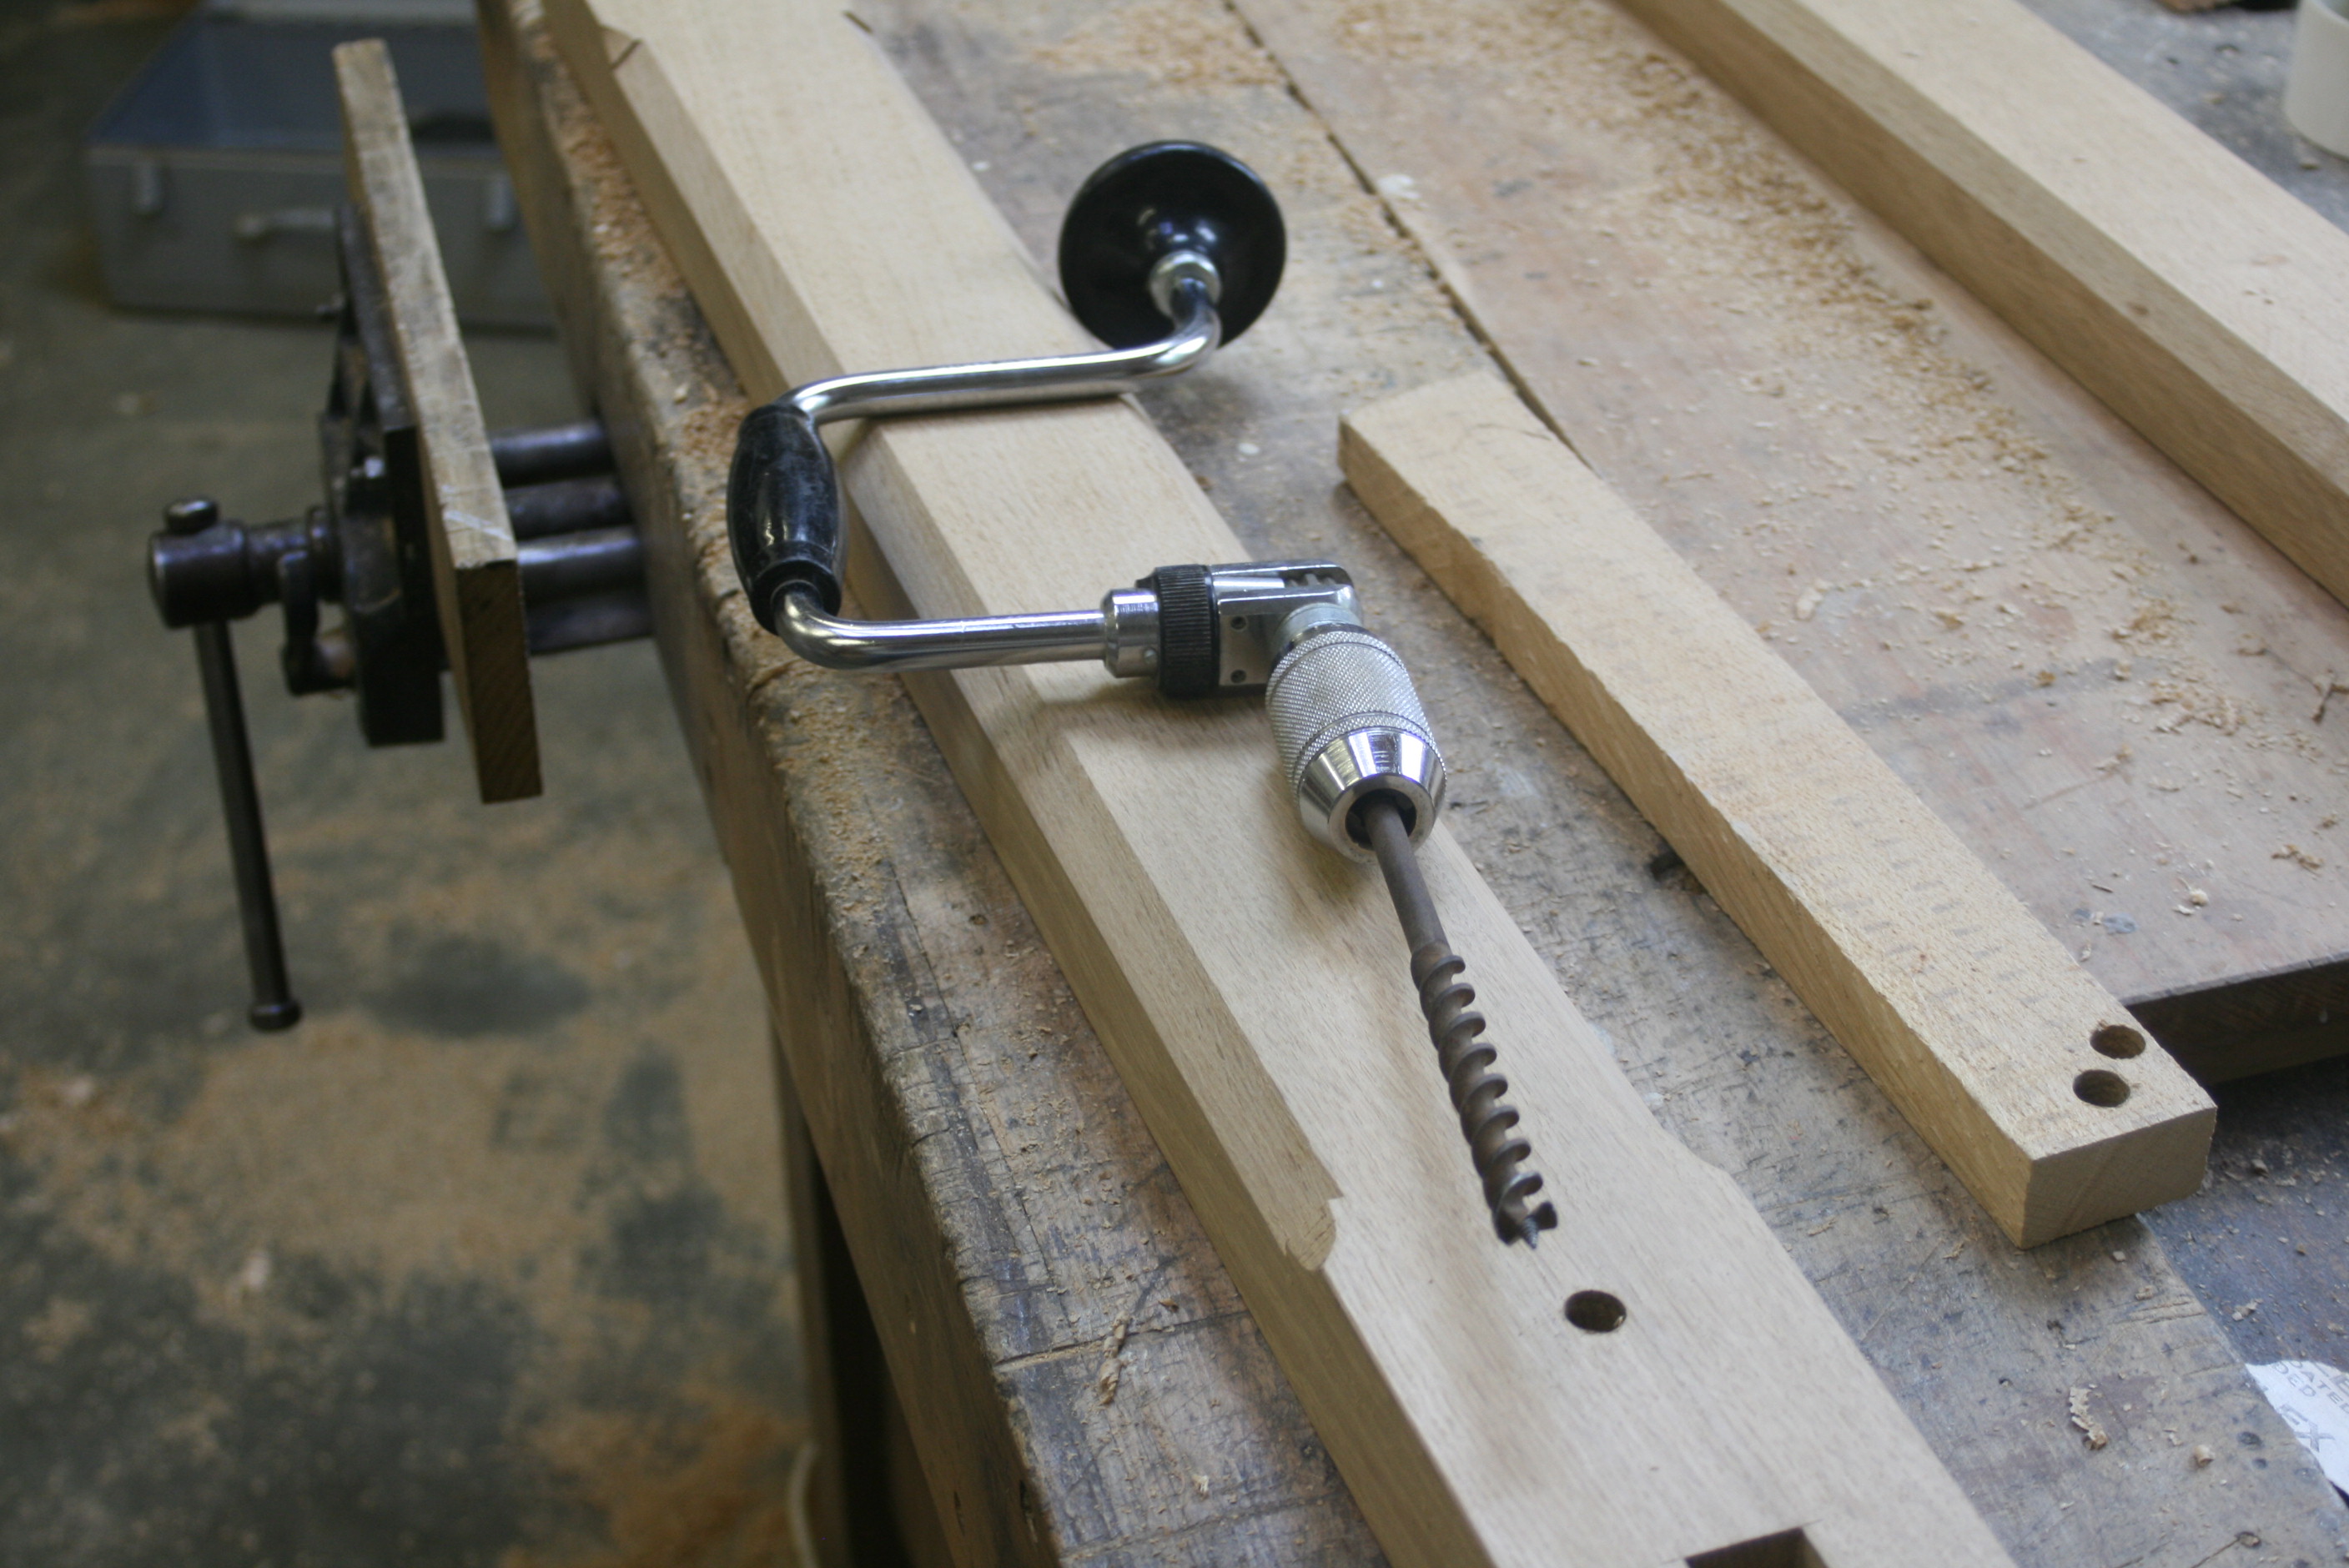
I also drilled it for its fixings. Normally I would use a spade bit, but I couldn't find the right one. Out with the brace:

FXmLwTg.jpg


Dry fit:

hEAF1zt.jpg


That went all right. What could possibly go wrong? Time to glue everything together:

5flZmzg.jpg


And put it in place:

2lM1eJ6.jpg


Great!! That's one done. On to the other side. Oh, hang on a sec:

yOhITa4.jpg


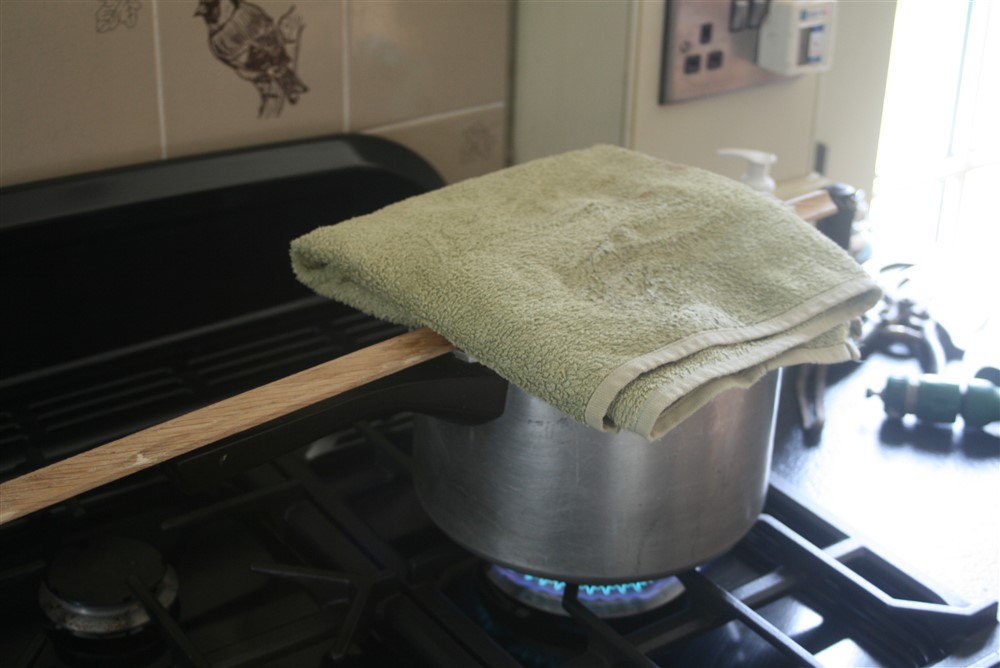
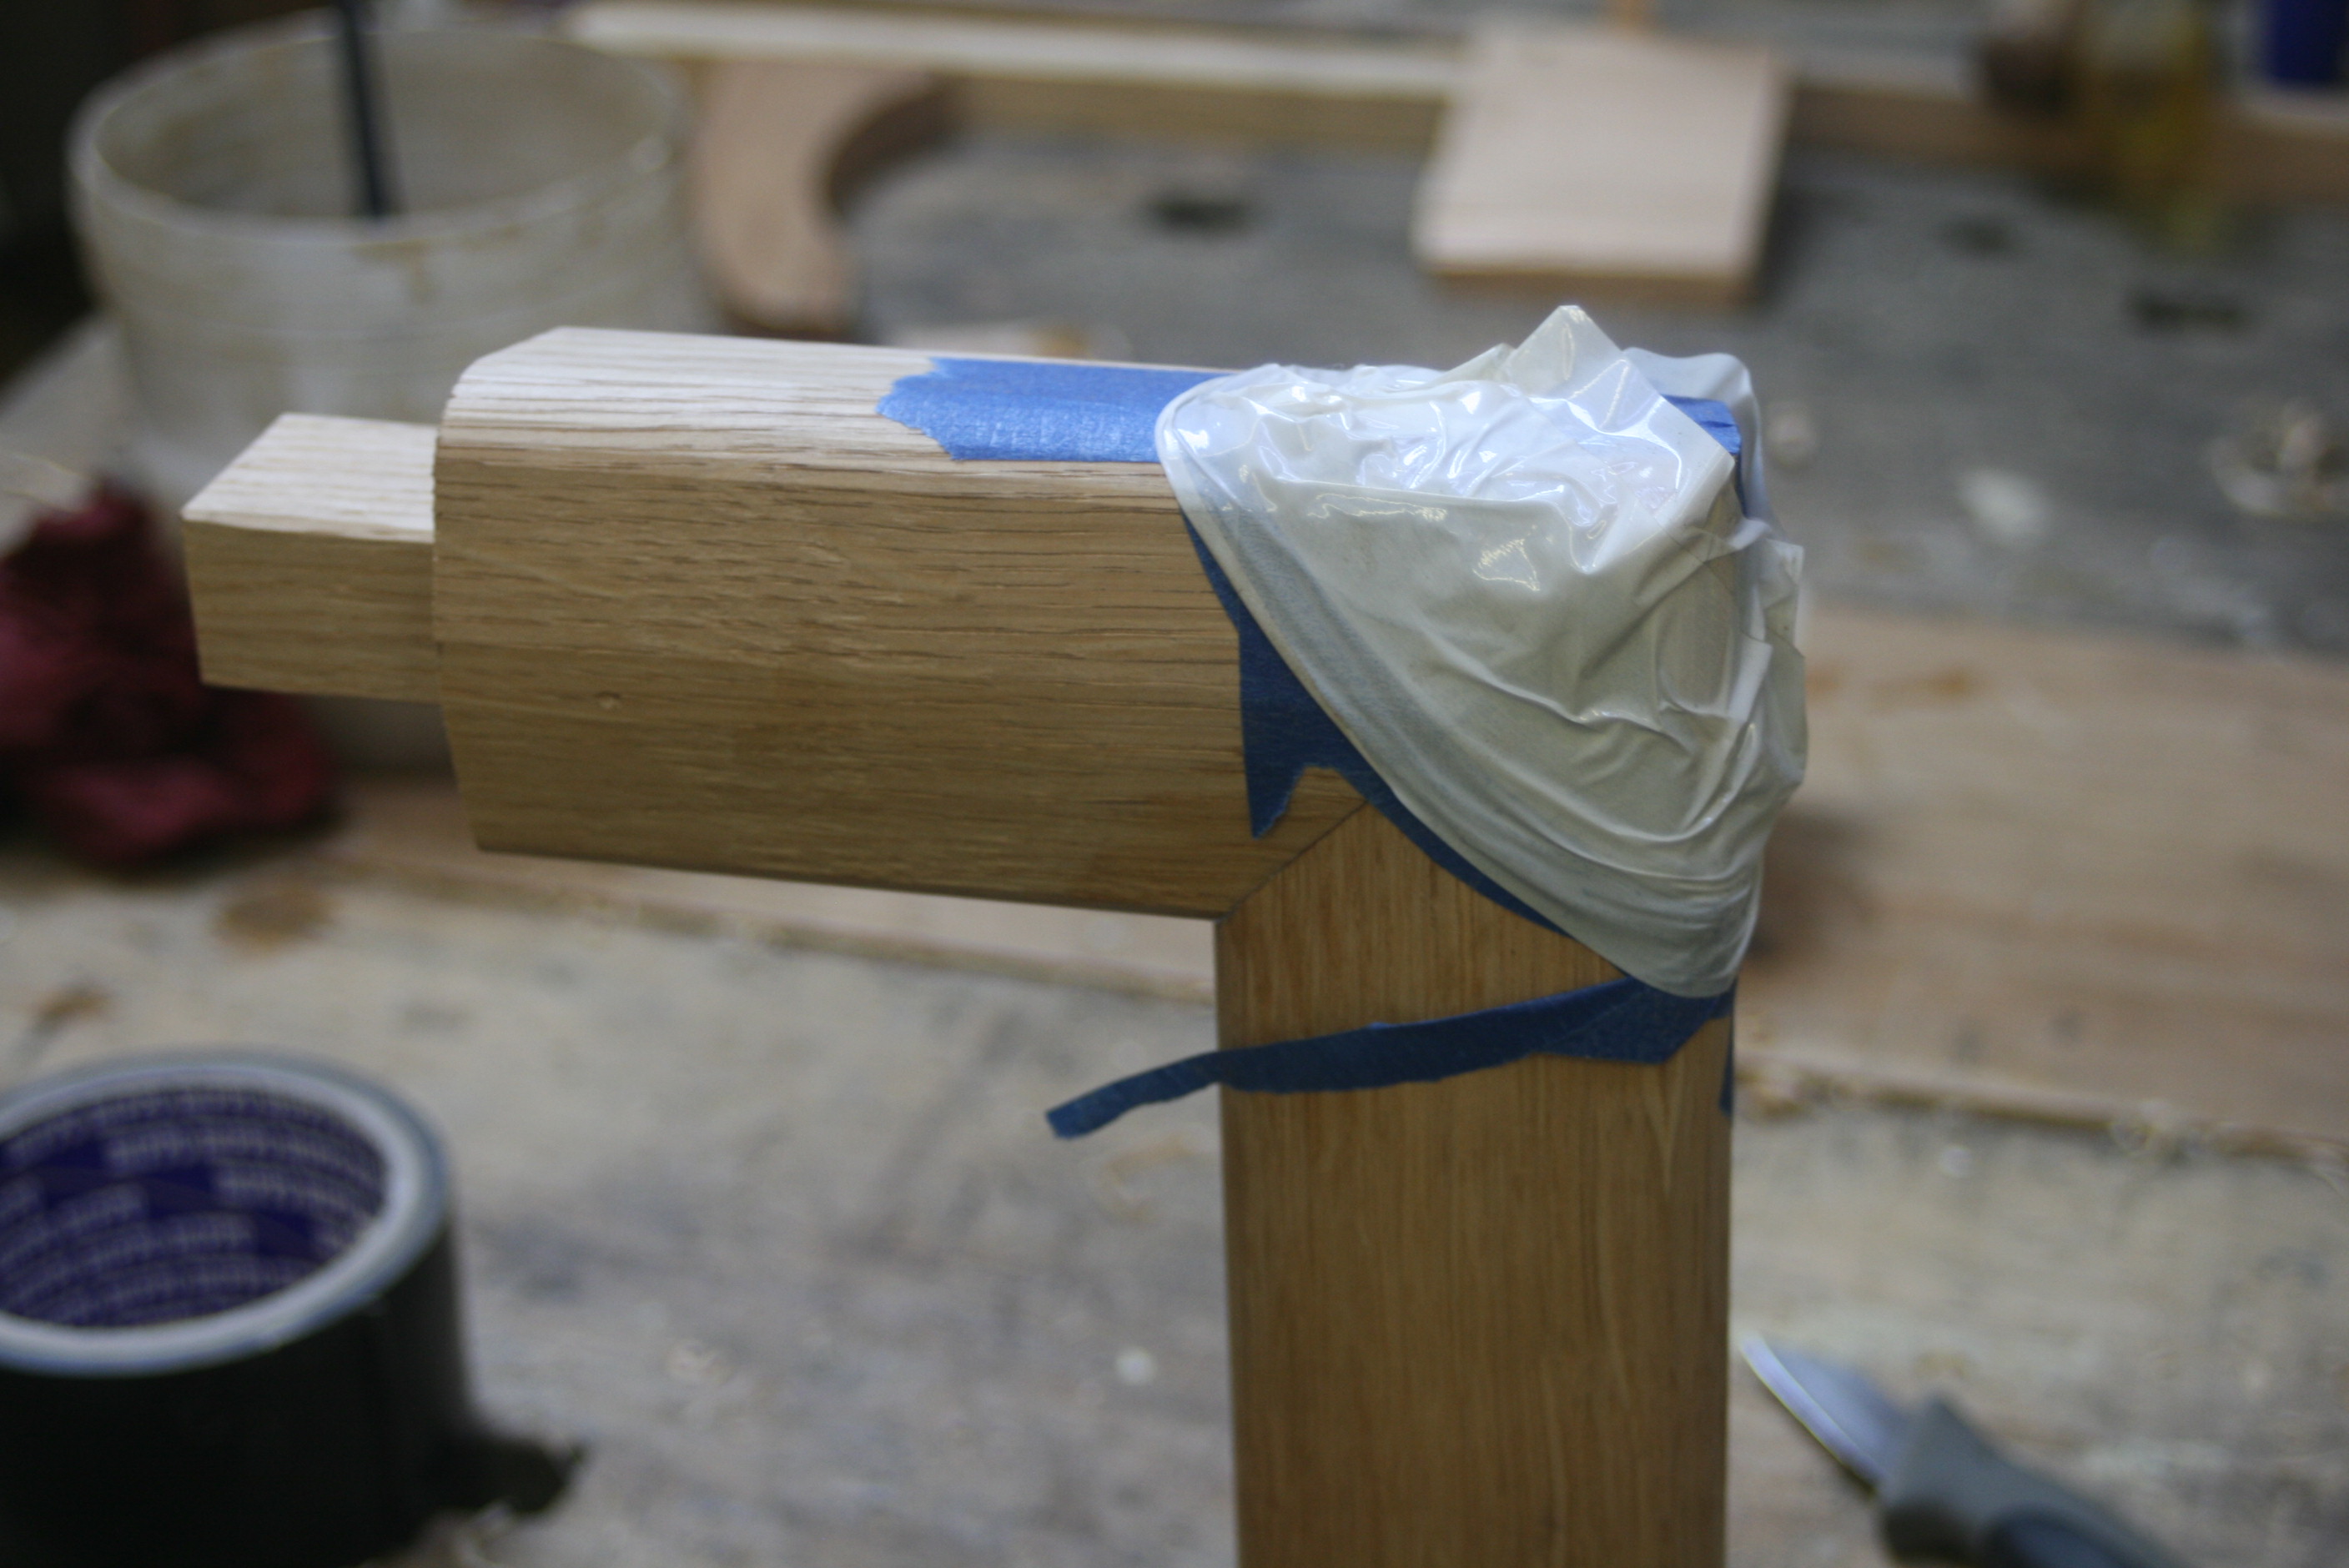
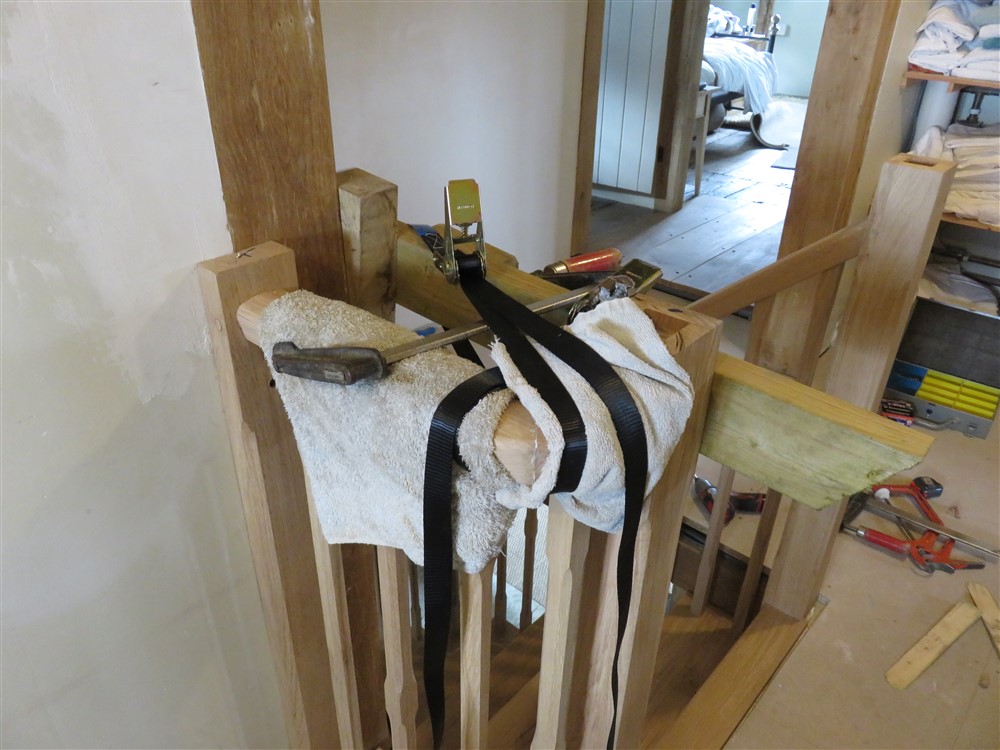
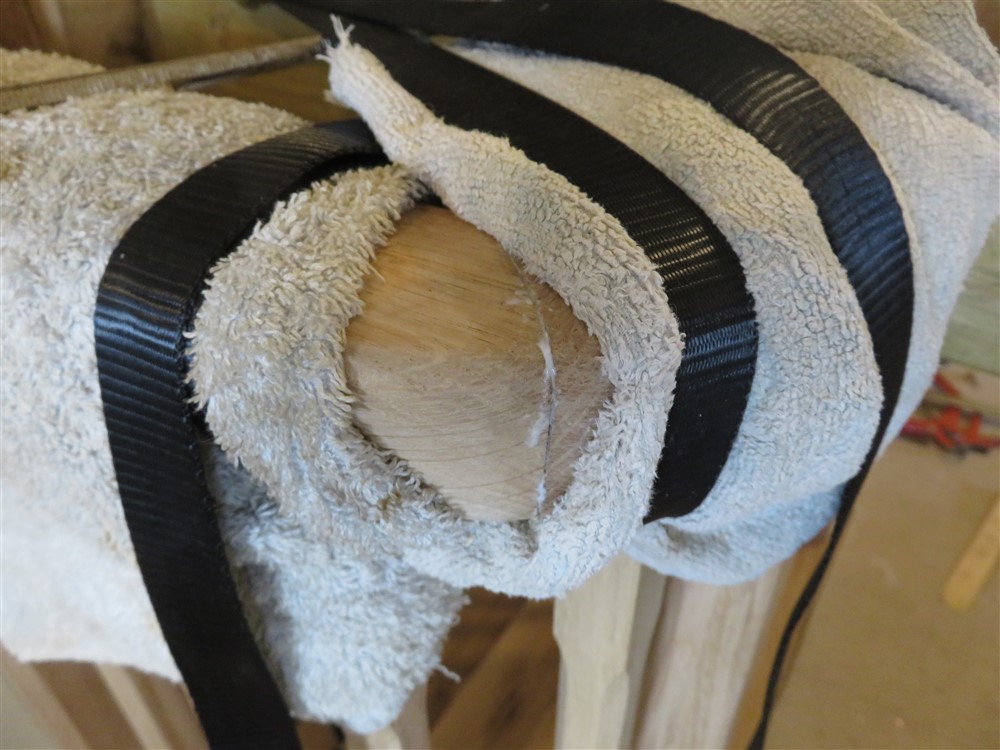
I love mitres, with all my being. I love them more than life itself. I grabbed a whole lot of clamps, bits of wood, towels, ratchet straps, and then sloshed a whole lot of glue around. Don't forget, there's glue drying:

YfG4aAB.jpg


4oxn8sH.jpg


Whilst that was drying, and with the clamp taking chunks out of me every time I went on the stair, I got on with the other side:

sXydLO2.jpg


7Z1VqQI.jpg


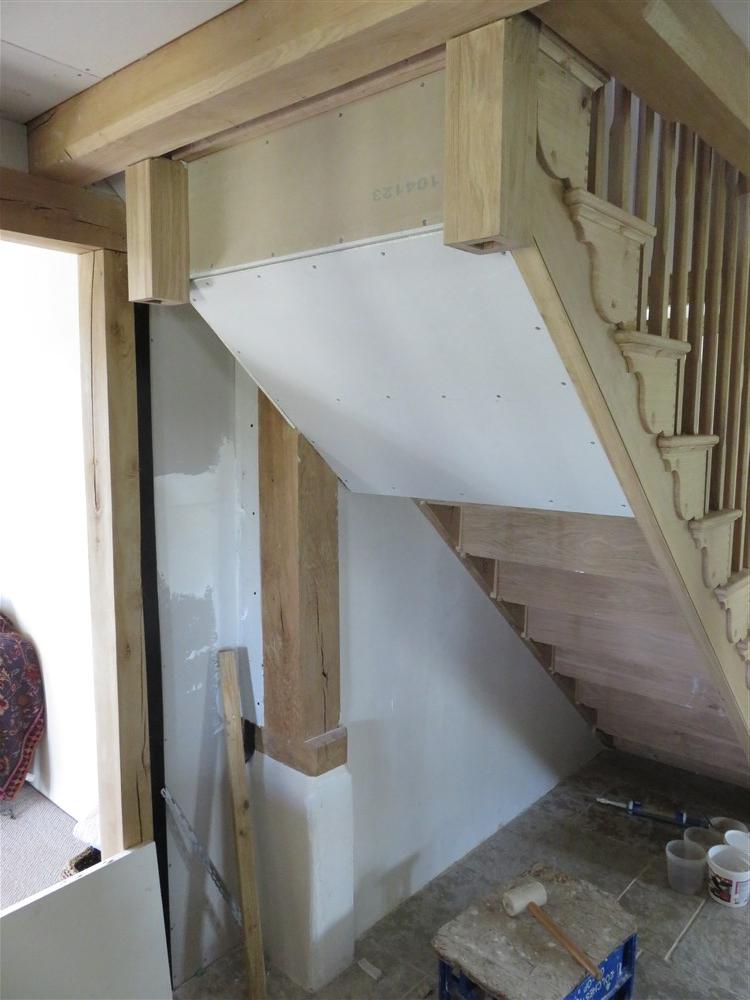
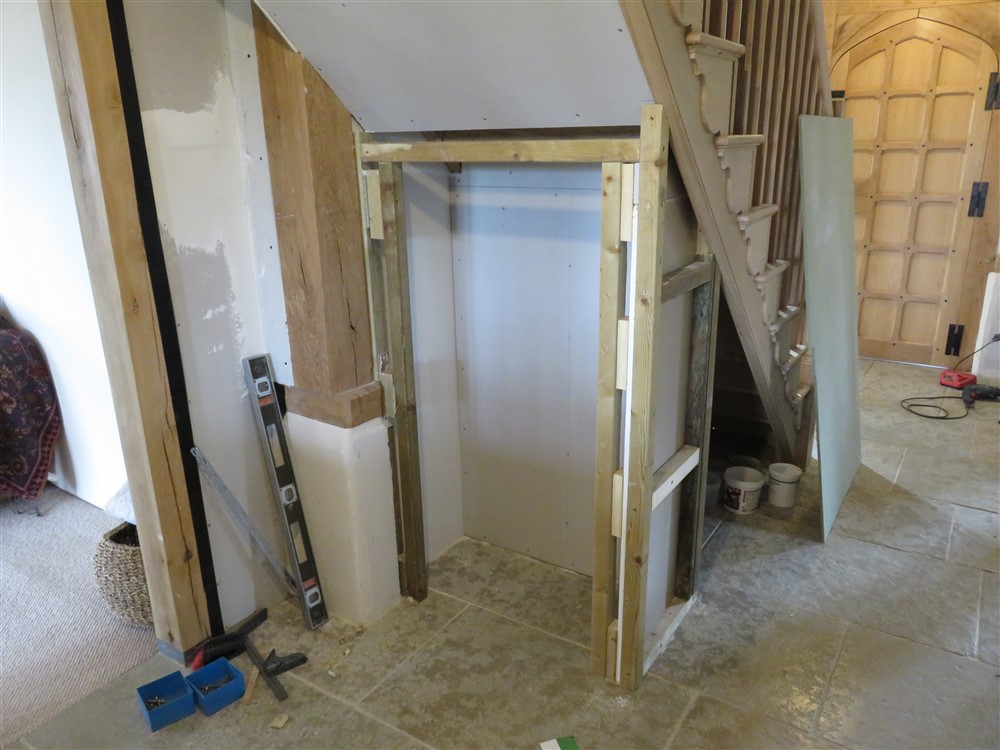
That's a dry fit, because I needed to do the apron before fixing this in place. Doing the dry fit enabled me to take all the necessary measurements. Here's what needs covering:

FpbPSti.jpg


And the other side:

O8ifJZD.jpg


Back out to the workshop:

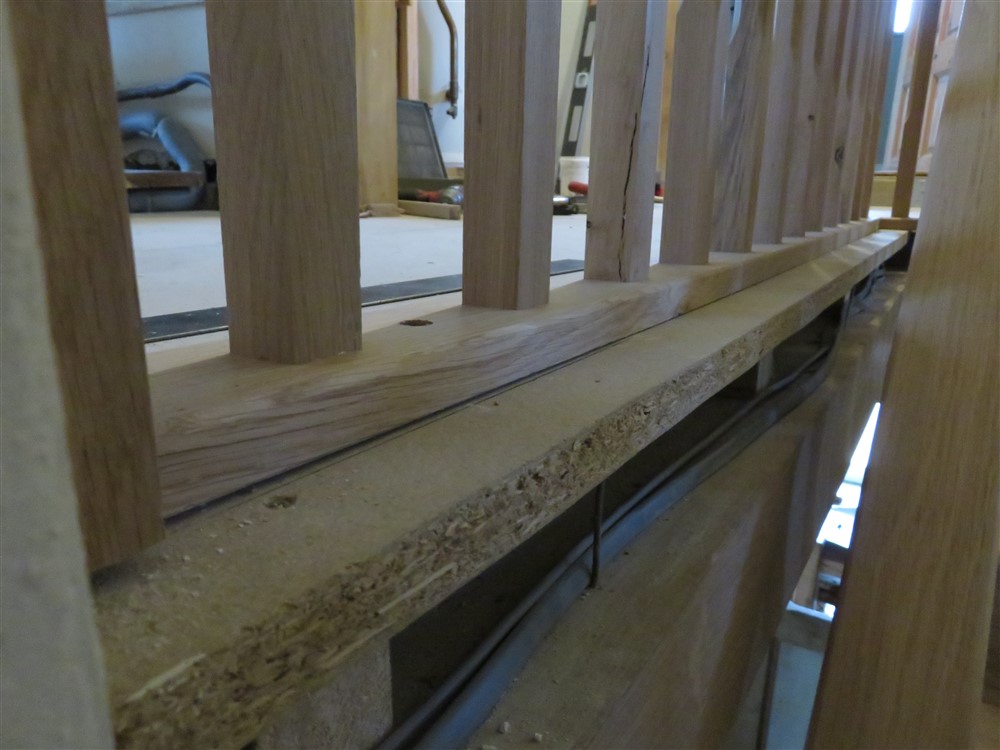
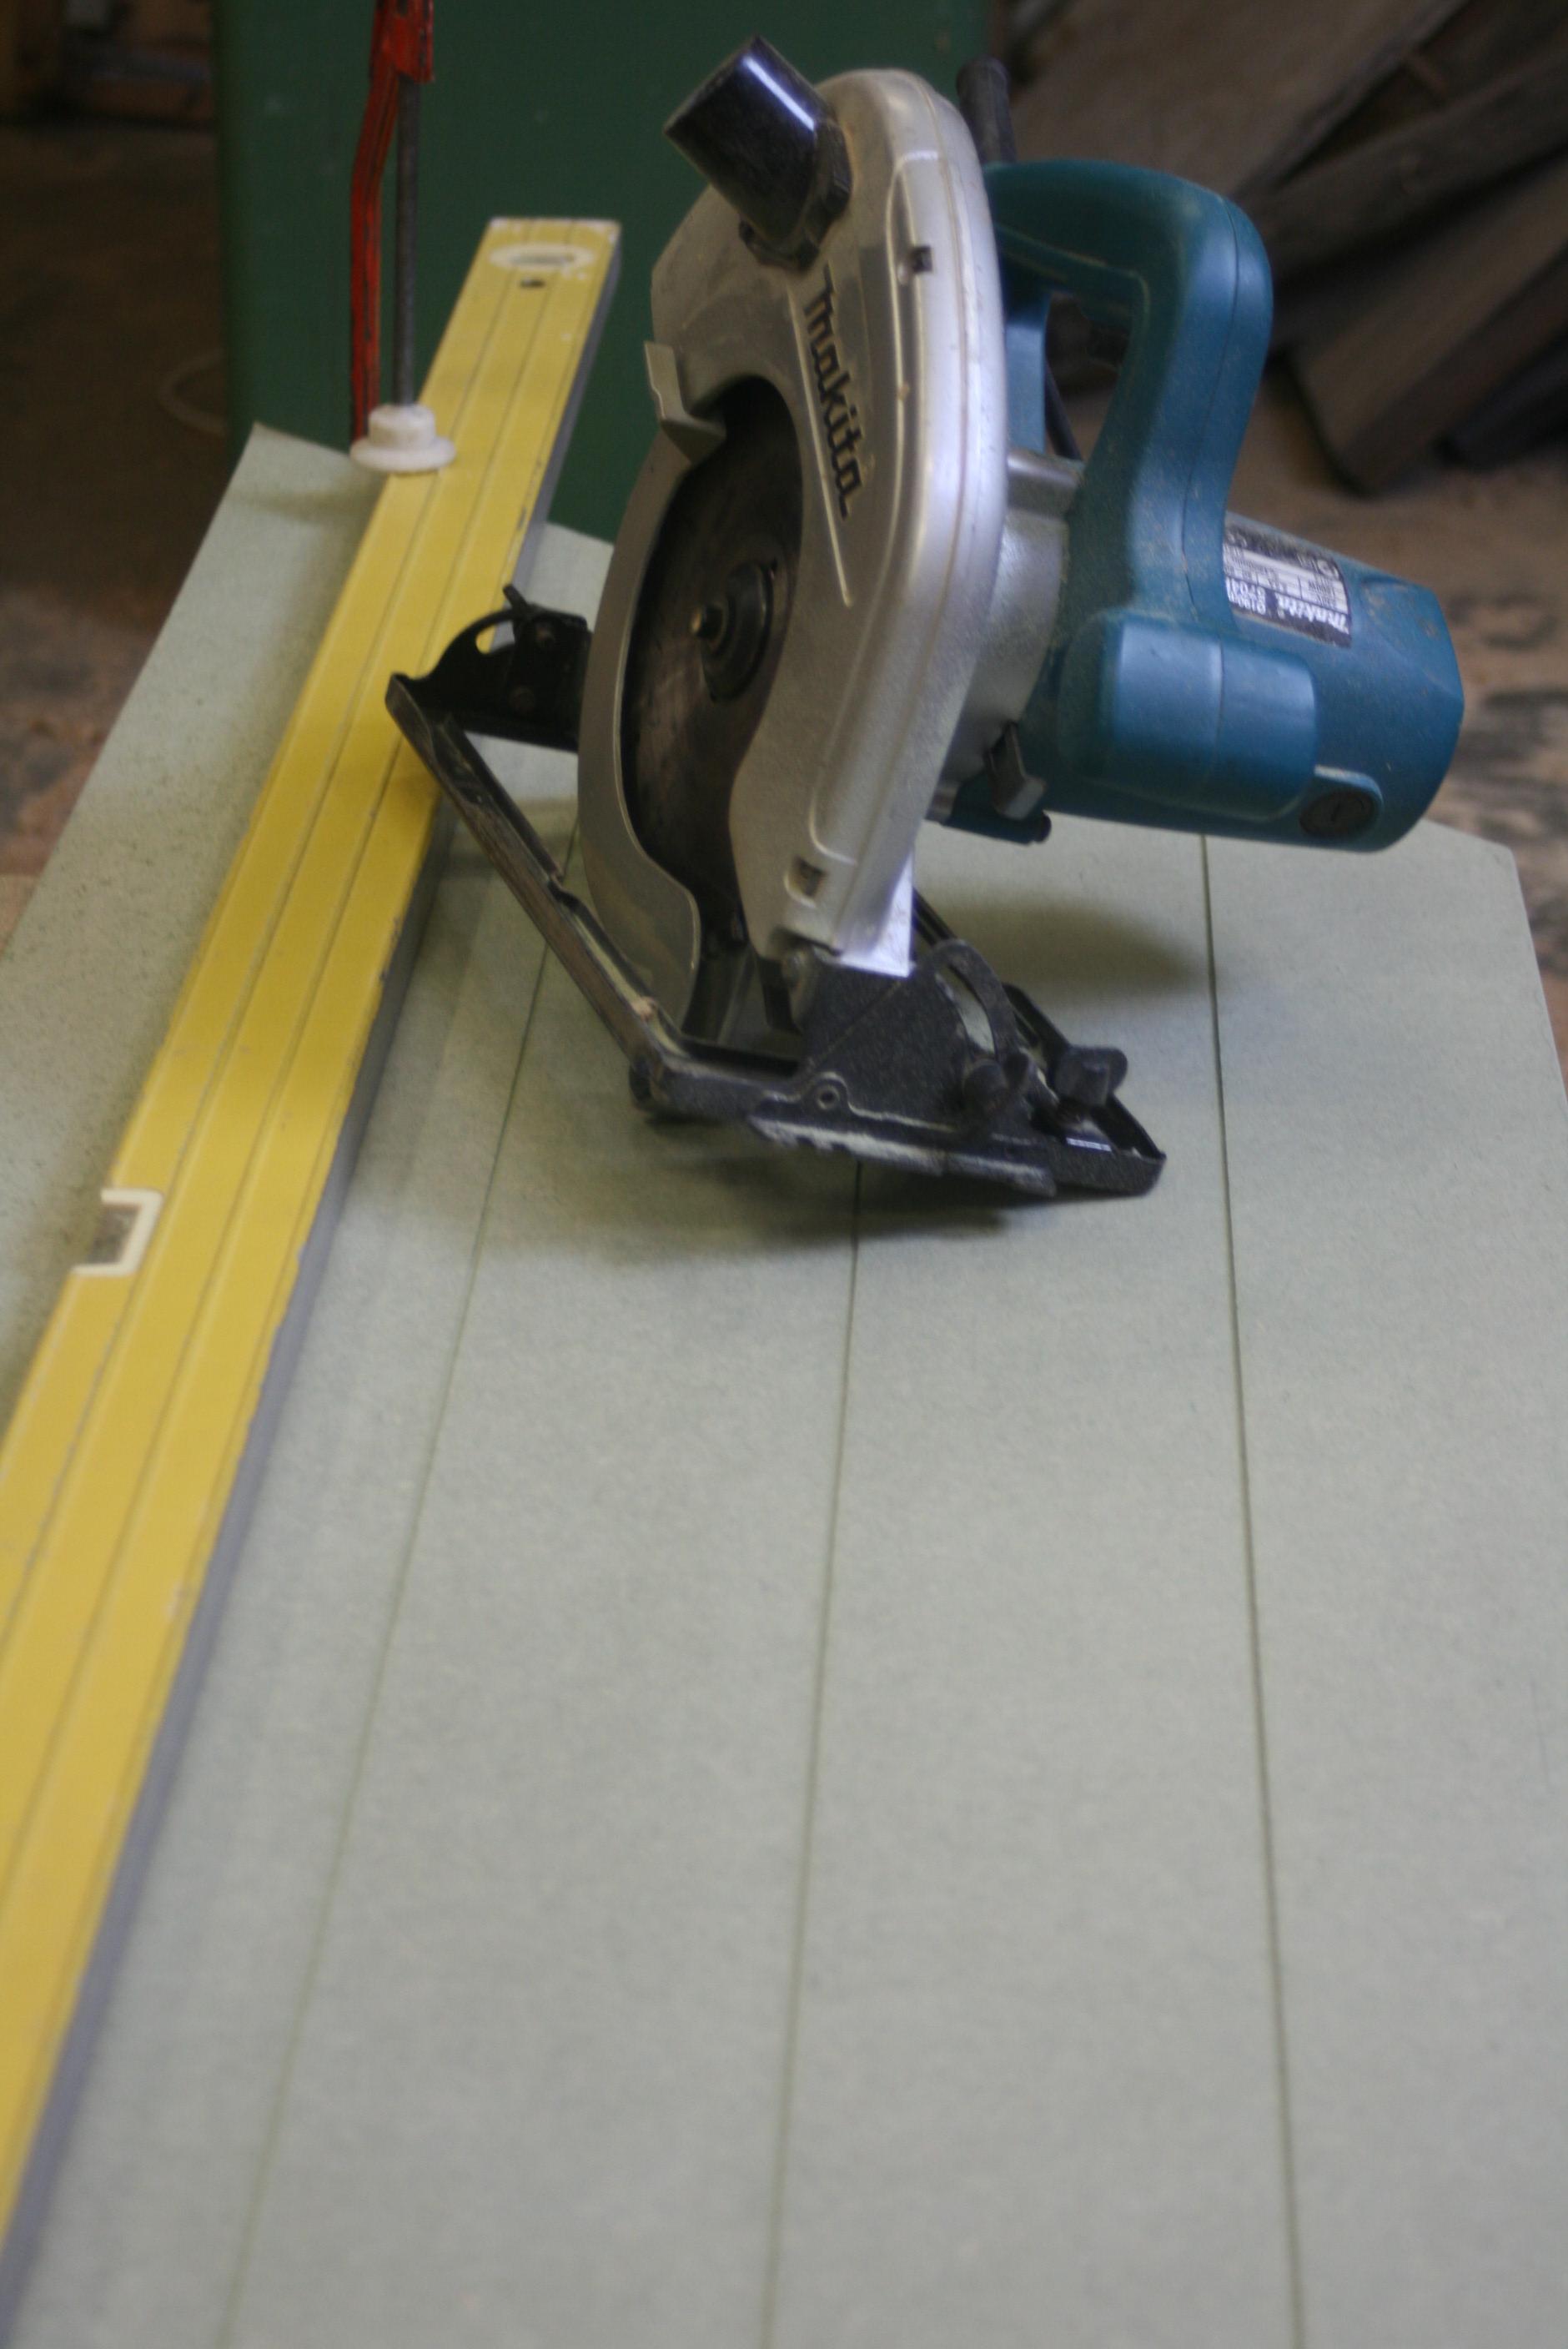
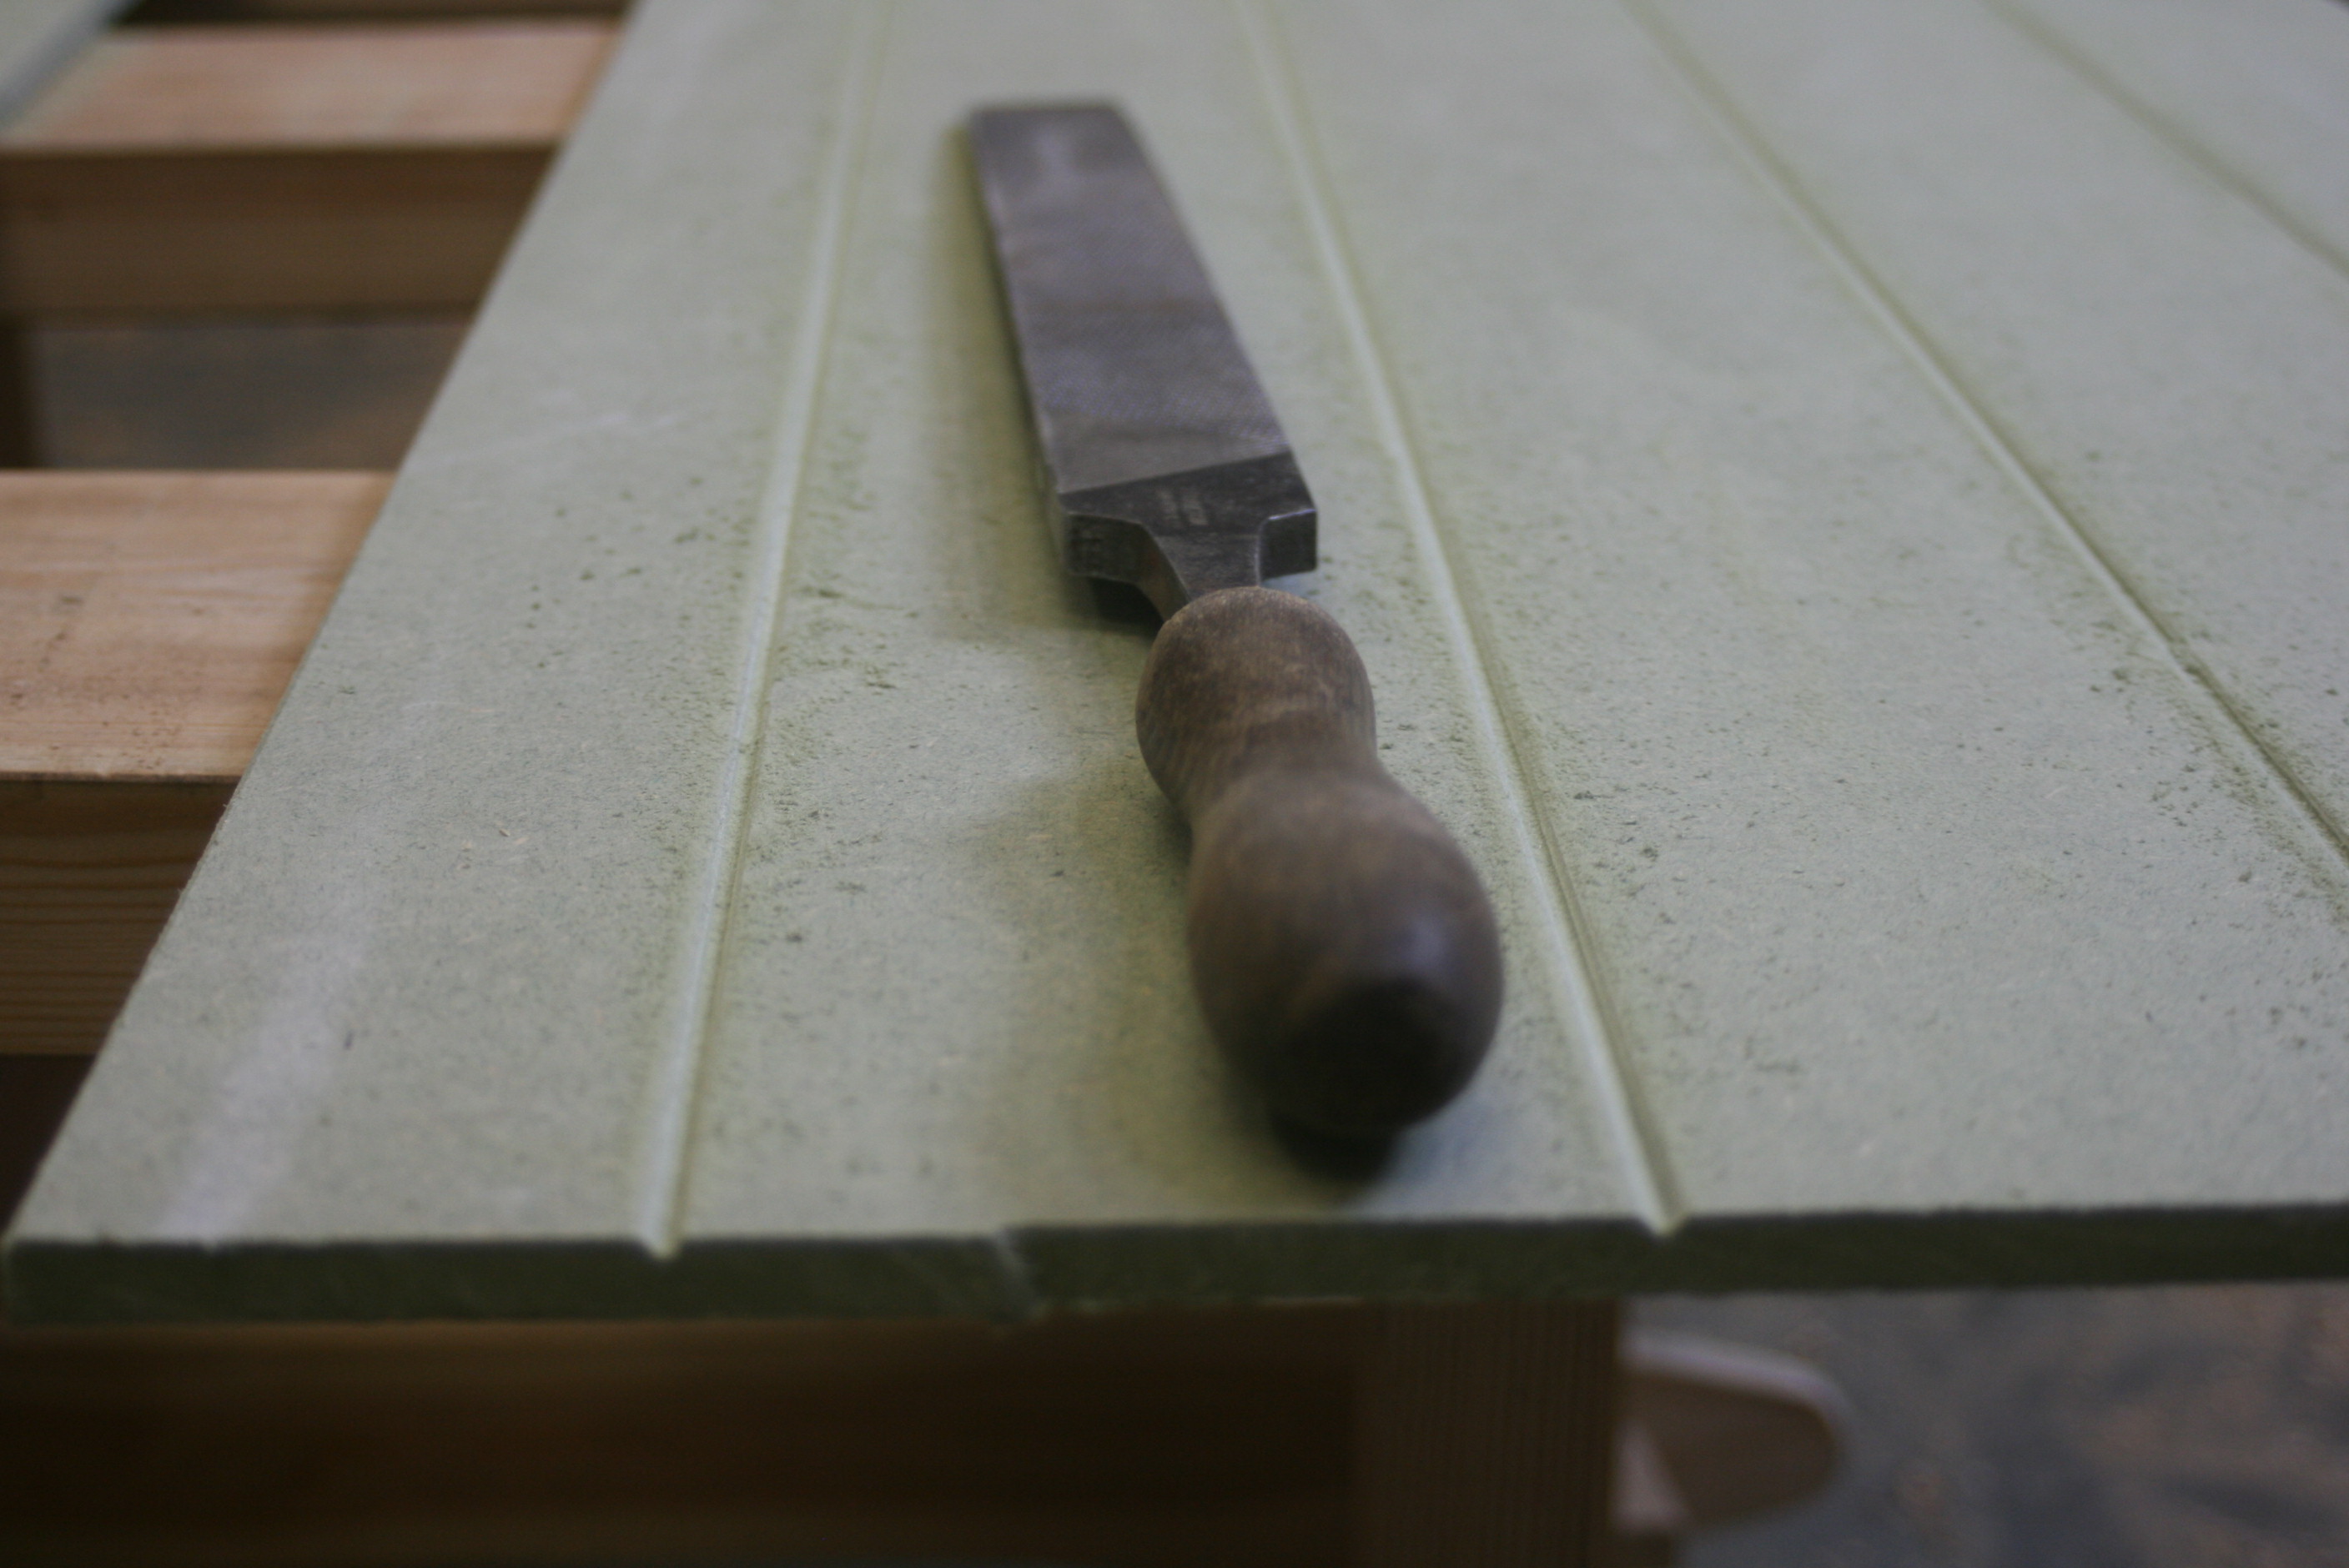
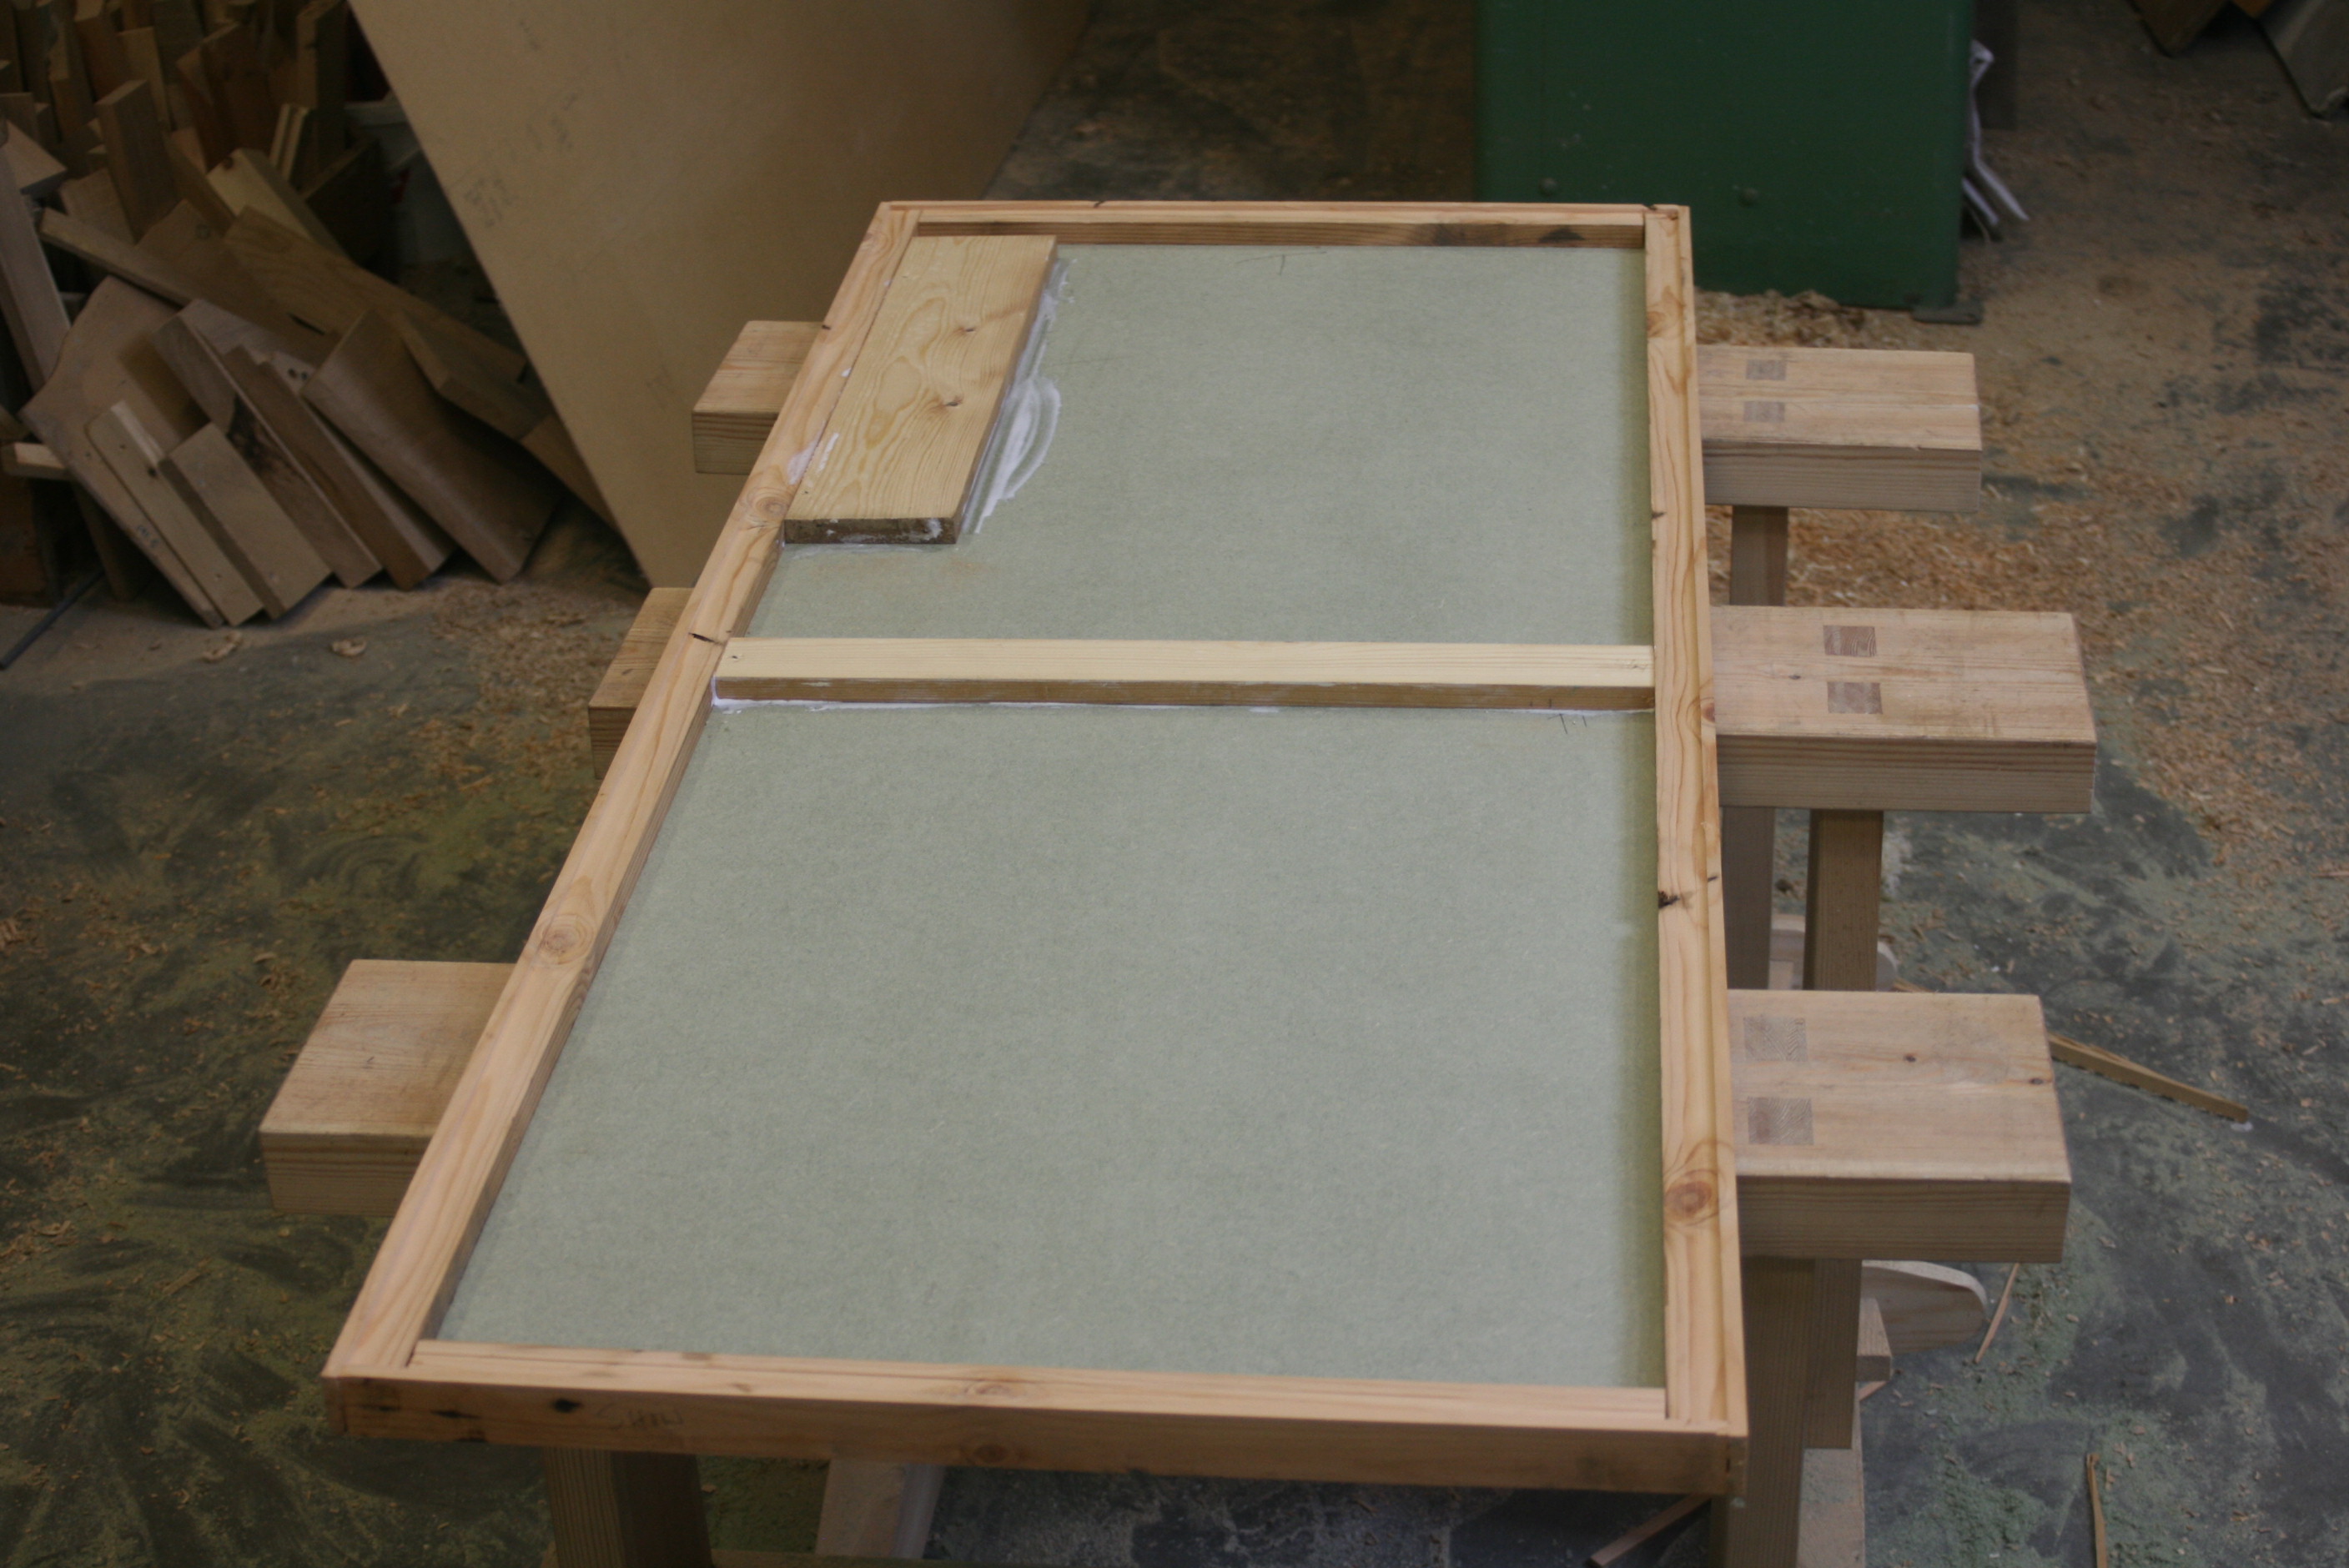
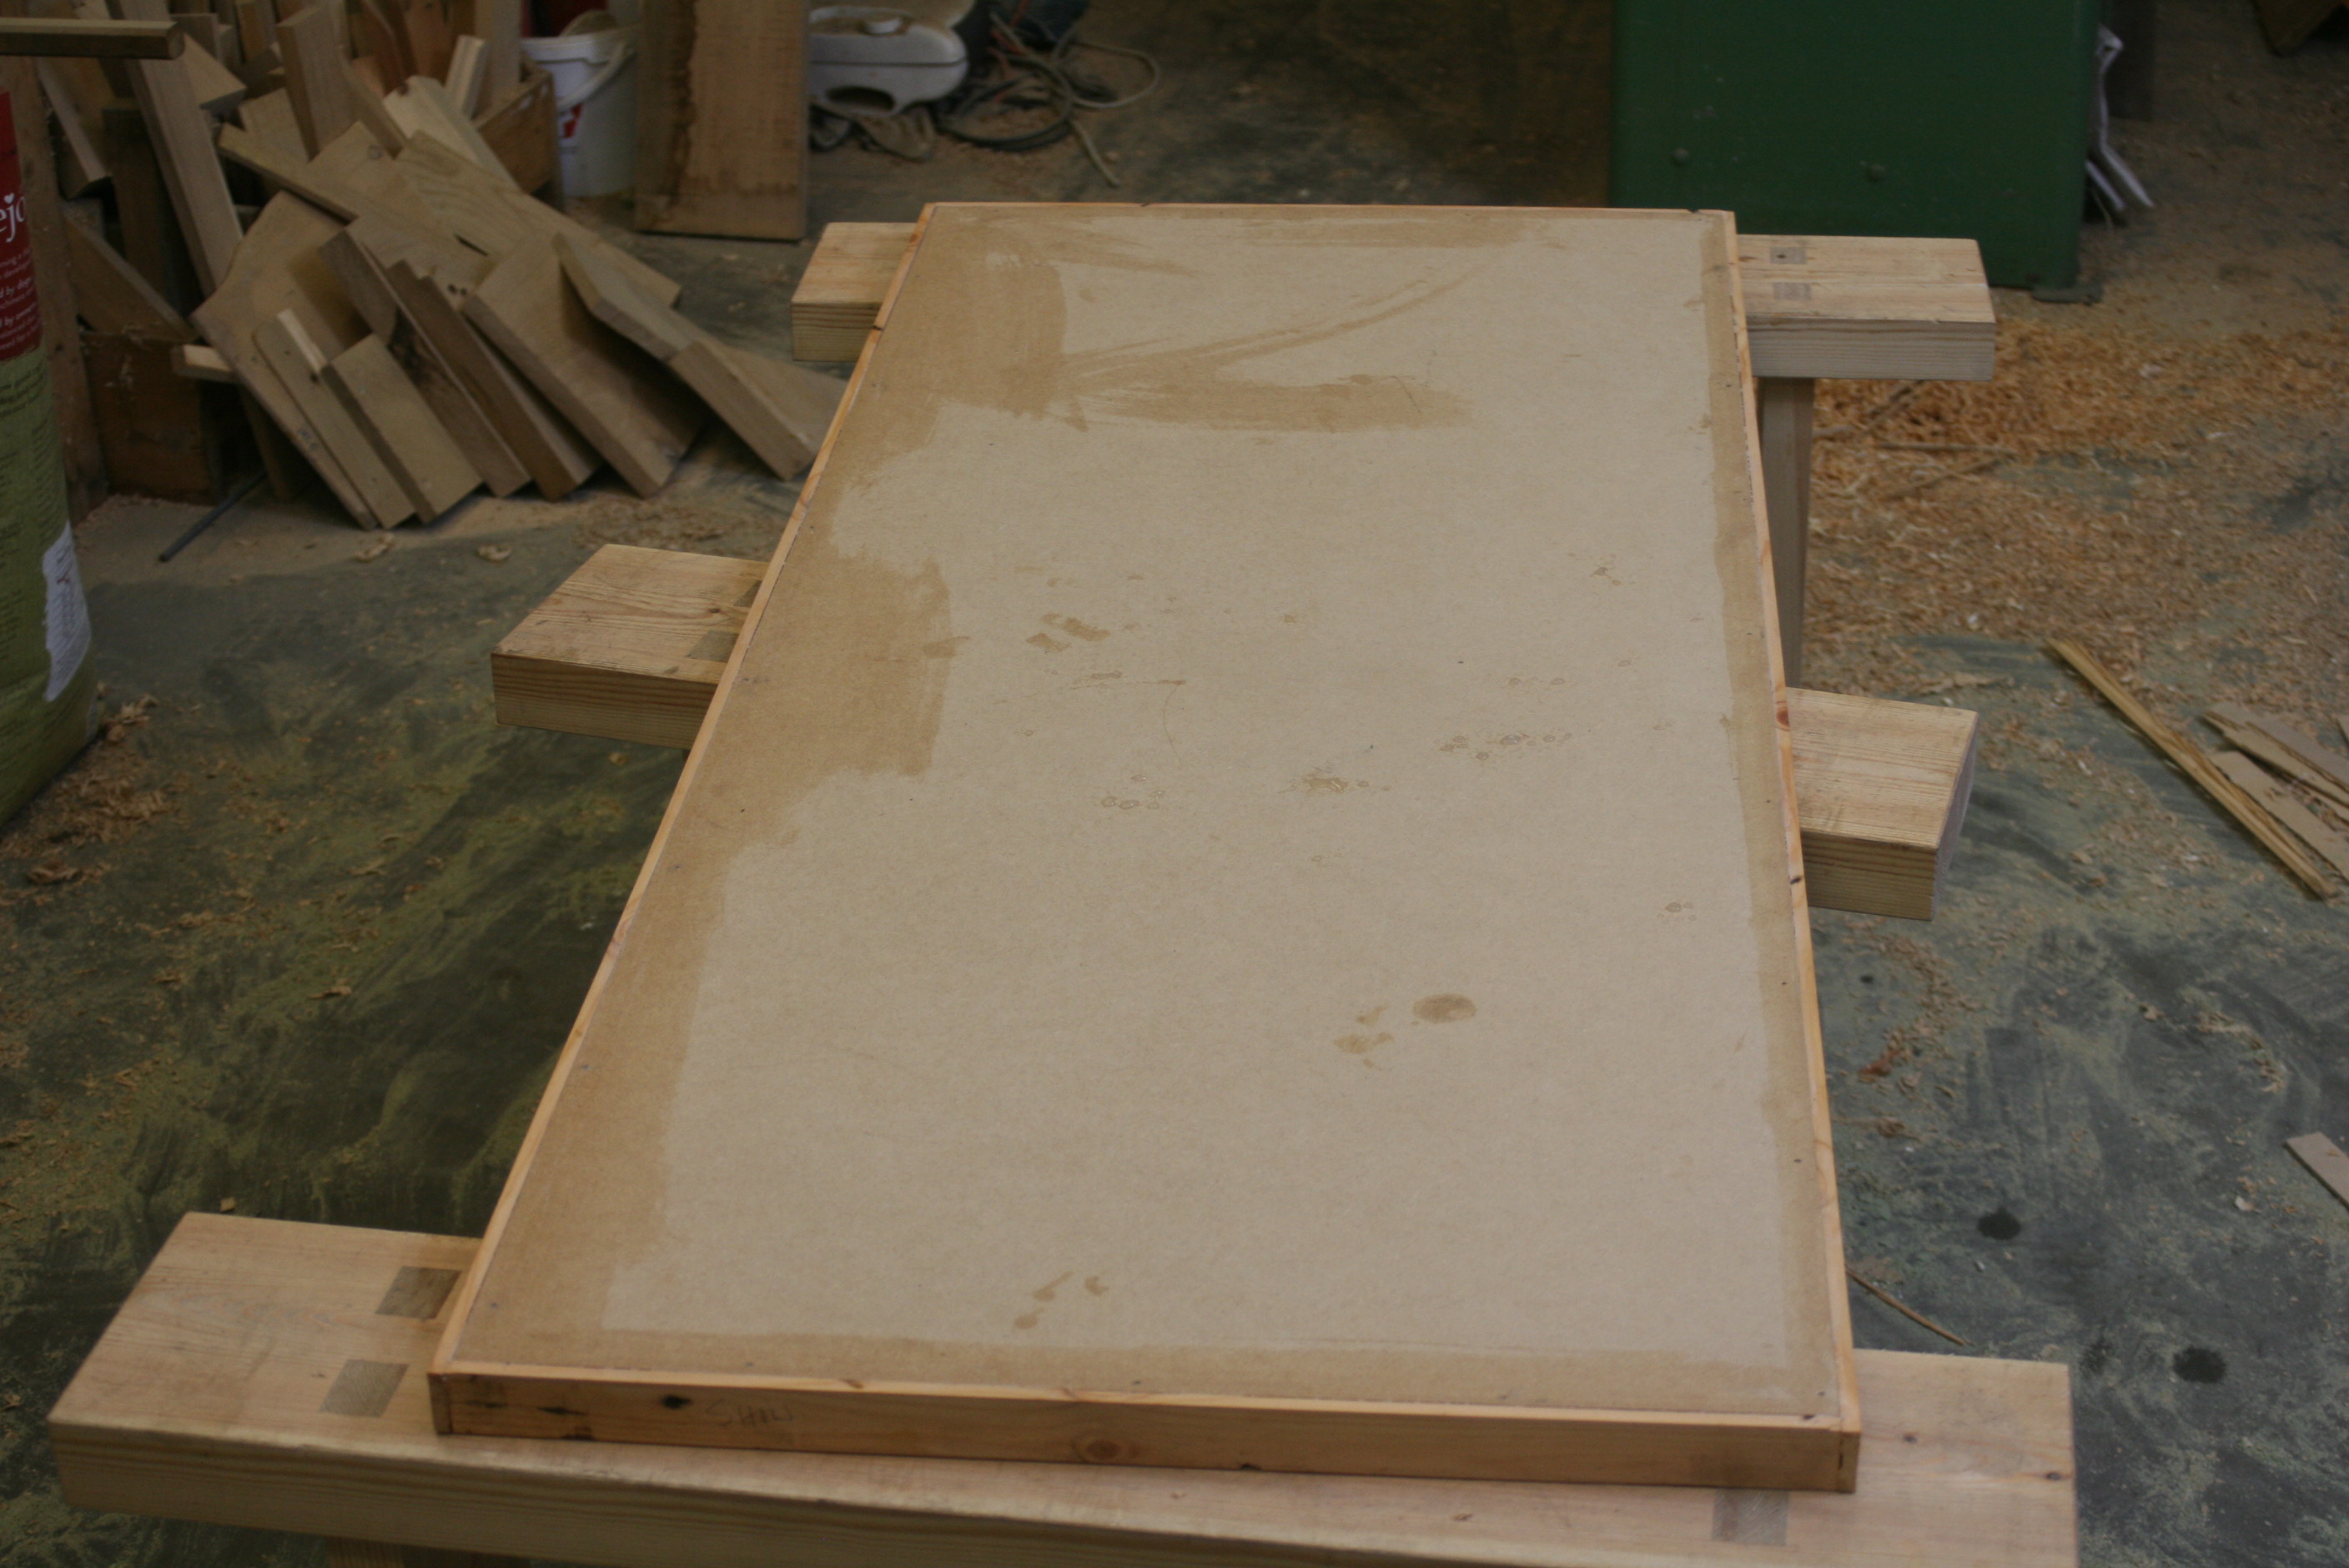
I needed the apron to be thinner than the baseboard, so I ripped a piece of wood up:

AHKZNuc.jpg


That's a lovely illustration of the tension that can be found inside a perfectly straight piece of harmless looking timber. After cleaning the pieces up I glued them together, and the curves meant quite a few clamps:

AeFZYom.jpg


frqDmci.jpg


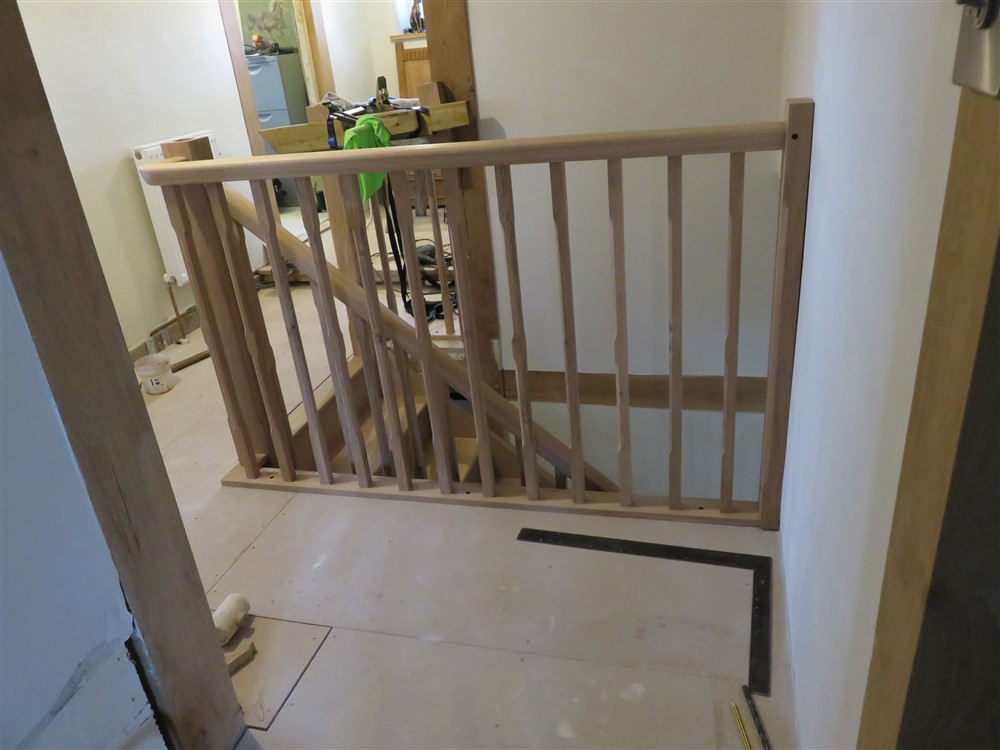
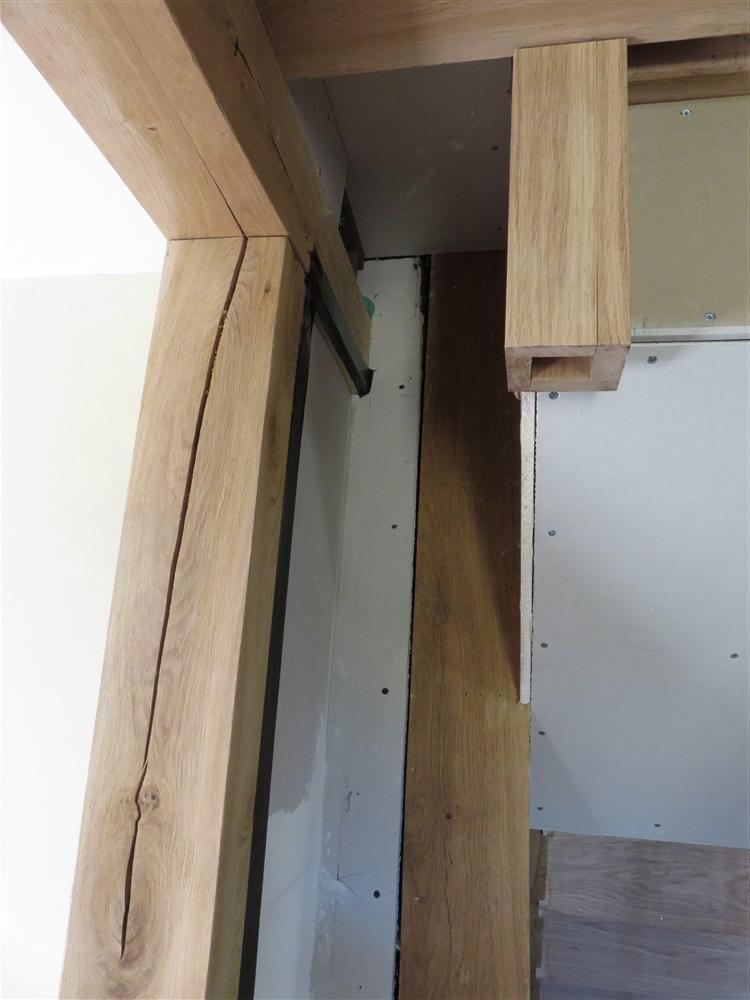
Trimmed up and fixed in place, with the handrail now fixed in permanently:

Fyd9h3g.jpg


The other side worked out quite neatly too:

K8uQINe.jpg


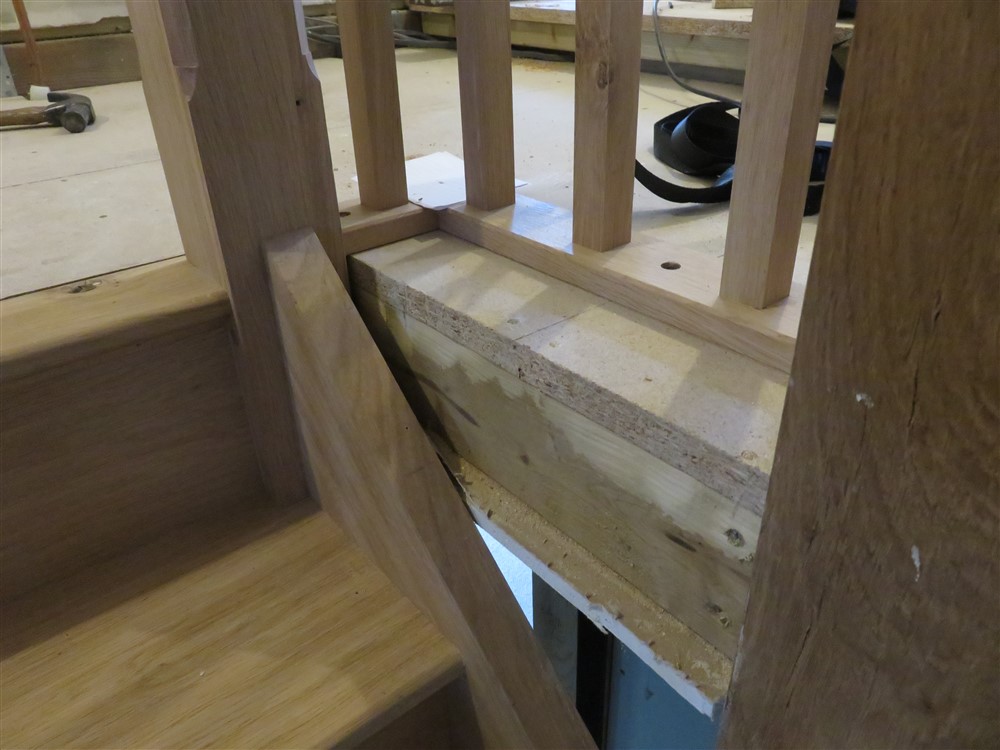
At least it has held together, but that mitre will need a bit of filling:

HABLHco.jpg
 
Next up was the cupboards. Plural.

You've seen this photo before in another context, but have another look. This is the start of the understairs cupboards. This very clearly shows up the big issue with a cut string stair: the two strings have no common reference, so the straight string needed a lot of framing to provide a base for plasterboarding etc:

Qpn5sMn.jpg


ru9tWal.jpg


The first cupboard isn't going to start until the far side of the structural oak post just behind the stair. That framing leaves a really awkward little corner adjacent to the lounge doorway. Oh well, cottages are full of quirky little nooks and crannies:

Ao3jZ5s.jpg


SEOdnKl.jpg


It's not often that the scutch hammer gets an outing. This was a £1 bargain-bin purchase from the local hardware shop many moons ago. The (intentionally) rough plaster of the plinth needed some adjusting:

6mqJs24.jpg


This enabled the framing to start. It's all in 2x2s and 2x1s:

8qIk1JF.jpg


tXpxJLr.jpg


That's a big lump of 6x2 in case I want to attach hooks or shelves to the upper part of the cupboard back wall in future.

MDF isn't my favourite stuff, but the design team decided on a painted matching-board look to the understairs area ("there's too much wood already"). I couldn't properly locate the outside corner post of the cupboard without having the horizontal top edge of the front board meeting the sloped board correctly, so this was all done in something of a peculiar order:

9ofcsx4.jpg


MZsZhOI.jpg


vHIaUJt.jpg


08ZWRec.jpg


My wife was away for a few days, which meant I didn't have to tidy up at the close of play:

eopyd54.jpg


To get the look of matching board, first I tried my combination plane:

Voc3DcD.jpg


I know what failure looks like (it's usually mitred, but not this time), so I moved on to Plan B. The circular saw cut was about 3mm deep:

U5Ho9fw.jpg


Then I took a file to the cuts at 45 degrees:

mvUnHNH.jpg


And then I cut a big hole in one of them:

OEnIRuO.jpg


Now you get the idea, I hope:

tjaOSAJ.jpg


Ex 75x25 PAR door linings:

dmlqchM.jpg


Now I need a door. I found an old piece of straightish pine, ripped from an old joist many years ago:

3NEgUNe.jpg


11UOJoK.jpg


tgtsSp3.jpg


I had a piece of 3 or 4mm MDF which I'd used as a template for my front door a while back. That would do nicely for the back of my hollow-core door:

znGupXL.jpg


The neat thing about my newish saw horses is that the feet fit under my bench better than the old ones, so workholding on larger pieces is quick and easy. I simply have no idea how a workshop without saw horses could ever work:

K3DFA5W.jpg


Most of this door was made on the horses:

RUe9KV3.jpg


CG7AK78.jpg


60CZOOK.jpg


What a complete stroke of luck: it fits!!

Kb6D1Gp.jpg


5ZqKKXv.jpg


1L3eJxo.jpg


The last couple of photos also hint at the plastering that happened in the vicinity. There was actually quite a lot, with the inside of the cupboard, the stair soffit, the little nook to the side, and the adjacent ceiling and wall panels all being done. This meant lots of taping up of posts and beams beforehand.

The triangular secondary cupboard isn't complete, but will be some sort of wheeled trolley arrangement pulling out to reveal christmas decorations and slide projector etc. The broom cupboard is set back from the end of the stair to keep the hall feeling open, and because the turn to the lounge would have been gloomy and uninviting otherwise. I hate the green, and hope we can slather it in paint PDQ.

As a little reminder, this is what that view looked like 3 weeks ago:

ooqEz1A.jpg
 
To create a tongue groove and vee appearance.... a V shaped router bit would have done that somewhat easier? And by the way I simpathise re the green dust.
 
Probably, but I messed one up with a router a year or two back with a little mid-way wobble, and it rather put me off. You get a cleaner bottom to the cut with a circular saw.
 
Great post...an enjoyable and educational read, thanks for taking the effort to put this on line.

=D>
 
I can't help but notice that lovely door you've got in front of the staircase, Mike. Did you make it?
 
=D> =D> =D> =D>

Thanks for taking the time to write this up. Excellent reading, and fantastic work
 
Great build Mike, screams quality. not sure if I've missed it though but what was the rough build time ?
 
I started it about a week before my first post, but obviously I haven't been on it full time. I sort-of kept a mental track of hours for a while, but lost count around 120. Bear in mind this includes plastering upstairs and down, other builder's work, and of course the understairs cupboard (unfinished).
 
Back
Top