That's not small. That's a big gap.
All you do is note where they are touching, and plane a bit off that area, then offer up again. Keep on offering up and adjusting until there is no gap. I always then like to finish with one complete full-length pass with the plane, just to clean up the face after the adjustments.[/quote]
Thank you for your tip. I’ll try it.
Let me make a simple declaration here.
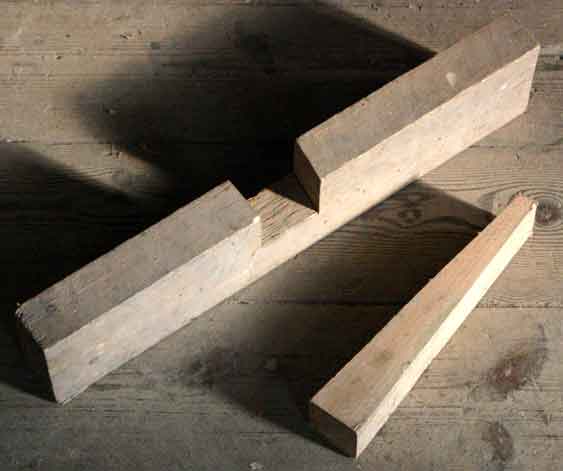
I know a 2-3 mm gap is too big for edge joining.
But when I was researching on straightedges couple of weeks ago they have a tolerance of 0.5mm/m. In my novice mind it translates to 1mm per 2m. If we imagine the curve is equally distributed and we have two straightedges of two meters then a gap of two millimetres is within the tolerance of straightedges. Am I wrong?
Could somebody educate me please?
Best regards
All you do is note where they are touching, and plane a bit off that area, then offer up again. Keep on offering up and adjusting until there is no gap. I always then like to finish with one complete full-length pass with the plane, just to clean up the face after the adjustments.[/quote]
Thank you for your tip. I’ll try it.
Let me make a simple declaration here.
I know a 2-3 mm gap is too big for edge joining.
But when I was researching on straightedges couple of weeks ago they have a tolerance of 0.5mm/m. In my novice mind it translates to 1mm per 2m. If we imagine the curve is equally distributed and we have two straightedges of two meters then a gap of two millimetres is within the tolerance of straightedges. Am I wrong?
Could somebody educate me please?
Best regards