DeskShelves

UKworkshop.co.uk

Help Support UKworkshop.co.uk:

This site may earn a commission from merchant affiliate links, including eBay, Amazon, and others.
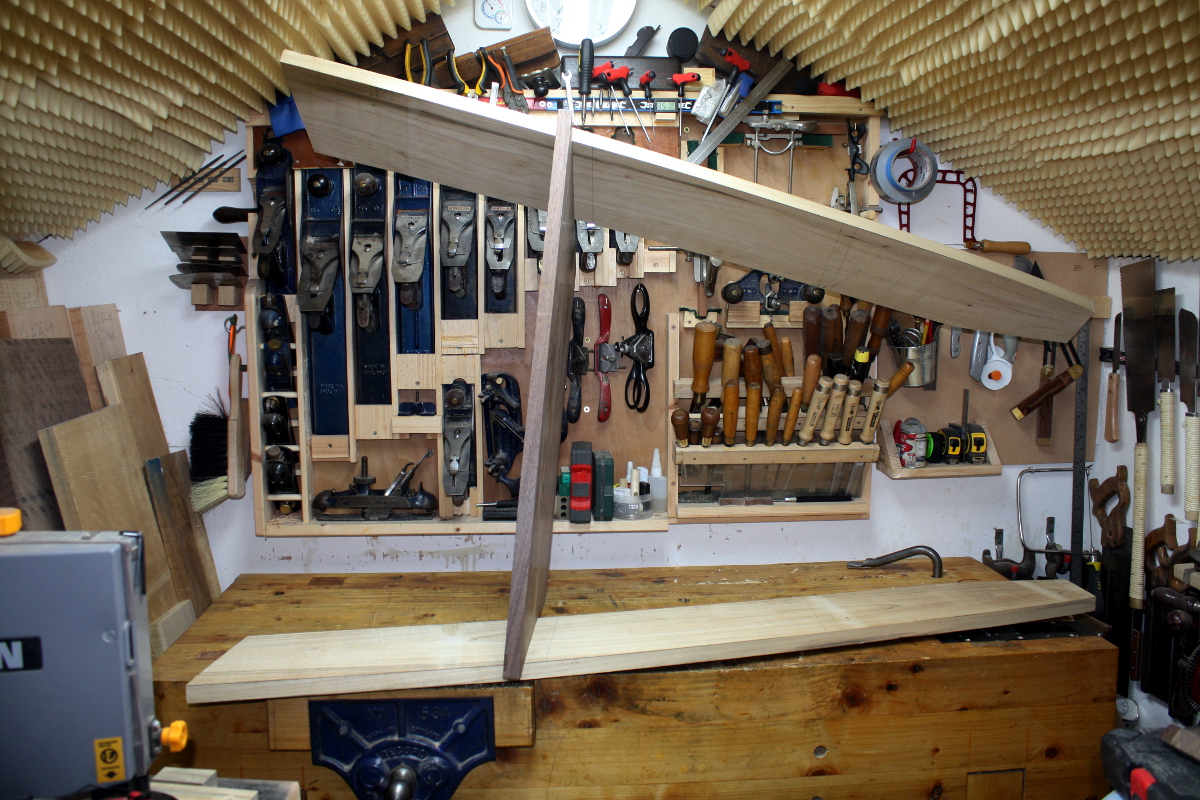
I'm sure you won't have forgotten that the upper flats, leaning against the wall, will need to be bevelled some time, to suit the way the uprights splay out like double doors opening. I expect you're just checking that we're all paying attention. :wink:
 
MarkDennehy":jf0u320v said:
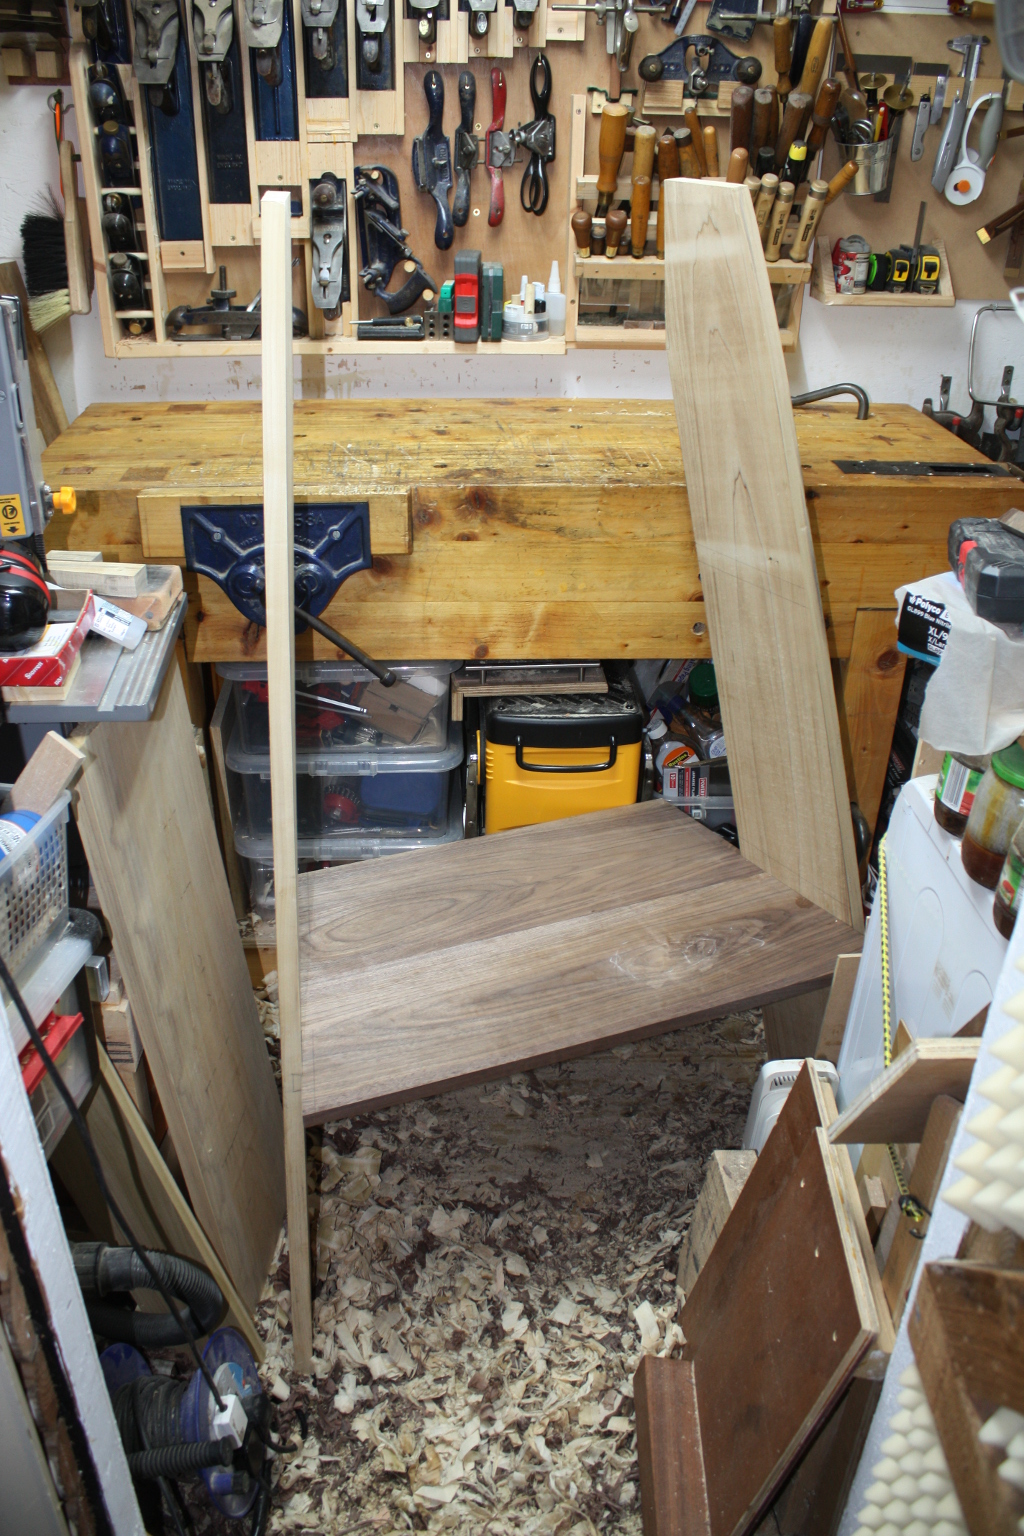
8' by 6',shared with a washing machine Doris. It's a tad cramped.
That's nice to know. Mines 7x7 so roughly the same area.

It's nice to see someone making something in such a small space as it gives me some hope for my own. [SMILING FACE WITH SMILING EYES]

Sent from my Moto G (5) using Tapatalk
 
AndyT":36syzzga said:
I'm sure you won't have forgotten that the upper flats, leaning against the wall, will need to be bevelled some time, to suit the way the uprights splay out like double doors opening. I expect you're just checking that we're all paying attention. :wink:
Actually, no, this time I knew that'd be a thing :D I just don't want to do that cut until after I get the sliding dovetails fitted, in case the angle I think they'll be and the angle they actually need to be don't match up for some strange reason :D

Doris":36syzzga said:
Mines 7x7 so roughly the same area.
Ah, another member of the club! :D

It's nice to see someone making something in such a small space as it gives me some hope for my own.
It turns out to be really easy right up until the point where you take on something over a set size at which point it becomes a nightmare. I can just about have four feet as one dimension (the other two can't really break two feet comfortably if I'm breaking four on one dimension) - and after that point, every little thing becomes a total pain in the fundament.

So, naturally, everything I build is over that size, because I've got a masochistic streak that really isn't good for me :D
 
custard":26eazk1u said:
It's astonishing how effective steaming can be.

Here's a Cherry board with a nasty dent. I can't remember when I took these photos but the red semi circle is the symbol that means it's the rough sawn component for a drawer front, so my guess is this matched other drawer fronts, and if it couldn't be rescued it would involve a pile of faff to replace,


Looked at closer,


A spritz of water on the dent, give it a moment to soak in, then a damp cloth on top. Set an iron to "cotton" but switch the steam facility off (or drain all the water from the iron),


Bingo!


If necessary give a second or third application.

Without wishing to hijack the thread (which is excellent by the way), I’m interested in the dent removal technique. I have a dining table made from some kind of tropical hardwood. When I bought it I sanded back the top and applied two coats of Osmo Top Oil. It then acquired a dent similar in size and shape similar to that suffered by the OP. Would I have to remove the finish in that area before steaming?
 
Osmo delivers good moisture protection, so it might take several applications of water through the finish before you'd get sufficient moisture penetration into the fibres to allow steaming. Unless the dent is unsightly I'd be inclined to leave well alone. Osmo is pretty good at localised re-finishing, but there's never a complete guarantee with these things, so I wouldn't attempt the job unless I was prepared to strip the entire top and re-finish.
 
Thanks Custard, most helpful. I think I’ll leave it then and regard it as a sign of characterful rustication.
 
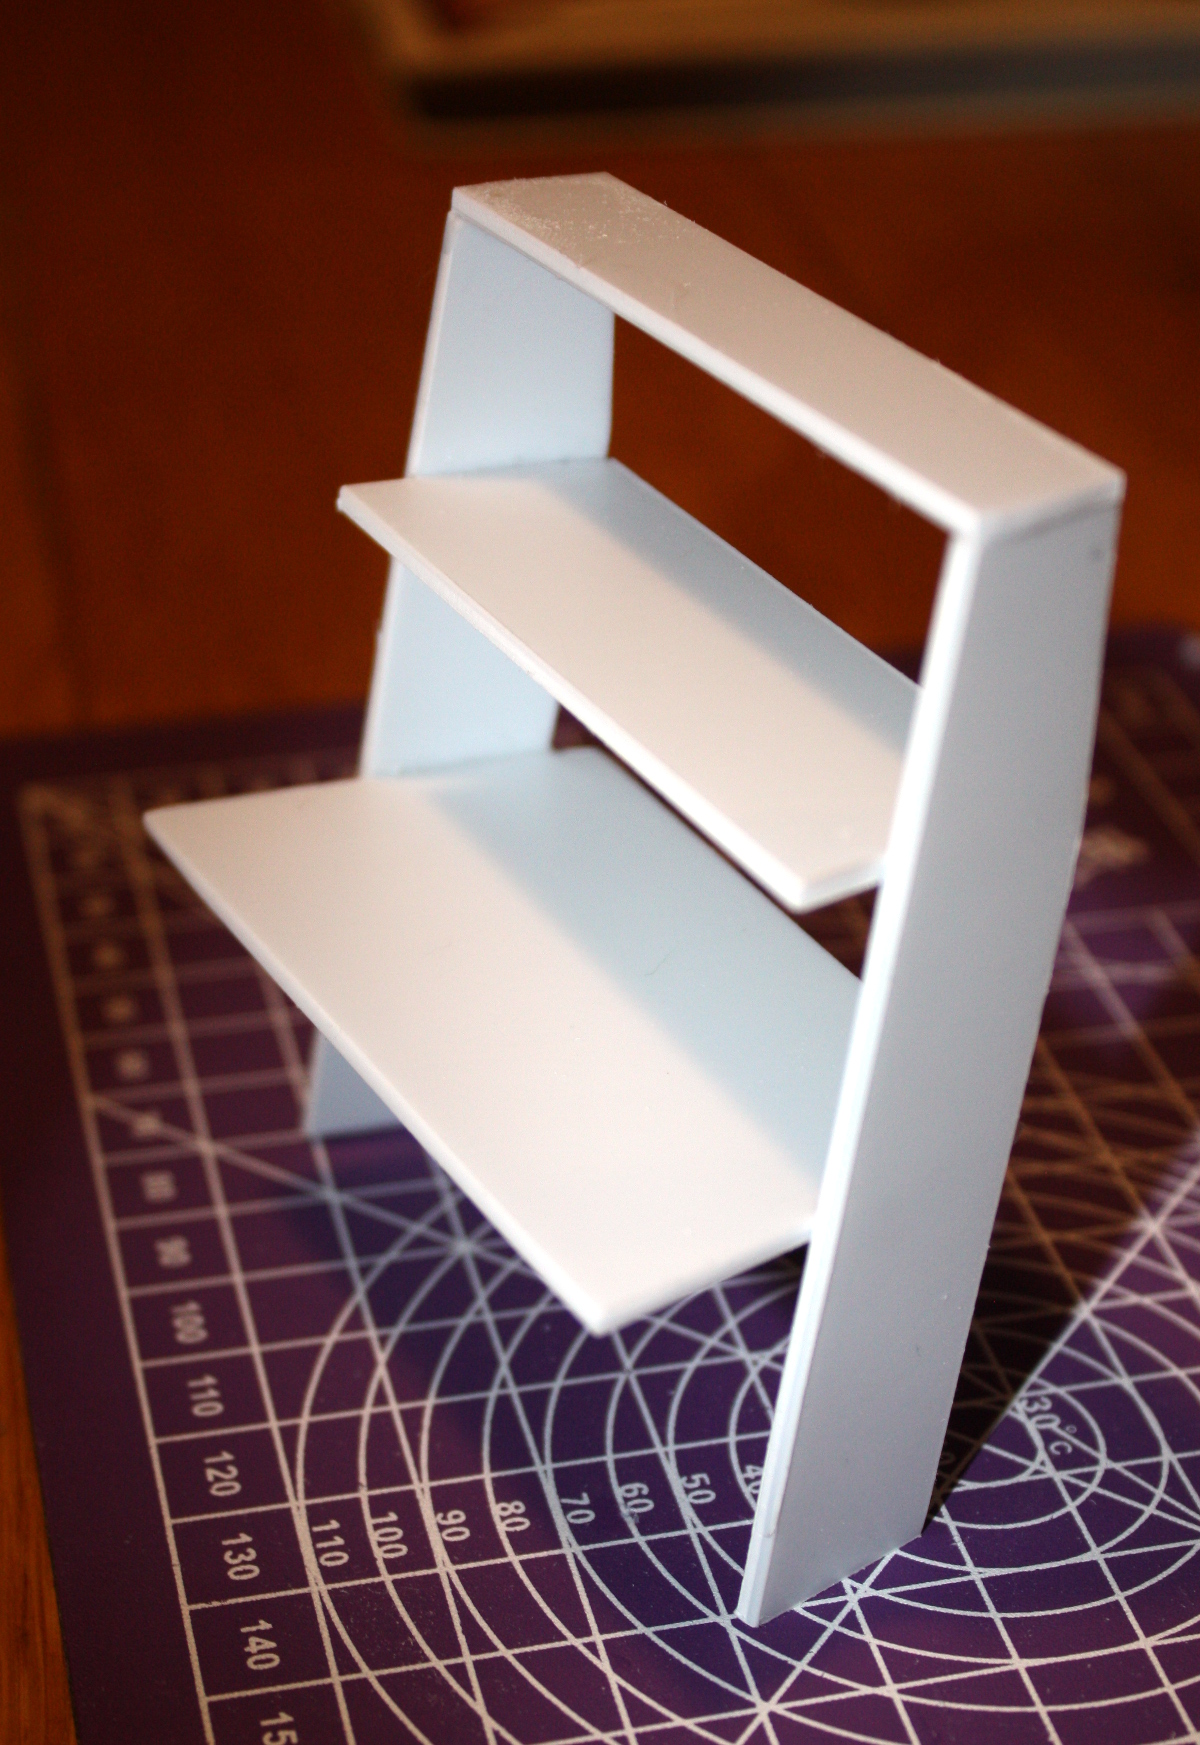
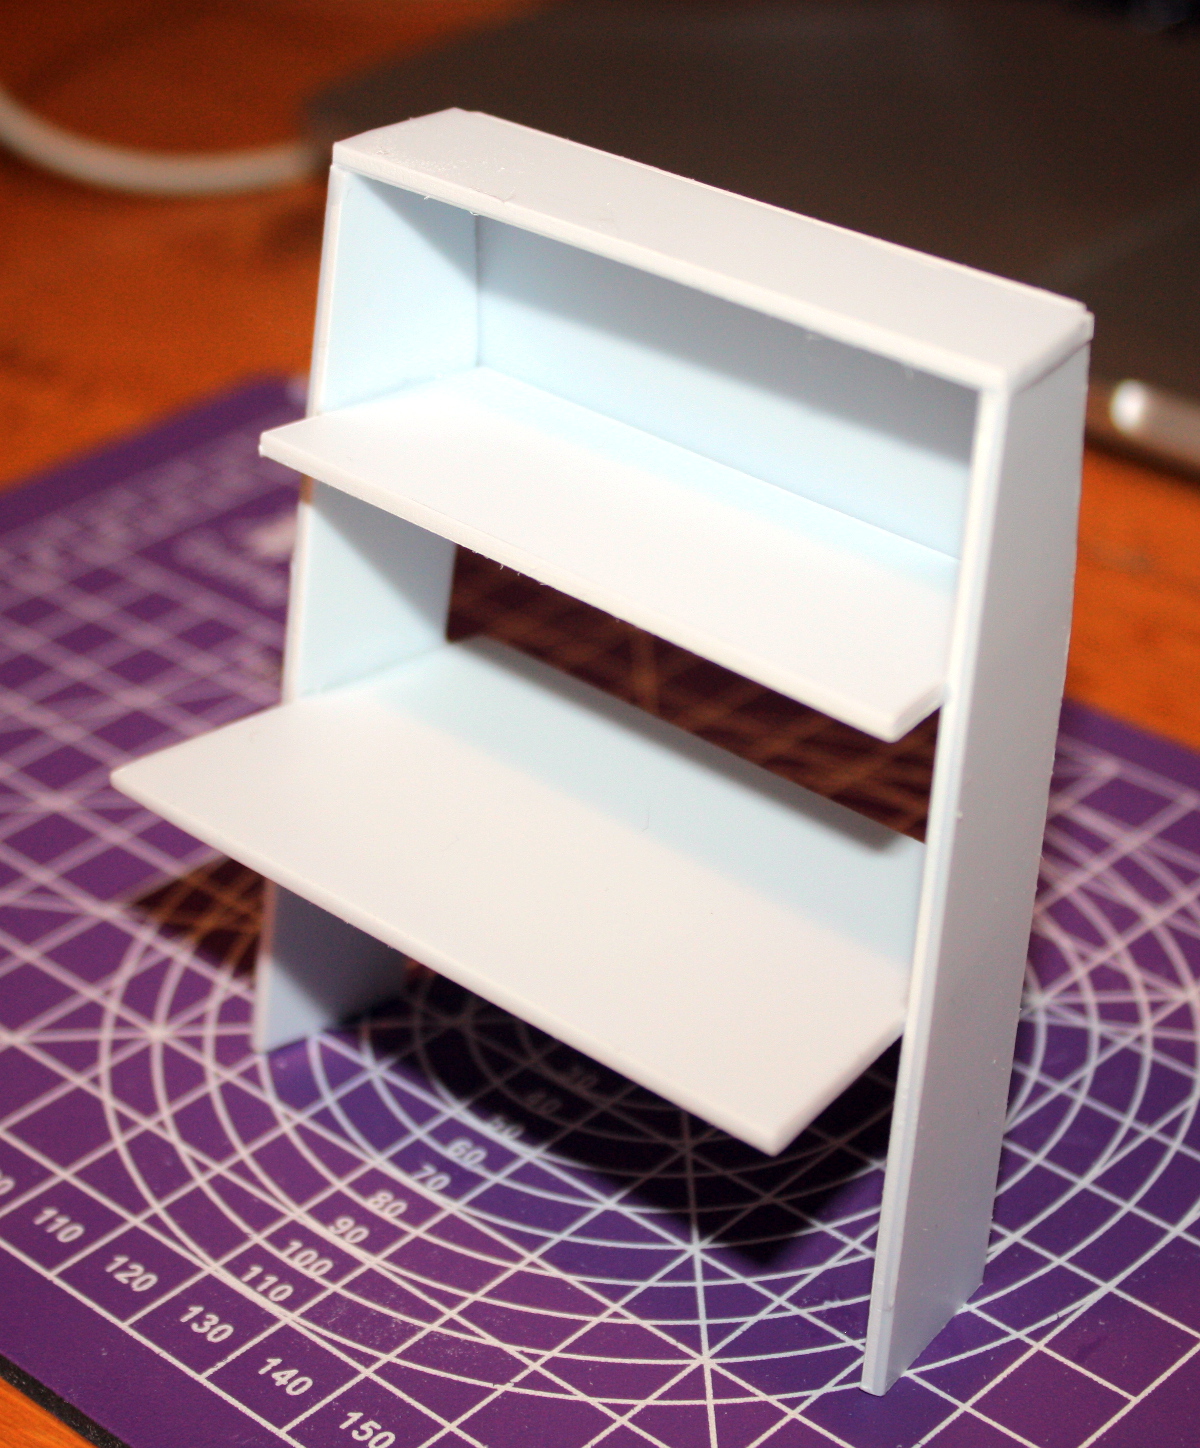
So what do you do when you're absolutely shattered after a long frustrating week at work and it's raining for the first weekend in ages and even looking at the cold unheated shed is just not fun, but you still want to know whether or not to put in that backing board between the top and middle shelves?

Hooray for styrene and having done modelmaking when you were much, much, much, much, much, oh god this is depressing, much, much younger.

Without backing board:
IMG_3454a.jpg


With backing board:
IMG_3458a.jpg


I think I'll run with it; it'll give better contact with the wall, stop anything falling down off the back of the main shelf, and stiffen up the carcass, at the expense of probably having to build the entire thing, then cheating with a router to route out a rebate for the panel and just affixing it with titebond; if I set the rebate depth to just leave a mm or two proud of the back edge of the carcass where it would rest against the wall, it'll even give a nice shadow line effect instead of looking like a boy scout built this with a dull beaver.

Maybe.
Hopefully.
If I have those measurements right and the angled cut at the top of the sides runs the full length between the two shelves.
And if I ever get my backside back into the shed to do some work anyway... (hammer)
 
So after weeks of not getting to the shed at all because of work and feeling pretty guilty for that, I finally got out there for a few hours today. The next step in the project is the sliding dovetails - the main desk surface shelf has been cut to the right angle, the sides are both shaped, the top shelf and middle shelf are both ready to have the angles cut but I want to get the sliding dovetail for the desk surface done first. And since I've been away and am now rusty, out with a bit of beech scrap to try to cut sliding dovetails in for practice.

On go the layout lines, out comes a scrap to run the router along to cut out the female part of the dovetail, I hog out the main part of the waste with a straight cutter and then cut the dovetail edges with the dovetail cutter I bought for this (it's my only good router bit) I cut the female part out and then checked the board that I hadn't yet cut the male part of the dovetail into and the whole board went into the female part with a gap.

Right. One of *those* days, is it?

Do the whole thing again, this time being extra careful on the cut lines, hog out the central waste as before, set up for the first cut of the dovetail edges, turned on the router, started running it along the fence and while taking hold of the router base, stuck my finger into the router and caught the locking nut on the collet with the end of the finger.

Happily, nothing came off, bar perhaps a high pitched girly scream of panic, and I now have feeling back in the finger again, but I think it goes without saying that I downed tools at that point and went off for a few minutes to have a somewhat shaken cup of tea.

Have I mentioned lately that I dislike power tools somewhat and that routers scare the absolute living dung out of me?

Anyway, after a cup of tea and a change of shorts, I went back out and tried cutting the sliding dovetail by hand by cutting the male part of the dovetail first and marking it off against the edge of the board and then cut out the waste like it was a housing joint which I kindof can do, and then pared to the line for the dovetail - for the actual thing, yes, I'll use the router, but I'm not touching that daemon-possessed finger eater for a day or two, okay?

Anyway, got the joint to work on the first go with the hand-cut approach, but obviously that includes the usual "doesn't fit, pare the fecker" steps until it worked. So I think the design will probably have to be slightly adjusted to allow for blind panic and to hide the gap as much as possible by letting the shelves come out a bit to the sides to act as endcaps for the joint. I was seriously impressed with the strength of that joint against pulling out though, I thought it'd be a bit squidgier than it is. It'll definitely do the job, assuming I cut it right.

And, obviously, don't remove a finger or two in the process...
 
with the greatest respect mark, would it not be faster to use a router plane instead? I wouldn't want to see you injuring yourself for the sake of speed, take care of yourself.
 
I'd love to but speed isn't the criteria, but accuracy - I could make a sliding dovetail that would fit, but not one that was tight, not yet. I asked for some help on here ( awkward-clamping-problem-t112789.html ) and the router and the router table came out as the best approach to this in terms of final quality of work; my cack-handedness just overcame the method's positive attributes :D
 
Sorry to hear about your unfortunate experience with the router!

If I were you, I'd have a go at some practice joints by hand. It may sound the most complicated but I think the most suitable variant would be a stopped, tapered dovetail housing.

Tapered joints are far more practical on wide boards - you have a better chance of sneaking up on a good fit. (With a long straight joint it can be impossible to dismantle after a test fitting.) And stopping the joint can hide any slight irregularities that might creep in.

Have a look at Mitch Peacock's nice clear videos on YouTube. He shows what you need, including the use of a guide block for the angled cut. This is the longest video but he has others covering all the types.

https://youtu.be/3esnwAS4GsU

As far as I know, nobody on YouTube ever demonstrates cutting joints on full length shelves too long to stand on end, but once you have had a go you'll work that out for yourself. I've made several bookcases using this joint.
 
'Have I mentioned lately that I dislike power tools somewhat and that routers scare the absolute living dung out of me? '
Have missed the latest updates Mark. Always enjoy your posts and you made me laugh with that one. All been there.
The thing with power tools is familiarisation isn't it?
As a hobby wood worker you might pick up a tool for the first time with no previous,no back up, support or training and when its rotating faster than the eye can see you would have to be daft not to be cautious.
First few times I used my router I was running at Defcon 1. The blade spins into the work which way again? And this is the height limit... It's feckin' mad. Where's the on button....ahh right...and off we gooooo...
On the other hand I spent years on a 9" grinder cutting stone, paving, setts etc all day. Possibly more dangerous tool but I knew its ins and outs. Could push it to it's kickback limits cutting tight curves in granite. I would have used it wearing sandals. I probably did.

Recently did all the cuts on my 1200x 600 bathroom tiling using a 4" grinder by eye after not using one for years.. Spent a few minutes practising on an old tile. Just creeping up on a cut. It's spotless.
It's confidence in your ability, but it's also knowing the limits of the tool. When to slow down, when to cut a corner, how far you can push a machine, how the material you're cutting responds... It's experience. :wink:

Mark I'm just saying don't give up on an eminently useful tool before you've begun to use it.
Sorry for going on there a bit. Prefer a hand tool myself mostly and as far from as an expert as possible. :oops:
Best regards as always.
Chris
 
So yeah. Those two months happened.
Seriously, there are days when I look at work and think "lads, if I ever win the lotto, I'll send you a postcard from the airport". But until then, the bank likes to see the mortgage paid, so very little shed time for poor widdle old me is the end result. Oh well, maybe it'll calm down in the who am I even kidding I just need to figure out where to carve out more time :D

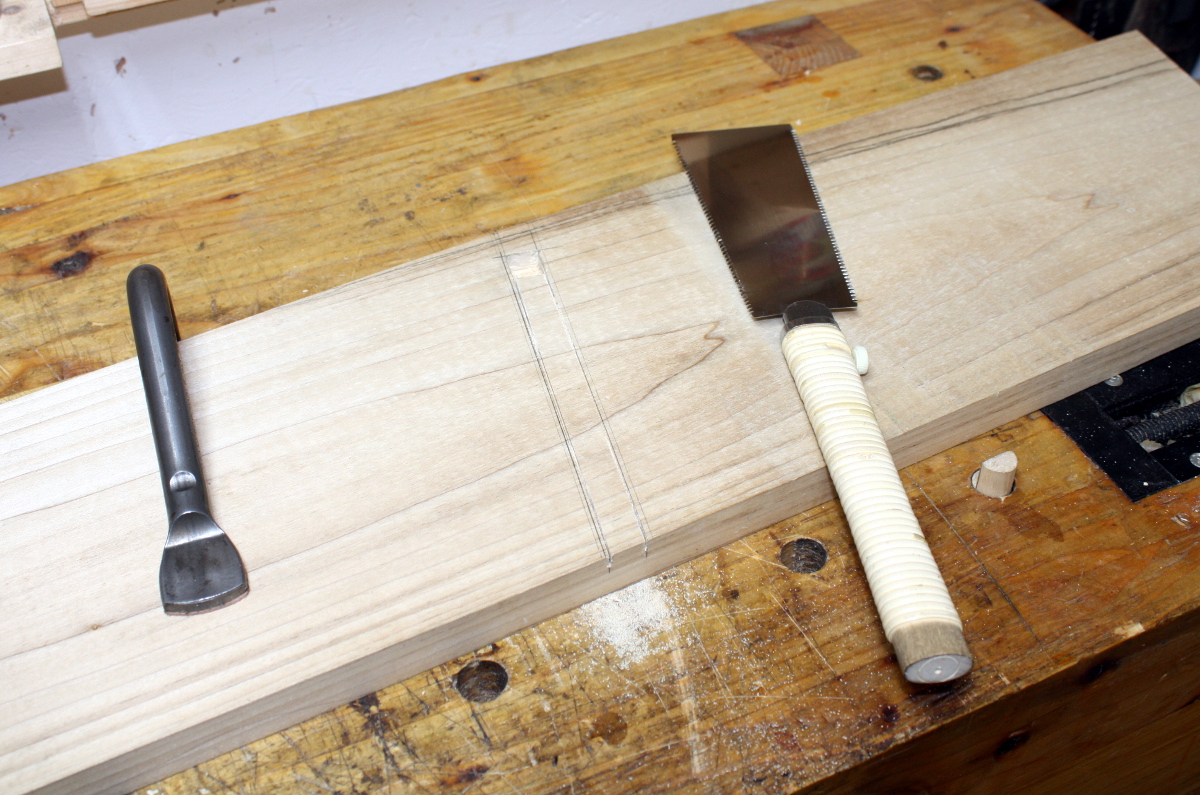
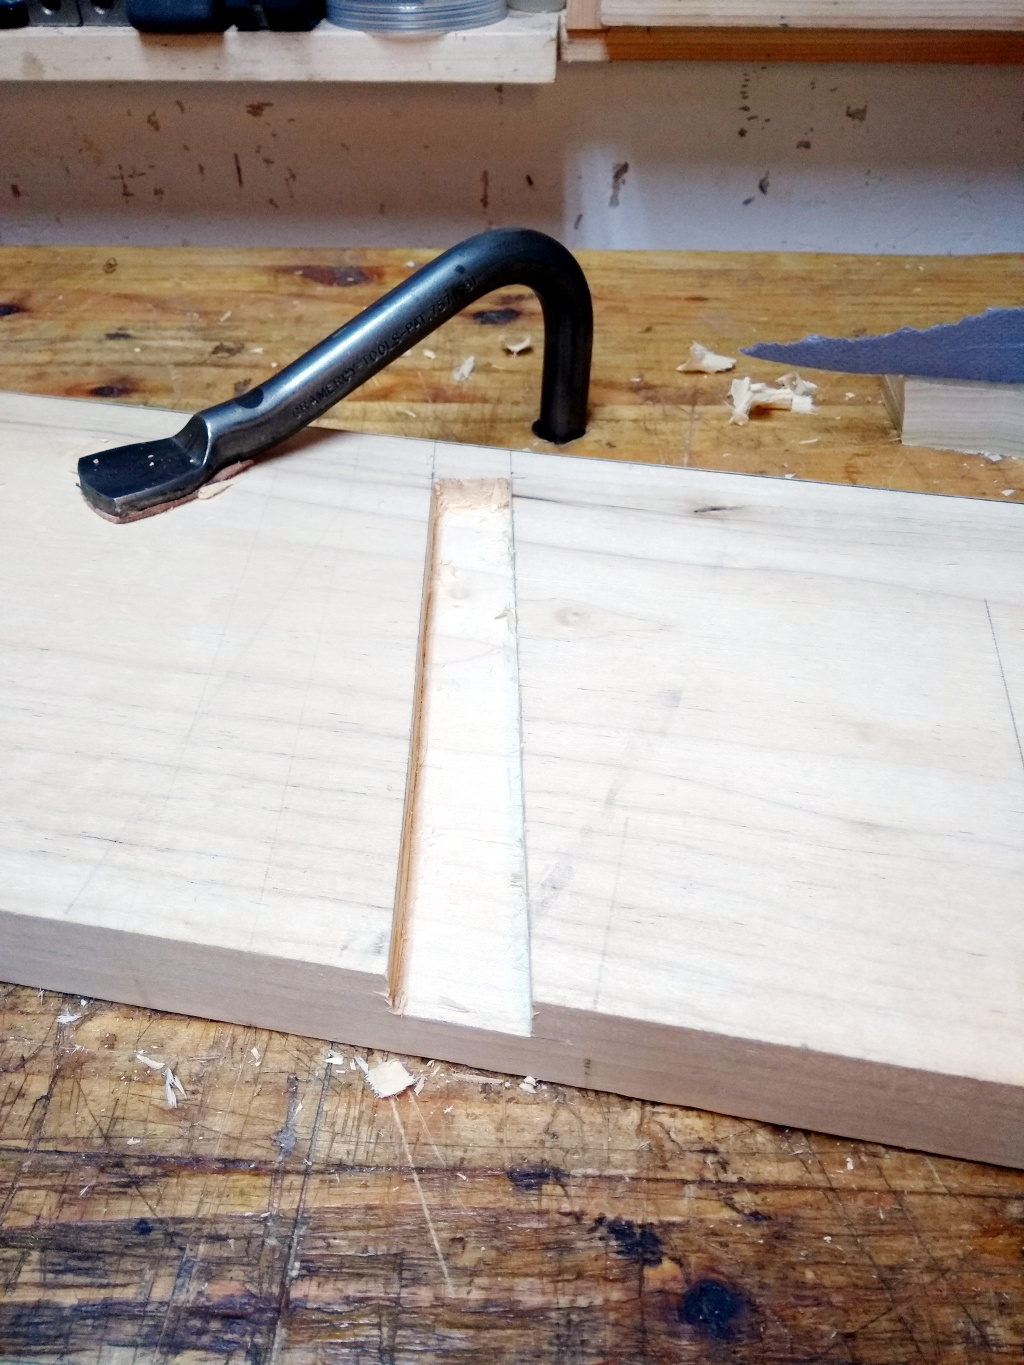
So, after the last scare I basically chickened out of using the router any more than I had to. Yes, I know Roy Underhill can do this entirely with a saw by hand with his eyes shut, but he also drives on the wrong side of the road so I win that one. I started by cutting a stopped dado in the sides:

IMG_3481a.jpg


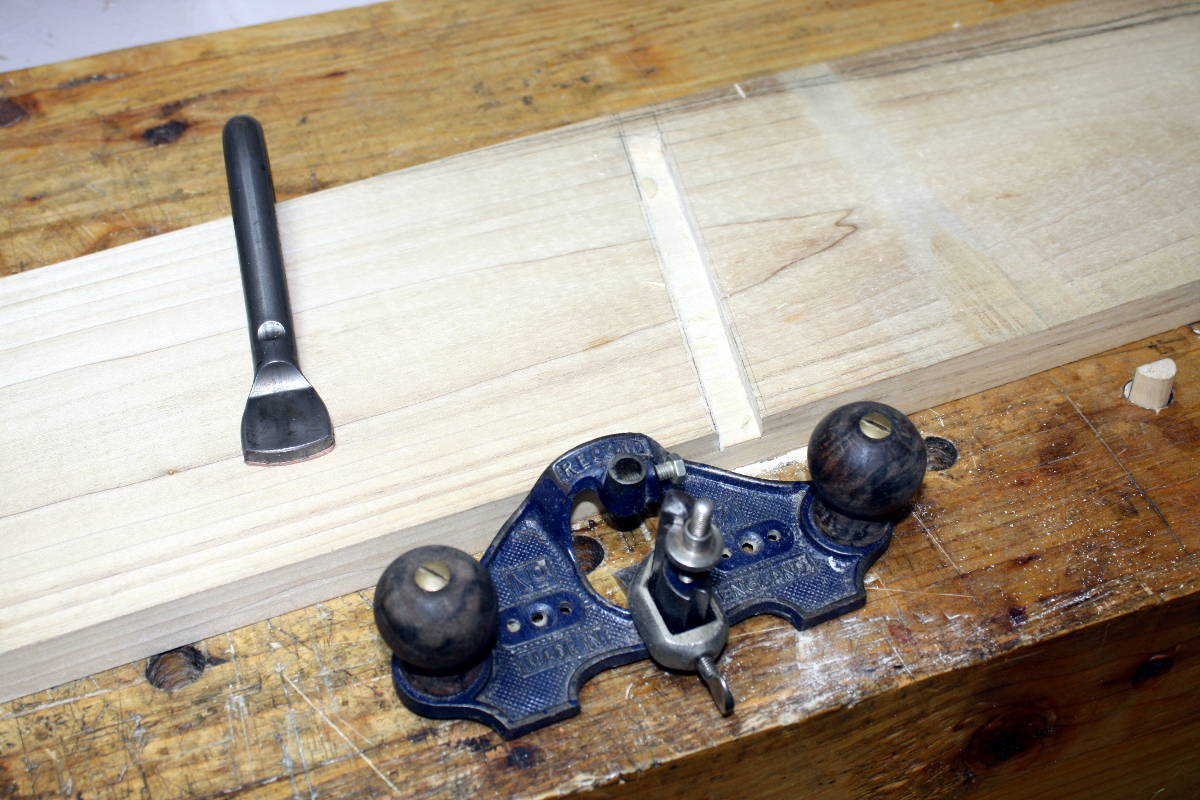
Chop a short mortice for the end of the saw run, chisel out a knife wall along the line of the dado edge, saw down the edges to depth, hog out the waste with a chisel and then use the router to take the last mm or two and clean things up. No, not that router, the other one, the one that likes me.

IMG_3487a.jpg


Then repeat on the other side, remembering to mirror instead of carbon copying.

IMG_3489a.jpg


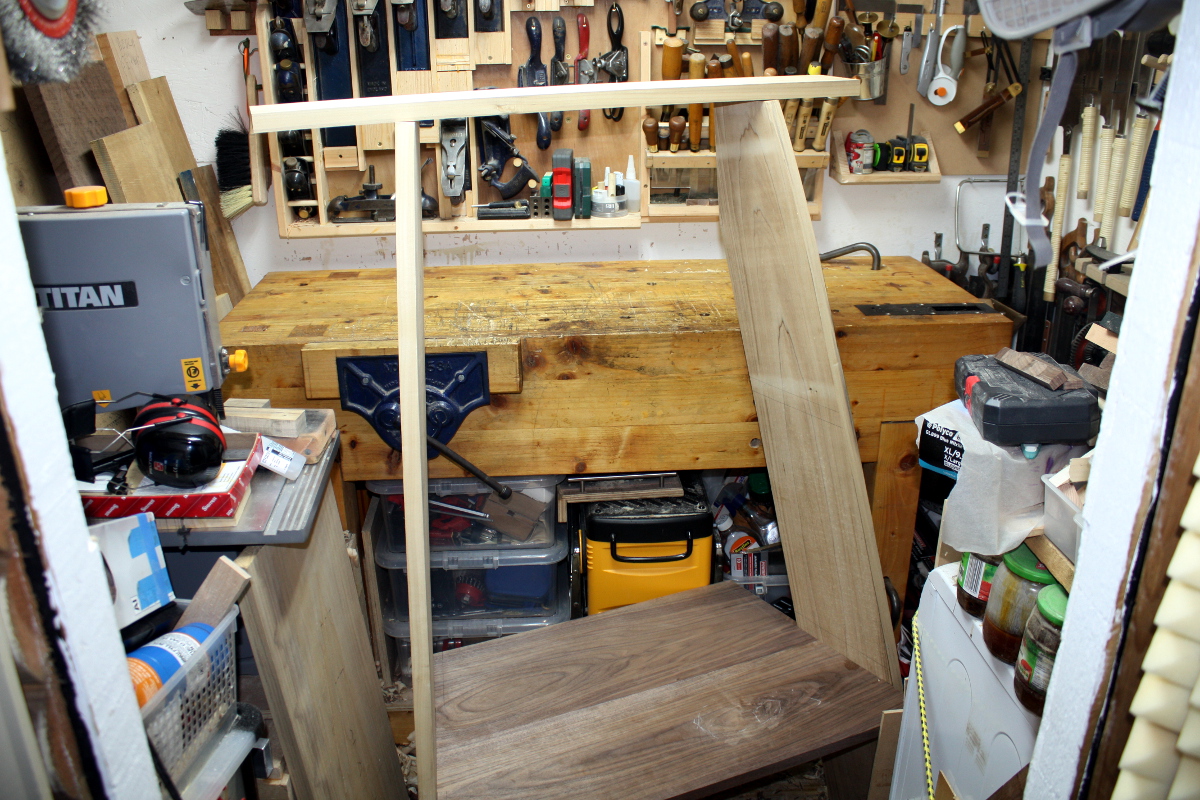
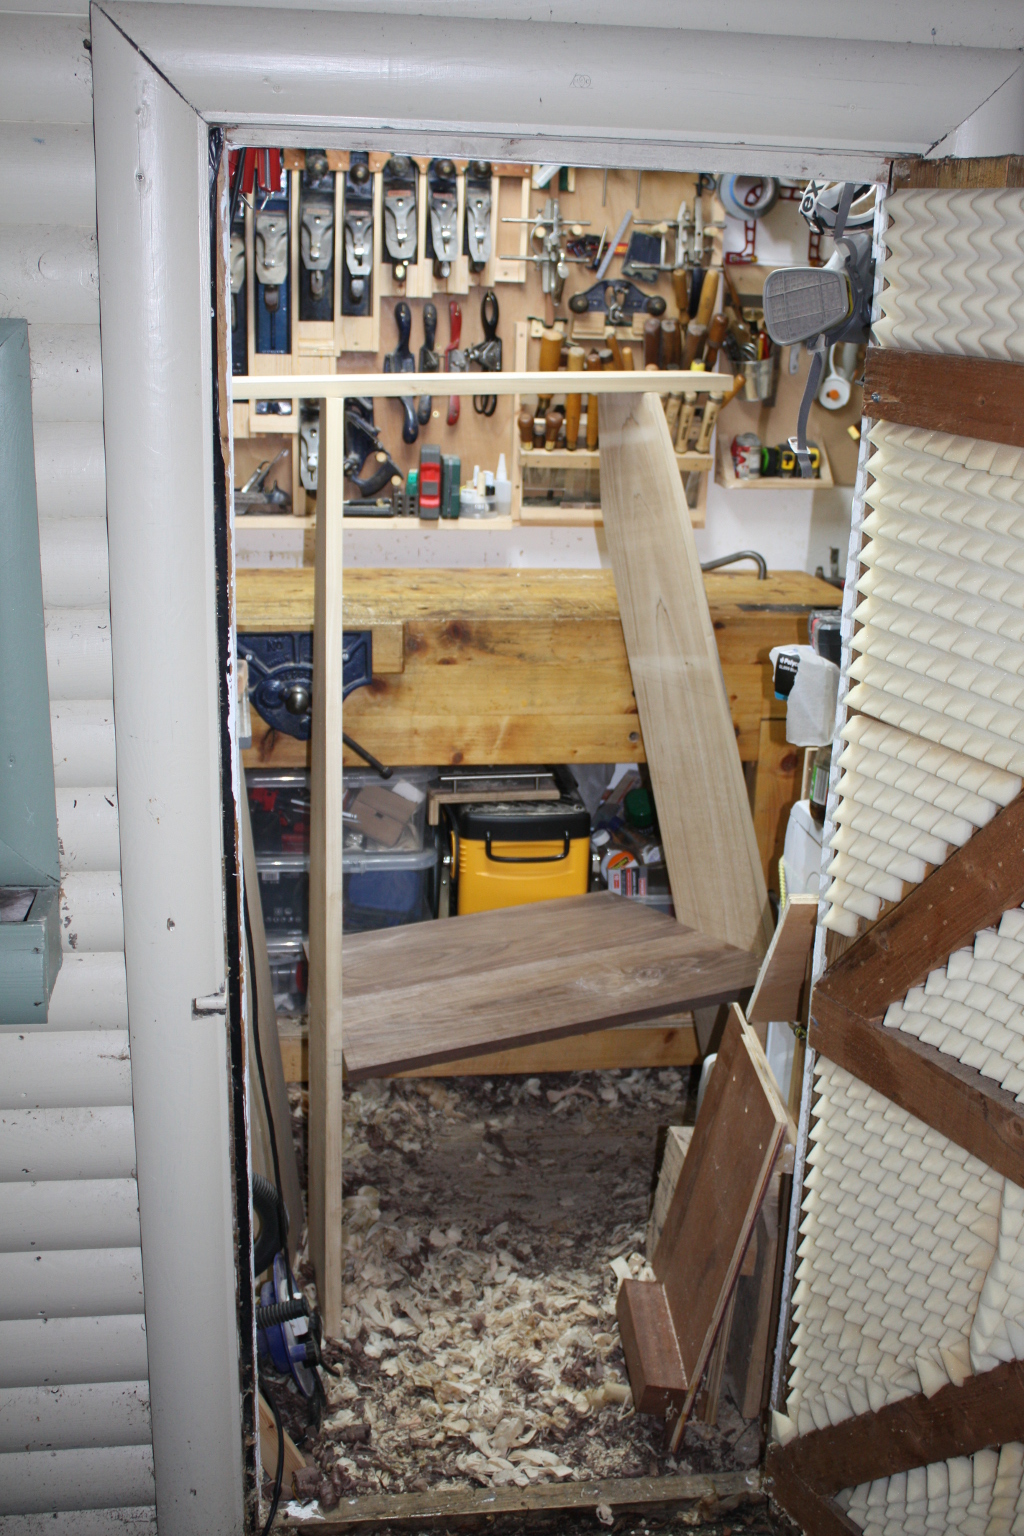
BTW, yes, this is now too big for my shed really.

IMG_3490a.jpg


You'd think I'd learn. Oh well.

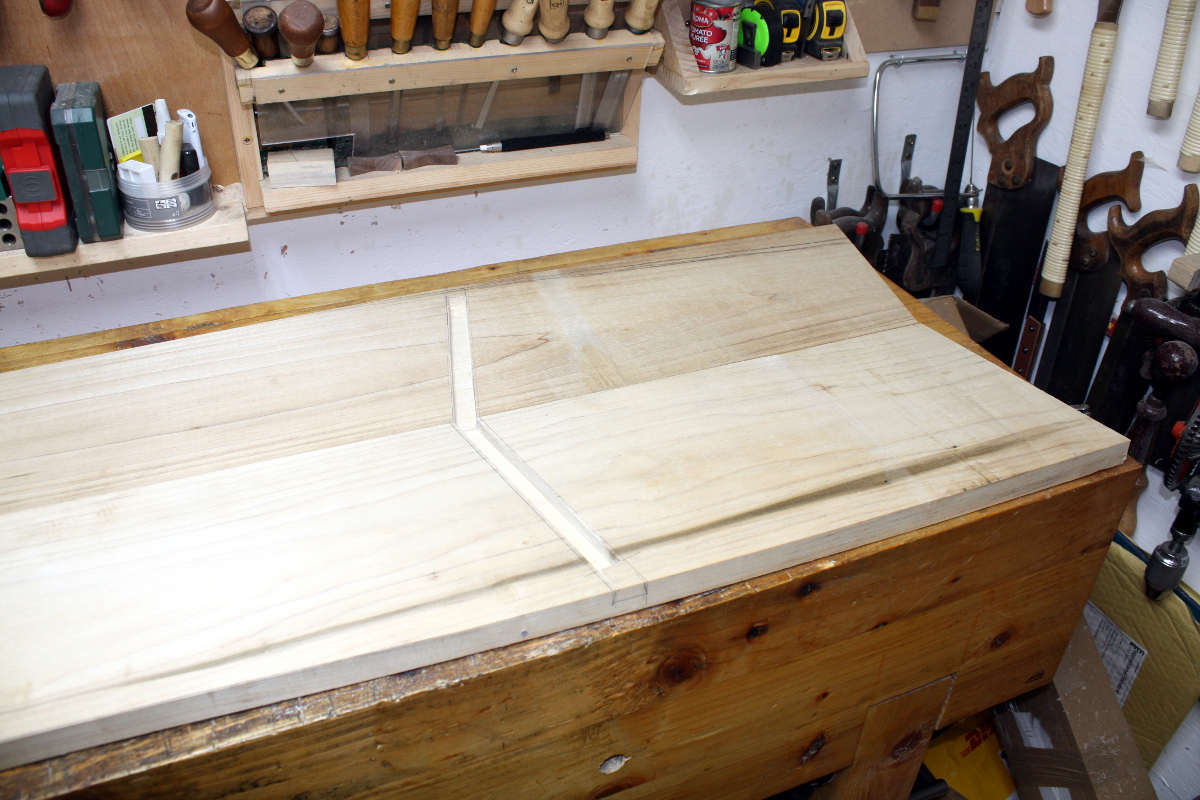
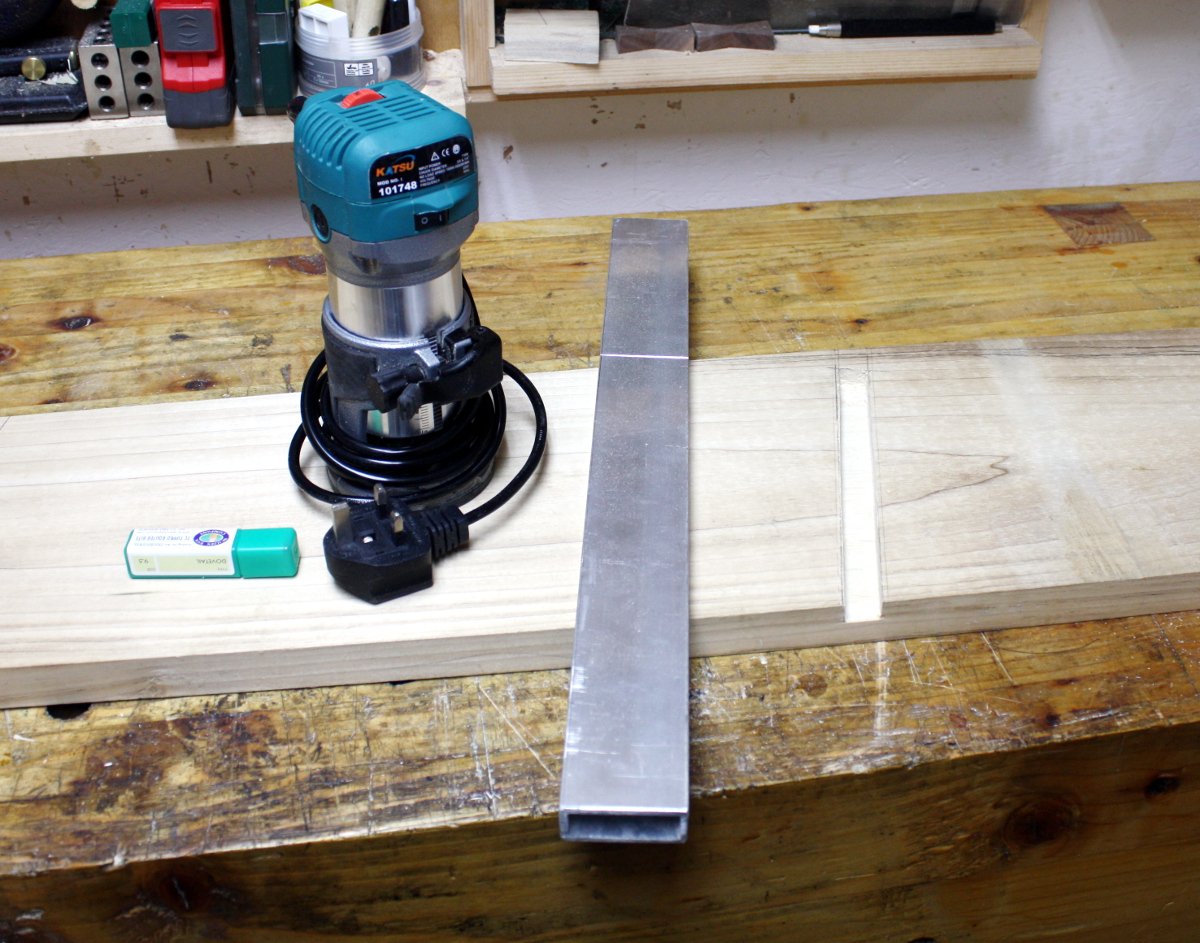
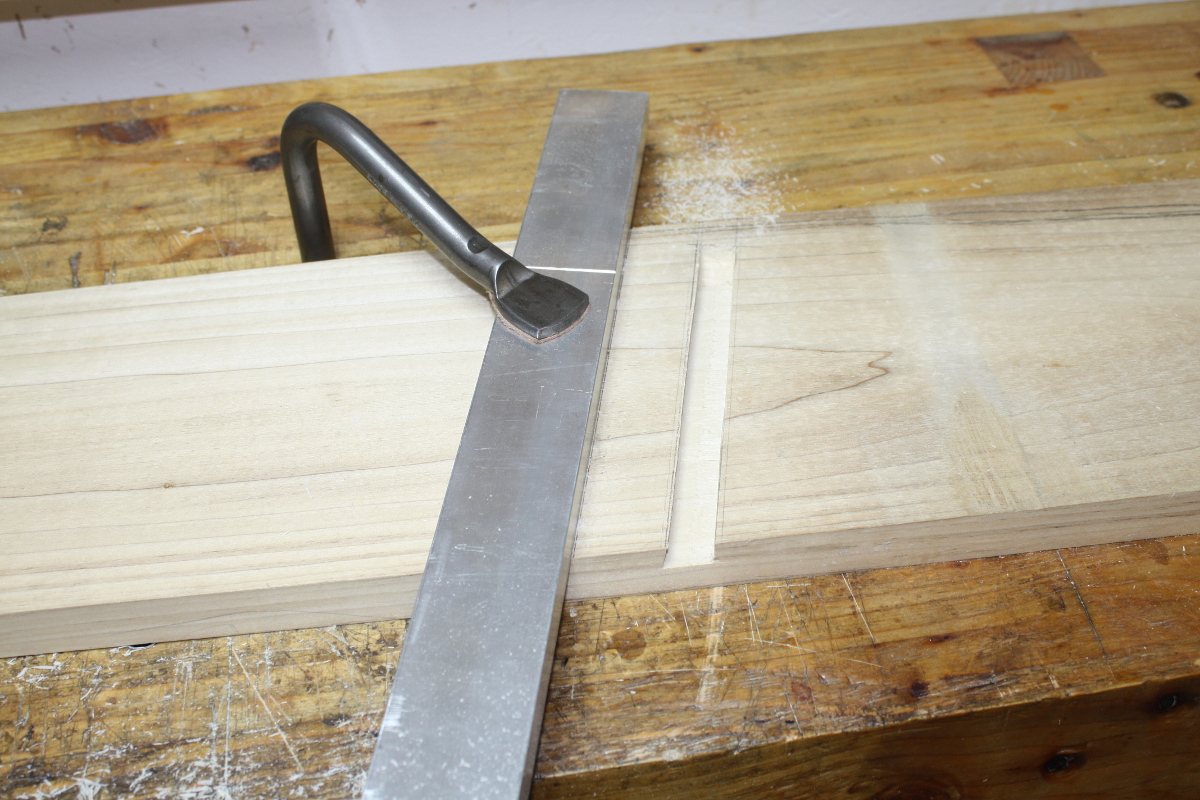
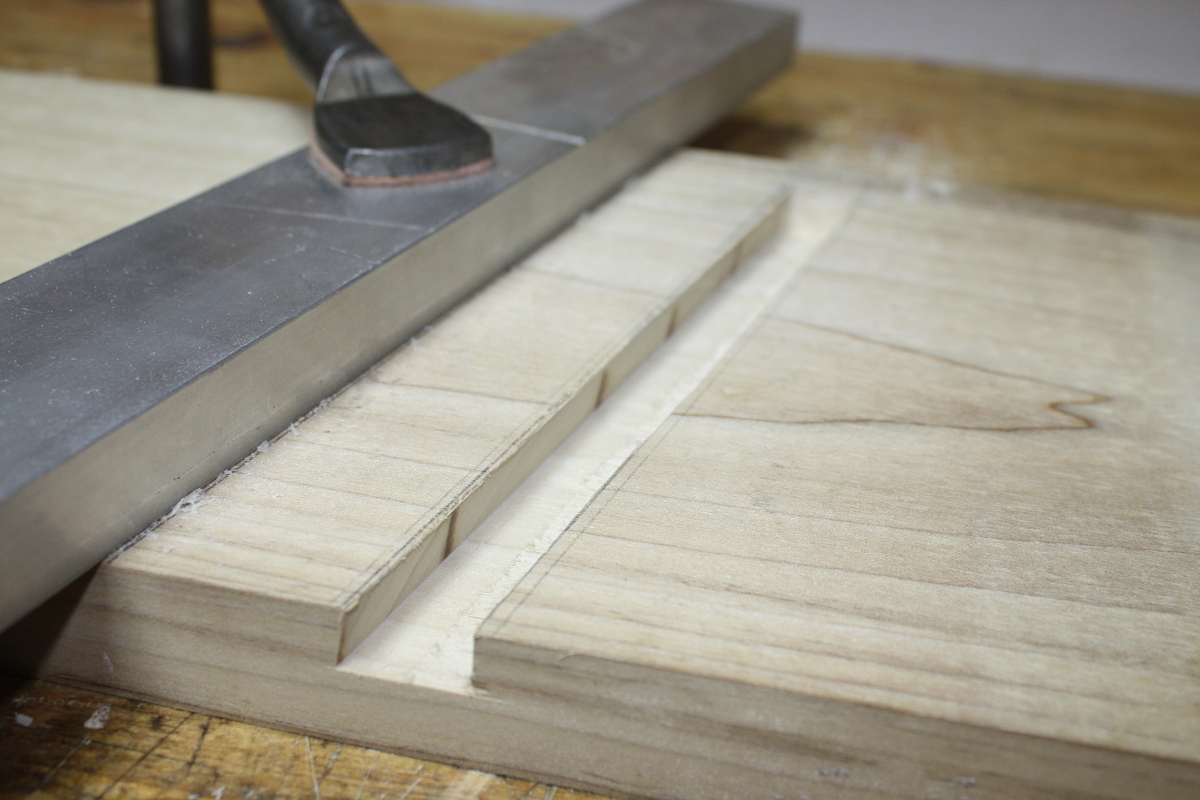
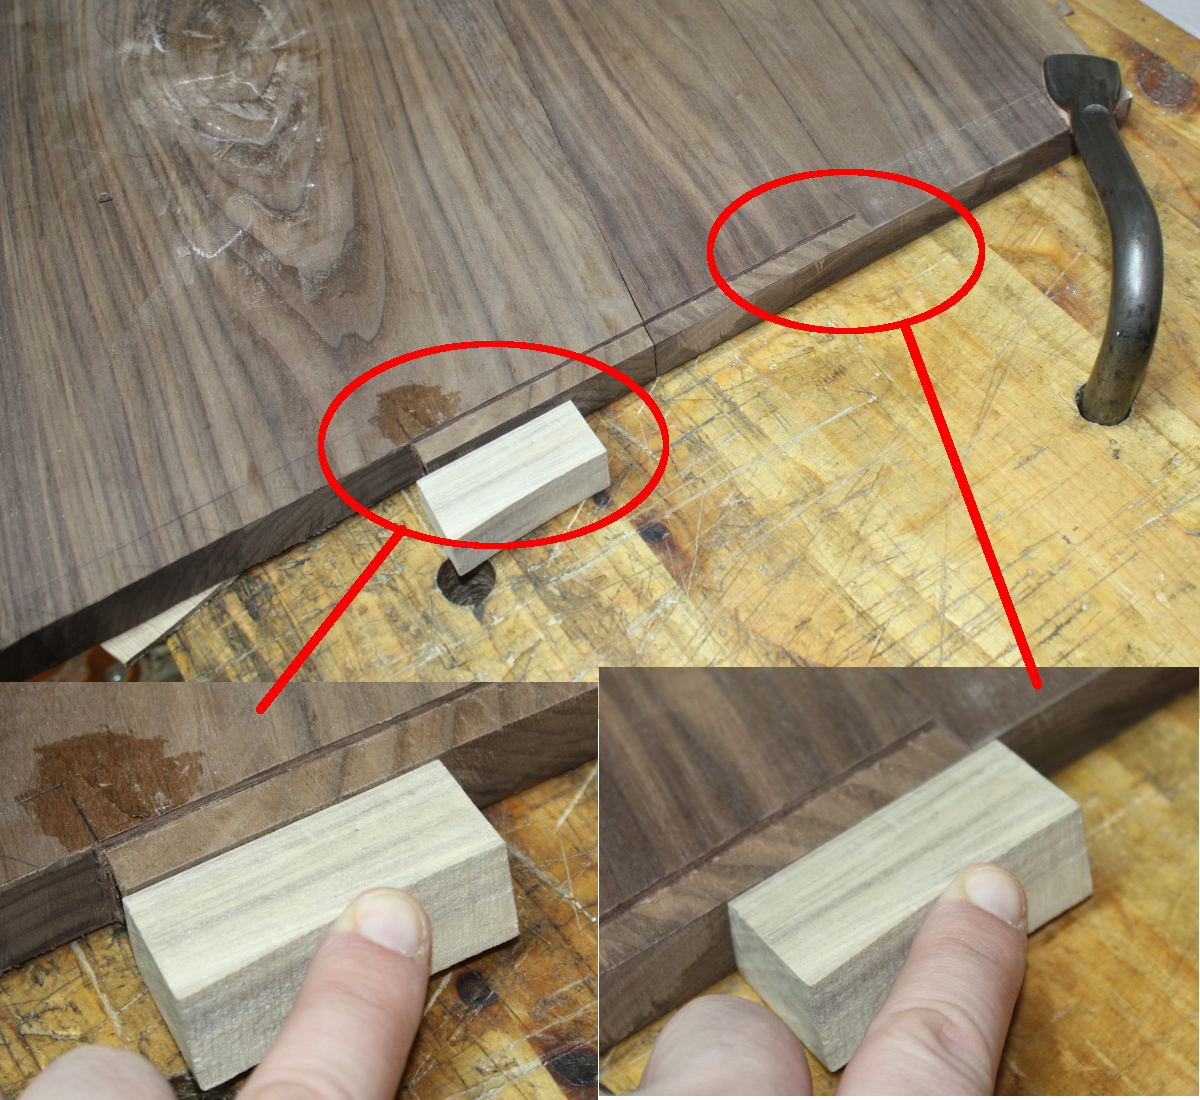
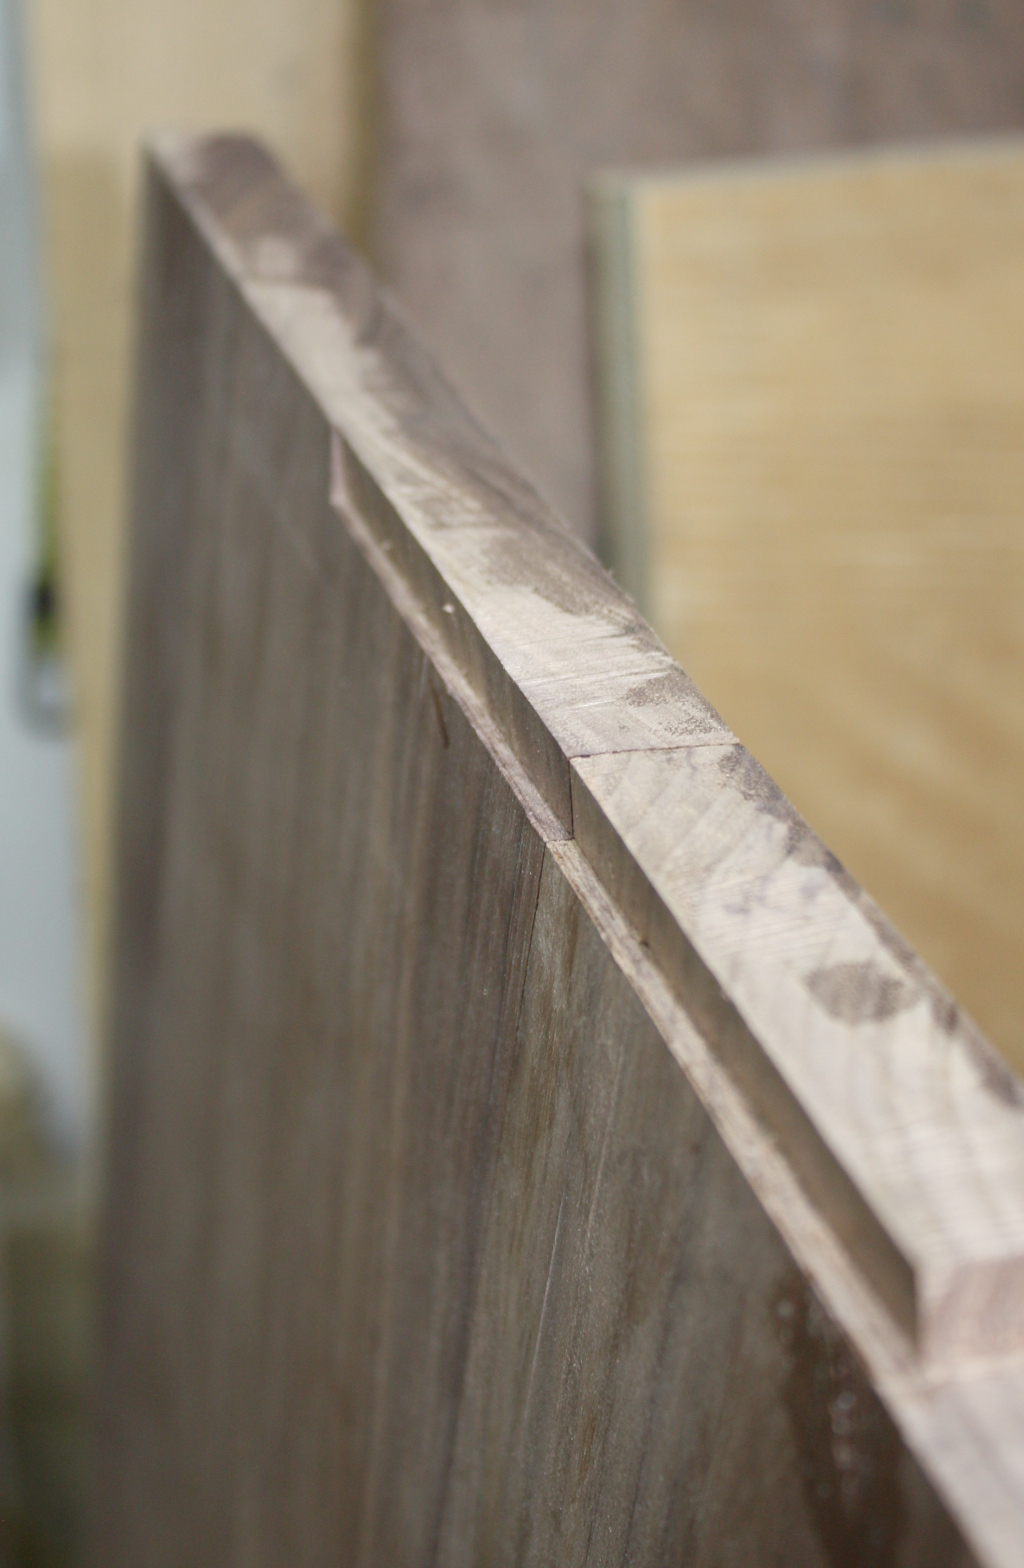
So both dados are now cut, and are narrower than the desk-shelf-thing, and specifically are as narrow as the narrowest part of the desk when the dovetail is cut on one side. Or they're supposed to be anyway (they were actually a bit narrower because I'm cack-handed). So this next bit I decided I'd do with the evil router because I did try cutting a sliding dovetail by hand and I didn't do so well on the mortice part. So out with a straight edge, clamp it with a holdfast, and had a bracing cup of tea before putting on all the PPE bar a condom and cutting the joint.

IMG_3491a.jpg


IMG_3492a.jpg


IMG_3493a.jpg


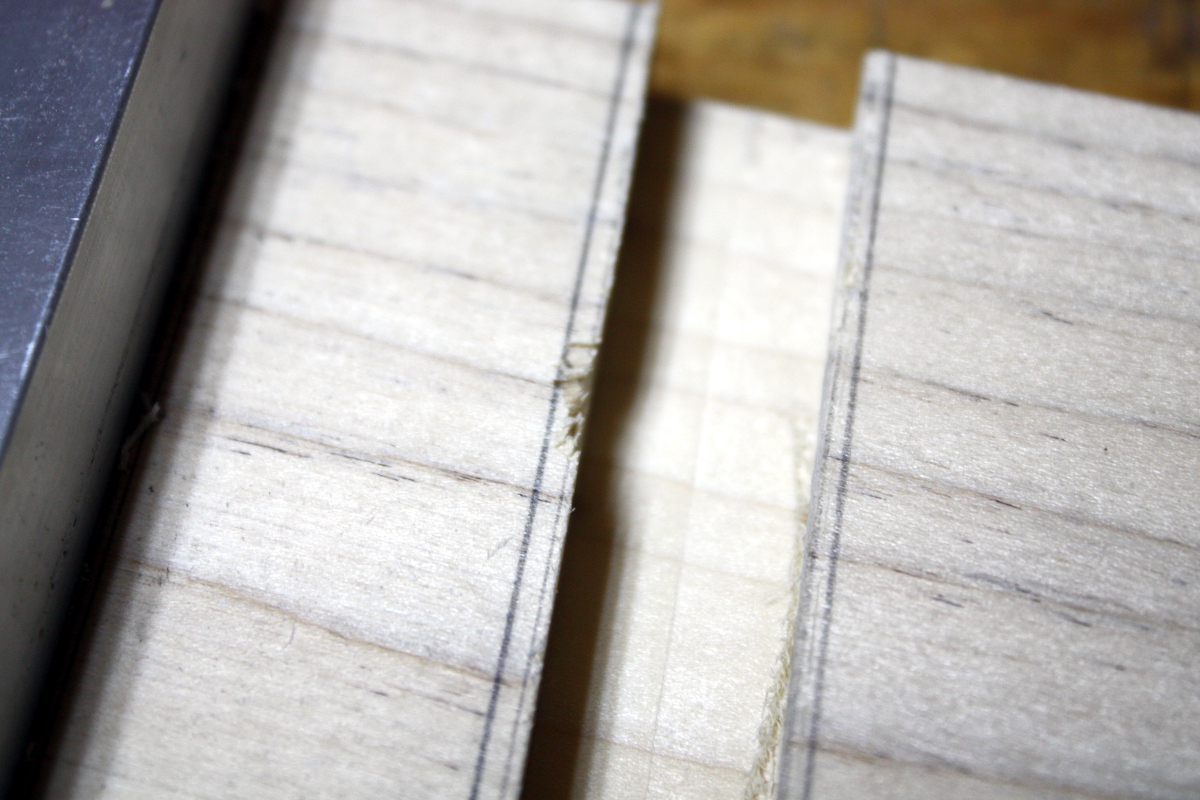
Okay, that won't win any awards other than the "didn't kill himself" and "not many mangled body parts left in the joint" awards and those were the ones I really wanted so I'm good. Set up for the other side, go to take the cut, and mirror not carbon dammit argh climb cut and the pineapple-ing thing literally jumped at my face and no that's it I'm done I'm out...

IMG_3496a.jpg


About a half hour and a pot of tea later I finished the cut. Then I put that sodding router away. The other shelf can be a stopped dado, I don't care, the desk and the top dovetailed shelf will hold it for glue-up.

I do not like using routers.

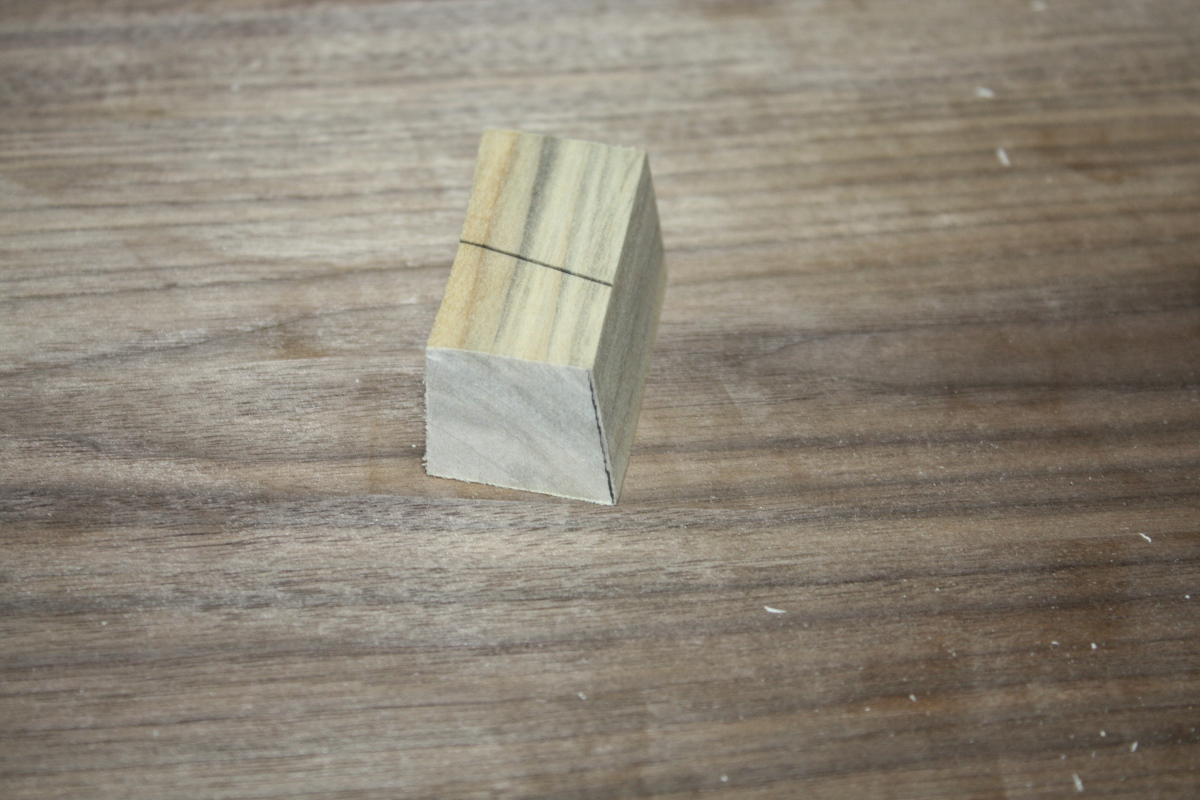
Anyway. Some time later (thanks work), I went back to the other half of the joint. Made a paring guide by measuring the angle of the dovetail with a bevel and planing an offcut from the shelf's shaping to match that.

IMG_3498a.jpg


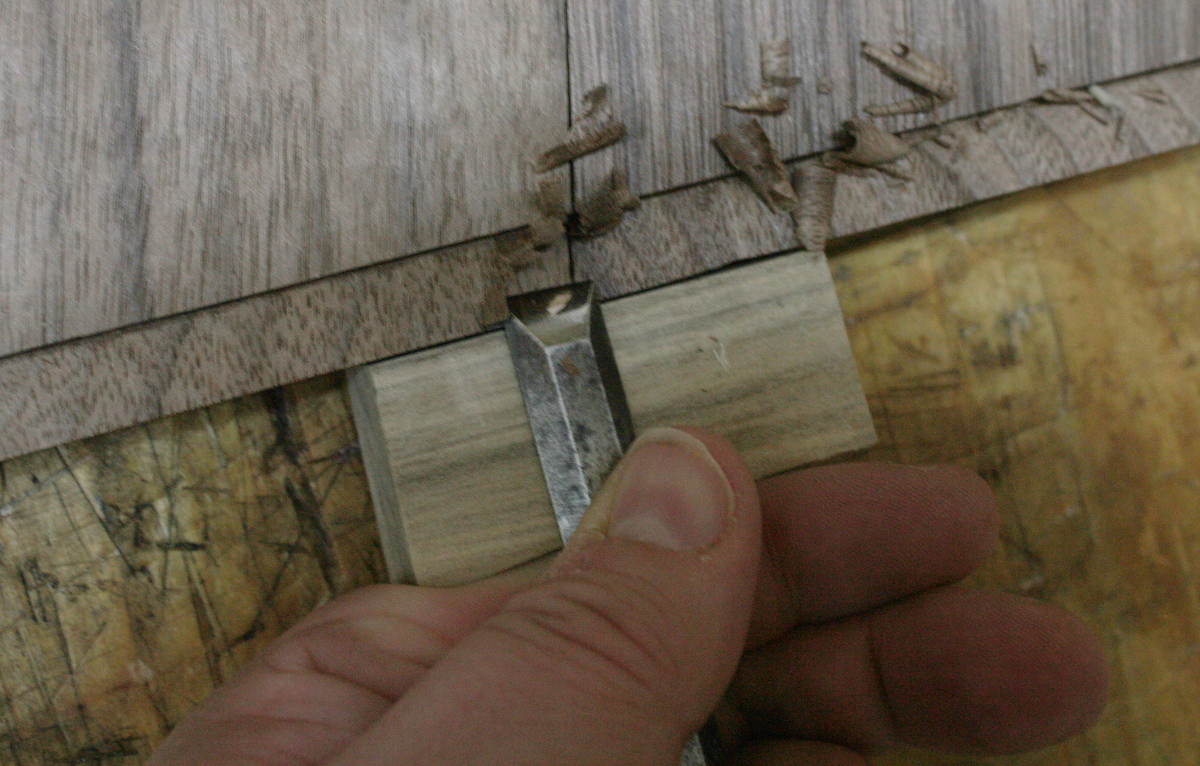
Press it up against the edge of the desk so the planed sloped edge is flat up against the edge of the desk shelf and then pare down the face of the guide and you get your dovetail.

IMG_3516a.jpg


I cut the dovetail straight all along the joint first, then put a shim on one side of the desk and used a holdfast on the other to put a tilt in the board and then went along the joint again nibbling away at the joint to give the sliding dovetail fit.

IMG_3511a.jpg


It's not much but I didn't think it had to be much.

IMG_3517a.jpg


And then test fitting and of course I've cut the mortice too narrow, so I carefully trim the mortice a little on the vertical side of the dado (I know you normally trim the tenon but I thought it'd be easier to trim to mortice in this case because of the dovetail shape). A bit of swearing and a lot of muttering and soon enough:

IMG_3518a.jpg


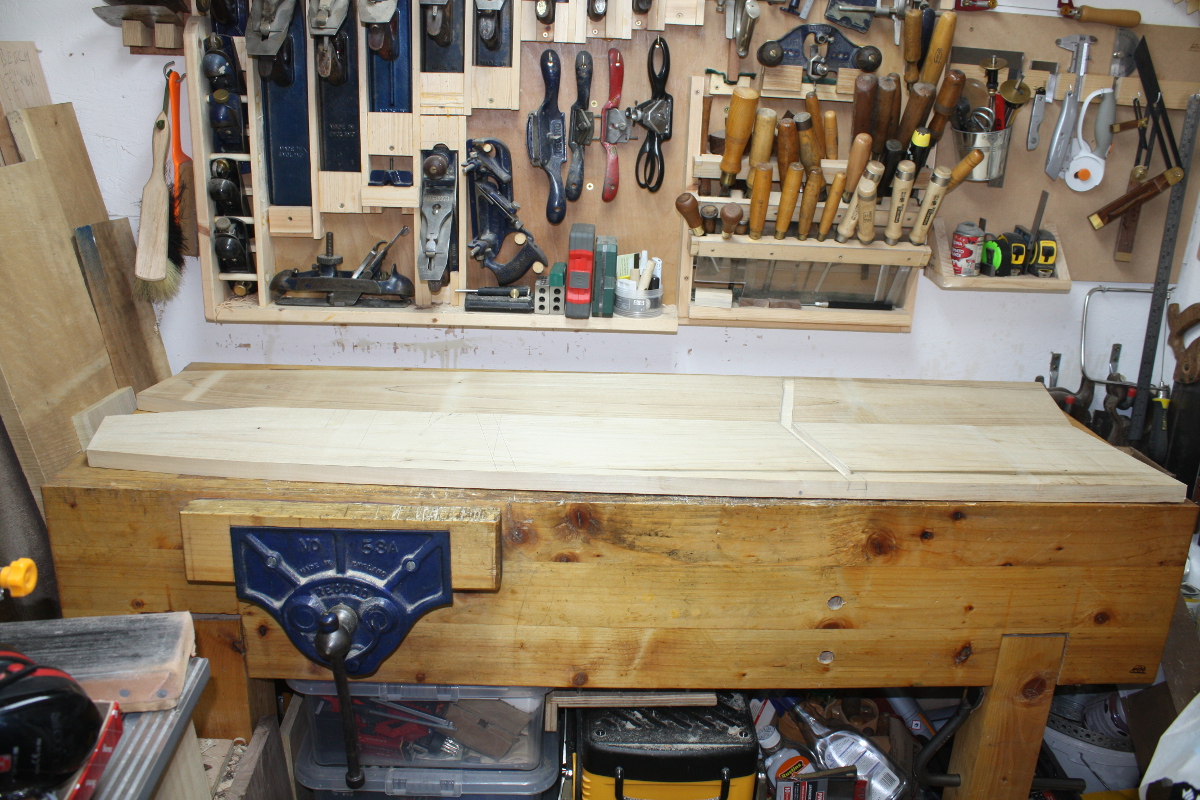
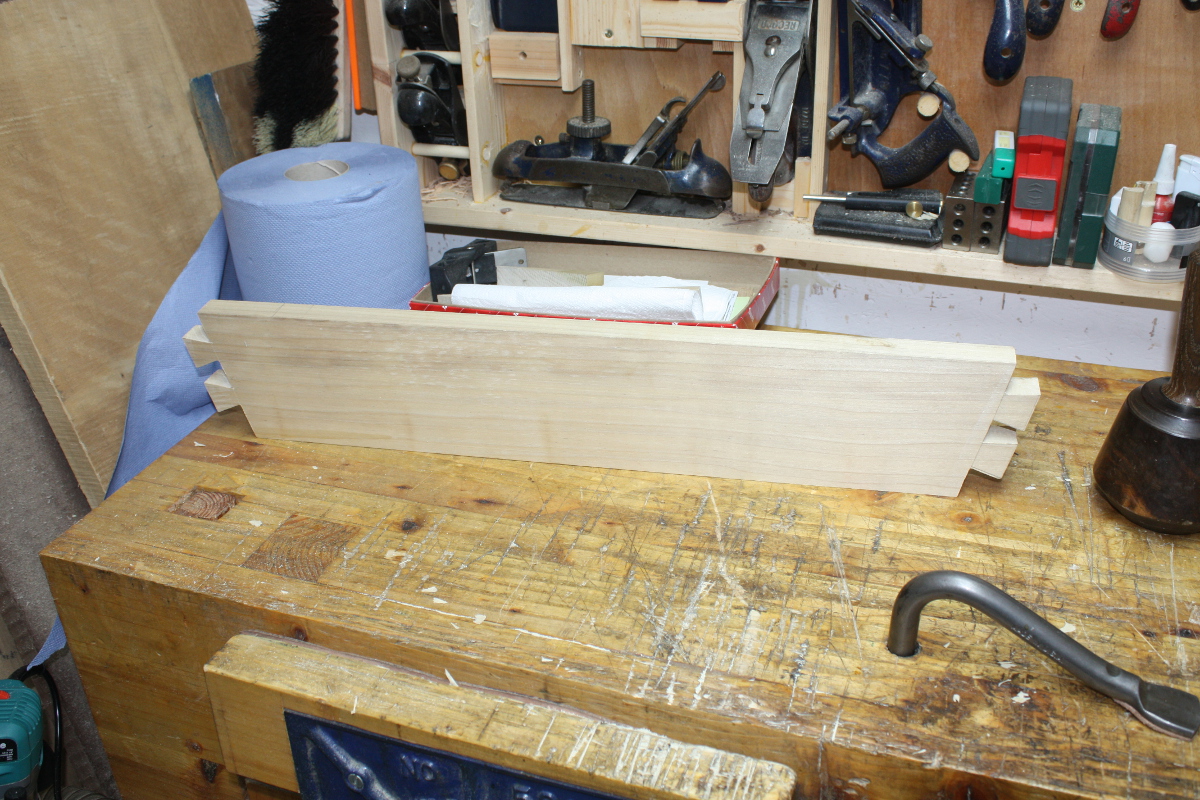
Yup, too big for the bench.

IMG_3520a.jpg


Also too big for the shed. Barely fits. And the joints are not yet driven all the way home there. It’s a solid fit, but it’s a little tight still (I have yet to finish plane the sides or the desk and I expect that to loosen things a little). And I have to scribe the angles for the top shelf yet, which will be dovetailed in because I hate myself.

IMG_3523a.jpg


Scribing it shouldn't be a major hassle. Cutting the dovetails while the joints are loose however, isn’t a great idea because the shoulder to shoulder distance varies as the joints get driven home. I might well cut one side’s dovetails, leave the bevel set for the other side and not cut that until closer to final assembly which will be a tad finicky but less so than trying to cut both and then undoing the joints, I suspect. Or maybe I’m wrong about that.

Plus, there's still a lot of finish planing to do and before that I wanted inlay on the desk as well. So I suspect the next step will be to finish plane the sides, then do the inlay on the desk and finish plane that, then assemble, scribe, cut the dovetails and sod I've forgotten the dado for the shelf which has to go in there somewhere as well.

Oh well. I suspect the bigger issue is going to be both time and space to work in anyway…
 
Looking good and providing heaps of high grade, beneficial experience.
Plus a definite data point on max size of indoor project.

Good point about the relationship between the fit of the dovetails and the position of the shelf. Only a vanishingly small proportion of the people who will soon admire the finished product will appreciate that, or the amount of attention you are having to give it. But woodworkers understand!
 
So, late update, more work has taken place.

Not saying great work, just more work (hammer)

Anyway... decided against doing another sliding dovetail for the middle shelf and opted just to cheat and do housing joints, cut the normal way by hand with chisel.

2019-01-07-20.25.15a.jpg


Nothing hugely noteworthy with these, though I will say it's nice to work poplar if you have sharp tools.

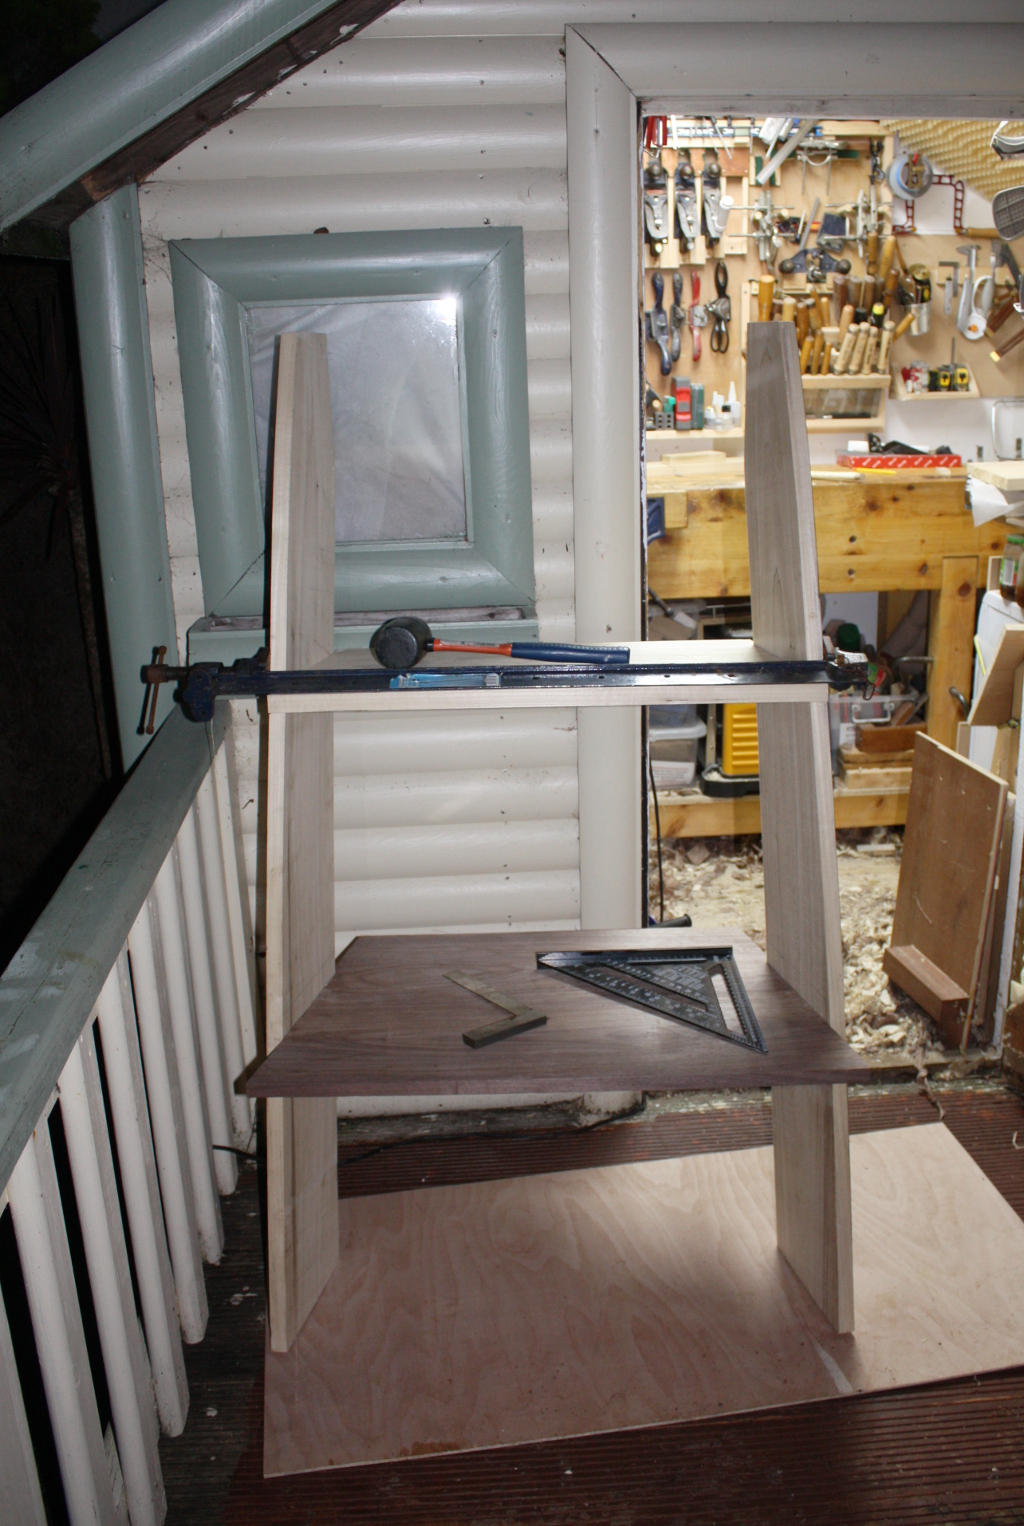
With the housing joints cut, I tried a test fit.

IMG_3524a.jpg


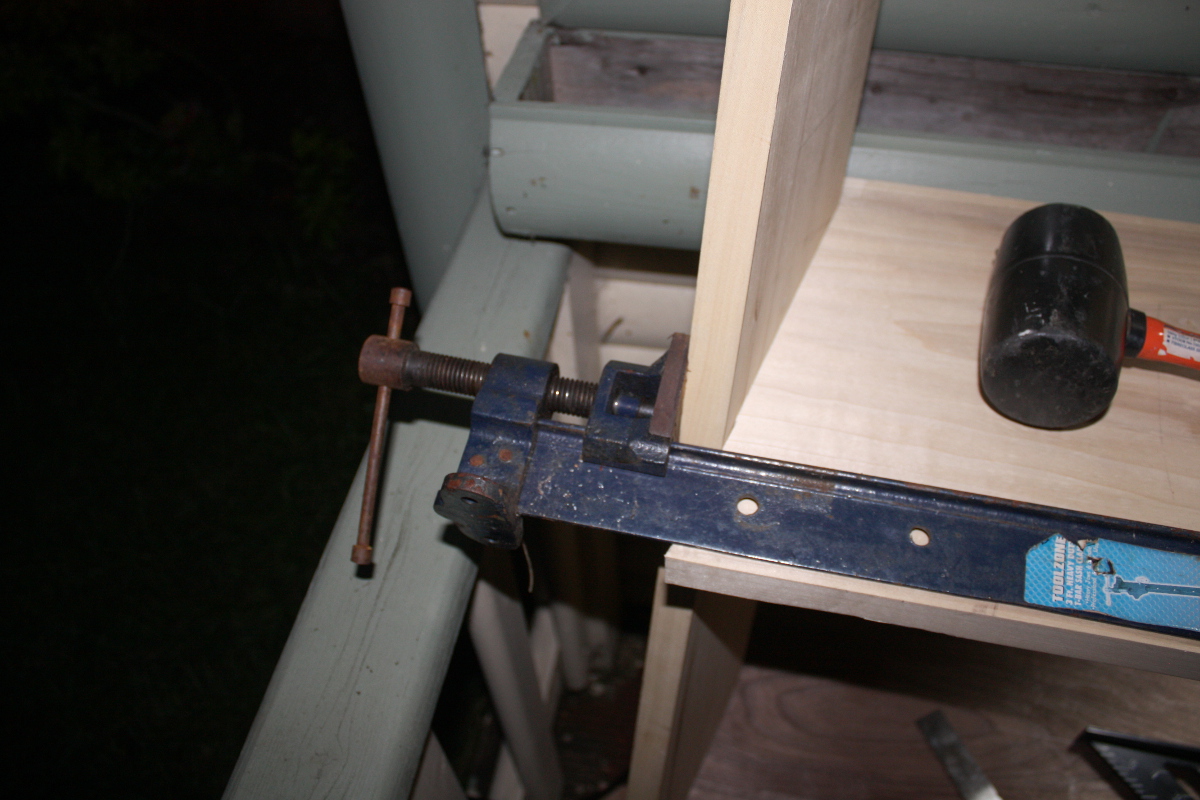
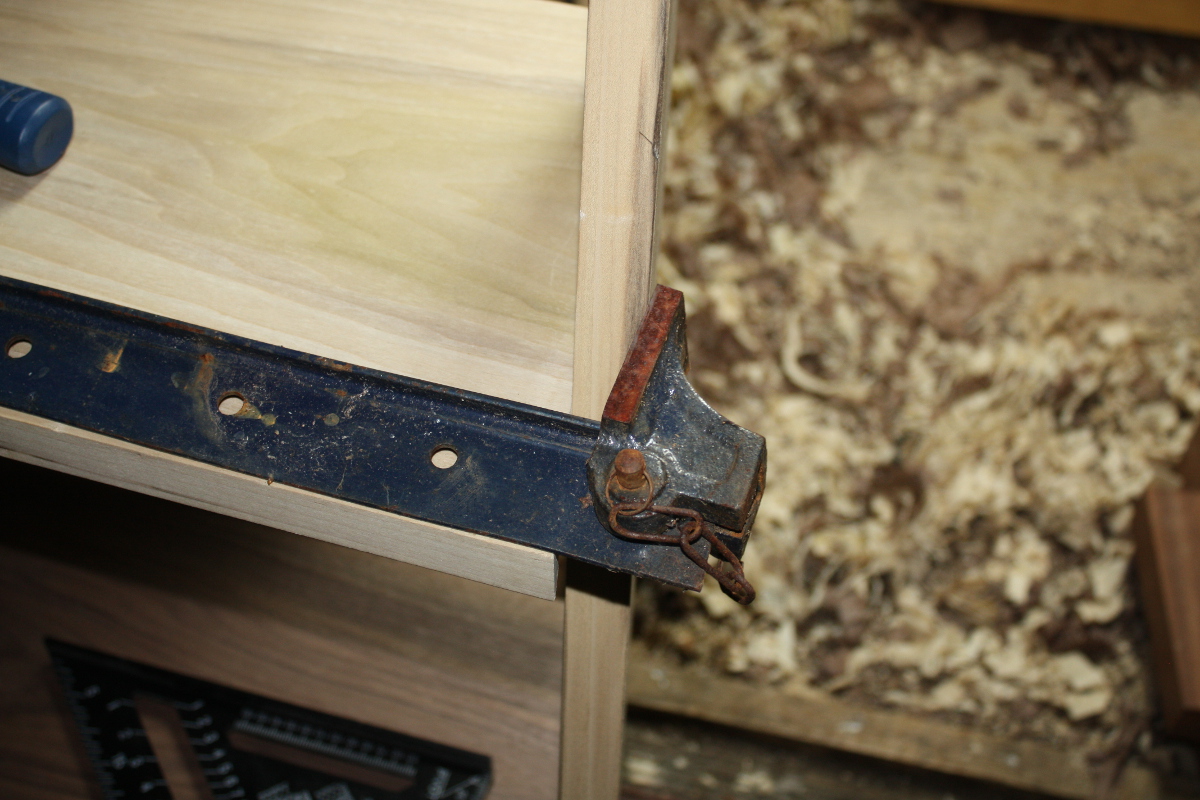
Rather awkward to put together - and there's that clamping problem that even I could see coming before starting all of this. That clamp's one of the largest I have, they were comfortably large enough to make the workbench with padding on the clamps and still they only barely make it here.

IMG_3526a.jpg


IMG_3525a.jpg


That’s going to dent the outside corners of the edges, but that’s okay, they’ll be shaped to a round profile and those corners are coming off anyway. I will need to take the angle grinder and flapdisk to the clamps though, they’ve been “stored” outdoors for some time and the rust is criminal (don’t judge me, there was noplace else to put them and the job of rehabbing them has been on the list for a while now).

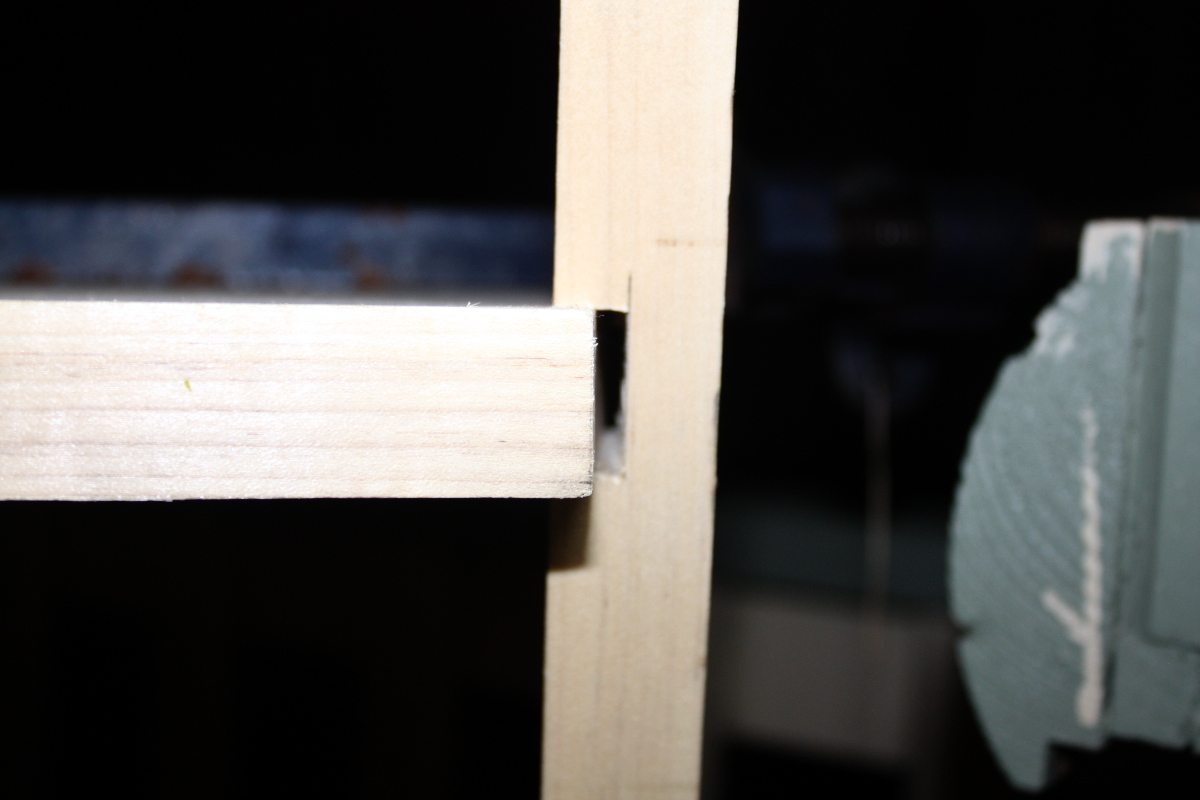
More annoyingly, the housing joints didn’t seem to fit very well…

IMG_3533a.jpg


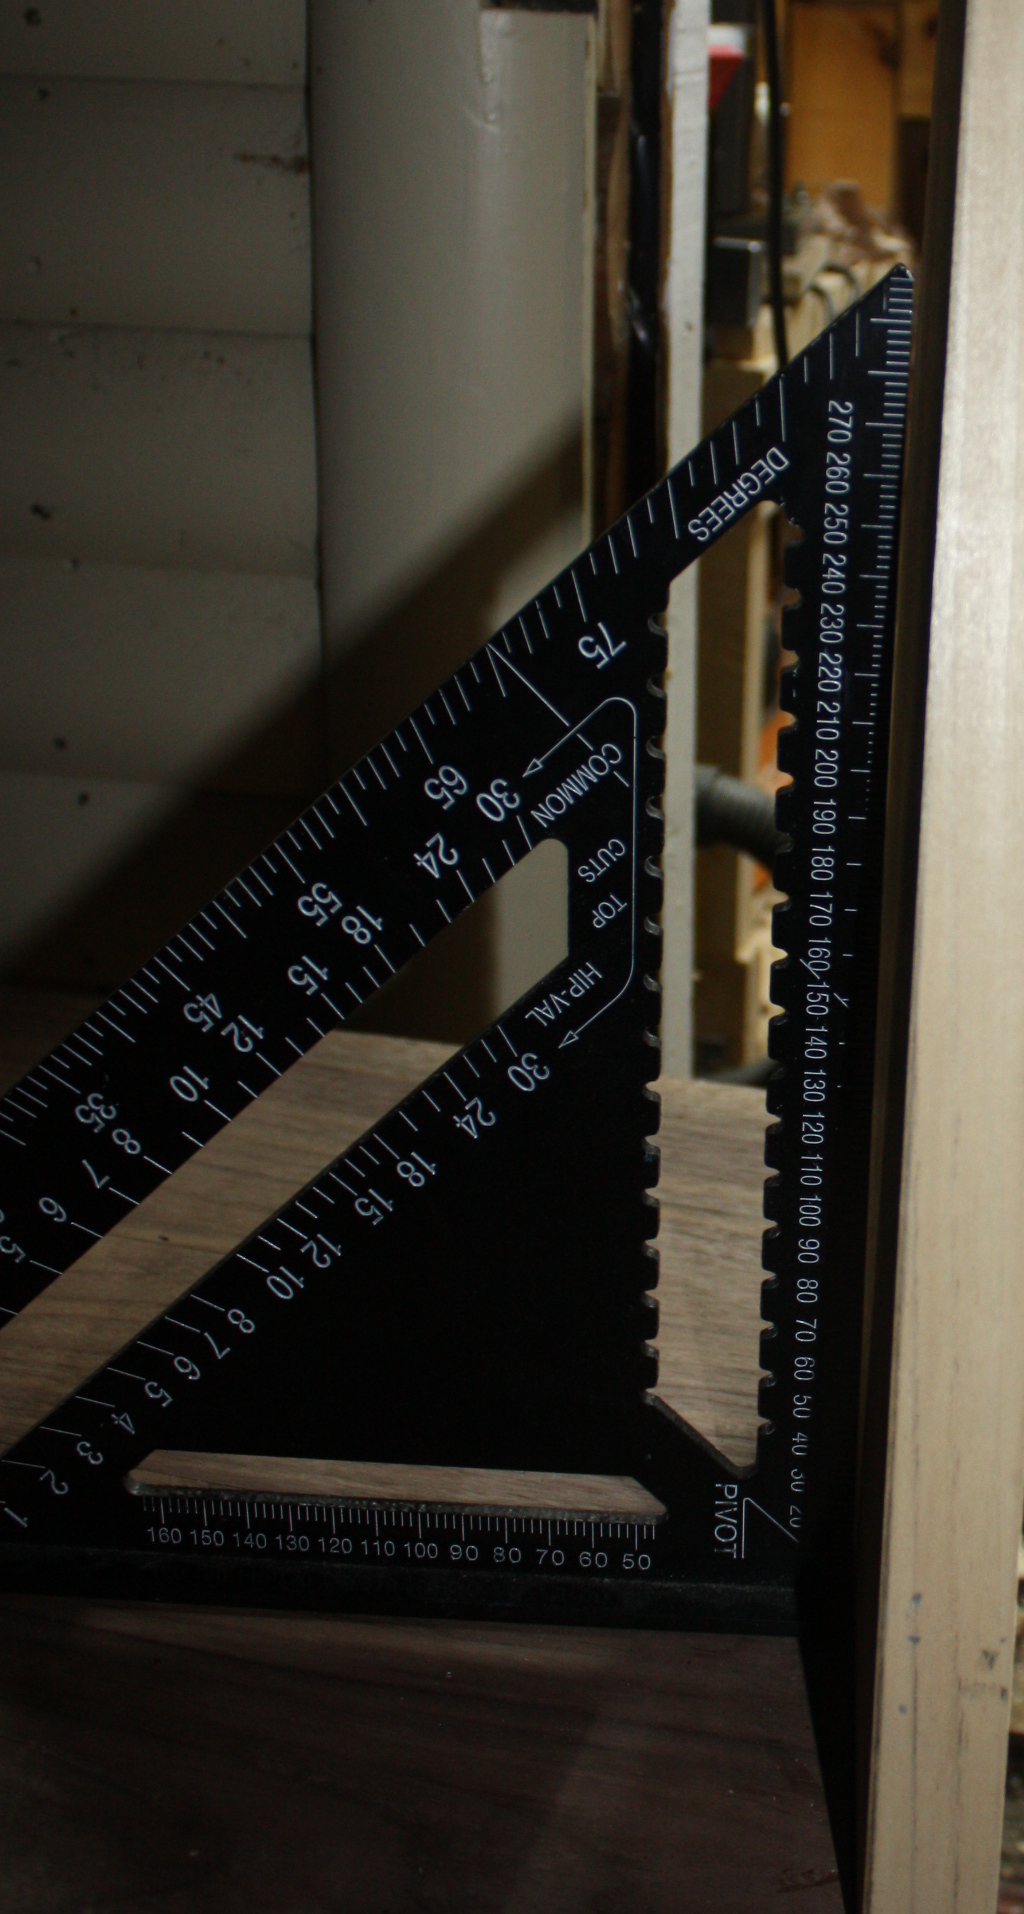
And as a result, the sides are pushed out of true.

IMG_3527a.jpg


So some fettling was required. Did that, or thought I had, and then without the middle shelf, while I had the whole thing together, I scribed the top shelf with a pencil.

IMG_3522a.jpg


(That's from earlier but it looked the same).

After thinking about it a bit, I double-checked the angles of the sides of the walnut board – because it’s the core around which all this is built – and then I used the angles of the walnut board, and the width from the scribe marks (and yes, I double-checked that the sides were plumb to the desk before scribing), and used those two to cut the top shelf.

IMG_3534a.jpg


I didn’t cut them according to the scribe marks’ angles because there’s a little bit of twist in one of the sides - not much, maybe 4-5mm over the full length of the side - but it's poplar, not oak, so the top shelf should be able to pull that back to the walnut board’s angle.

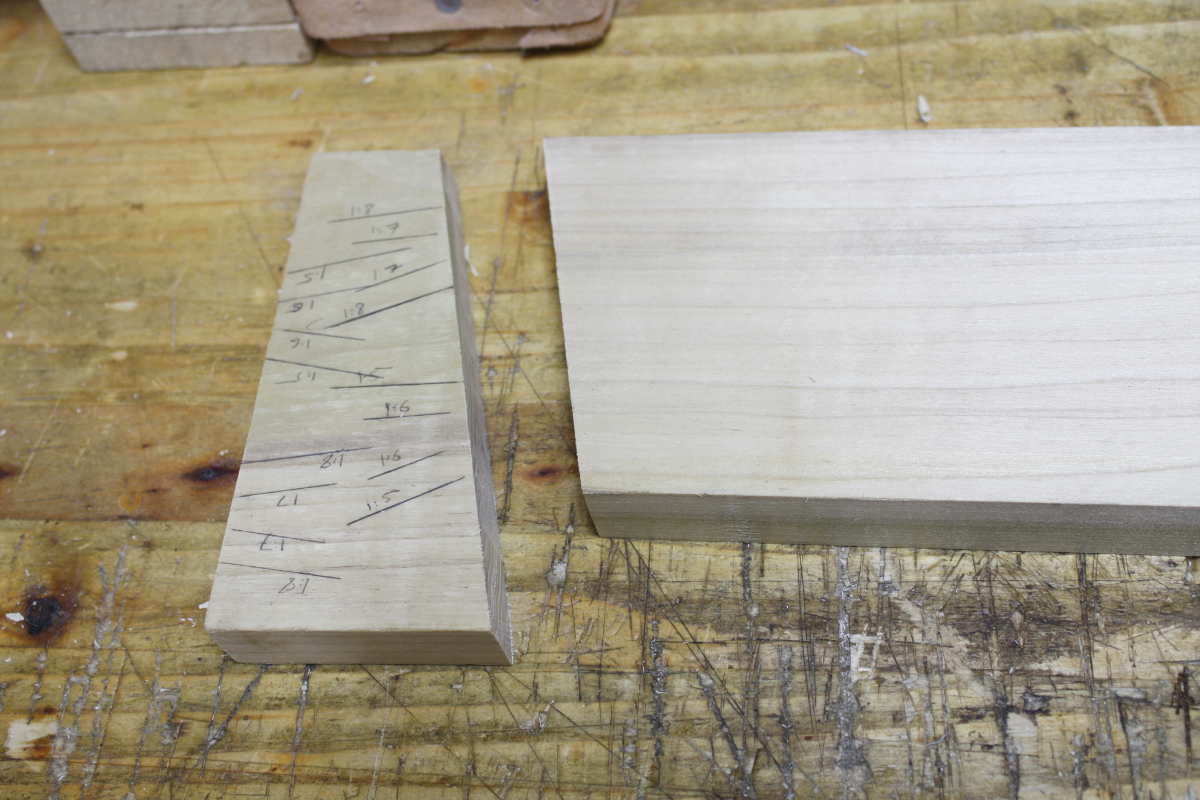
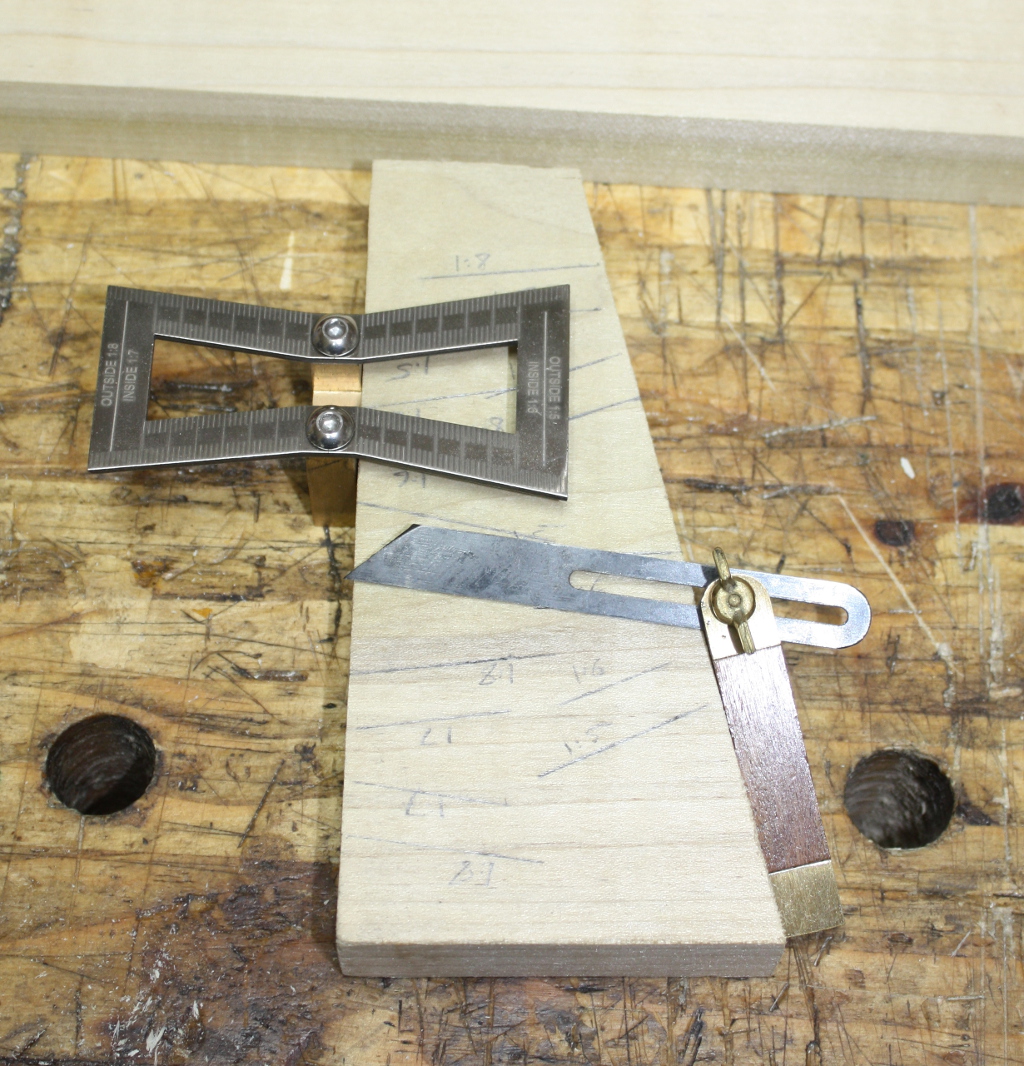
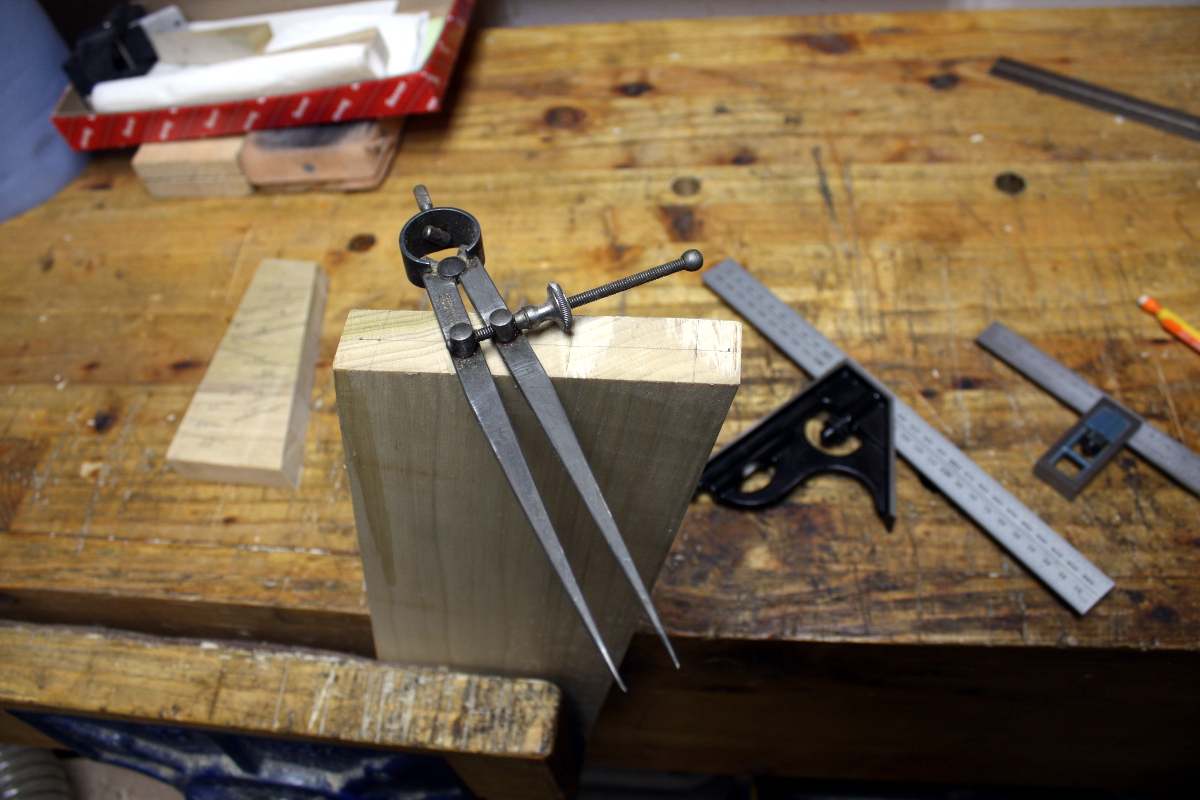
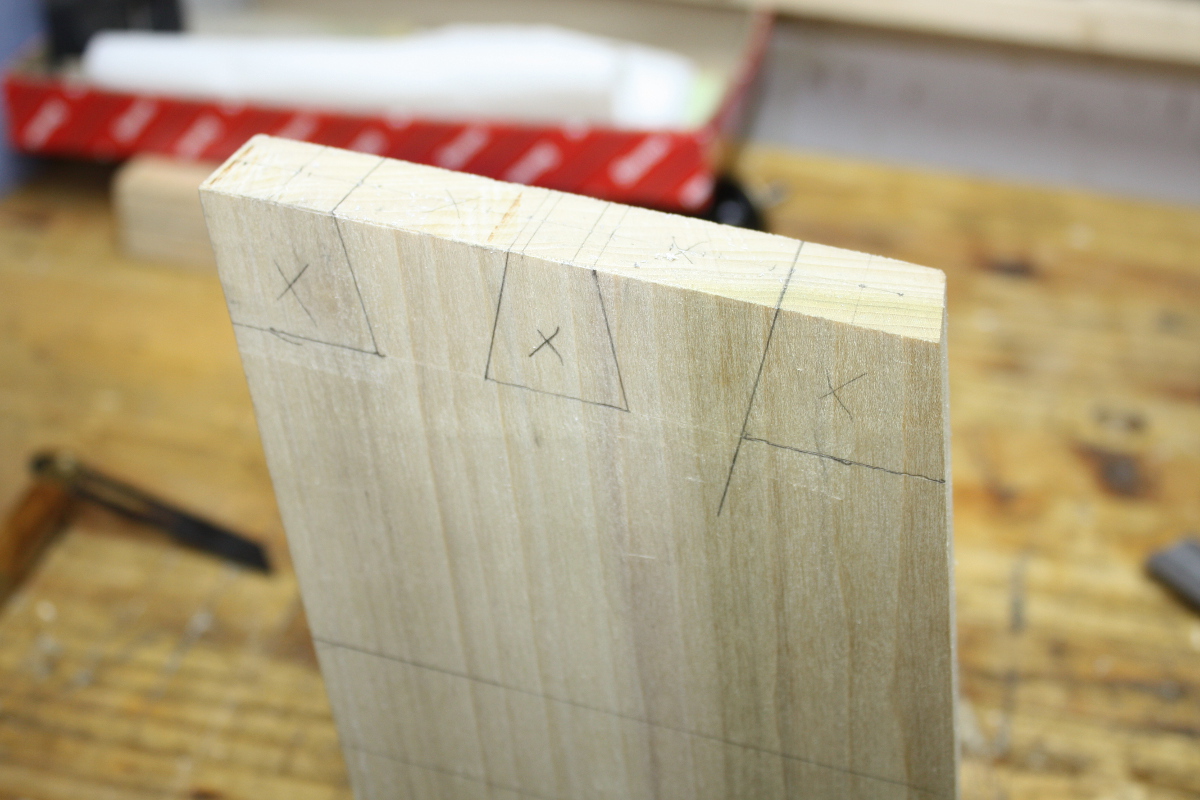
And of course, because it’s an angled cut on the end of the board, the dovetails get interesting. Since I don't want to spend a few hundred quid on a Bridge City bevel, I did the sane trick to get the angles (1:6 on one side and 1:8 on the other). And did the two-dividers approach for the spacing.

IMG_3535a.jpg


IMG_3538a.jpg


IMG_3541a.jpg


IMG_3542a.jpg


Probably the most finicky dovetail marking I've ever done. And no guides for sawing this time, it's "can you actually saw to a straight line" time, or as I call it, "no" time.

IMG_3543a.jpg


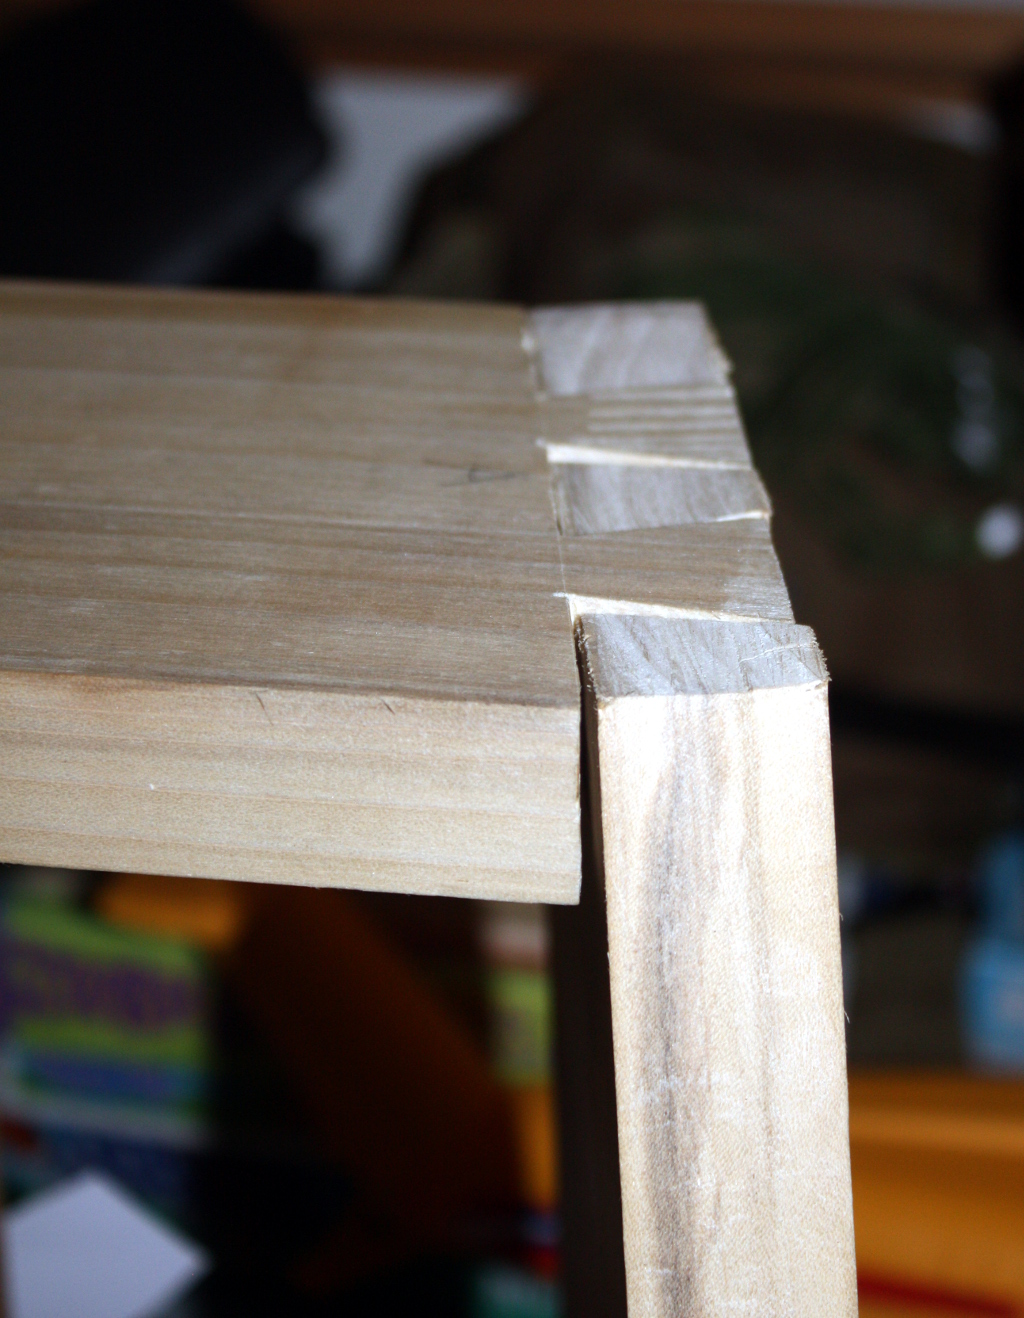
Still though, dousing a joint in glue hides a multitude of errors...

Also, holding a 30" board in mid-air five feet up while you try to scribe from tailboard to pinboard is a great way to teach the neighbour's kid new swear words. Just sayin'. But eventually, got the job done to within a certain value of "acceptable" and assembled it, or tried to. With the middle shelf in place, there was a solid inch of air between the end of the top shelf and the dovetail joint on the right side. I mean, there are gaps you can fill with sawdust and then there are gaps you can't...

Turns out, that middle shelf wasn't as fettled as I thought it was. Back to the #04 and off with a mm on either side of the shelf and more test fitting but eventually, I got it to all go together, albiet with pursuasion from the clamps. And with that stage reached, brought it inside...

IMG_3545a.jpg


That middle shelf is definitely not done yet; it’s still a few mm too wide at the back, while being about right at the front but the end result is that there’s a lot of stress on the right hand dovetail joint.

IMG_3549a.jpg


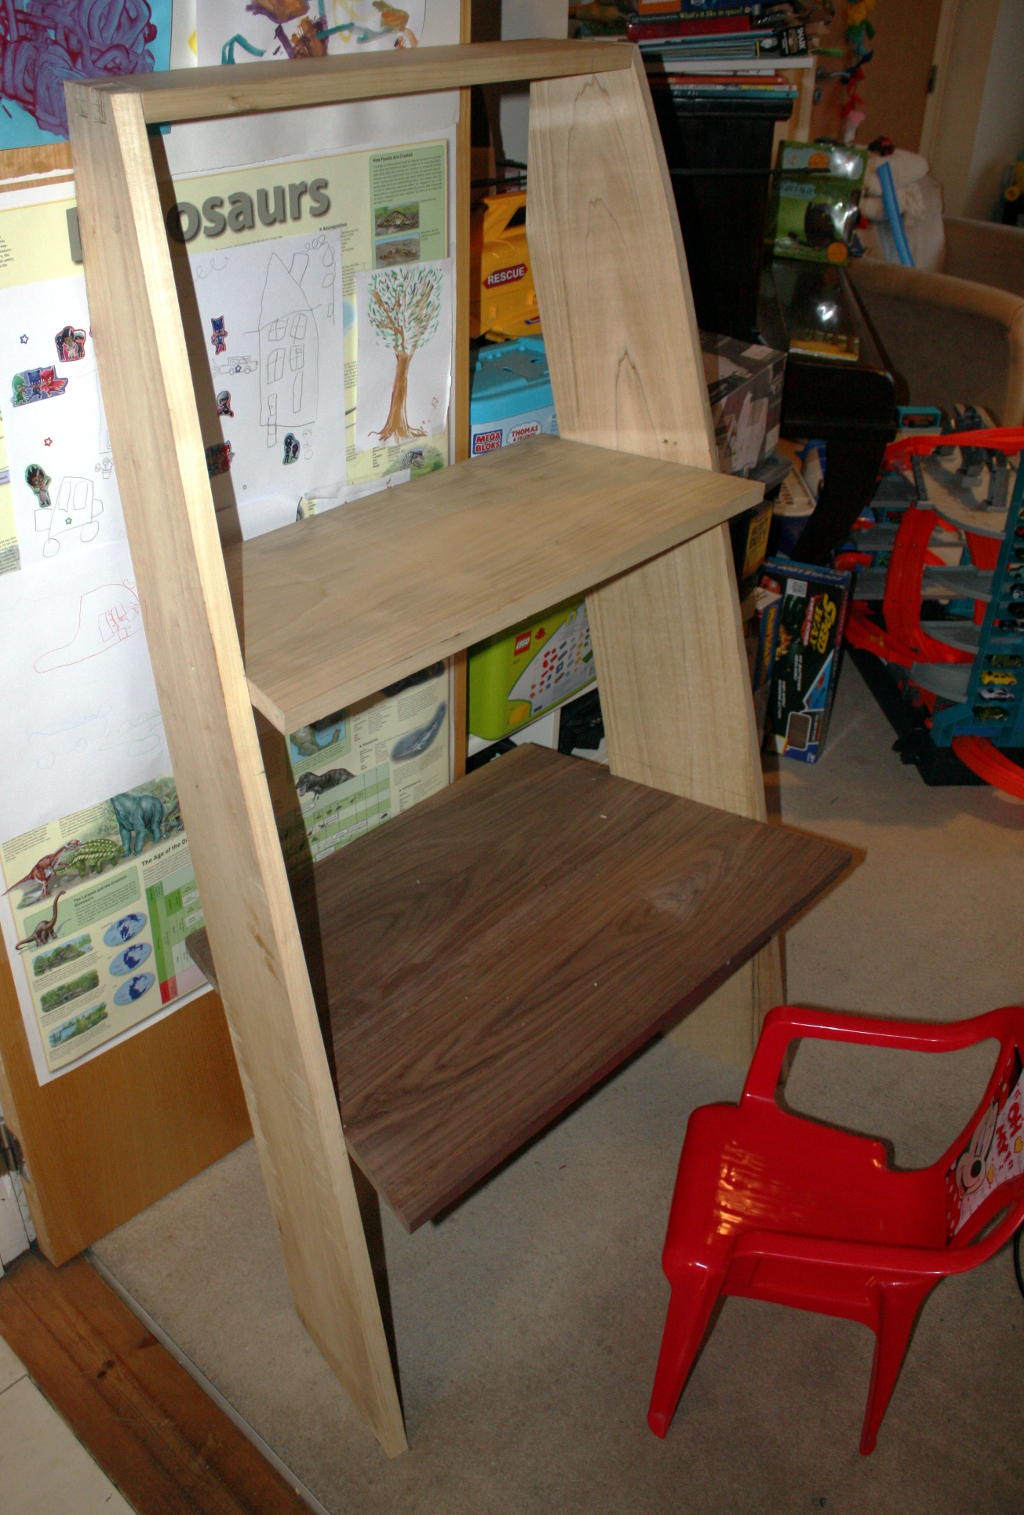
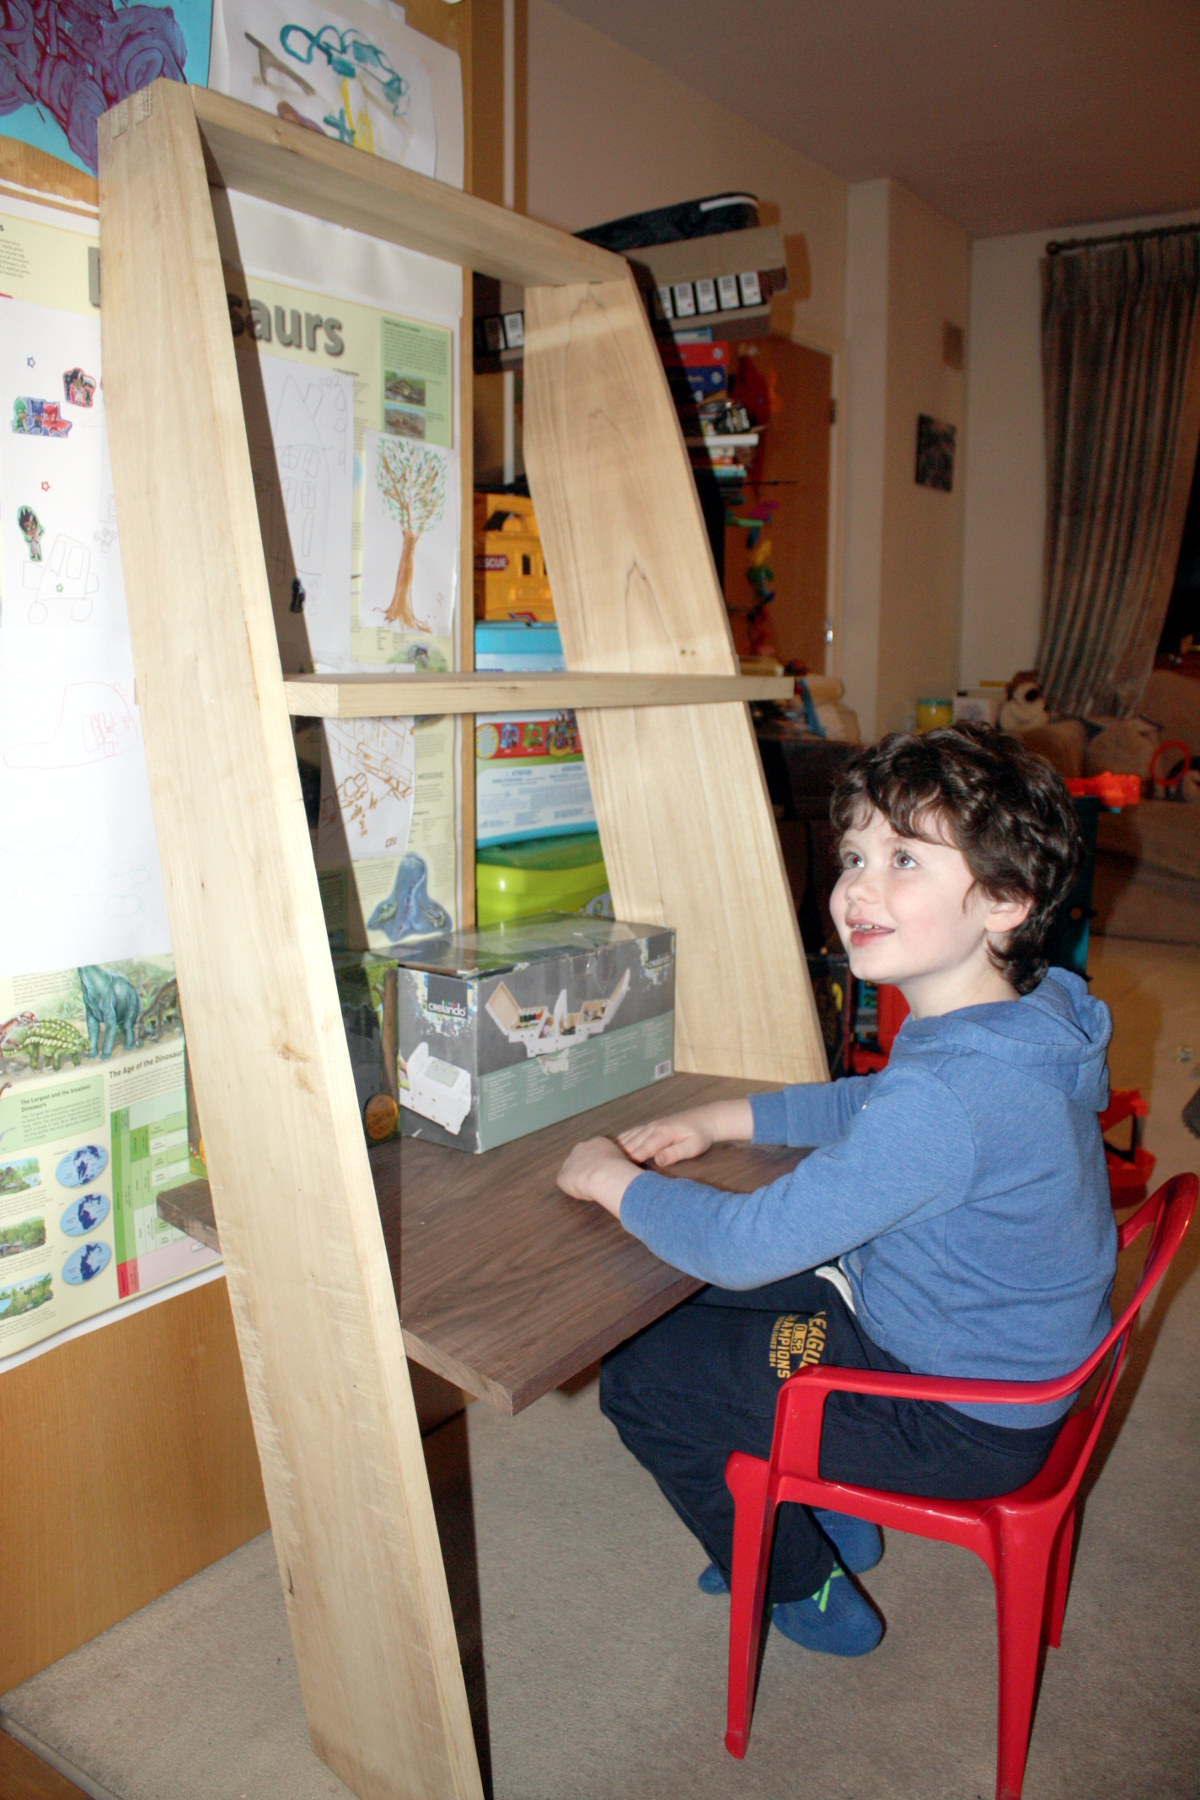
There’s a whole 2.4mm of a gap there at the bottom, purely because the shelf is spreading the sides (I assembled without the middle shelf to check – it went together perfect square and true). I have some more fettling to do there tomorrow. But that wasn’t the point of this assembly (or bringing it indoors for that matter), it was more to check sizes. That desk seems so low off the ground that there’s no way it’s right, right?

IMG_3553a.jpg


Nah, it’s grand, the client is happy.

It’s now all back in the shed with the middle shelf removed. Tomorrow I’ll work on fettling that middle shelf fit and when that’s good enough, I’ll take the desk all apart and begin work on inlays, decoration and shaping. The inlay won’t be entirely conservative – the client isn’t a huge fan of traditional marquetry because he can’t spell “traditional marquetry” yet - but an inlaid race track for cars would be cool, and an blue resin ocean on which to recreate the death of several hundred people in the freezing waters of the north atlantic would be a very desirable feature apparently. I don’t know, don’t ask.

TIT011DJ_0-345b632.jpg


I also want to cut a 7mmx13mm channel in the underside of the middle shelf – that’ll house an LED strip in an recessed aluminium channel with diffuser (ebay’s a great tool these days). That does mean I need to figure out a way to run a mains cable from that shelf to the ground, in a way that doesn’t lead to a seven-year-old finding a way to pull it out of the desk and strangle the cat with it.

Anyone know of a neat way to chase a cable through a piece of wooden furniture over a distance of around five feet in total? Cable clips are not okay, and just routing out a channel and epoxying the cable in seems somewhat unmaintainable in the long run if you ever had to replace the cable…

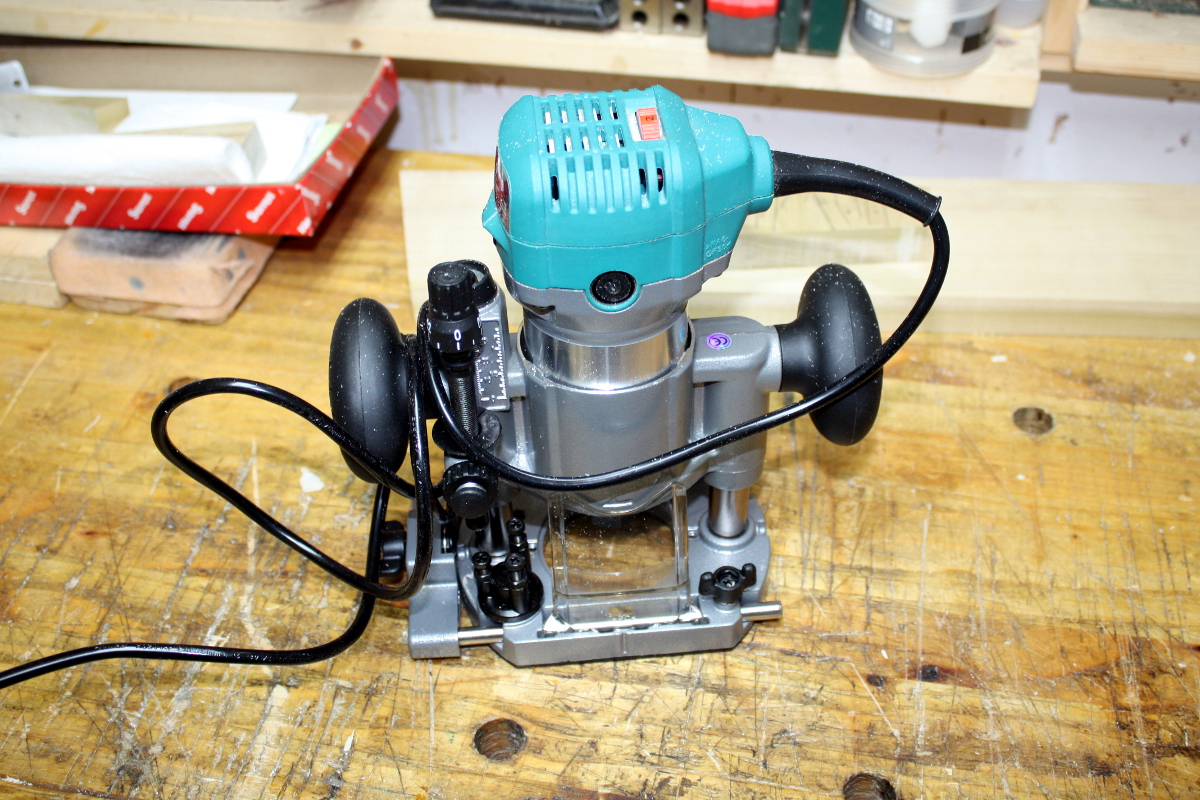
Speaking of routing, for some of the resin and the LED channel, I thought I might go back to the beast and try it again, but this time with a better way to hang on to it.

IMG_3539a.jpg


So, y'know, if the next time you hear from me on here it looks like I have an accent, it's because I routed off two of my fingers...
 
Lovely warts and all account of a challenging build - I'm glad the client hasn't outgrown it yet!

Re hiding the cable, if it's all underneath, how about the smallest size of mini plastic trunking, stuck or pinned at the bottom of a groove.

Or else, rout a wide shallow groove with a deep narrow one inside it. Narrow groove fits the cable. Wide groove fits a thin strip of matching wood. Hold it in place with tiny screws or pins which could be pulled out by you if needed, not by tiny fingers.
 
Keyhole router bit could be a good option for the cable.

Plus it'll give you a chance to practice with the router :D :D
 

Latest posts

Back
Top