Post a photo of the last thing you made

UKworkshop.co.uk

Help Support UKworkshop.co.uk:

This site may earn a commission from merchant affiliate links, including eBay, Amazon, and others.
Bm101":21icgwlz said:
El Barto":21icgwlz said:
7d4zI37.jpg

I like the proportions on that very much. I like the appropriation as a footstool or similar. Made me wonder about a couple of ideas.

Thank you! Appreciate it. I always liked the look of the sawbenches from the book, they seem too pretty to be hacked up (although I did add a couple of design elements to make it slightly less basic).

My favourite thing about it though is how easy it was to make. More than doable in a day (or split over two days to allow for glueing etc).
 
thetyreman":3furir2r said:
nice idea scaredy cat, the beauty of that is you could customise the size

I can't claim any credit for the idea, just the execution :)

whiskywill":3furir2r said:
Nice, but what is it?

It's a "Kerfmaker". It allows you to make perfect dados on a table saw. Using the first image for reference, undo the wingnut and slide the top (maple) back, insert the stock that you're making the dado for - ie what'll slot into the dado. Butt it up against the upright on the right. Bring the top pice you slid away into contact with the other side of the stock and do up the wingnut.

What you'll end up with is the top will extend out the back, over the walnut by the width of the stock. On the lower piece (walnut) you cant see* there's a screw that's sticking out the exact kerf on my blade. The gap between the upright and the maple will match the width of the stock.

So now you line up your piece that you want to cut the dado in with the kerf line on your cross cut sled, place the kerfmaker to the right of that in such a way that the top touches your stock on the left and a stop block to the right. Clamp the stop block so it doesn't move. Remove the kerf maker and make your first cut. Place the kerfmaker back between the stock and stopblock only this time flip the kerfmaker so that the walnut piece next to the stop block. Push the stock up to the left edge of the kerfmaker, remove the kerfmaker and make your second cut. You now have 2 cuts in your stock and if you remove the waste between those two cuts, which can be done but cutting then sliding the stock until complete, with give you a perfect fit.

This video might make more sense than my ramblings. The one in the video retails for $73 USD if you're feeling flush.

* I'll add a couple more pictures later.
 
Cor, clever (but I ain't got a TS)! But I must say, yours looks just as nice (nicer even?) than the Bridge Tools version you linked too, and is certainly much cheaper! AND you can say "I made it myself" :D
 
I made a burger flipper, it's meranti so probably not ideal, another one of paul sellers free projects, I am going to make some more of these as gifts and maybe to sell,

this piece of meranti has some slight figure in it which isn't easy to capture in the photos, might put a few more layers of tung oil on it to pop the figure a bit more, for now here's some photos.

an enjoyable fun project that doesn't take too long either.

burger_flipper_255K-1.jpg

burger_flipper_255K-2.jpg

burger_flipper_255K-3.jpg

burger_flipper_255K-4.jpg
 

Attachments

  • burger_flipper_255K-1.jpg
    burger_flipper_255K-1.jpg
    208.7 KB · Views: 257
  • burger_flipper_255K-2.jpg
    burger_flipper_255K-2.jpg
    216.1 KB · Views: 257
  • burger_flipper_255K-3.jpg
    burger_flipper_255K-3.jpg
    220.2 KB · Views: 257
  • burger_flipper_255K-4.jpg
    burger_flipper_255K-4.jpg
    229.9 KB · Views: 257
Well, I suppose I ought to post this up since it's just about done, if only to prove that I do occasionally try to make stuff rather than just witter about it and irritate everyone on the forum... :p :lol:


Copy face on.jpg


L - 8'
D - 32"
H - 40"
Wt - About 140kg

Eight-foot is probably a bit big for my first project, but I kinda wanted it to make an impact when people walk into the workshop! :D (hammer)

Basic 'Nicholson' style English workbench, based on Paul Sellers construction method. Generic softwood from Creffields, so probably construction grade pine or similar. Design tweaked to my own ideas, so the rear benchtop is a mini version of Sellers' first bench series, with an 8" tool well. Apron corners lopped for aesthetic reasons... and to stop my knees from bashing the bloody corners!

Copy side on.jpg


10" wide Record 53 vice is fitted and has nice oak jaw liners attached, so the bench is at least in a semi-usable condition. As you will see, it still needs a touch more smooth-planing on the top, the ends trimming flush, and then finally a sealing finish.
I had a few mistakes.... I mean, 'learning experiences'... in particular, the wood contracting overnight in the sudden heatwave, splitting along some of the glue-up lines in the top, which is the biggest disappointment.


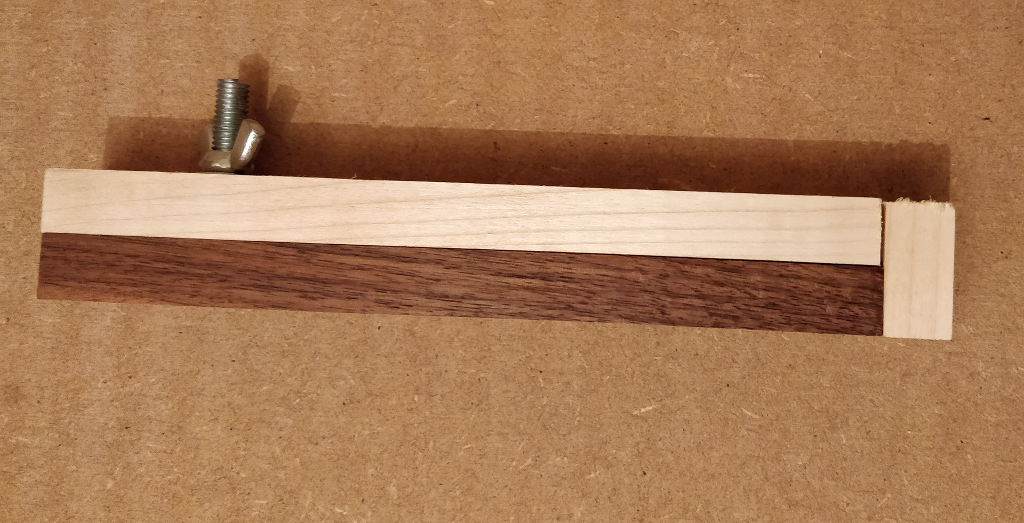
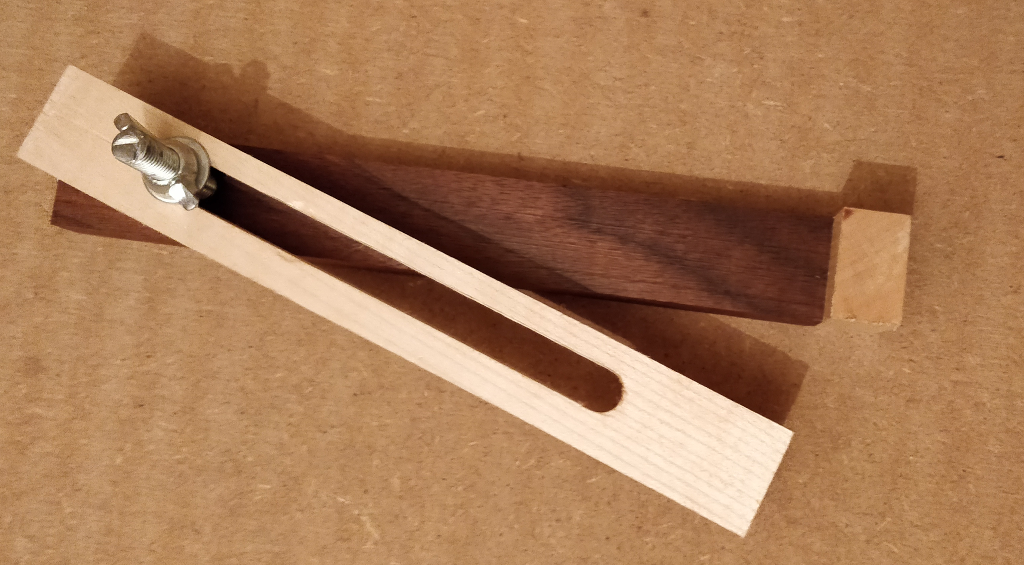
Of course, having done all this, I simply had to fit some bench dogs...


Copy bench dogs.jpg
 

Attachments

  • Copy face on.jpg
    Copy face on.jpg
    114.6 KB · Views: 202
  • Copy side on.jpg
    Copy side on.jpg
    106.5 KB · Views: 201
  • Copy bench dogs.jpg
    Copy bench dogs.jpg
    89 KB · Views: 201
phil.p":1zafdd5v said:
it's convenient that they deform sometimes rather than bruise something I've put in it. They are sacrificial after all.
It's just an offcut I had laying around. Wasn't quite 12" either, which is why it underhangs the right hand vice batten a bit.
But I was planning on lining at least one side with some high quality suede, for the same reason.

Doingupthehouse":1zafdd5v said:
Looks a nice solid workmanlike bench. =D> Any plans for dog or holdfast holes?
Wha's wrong with my current bench dogs....? :cry:

Nah, I do have plans for some actual bench dogs... well, one, anyway. I'm debating between a line of pop-up round dogs, or a wind-up square planing stop. I'm currently favouring the latter, as it would be variable in height and I plan on planing some fairly thin woods...
 
Looks like a pretty good bench to me Tasky (says he, who doesn't even have a proper wood work bench - yet).

Like the bench dogs too :D

For myself I haven't even decided if I'll have holes, or not, or even a vice (or "just" aprons for clamping against) but there's just 1 thing I do know - it will HAVE TO fold down off the ceiling!!!! (Yeah, and back up to the ceiling when not in use - that's the main reason why I'm - still - just thinking about it). I'll get there 1 day.

Meantime, congrats on yours
 
Tasky":1lzuwj5e said:
Nah, I do have plans for some actual bench dogs... well, one, anyway. I'm debating between a line of pop-up round dogs, or a wind-up square planing stop. I'm currently favouring the latter, as it would be variable in height and I plan on planing some fairly thin woods...

Still debating what to do with mine. Will definitely have some form of planing stop, and a few holes for holdfasts in the top and apron, but not sure if I want a row of dog holes or not. Was thinking of maybe getting some Veritas Wonder Dogs or maybe the inset vice.
 
AES":1oqstr1n said:
it will HAVE TO fold down off the ceiling!!!! Yeah, and back up to the ceiling when not in use
Any particular reason? Do you have machines in the way, or something?

Doingupthehouse":1oqstr1n said:
Still debating what to do with mine. Will definitely have some form of planing stop, and a few holes for holdfasts in the top and apron, but not sure if I want a row of dog holes or not. Was thinking of maybe getting some Veritas Wonder Dogs or maybe the inset vice.
I have a lovely idea for a wind-up 6-8" long planing stop in the left 1' of the bench, although it requires morticing across several boards and my glue-up hasn't been amazing on that part.
Two or three pop-up dogs dead centre of the boards wouldn't impact the structural integrity anywhere near as much.

phil.p":1oqstr1n said:
Before you bore dog holes think whether you want to bolt anything else down, like a drill stand or bench top morticer - you can space the holes and kill two birds with one stone.
Might get a drill stand. That and the possibility of shelves/tool racks is what led to the narrow second top at the back, as it gives me a small base for such things.
 
Tasky wrote, QUOTE: Any particular reason? Do you have machines in the way, or something? UNQUOTE:

Not machines exactly, no, but just about "everything else"!!! I'll post a little "plan" one day, but believe me a properly fixed bench is definitely NOT on.
 
Back
Top