Replacement Axminster bandsaw inserts.

UKworkshop.co.uk

Help Support UKworkshop.co.uk:

This site may earn a commission from merchant affiliate links, including eBay, Amazon, and others.

ColeyS1

Established Member
Joined
2 Nov 2009
Messages
4,245
Reaction score
35
Made these to replace the crappy plastic Axminster offering. Thanks to the person who posted their wooden version (I couldn't find it again to link to)
1482a73e2837c6b311c02c0e241e57d8.jpg

I planed up some 15mm oak. Set the circle jig up to the overall width and routed half the depth.
8ee3a489510c80344d6e024d831a9ba7.jpg

I used a pillar drill to transfer the centre hole to the other side, then set the jig to a smaller diameter (to form the rebate) and routed again.The circle jig works by just pivoting on a magnet so the drilled hole needed to be small enough to still hold a screw.
825cd87043bb8ec615e6227c0e6b2cf7.jpg

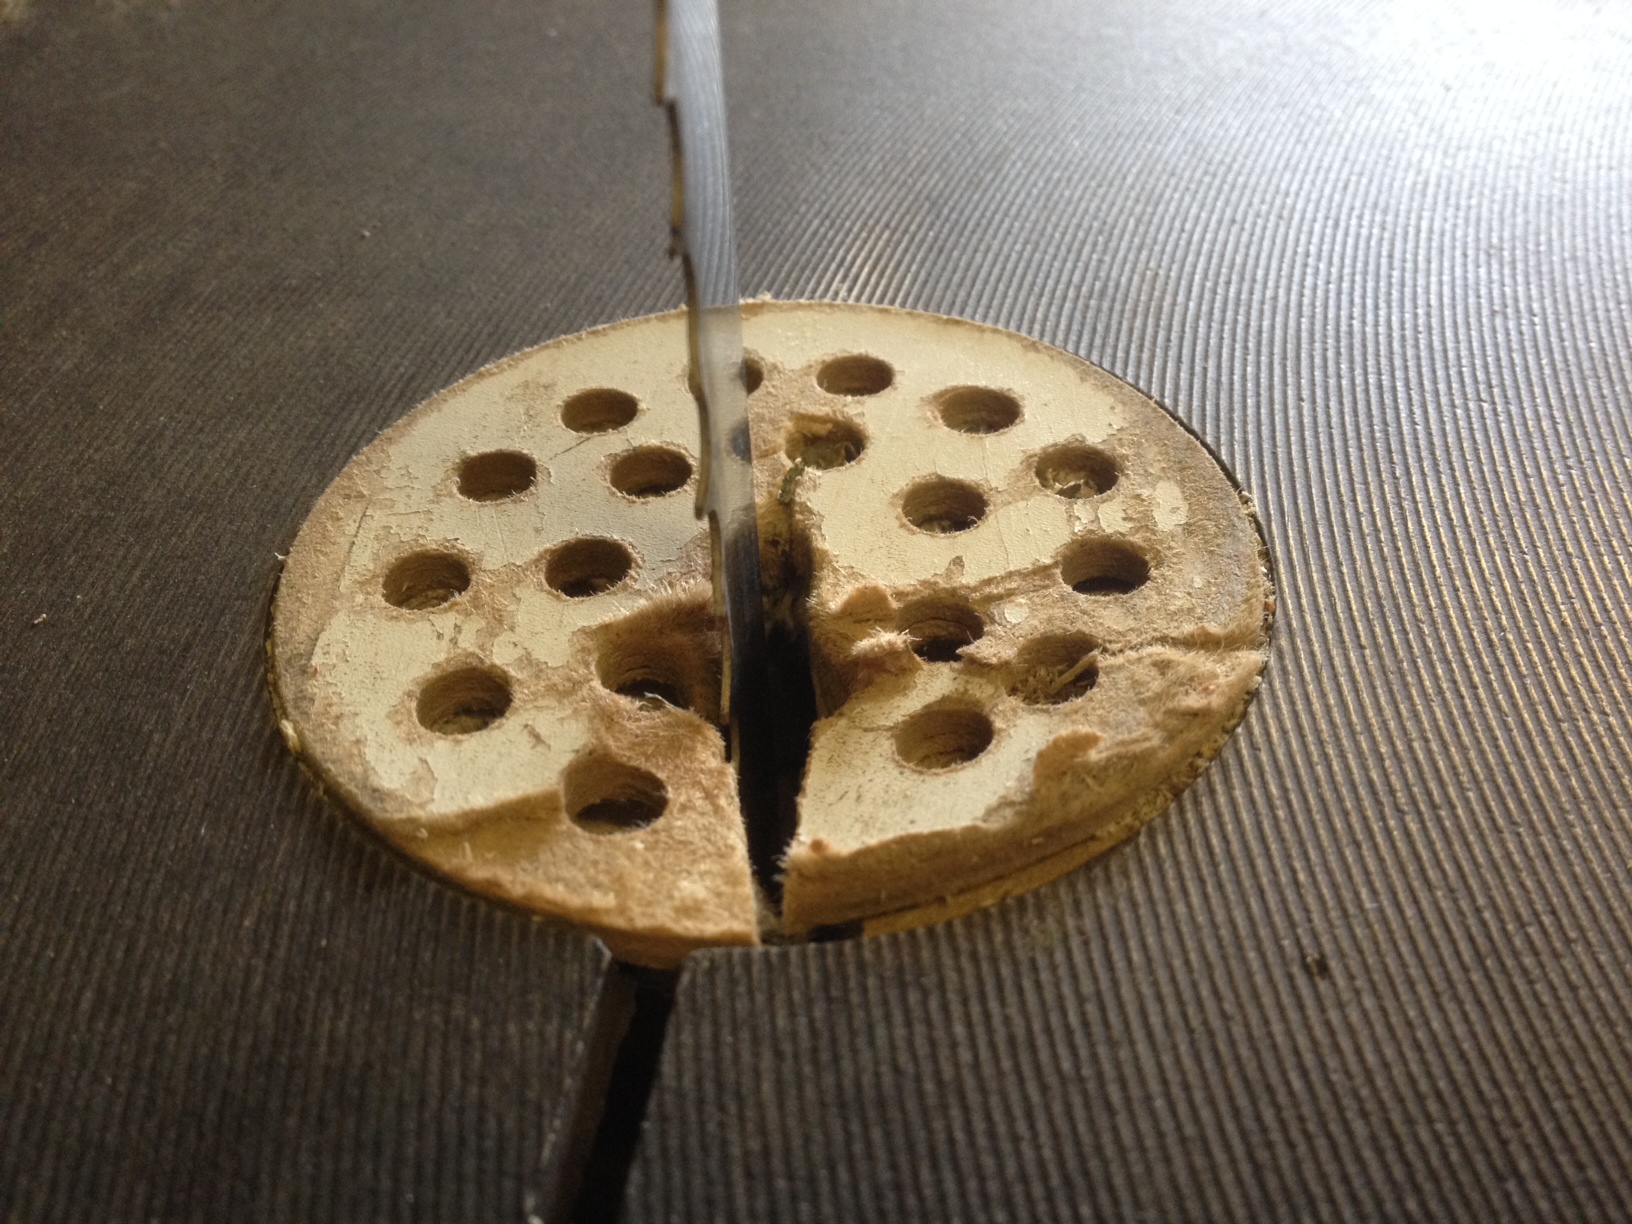
All it then needed was the slot cutting and a notch from the underside to fit in the table.
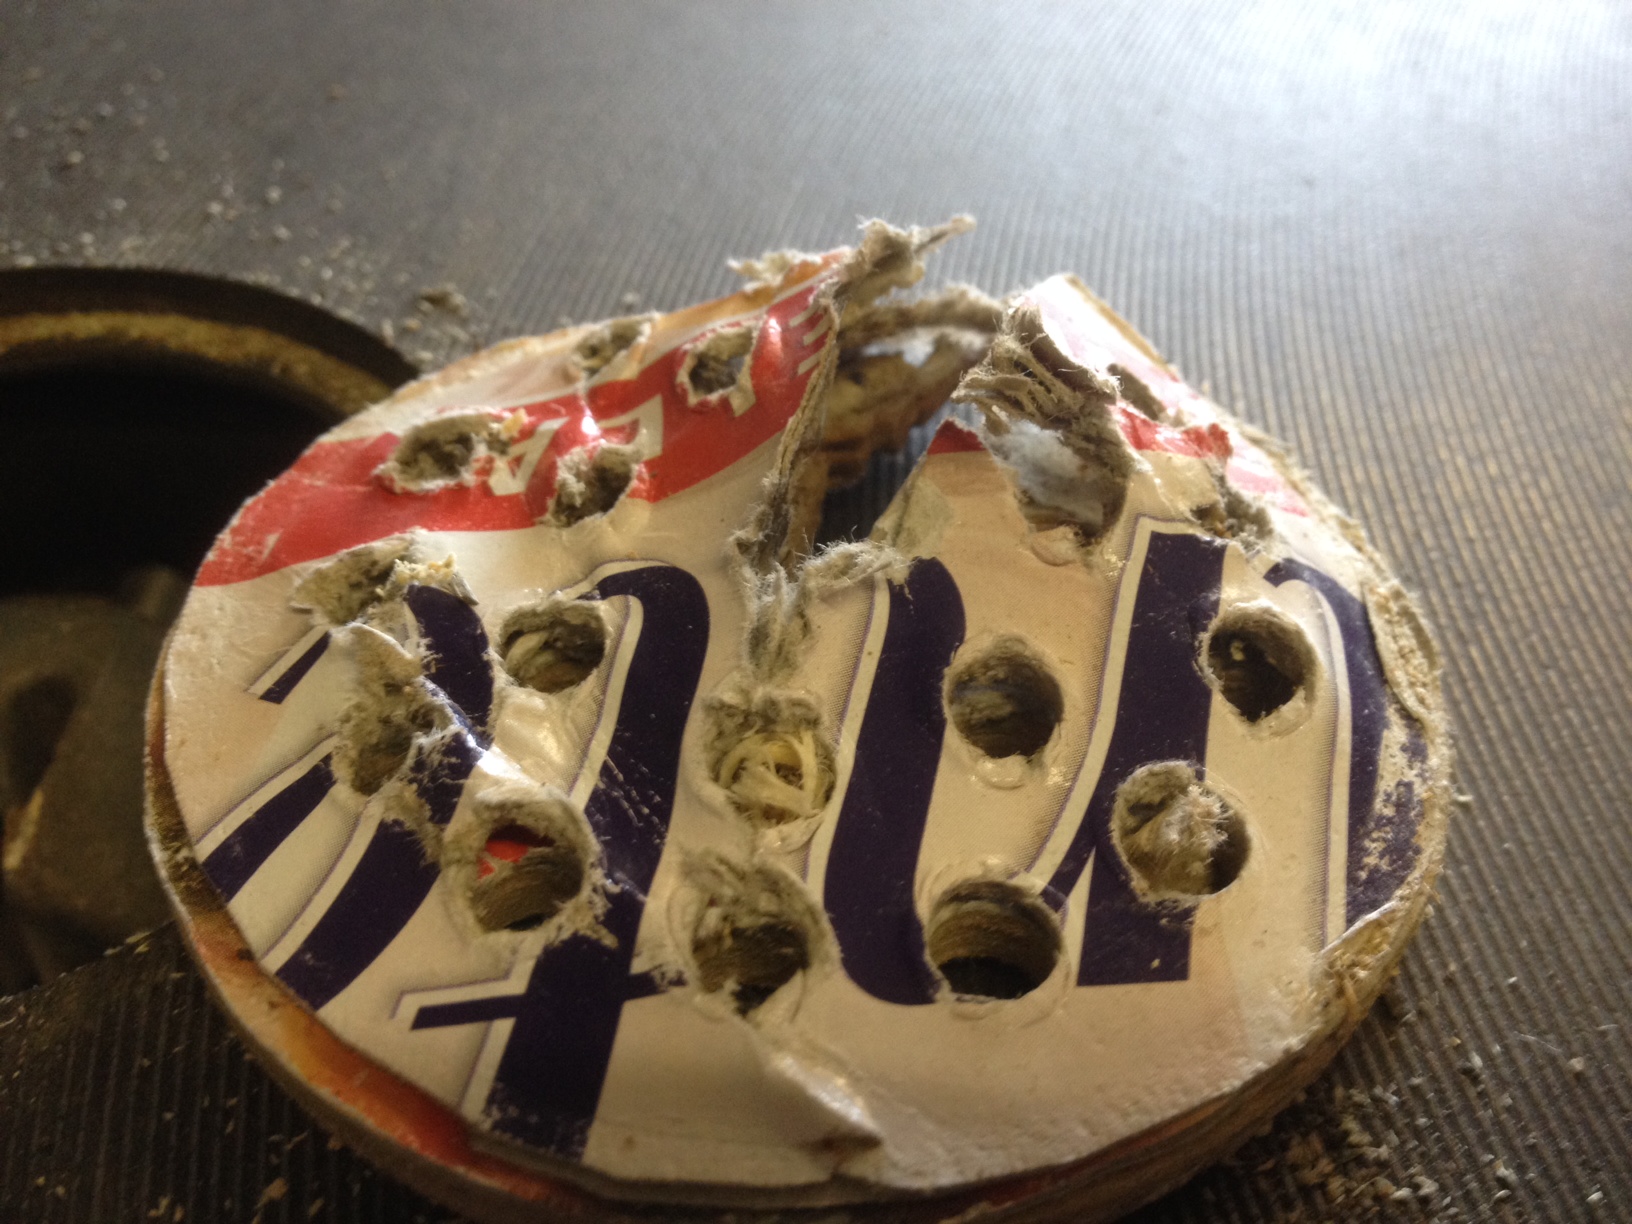
It took a couple hours, but I'm fairly sure these should outlast the poorly made overpriced Axminster offerings. I realise that sounds harsh, but think their plastic design is prone to failure-cause it's riddled with unecessary weakening holes and only 4mm thick.
Time will tell if these are any better.
Coley
 
They look good. I had the same trouble as you, I replaced mine with a solid aluminium version I made on the lathe, much better. Of course it also helps that I use a secondary table surface for a large part of my cutting.
 
Good job, something I need to do, again.

Coley, think that was Sawdust=manglitter:

7523b64c179e6e9ec8a0b2e043066b09.jpg
 
Cheers guys, thanks for that Noel. That's the one. Thanks sawdust/manglitter for originally posting !
Noel, does yours take 70mm inserts aswell ?
Cheers
Coley

Sent from my SM-G900F using Tapatalk
 
Yep, 70 mm inserts. Always assumed the holes in the plastic one was for extraction, which is rubbish on my BB in any case.
Had to make a quick and dirty one recently, MDF and beer/cereal packaging:

iODT8Pi.jpg


OrLSaVd.jpg


Didn't last too long. Will make new ones similar to your hardwood examples but will also put a stop/lug somewhere to stop it rotating.
Incidentally, anymore info on the circle jig? Looks interesting.
 
I'll take a few more pics of the jig when I'm back in the shop. Have you got another pic of the entire hole, without the insert in? Your table looks to have a bumpier surface than mine- I'm wondering if it's different?

Sent from my SM-G900F using Tapatalk
 
ColeyS1":2smj5cz0 said:
I'll take a few more pics of the jig when I'm back in the shop. Have you got another pic of the entire hole, without the insert in? Your table looks to have a bumpier surface than mine- I'm wondering if it's different?

Sent from my SM-G900F using Tapatalk

No, imagine it's similar. Just the grinding marks are left rather than a polished surface, not noticeable in use.
 
ccc2089e4dee56d33af2520d72f8fce0.jpg

This was the notch I mentioned. I just held the insert in position, then drew around the bump. That seems to do a good job of stopping it turning.
I took a few pics of the jig.
b1bc1a7ee91fd6cacabc84961d79878a.jpg

The base just bolts onto the 1/4 shank router.
f1c9fee2208f33cb41c689158473b9f0.jpg

When I was making it, I tried making it so it would hopefully last. I routed a groove for adjusting the diameter, then used some threaded inserts to allow the slidey bit to lock in place.
d67c216354c354558acbbcf0f221393c.jpg

The maximum it would do with a 10mm cutter is about 115mm radius, anything bigger I use a rod with a hole drilled in it.
366a5d7856e9a5e66d8cd374c42e8c75.jpg

With a 19mm cutter, it could in theory do a 15mm radius circle- can't imagine it'd be that fun though :lol:
If you look at where the allen keys pointing you'll see how bolting the slidey bit is beginning to wear. Once the router was set up it didn't take alot longer to make a couple spare, haven't had to use them yet.
cbc5b9c130596a9db7d4ceb5c8a4f3af.jpg

In the edge of the jig I store the countersunk magnet and screw. This seemed the easiest way to get the smallest repeatable circles. Just screw on the magnet, locate the jig, lift off and do some more. I think it took 3-4 hours to make the jig, but now making circles are no agro.
Coley
 
Thanks for that, I'll be making a version of your circle cutter.
Regarding the inserts, I've no lug or recess to stop the insert from turning which is why they don't last too long, hadn't really occurred to me before as I cursed at the thing..., another school day. Time to get out the file. Thanks.
 
Could you possibly drill a hole in the table (in the rebatey bit) then hammer a panel pin in the insert to prevent it turning ?
Mine was a fairly snug fit. I had to rotate it a couple times on 120 grit so I could get it to go in easily.
The jig will definitely come in handy Noel ;)
Coley
 
The holes are for dust extraction, must get very messy on the table top without any.
 
ColeyS1":3bmg99b2 said:
Could you possibly drill a hole in the table (in the rebatey bit) then hammer a panel pin in the insert to prevent it turning ?
Mine was a fairly snug fit. I had to rotate it a couple times on 120 grit so I could get it to go in easily.
The jig will definitely come in handy Noel ;)
Coley

Yep, could do that although always reluctant drilling and putting any pressure on the edge of thin CI, such brittle stuff. I had in mind to file a small recess (opposite of lug? Maybe a notch?) in the rebatey bit and set a small lug/screw/bar/grub or whatever into the lower edge of my next insert. Will report back.
 
Inspired by this thread, I set out to make a couple for my Inca. I made a simple jig for my little Bosch router, I glued some 2mm MDF(2mm is the depth of the outer rebate) to a scrap of 4mm ply that should have been big enough for two. However, I totally screwed up the first one because I, for some reason, measured from the centre of the pivot pin to the centre of the cutter! The second one turned out well. A bit of light sanding and it's a good push fit(no rotation problems). I have since realised that I need to cut a wider slot, though, as I currently have a zero clearance but zero dust clearance situation! A wider slot will also be needed if I want to tilt the table. Live and learn...
 
Re. the magnet, are you saying that you screw the magnet to the workpiece, and you have a corresponding hole in your jig? If so, why a magnet? Or is it just a convenient smooth sided countersunk thing you had to hand?
I used a 5 mm countersunk screw projecting from the jig, but had the devil's own job find the hole with it!

Oh, and I used the fence rods to attach my jig.
 
John Brown":32l78ecn said:
Re. the magnet, are you saying that you screw the magnet to the workpiece, and you have a corresponding hole in your jig? If so, why a magnet? Or is it just a convenient smooth sided countersunk thing you had to hand?
I used a 5 mm countersunk screw projecting from the jig, but had the devil's own job find the hole with it!

Oh, and I used the fence rods to attach my jig.

Yeah exactly that John. My way of thinking was a smooth hole stood less chance of wearing away the corresponding hole in the jig. Lining up the jig to sit over the magnet does take a bit of wiggling about though. One of the perks is a 2.4mm gauge screw holds the magnet in place, so only a teeny tiny hole is required in the workpiece.
Cheers
Coley
 
John Brown":3ctlousf said:
Inspired by this thread, I set out to make a couple for my Inca. I made a simple jig for my little Bosch router, I glued some 2mm MDF(2mm is the depth of the outer rebate) to a scrap of 4mm ply that should have been big enough for two. However, I totally screwed up the first one because I, for some reason, measured from the centre of the pivot pin to the centre of the cutter! The second one turned out well. A bit of light sanding and it's a good push fit(no rotation problems). I have since realised that I need to cut a wider slot, though, as I currently have a zero clearance but zero dust clearance situation! A wider slot will also be needed if I want to tilt the table. Live and learn...
Yeah it's difficult knowing what size slot to have. I opted for bigger, it's only cutting wedges I'd have to be extra cautious that one didn't get wedged :lol:
 
ColeyS1":31c51mf5 said:
John Brown":31c51mf5 said:
Re. the magnet, are you saying that you screw the magnet to the workpiece, and you have a corresponding hole in your jig? If so, why a magnet? Or is it just a convenient smooth sided countersunk thing you had to hand?
I used a 5 mm countersunk screw projecting from the jig, but had the devil's own job find the hole with it!

Oh, and I used the fence rods to attach my jig.

Yeah exactly that John. My way of thinking was a smooth hole stood less chance of wearing away the corresponding hole in the jig. Lining up the jig to sit over the magnet does take a bit of wiggling about though. One of the perks is a 2.4mm gauge screw holds the magnet in place, so only a teeny tiny hole is required in the workpiece.
Cheers
Coley
I see. Nice idea. I have a few countersunk magnets floating around, I might just do that
 
Mainman":3avkvvz1 said:
Hi Coley
I like the look of these inserts. My plastic one has just exploded. Would you be interested in selling a couple.
regards
Bernard
Hello Bernard. I've given away quite a lot already so really need to hang on to the remaining few I have left.

Sent from my SM-G900F using Tapatalk
 
Back
Top