


PlacidCasual
Established Member
Hi Guys
I've been a long time lingerer and now I've finally got an image hosting account I thought I ought to share a bit.
This is my first workbench build, it's not really to any specific pattern but it is inspired by the plan Peter Sefton gives away on this Introductory Woodworking Course. I chose to use a birch ply work surface because I'd got an 8'by2' sheet of 25mm ply hanging around and it seems as good a use as any. I used CLS wood from the local timber merchant for the stretchers and apron, some fence post for the legs and half a sheet of OSB to thicken the work top.
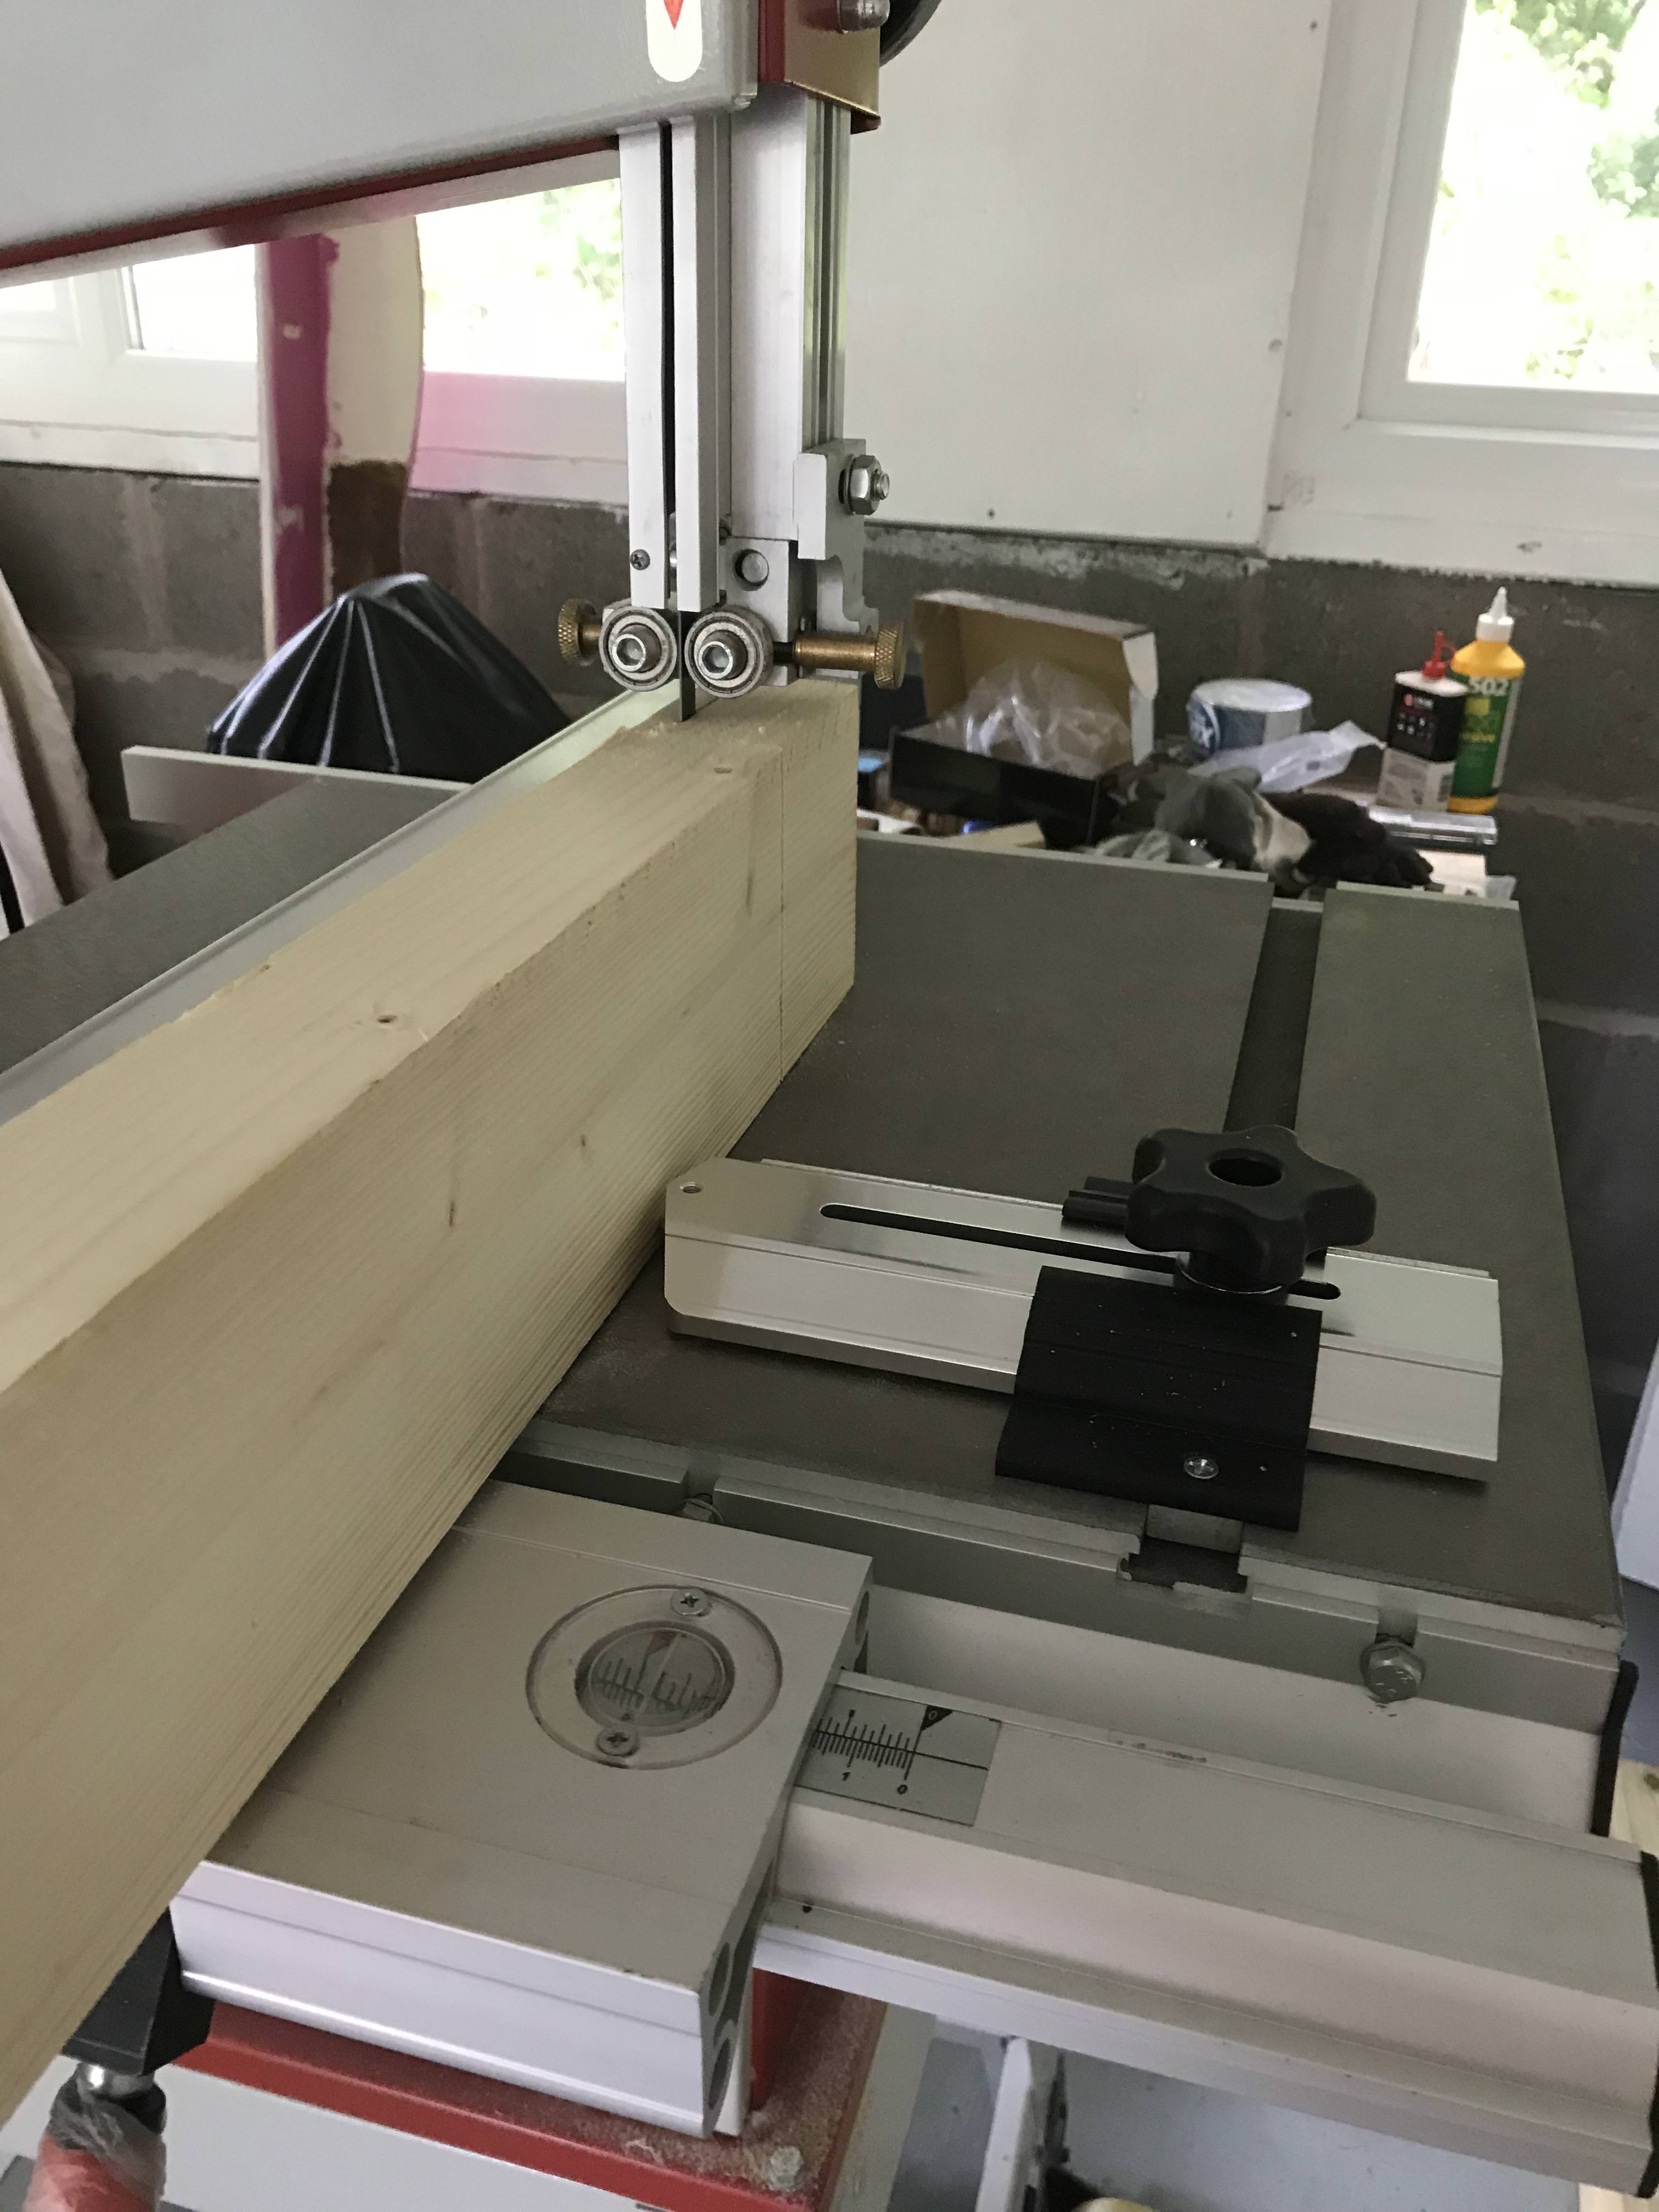
Carefully cutting the tenons using bandsaw, 100mm by 45mm stretcher had to go very slow as didn't really have the right blade.
Alignment that would do a steam turbine engineer proud, and make a boiler engineer blush.
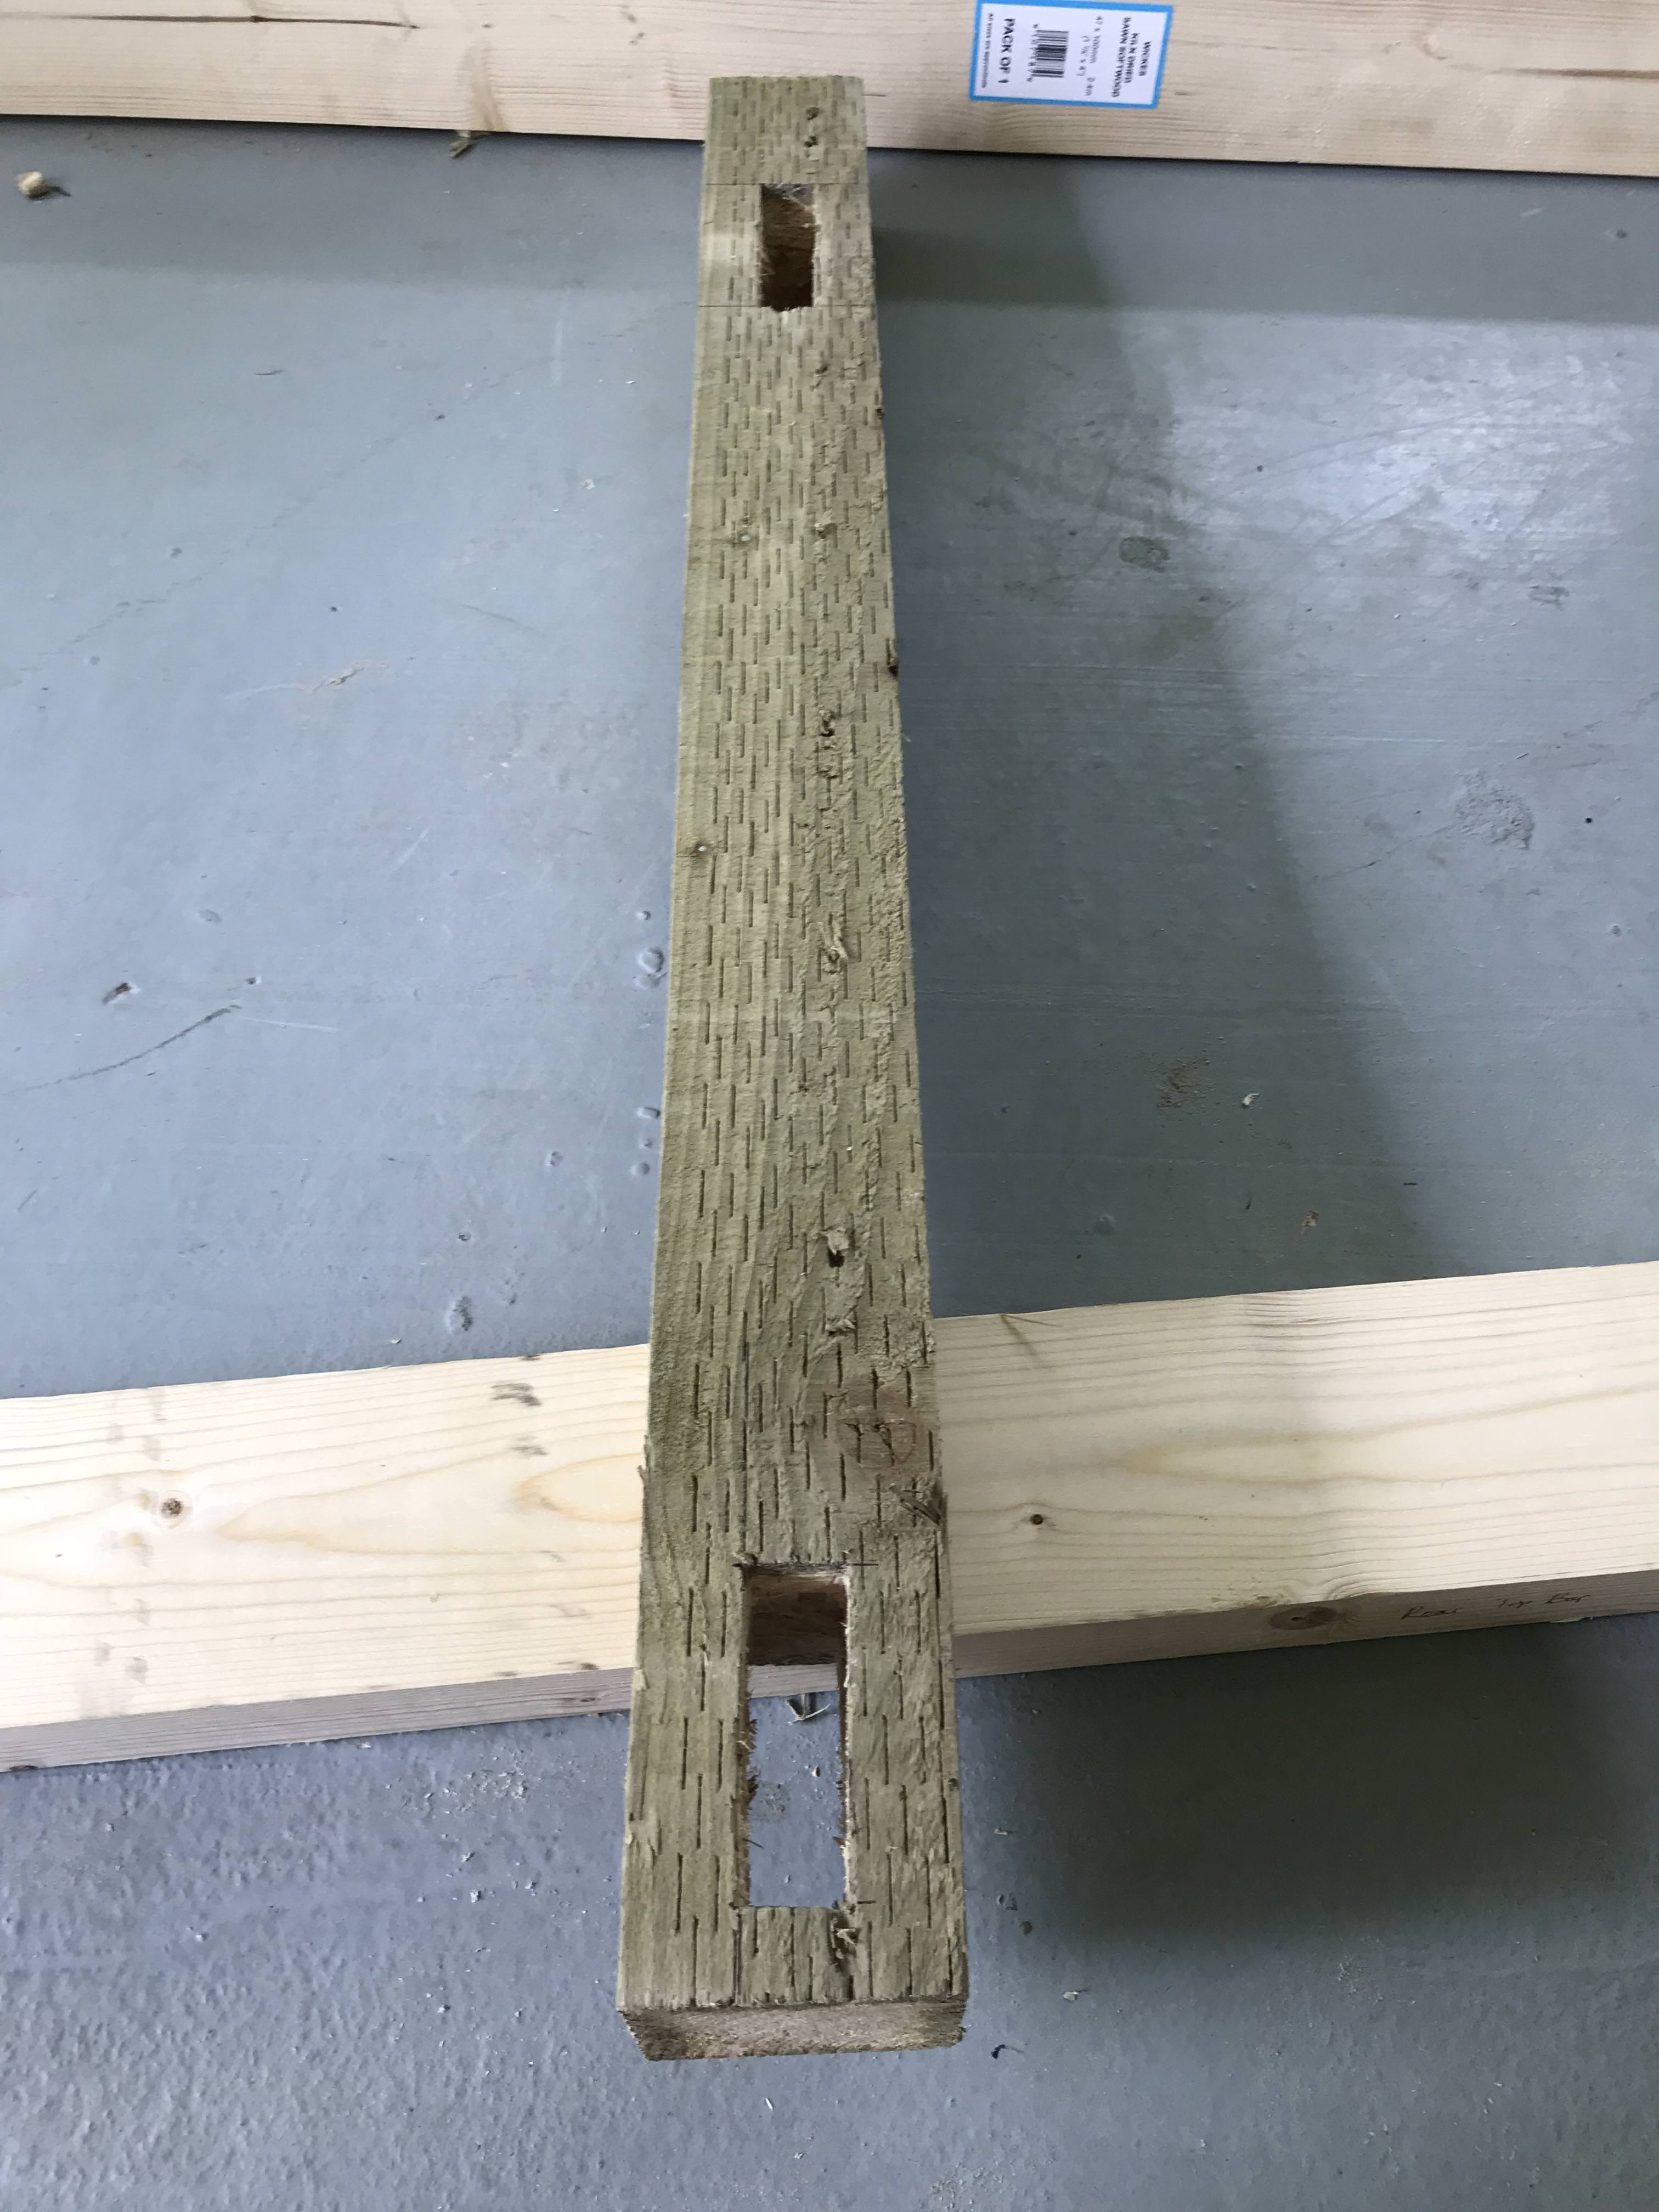
Cutting these mortises by hand nearly killed me, it's a 75mm square post and a 24mm by 100mm mortise.
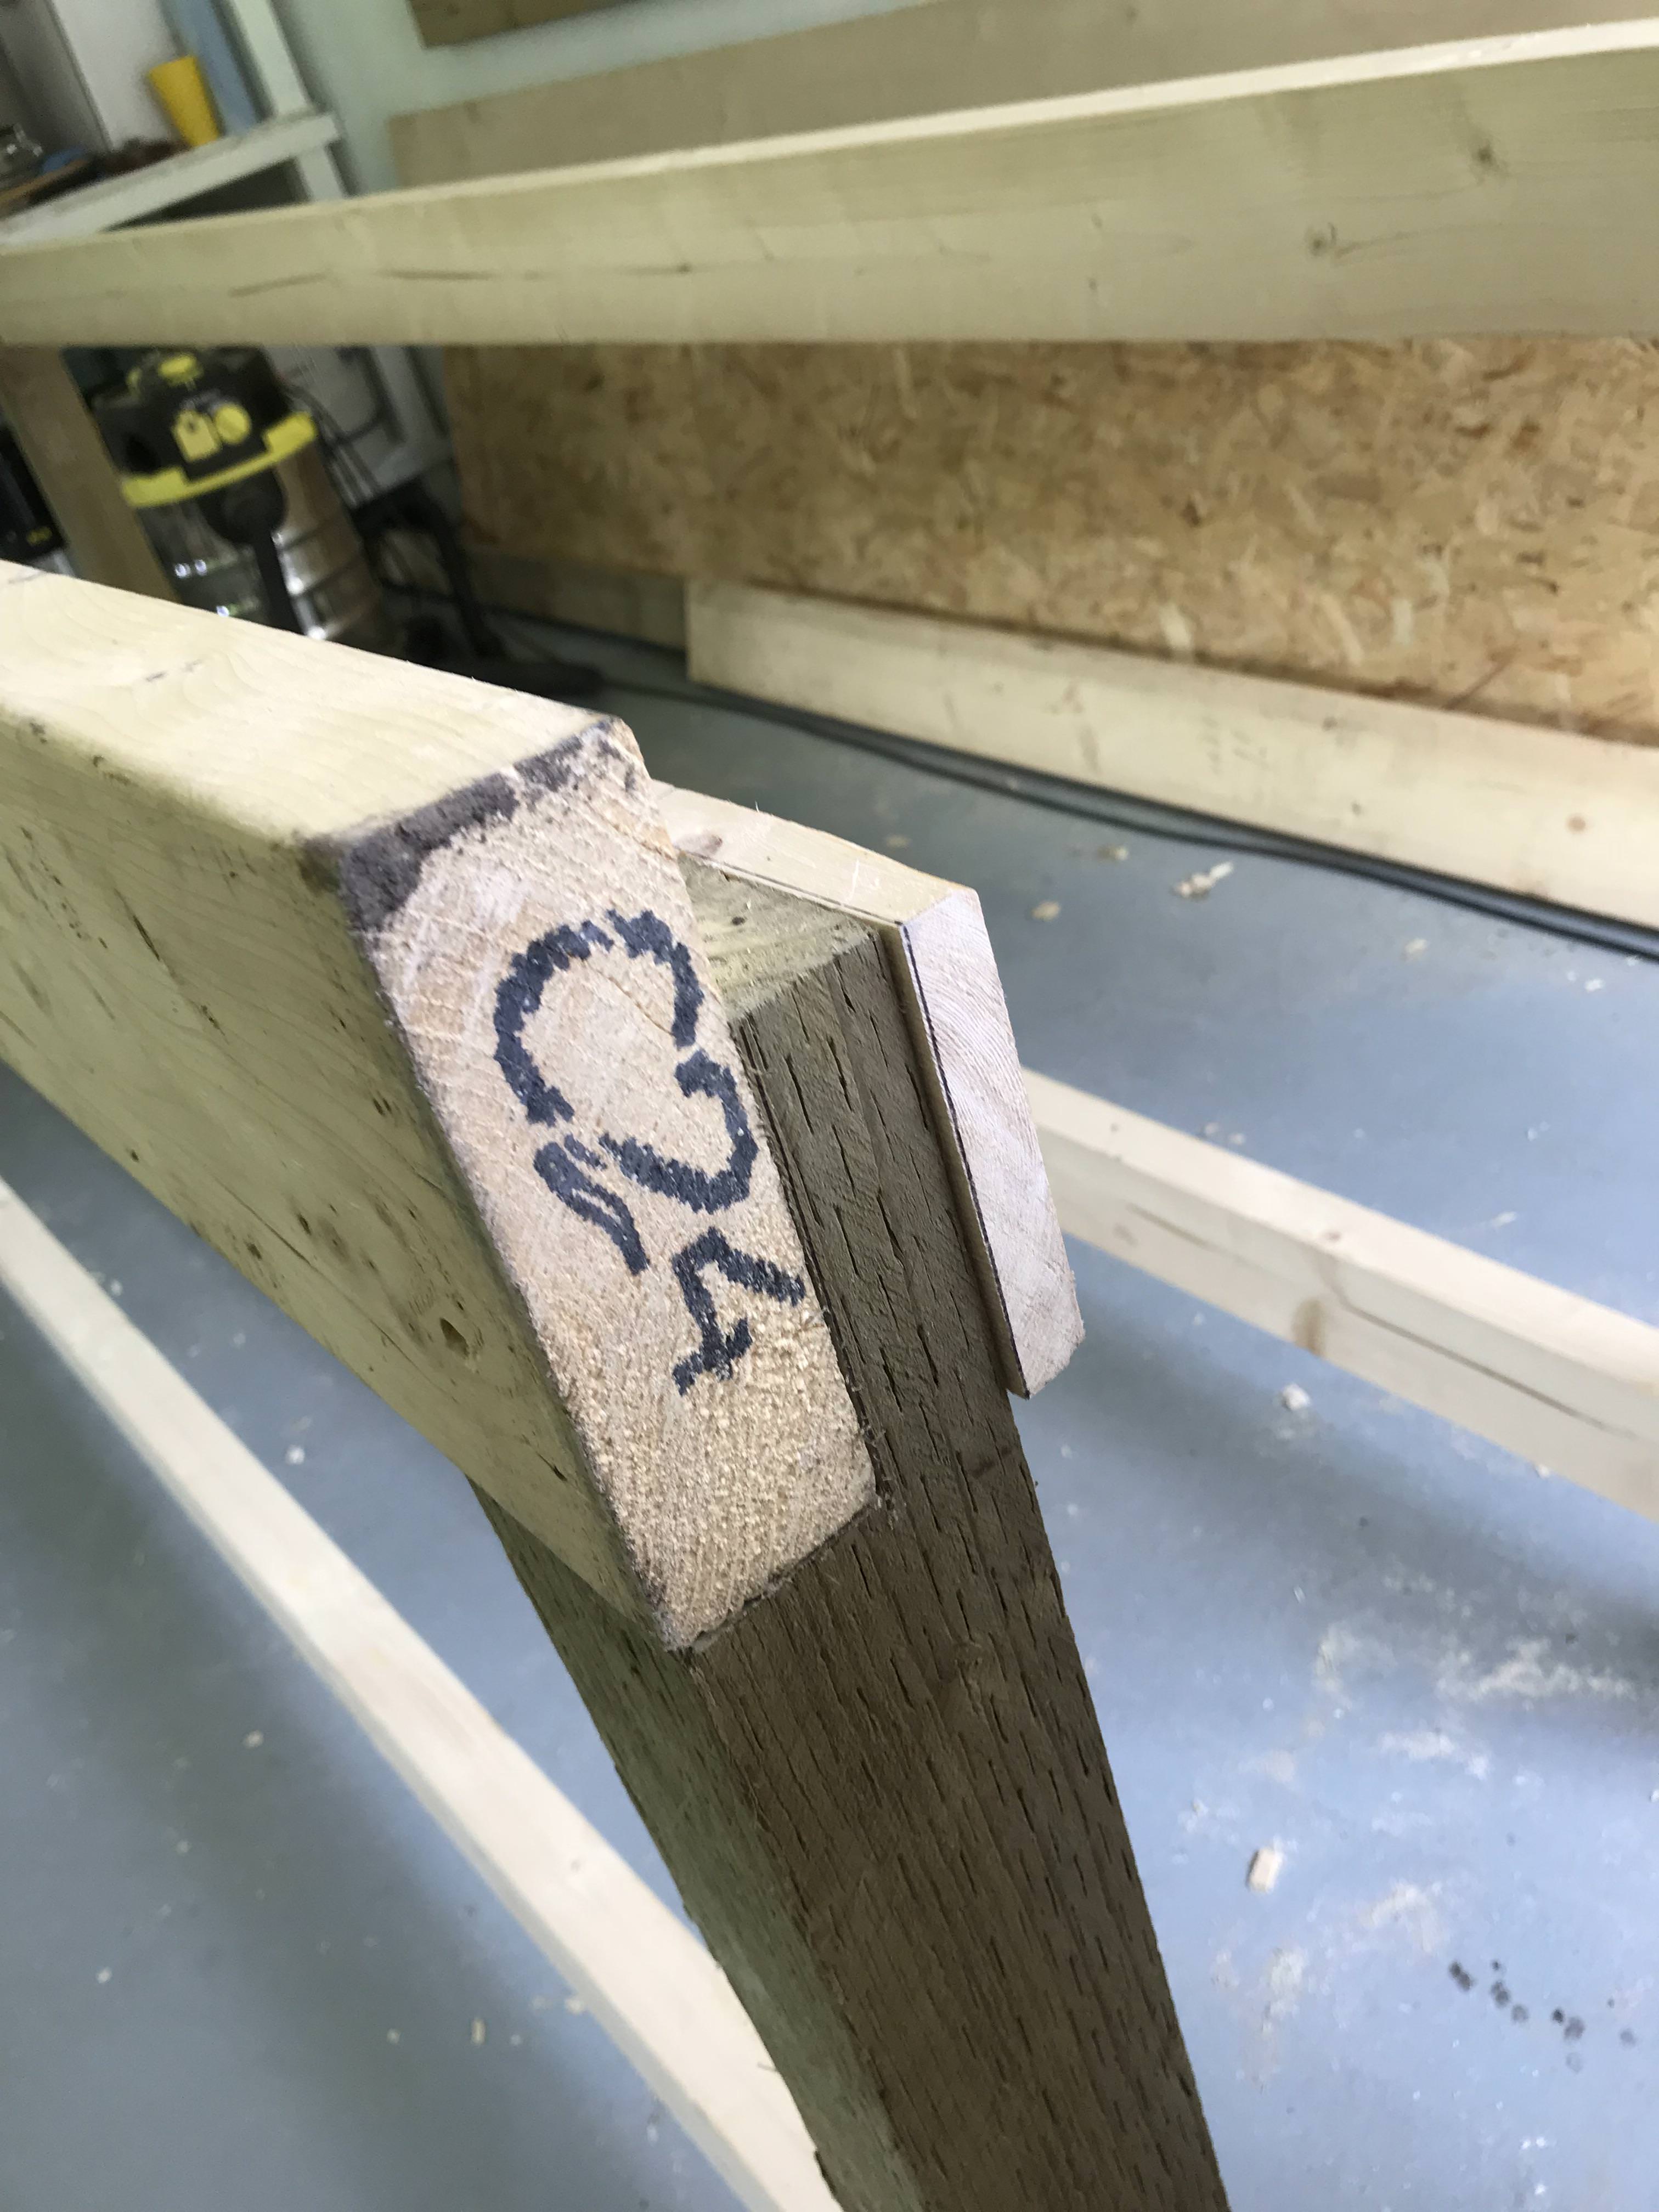
Needed to leave some meat above the rear trestle top mortice, front trestle top was a double lap joint arrangement.

Bashing the rear trestle together.
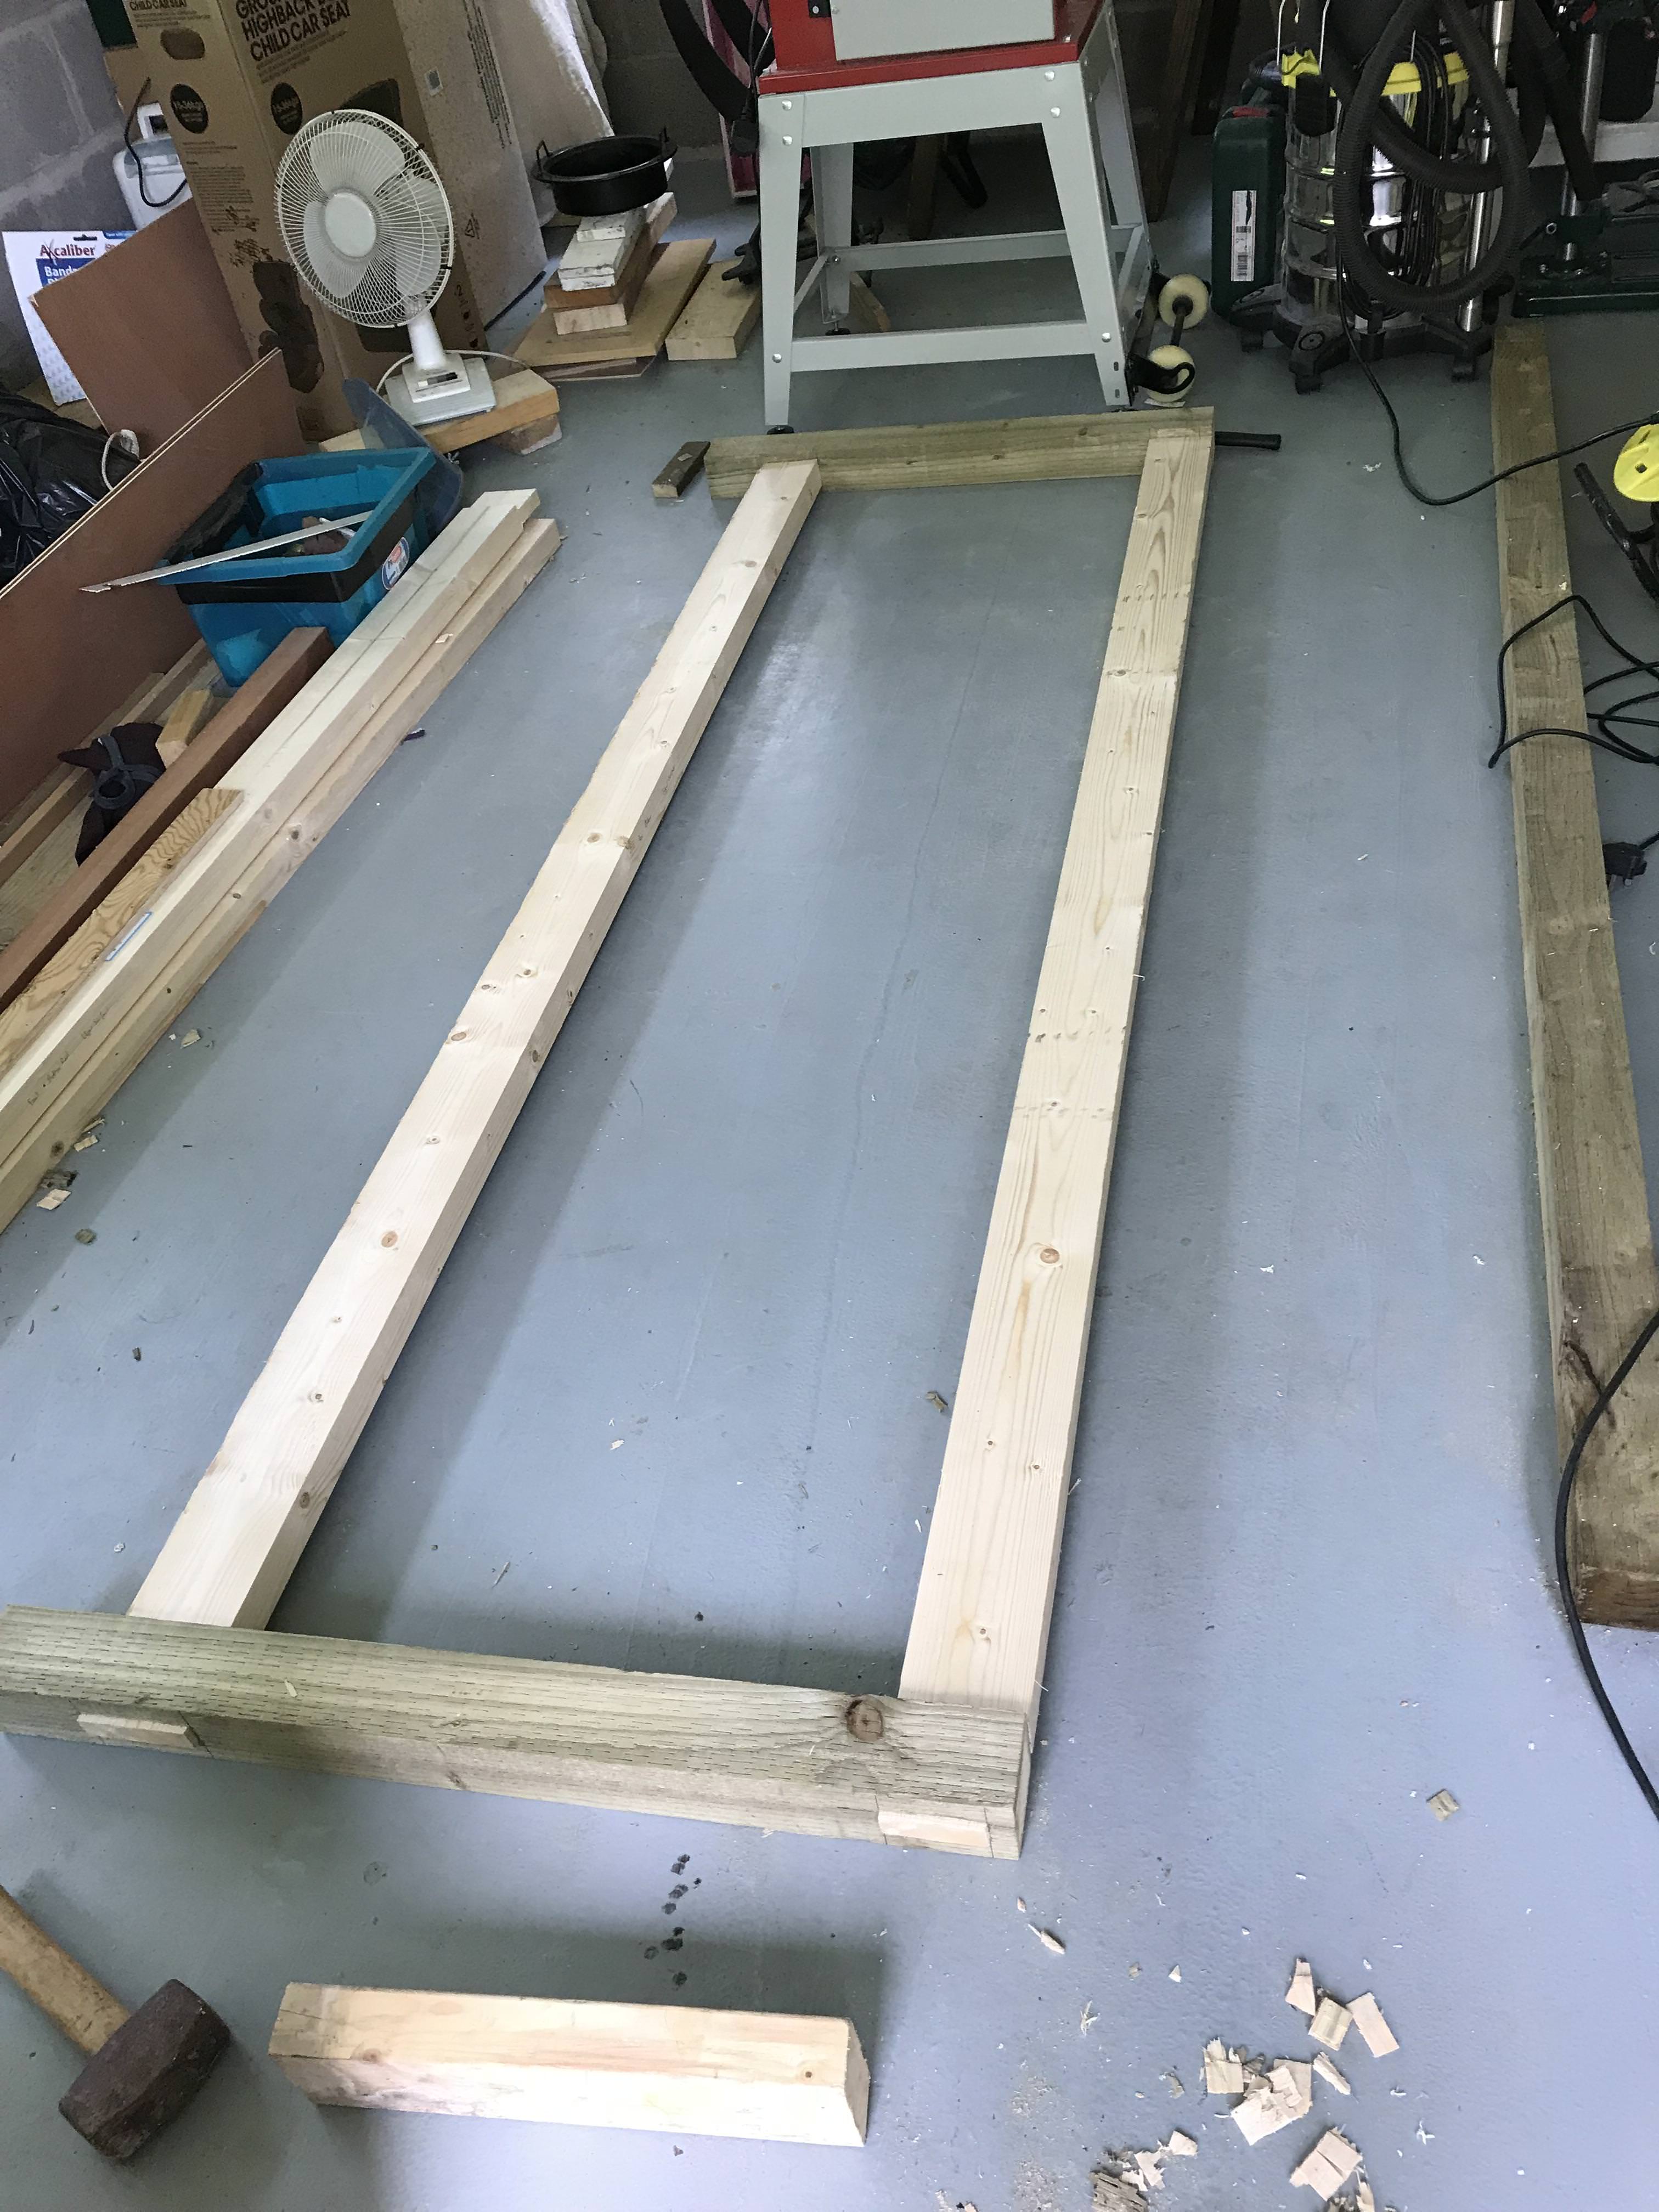
Completed front and rear trestles.

OSB base for worktop.
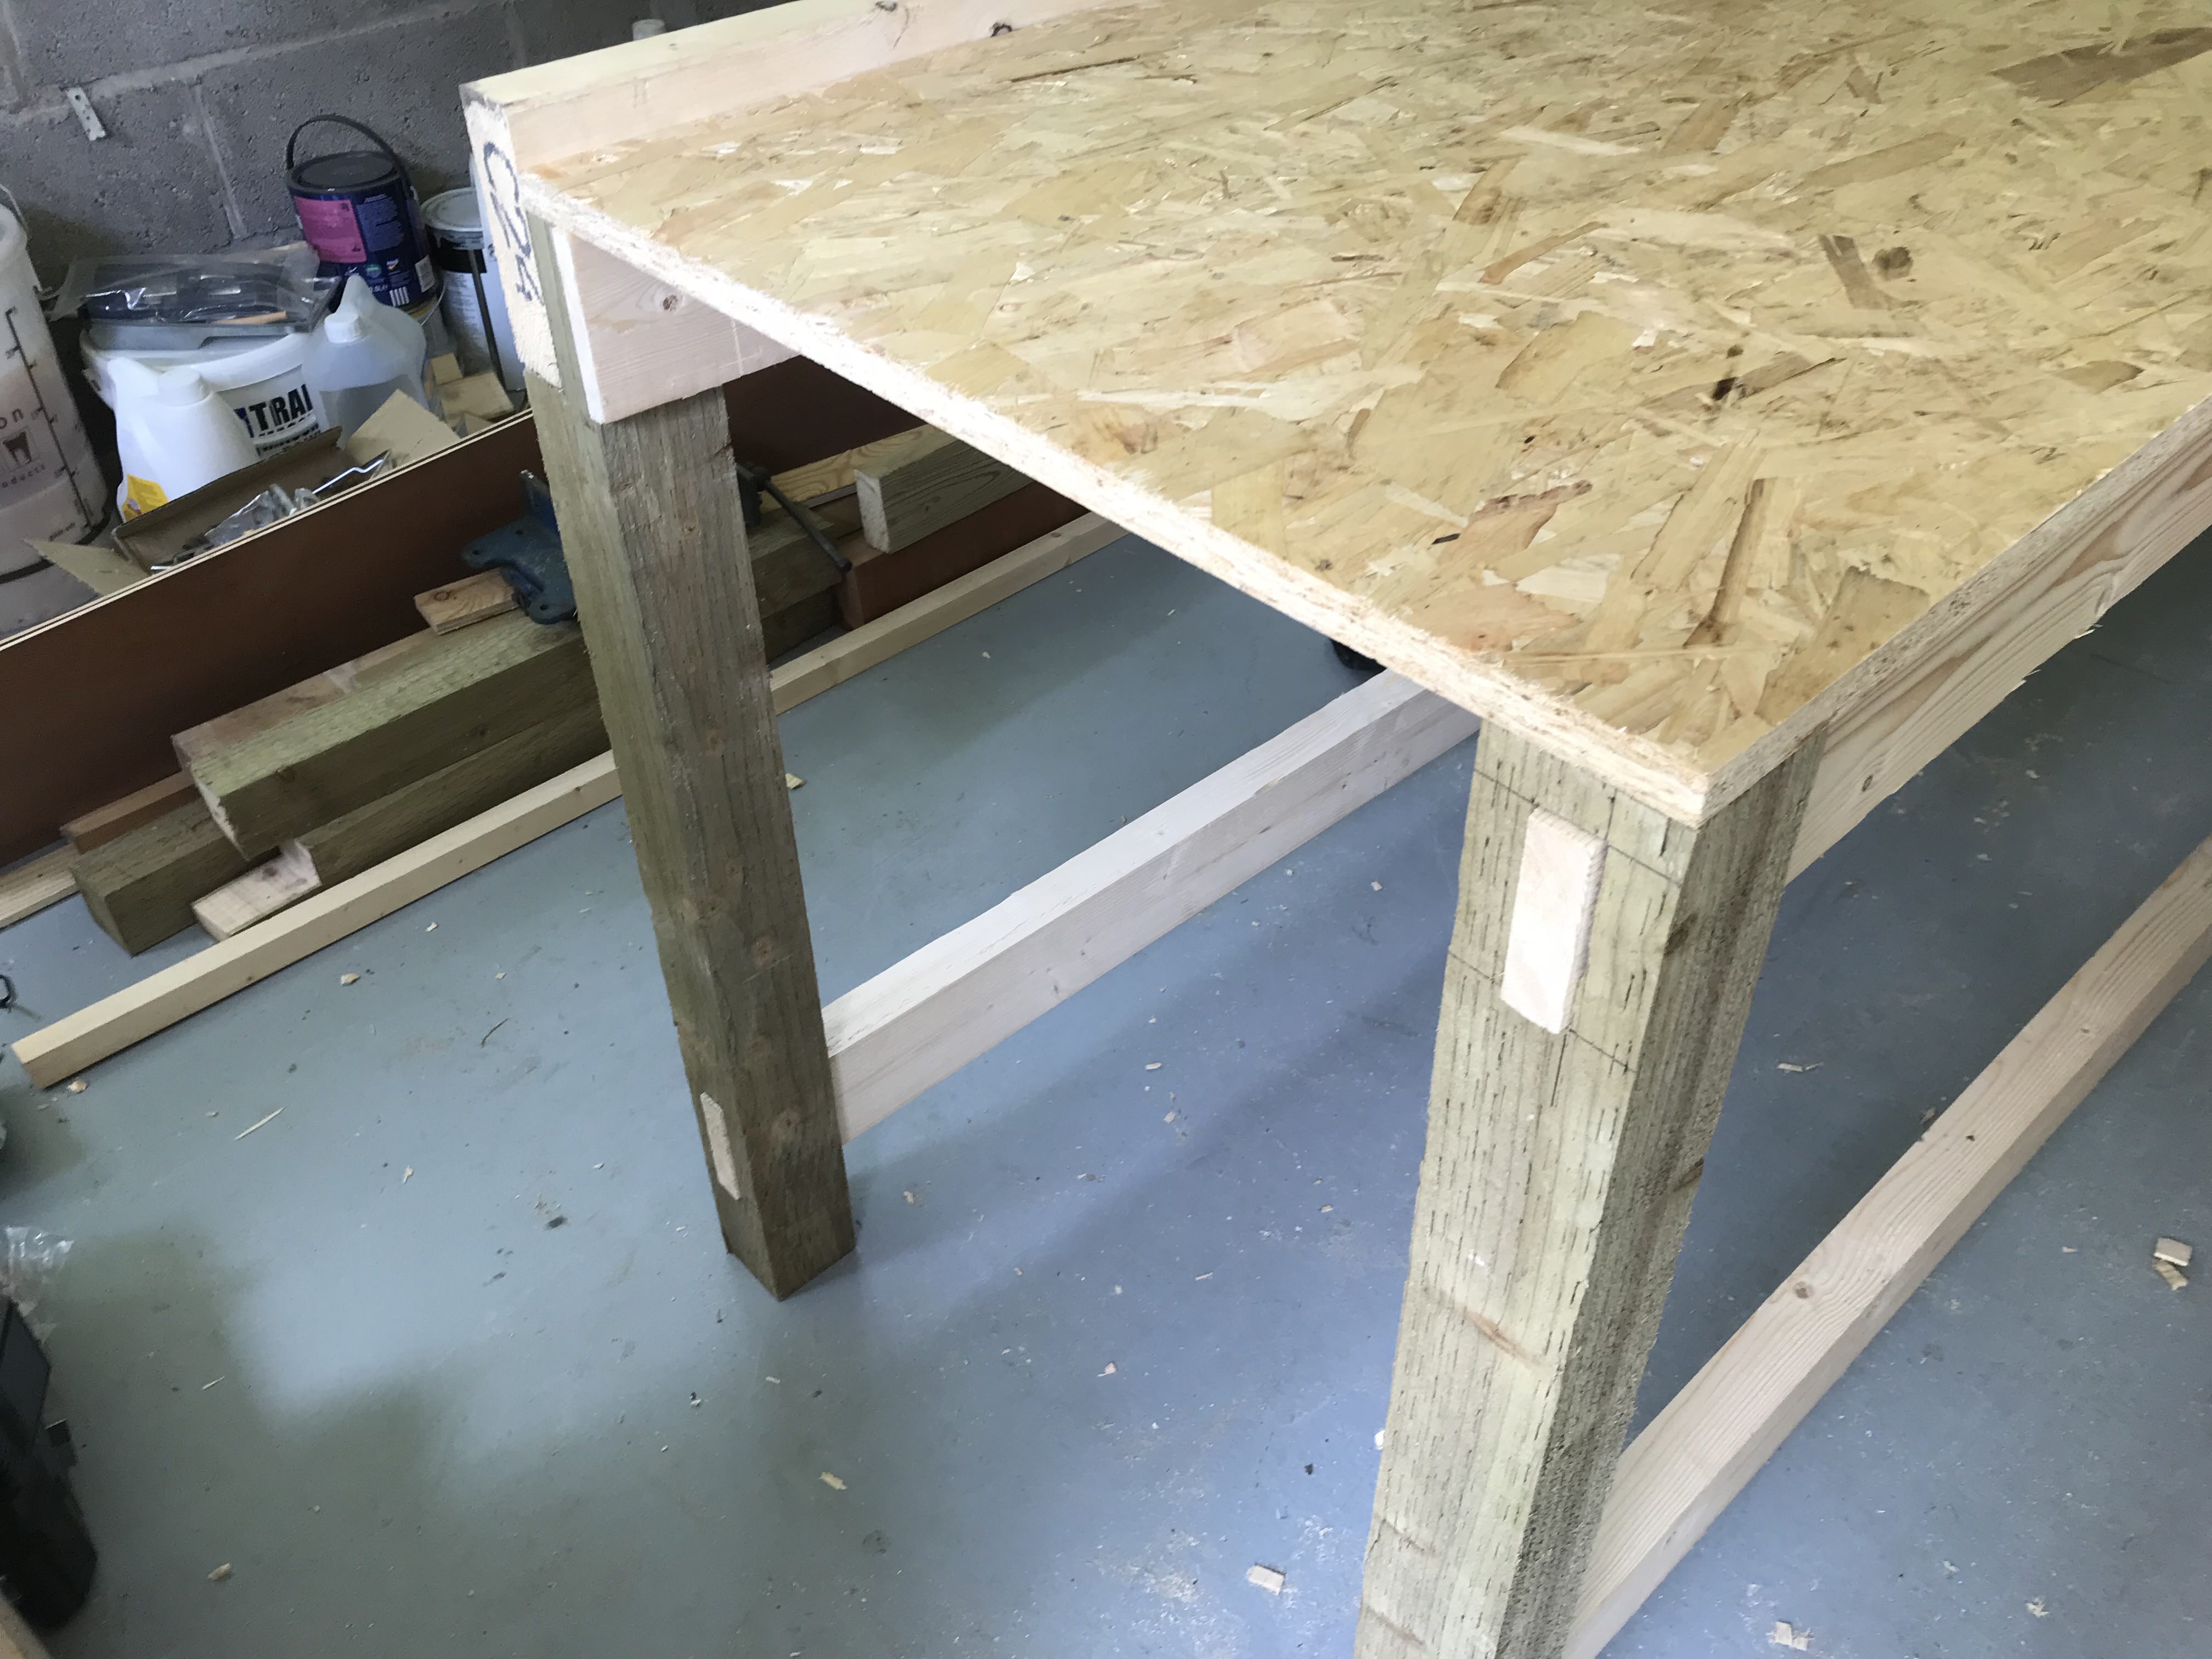
Close up of front trestle joint arrangement, 150mm by 45mm apron at front and 100mm by 45mm stretcher at back.
The finished beastie, need to trim the back of the birch ply flush with OSB but figured that would be easier once built than before.
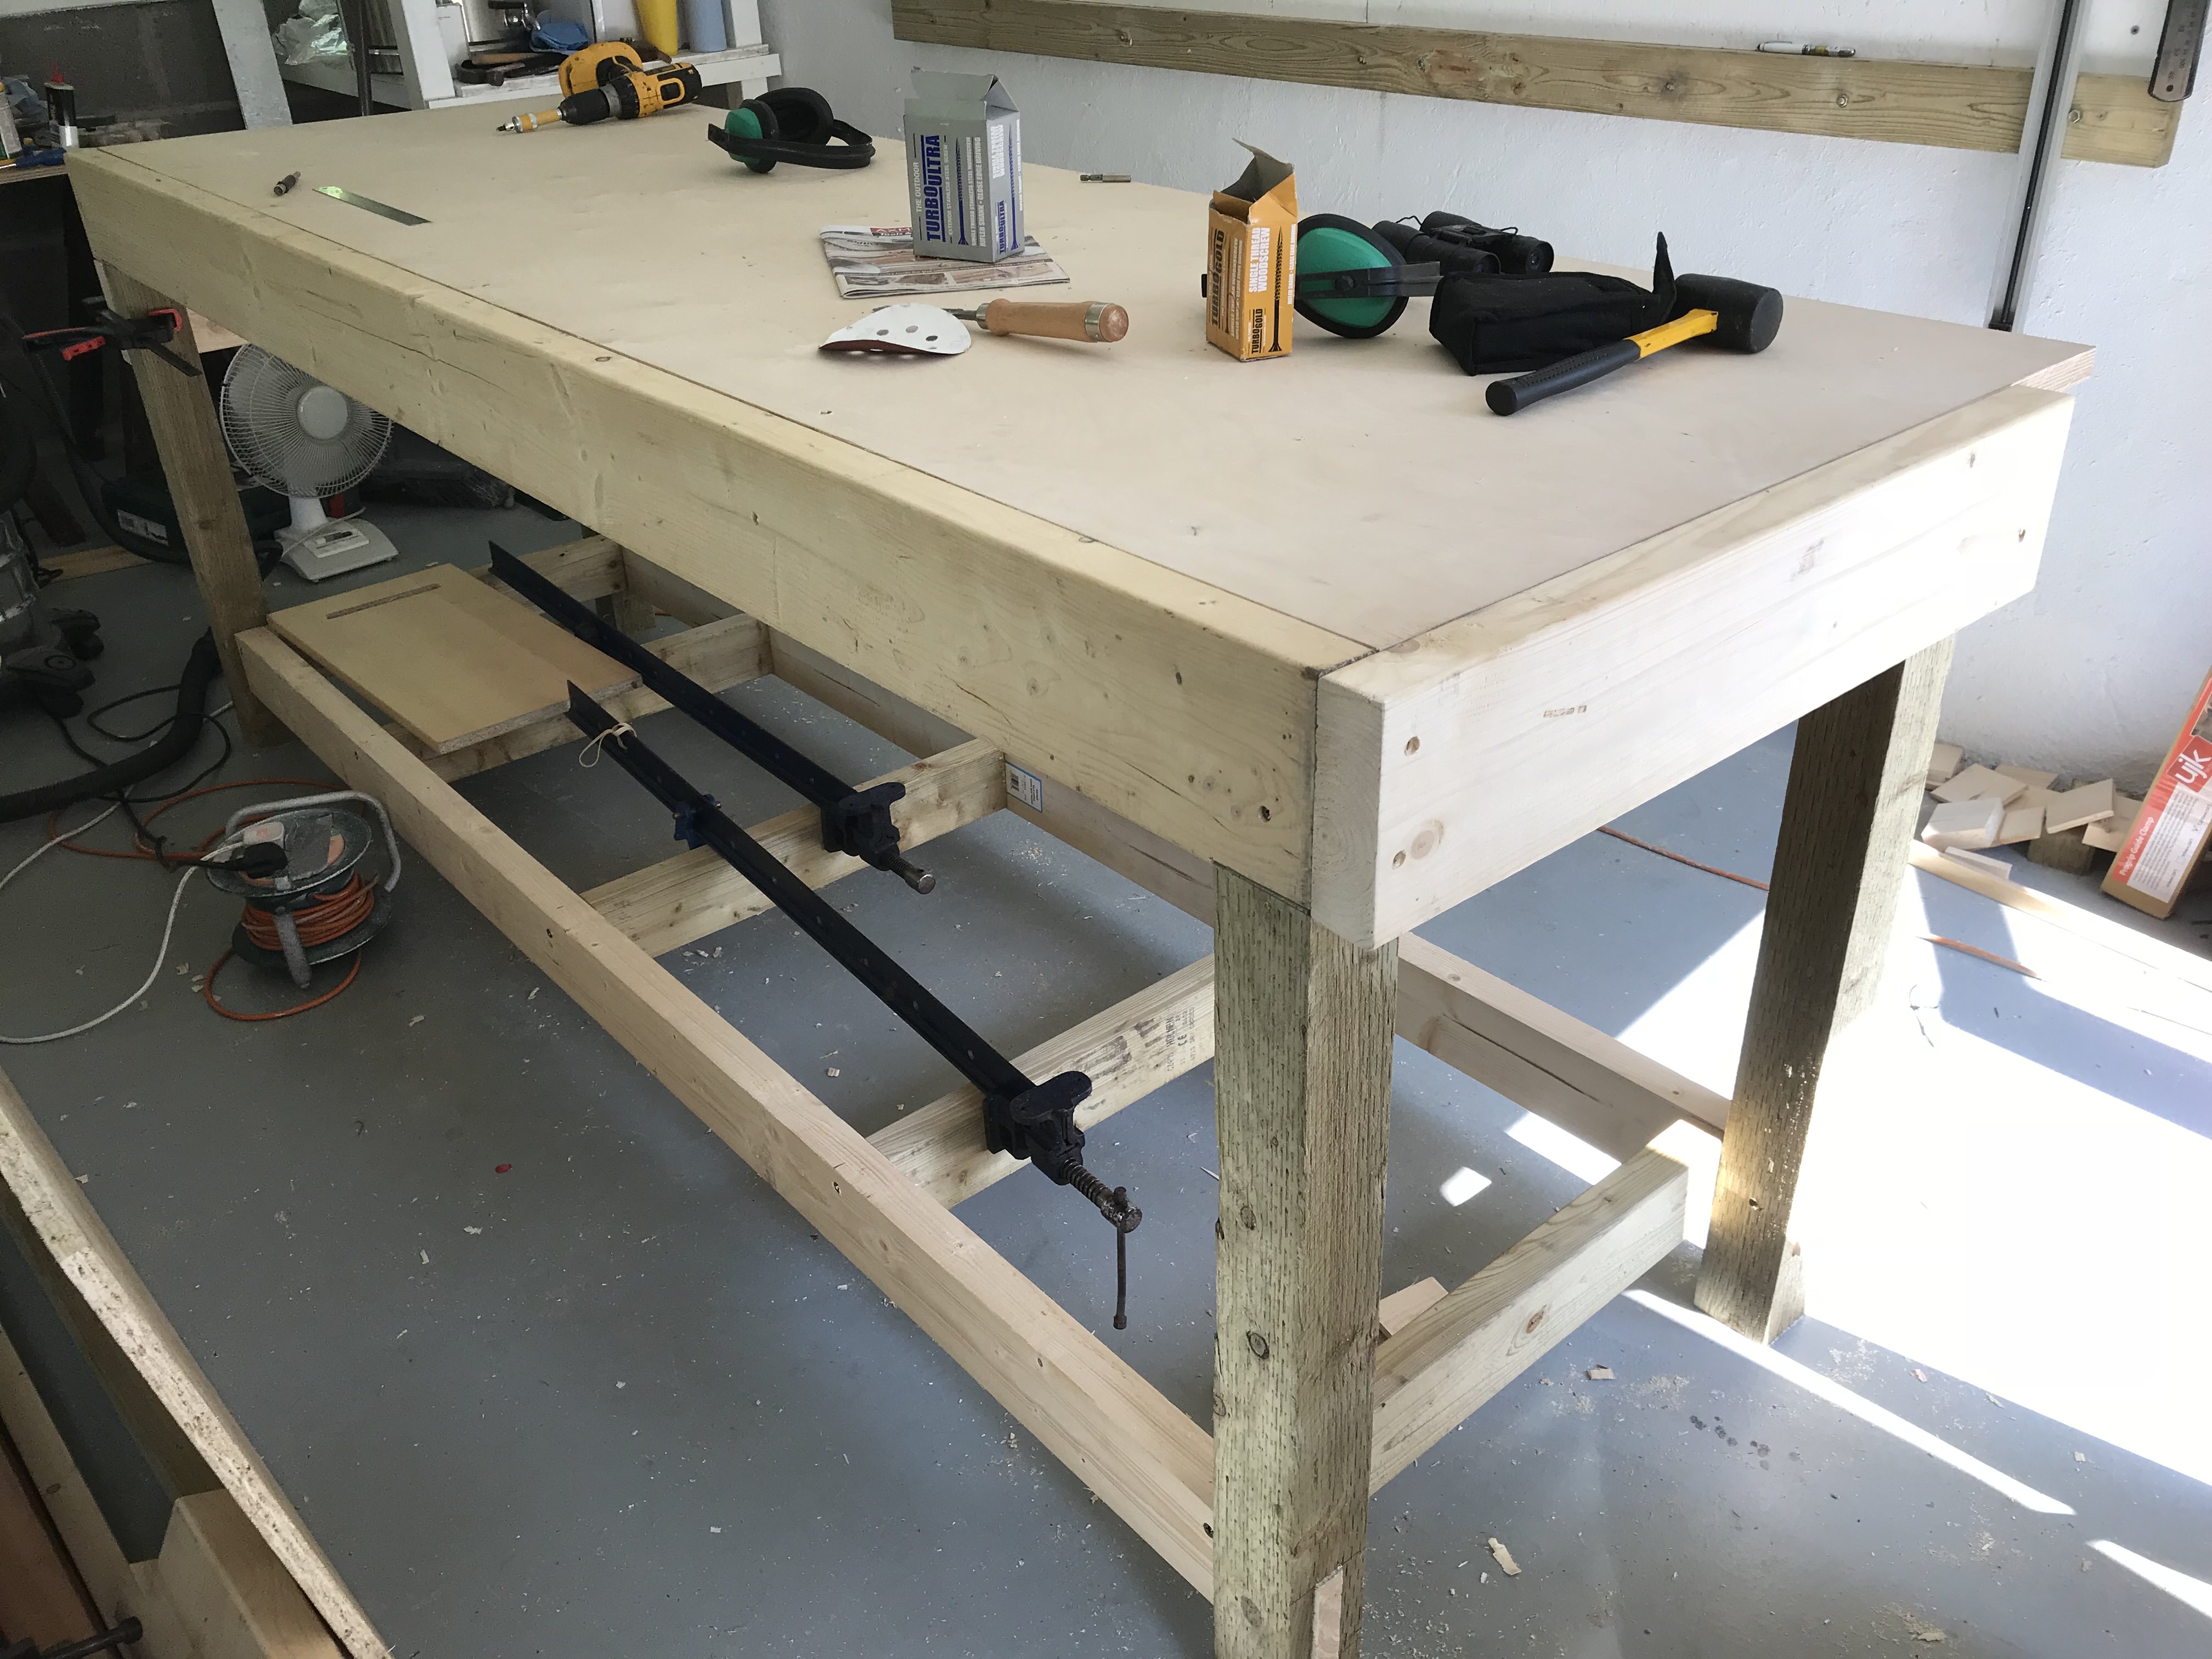
I've fitted some jacking castors since I took those photos and i'm prevaricating about how to install a record woodworking vice to the front. I'm thinking about not rushing to put a tail vice on the left hand end with dog holes to match but I'll keep thinking about that one for a while.
The bench ended up about 2,440mm long approx 750mm deept and 890mm tall. I'll be trimming approx 100mm of the back (the overhang) as it's a bit too deep and was never meant to be there anyway. If I find it too tall I have about 50mm I could take from the legs but that would be only if I found it intolerable. I have some Osmo wax oil so intend to sand then finish with that.
I've been a long time lingerer and now I've finally got an image hosting account I thought I ought to share a bit.
This is my first workbench build, it's not really to any specific pattern but it is inspired by the plan Peter Sefton gives away on this Introductory Woodworking Course. I chose to use a birch ply work surface because I'd got an 8'by2' sheet of 25mm ply hanging around and it seems as good a use as any. I used CLS wood from the local timber merchant for the stretchers and apron, some fence post for the legs and half a sheet of OSB to thicken the work top.
Carefully cutting the tenons using bandsaw, 100mm by 45mm stretcher had to go very slow as didn't really have the right blade.
Alignment that would do a steam turbine engineer proud, and make a boiler engineer blush.
Cutting these mortises by hand nearly killed me, it's a 75mm square post and a 24mm by 100mm mortise.
Needed to leave some meat above the rear trestle top mortice, front trestle top was a double lap joint arrangement.
Bashing the rear trestle together.
Completed front and rear trestles.
OSB base for worktop.
Close up of front trestle joint arrangement, 150mm by 45mm apron at front and 100mm by 45mm stretcher at back.
The finished beastie, need to trim the back of the birch ply flush with OSB but figured that would be easier once built than before.
I've fitted some jacking castors since I took those photos and i'm prevaricating about how to install a record woodworking vice to the front. I'm thinking about not rushing to put a tail vice on the left hand end with dog holes to match but I'll keep thinking about that one for a while.
The bench ended up about 2,440mm long approx 750mm deept and 890mm tall. I'll be trimming approx 100mm of the back (the overhang) as it's a bit too deep and was never meant to be there anyway. If I find it too tall I have about 50mm I could take from the legs but that would be only if I found it intolerable. I have some Osmo wax oil so intend to sand then finish with that.
")


