Inlay (with veneers)

UKworkshop.co.uk

Help Support UKworkshop.co.uk:

This site may earn a commission from merchant affiliate links, including eBay, Amazon, and others.

Noho12C

Established Member
UKW Supporter
Joined
18 Jul 2016
Messages
363
Reaction score
88
Location
Stafford
Hello,

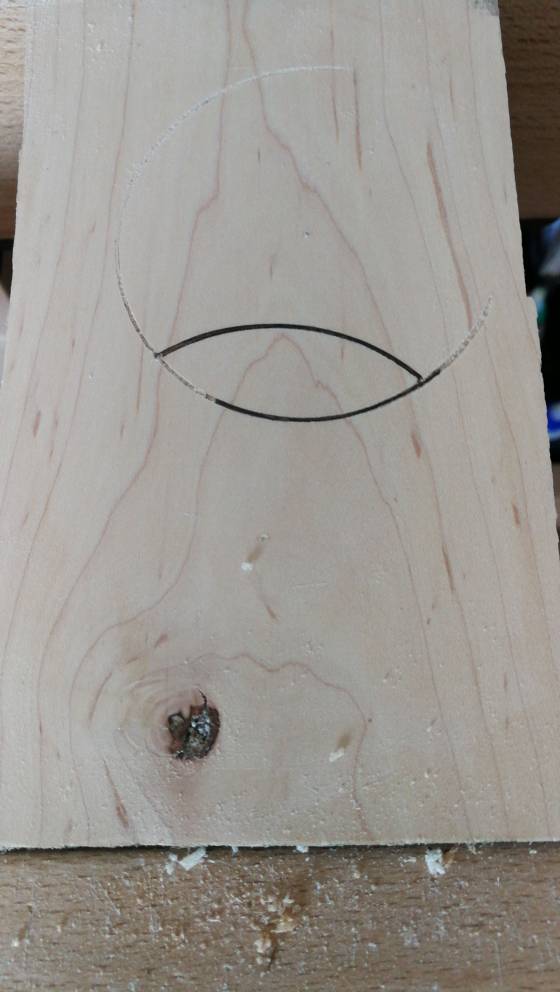
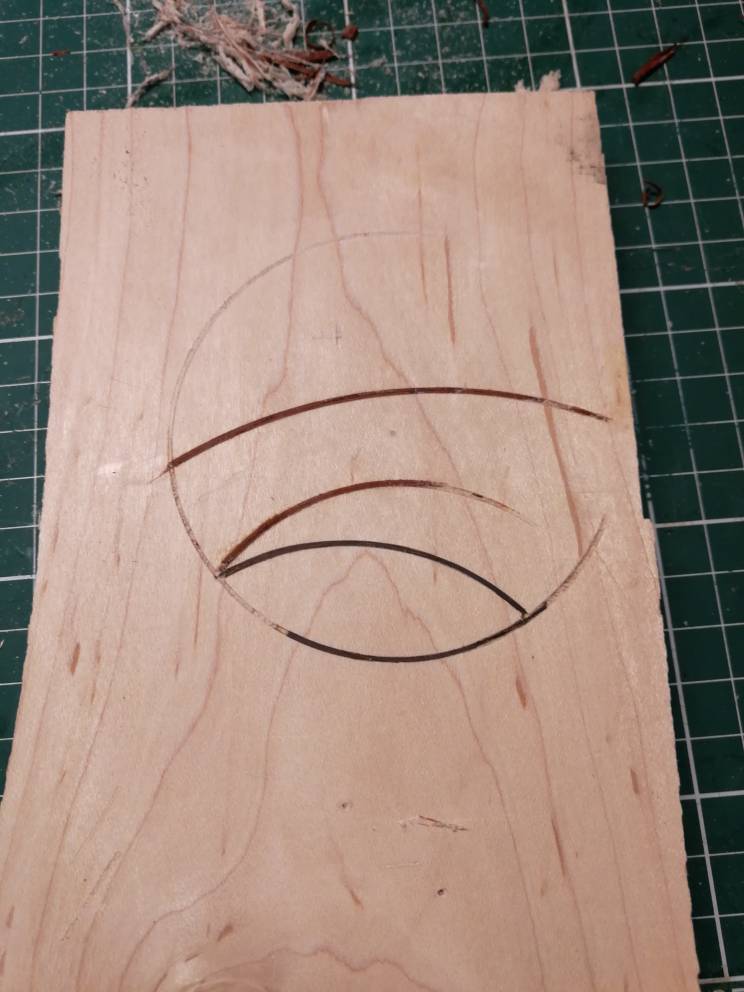
I would need some help/clarification on inlaying bandings. I watched the video from Steve Latta (quite well made) but the following is a bit unclear :

I would use some veneer (no bandsaw yet...), and as stated in the video, veneer is most of the time too thin. It is advised to laminate 2 or 3 sheets of veneer to get a thickness of 1,5 mm (in this ballpark), before slicing it and apply it in your groove.

Where im very confused : Should the veneer thickness be equal to the width of your groove (in that case the veneer woulb be glued "on the side") or should the width of your veneer equals the width of your groove ?

In the first case, isnt there a risk that the veneer lamination shows up ?
In the second case, what is the use of the thicknessing gauge ? (https://www.lie-nielsen.com/product/too ... ?node=4180)

Thanks for your advices! (and I hope what i said makes sense !)

Christophe
 
I haven’t watched the video but think I know what you mean. You should lay the veneer so as you can’t see the laminations i.e. your second case. The thicknesser is so as you can match the thickness of the veneer to that of your groove. Whatever you use to make your groove (router, scratchstock, chisel etc.), it is easier to adjust your veneer to the groove rather than your groove to the veneer. If you were using a solid wood inlay then you could have your inlay proud and then just flatten with a scraper but as veneer is so thin, you would risk tearing the laminations. Hope that makes sense?
 
Hi Glynne,

many thanks for your answer. That makes totally sense and seems to be the most logical way to proceed.
However, I'm still not too sure about the thicknessing tools, as the inlay is pretty easy to trim after being glued in the groove.

I should receive a veneer pack on Monday, so I will experiment a bit in the coming week :)
 
Not sure if it's helpful, but I put the veneer on edge when inserting it into the slot; you can make out the lamination in places, which I think is why Latta only talks about laminating it when talking about dyed pearwood which he says doesn't slice well but tends to splinter, and the laminates are at slightly different angles to try to constrain that.
 
At least at first it's usually simpler to just buy in your stringing lines ready cut,

http://www.originalmarquetry.co.uk/cate ... ging_1.htm

I normally cut my own stringing and inlay lines, but it does add a lot of faff to the process.

The Lie Nielsen inlay tools are superb, but they're certainly not cheap. If you just want to add stringing to furniture you can get away with spending very little, a scratchstock will handle most long grain grooving easily enough.

There's a lot to be said for the style of scratch stock popularised by Garret Hack (google "garret hack scratch stock" and "garret hack stringing"). These are what I normally use in my own work for inlaying straight lines. They're useless for curved work, but the long secure fence plus the ability to switch angle and direction back and forth make them superb for stringing and straight moulding work,

Scratchstocks-03.jpg


Scratchstocks-04.jpg


Scratchstocks-05.jpg


Scratchstocks-07.jpg


Scratchstocks-08.jpg
 

Attachments

  • Scratchstocks-03.jpg
    Scratchstocks-03.jpg
    49.9 KB · Views: 201
  • Scratchstocks-04.jpg
    Scratchstocks-04.jpg
    52.6 KB · Views: 201
  • Scratchstocks-05.jpg
    Scratchstocks-05.jpg
    52.7 KB · Views: 201
  • Scratchstocks-07.jpg
    Scratchstocks-07.jpg
    74.4 KB · Views: 201
  • Scratchstocks-08.jpg
    Scratchstocks-08.jpg
    51.8 KB · Views: 201
Thanks Custard ! The Lie Nielsen tools look definitely great, and I'm considering them.

However, I think I will first buy a blade and use a cutoff to make kind of a tool.

Sent from my VKY-L09 using Tapatalk
 
Mark,

I read the thread on your inlayed shelf, very nice job ! The contrasting colours really look great.
Out of curiosity, what thickness is the inlay ?

Christophe

Sent from my VKY-L09 using Tapatalk
 
The groove is the standard blade width for the lie-nielsen tools (0.8mm) and the veneer I had was from one of those marquetry selection pack thingys, 0.6mm thick, so I laminated two sheets with normal titebond PVA glue, I'd cut off a strip about 3-4mm wide from the sheet, run a card scraper over it once or twice to bring down the thickness below 1mm until I got a snug fit in the groove, then I put titebond in the groove using a syringe, turned the scraped strip on its edge and pressed it home with fingers and the butt of a chisel handle. Let the titebond cure, then take off the excess with a chisel and a card scraper (and a pass with the smoothing plane later on before final assembly).
 
Dear all,

many thanks for you inputs and comments, these have been really helpful. I received the radius cutter and been playing a bit with it, and pretty happy with the results ! (though no pictures as i havent figured out how to transfer the pics from the phone to the computer... :oops: )

I would need an additional info : how do you bend the inlay ? They sell some bending irons, but they seem pretty bulky for what i need, and quite pricey. I was thinking to use an iron, but maybe someone here has a better idea ?

Thanks !
Chris
 
I was able to do some bending by just heating the veneer with friction by rubbing one side of it with my thumb and also by scraping just one side of it (it curls up around the side you scrape). But for a lot of the gentle curves, even that wasn't needed, the veneer was flexible enough to just bend.
 
Thanks Mark, will try this way or see if the oven can get another use...
Here are some pics of my first tests. Hopefully I'll have some time during the weekend to make something a bit more clean :)
2342d3217905ee4ccc0053d3050c600a.jpg
a0be6aa558222a7c18bd1c029084d217.jpg
e2037da6279771b3d71c866d365b089b.jpg


Sent from my VKY-L09 using Tapatalk
 
Looks cleaner than mine :D
I did find that you can avoid the pivot points digging into the wood if you use double-sided tape to stick down some hard plastic where the pivot point is, but you need something a little thicker than a marks&sparks loyalty card...
 
Ahah thanks Mark !

Did experiment with a card and double sided tape, but the result wasn't very good. I will get some thick plastic and see if it works better.

Hopefully more promising pictures coming soon !

My plan is to do a simple coffee table, and use some inlay (same as Steve Latta spice chest) on the table top.

But first, I need to train a bit !

Sent from my VKY-L09 using Tapatalk
 
Noho12C":3825435y said:
My plan is to do a simple coffee table, and use some inlay (same as Steve Latta spice chest) on the table top.

Be careful, you can usually get away with cross grain stringing up to about 6" or 8" (although I have see cross grain stringing pop out when it's only about 2" long), above that the natural shrinkage and expansion of the board mean the odds are very much against you.

There is a remedy, which is to actually cut cross grain stringing to fit in the cross grain groove. I've done it down to 1mm wide stringing in pieces like this,
Tiger-Oak-Side-Table.jpg


But cutting and installing 1mm cross grain stringing is a really difficult trick to pull off. By and large you should restrict cross grain stringing to either shortish pieces, or you should only use it on veneered work that's on an MDF ground so there'll be no seasonal movement.
 

Attachments

  • Tiger-Oak-Side-Table.jpg
    Tiger-Oak-Side-Table.jpg
    89.7 KB · Views: 72
Hmmm, thanks for the info Custard, didn't think of this issue actually..
No way to do cross grain inlay as I don't have a band saw, so I might consider that on the design (stopped inlay ?)

Been playing with it tonight a bit, but really struggling with sharp curves. Walnut steings just keep breaking. I tried the advice given by Mark (rubbing the string between fingers) but I wasn't really successful. I think I will try some steaming in the oven...

d7322dc3db81b73c2e4b78380e8fa143.jpg
0fdd70892db14a86095bed0ce53d705b.jpg


Sent from my VKY-L09 using Tapatalk
 
Try 20 seconds in the microwave if you can coil it to fit. Or get one of those infra red heaters as they just heat the actual wood and not the air around it. I use both methods and find them very good
 
Back
Top