John15
Established Member

I'm starting a new project, a hall table. It's still in the design stage. I want to try a table with legs other than straight and thought I'd have a go at something with curves.
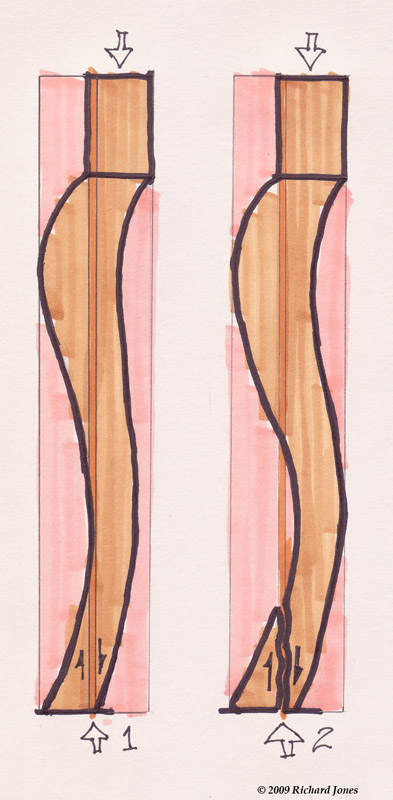
I've cut a template (see photo) for the type of shape I'm thinking of and would like to ask members for their views, plus and negative, before I proceed with production. The top section will be 38mm square and the bottom 25mm and 700mm high.
Thanks in advance.
John