Green Oak Porch

UKworkshop.co.uk

Help Support UKworkshop.co.uk:

This site may earn a commission from merchant affiliate links, including eBay, Amazon, and others.
Brilliant! =D> I have a lot of admiration for timber framing
 
You may already have experience lime rendering over wood wool boards .... but in case you don't - to avoid the joints in the boards cracking through the finish through the gap sucking the moisture out the render you need to let the 1st cost dry for a long time - or put mesh / hair in base cost and still wait a long time to dry . You can buy what is basically grip fill to do joints which also works but I don't really use this.

Nice porch
 
Thanks chaps.

The joints (6mm) in the Savolit boards are filled with a PU foam adhesive. It's a sort-of non-foaming foam. We'll be using Thermalime, which is a chalk, lime and fibre mix from Anglia Lime. There's tons of fibre in it, and it doesn't shrink.
 
It doesn't sound like there will be any problems here then ;)
The fibres and chalk also make it stick like sh...

I've learnt the hard way about the joints so thought I would mention it.

Great project looks like you have done a serious amount of graft !
 
rhrwilliams":2kkqap9c said:
.........Great project looks like you have done a serious amount of graft !

Thanks, and yes, you could say that. It's been 3 years so far, with about a year to go, I reckon. Anyone interested in the full back story can follow it from Planning Permission through to today in 3,500 photos and more, here: http://www.thewoodhaven2.co.uk/viewtopic.php?f=26&t=368
 
Mike I really like the proportions of the porch in relation to the house.....but then you are an architect.

Seeing a project like this using large section oak (I can almost smell it) is second only to doing it yourself.

Thanks for posting.
 
Thanks PP. It should look even better next week when contrasted with the rendered walls, and hopefully I'll put the roof on the week after.
 
Attention turns temporarily to the porch roof. Here is the junction between the roof and the render, prior to starting work:

8Ie1dZA.jpg


I cut some tiles in thirds, lengthways, and mixed up some of the lime render stuff, then did this:

uQPHz3x.jpg


Q7CSfRi.jpg


This is a really old traditional detail, done to keep water out of the junction, but you may remember from some while back that I had also done lead soakers up this roof/ wall joint, so this is something of a belt-and-braces approach. I don't think the modern lead cover-flashing with render drip bead looks any good on a period property, so I've done it this way instead. It has the bonus of kicking the dropping water a few inches away from the wall, so it will all go into the gutter without the need for a bodged in bit of lead.

Note in the last photo that I part-tiled the northern roof of the porch. This was to allow access to do the ridge. This is the other side at the same stage:

lox5wtL.jpg


The next task was the verges and the ridge, so after mixing up some strong mortar and cutting some half-tiles, I got on with it, bedding each tile up the verge in mortar:

ehobGGZ.jpg


Then I did the ridge, pointed up the verge, and tiled the canopy over the door. With shorter days, this was quite a full day, finishing by braille:

Sbx2n9i.jpg


abmFHLZ.jpg


P7Z1fTo.jpg


N8kTEUK.jpg


jhkSfAr.jpg
 
Mike,

Wow. I have never thought I would be interested in green oak construction;ever but I have been facinated and enthralled by what you have achieved. The porch is spectacular and quite unexpected. Great craftmanship and expertise.

Alan
 
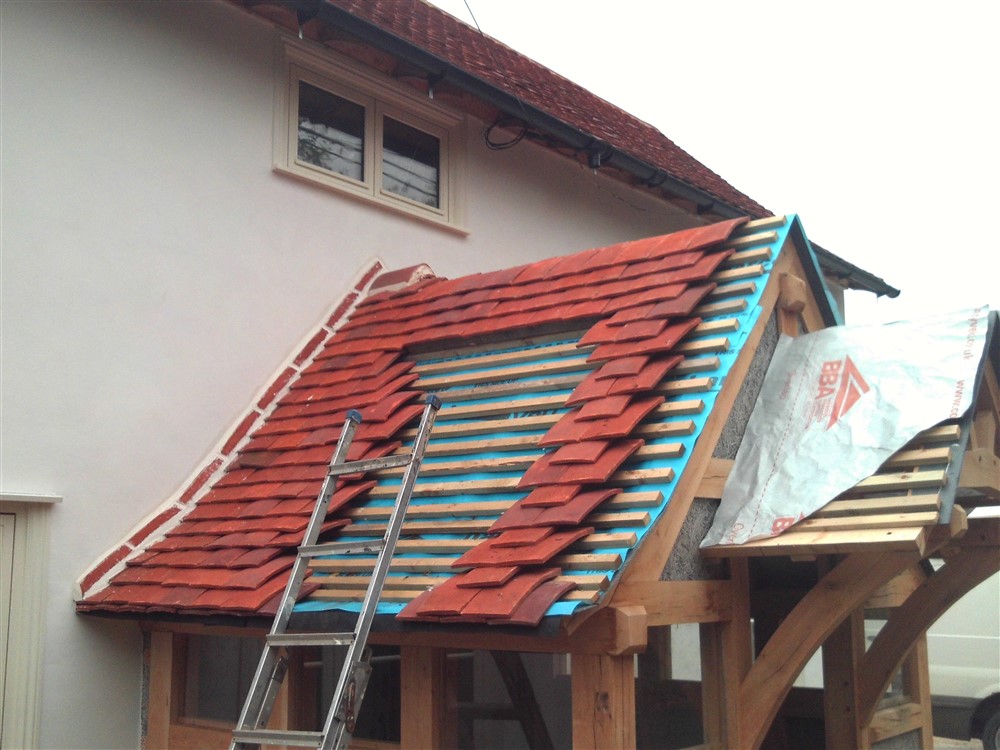
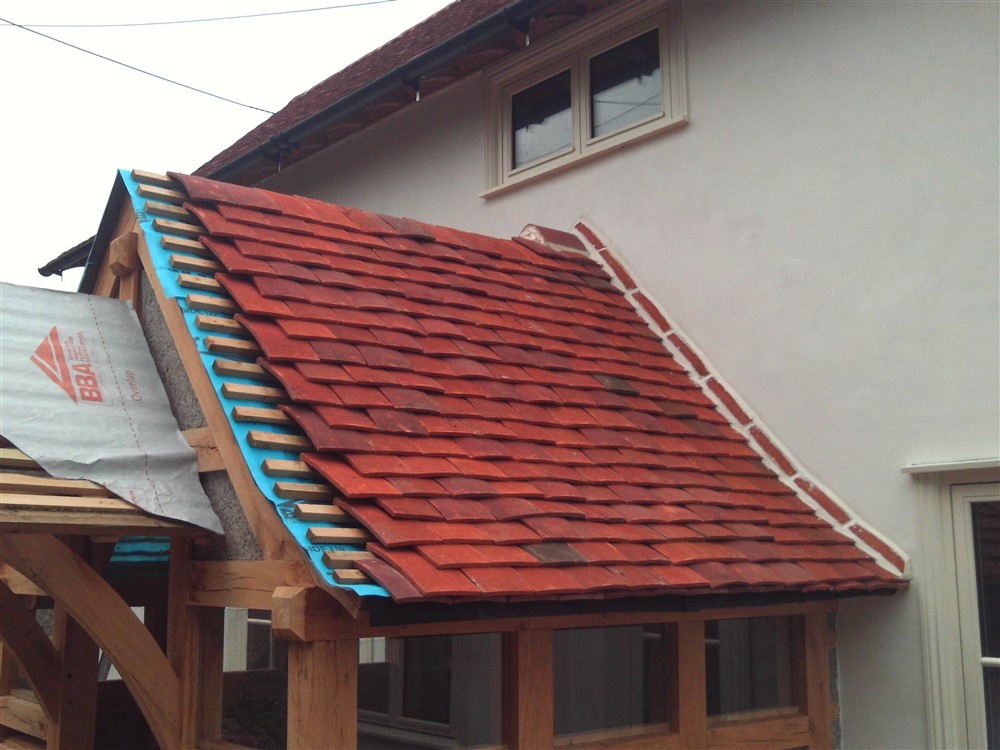
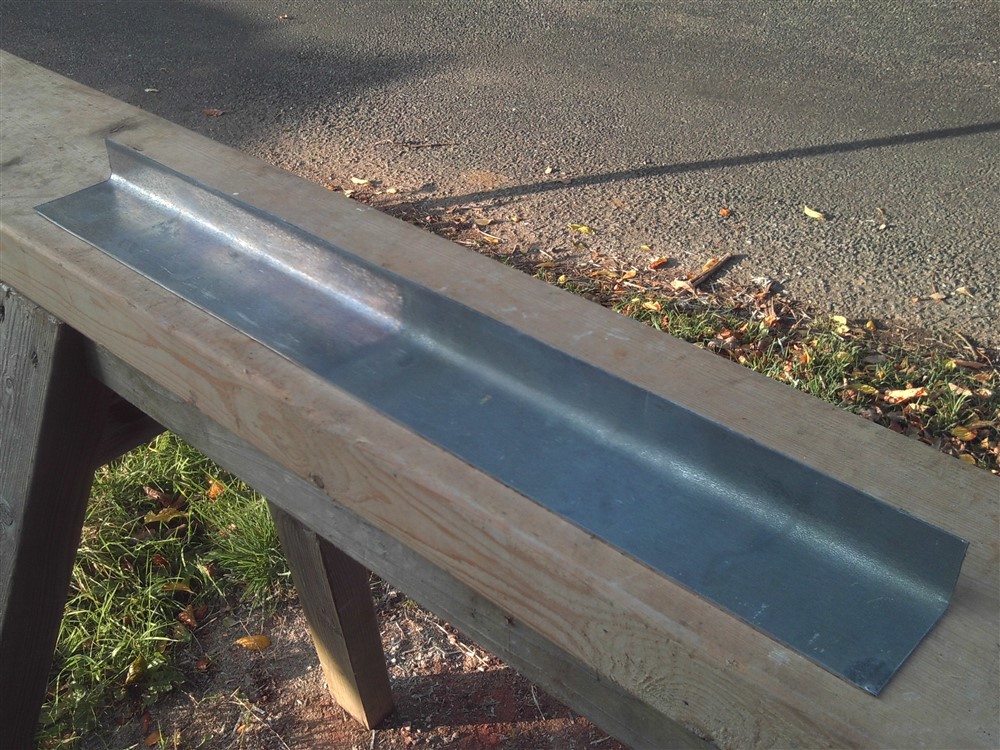
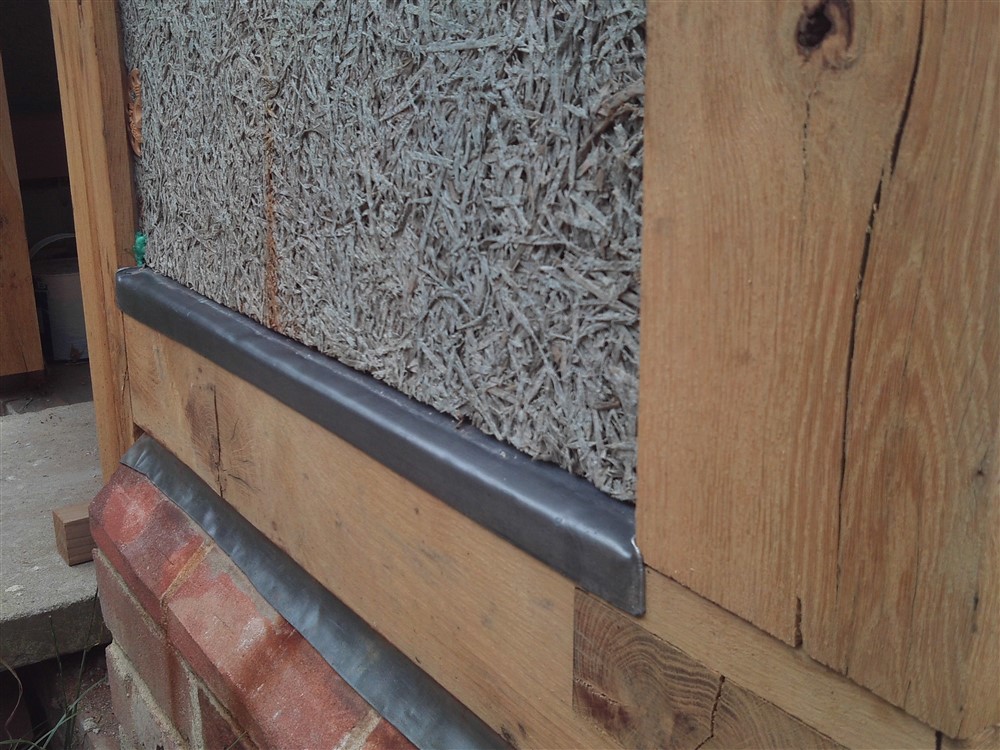
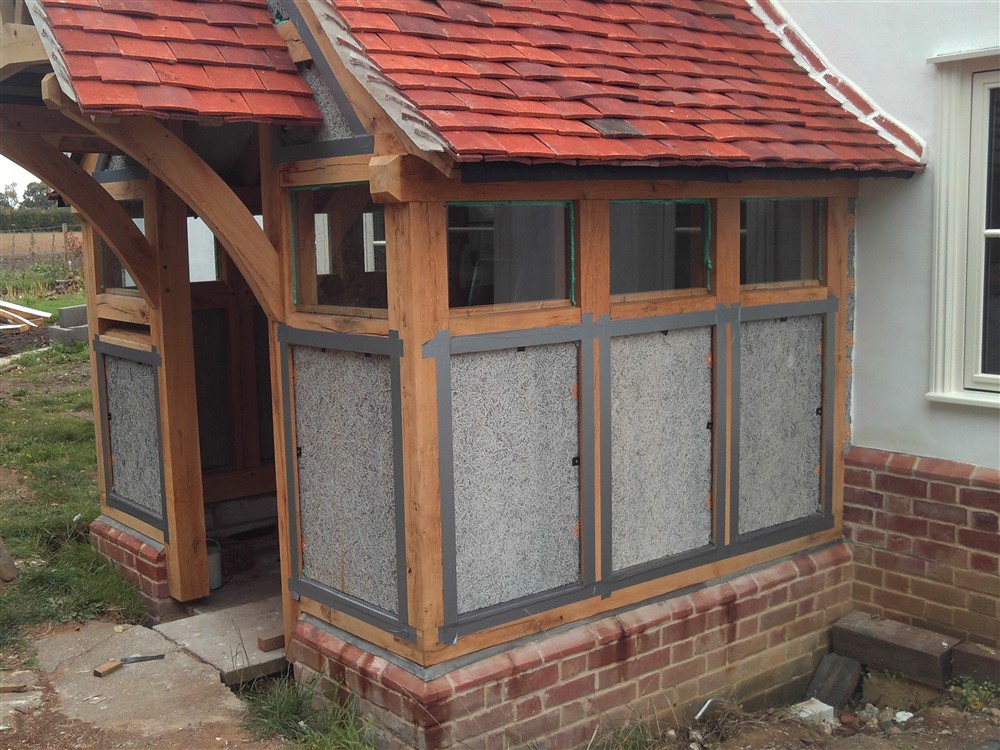
Time to start work on the rendering of the porch. For a start, all of the Savolit panels were sitting loose in rebates, deliberately, because I wanted to do a little lead detail at the bottom. Here's the lead:

pzZHXBD.jpg


And here is the bottom of a panel:

xSiaupU.jpg


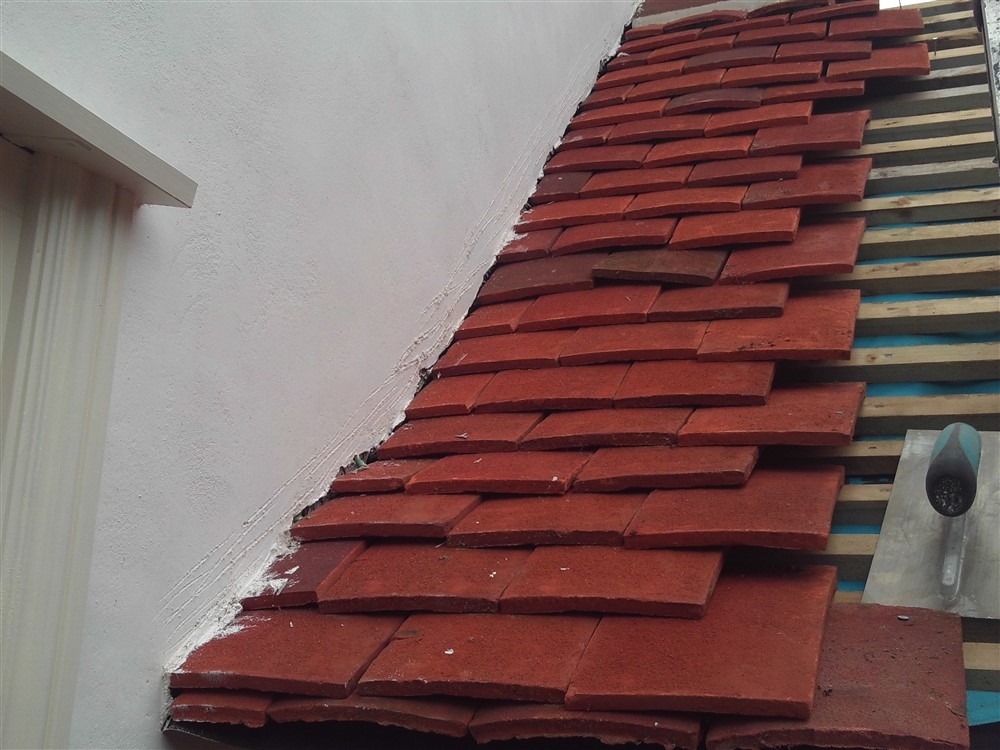
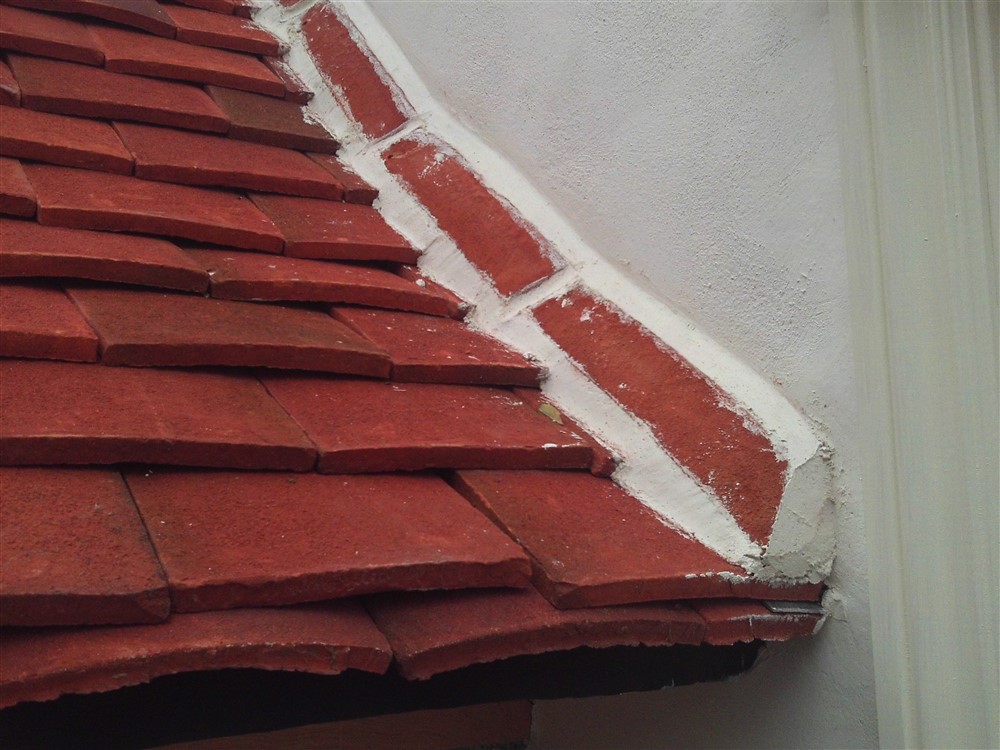
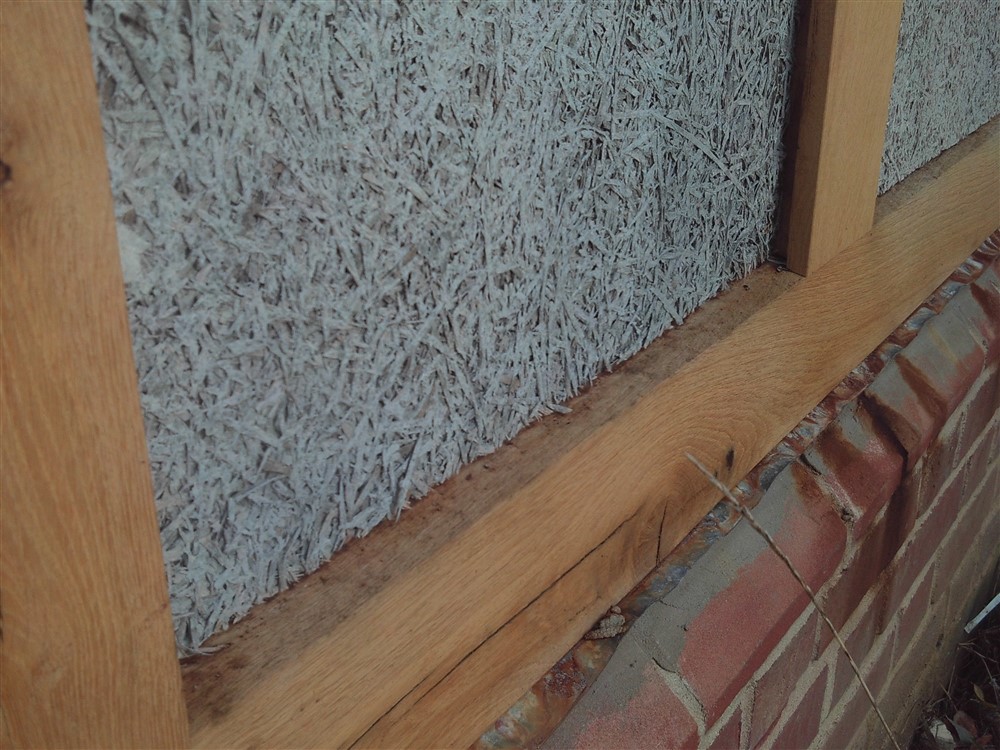
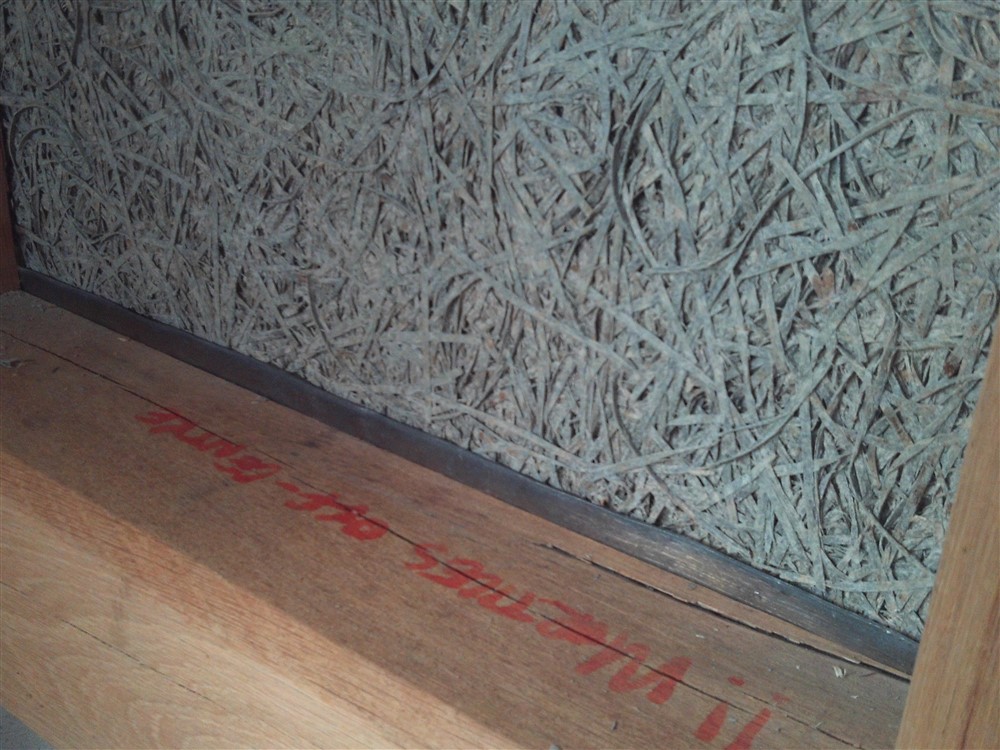
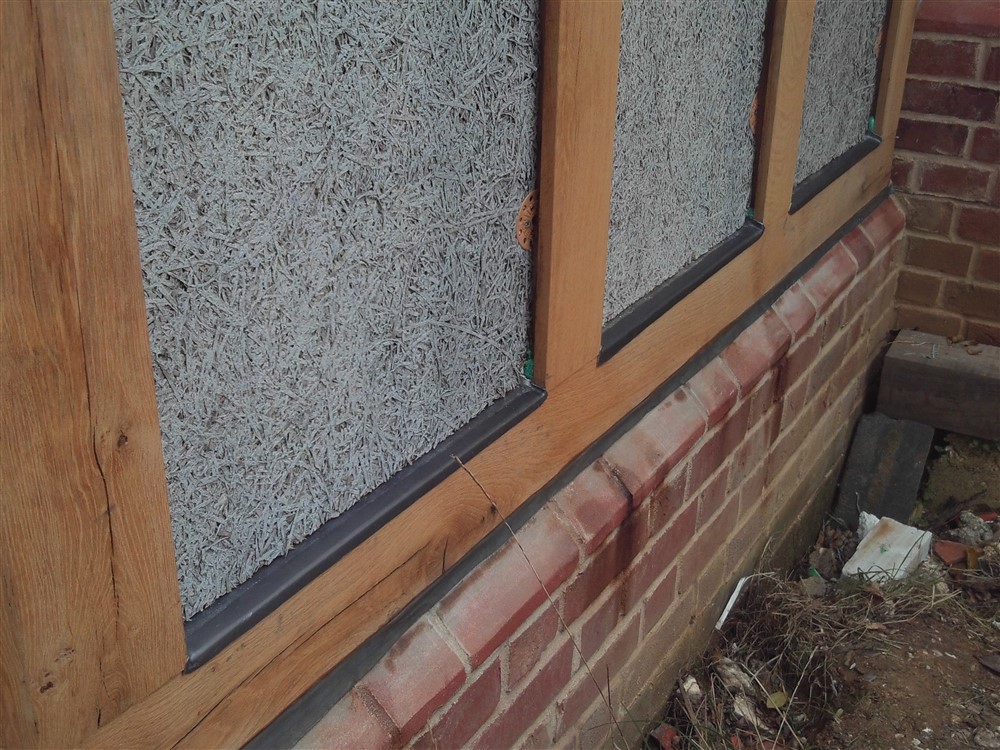
The panel at the bottom sits in front of an upstand, designed to have the lead between the two. It's easier to show a photo than explain. Inside first, then outside:

7suNai1.jpg


mpbo3uF.jpg


DmTEtiX.jpg


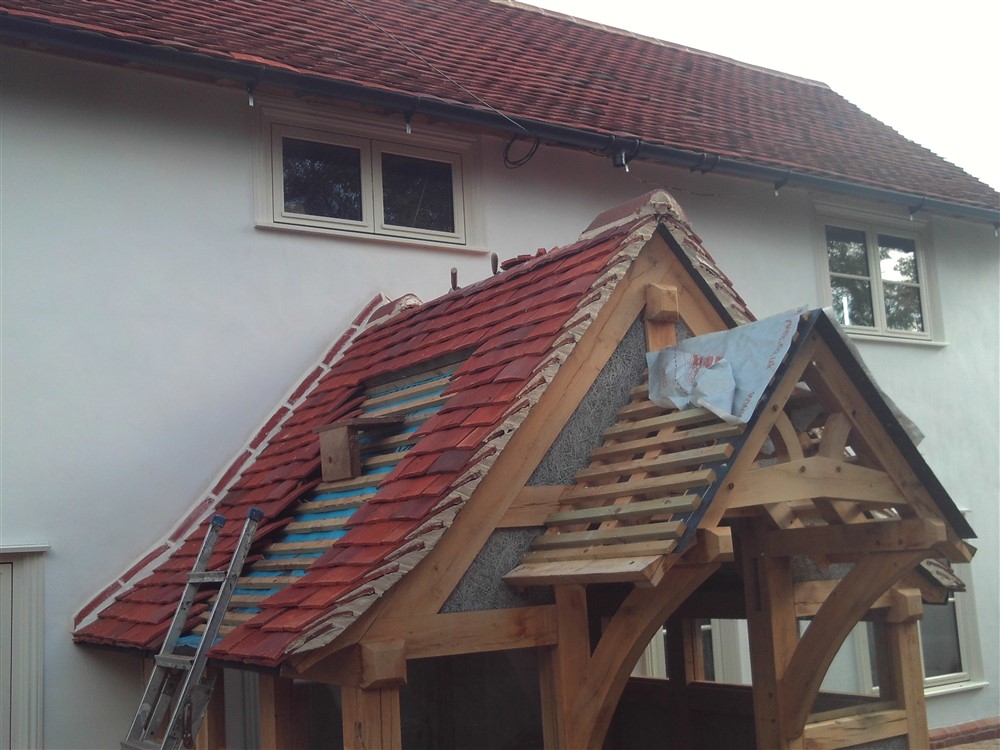
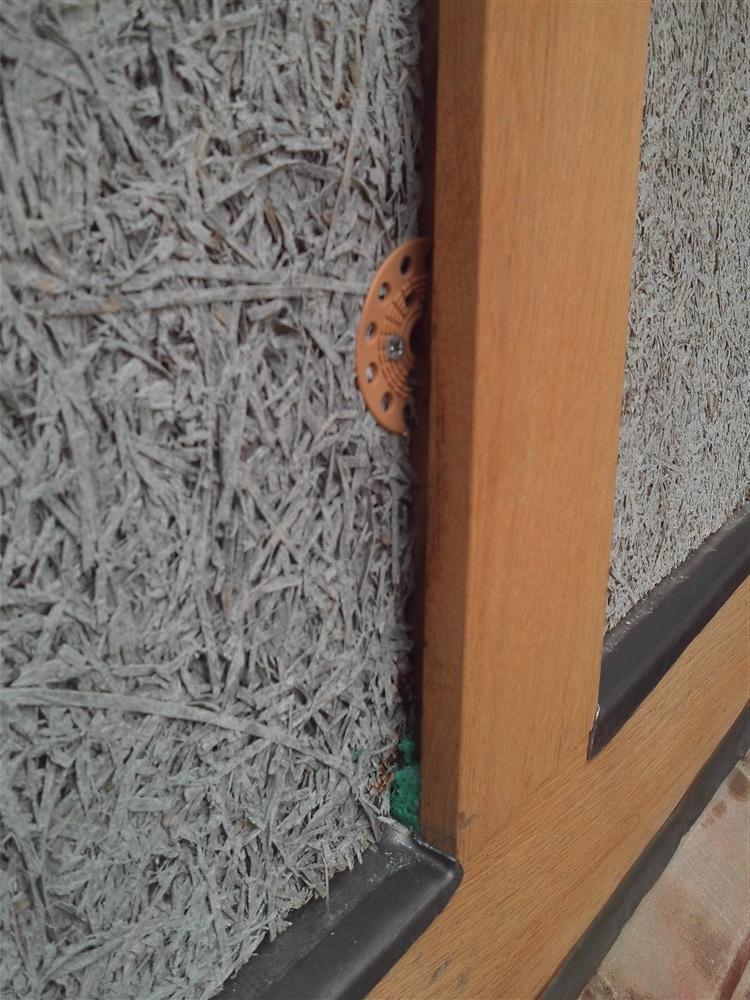
Here is a view into the side rebate, with the board fixed back properly in position. This shows the strategy with these render panels, which is to allow for movement and shrinkage in the oak framing. The render will squeeze into the rest of the rebate, meaning that even if the oak frame shrinks considerably there will be no path into the structure for water (or light, for that matter):

nkOH9OE.jpg


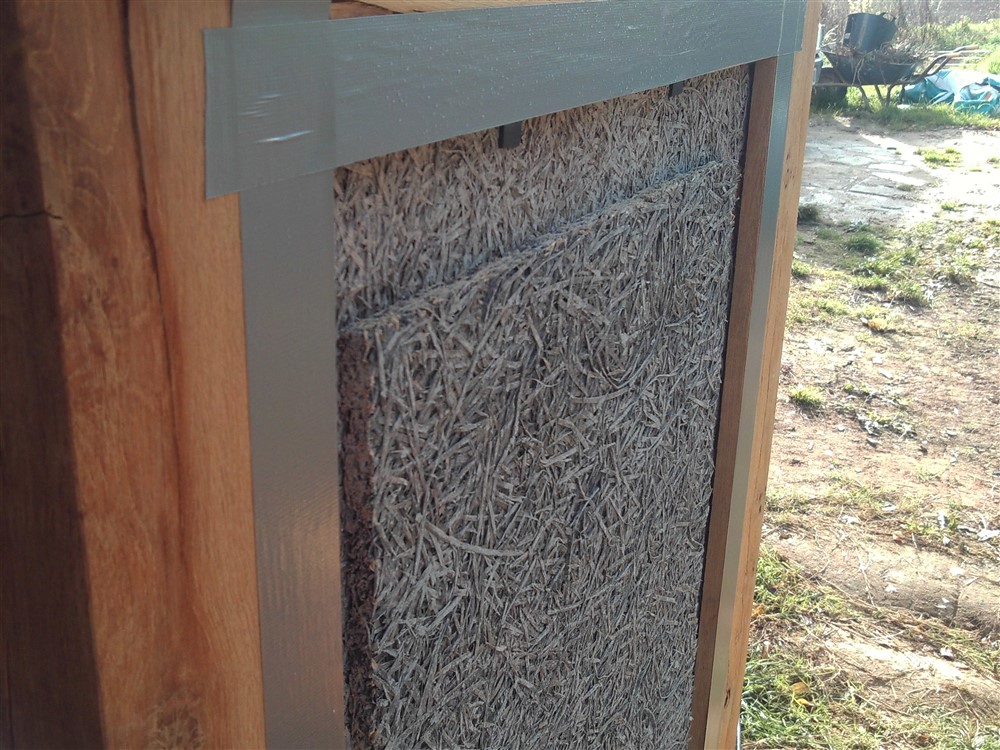
I taped up the oak with Duck tape because masking tape is porous enough that it doesn't prevent the lime from immediately discolouring the oak. There is an immediate and dramatic reaction between lime render (and cement, too) and green oak, leading to permanent discolouration. Anyway, I was now ready for render:

uGpdpB0.jpg


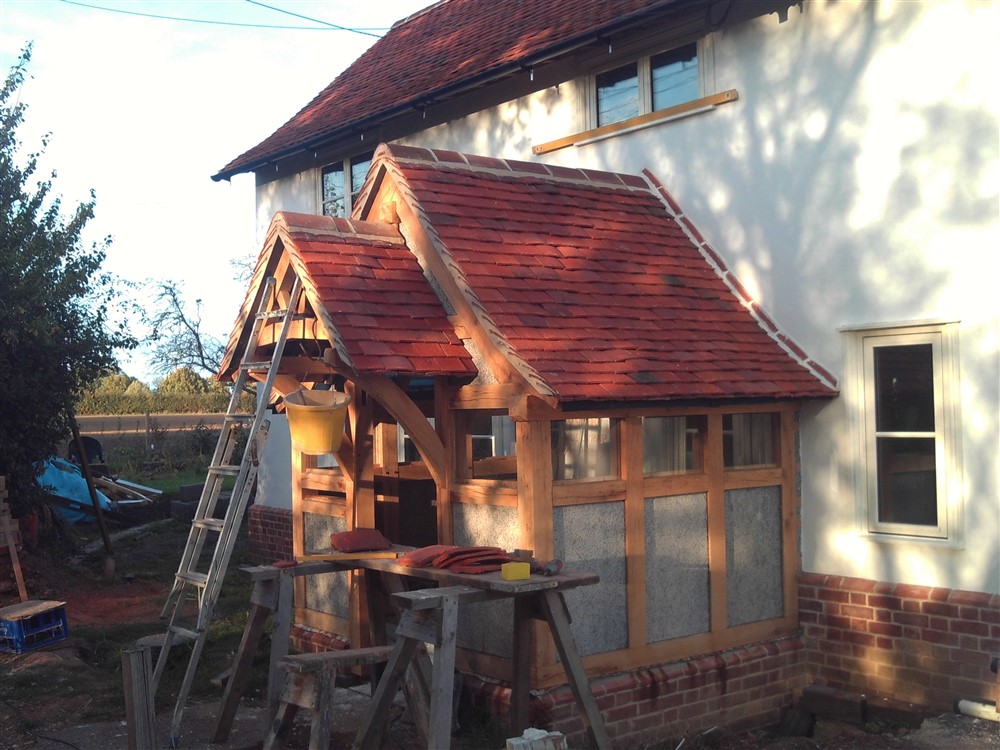
The render depth is about 30mm here, which is a lot. So, I am going to build it up in two layers. Here is the first coat, called a scratch coats because it gets scratched to form a key for the second coat:

tA6DqVL.jpg


Oh, and as a fun little aside, you know how it is when you knock something together quickly as a temporary measure just to get yourself out of an immediate problem? Well, those things, in my experience, usually hang around for at least 30 years. Here is my plasterer's hawk, made decades ago for 5 minutes of plastering, and still going strong (= as badly as ever):

5TCPRYM.jpg
 
The first three panels consumed an awful lot of render, but more importantly, took two coats and a long time to dry. I decided to pack out the Savolit board with another sheet so that I could finish with a single coat of render, and that coat would go off relatively quickly. So, I glued & screwed some board on like this:

glLUn4j.jpg


This still gave room for squeezing render into the rebate. Then it was just a question of applying the stuff and troweling it up at the appropriate time, then sponging it. Half a day's work, then a few hours doing other things before coming back to do the sponging:

1y5AXBs.jpg


McDEK3I.jpg


Tape on, above, then tape off:

i6L2cW7.jpg


You'll note that I've also done the fillet up the canopy roof. That gets cleaned up tomorrow, as does the oak.
 
Hi Mike, I hate to be a pain but could I ask how you squared up your posts for accurate joinery? I picked up my wood about 3 weeks ago but have only just got round to starting my porch and squaring up the beams can't be done on my little Kity planer! I have started hand planning them but think this is going to be a very long process. If that's what it takes then I'll do it, but I don't want to find out later there is a much quicker and simpler way or in fact you didn't square them up at all!! Cheers Mike. I have read your WIP (several times) and couldn't find any reference to that.
 
Back
Top