A Picture Heavy & Probably Too Descriptive Staked Bench

UKworkshop.co.uk

Help Support UKworkshop.co.uk:

This site may earn a commission from merchant affiliate links, including eBay, Amazon, and others.

El Barto

👍
Joined
20 Nov 2016
Messages
1,107
Reaction score
49
Location
North Hampshire
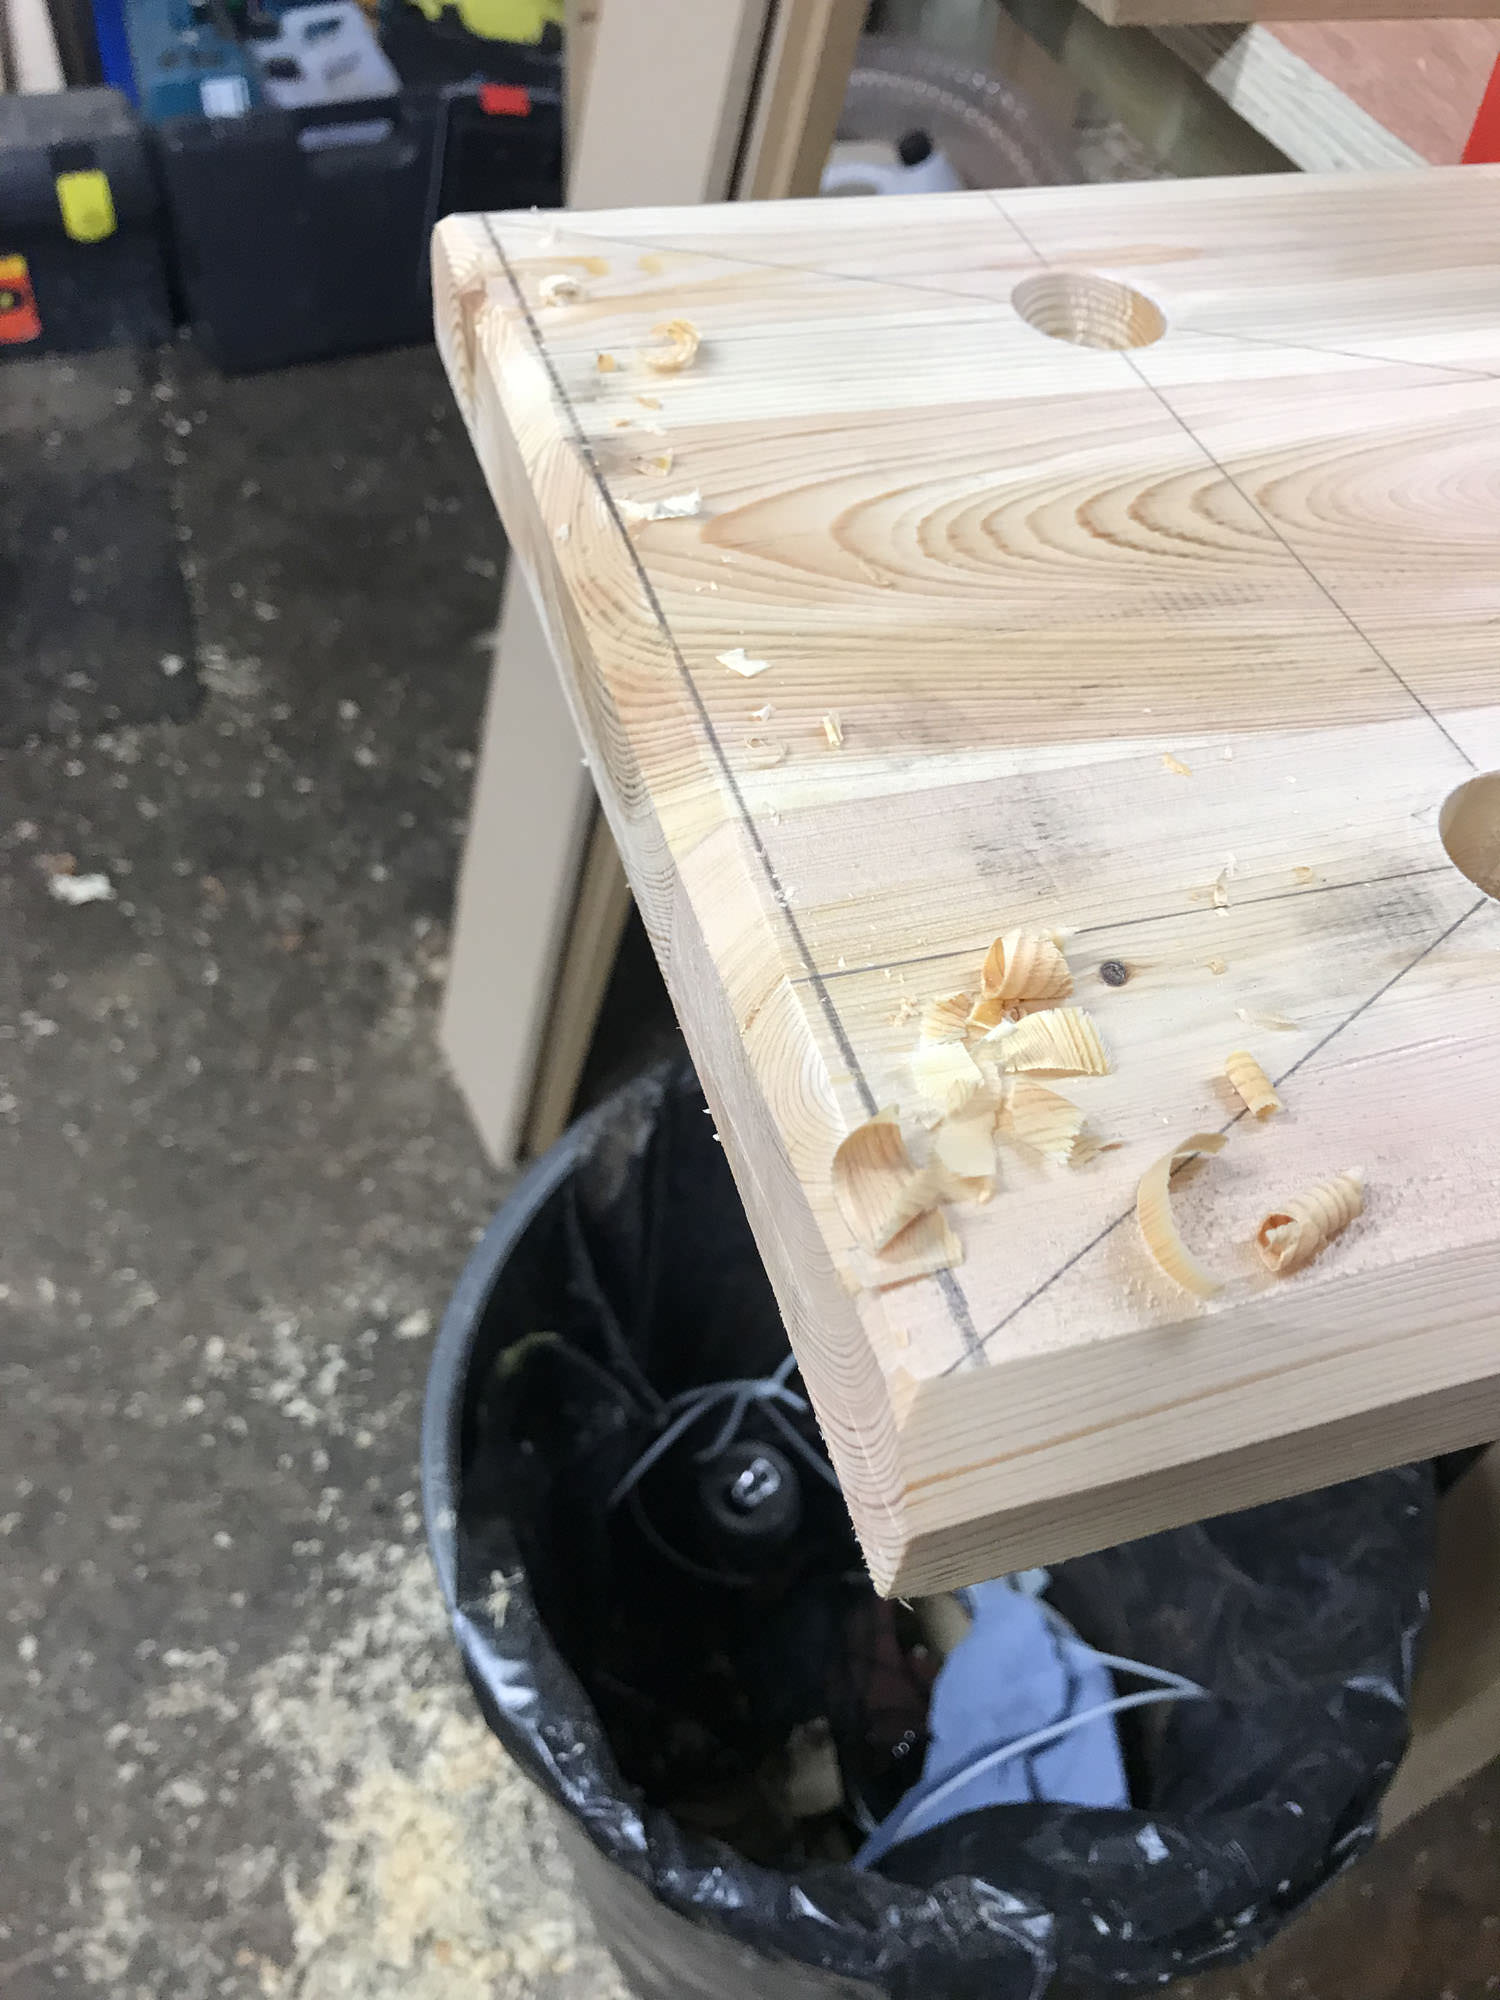
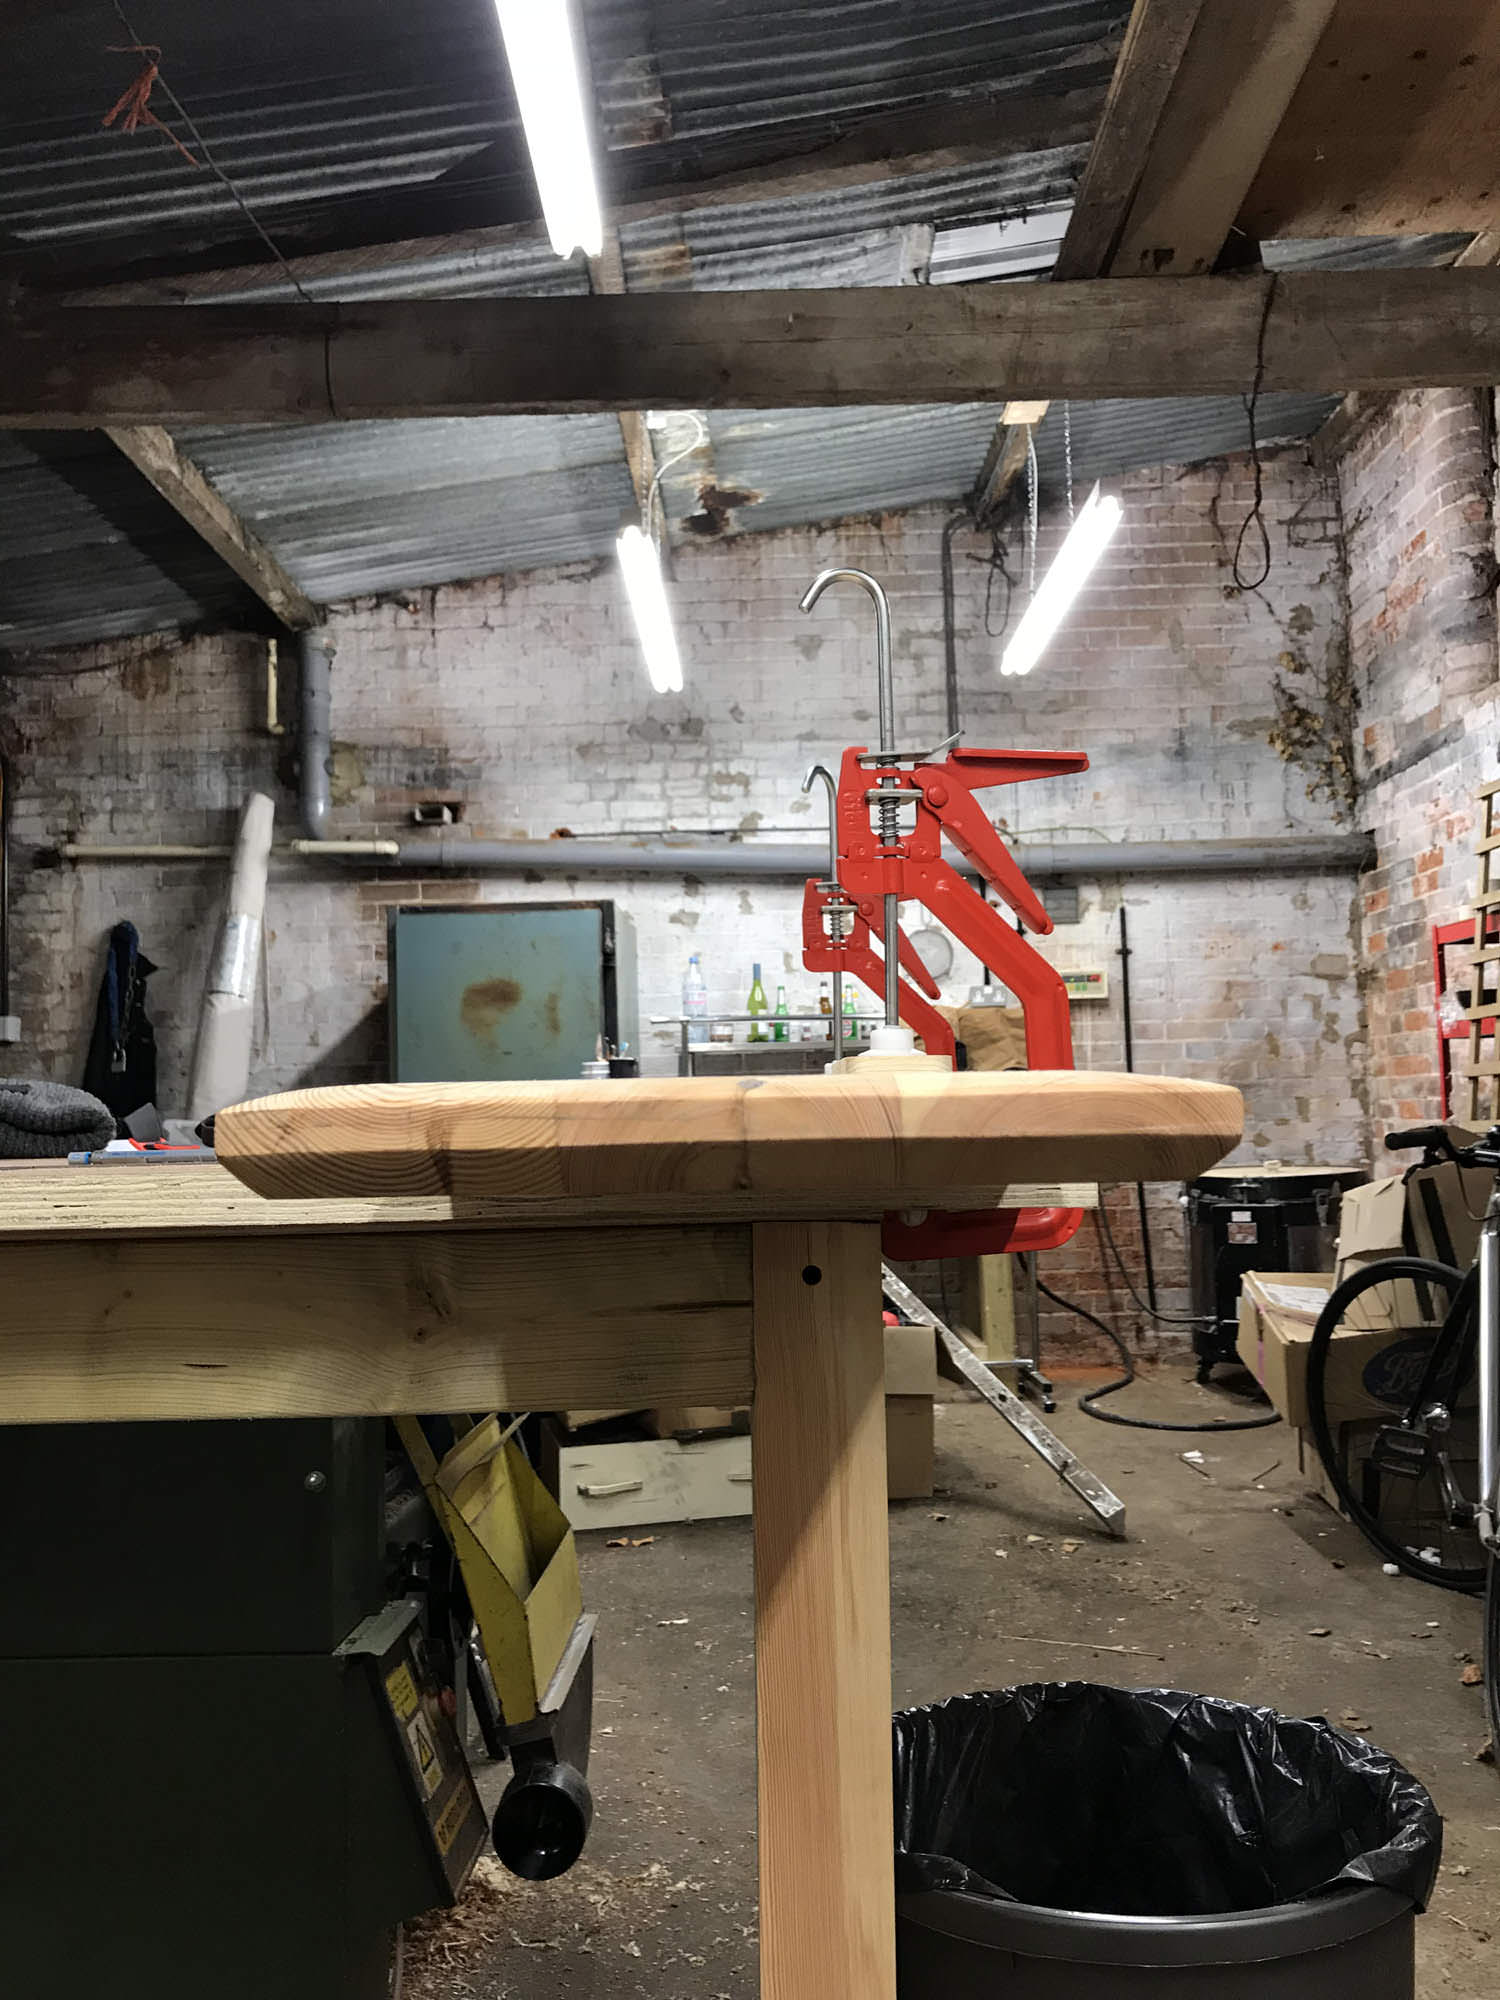
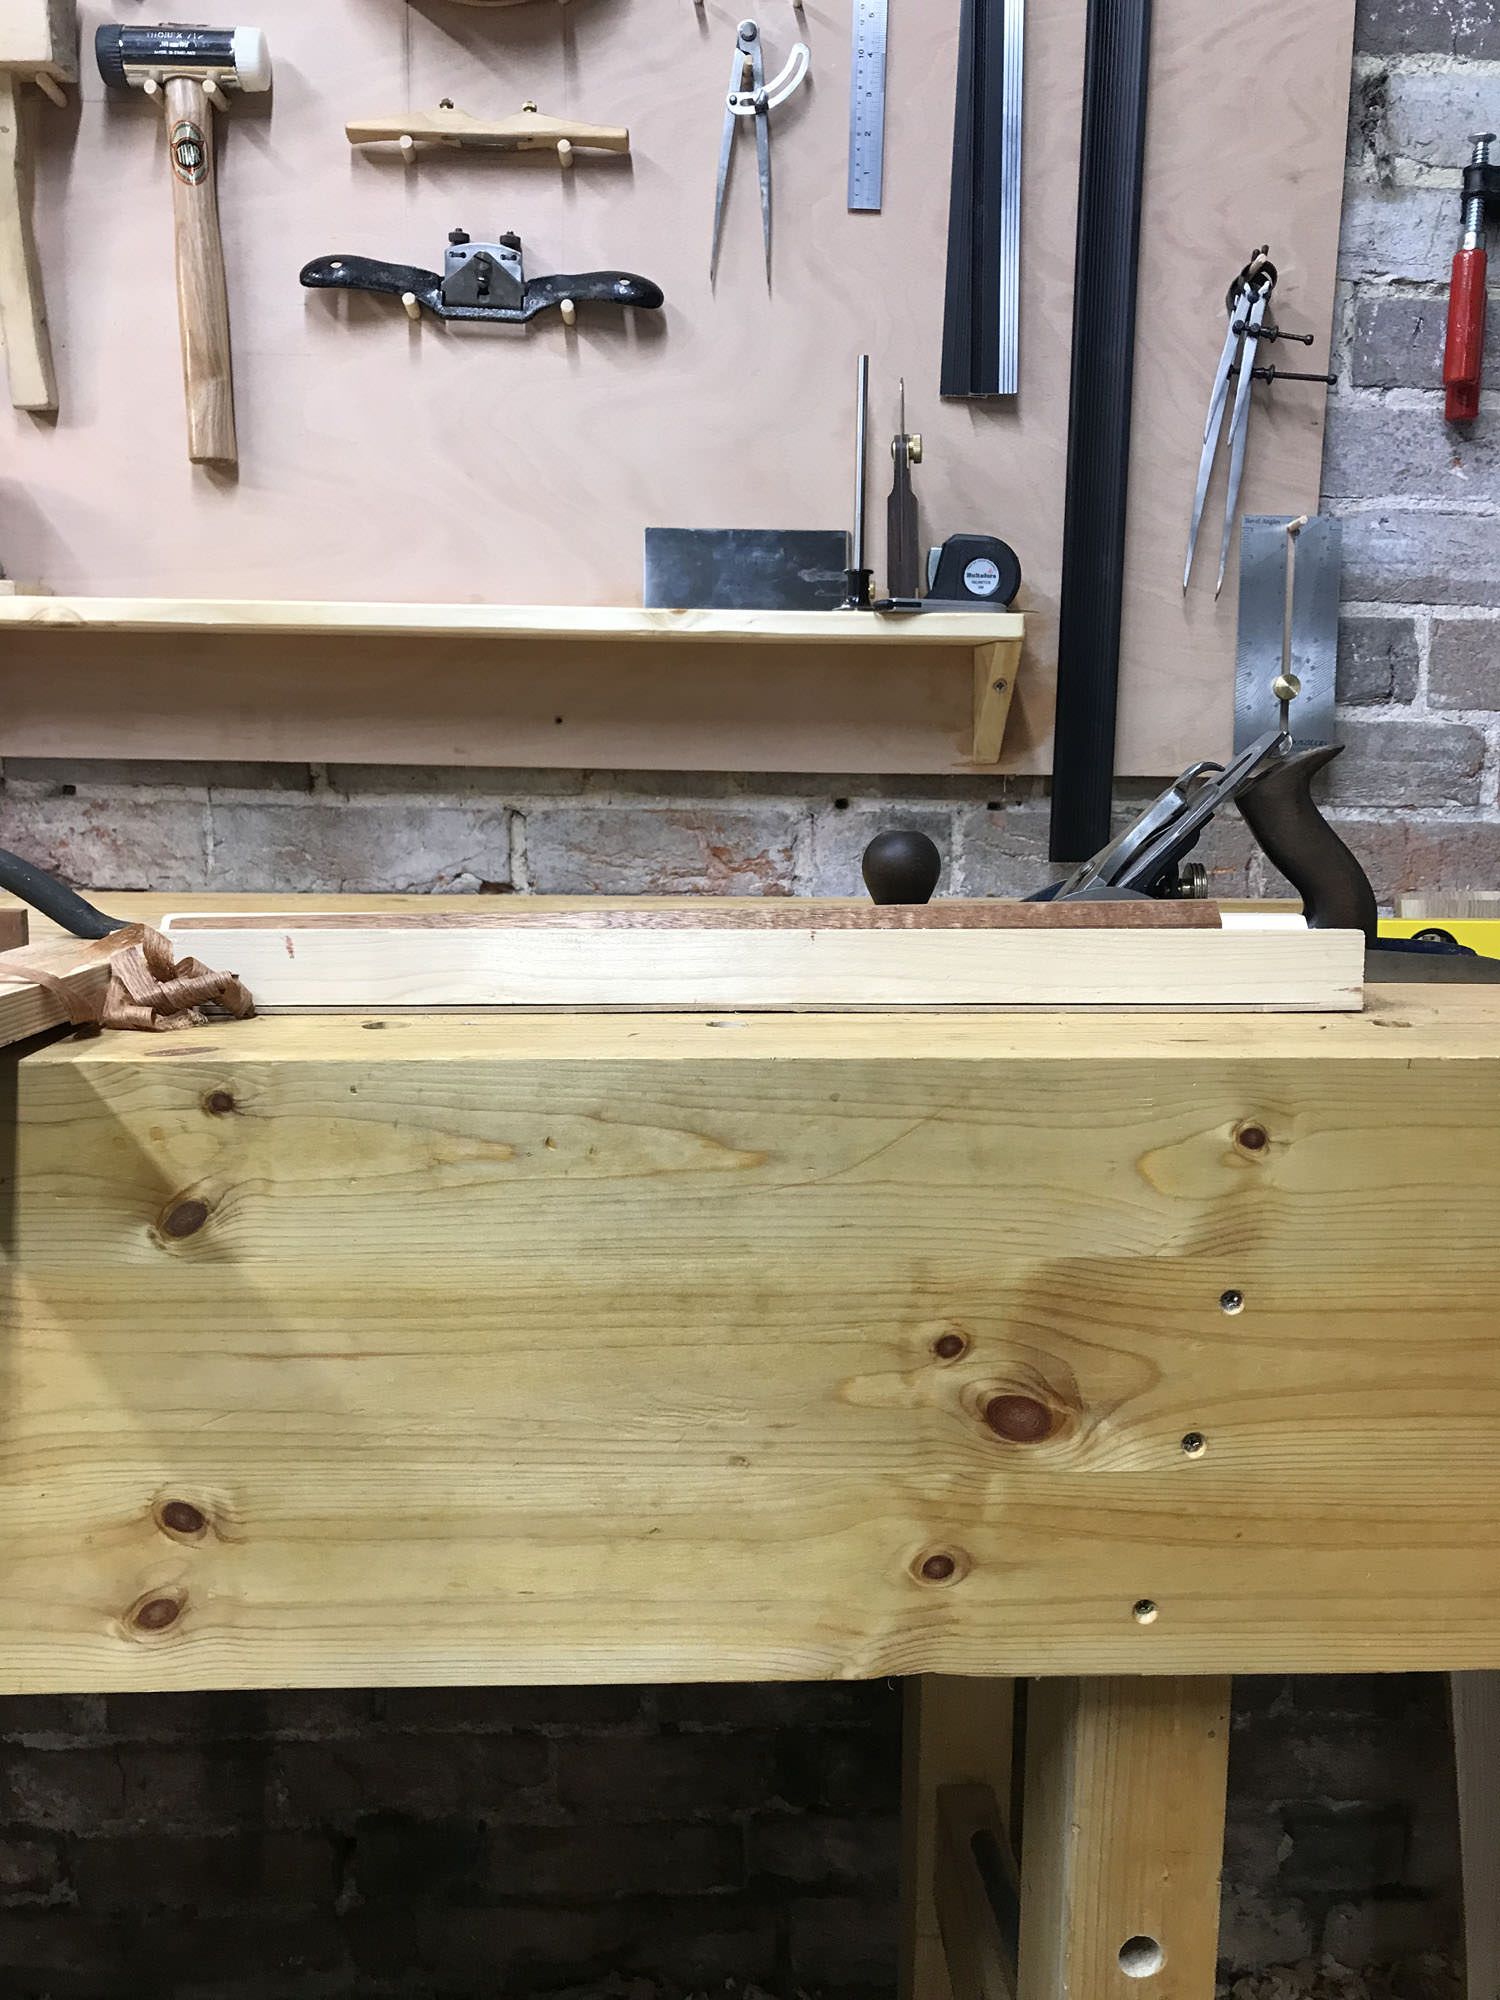
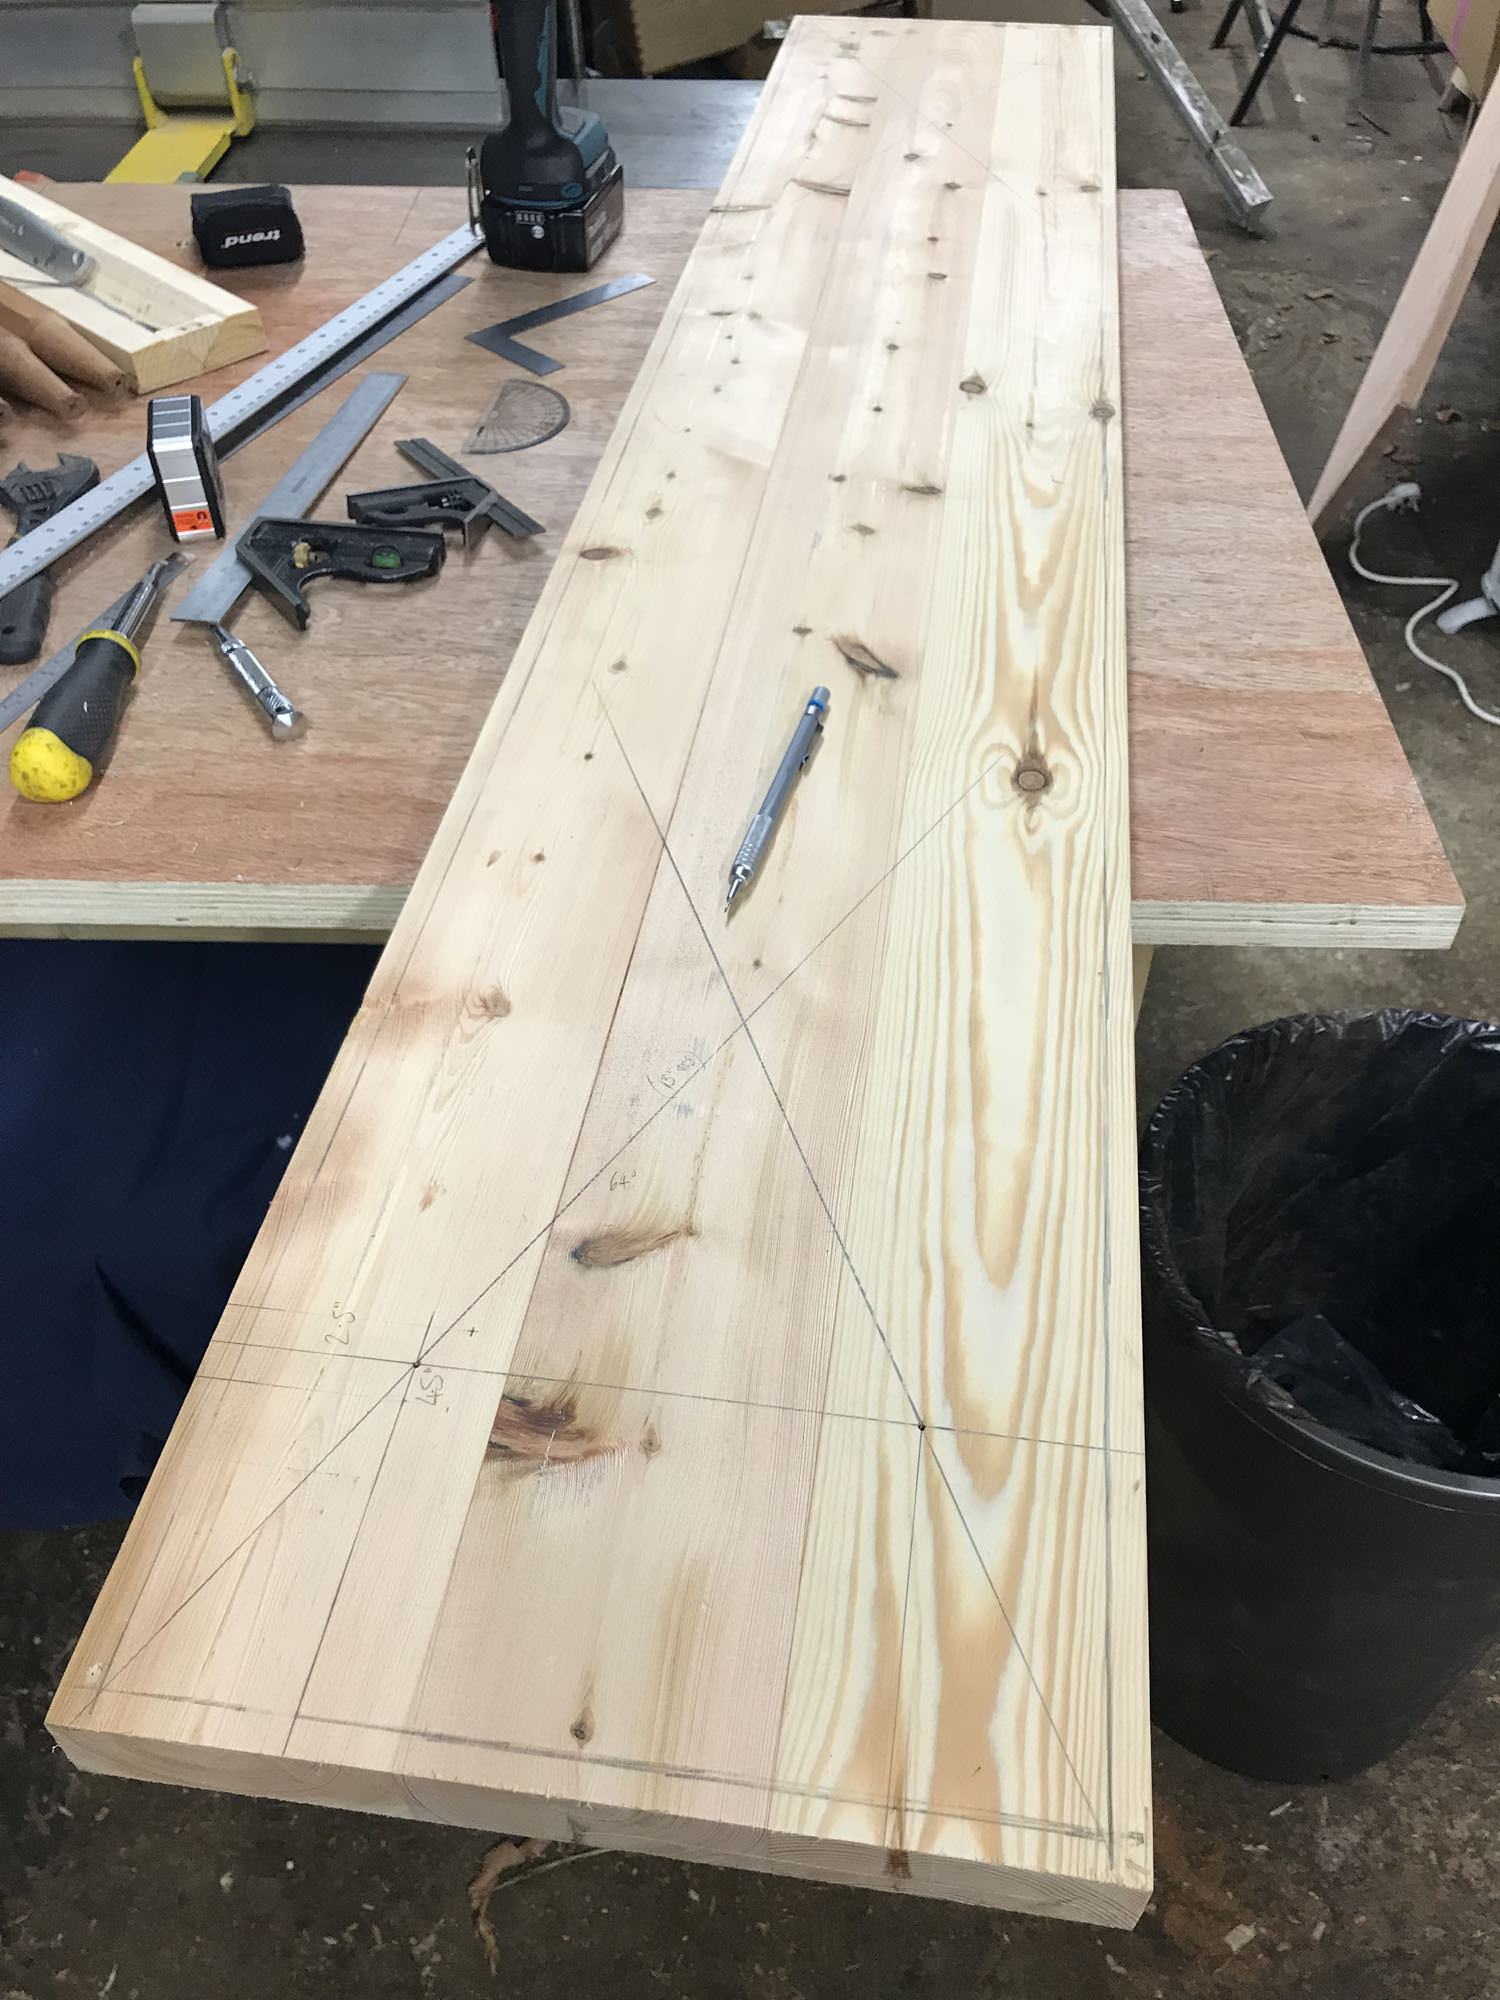
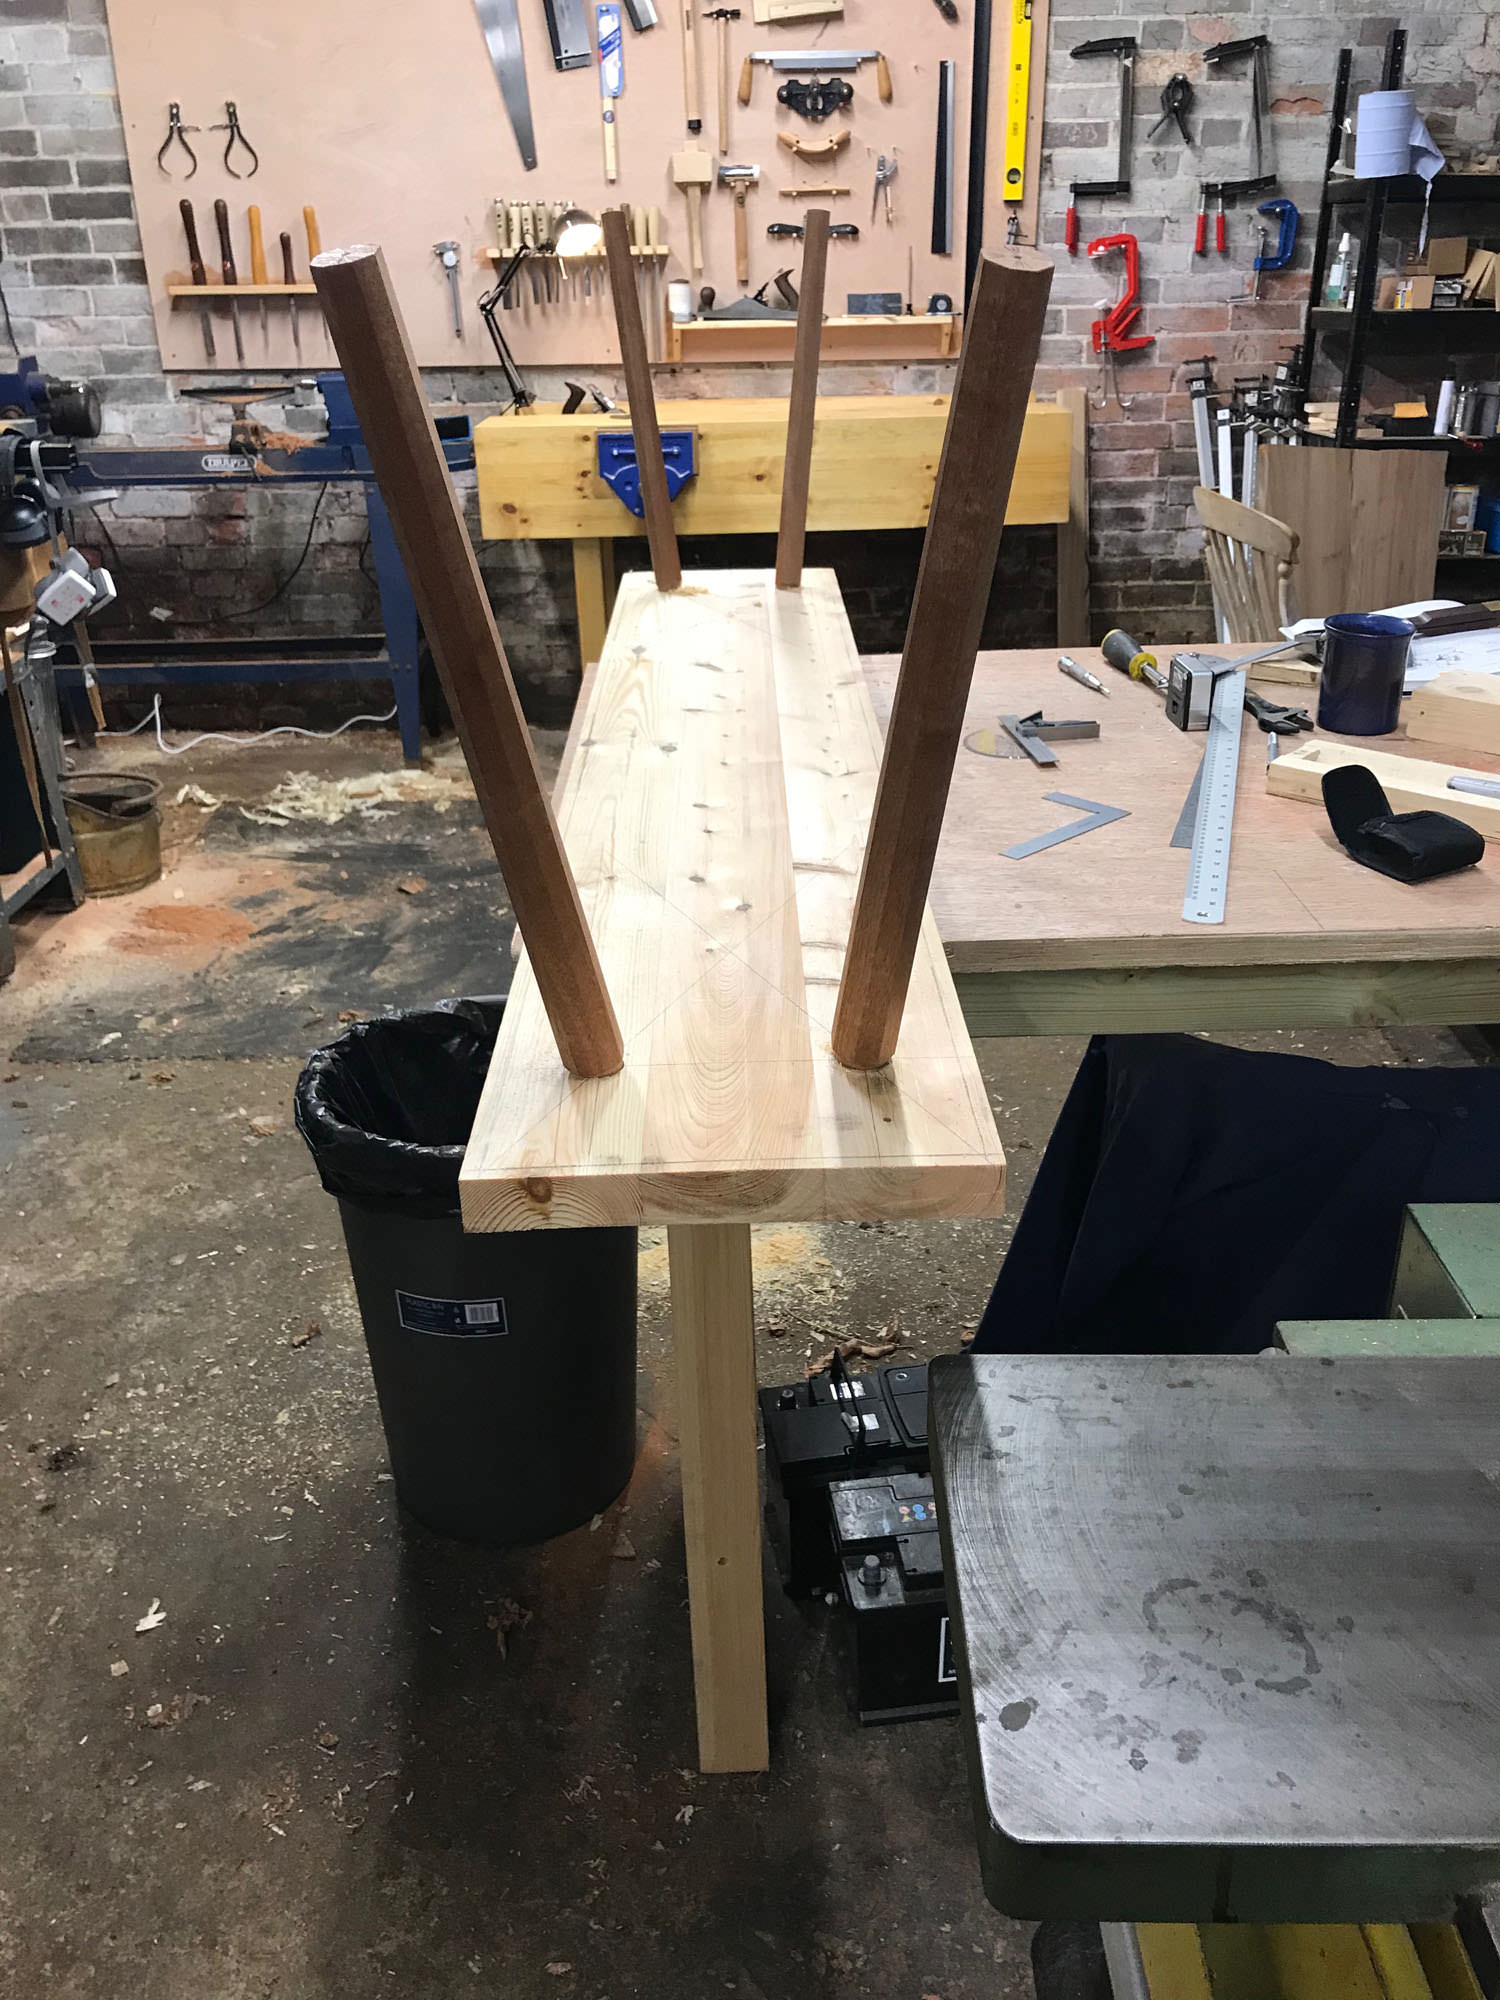
Evening all. After building my workbench earlier this year, I had a glued up apron left over. It was rejected because I did a pretty rubbish glueing job and it was also very twisted, so I stuck it in a corner and thought maybe I'd use it one day. Well, that day finally came and this week I didn't have any work on so decided to turn it into a small staked bench.

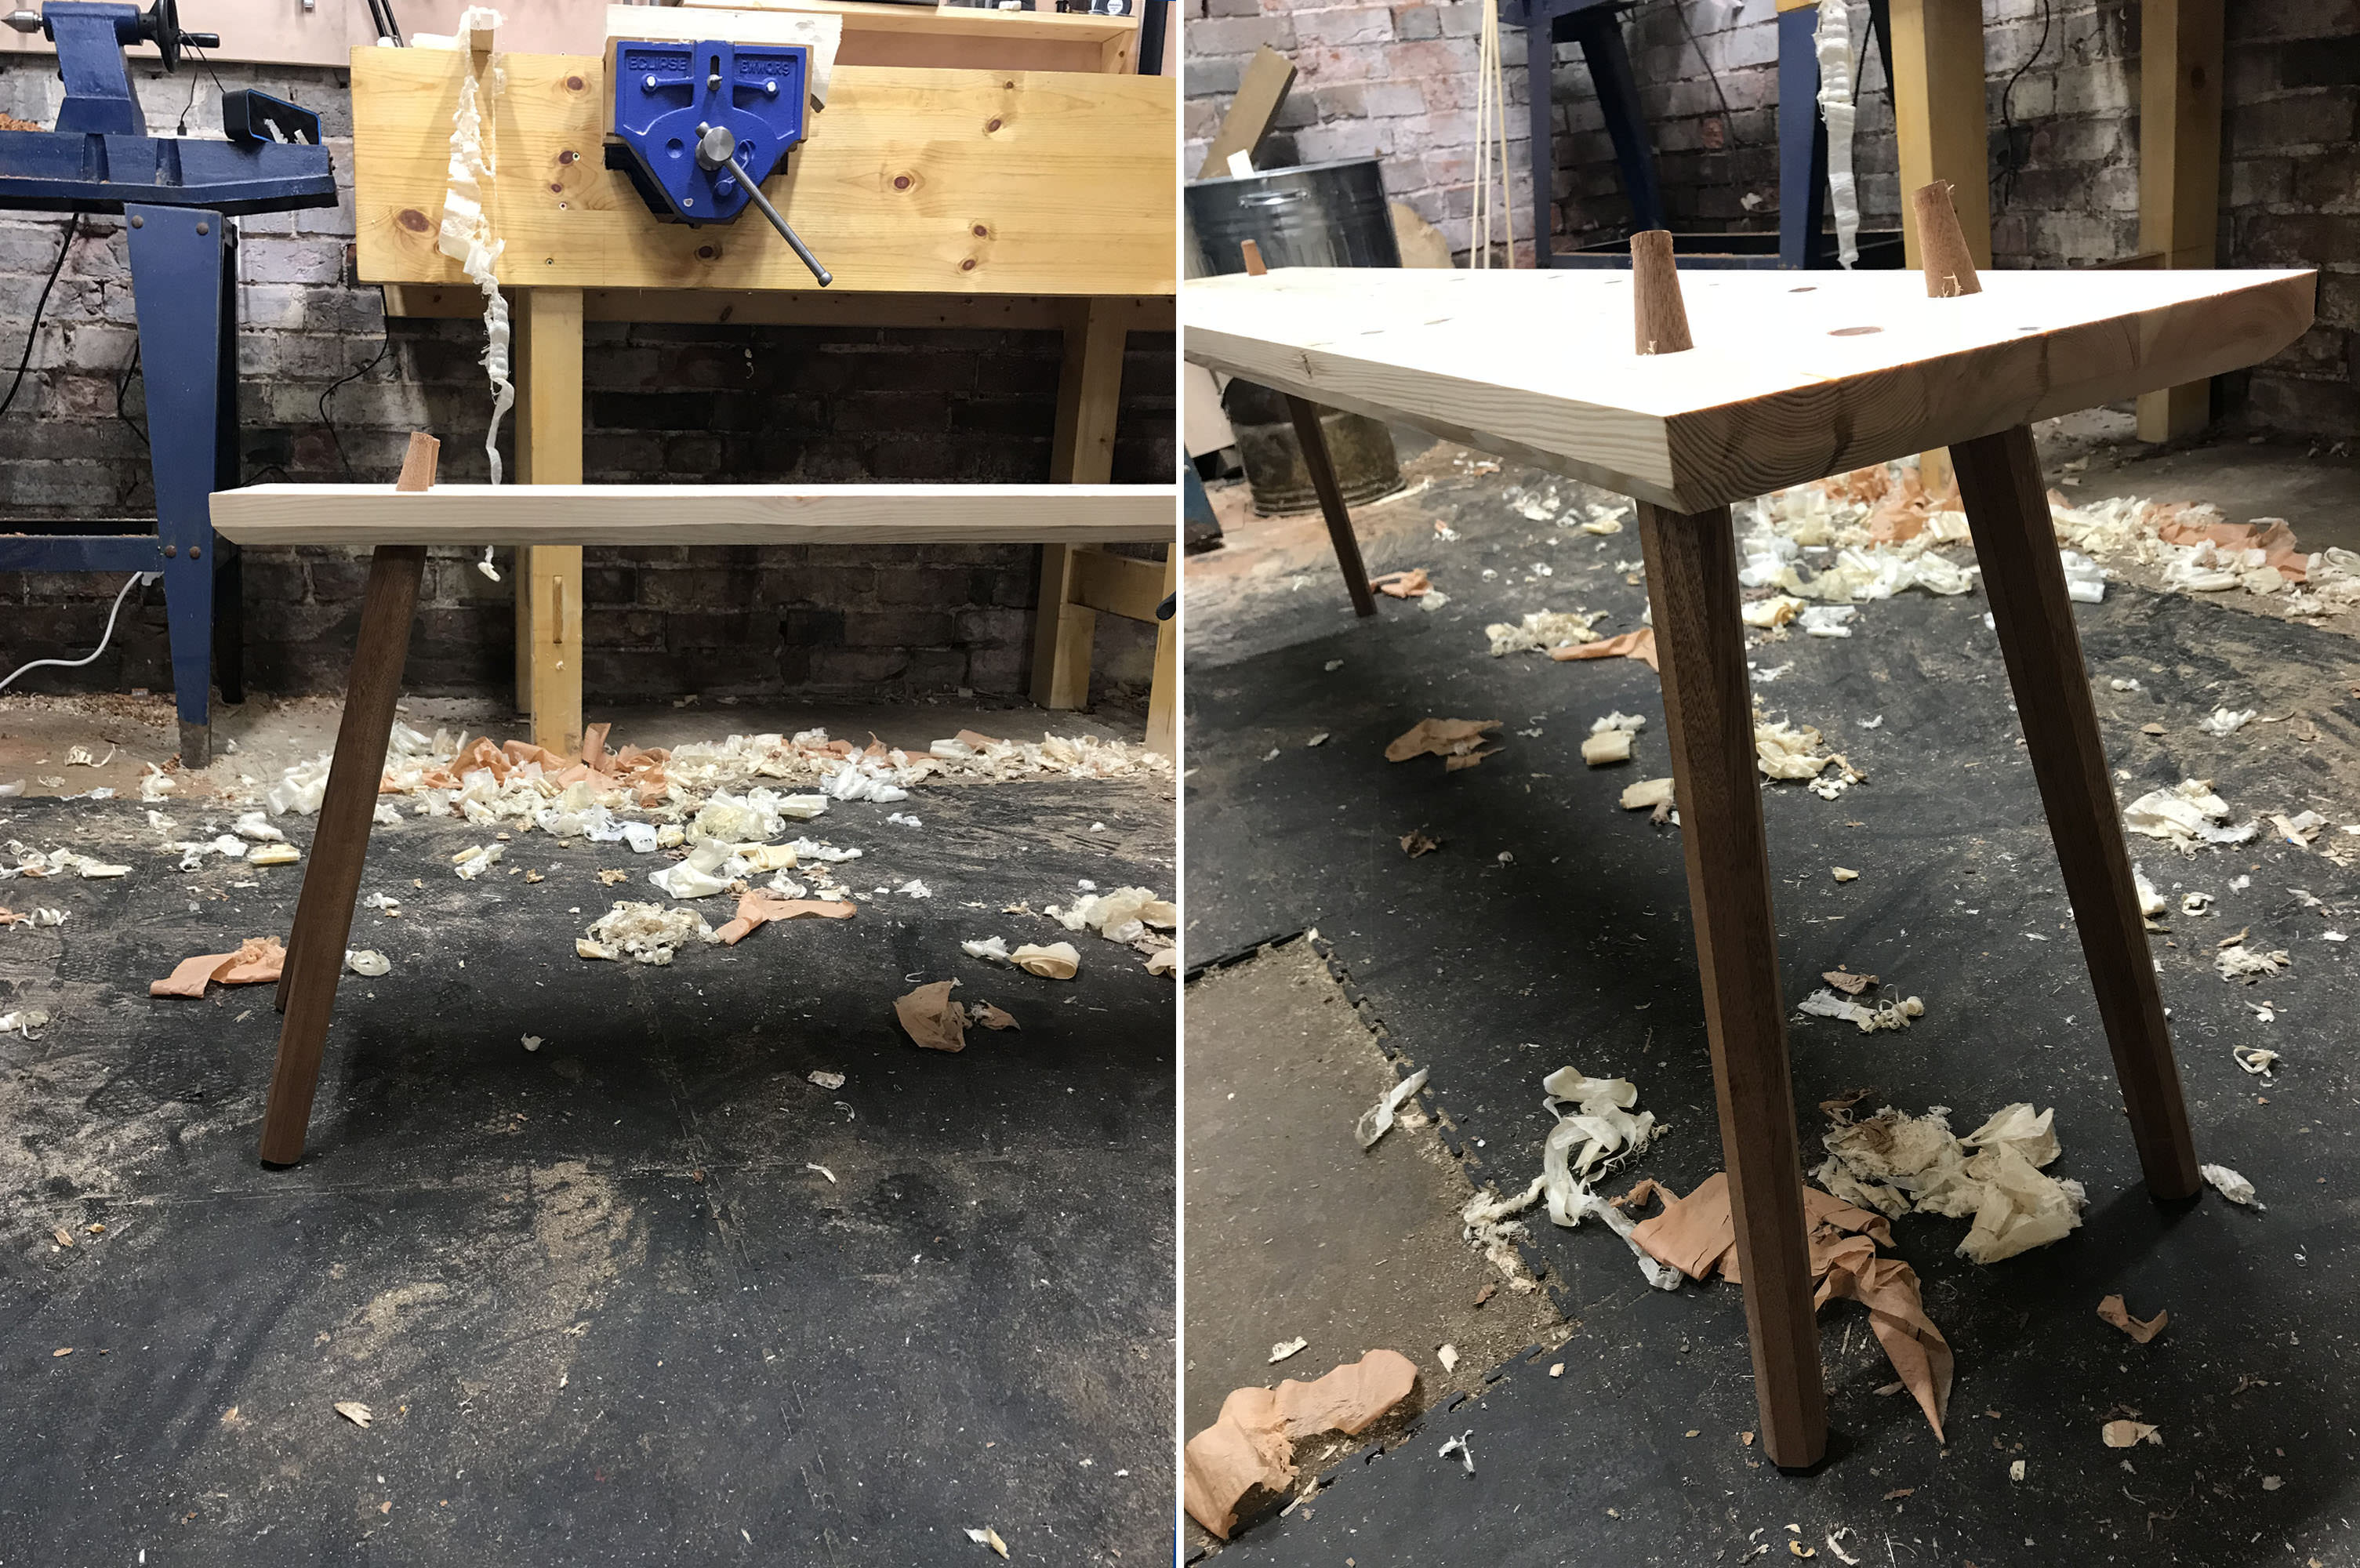
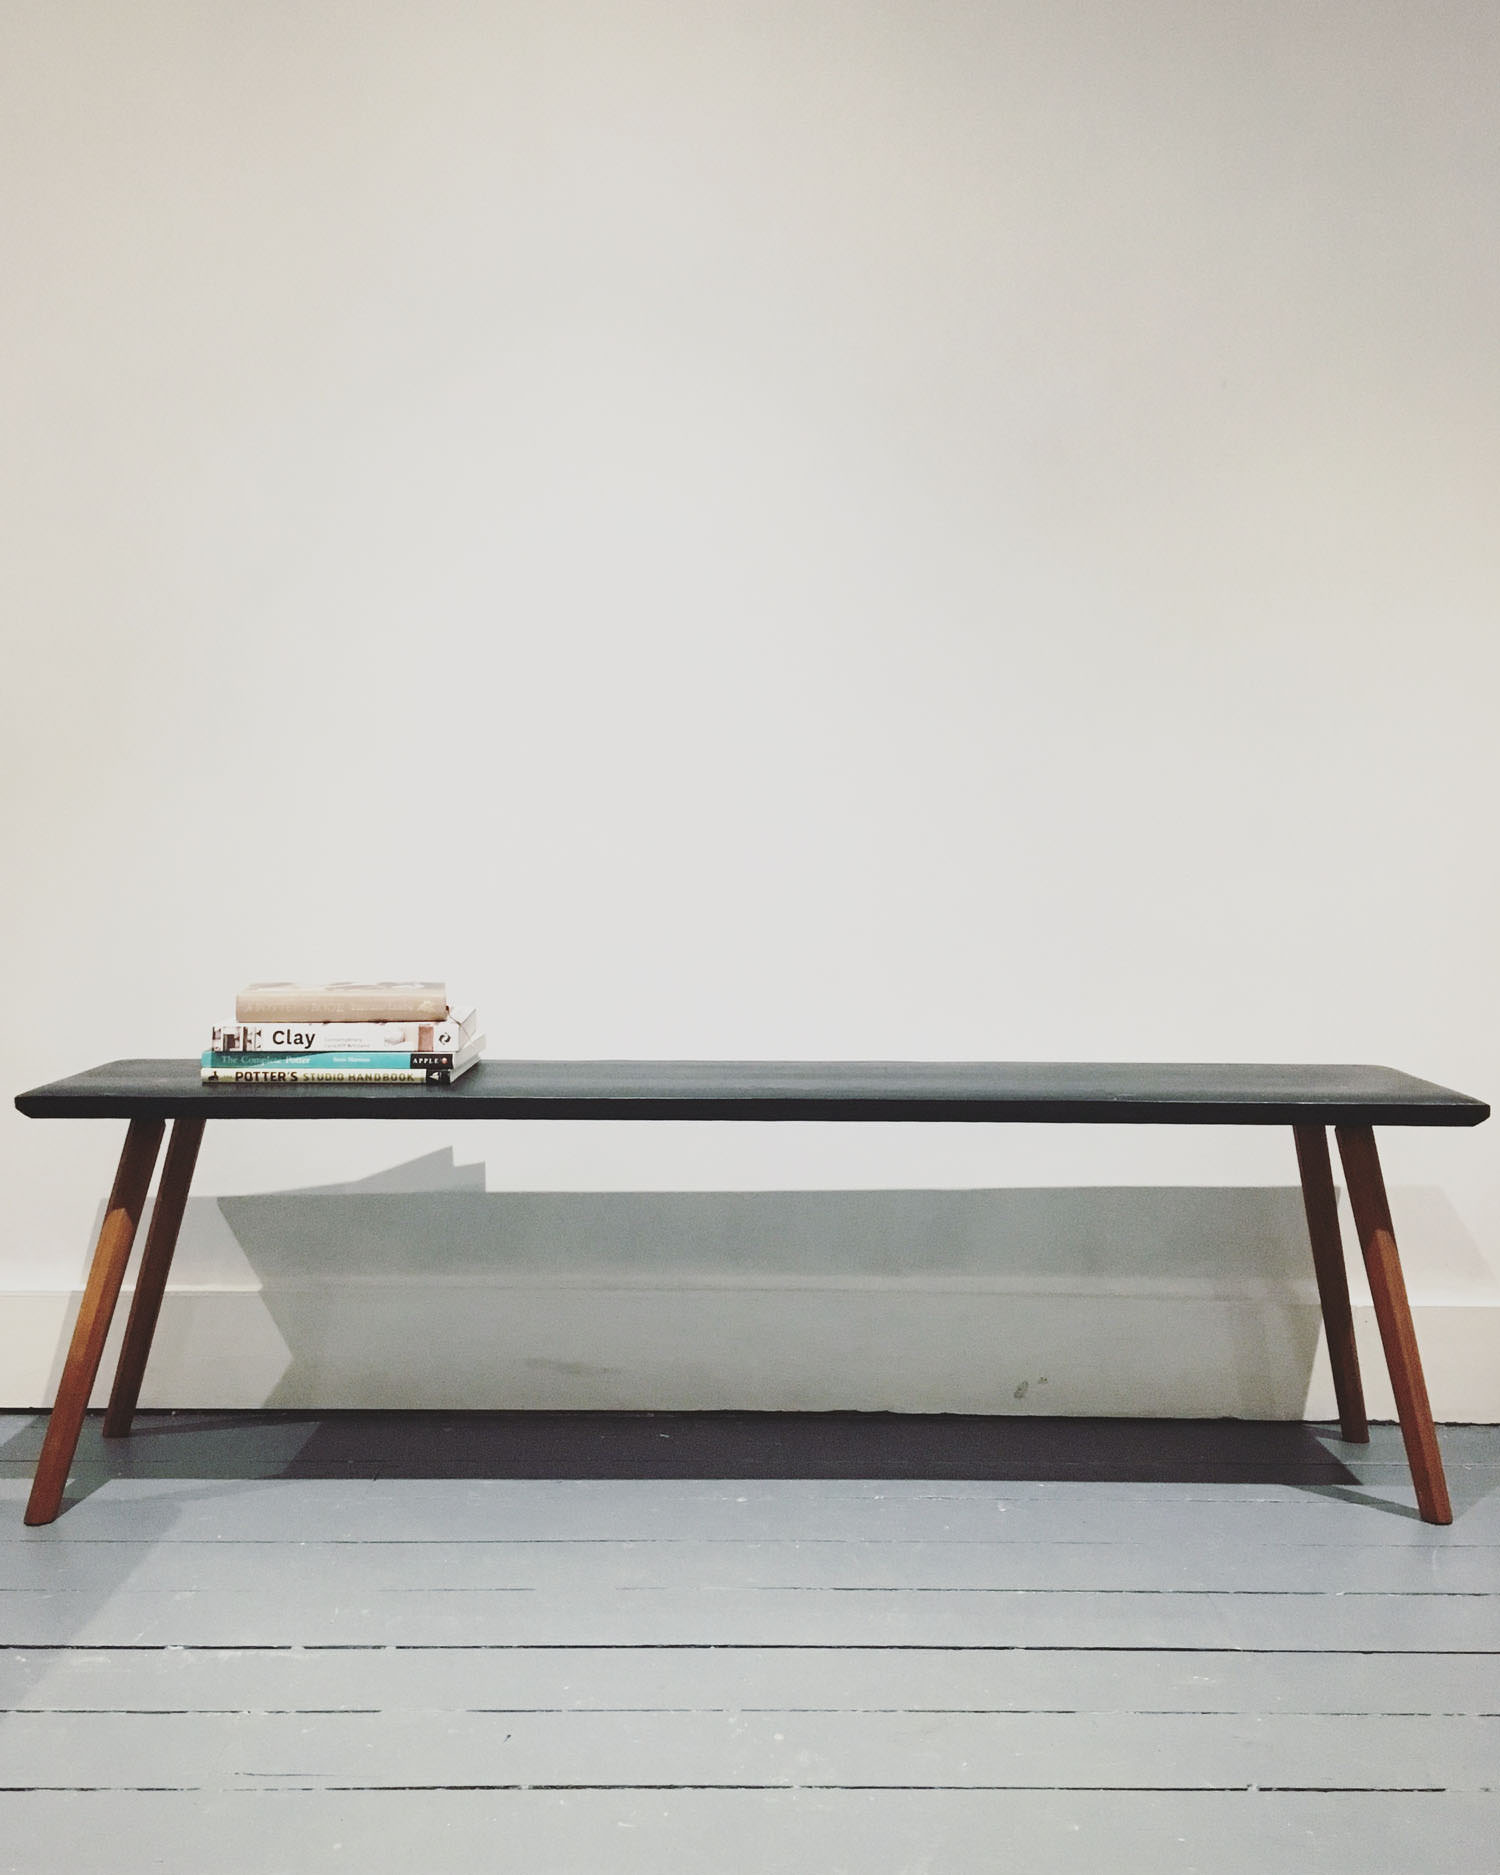
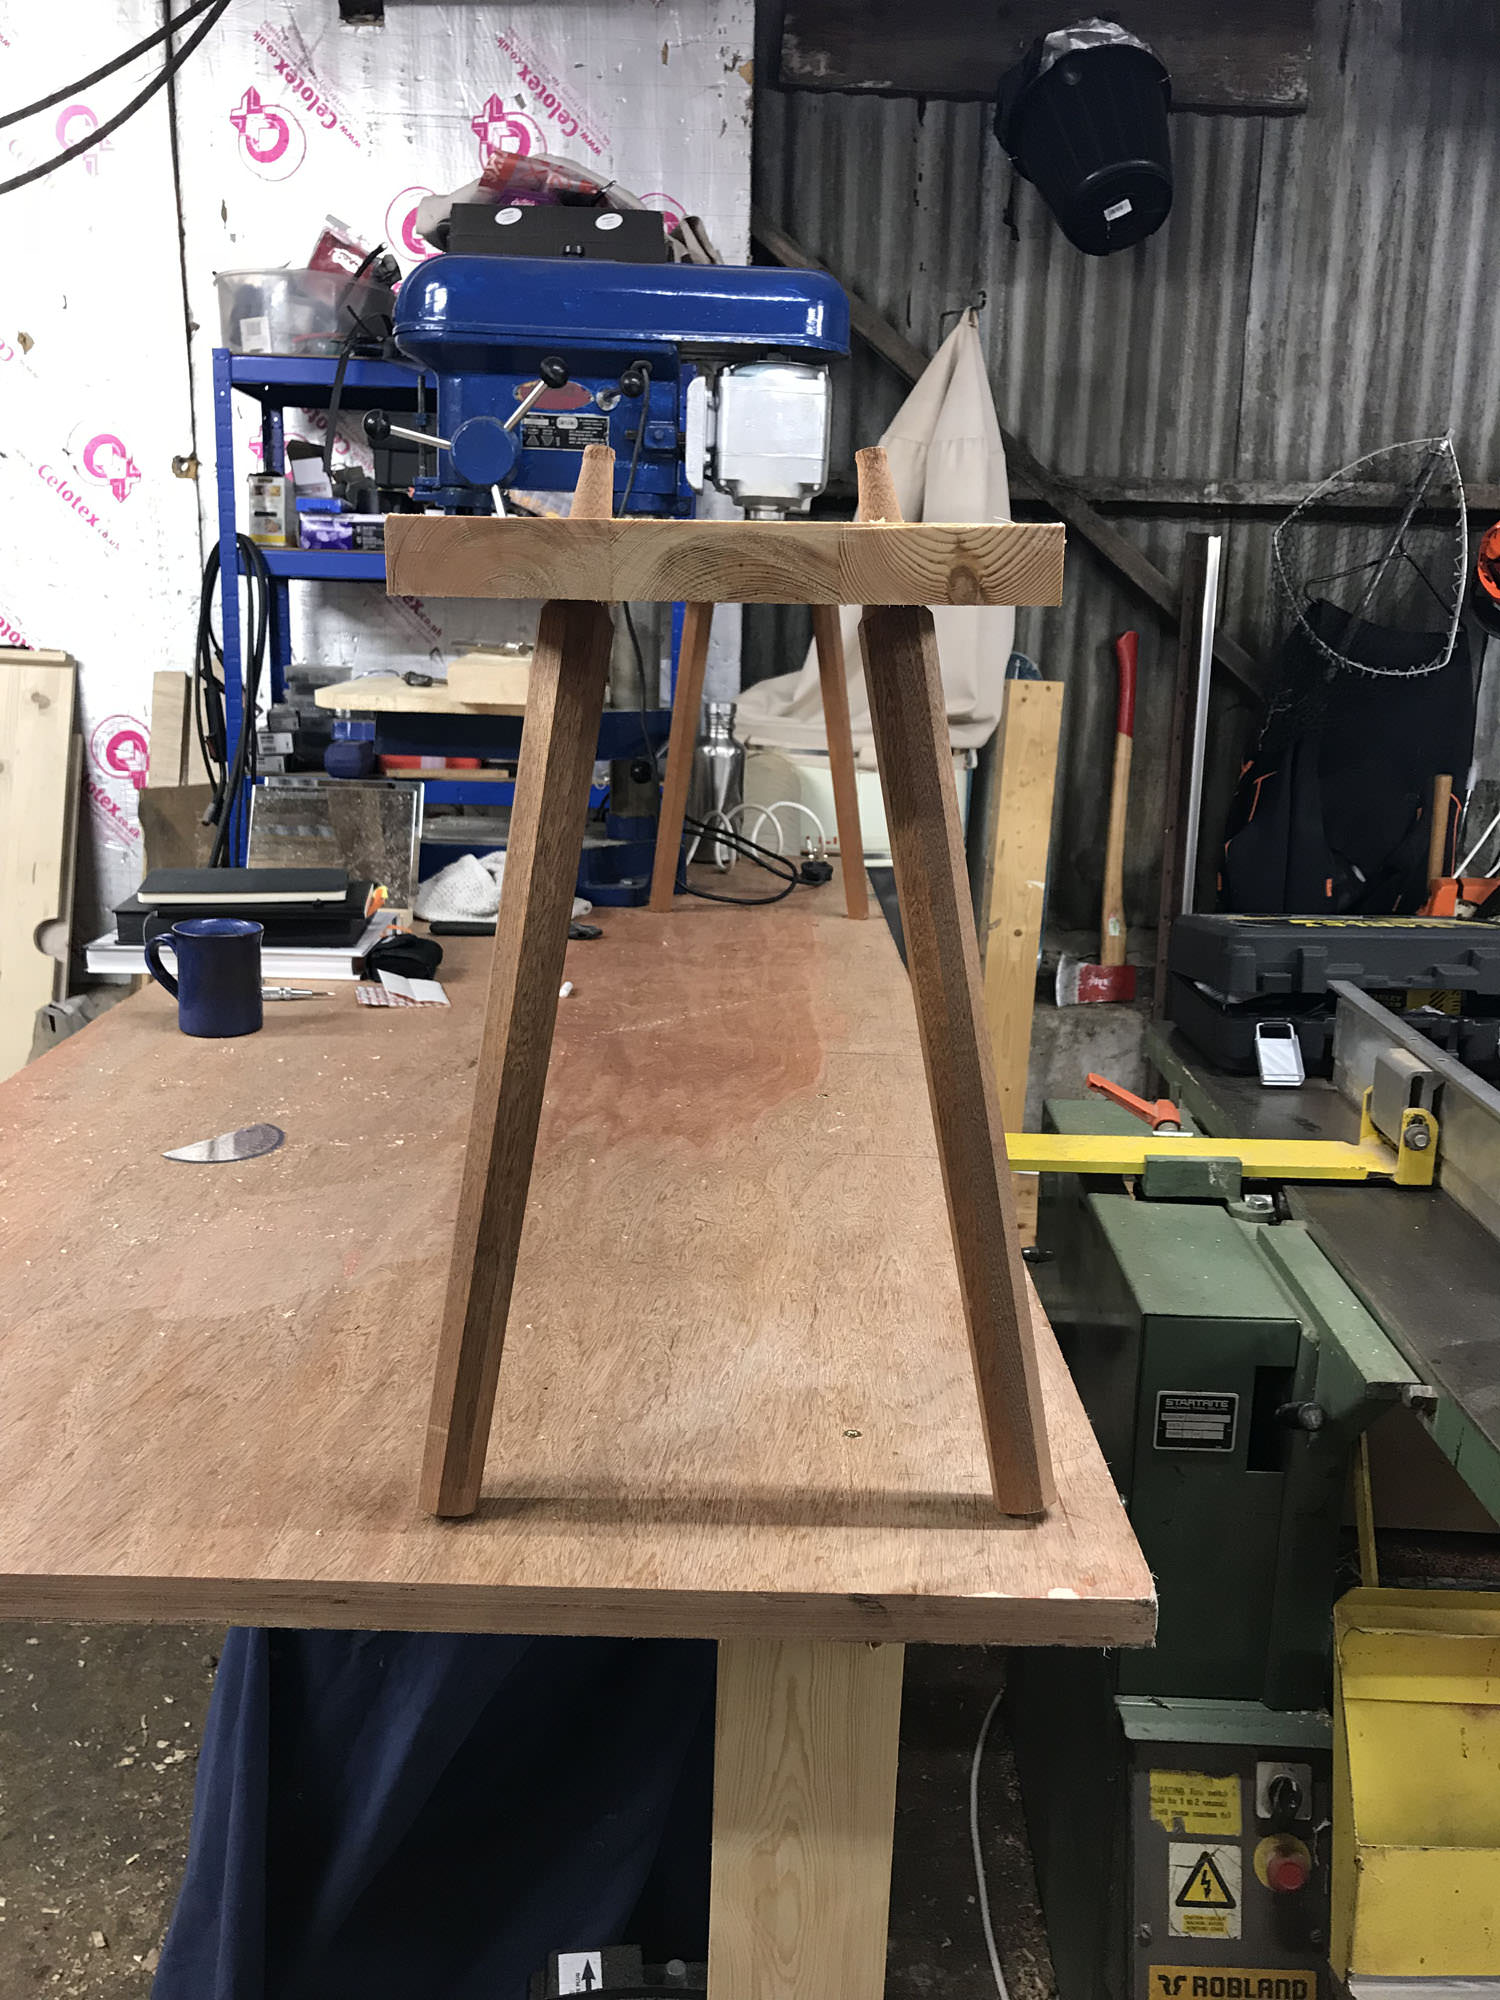
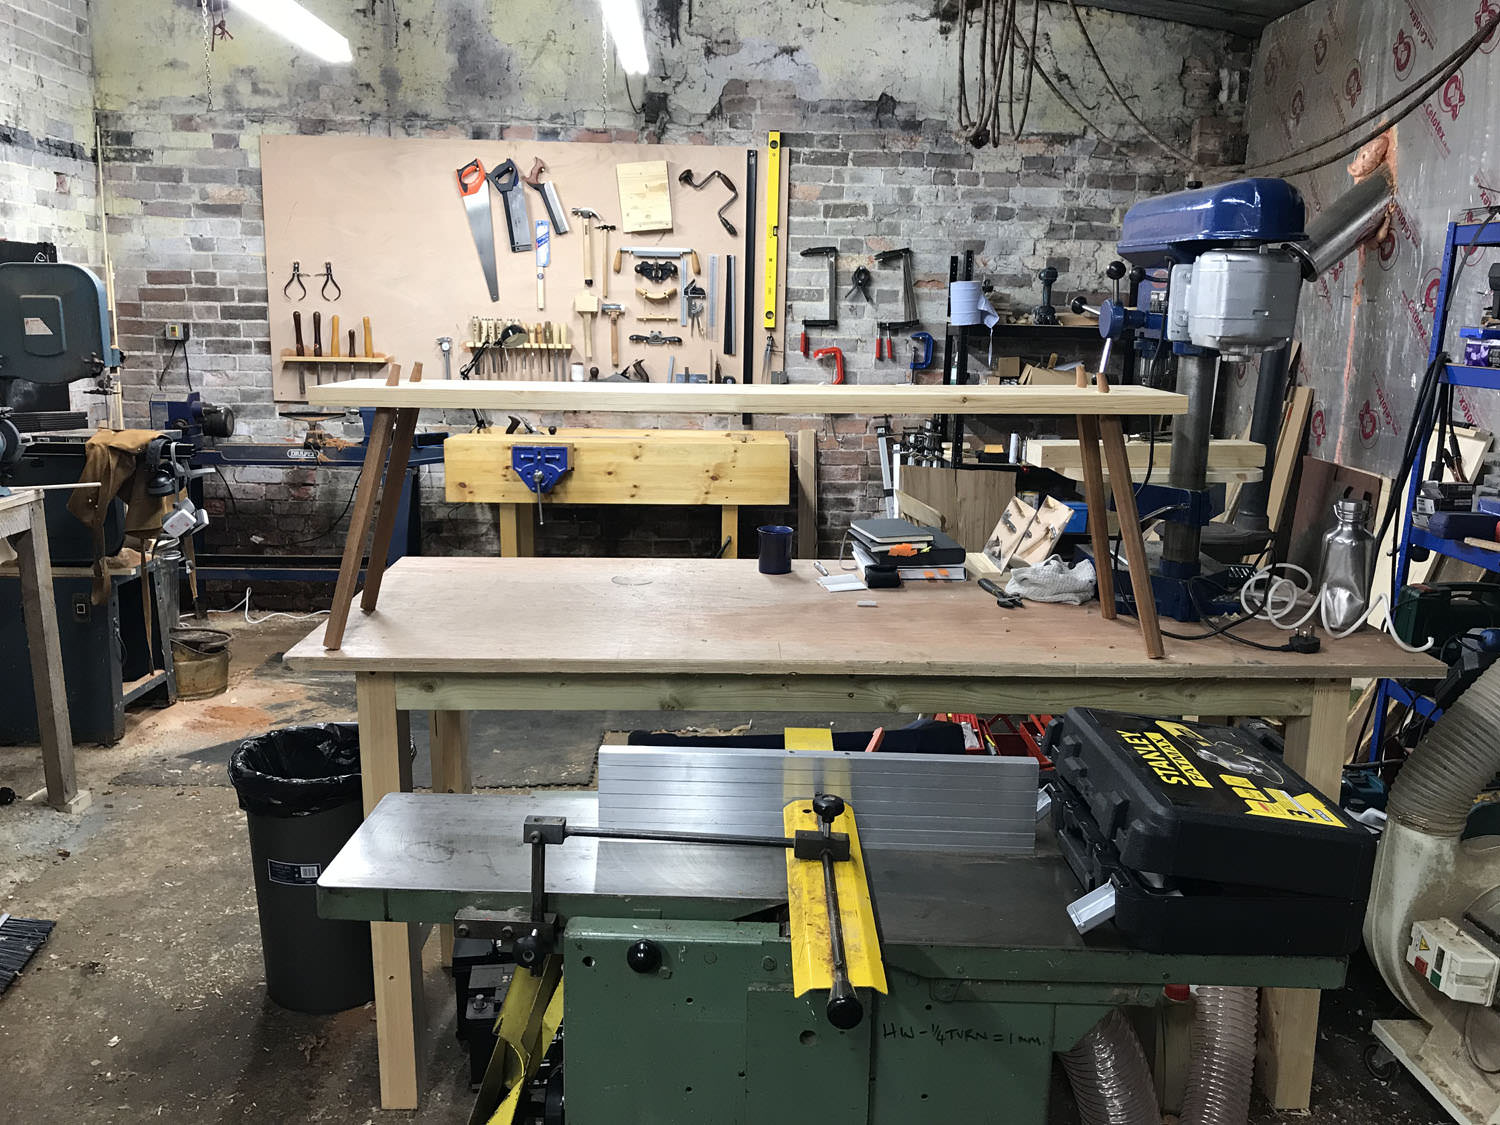
I've been an admirer of Christopher Schwarz's staked furniture for a while, he mentions often about how simple and rudimentary it is and while that may be, I don't think it should be shrugged off quite that easily. It is simple but not unsophisticated and for that I applaud him. As Dieter Rams once said, "good design is as little design as possible". Pretentious but true. So this particular bench is a sort of mix between Chris's sawbenches and one of his Roman benches.

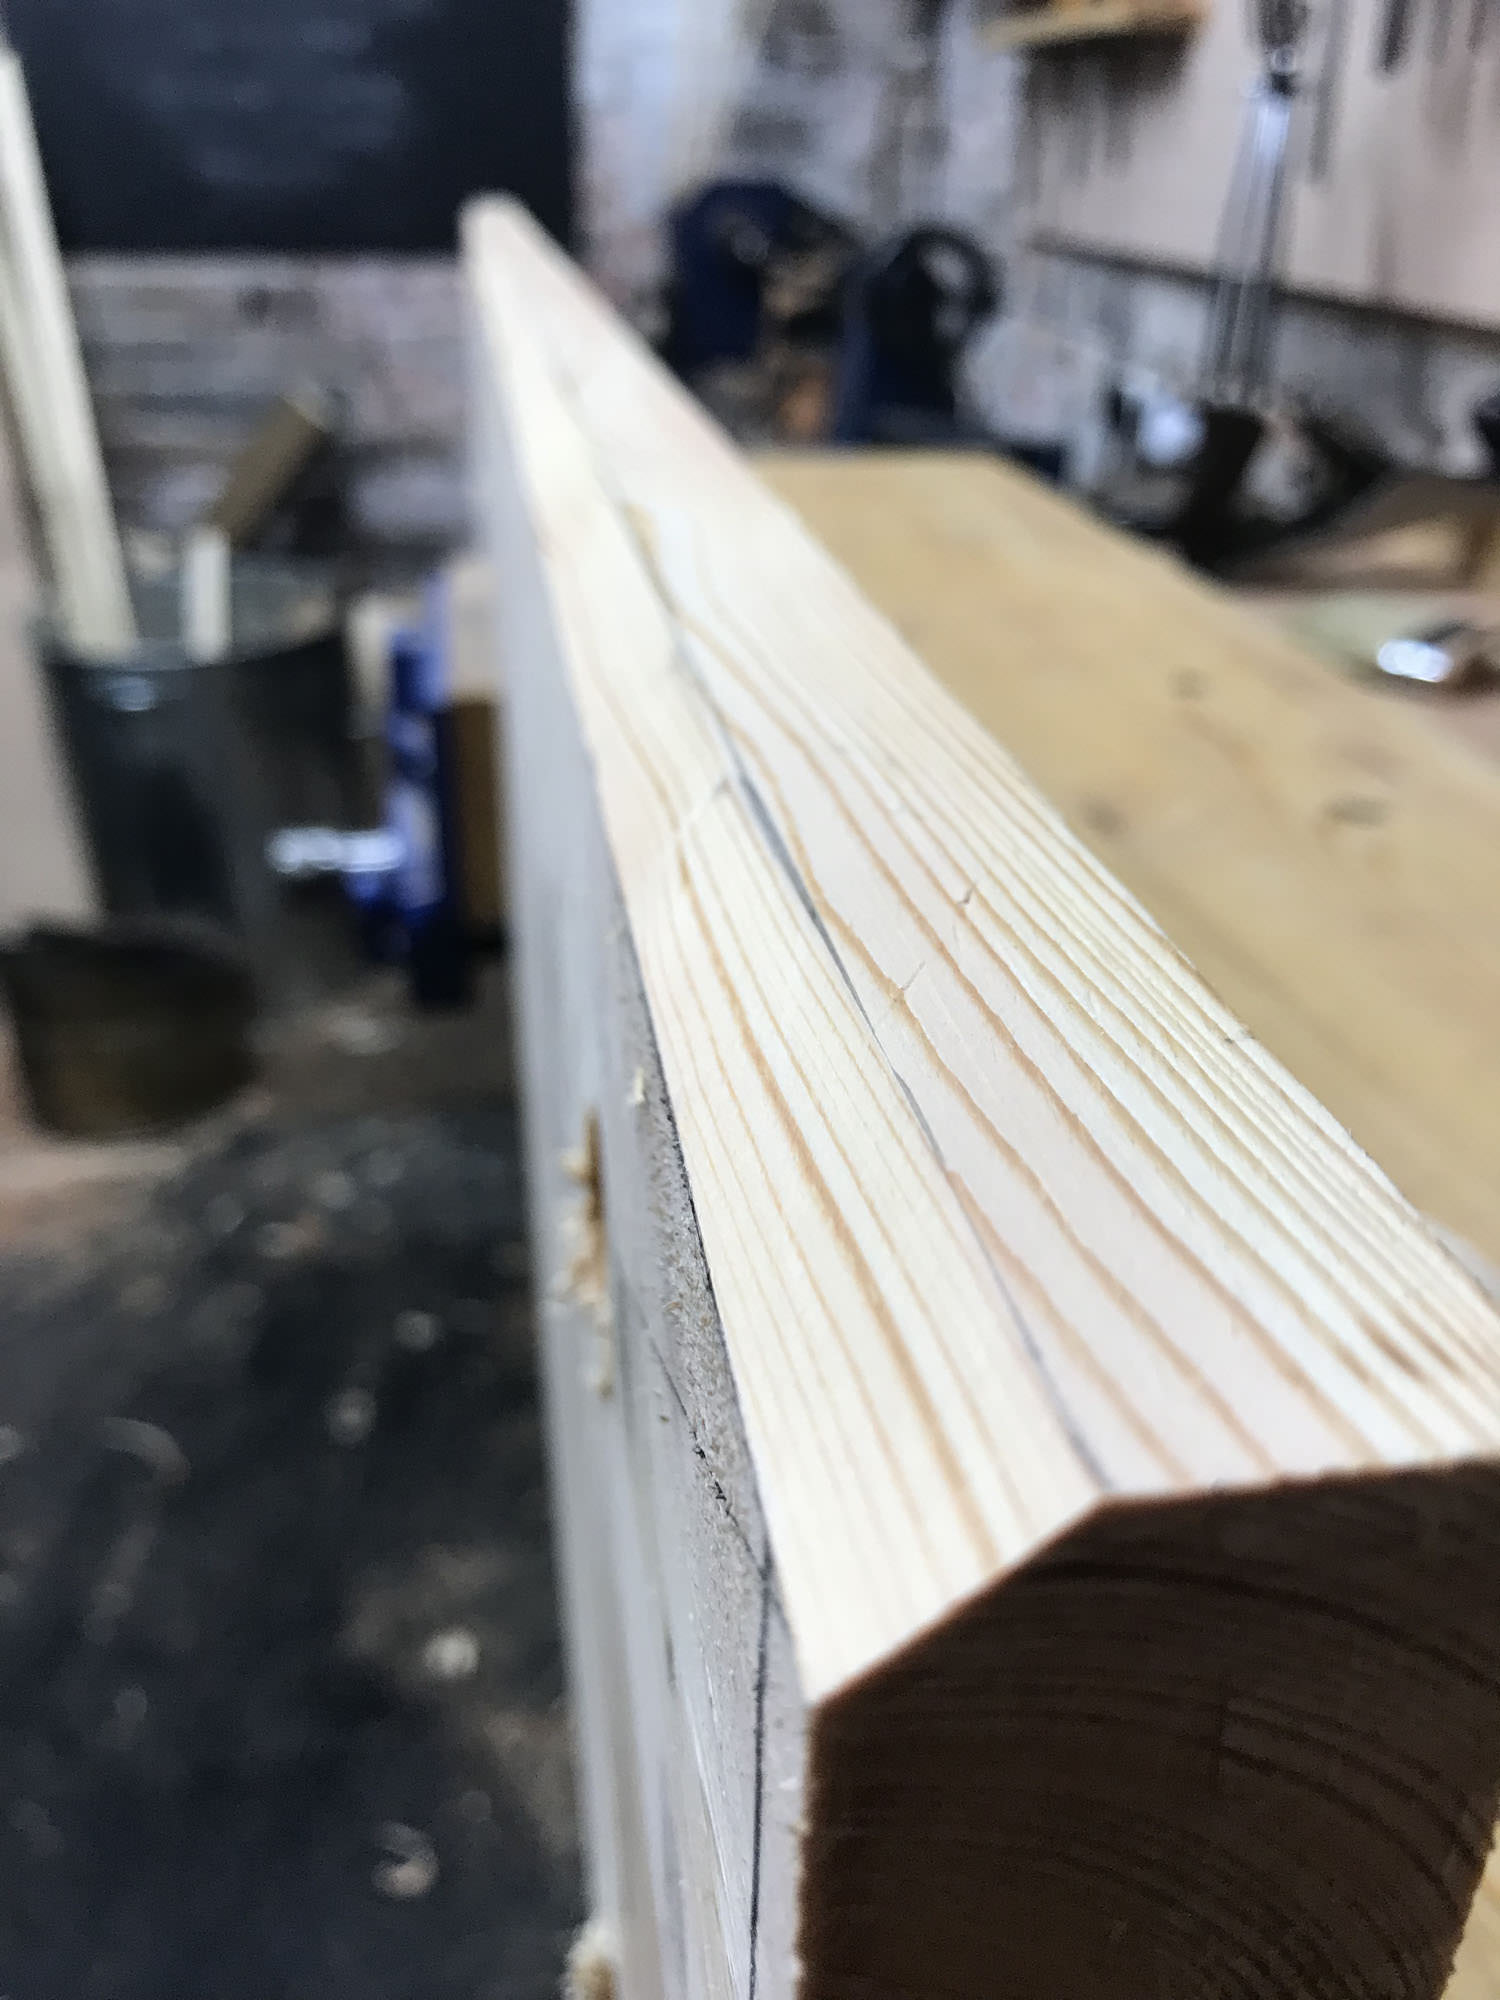
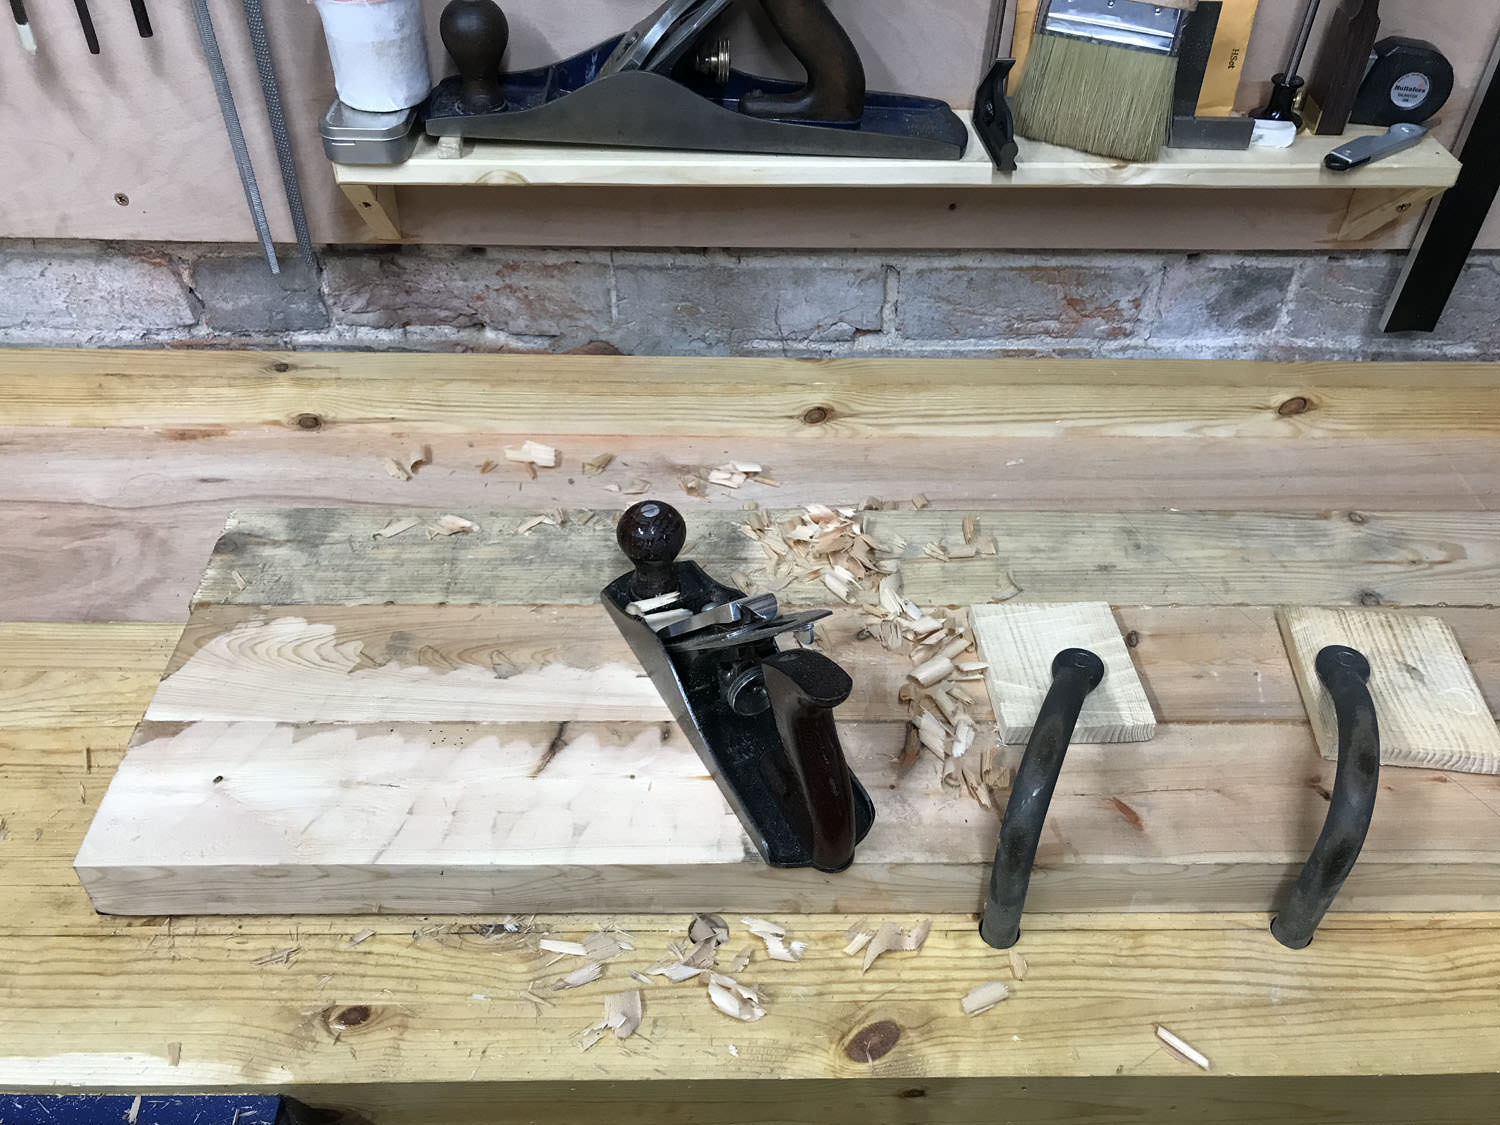
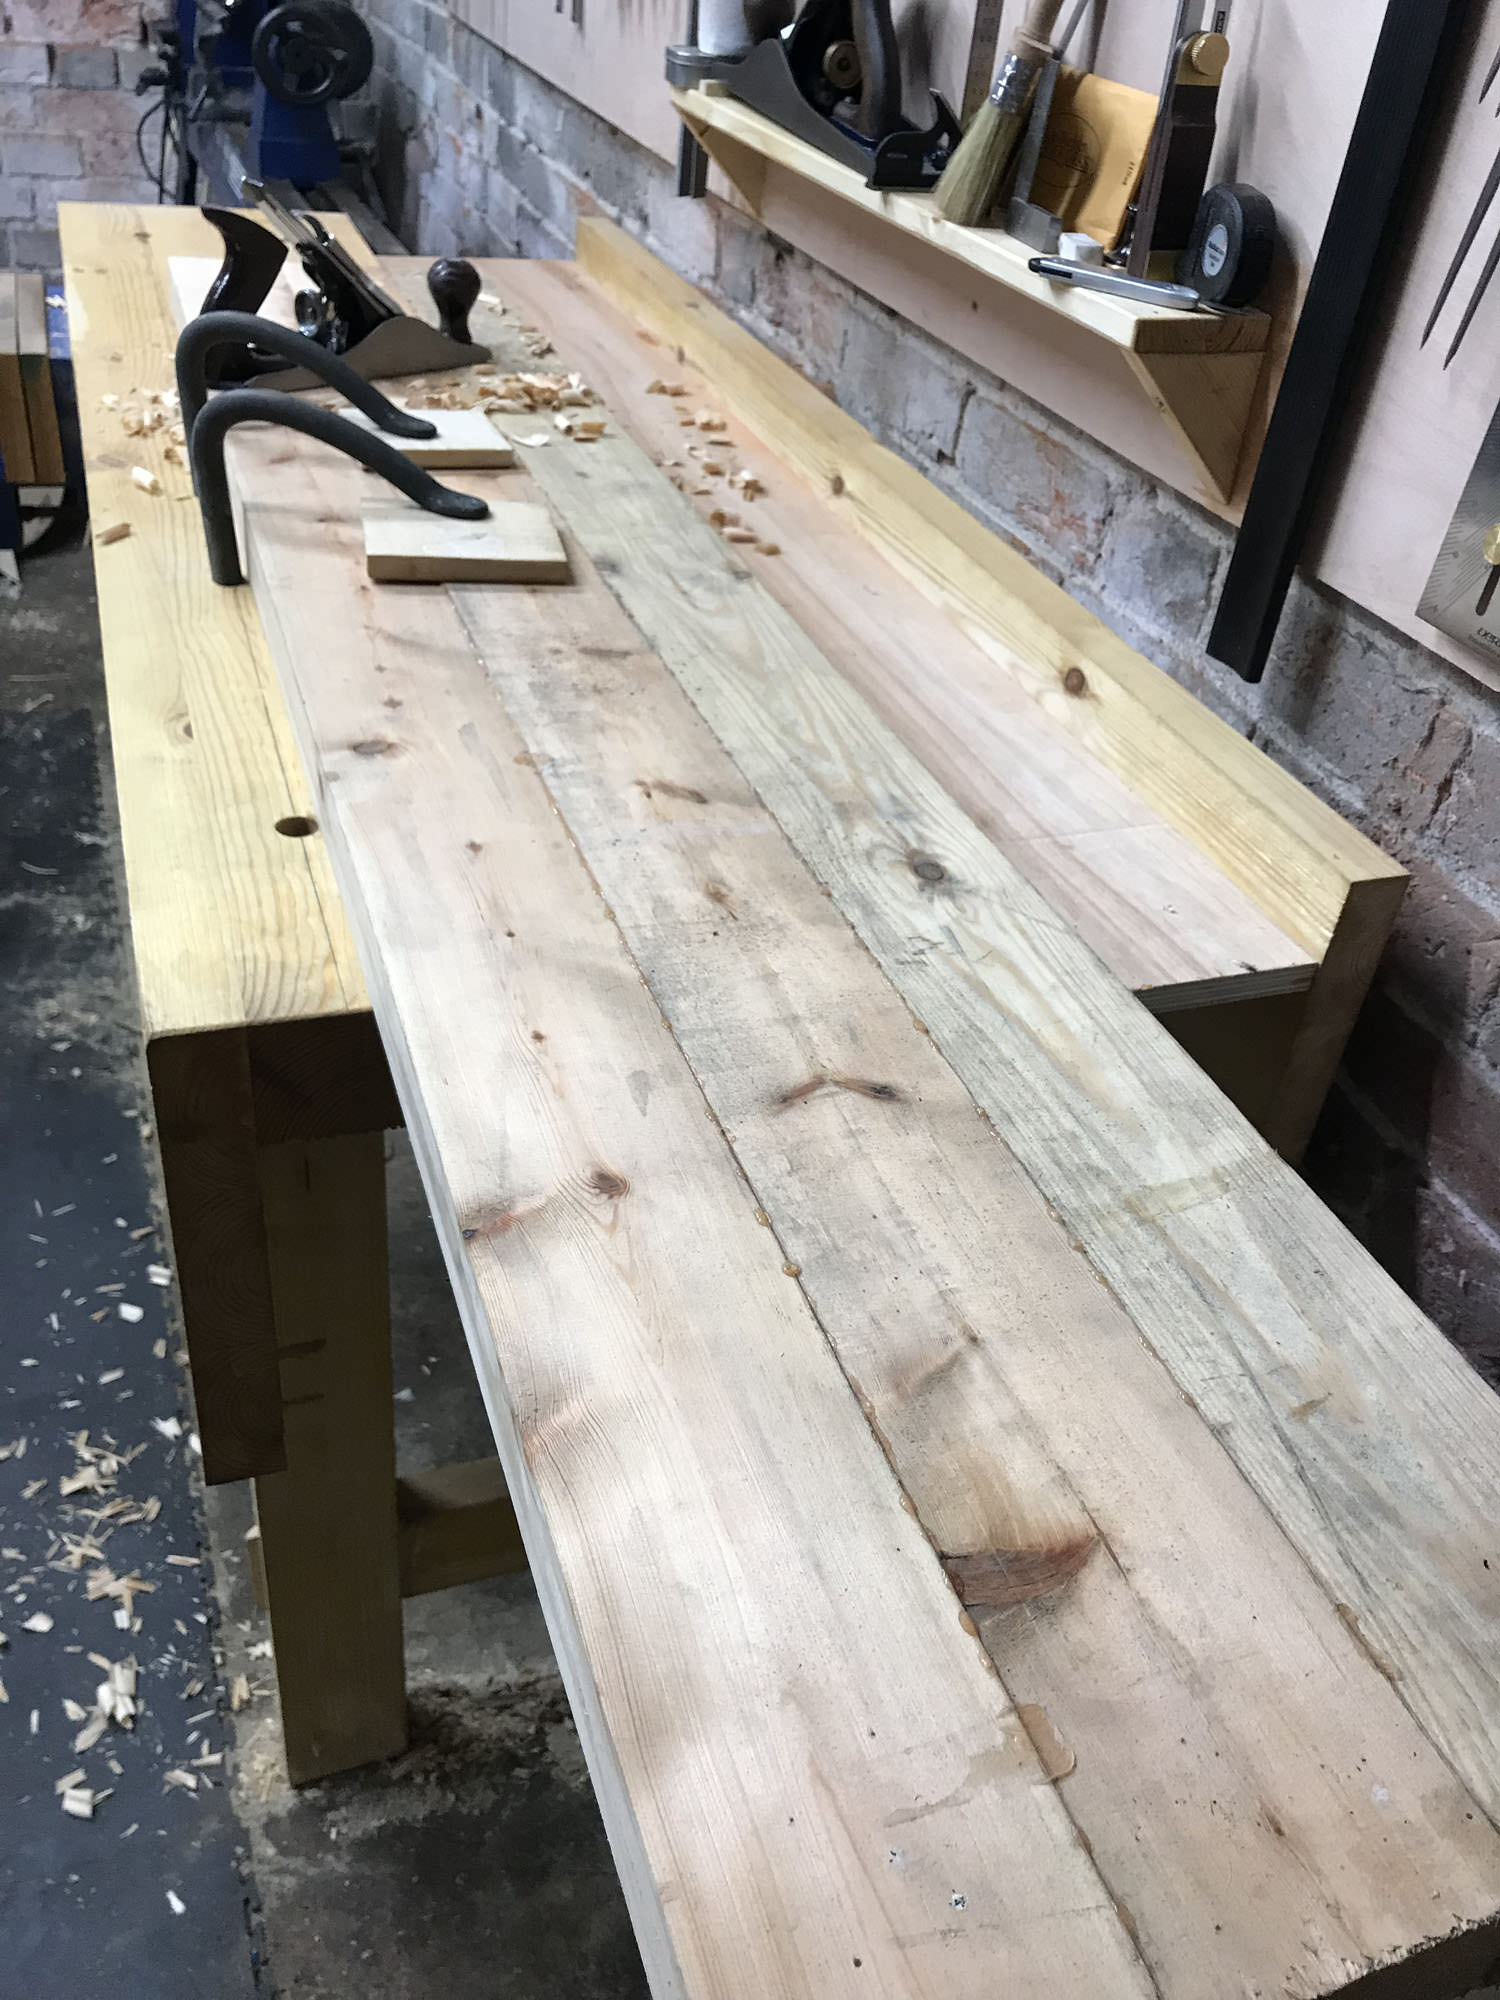
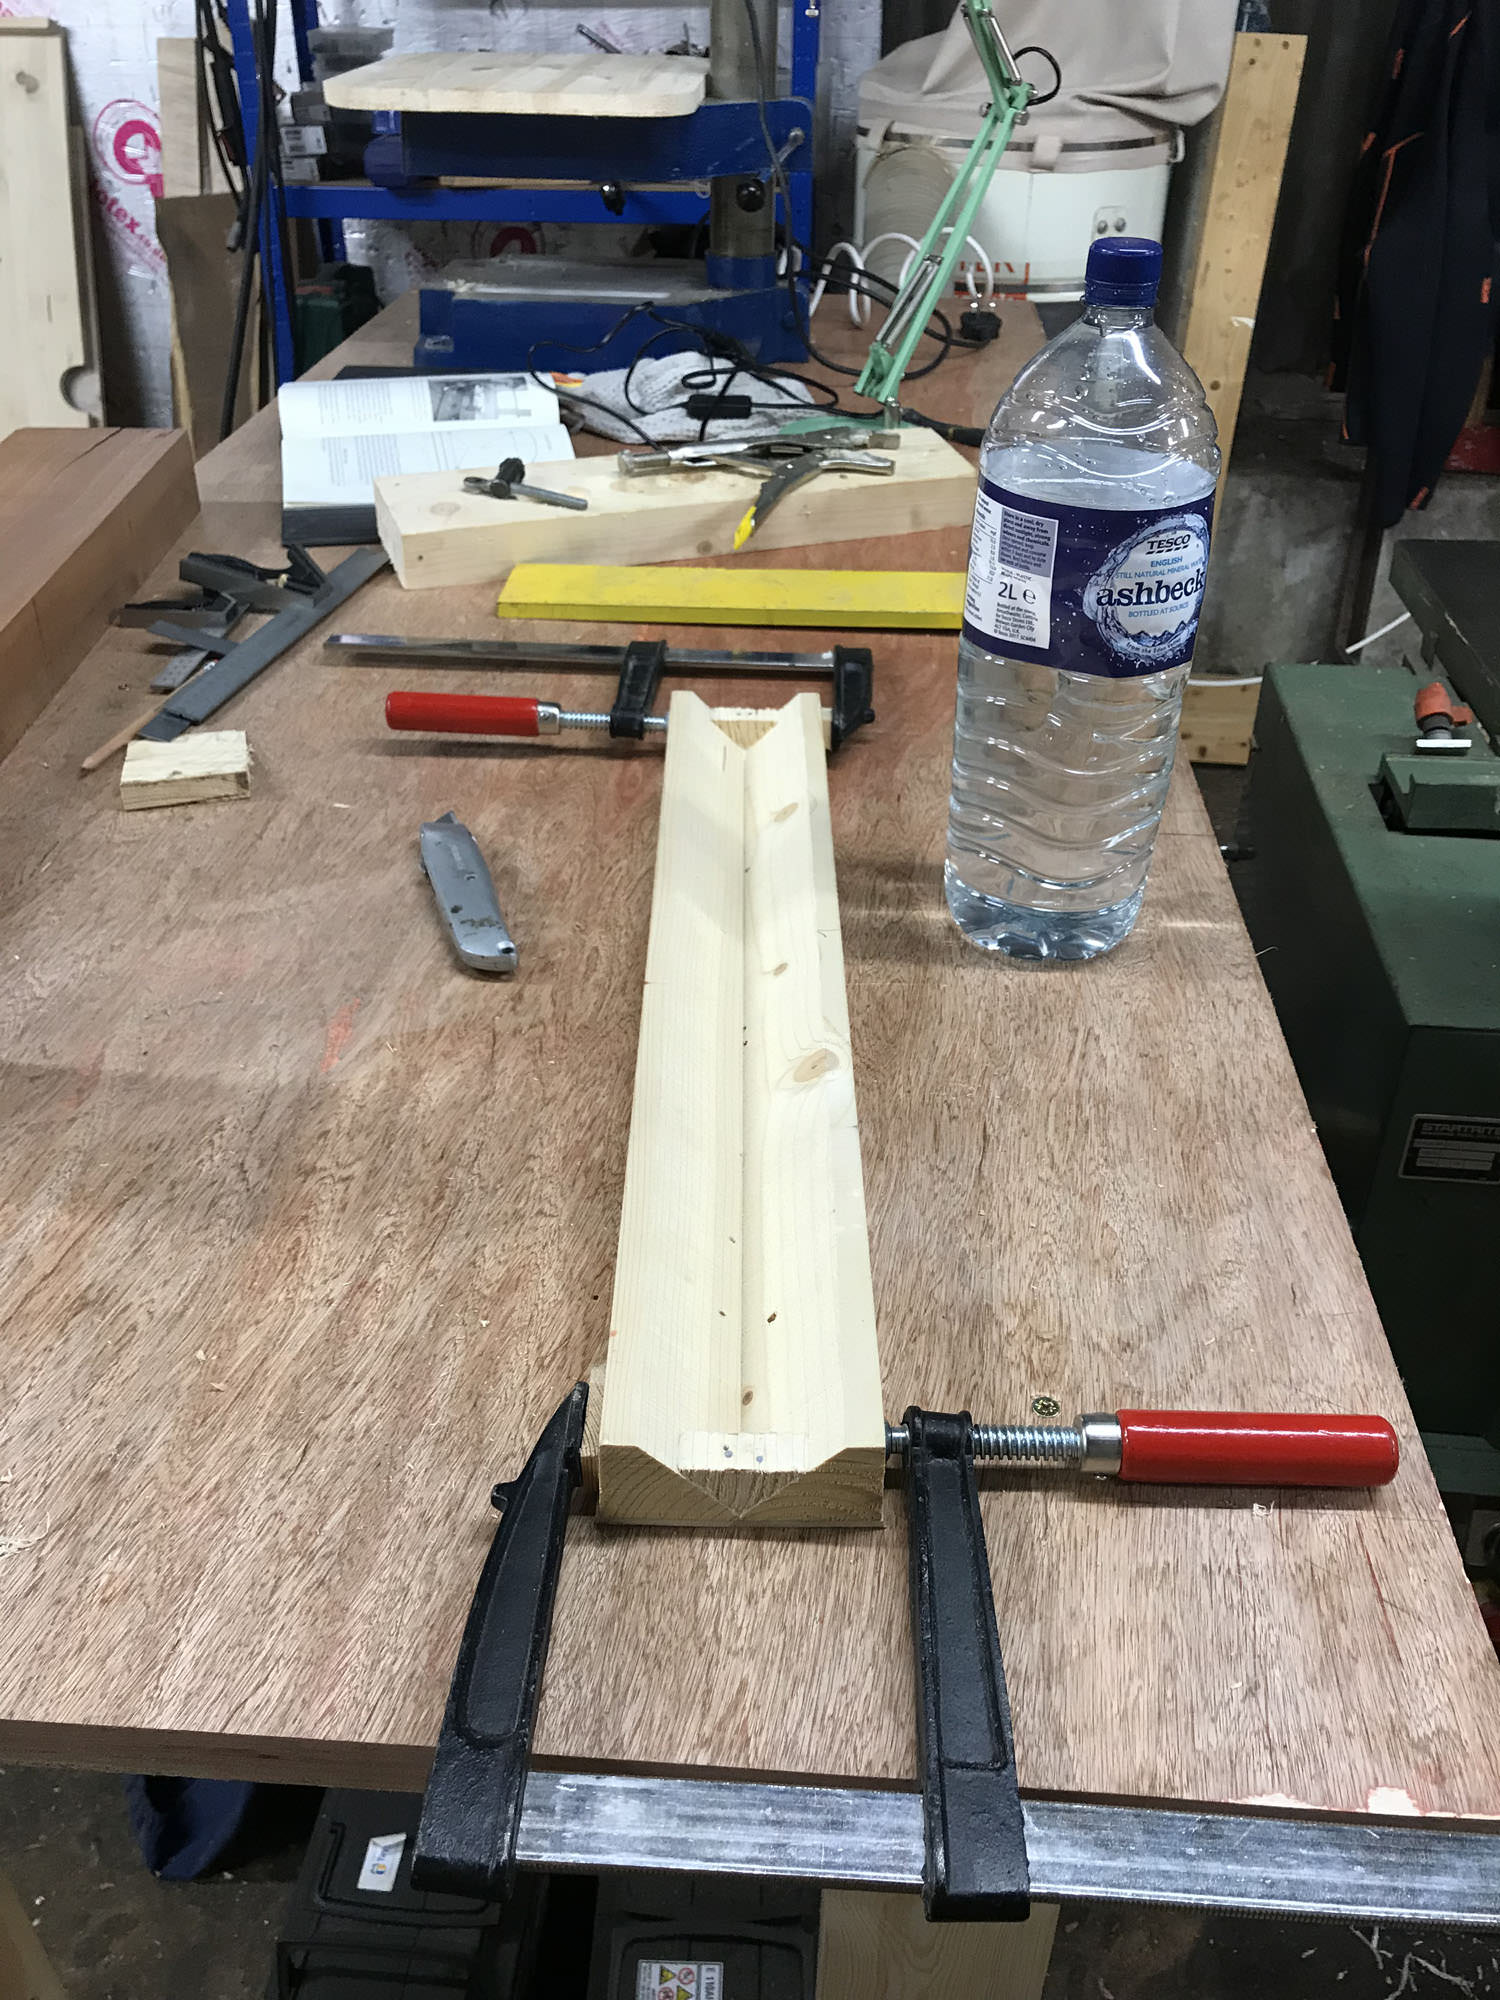
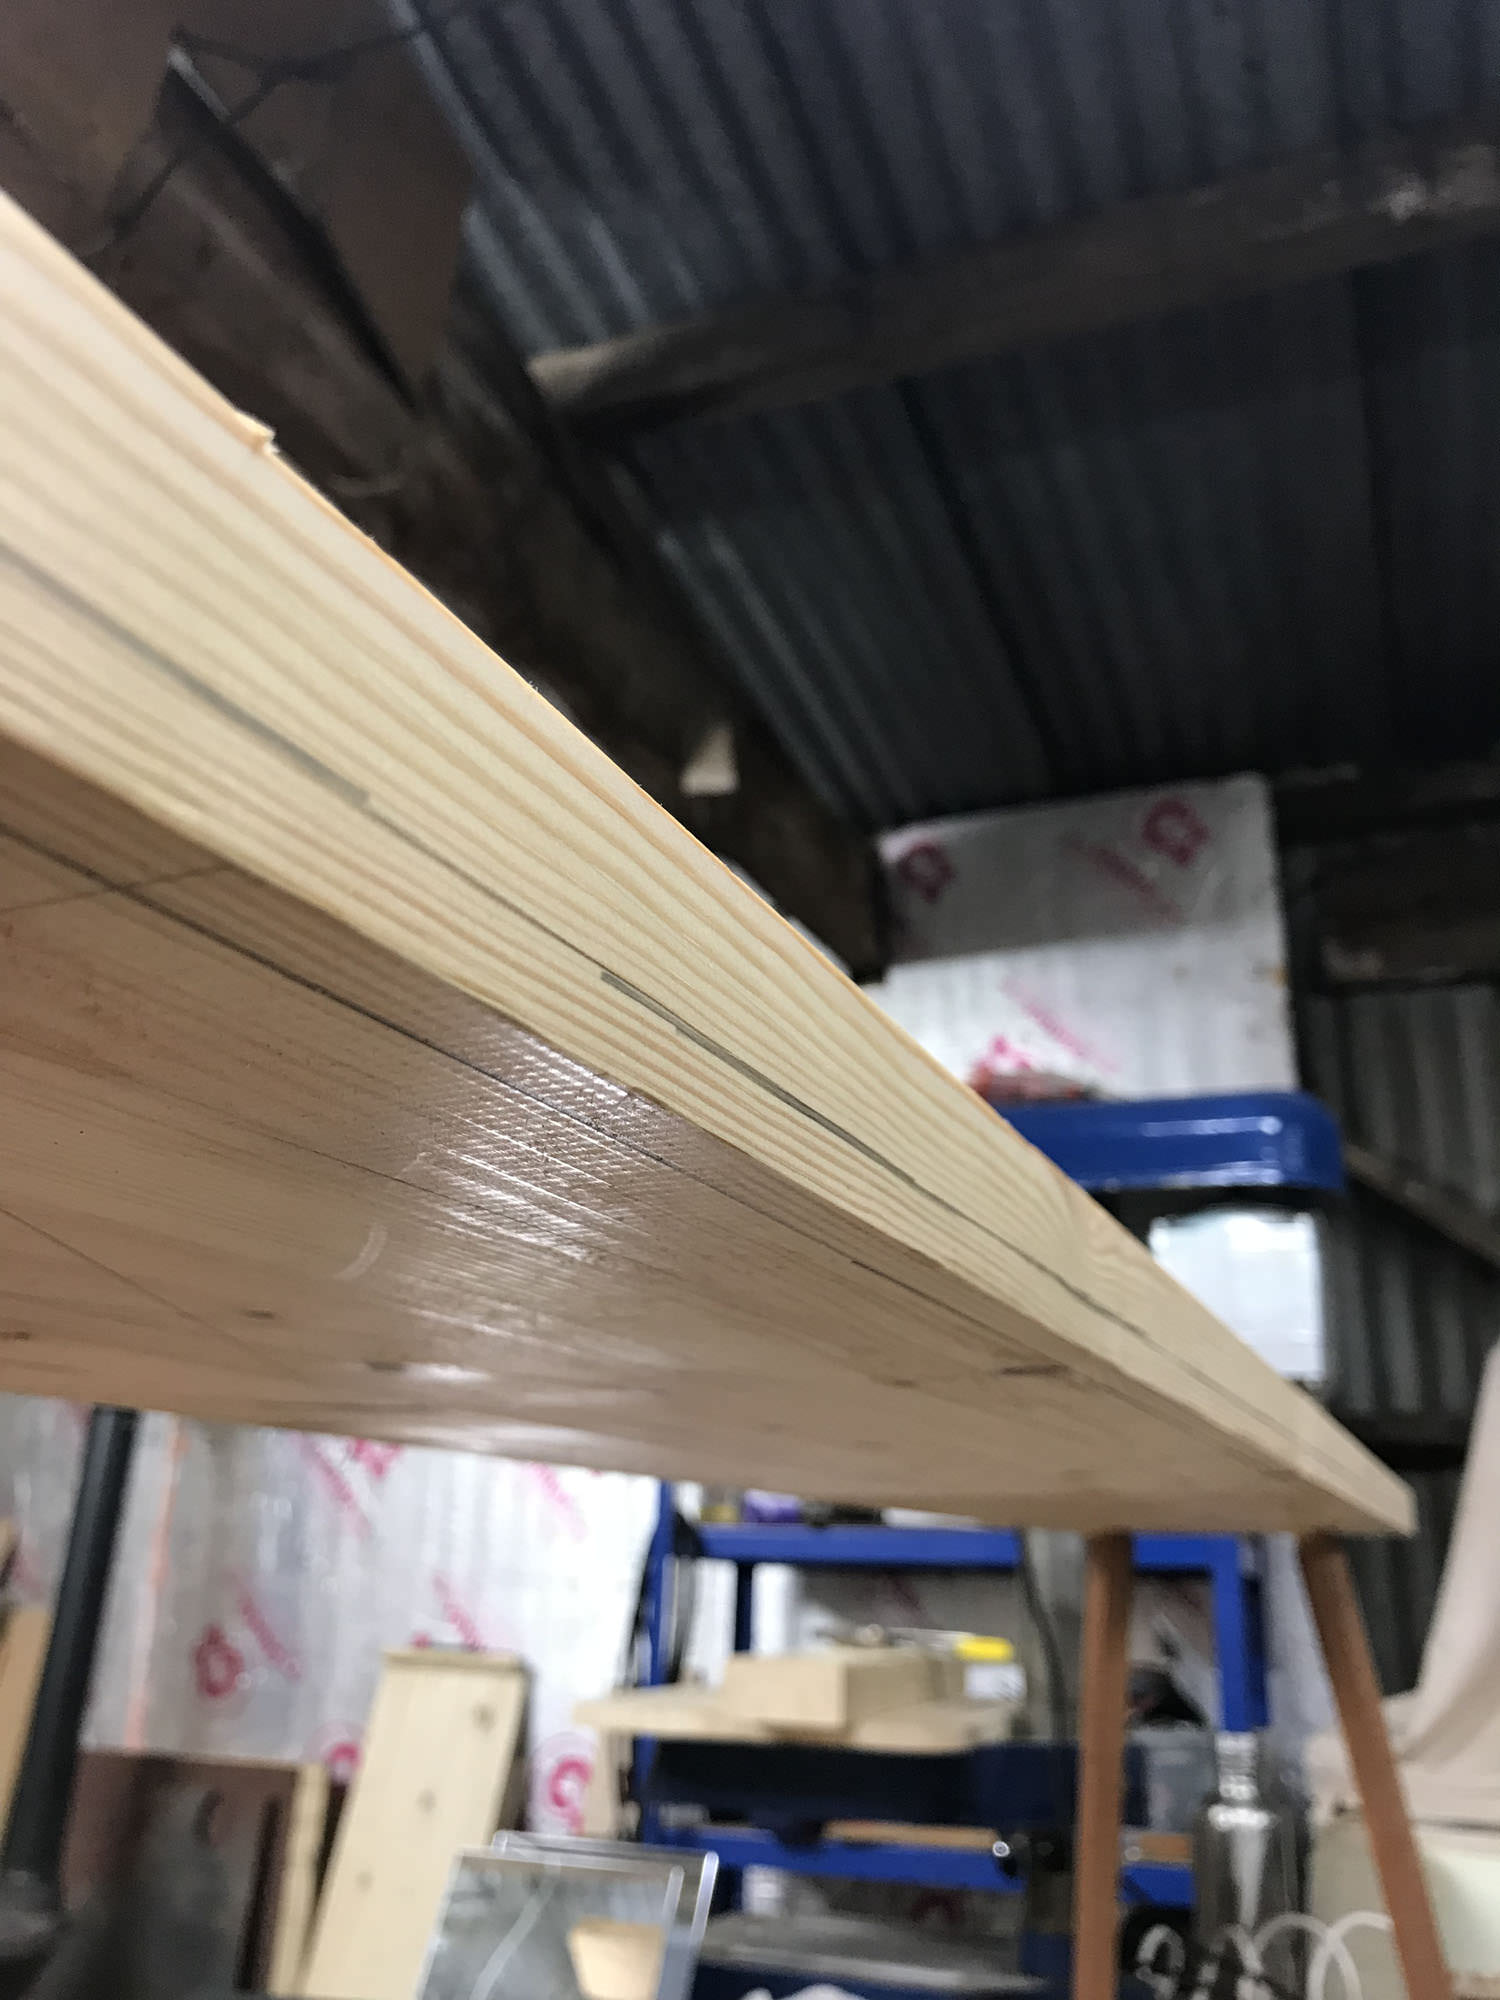
I started by scrubbing the twist out of this ugly board using a Stanley No. 4 converted into a very effective scrub plane. It should be noted that had I not just picked up a planer thicknesser, I would not be doing this at all. I love hand tools as much as the next nerd but the idea of flattening some dirty old pine by hand didn't really move me.

OOs2paG.jpg


RLegrPV.jpg


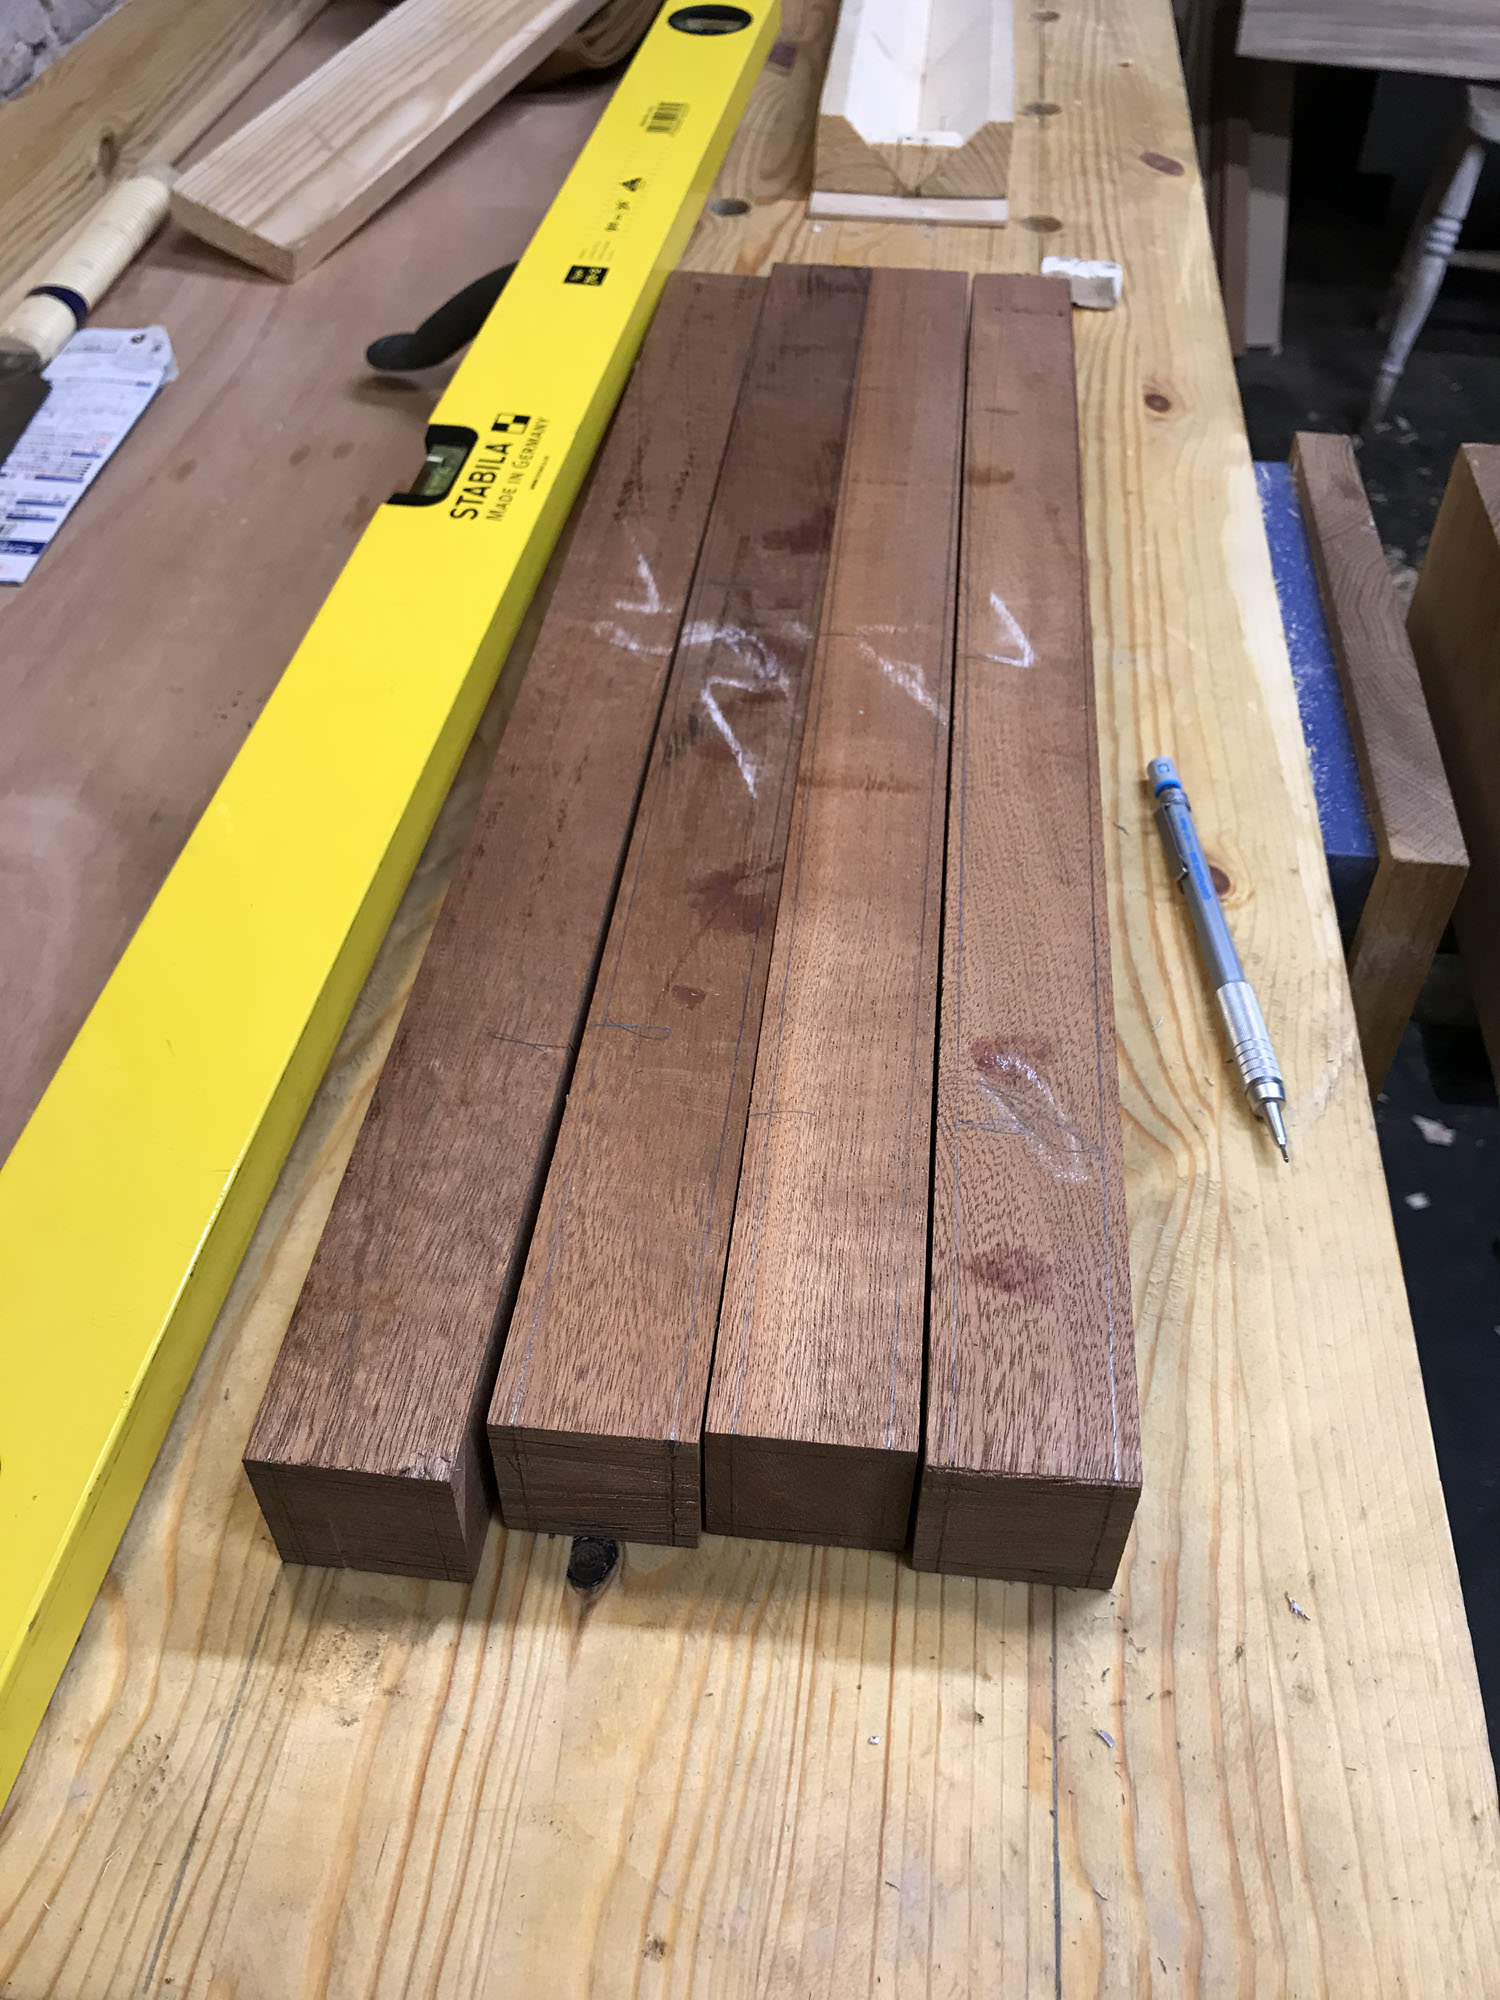
I took a trip to the timber merchant to get something for the legs. I was hoping for Ash but all they had was a giant slab of it that was expensive and not particularly straight grained. However, next to it was a smaller piece of Sapele, just the right size to make four legs. I had not used Sapele for anything before so this seemed as a good a time as any to try it out.

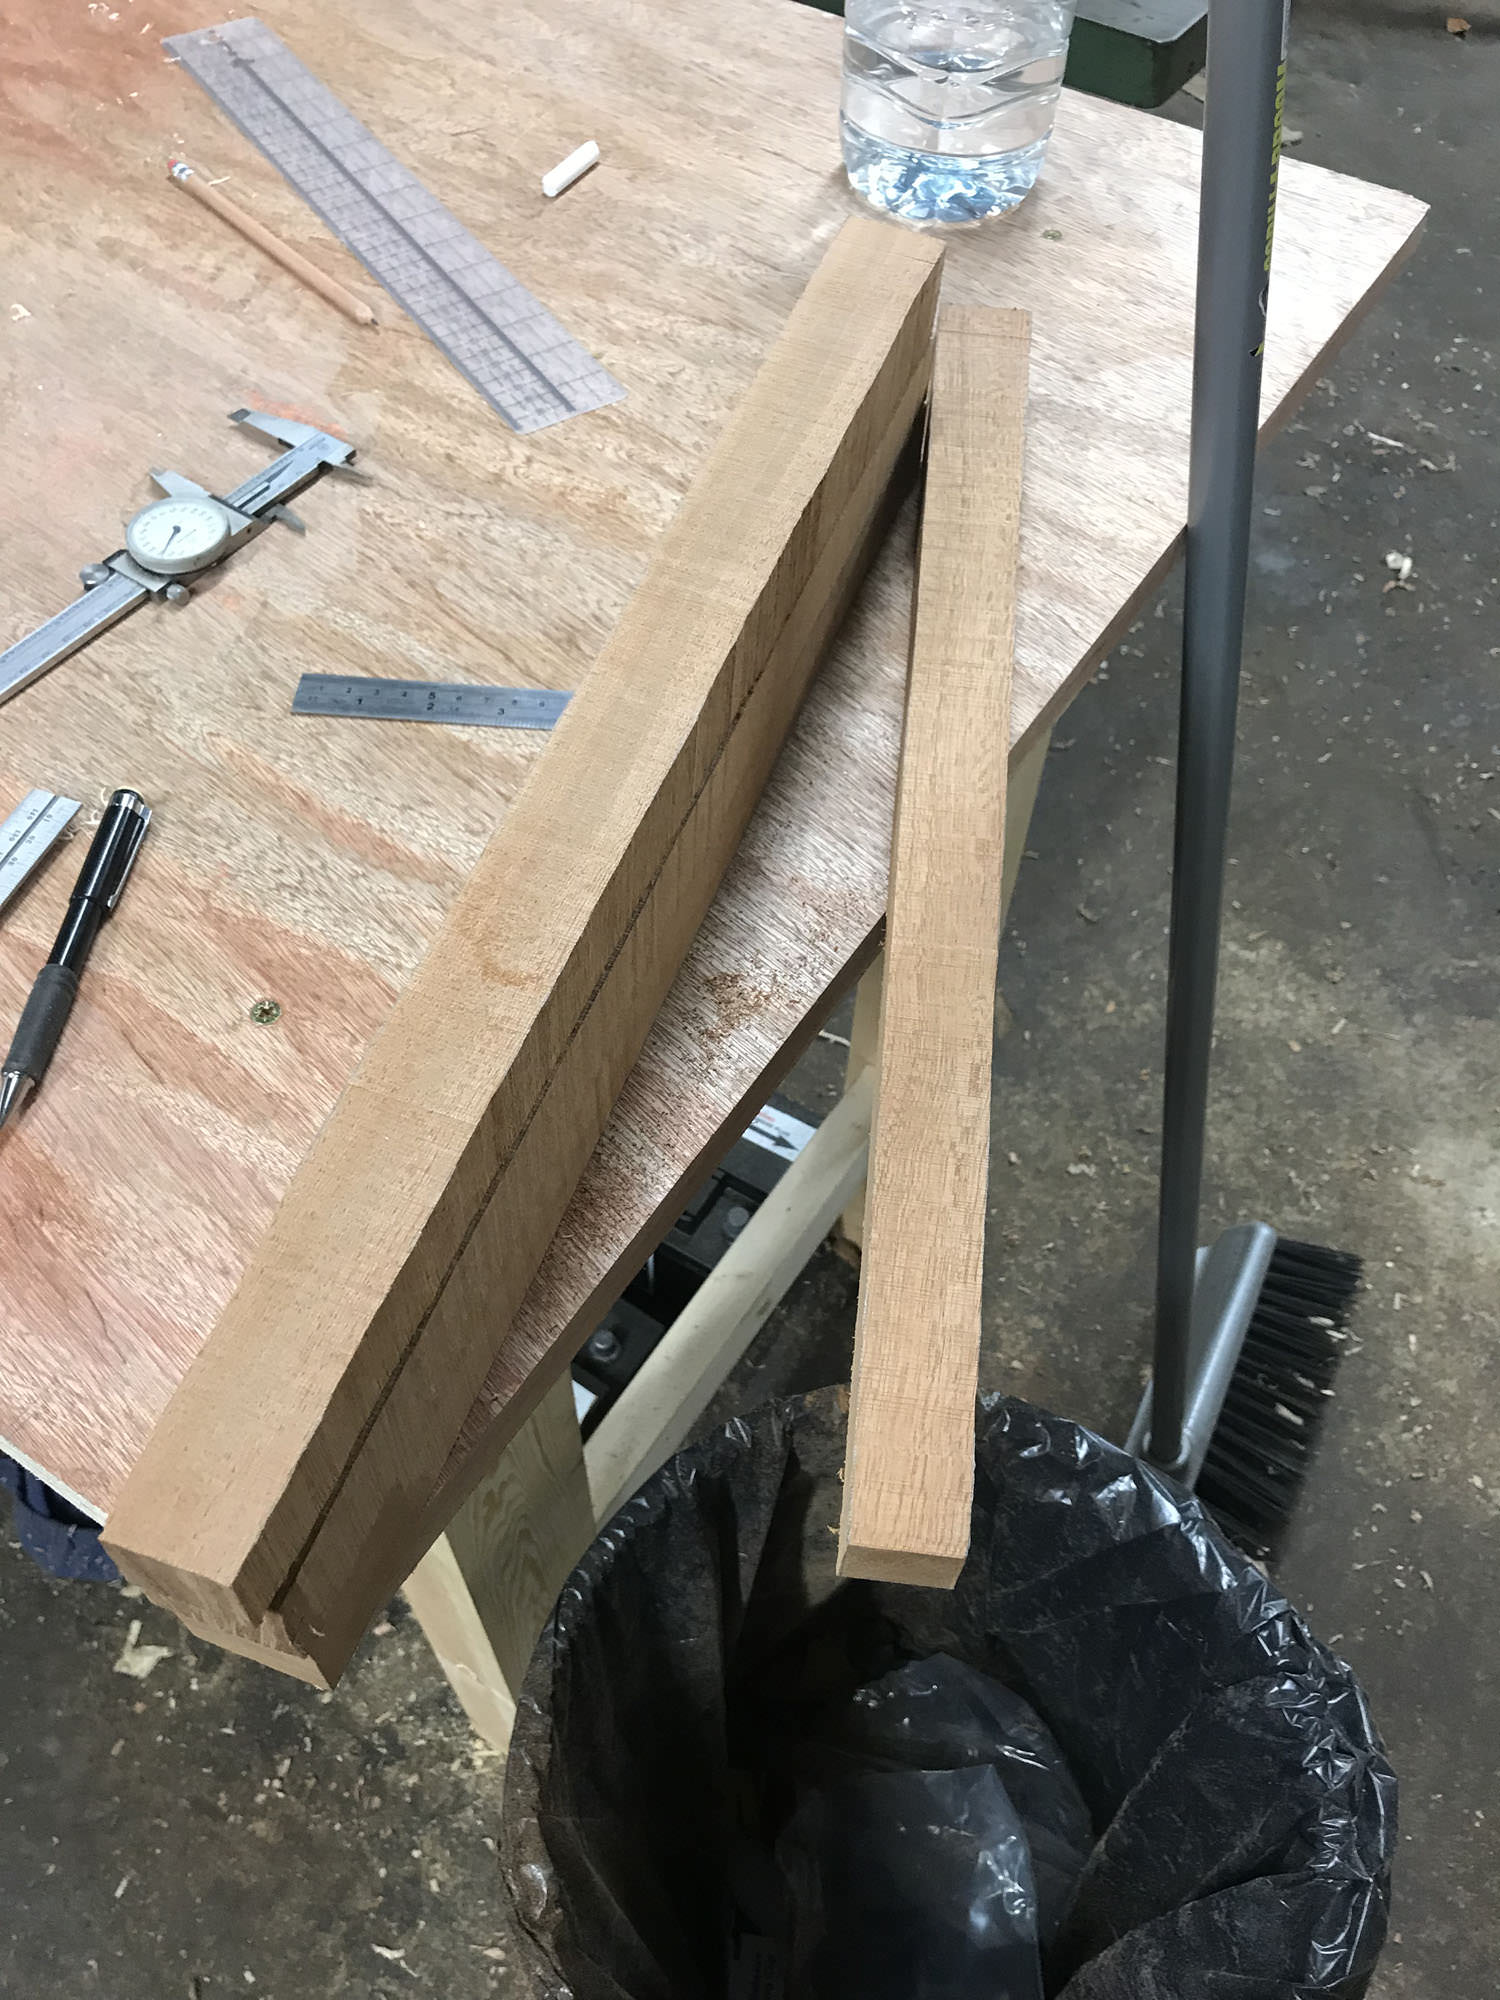
After cutting to size and squaring up (thank you planer thicknesser) I marked up the legs to be tapered on the bandsaw. Notice the blood across the faces, that was from a very annoying cut knick that wouldn't stop bleeding.

RclV9kF.jpg


Rough but tapered legs, ready to be put back through the planer.

4mFUQiQ.jpg


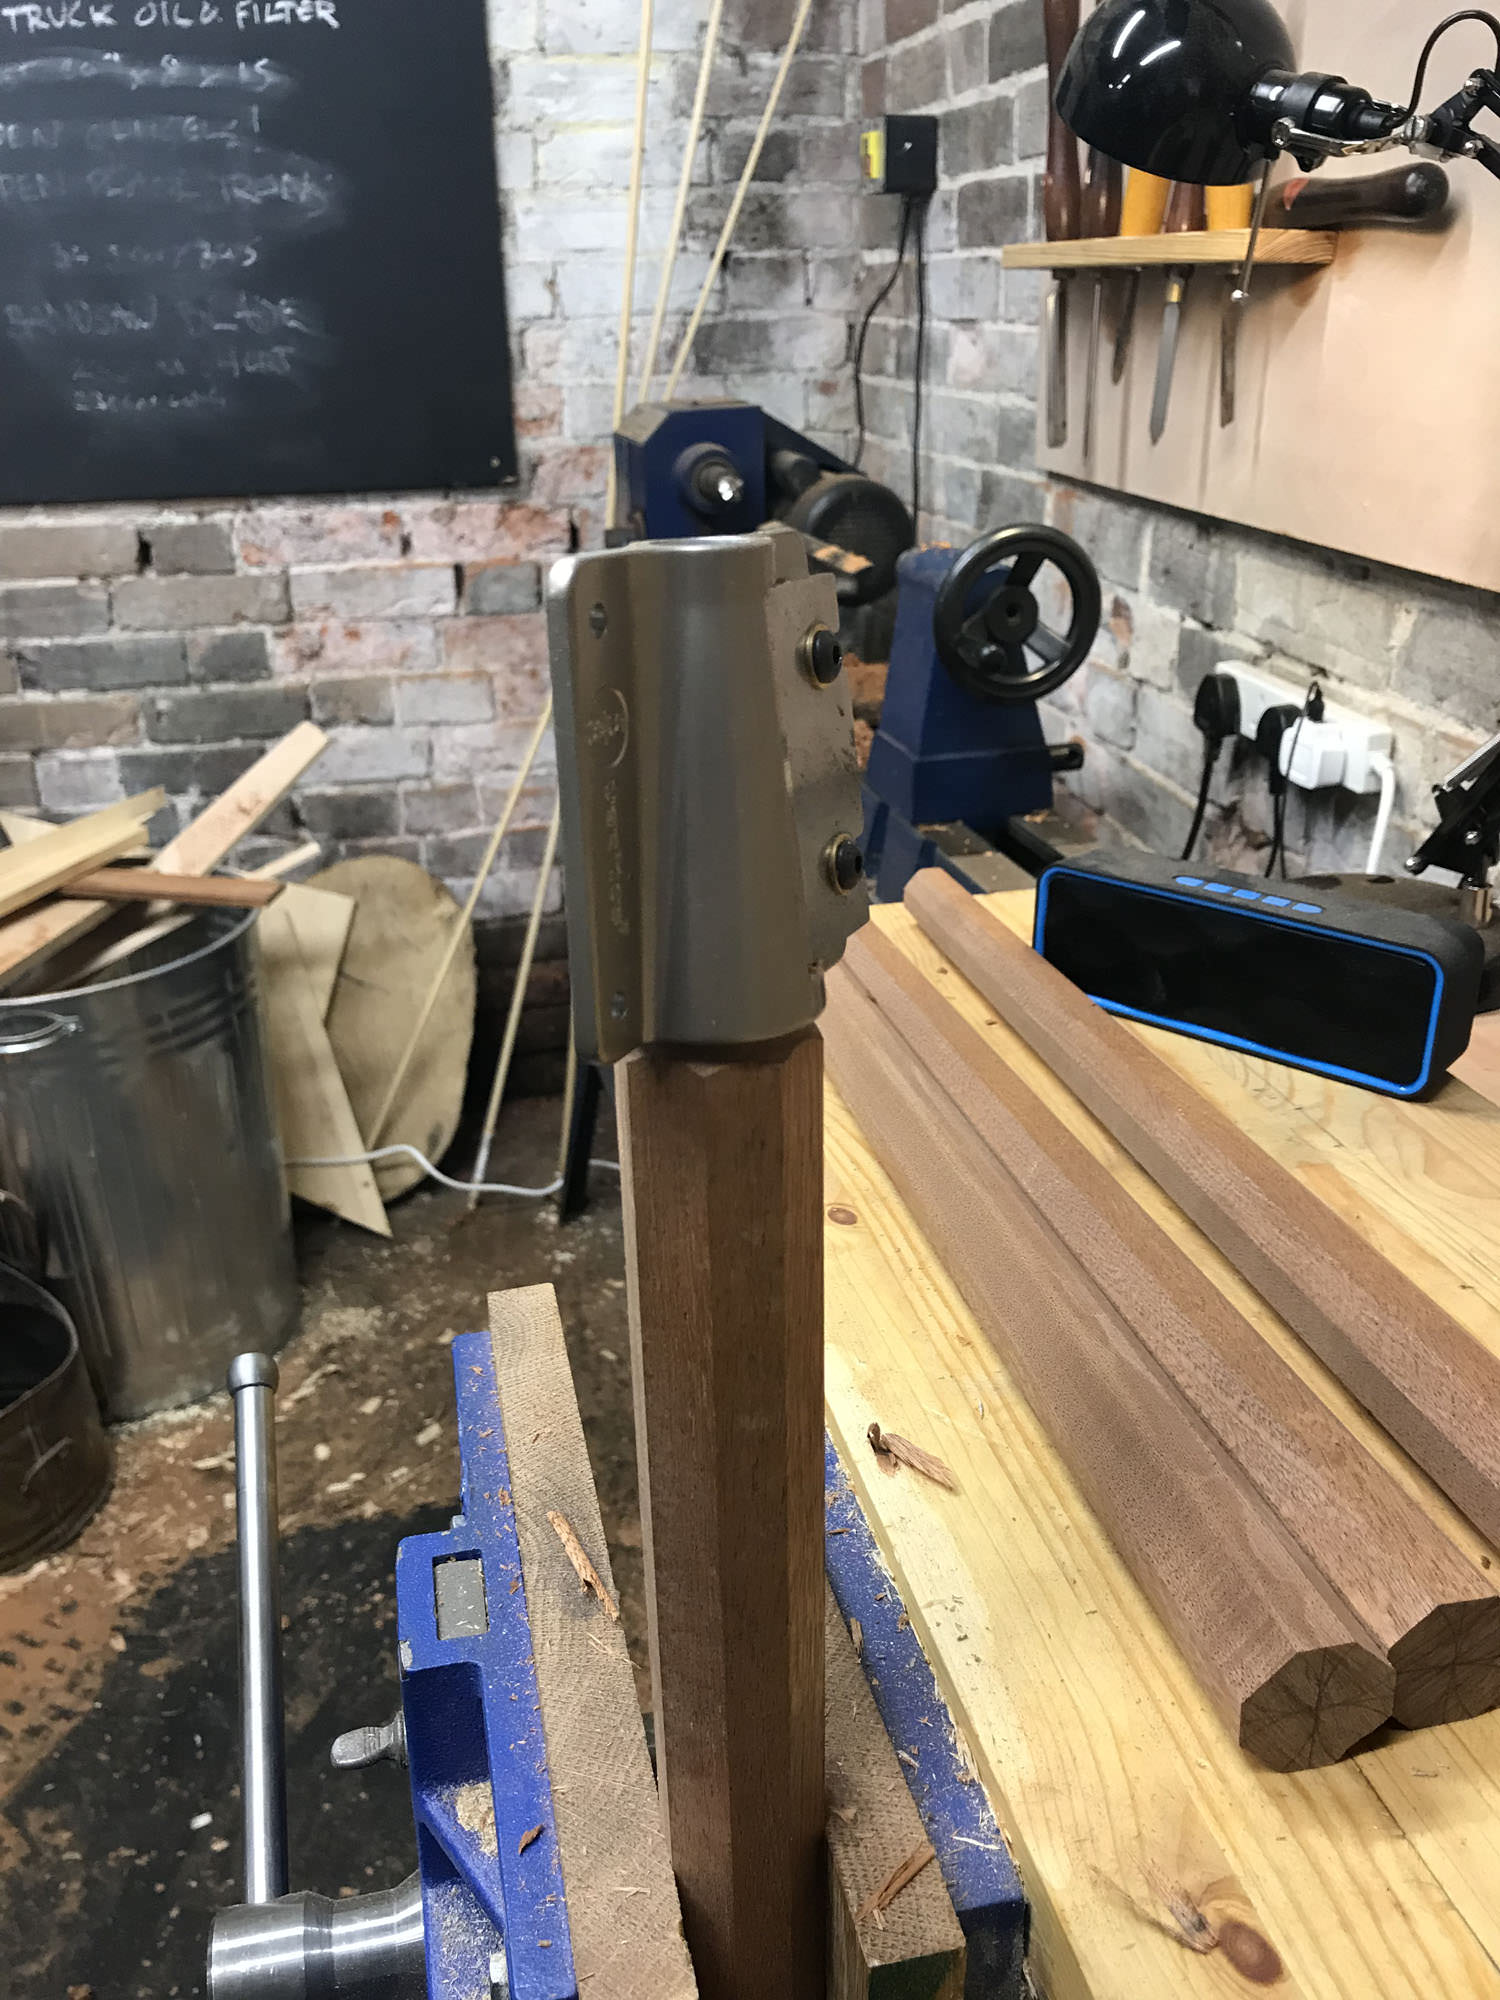
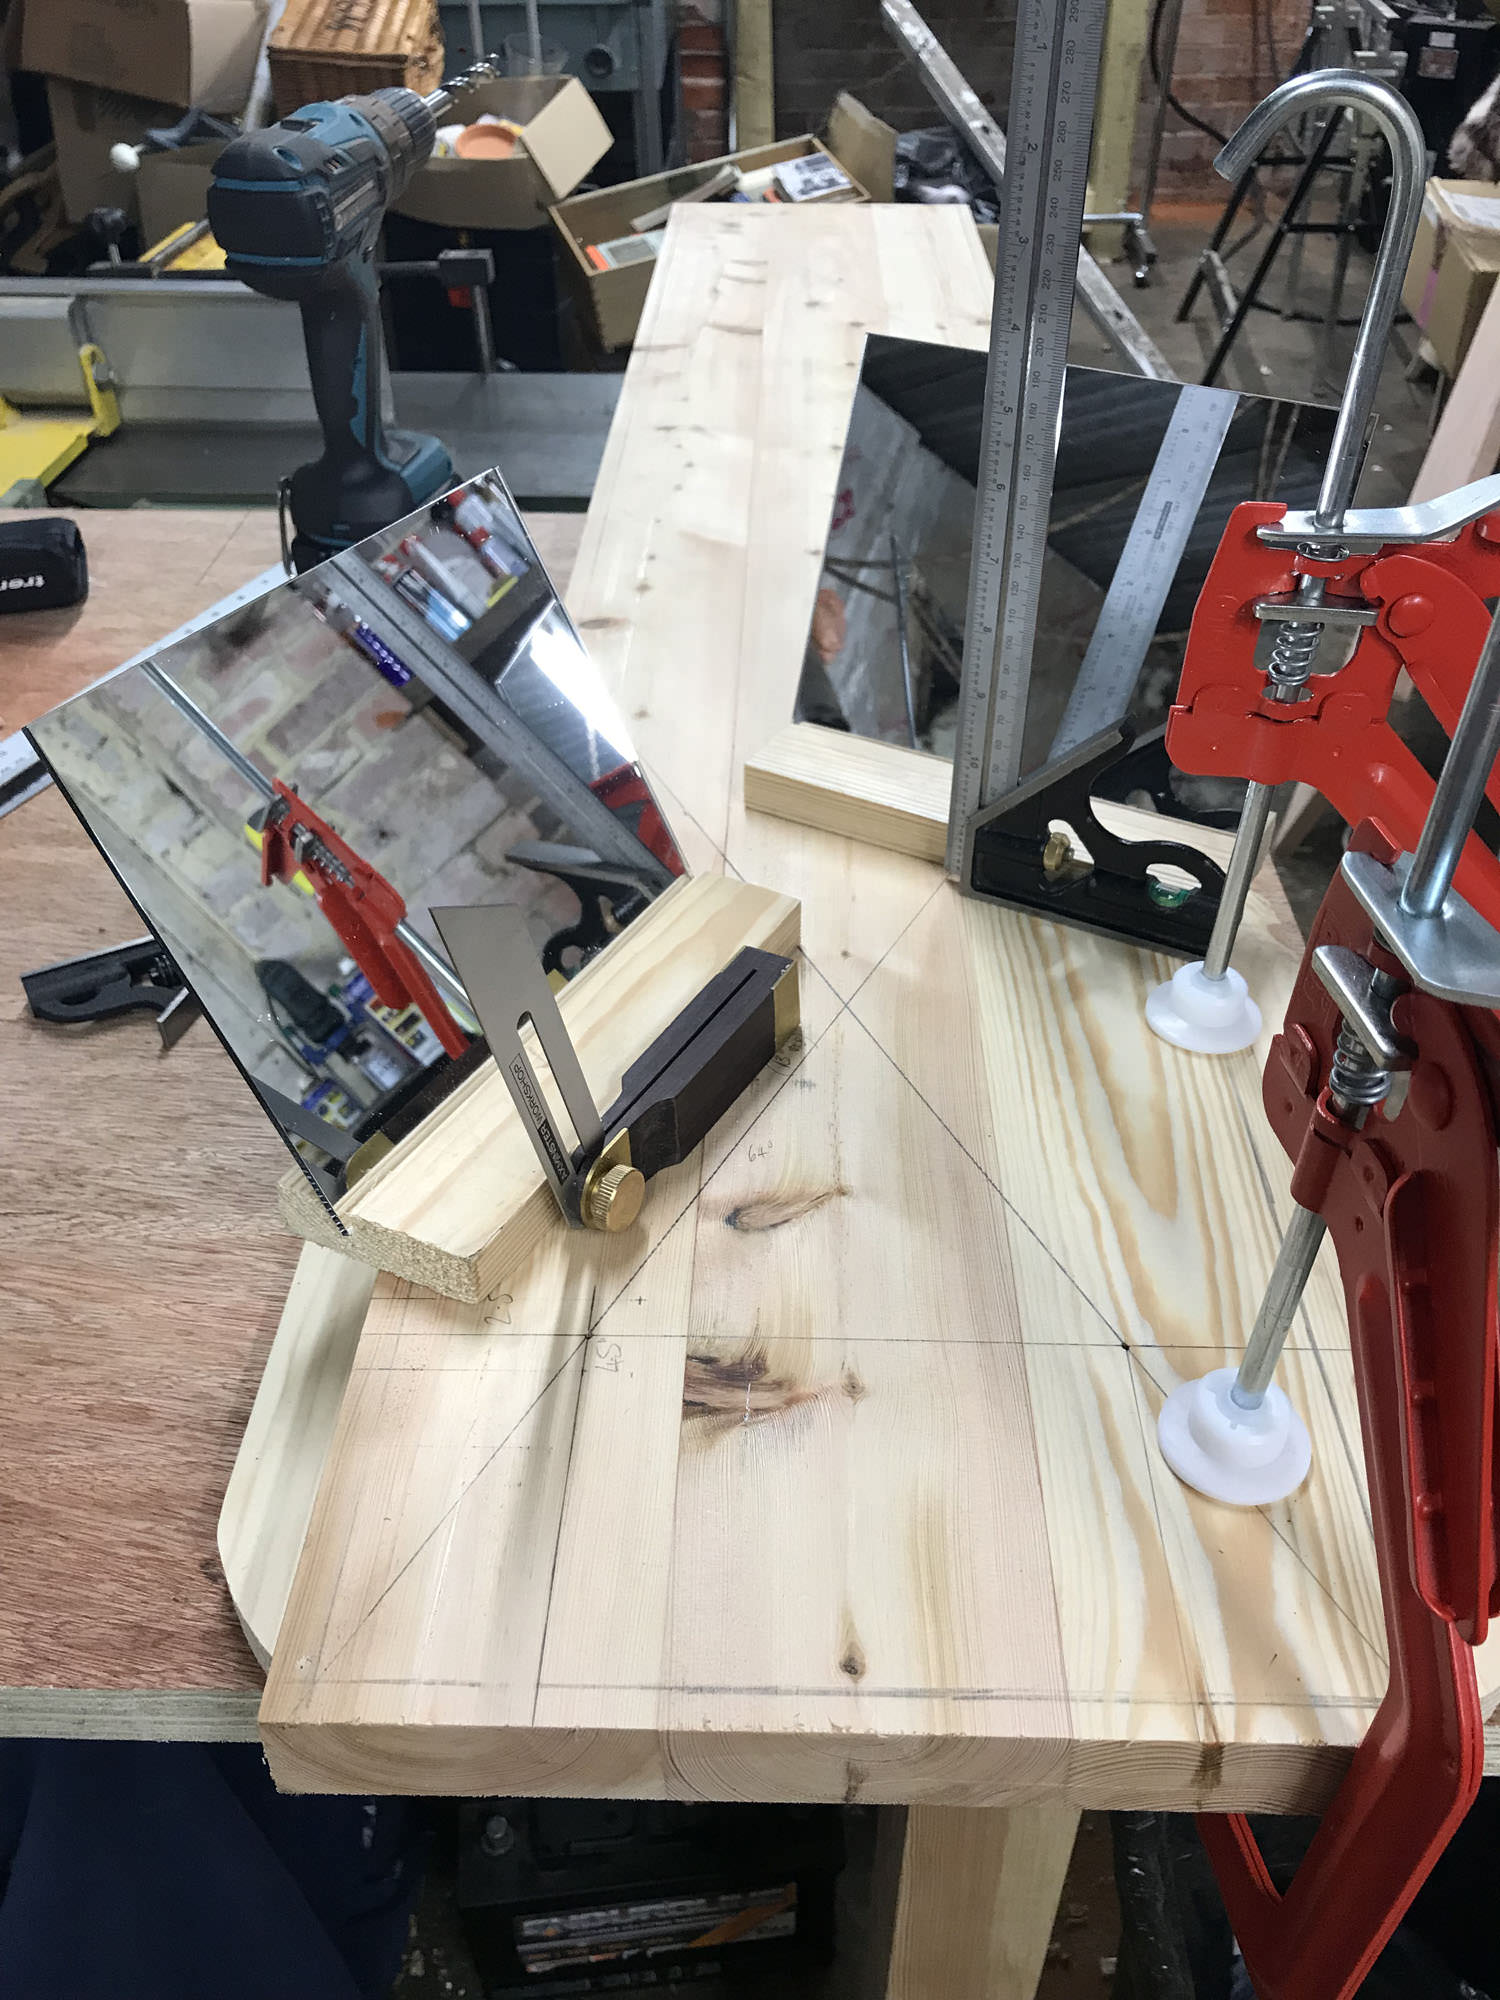
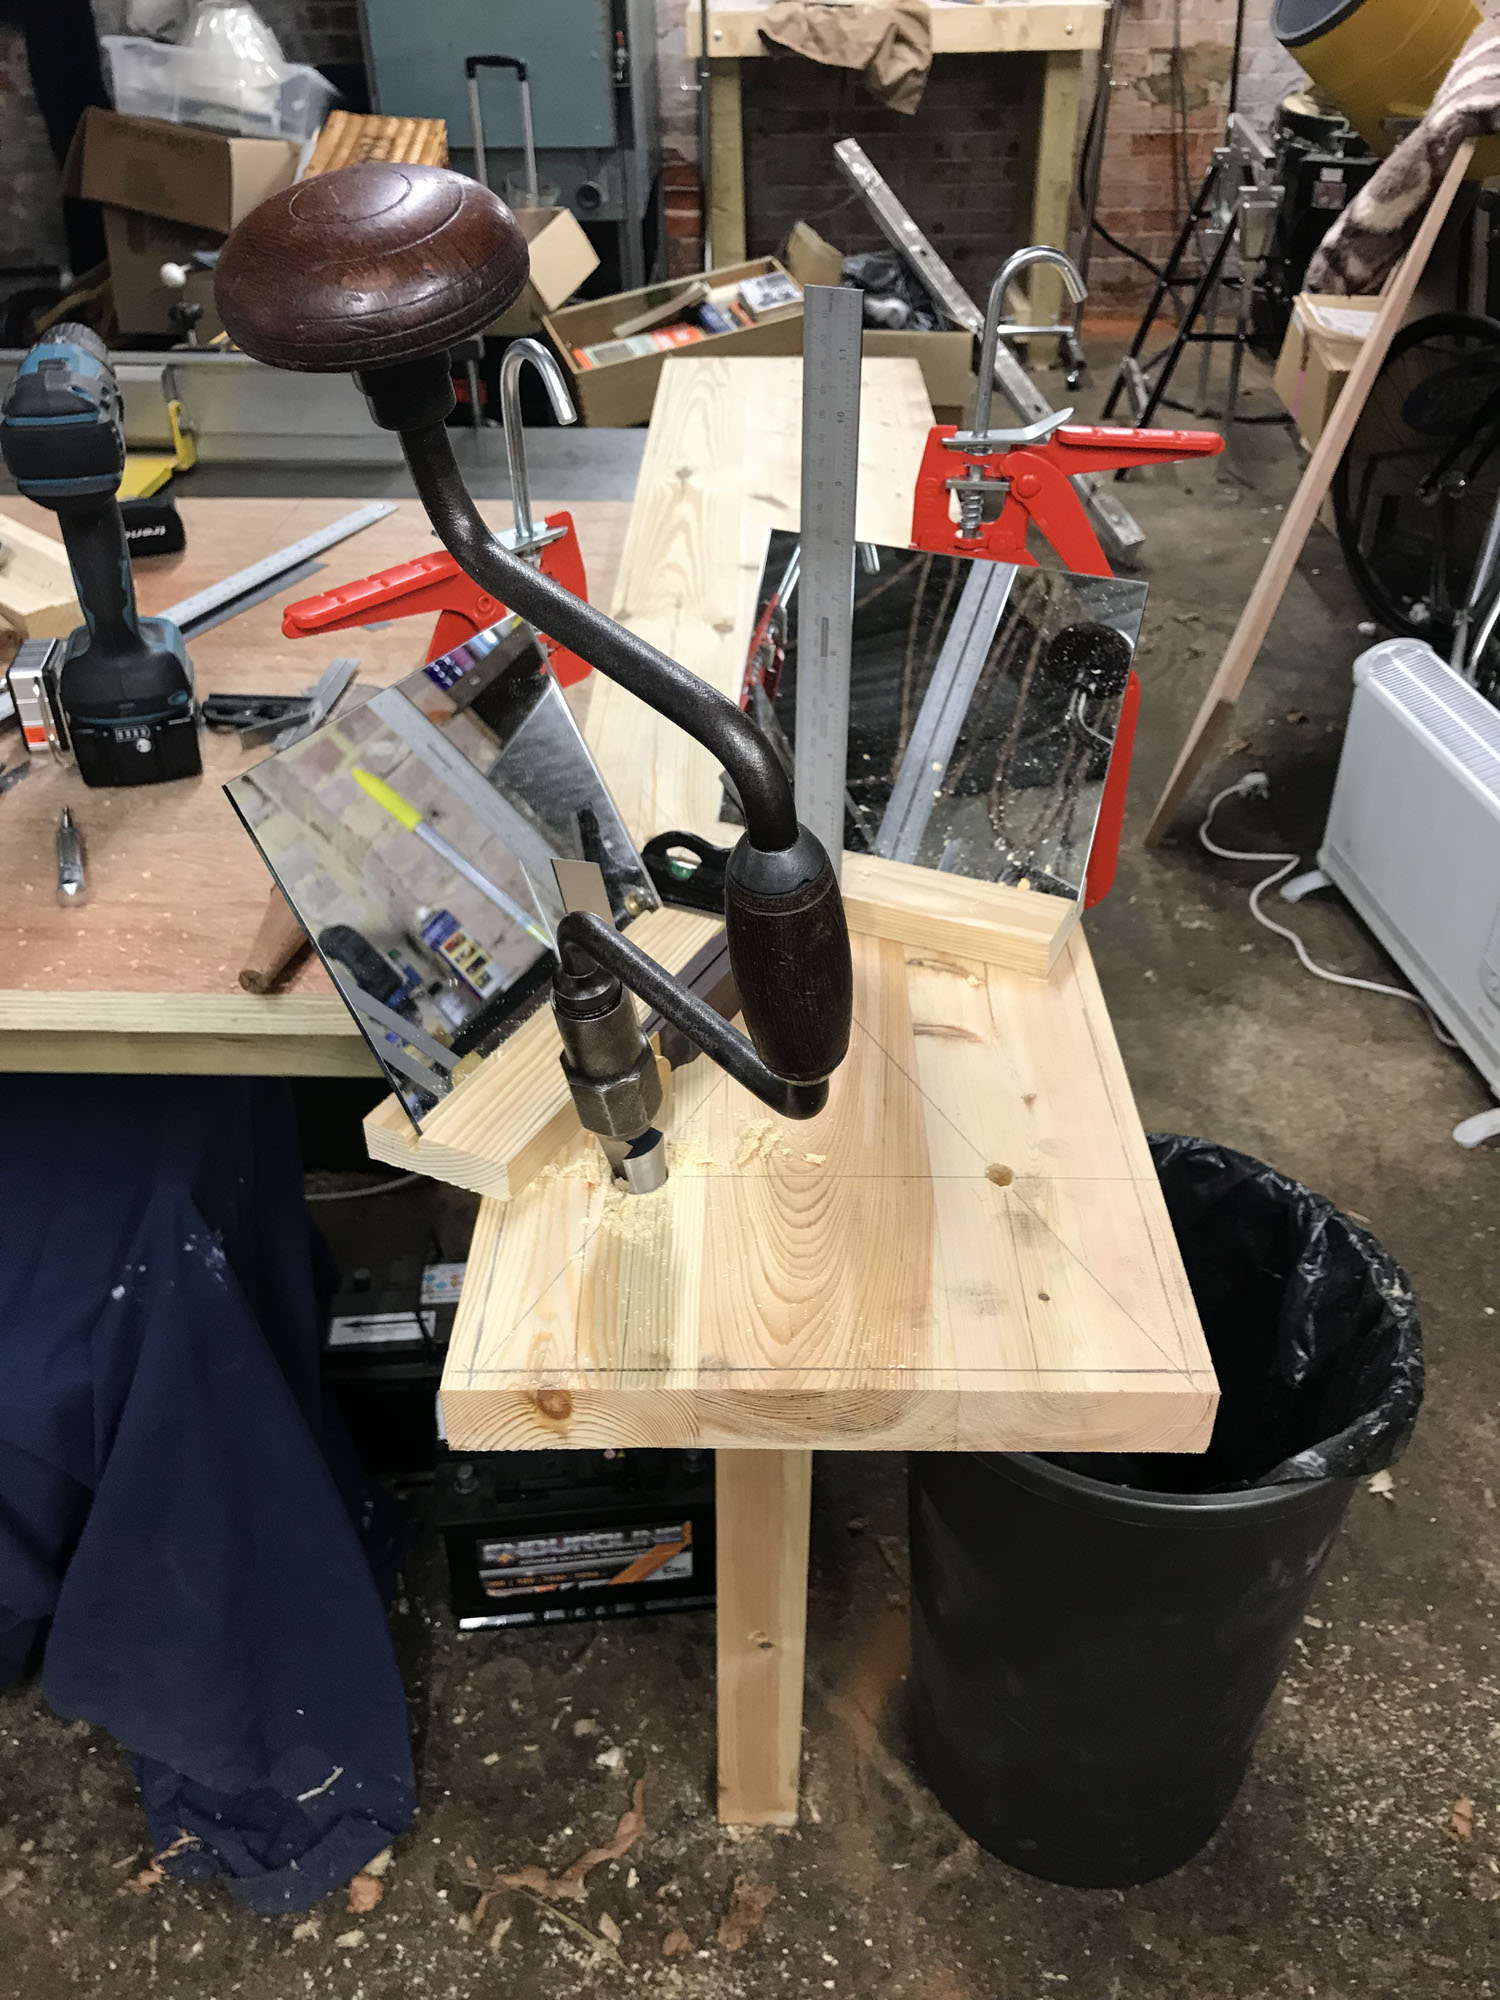
I knew I wanted these legs to be octagonal so I knocked together a rough but effective jig to hold the legs at 45 degrees.

beZG4kR.jpg


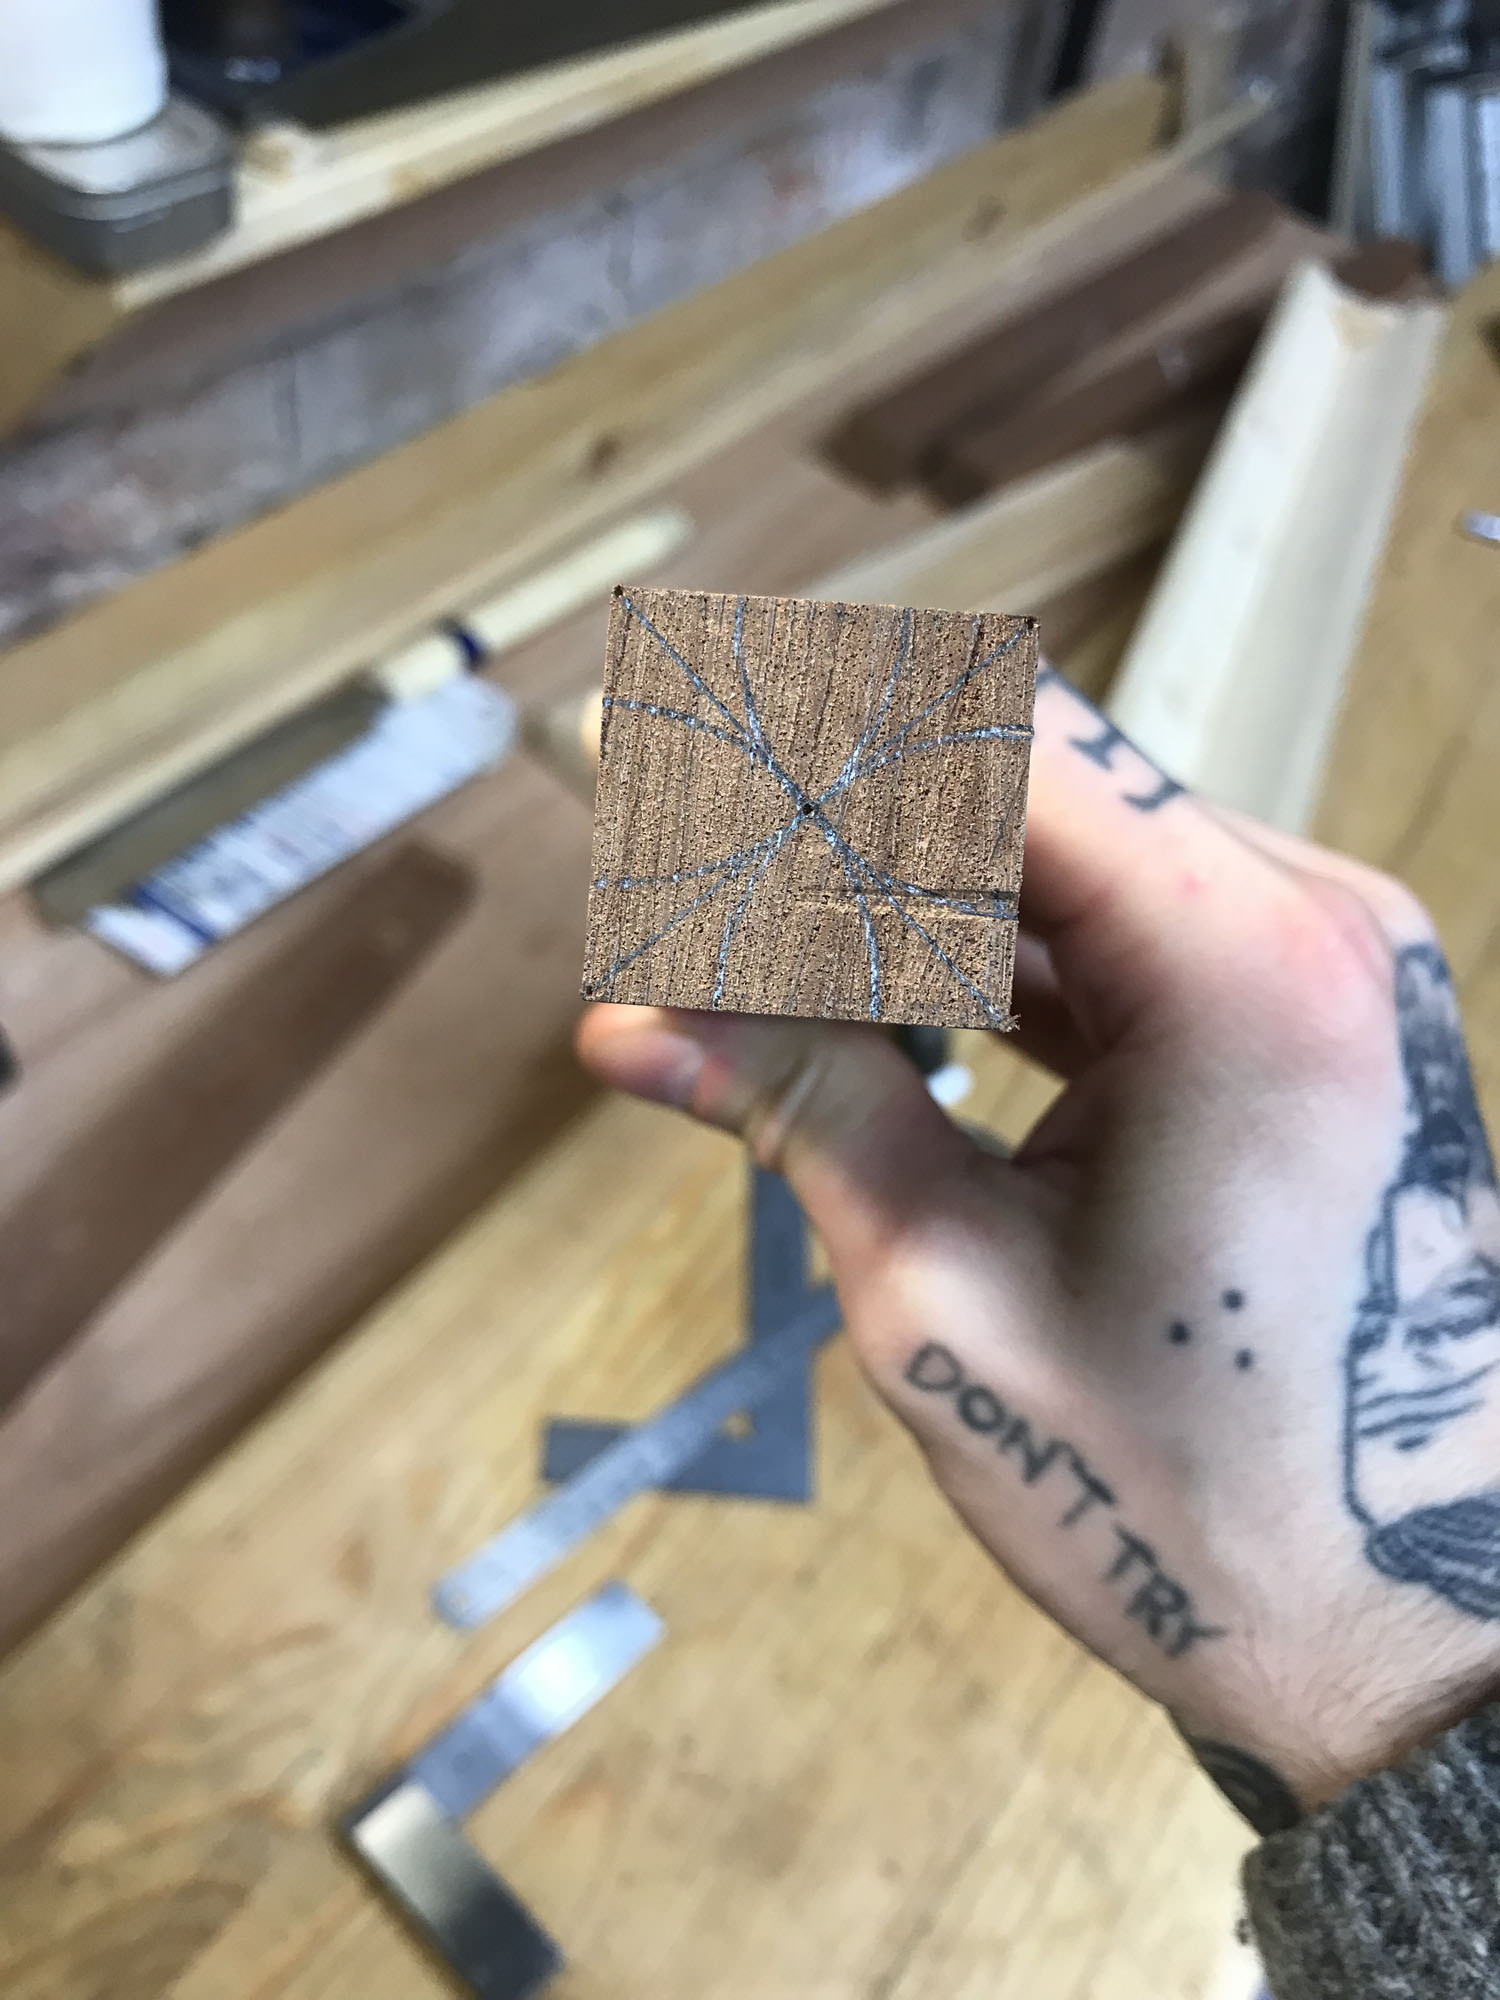
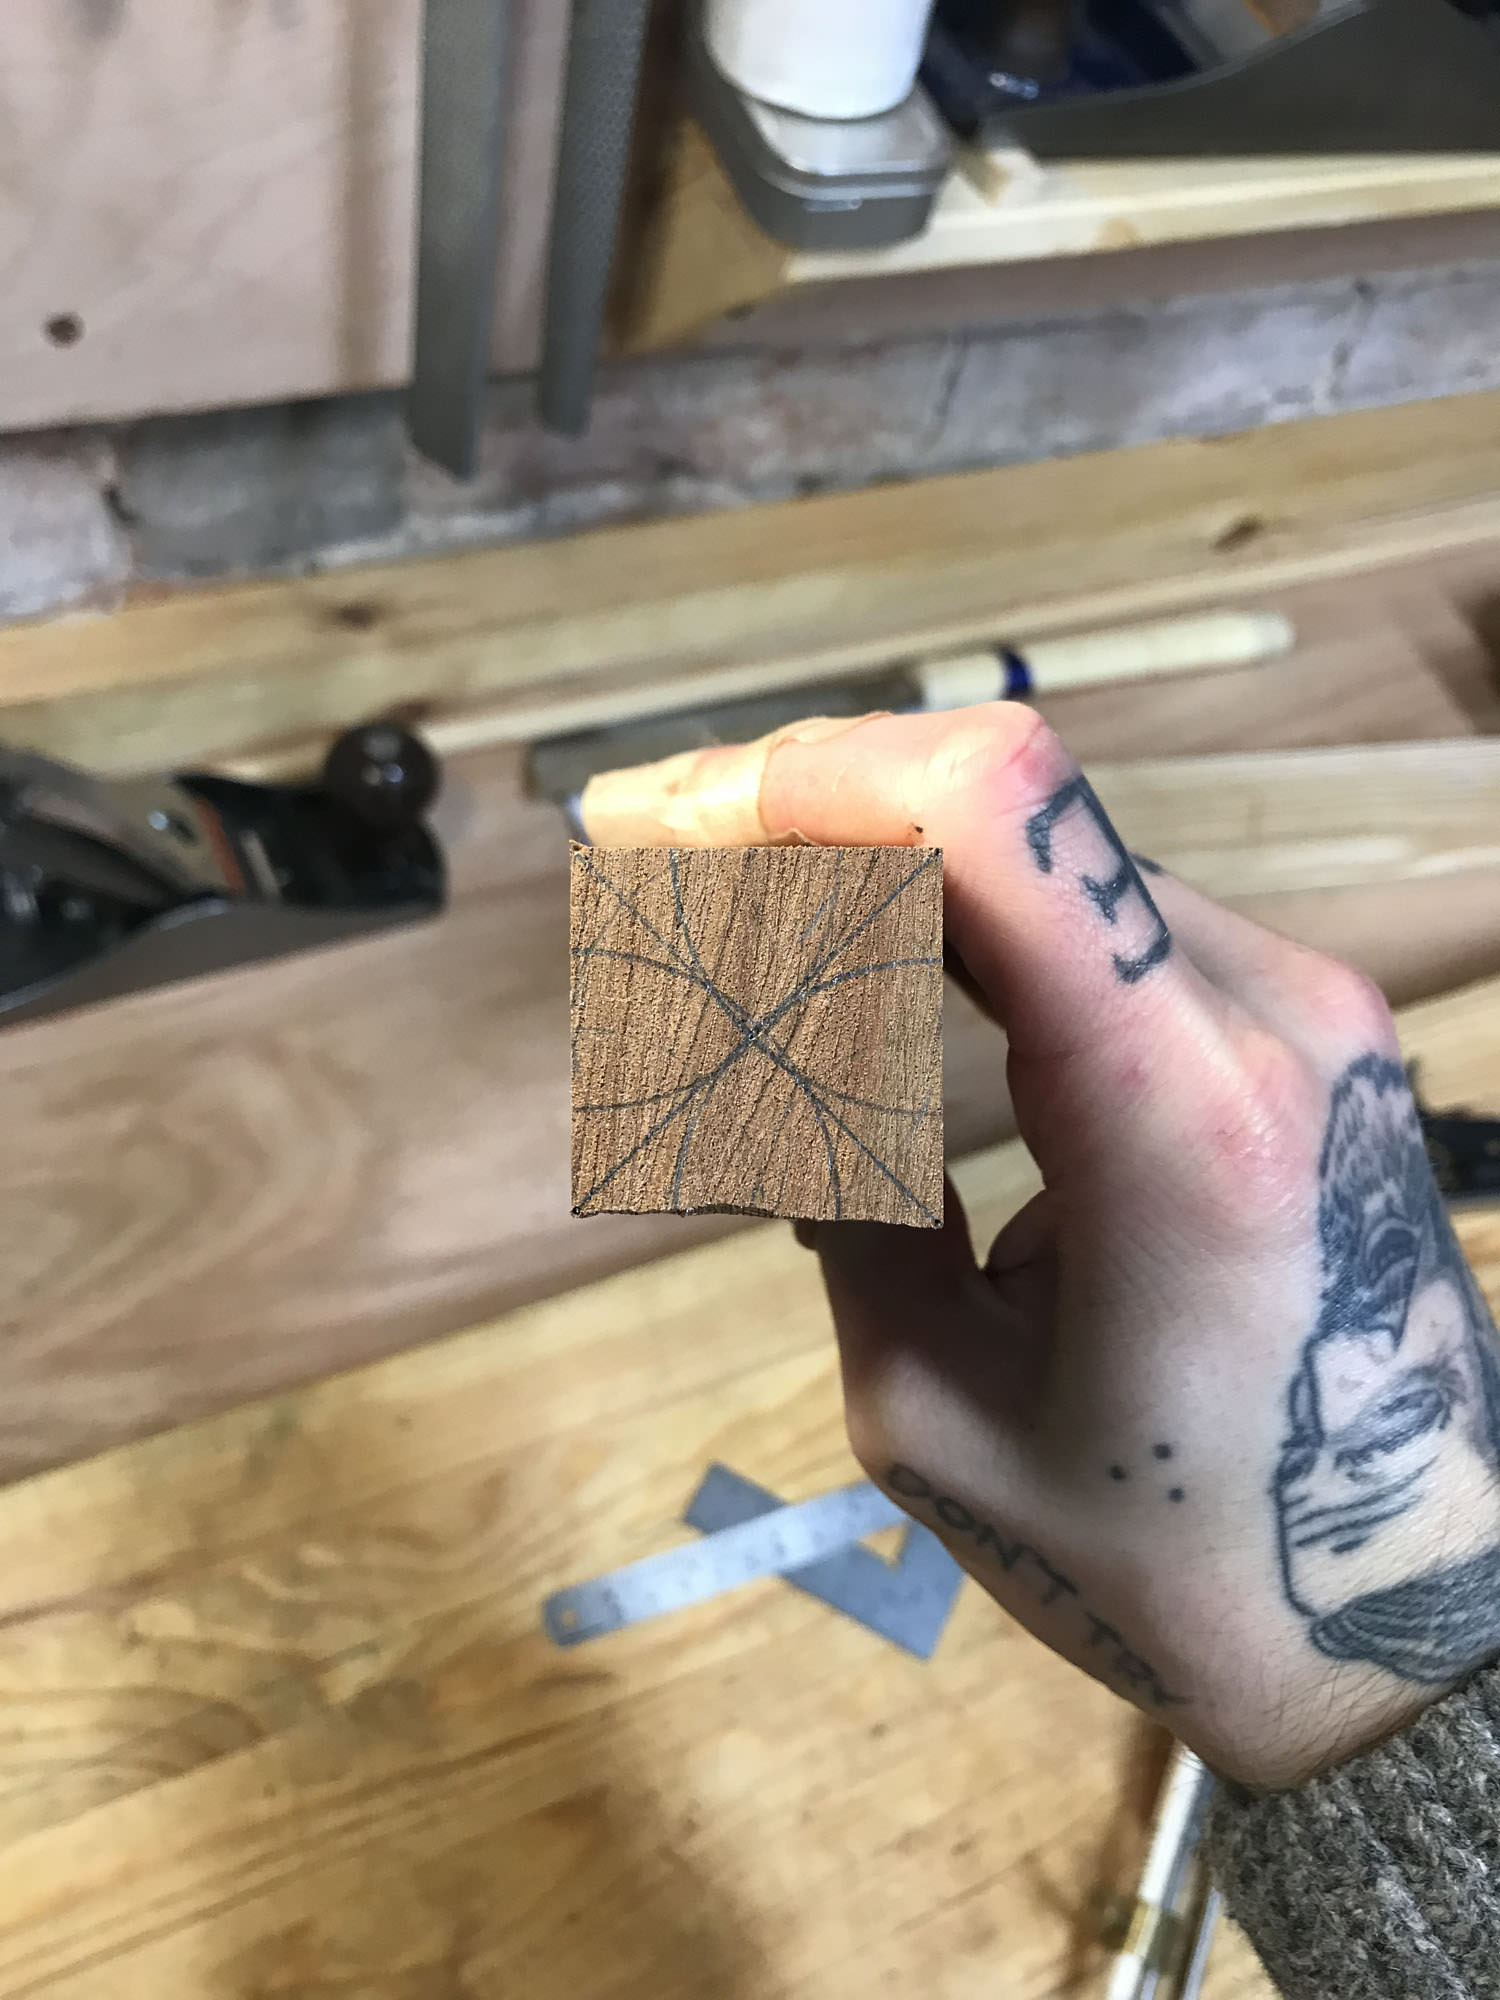
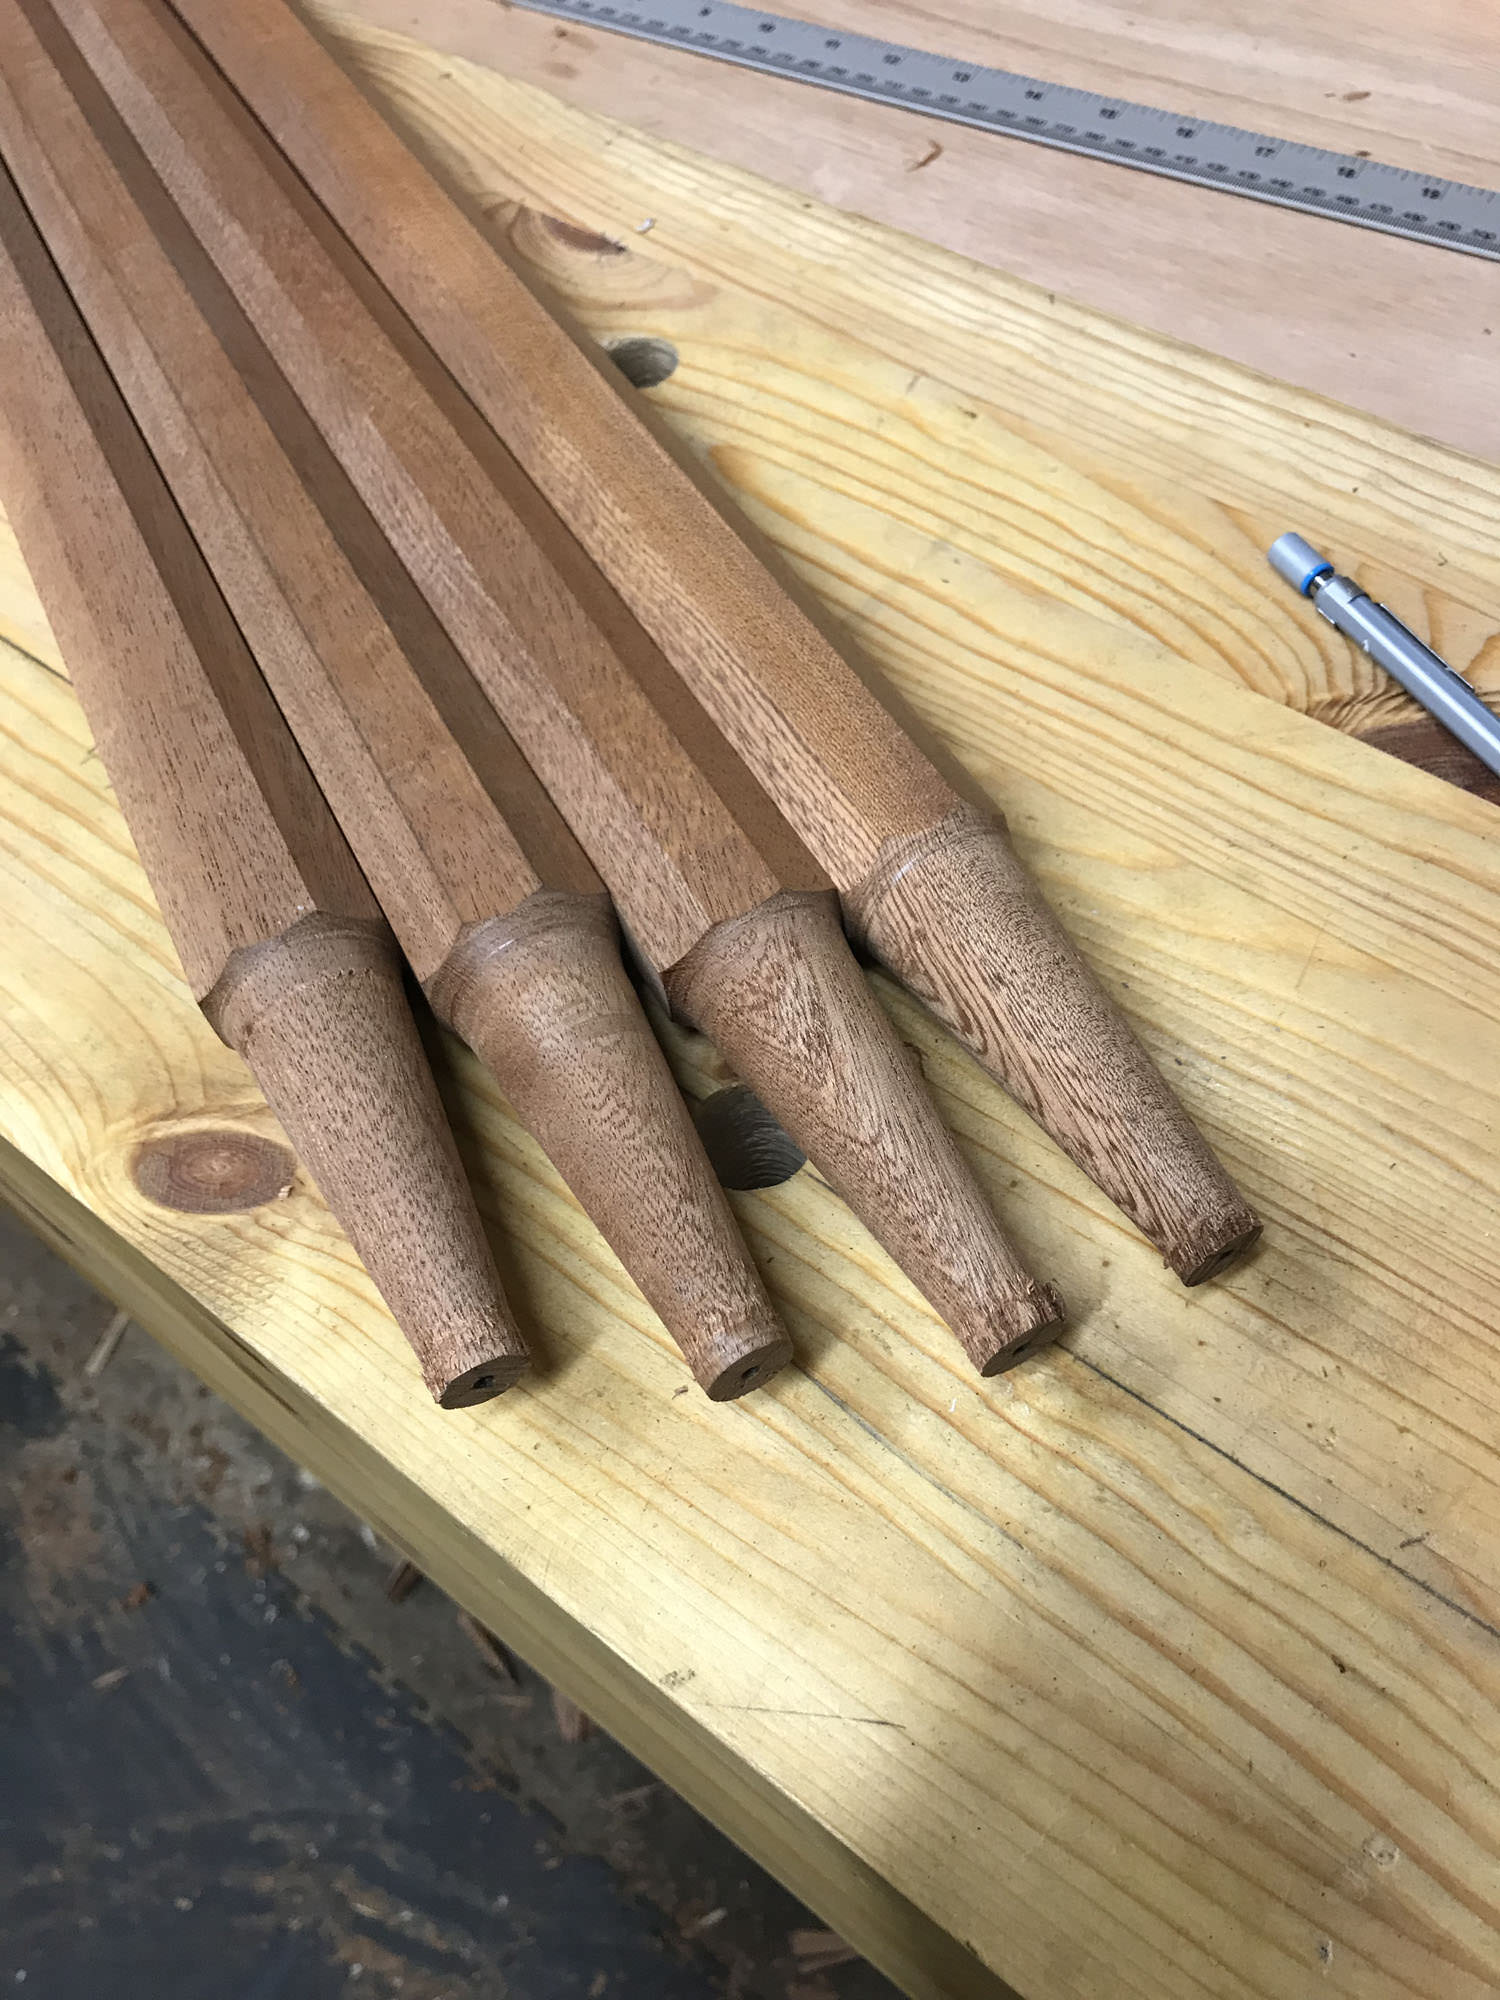
After squaring 'em up I marked out the octagons. Most of the pencil lines were pretty spot on but one or two were a bit off as you can see. I can live with it though.

EzOn9qY.jpg


EPbTH72.jpg


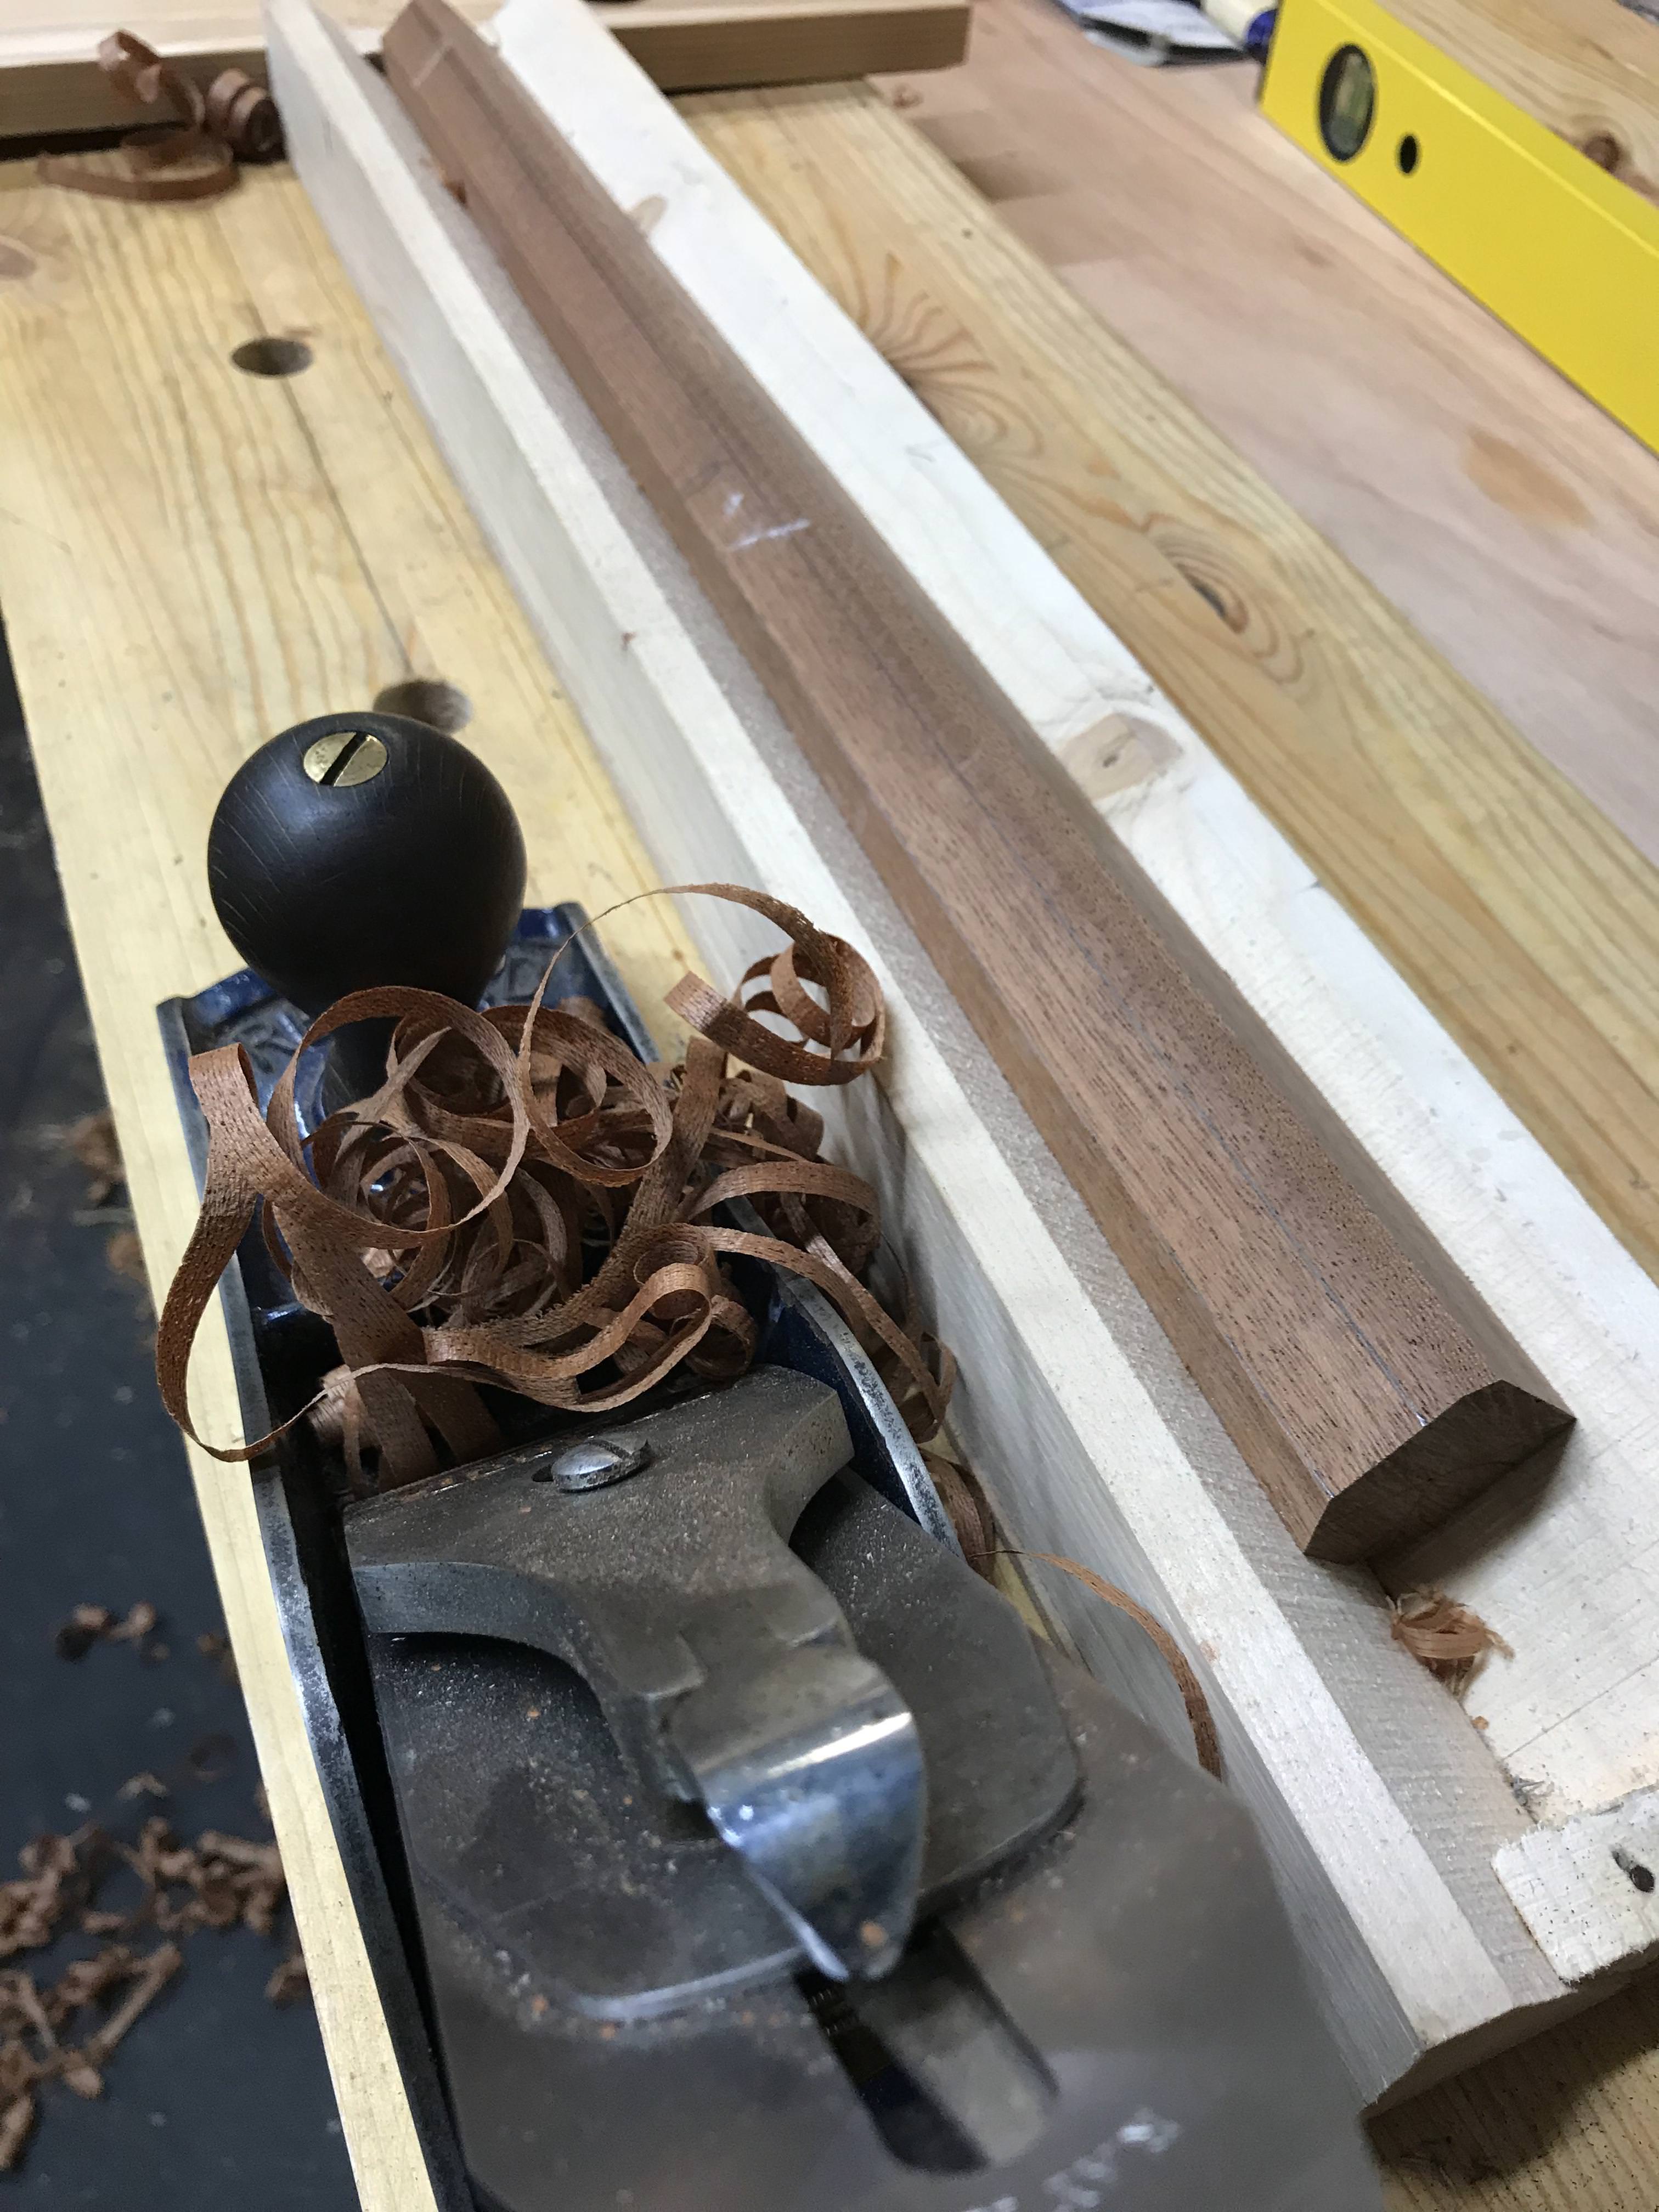
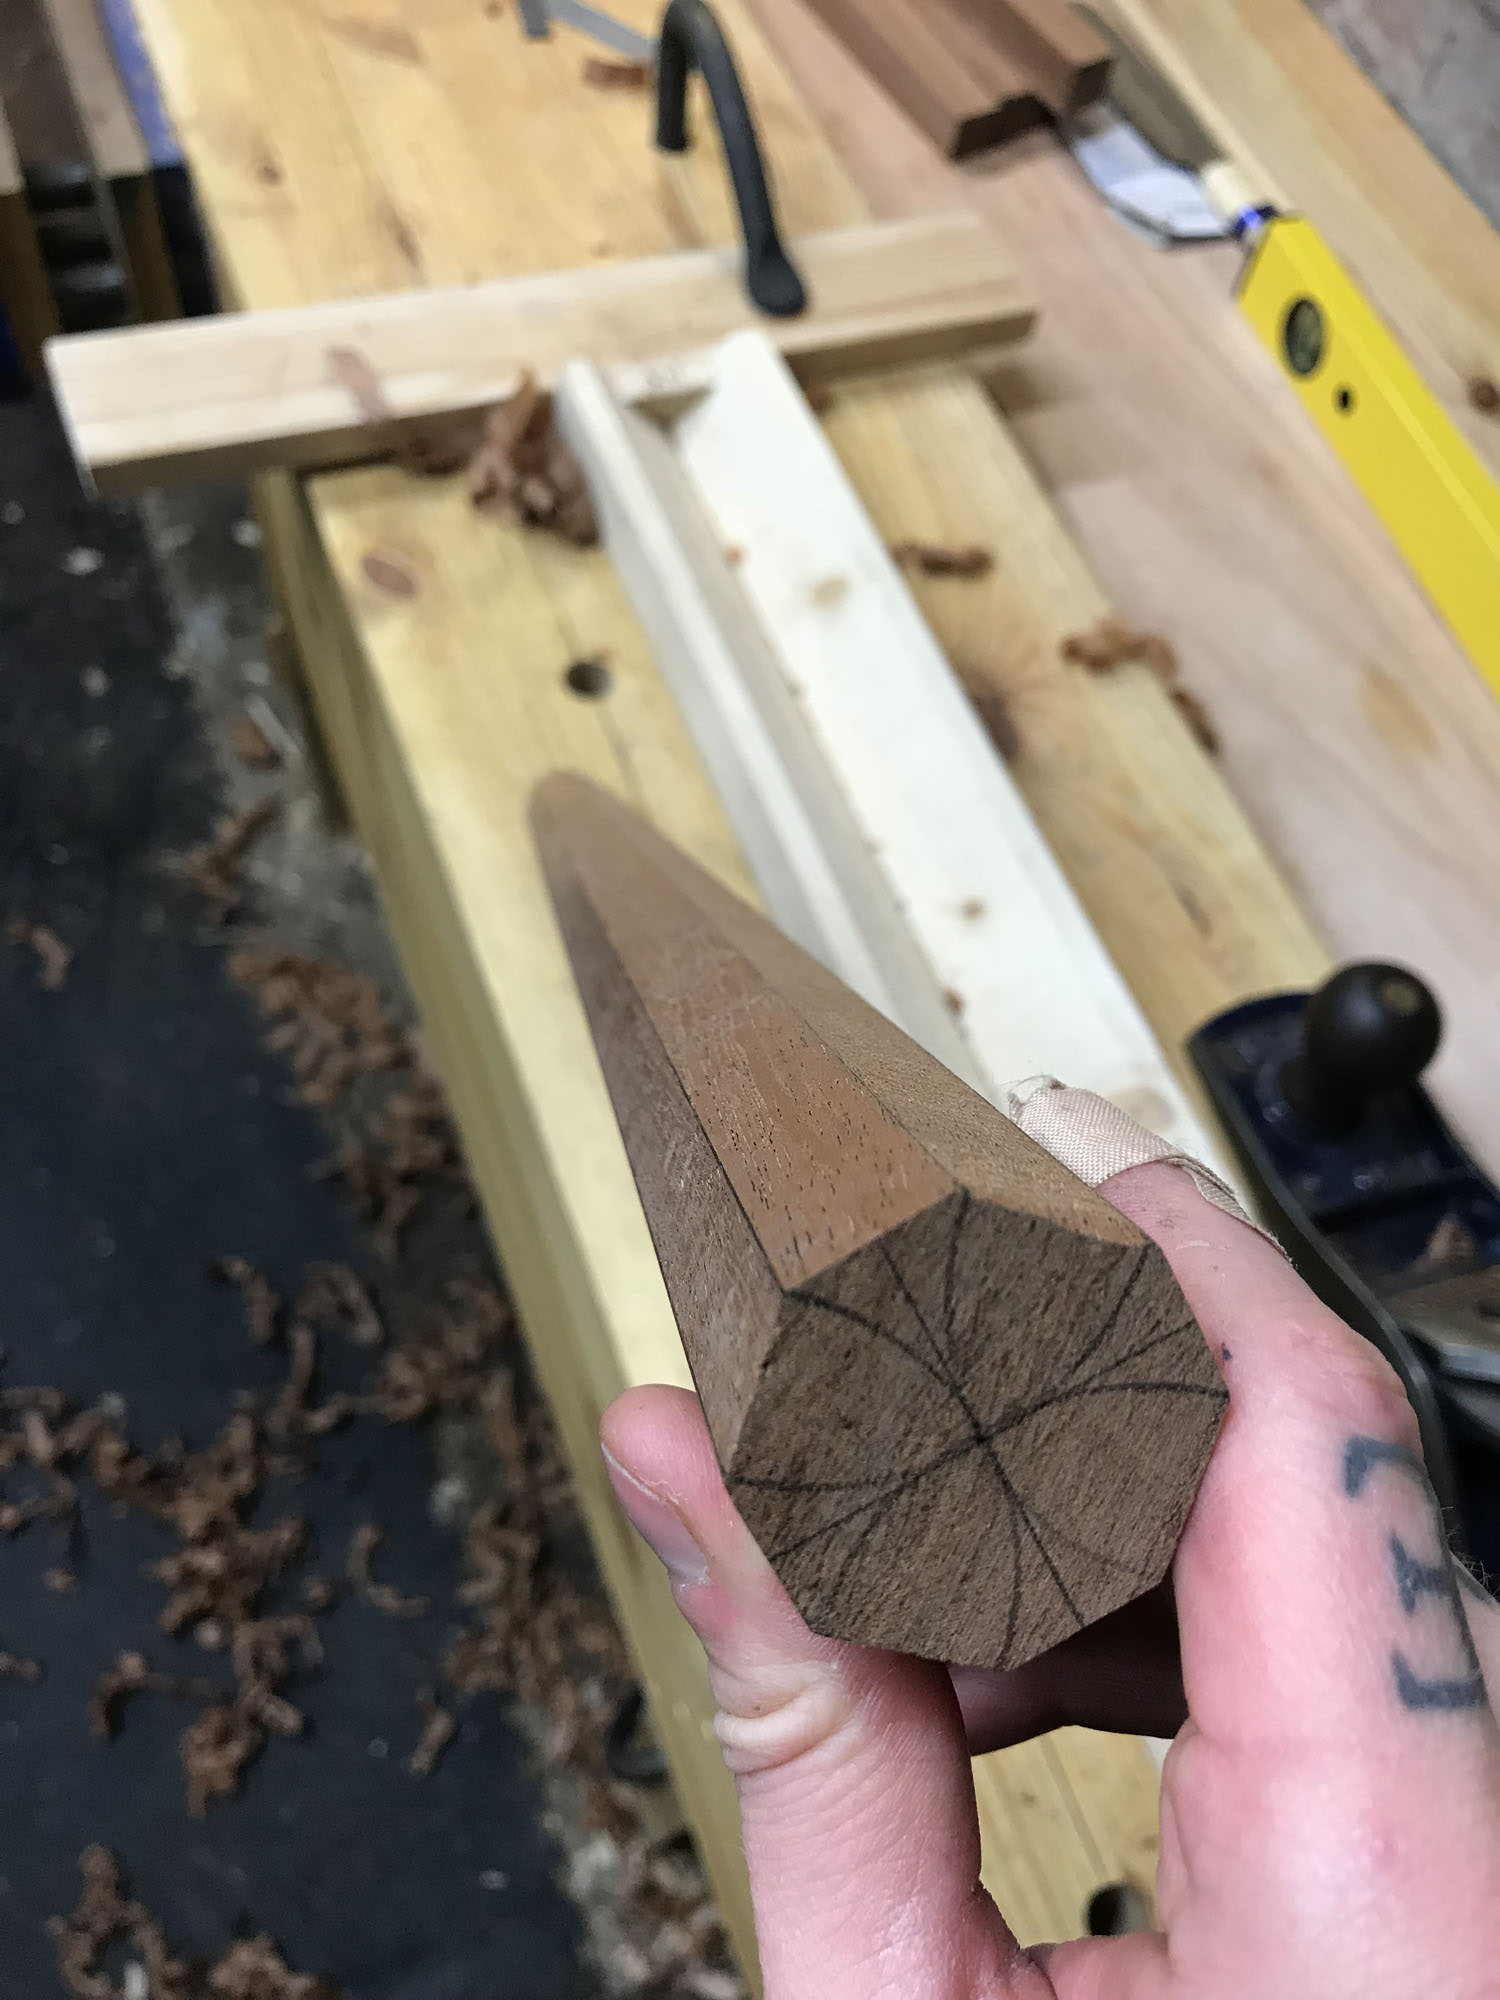
This is where the fun begins. I'd read that Sapele's interlocked grain could make it difficult to work; maybe I got lucky but it was a joy to plane. Incidentally, I recently replaced the iron on my 5 1/2 with a Ray Iles one. It's about a millimetre thicker and also amazing. The further you get into the octagons, the thicker your shavings become:

1kB9kQH.jpg


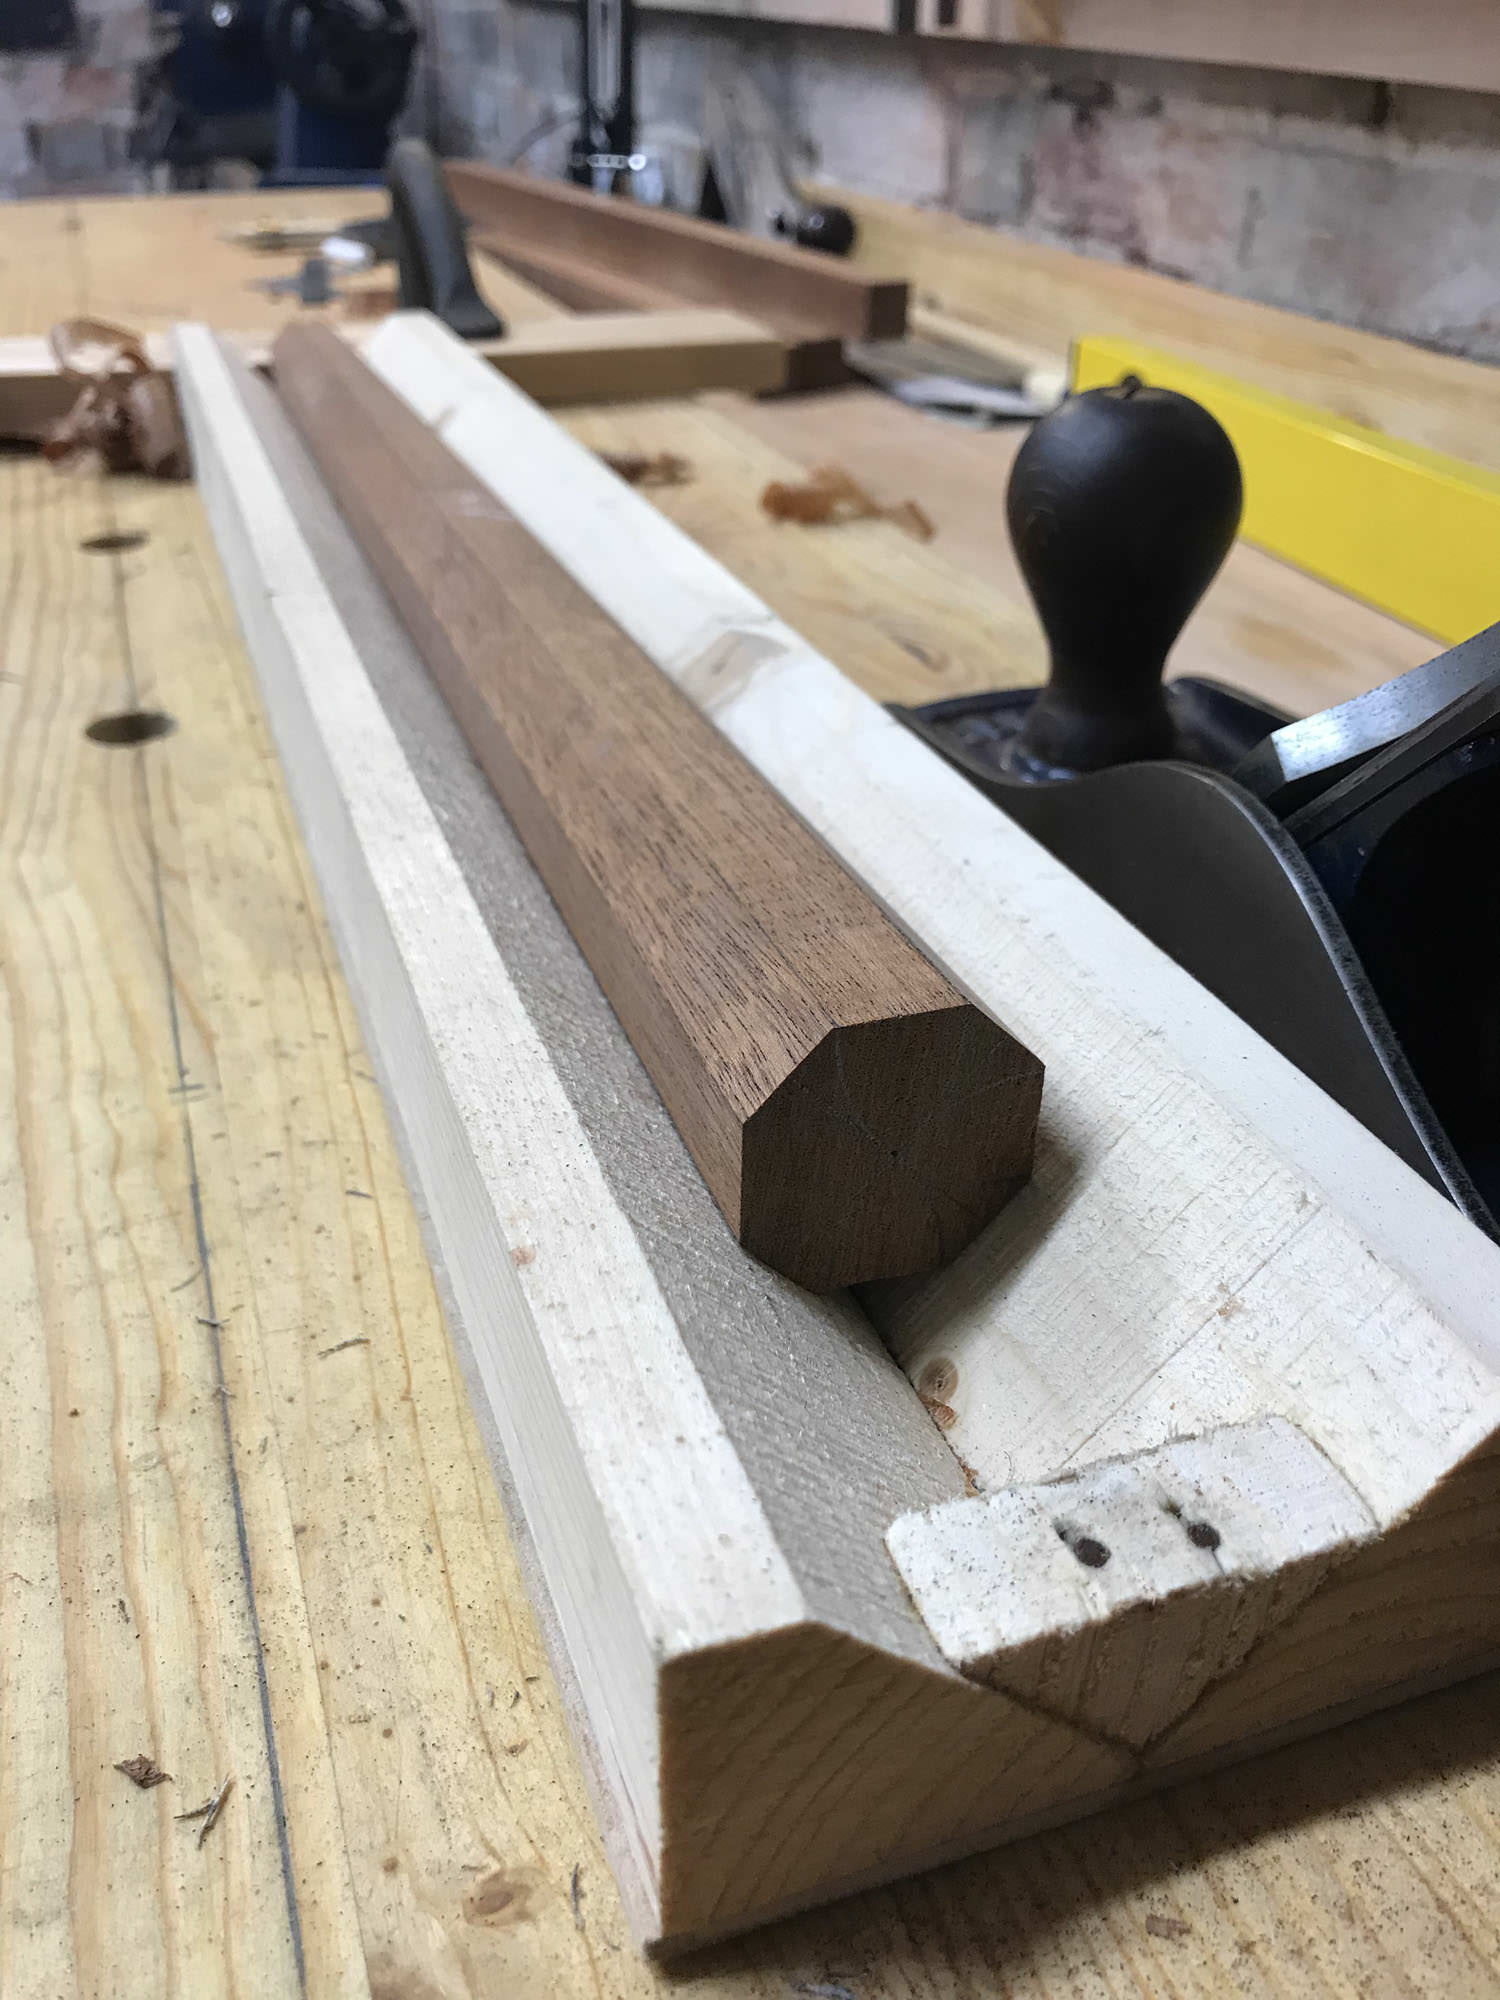
Until you're left with a nice clean octagon:

iGt3WiQ.jpg
 
As you can see, the legs don't look all that tapered until you get a view that highlights it:

6Ncw2Da.jpg


mqLGYx7.jpg


It probably took an hour or so to do the four legs and get them smoothed.

wMvSlWp.jpg


tqJstd7.jpg


I took the dimensions for the legs directly from The Anarchist's Design Book. On reflection, if I were to make them again I'd make them beefier. But it's all part of the learning process. How the hell would I know that half or even quarter of an inch would make such a difference? But now I do.

It was then time to rough in the tenons on the lathe before finishing them up with the tenon cutter. I'm still finding my feet with turning so it was fairly slow going but not so bad.

ObOx7up.jpg


5FcMncH.jpg


A brief pause to note that today my friend delivered his no-longer-needed pot belly stove to my workshop. Please note that that flue and hideous foam were already there when I moved in. But that aside, it's absolutely amazing. The room now heats up in about ten minutes and is very cosy. I'll be moving those pieces of wood to somewhere less hot at some point...

cE3iyls.jpg


With the legs done and the workshop toasty I moved on to laying out and drilling the mortises.

MVlEYyF.jpg


I intended to use mirrors to assist in drilling accurate mortises but first I needed a way to hold them. This allowed me to use the wonderful Record 044. I love this thing and so rarely get to use it.

ZWigqd6.jpg


Housings cut, time to start drilling...
 
Look how complicated and absurd this setup appears to be. When I was first presented with it I cowered in the corner like an animal but once you get your head around it it's a piece of p*ss to use and even better, really effective!

vauWbbd.jpg


The holes would ideally be drilled with a 5/8s auger bit but I didn't have one so used a 12mm brad point. Yes I am jumping between imperial and metric a lot.

Then came reaming using the brace and bit. It was a fairly uneventful process. Having used the 12mm bit it meant a bit more time reaming but not a hell of a lot. I then decided to get a flavour for the other end of the reaming spectrum and used my hand drill for one of the mortises. This was a mistake. Too much power and too little control - I reamed too far (not catastrophically). I put the Makita in the bin and resumed with the brace and bit, stopping often to remove waste and test fit the tenon.

Lqto5Kn.jpg


Once reamed I whacked the legs in and took a good look. First impressions: not bad. Everything lines up, the rake and splay look OK. In fact I'm happy with the splay but would prefer the rake to be a little more exaggerated. Overall it's a bit too delicate, the top too thin and the legs too narrow, but it is what it is and it's not necessarily bad. I don't hate it.

CvQqHh2.jpg


B08lhVf.jpg


KxN2bDj.jpg


That's as far as I've got so far. Next up will be easing the underside of the top to make it a bit less clumsy/clunky looking. The pencil lines in the image below show how I plan on doing that...

IfBnfNb.jpg


Thanks for reading.
 
excellent - you have inspired me to reinstate work on my new sawbench . I did get started but eventually gave up having failed to make a working tenon cutter (I am now going to buy one instead!).

The jig for holding the legs is a great idea - did you make it specifically for this job?

edit - doh! I missed the bit above where you say that you knocked up the jig to help make the legs - it is still a good idea though :)
 
nabs":21m4x6h5 said:
excellent - you have inspired me to reinstate work on my new sawbench . I did get started but eventually gave up having failed to make a working tenon cutter (I am now going to buy one instead!).

The jig for holding the legs is a great idea - did you make it specifically for this job?

edit - doh! I missed the bit above where you say that you knocked up the jig to help make the legs - it is still a good idea though :)

Thanks Nabs. Yeah the jig is really useful and will probably come in use again sooner or later.

Those tenon cutters are great. I too like the idea of making one but in the end I went with a “pick your battles” approach. Ha ha. I’d rather be able to crack on making the bench than possibly get stuck and frustrated making the tenon cutter.

Looking forward to seeing your sawbench.
 
Octagonal legs always grab your attention with their clearly delineated shadow lines, I think there's a reason for that. IMO the octagon angle of 135 degrees is the most acute you can get away with before you have to soften the arris to stop it being too sharp to handle, consequently I'd argue an octagon has the crispest arrises in woodworking.
 
Great looking project, well photographed and written up, but I'm confused by the ambiguous word "bench" at the beginning.
Is this heading for smart use as a bench to sit on, or will it be a low bench for woodworking on, like the one in ro's recent chair building thread low-back-welsh-chair-build-t108674.html ? Or will it be dual purpose?
 
El Barto":2fu2ej7x said:
Overall it's a bit too delicate, the top too thin and the legs too narrow, but it is what it is and it's not necessarily bad. I don't hate it.
.
.
.
Next up will be easing the underside of the top to make it a bit less clumsy/clunky looking.
I'm confused. On the face of it, this seems absolutely contradictory.

BugBear
 
AndyT":3mb3am0k said:
Great looking project, well photographed and written up, but I'm confused by the ambiguous word "bench" at the beginning.
Is this heading for smart use as a bench to sit on, or will it be a low bench for woodworking on, like the one in ro's recent chair building thread low-back-welsh-chair-build-t108674.html ? Or will it be dual purpose?

Thanks Andy. Yes the use of bench is a bit ambiguous. To be honest it doesn't really have a definitive use. Although it could be used like Ro's one, I doubt that it will. I merely used that Roman workbench as a template because it looks cool. It'll be somewhere between a bench for sitting on and perhaps a coffee table kind of thing?! But I can see the confusion!

I'm confused. On the face of it, this seems absolutely contradictory.

BugBear

Hi BugBear! Is it the easing of the underside that you're having trouble with? I didn't mean to upset the contradiction police! :twisted:

Overall, the bench is too delicate for my liking. However, there's not much I can do about that at this stage. I can't have a chunkier top/seat so have decided to embrace what I've got. To me, that means easing the underside a small amount to make it more in line with the rest of the parts and dimensions so everything looks more cohesive. And not just like some planks stuck on top.
 
Looking good! I love the trick with the mirror, I'll have to steal that idea!
I find the tapered reamer hard to line up with the bevel gauge myself, so I normally give myself a longer shank to line up with the bevel by attaching one of these: https://www.amazon.co.uk/Bosch-26085800 ... B001TWMVZ0
it really makes a difference.

Oh, and you know that you want to use it as a low workbench! Go on....
 
El Barto":cvrxmrsi said:
Hi BugBear! Is it the easing of the underside that you're having trouble with? I didn't mean to upset the contradiction police! :twisted:
Yeah - you said it was too thin, and proceeded to make it look thinner... !!!
...To me, that means easing the underside a small amount to make it more in line with the rest of the parts and dimensions so everything looks more cohesive.
Got it. Thank you!

BugBear
 
ro":1pb47pis said:
Looking good! I love the trick with the mirror, I'll have to steal that idea!
I find the tapered reamer hard to line up with the bevel gauge myself, so I normally give myself a longer shank to line up with the bevel by attaching one of these: https://www.amazon.co.uk/Bosch-26085800 ... B001TWMVZ0
it really makes a difference.

Oh, and you know that you want to use it as a low workbench! Go on....

Thanks Ro. That extension is a great idea! I didn't even know they existed. It was my first time using the mirrors. When I cut my Windsor mortices it was on a pillar drill which was even more simple and effective, but it requires lining up of a couple of lines that the length of the bench would make very difficult if not impossible. I did enjoy using those mirrors though.

And my girlfriend has seen the bench now and wants it in the house... so I guess that's where it's going. Ha ha.
 
Merry Christmas.

Spent a few more hours on this so thought I'd share. One of the things I'm enjoying about making this bench is that as much as anything else it's a practice exercise for the techniques involved in chairmaking. Although of course I want it to be a piece of furniture I'm happy with at the end, I'm not too fussed about mistakes and what have you.

I roughly marked out the areas of the underside that I wanted to take off. No precise measurements, just using my finger as a fence and going around the board. The drawknife made quick work of removing the bulk of the material:

vagFFsq.jpg


zTBshmy.jpg


The edges were then cleaned up with a spokeshave and scraper. You can see on the left where I went a bit gung-ho with the spokeshave - oh well.

RGTXNrm.jpg


I've been thinking about what to do with the top of the board - I don't really want to leave just a sharp arris so I thought I'd try something like the photo below. For those who know, would the best way to do this be to mark around the edge and then spokeshave down to the line? I'd like to keep crisp lines all the way around but use a slight curve at the top to soften it a bit.

WWyLNnN.jpg
 
My work on this bench is very nearly done now. The top has been very gently eased to make the edges less sharp to sit on. I'm now thinking about finishes. It's going to be painted black but with what paint I'm not sure. From what I've seen, black acrylic can look good. Can anyone offer any recommendations?

nvf3dE7.jpg
 
I’m liking the easing of the top edges. It’s a good look and should be really comfortable.

I painted the seats on a couple of stools and a side chairs using milk paint and then banged some wax over the top. It gives a nice finish which lets the grain show through but hides the glue lines nicely. It’s really easy to apply and seems to wear well too.
 
Here's a photo my bird took of the finished bench "in situ" for anyone interested. I'm reasonably happy with how it came out but mostly it was just a really helpful learning exercise and was an enjoyable build.

SFwwjlF.jpg
 
Back
Top