


TheTiddles
Established Member
Now, fans of the series may remember Workshop Dog, who came to "help" earlier in the year.
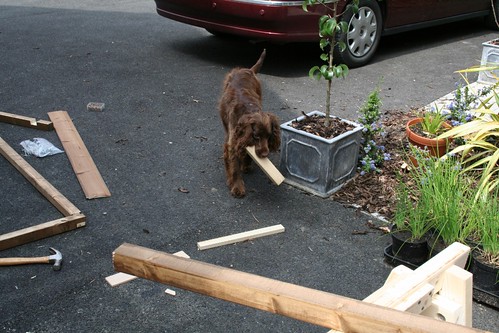
She normally lives with the parentals where she is suitably pampered and gets away with anything she wants. The sofa in the TV room has been replaced with a pair of electric reclining chairs, useful as mother dearest, badly broke her leg a couple of months back, the problem is now "El Poocho" now has nowhere to sit, well theoretically. In fact, she's quite happy on the new leather recliner whilst the plaster encased matriarch slowly lowers herself to sit on the floor! So, the inspiration for Mama's birthday present is obvious.

We start with a load of scrap MDF, offcuts from many and various projects, there's even some B&Q material which I haven't bought for at least two years, laminating two 18mm pieces together first, then after hunting everywhere for my digital angle gauge, giving up and setting it by the graduations on the front of the machine, needs must. A little sawing later and...
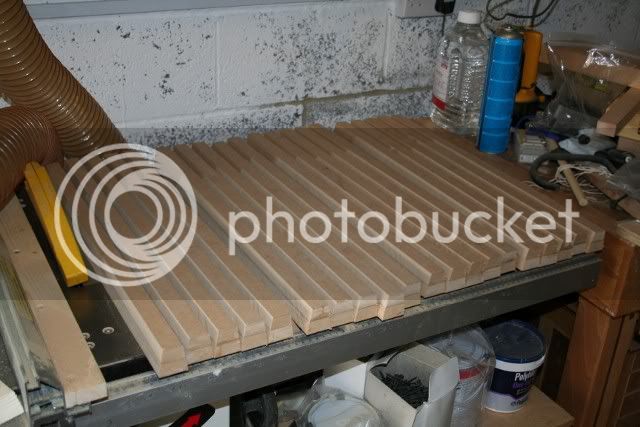
They're actually damn close to the ten degrees per side I was after, which is rather astonishing. As I'm on holiday I'm working entirely without a plan, just a general idea of what I want to create. Using loads of masking tape and even more PVA we make a cylinder, where the quarters are not glued to each other, but by putting it together like this I'm hoping to encourage the overall assembly to have 360 degrees of curve and not more or less.
The next day we trim them to length and you can see here the lovely fluffy finish of cheap MDF, but despite no digital gauge the angles and cuts are pretty clean when stuck together.
Each quarter is biscuited and glued to another laminated panel to form the ends. The intention is that I have offset the biscuits enough such that the internal radius needs to be filled to bring it to round and the external material removed, so far we are looking good.
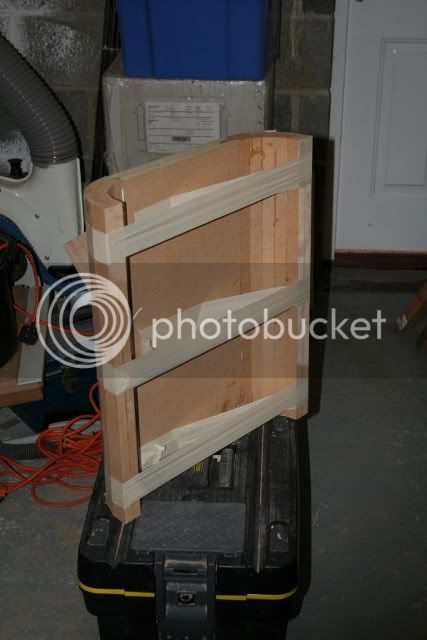
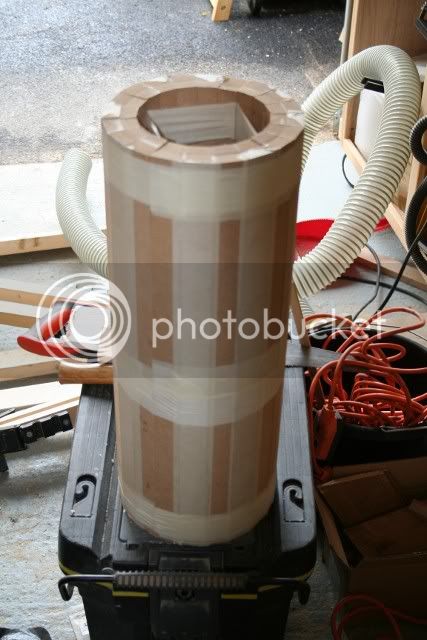
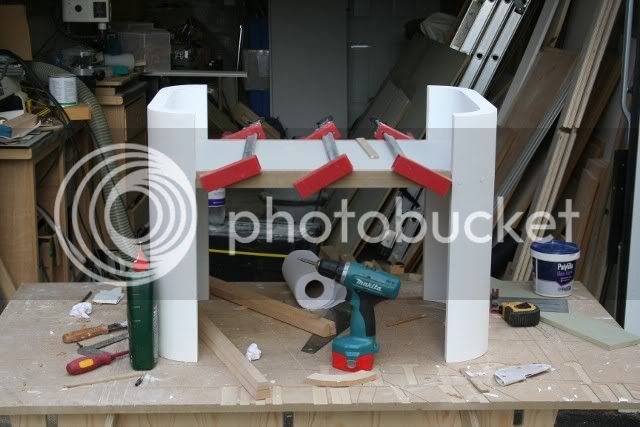
Again, the two halves are clamped together and the pressures adjusted to bring the surfaces together that are not glued.

This "Zeppelin" type shot shows the tape that was temporarily holding the ends on till I got the main clamping loads on. Usefully as the force was increased or reduced you could see the tape sag or tighten in response.
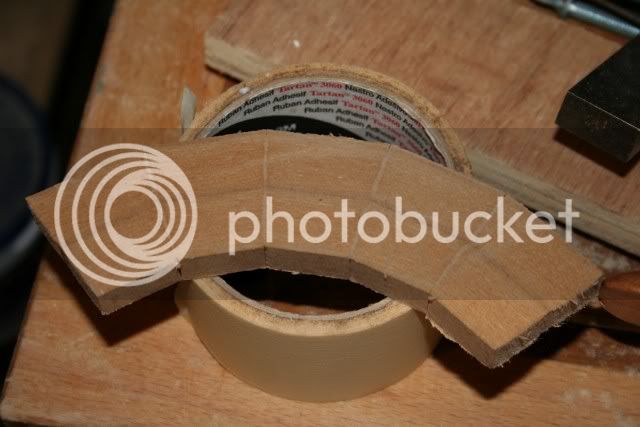
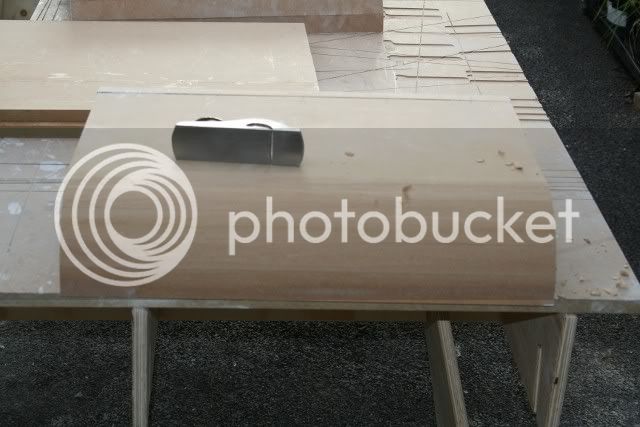
To aid in filling I took a piece of scrap acrylic and made a scraper come guide piece by sanding it round then angling the table to put a large chamfer on it.

Here you can see, if you look very closely, that the inside is a clearance on the gauge and will need filling to make it round.
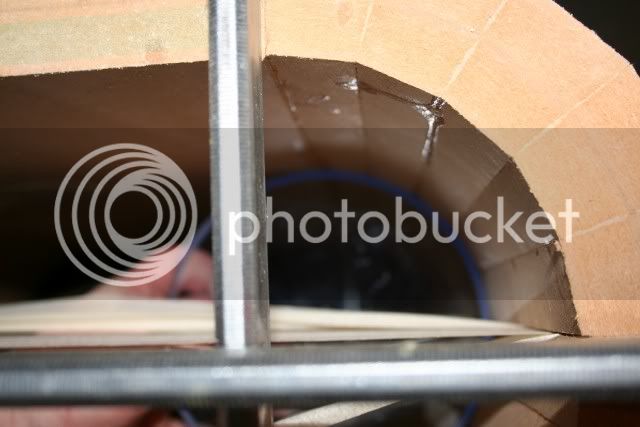
The outside conversely, is all removal. No plan and it's all working, something fishy going on here...
After almost an entire tin of automotive filler, a load of sanding into the night we have four lovely smooth curves
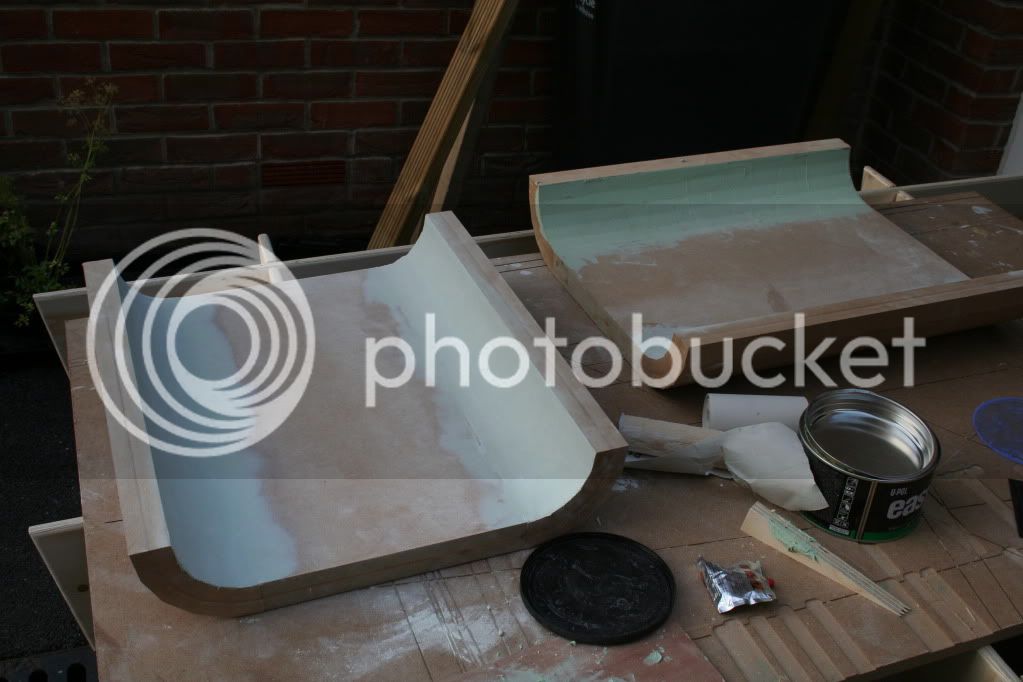
Add primer, sand, more primer, sand, fill, sand, prime, sand etc... we then attach the base (more laminated MDF) to the ends and add a trim to the front and back with yet more biscuits and screws straight through from the outside into the base then the huge gaps are filled with more filler, primer, sanding, primer etc...
Till you have something like this.
The above picture has two issues, one is that water-baser primer doesn't stick to automotive filler, so the inside curves have only got a single top-coat of eggshell on them, evidently the best time to find this out is when you need to put the top coat on to finish and rub back to find the paint falls off. There's another, huge, glaring error there too, hard to see in this picture so I'll let you have a guess. With a rough coat on top we loaded it into the car when it was touch dry and off we went.
After adding a pre-made bed and a suitable canine we have the following result.
Don't think she was too impressed by the paint vapours still coming off, but after a few minutes she became much more sleepy
then fell off.
She normally lives with the parentals where she is suitably pampered and gets away with anything she wants. The sofa in the TV room has been replaced with a pair of electric reclining chairs, useful as mother dearest, badly broke her leg a couple of months back, the problem is now "El Poocho" now has nowhere to sit, well theoretically. In fact, she's quite happy on the new leather recliner whilst the plaster encased matriarch slowly lowers herself to sit on the floor! So, the inspiration for Mama's birthday present is obvious.
We start with a load of scrap MDF, offcuts from many and various projects, there's even some B&Q material which I haven't bought for at least two years, laminating two 18mm pieces together first, then after hunting everywhere for my digital angle gauge, giving up and setting it by the graduations on the front of the machine, needs must. A little sawing later and...
They're actually damn close to the ten degrees per side I was after, which is rather astonishing. As I'm on holiday I'm working entirely without a plan, just a general idea of what I want to create. Using loads of masking tape and even more PVA we make a cylinder, where the quarters are not glued to each other, but by putting it together like this I'm hoping to encourage the overall assembly to have 360 degrees of curve and not more or less.
The next day we trim them to length and you can see here the lovely fluffy finish of cheap MDF, but despite no digital gauge the angles and cuts are pretty clean when stuck together.
Each quarter is biscuited and glued to another laminated panel to form the ends. The intention is that I have offset the biscuits enough such that the internal radius needs to be filled to bring it to round and the external material removed, so far we are looking good.
Again, the two halves are clamped together and the pressures adjusted to bring the surfaces together that are not glued.
This "Zeppelin" type shot shows the tape that was temporarily holding the ends on till I got the main clamping loads on. Usefully as the force was increased or reduced you could see the tape sag or tighten in response.
To aid in filling I took a piece of scrap acrylic and made a scraper come guide piece by sanding it round then angling the table to put a large chamfer on it.
Here you can see, if you look very closely, that the inside is a clearance on the gauge and will need filling to make it round.
The outside conversely, is all removal. No plan and it's all working, something fishy going on here...
After almost an entire tin of automotive filler, a load of sanding into the night we have four lovely smooth curves
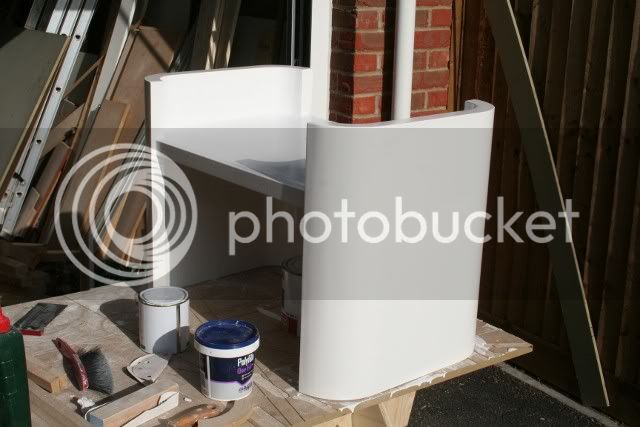
Add primer, sand, more primer, sand, fill, sand, prime, sand etc... we then attach the base (more laminated MDF) to the ends and add a trim to the front and back with yet more biscuits and screws straight through from the outside into the base then the huge gaps are filled with more filler, primer, sanding, primer etc...
Till you have something like this.
The above picture has two issues, one is that water-baser primer doesn't stick to automotive filler, so the inside curves have only got a single top-coat of eggshell on them, evidently the best time to find this out is when you need to put the top coat on to finish and rub back to find the paint falls off. There's another, huge, glaring error there too, hard to see in this picture so I'll let you have a guess. With a rough coat on top we loaded it into the car when it was touch dry and off we went.
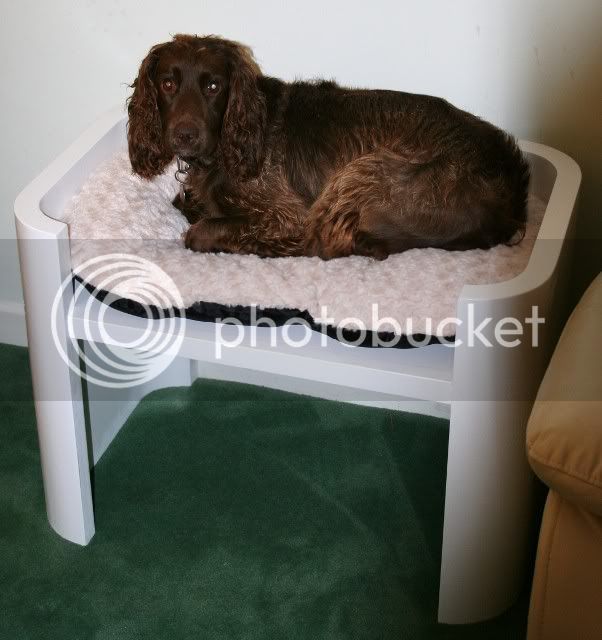
After adding a pre-made bed and a suitable canine we have the following result.
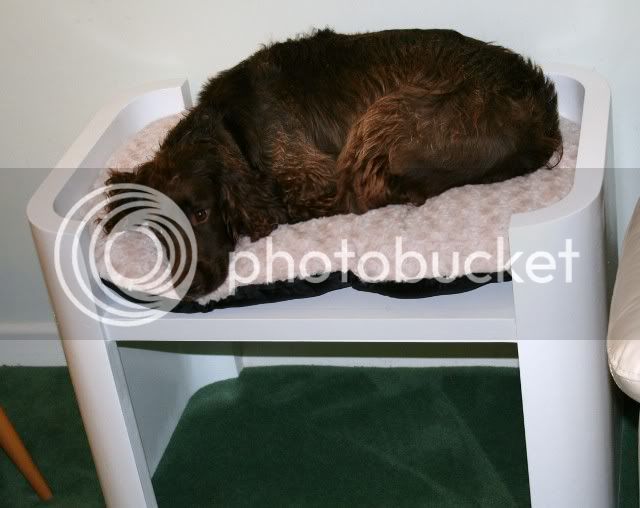
Don't think she was too impressed by the paint vapours still coming off, but after a few minutes she became much more sleepy
then fell off.
