Racers
Established Member
- Joined
- 22 Apr 2005
- Messages
- 9,172
- Reaction score
- 132
Hi Chaps
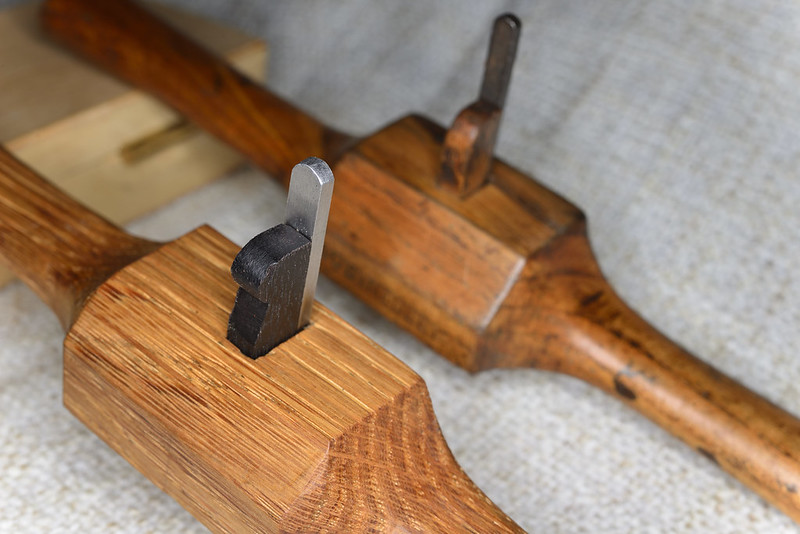
I received a beading tool in my secret Santa, and I thought that looks makable, so I dragged my self in to the garage and set about making one.
I started about 1:30 and finished at 4:30.
I dimensioned a block of oak with my band saw and hand planes, marked the mortice for the blade and wedge and drilled out the waste and cleaned it up with a couple of floats I made some time ago.
Marked the cut outs for handle shape and band sawed them off and then cleaned up the handles with my Millars Falls cigar shave.
The wedge is made from an off cut of rosewood.
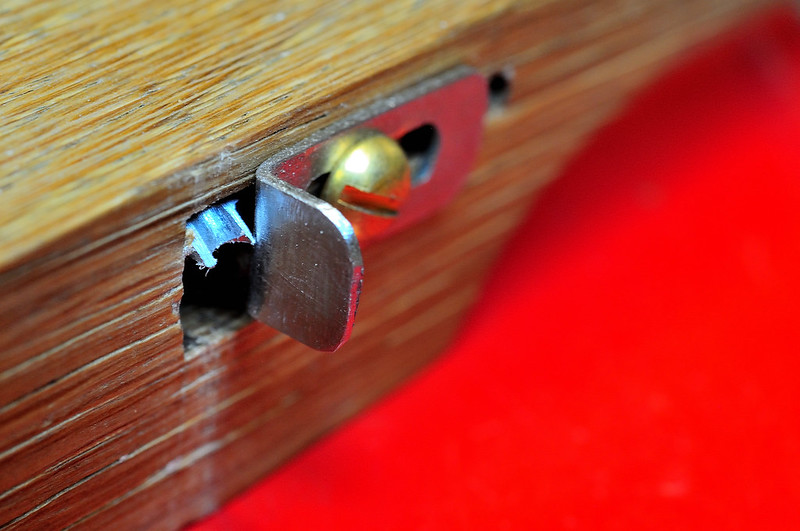
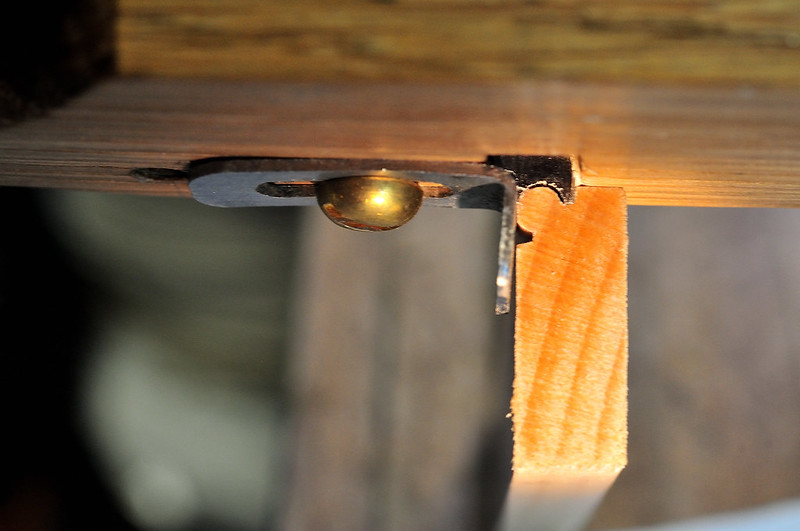
The fence it made from some stainless steel with a slot chain drilled and filed out, the blade is 3mm O1 steel cut to 6mm wide and hardened and tempered.
I think it turned out well.
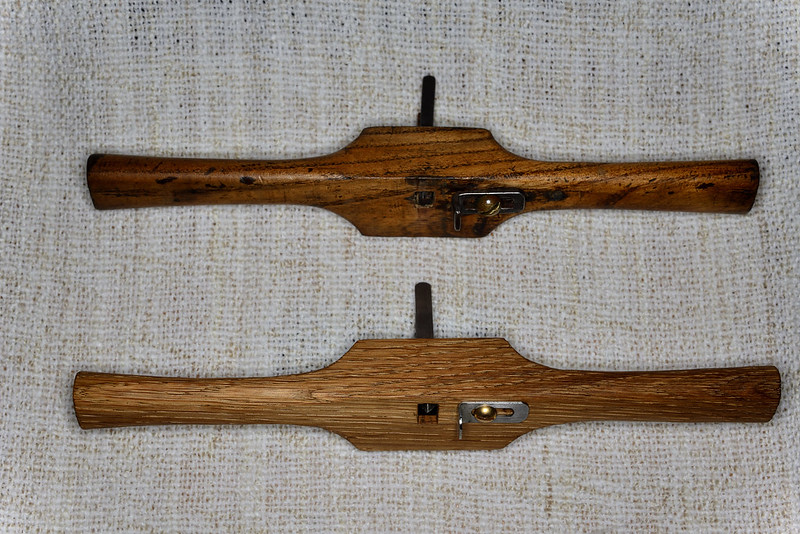 Beading tool by Racers, on Flickr
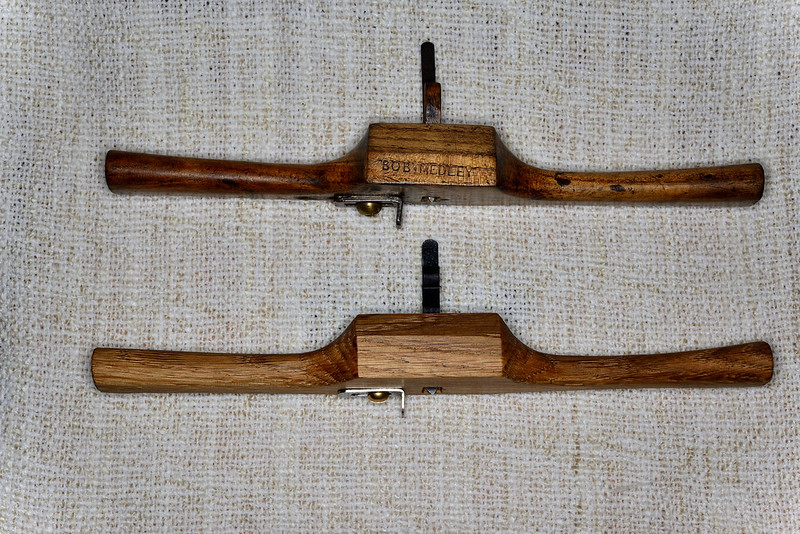 Beading tool by Racers, on Flickr
 Beading tool close up by Racers, on Flickr
Pete
I received a beading tool in my secret Santa, and I thought that looks makable, so I dragged my self in to the garage and set about making one.
I started about 1:30 and finished at 4:30.
I dimensioned a block of oak with my band saw and hand planes, marked the mortice for the blade and wedge and drilled out the waste and cleaned it up with a couple of floats I made some time ago.
Marked the cut outs for handle shape and band sawed them off and then cleaned up the handles with my Millars Falls cigar shave.
The wedge is made from an off cut of rosewood.
The fence it made from some stainless steel with a slot chain drilled and filed out, the blade is 3mm O1 steel cut to 6mm wide and hardened and tempered.
I think it turned out well.
Beading tool by Racers, on Flickr
Beading tool by Racers, on Flickr
Beading tool close up by Racers, on FlickrPete