


Derek Cohen (Perth Oz)
Established Member
The idea for the mortice vise came from Shannon Rogers, who blogs as the Renaissance Woodworker. Mine is a gentle variation of his.
The other reason for this thread is to revisit the morticing method I use. Perhaps to illustrate how easy it is, even when it is my first mortice chopped in a month.
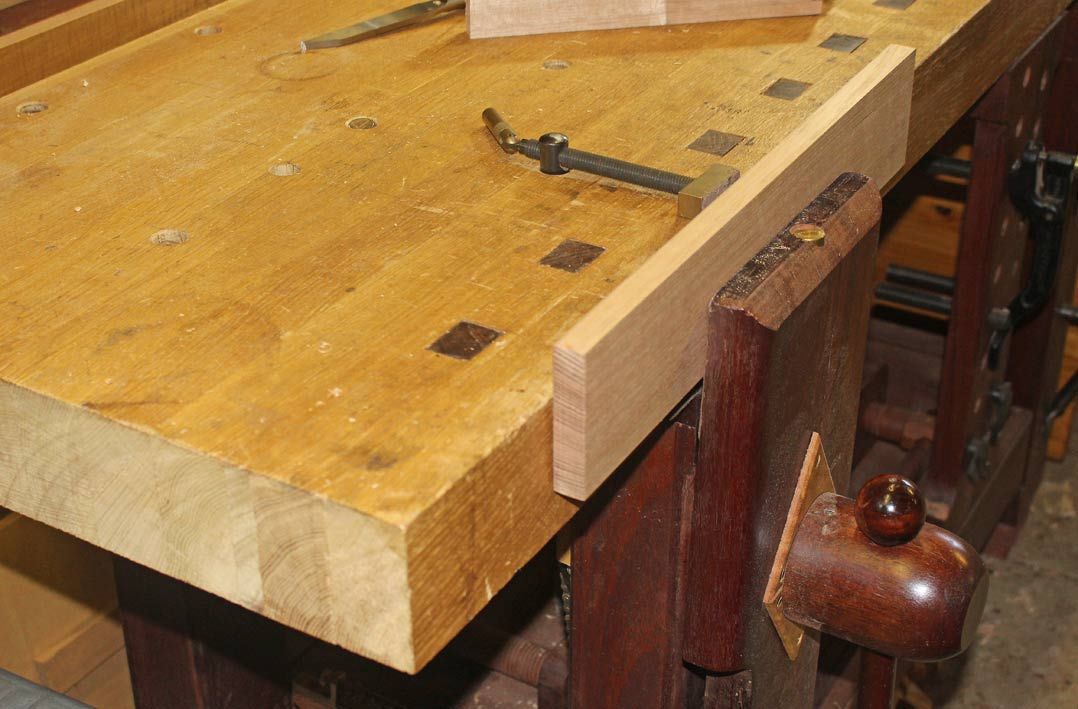
The idea is to use the face vise, in my case a leg vise, to provide a support for the work piece. This places the work piece over the leg, but on the bench, which is the most stable section of the bench from which to work. There are thise who hold the work piece in the vise, such as Paul Sellers, but I can olnly imagine that is both unstable (the board will slip down), and likely to damage the vise.
What we have here is a scrap of Tasmanian Oak to which I added 400 grit sandpaper as non-slip.
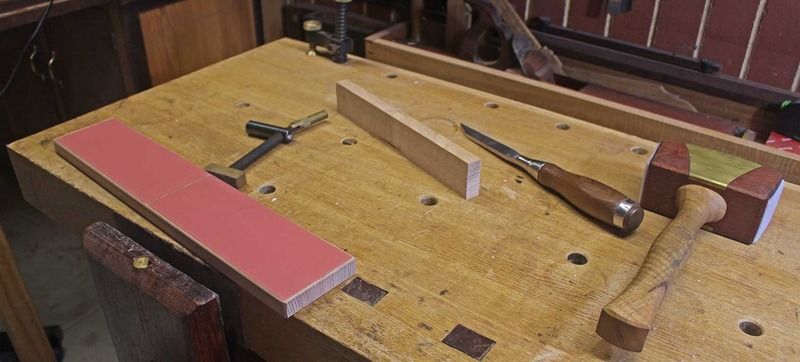
The board is clamped in the vise, at the height needed. A Veritas Wonder Dog (with leather on the brass end) clamps the work piece against the support.

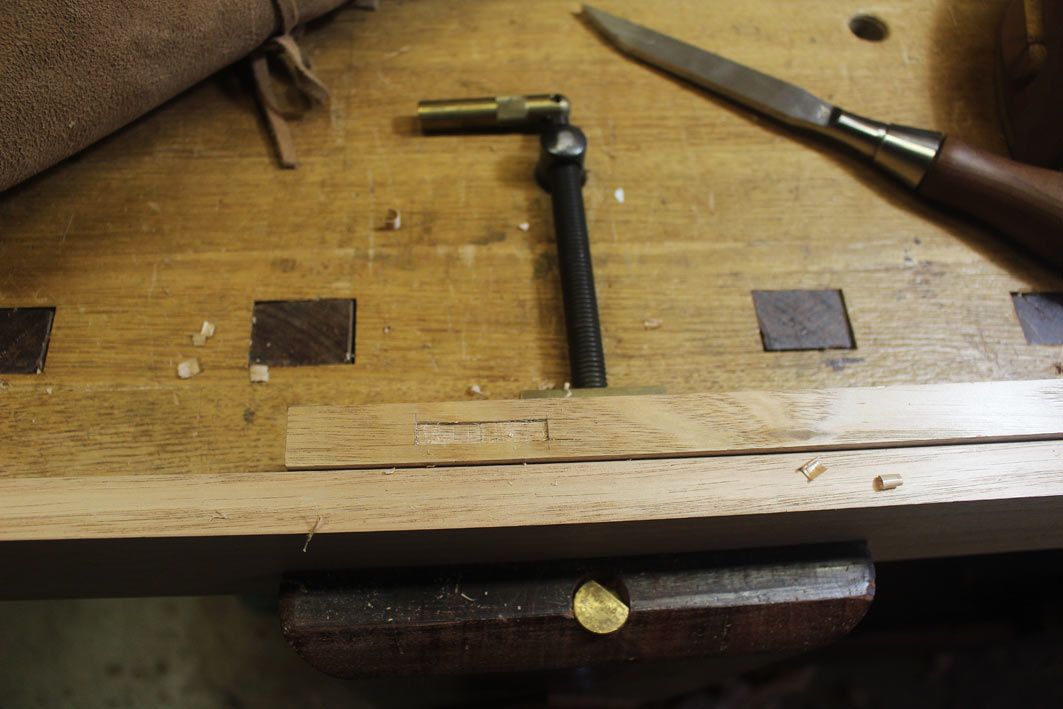
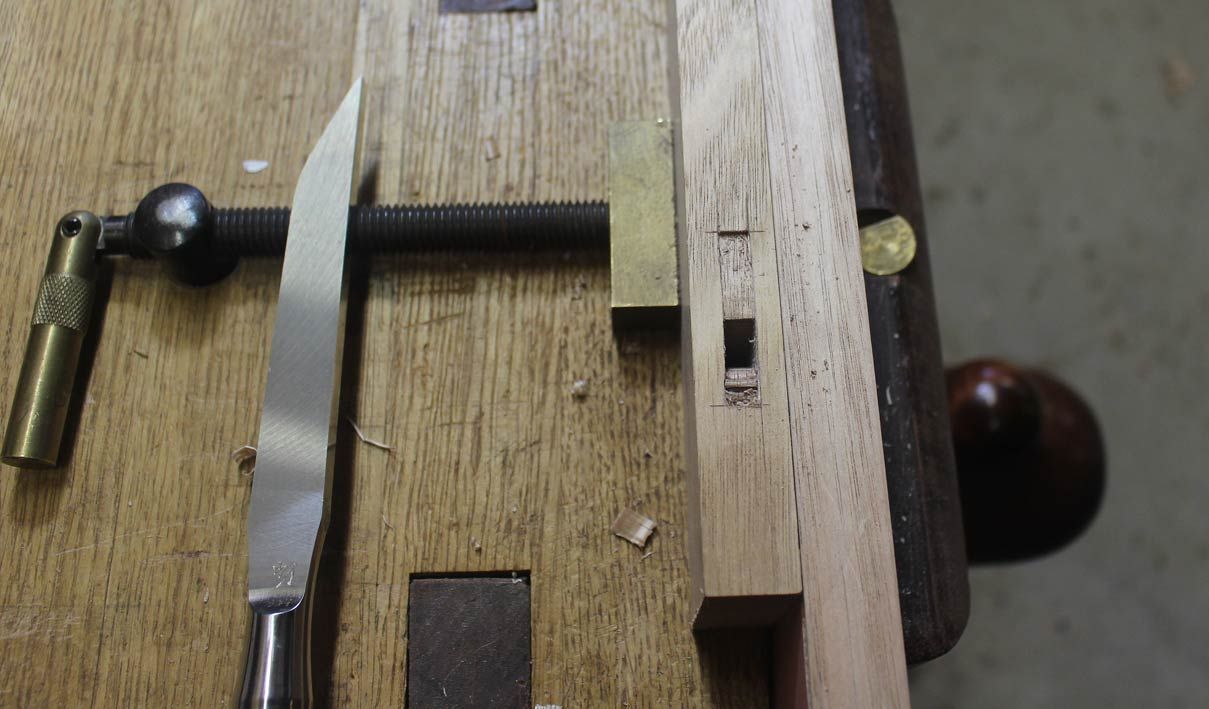
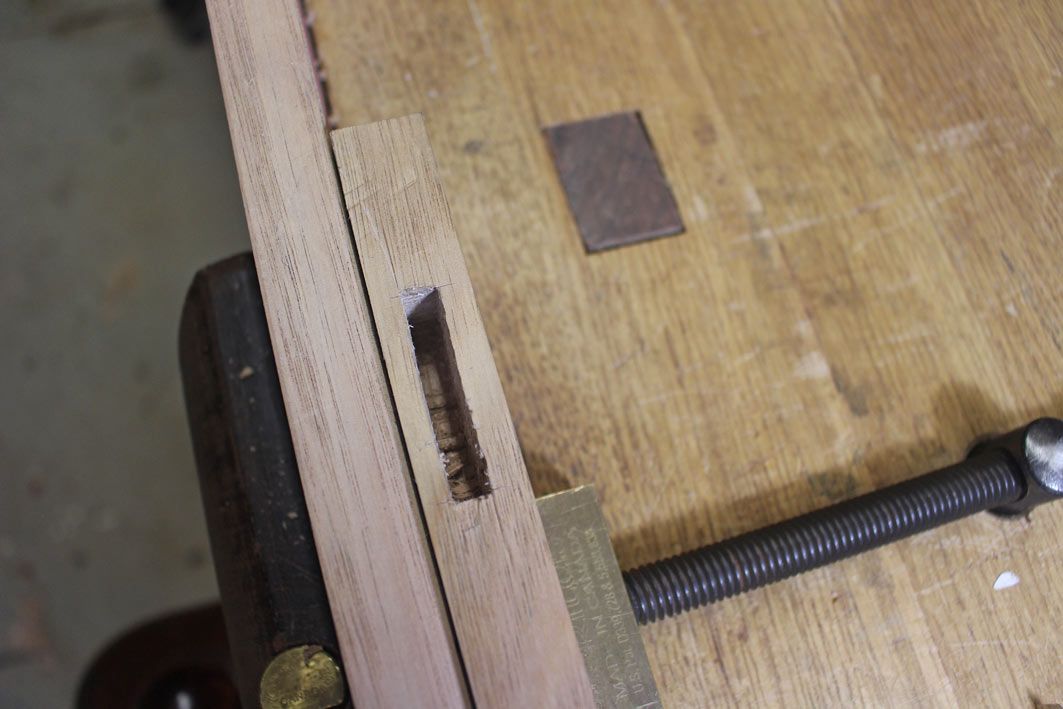
My preference is to pare away the top mm of the mortice. This defines the perimeter ..
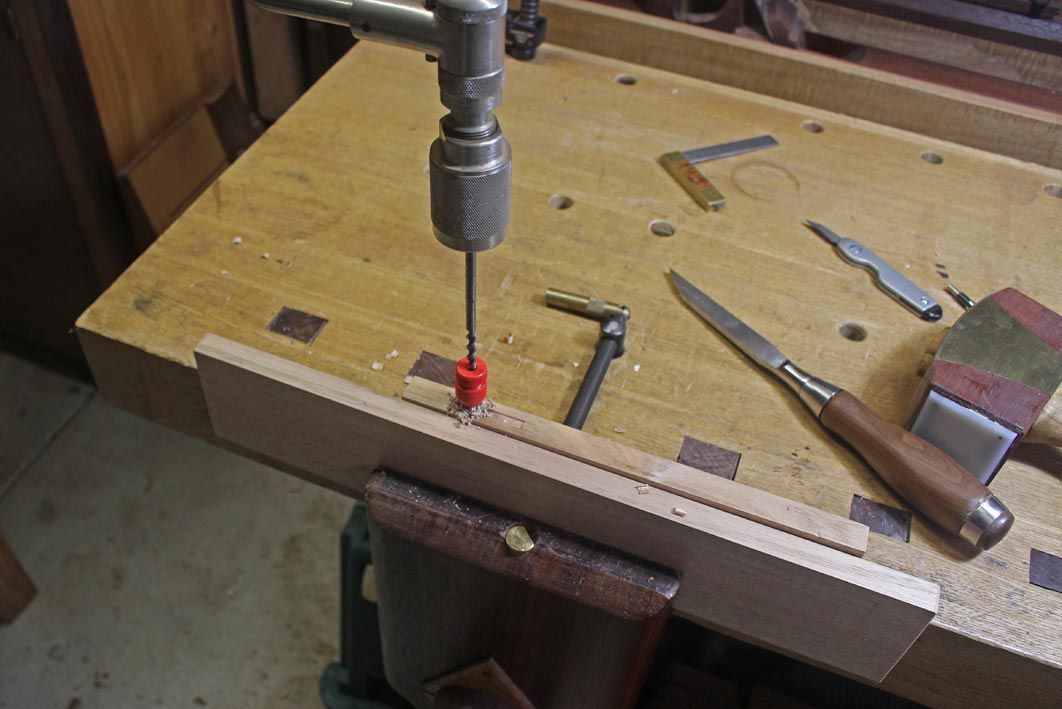
Then drill a hole at the one end ...
Below: This is the working position - facing down the board. This makes it easier to check that the the chisel is being held in the perpendicular ...
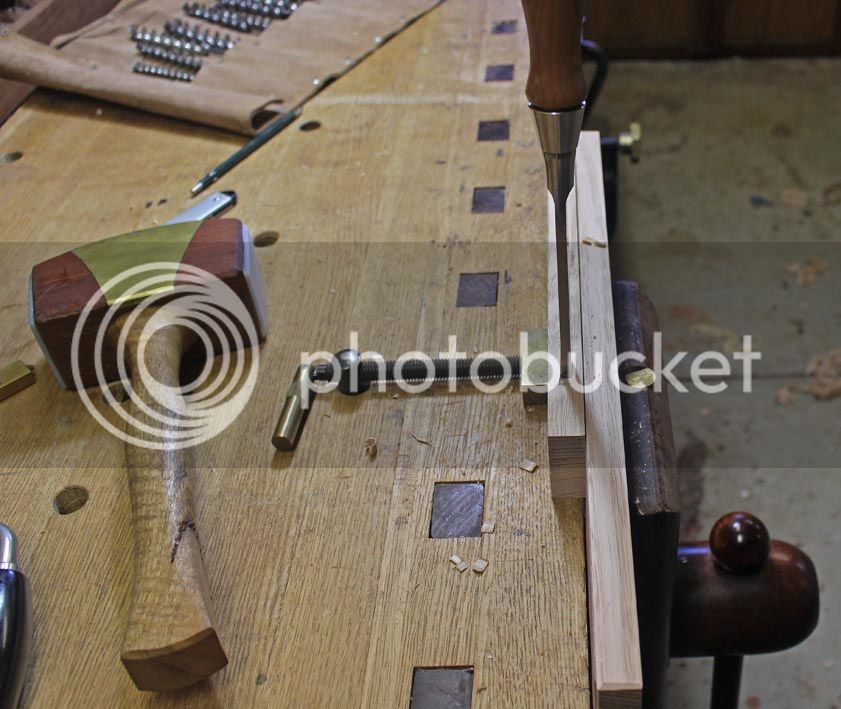
Incidentally, the shop made joiner's mallet is heavy - infilled with brass to a weight of 38oz.
The mortice is going to be about 2 1/2" long and about 1" deep. The wood is Tasmanian Oak, which is a little harder than European Oak.
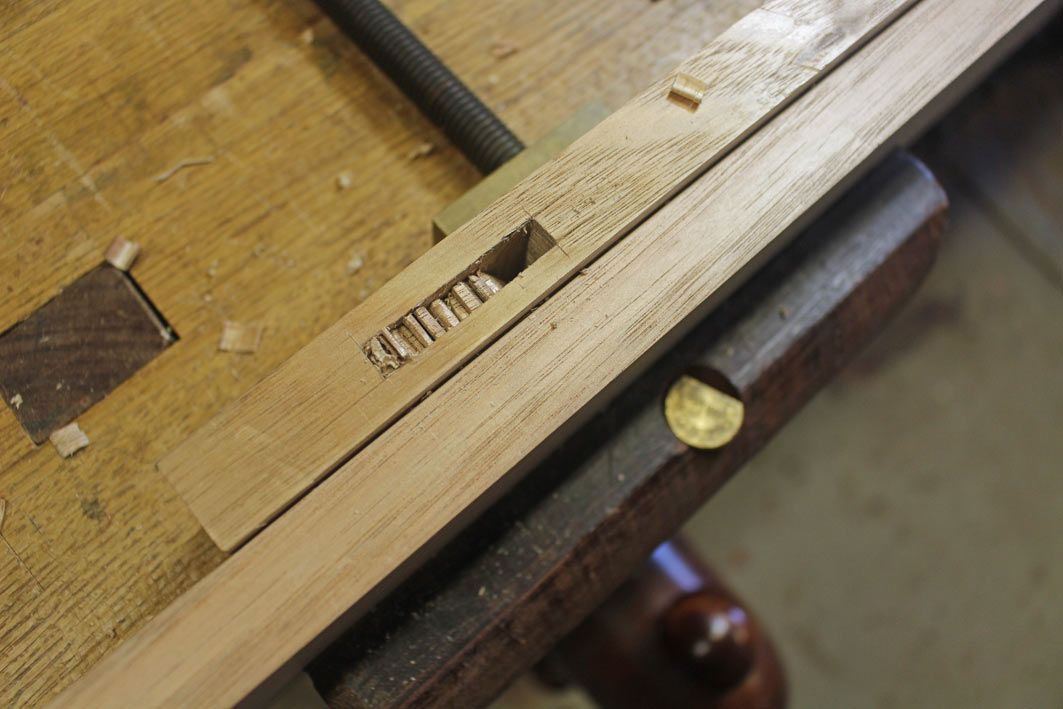
The purpose of the hole is for the waste to have a space to move into. This can be seen below. Without this space, the chips will just jamb together.
The morticing consists solely of chopping down, with the bevel towards to hole. This forces the waste in that direction. By the half-way mark, the mortice is already at full depth ..
Each "chip" is about 1/8" apart. It does not take long to reach the end of the mortice ...
I use a sokosari-nomi to clear the chips ...

You can see the shape of the mortice bottom at this stage ...
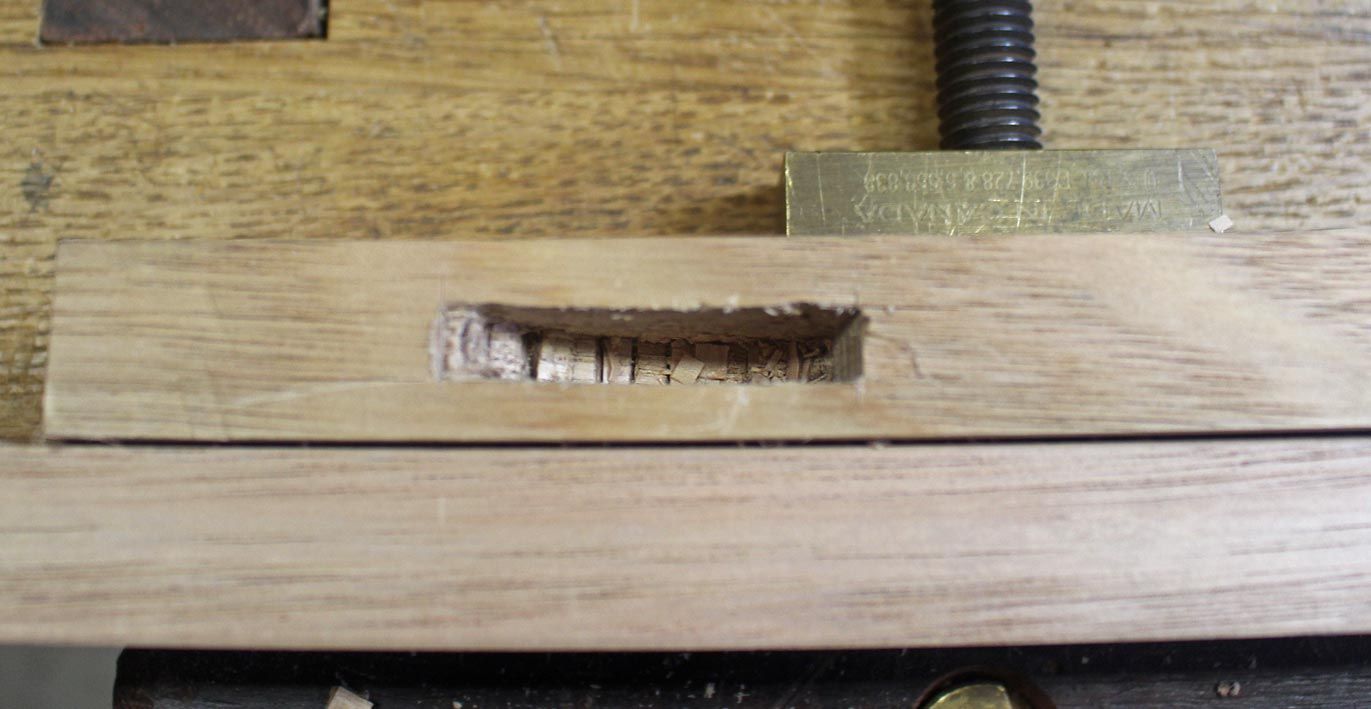
Work backwards now from the middle to the start ...
The mortice is essentially complete. On fitting the tenon, one will check the sides and ends for square. However, since this is a test case, I sliced the mortice through the centre on the bandsaw to see the inside at this point in time ...
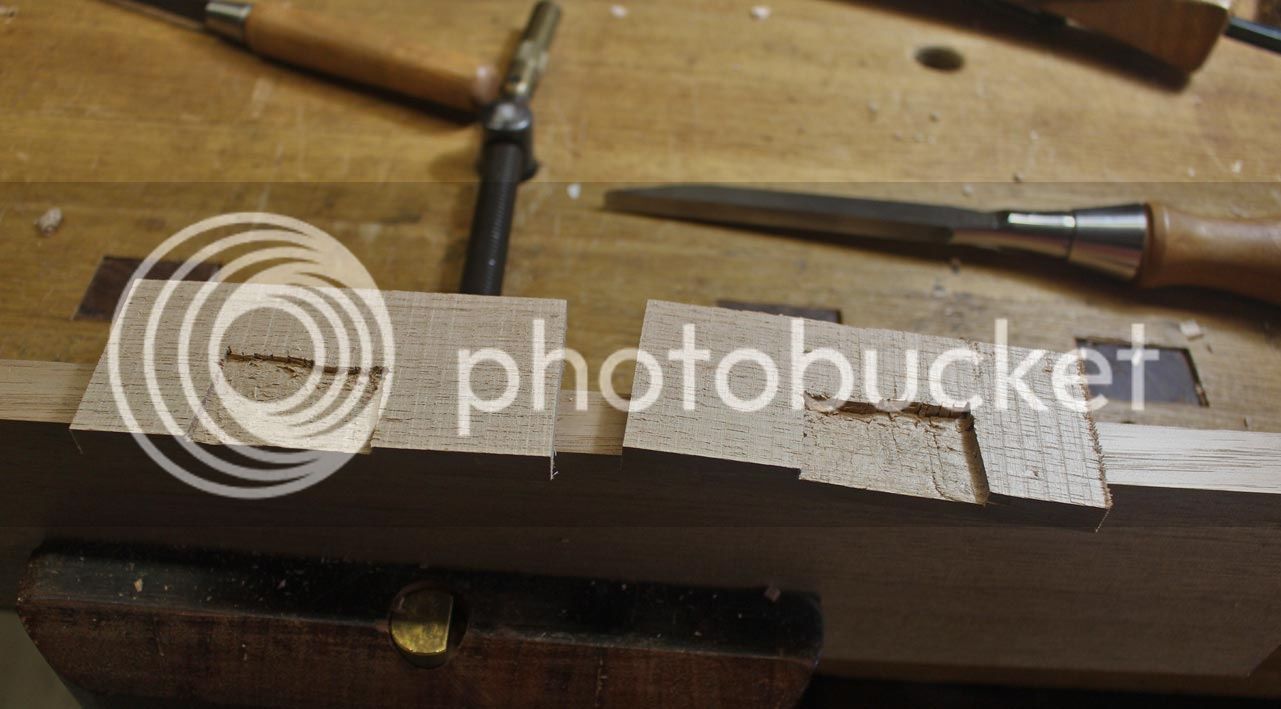
The sides look reasonably smooth and even ...
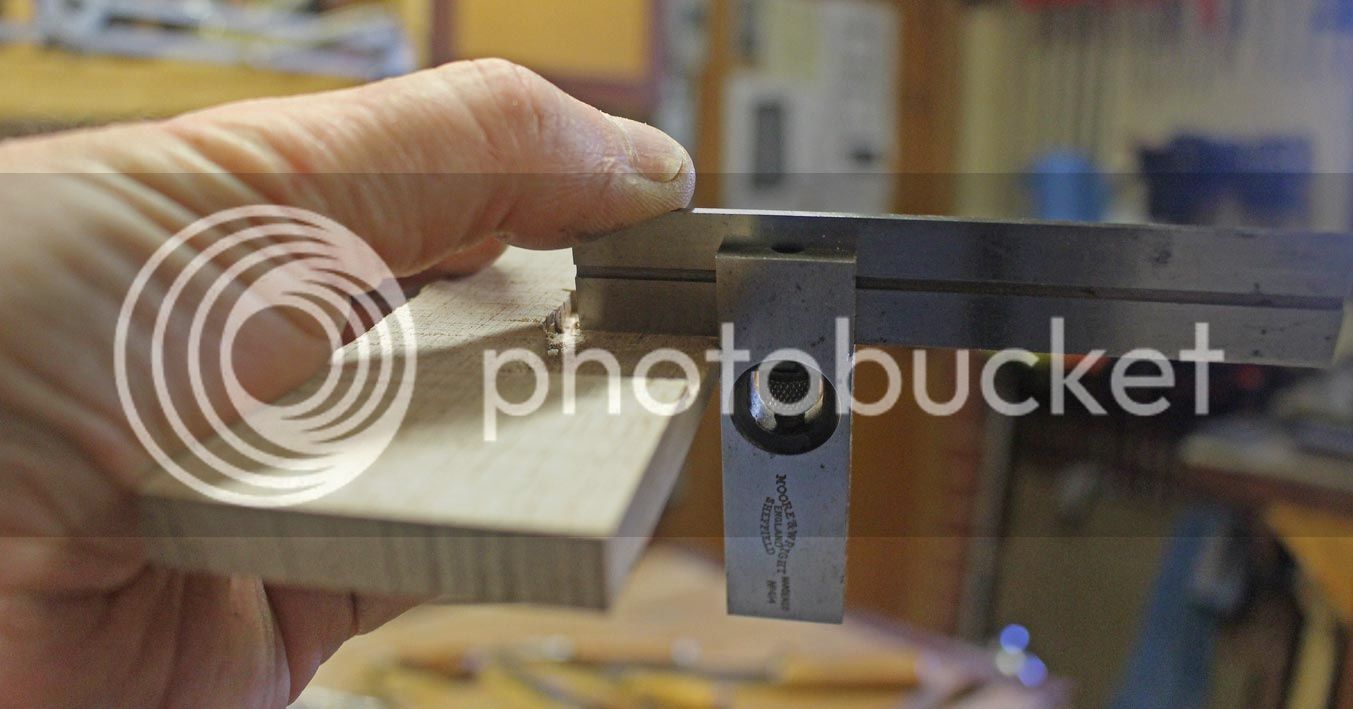
... and square.
Looking forward to more discussion.
Regards from Perth
Derek
The other reason for this thread is to revisit the morticing method I use. Perhaps to illustrate how easy it is, even when it is my first mortice chopped in a month.
The idea is to use the face vise, in my case a leg vise, to provide a support for the work piece. This places the work piece over the leg, but on the bench, which is the most stable section of the bench from which to work. There are thise who hold the work piece in the vise, such as Paul Sellers, but I can olnly imagine that is both unstable (the board will slip down), and likely to damage the vise.
What we have here is a scrap of Tasmanian Oak to which I added 400 grit sandpaper as non-slip.
The board is clamped in the vise, at the height needed. A Veritas Wonder Dog (with leather on the brass end) clamps the work piece against the support.
My preference is to pare away the top mm of the mortice. This defines the perimeter ..
Then drill a hole at the one end ...
Below: This is the working position - facing down the board. This makes it easier to check that the the chisel is being held in the perpendicular ...
Incidentally, the shop made joiner's mallet is heavy - infilled with brass to a weight of 38oz.
The mortice is going to be about 2 1/2" long and about 1" deep. The wood is Tasmanian Oak, which is a little harder than European Oak.
The purpose of the hole is for the waste to have a space to move into. This can be seen below. Without this space, the chips will just jamb together.
The morticing consists solely of chopping down, with the bevel towards to hole. This forces the waste in that direction. By the half-way mark, the mortice is already at full depth ..
Each "chip" is about 1/8" apart. It does not take long to reach the end of the mortice ...
I use a sokosari-nomi to clear the chips ...
You can see the shape of the mortice bottom at this stage ...
Work backwards now from the middle to the start ...
The mortice is essentially complete. On fitting the tenon, one will check the sides and ends for square. However, since this is a test case, I sliced the mortice through the centre on the bandsaw to see the inside at this point in time ...
The sides look reasonably smooth and even ...
... and square.
Looking forward to more discussion.
Regards from Perth
Derek

