Tiny garden workshop build - brick/timber

UKworkshop.co.uk

Help Support UKworkshop.co.uk:

This site may earn a commission from merchant affiliate links, including eBay, Amazon, and others.

CaptainCaveman

Established Member
Joined
19 Sep 2013
Messages
24
Reaction score
0
Location
Derbyshire UK
Hello all!

New here, somebody mentioned this place over on GarageJournal so thought I'd swing on by and share my ongoing build of my garden workshop.

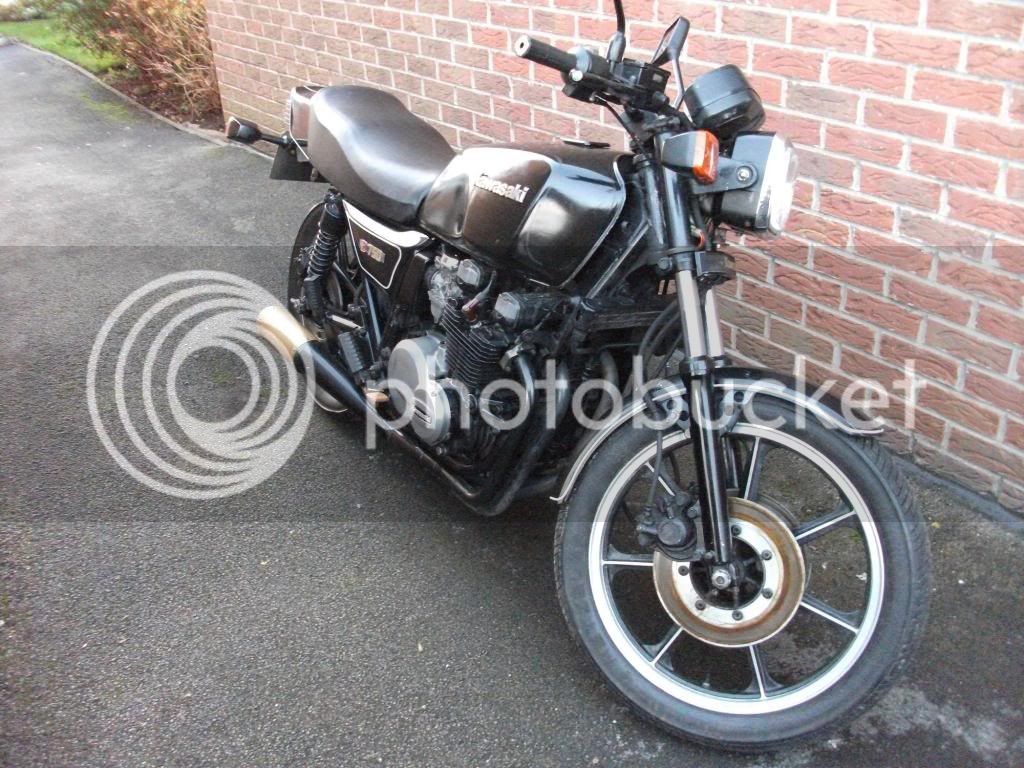
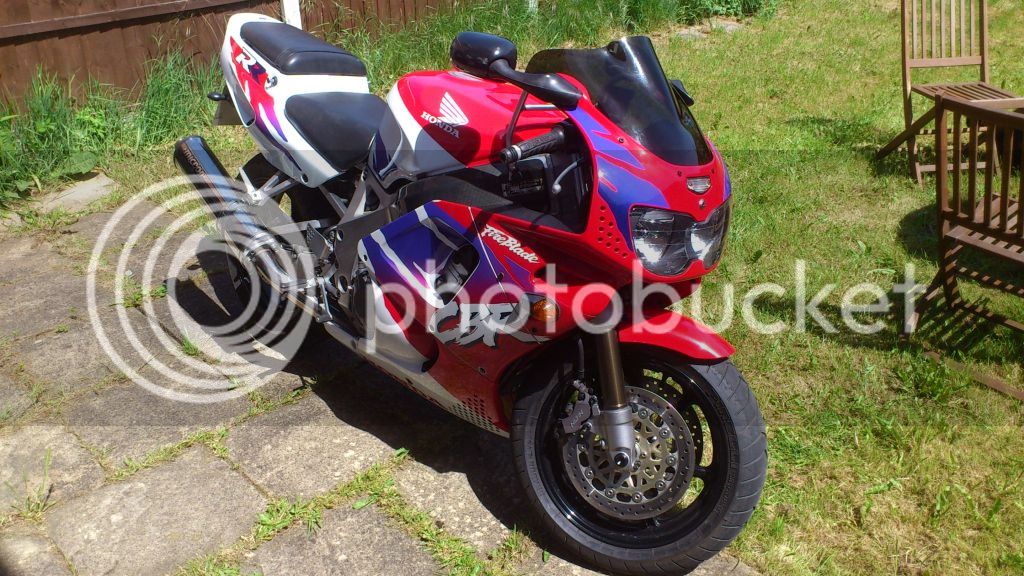
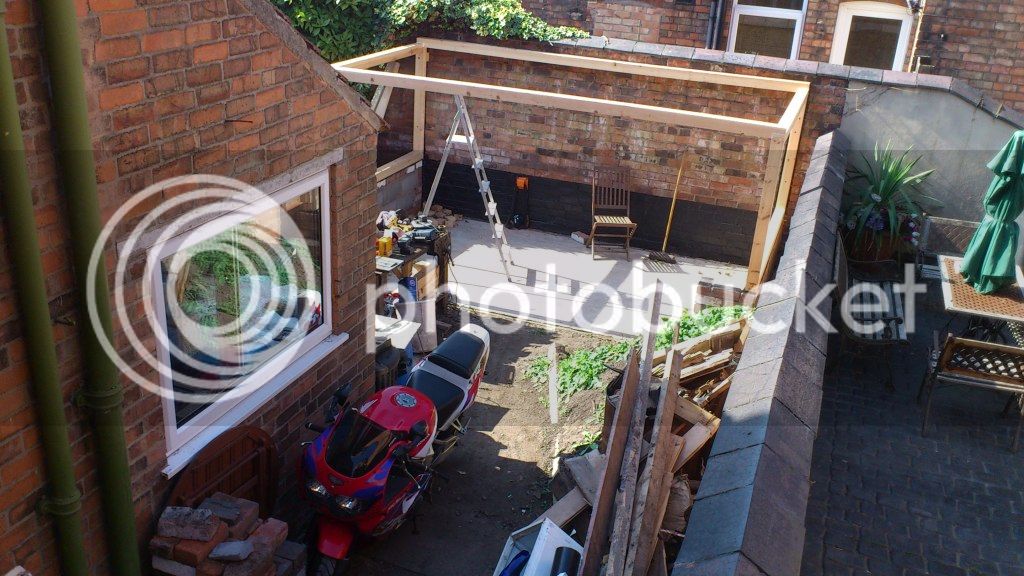
Basically it's a small space and I've got to fit 3 motorcycles in there and still have room to work, tricky.
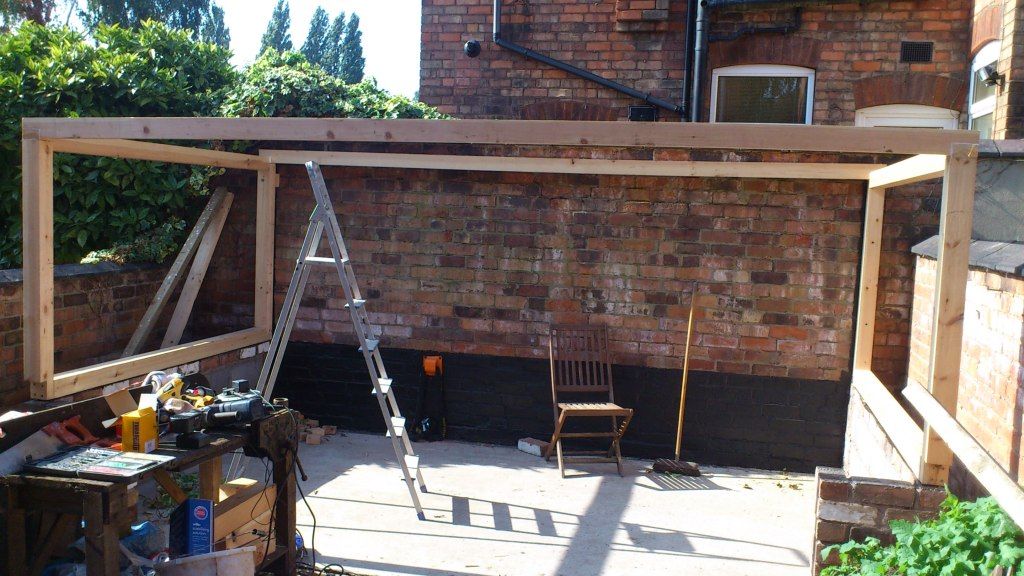
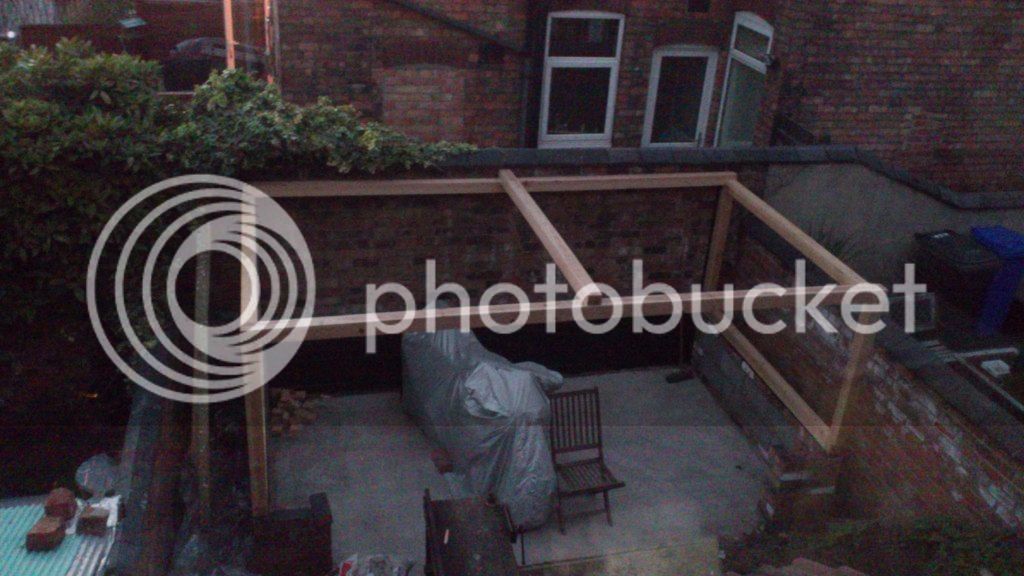
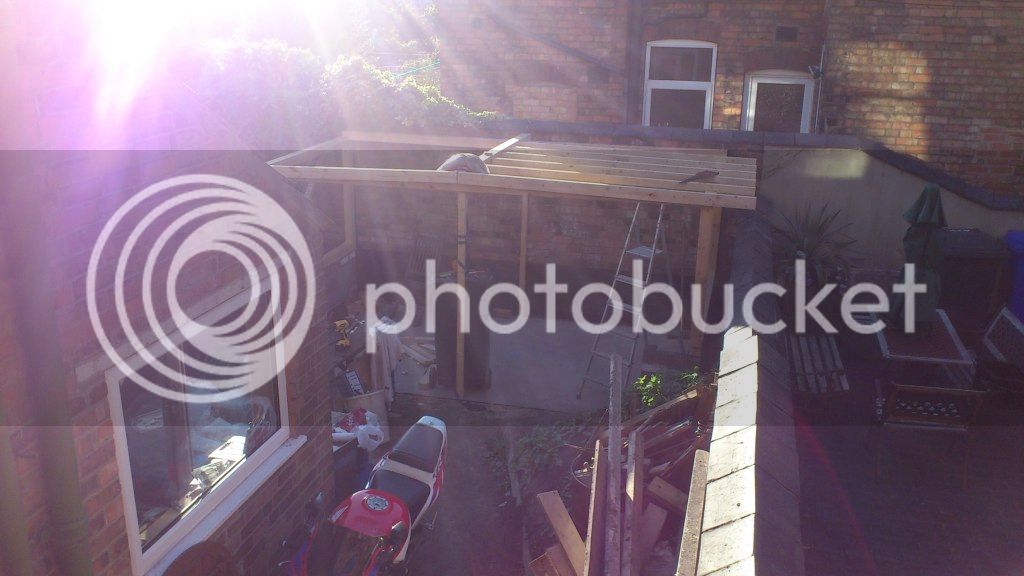
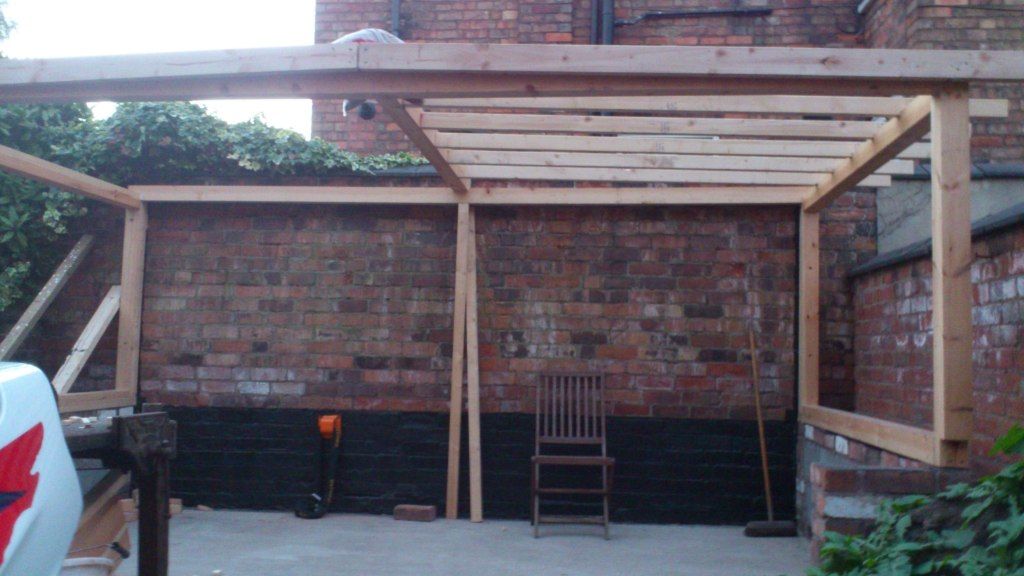
Anyway, here's some pictures of the story so far...

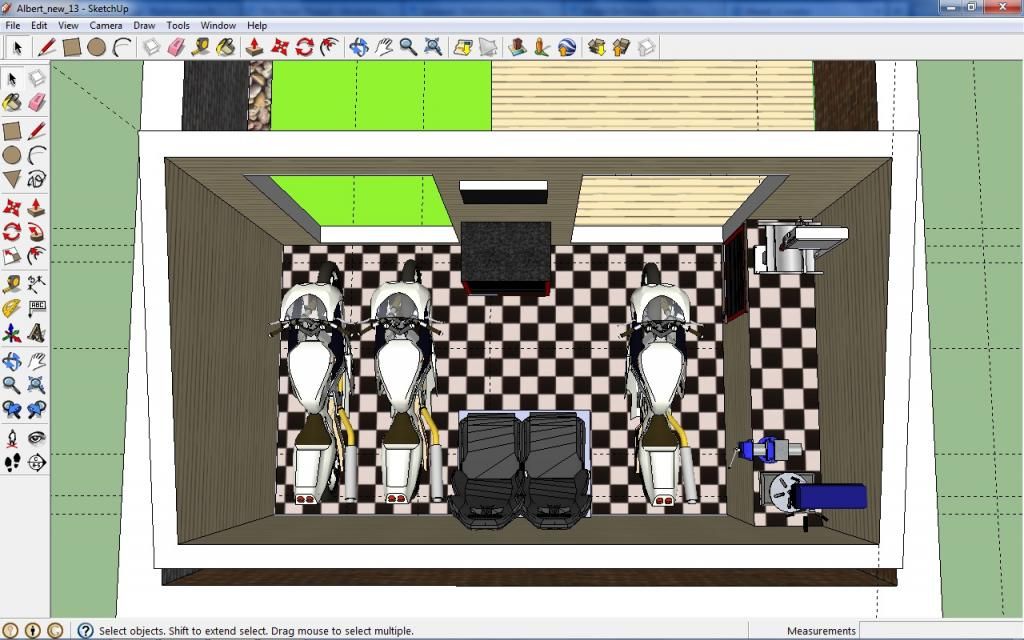
Initial googlesketchup of feasability, size versus motorcycles, just about big enough, ish:
Shed_x2.jpg


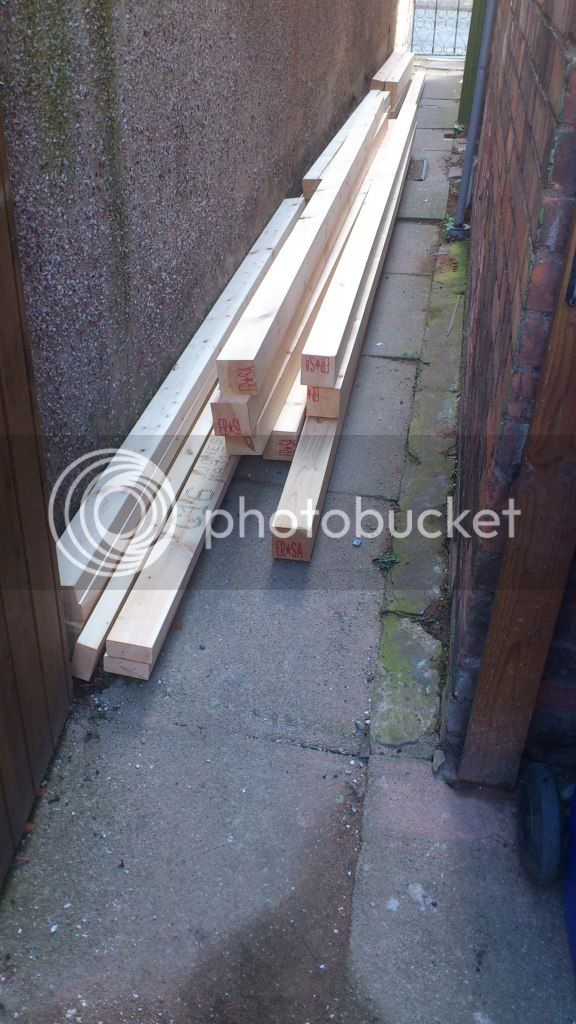
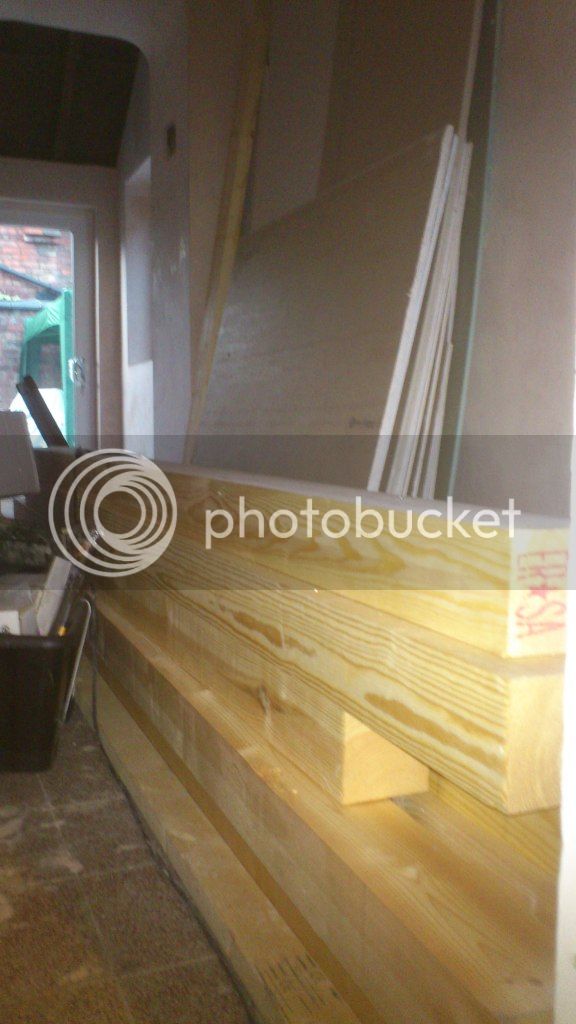
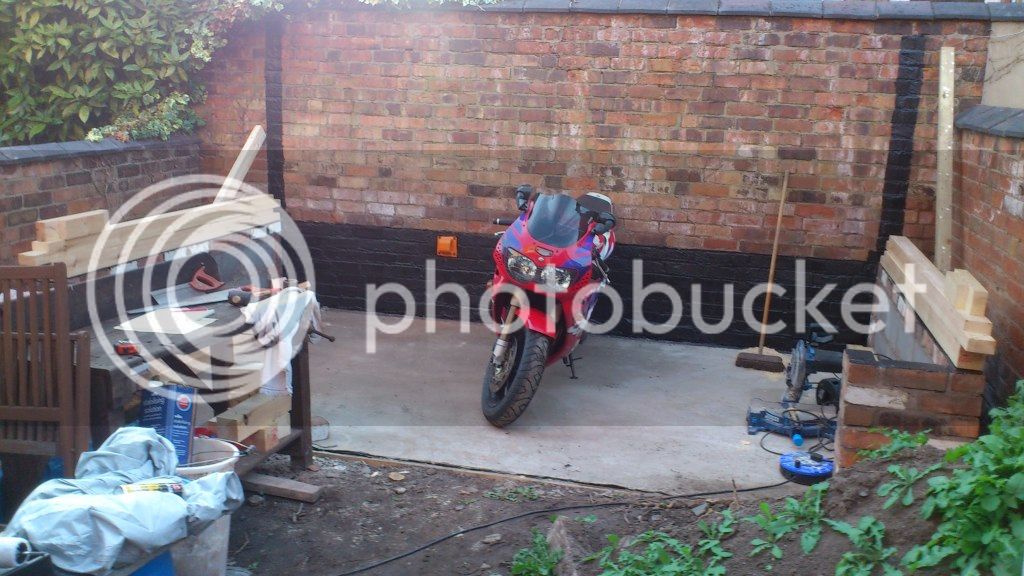
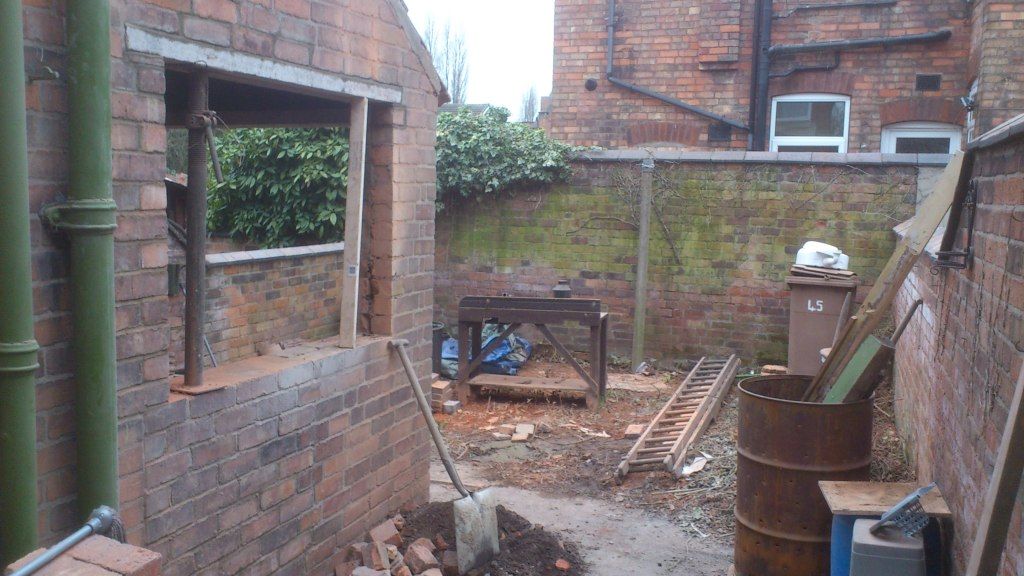
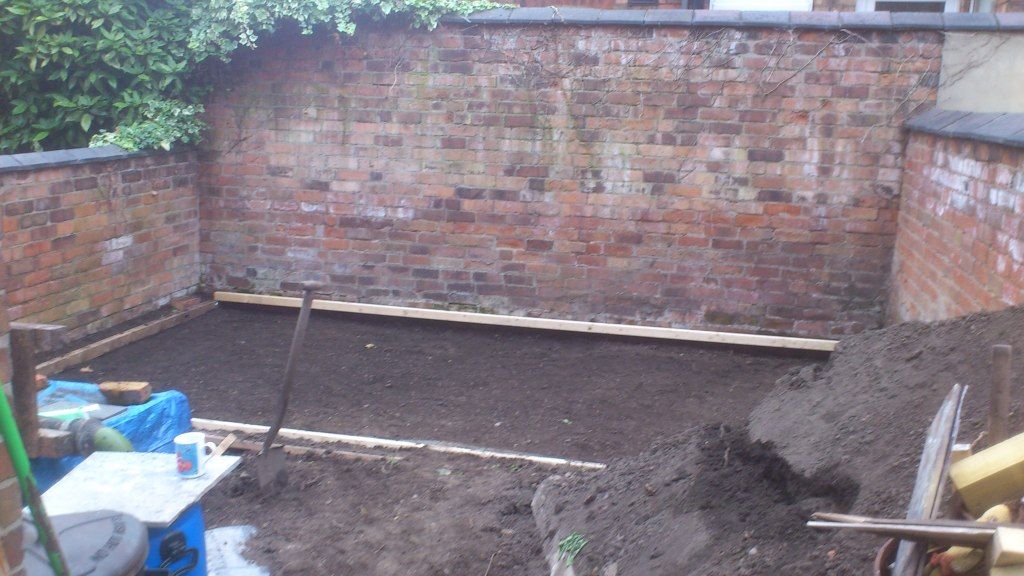
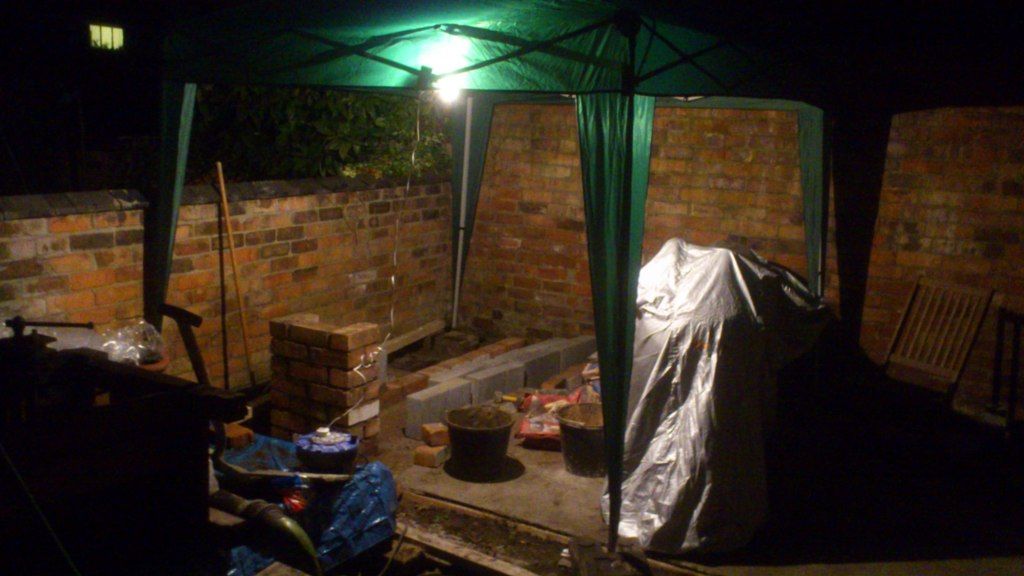
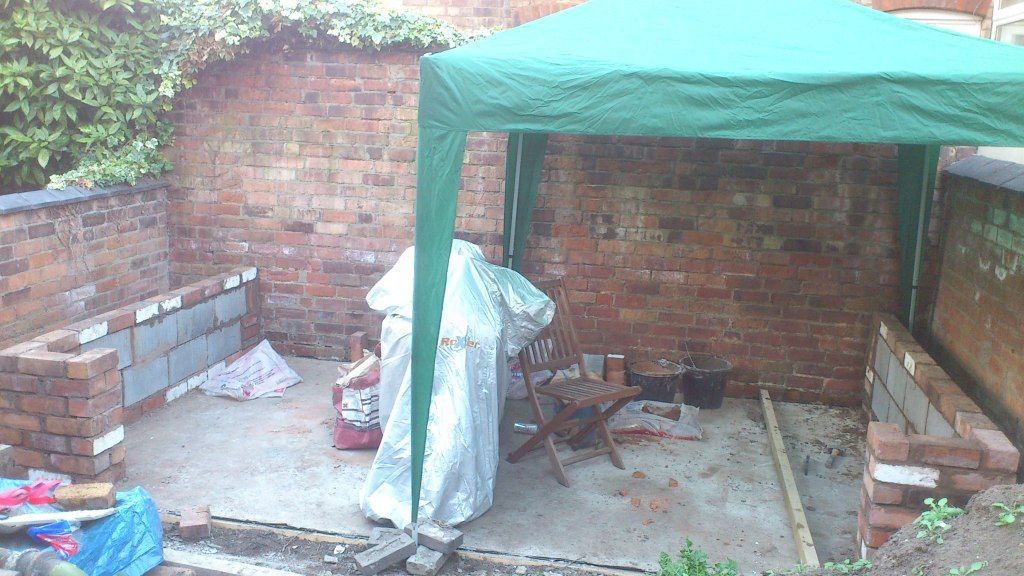
Actual space, photo from when I was knocking through the coal shed and outhouse into one to make a study:
DSC_1239.jpg


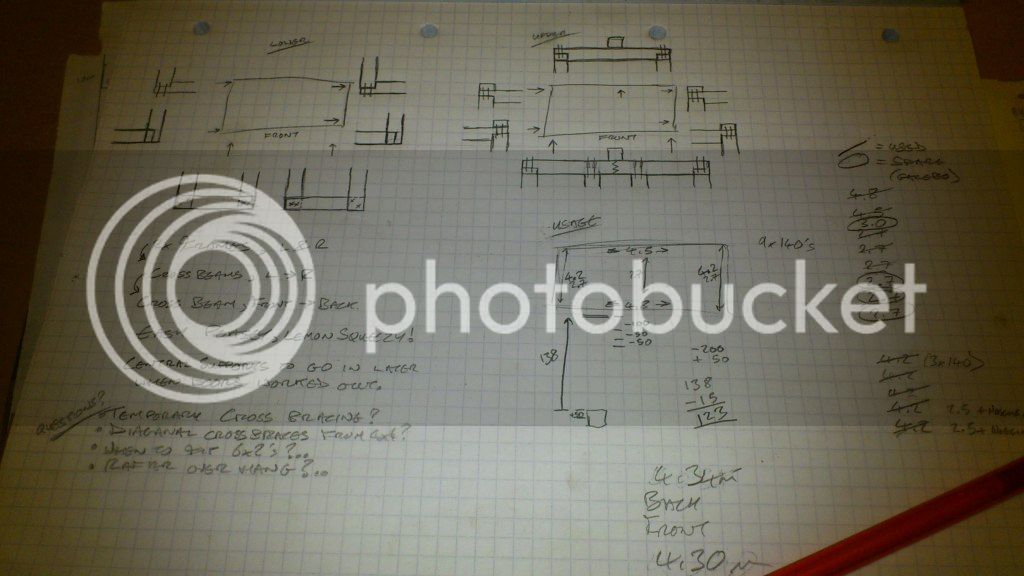
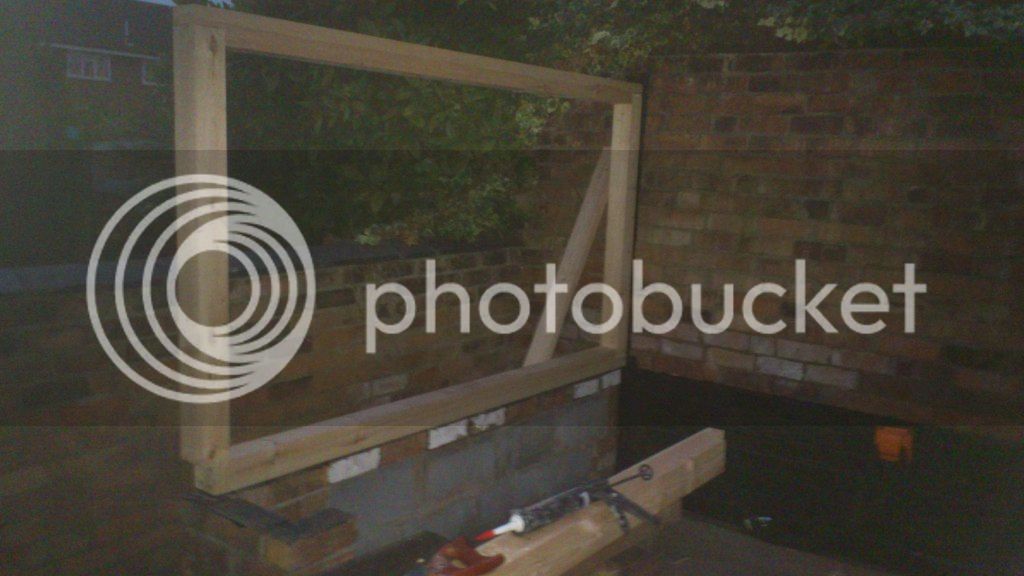
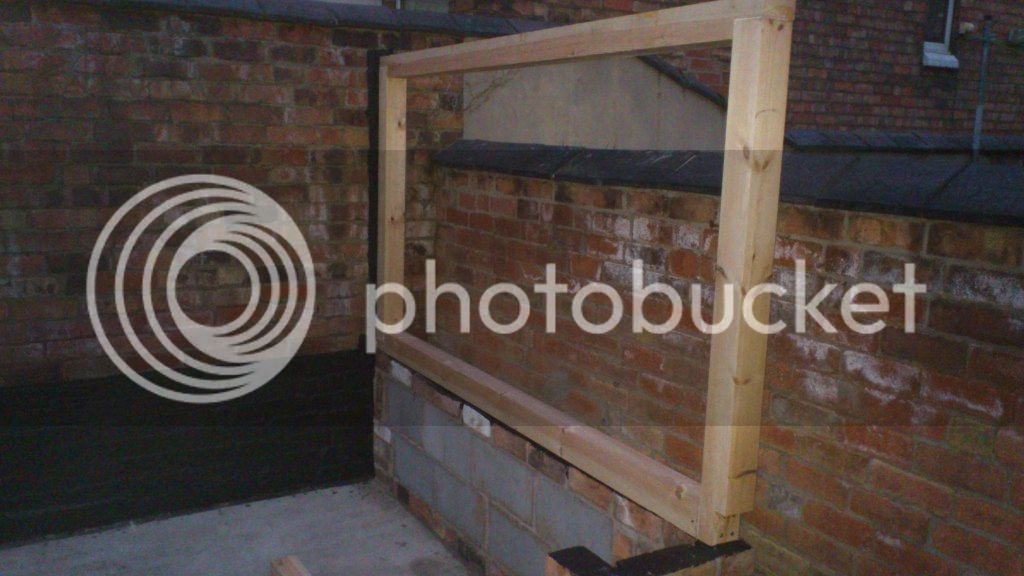
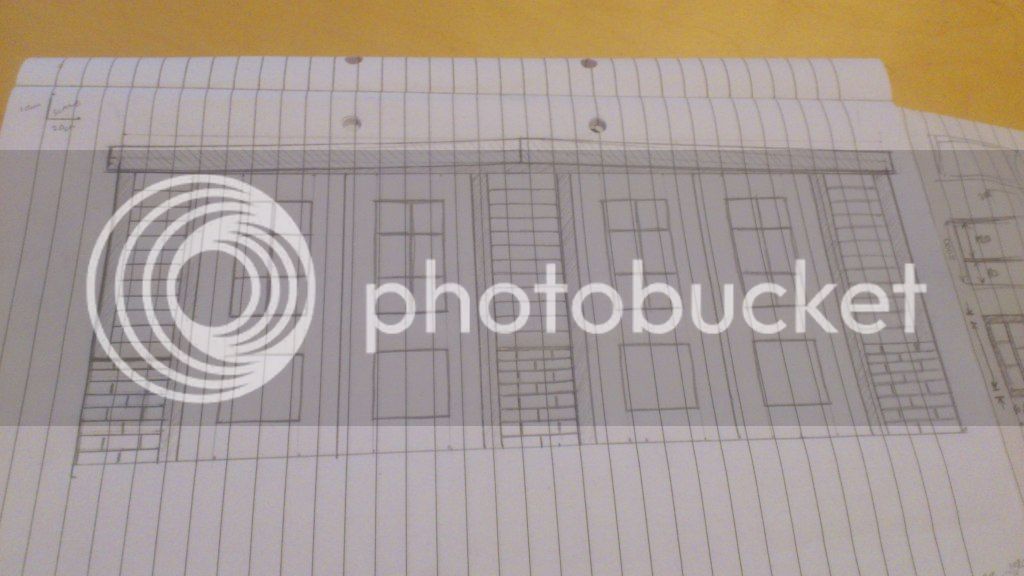
The initial plan looked something like this:
DSC_1784.jpg


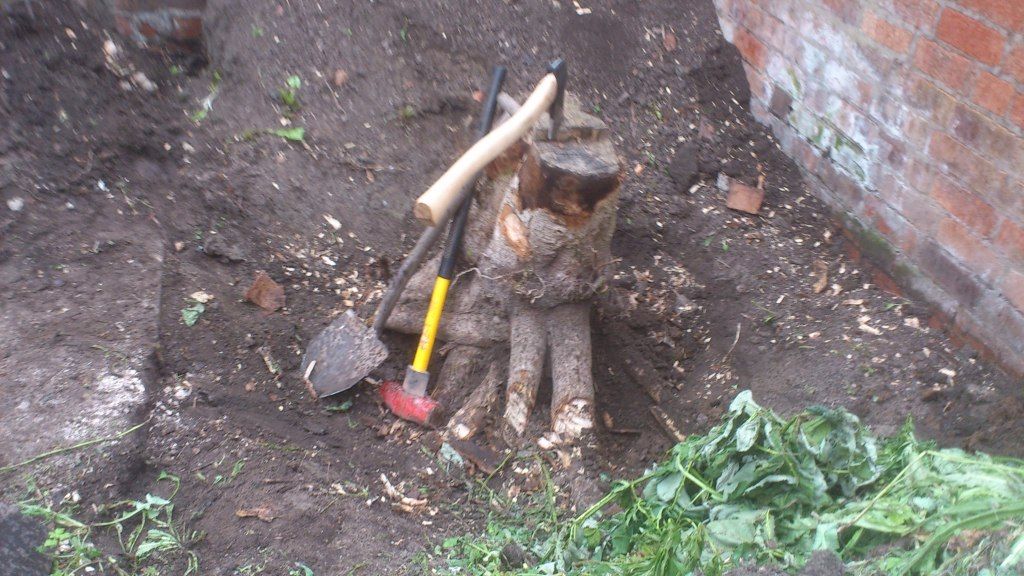
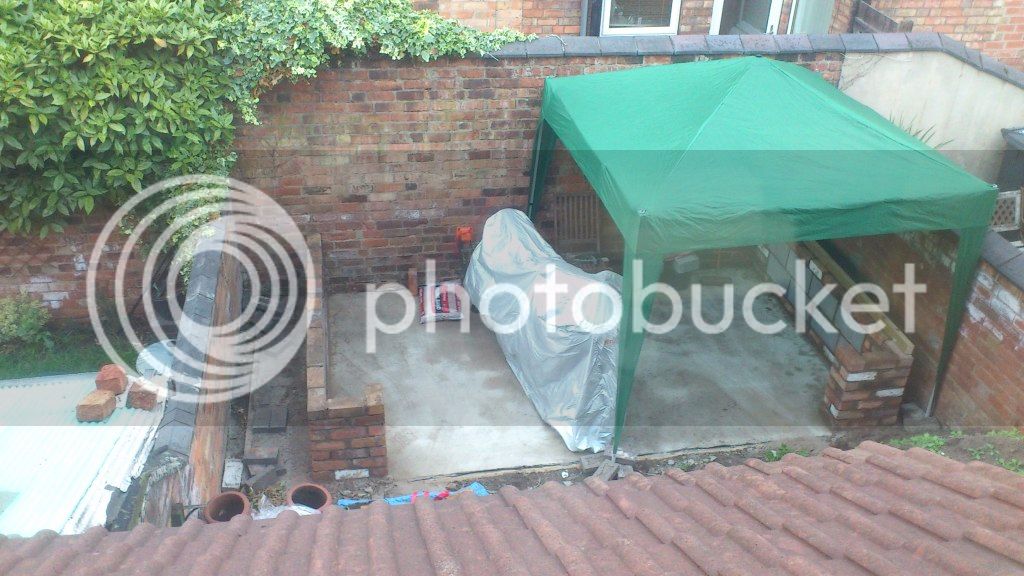
But had to be scaled down when I hacked back some ivy to reveal the profile of the wall:
DSC_1887.jpg


Forum won't let me post pictures, I'll edit when I'm allowed...

Edit:
Victory is mine!
 
The downsizing isn't all bad though, it does mean there is space for a wood store as I'm doing alot to the house and will be burning alot of wood through winter (gas is pricey, wood is free!).

First I had to clear the site, this little pipper was in the way:
DSC_1542.jpg


Over the last hundred odd years, alot of rubbish ended up in or under the garden:
DSC_1613.jpg


Levelled off, raked the soil, left to settle, compacted, rinse and repeat as desired:
DSC_1642.jpg


Slab poured, about 4 inches worth:
DSC_1644.jpg

Took 16 bags of cement, 2 3/4 tons of ballast and half a day.
 
Had some good weather so treated the back wall quick as this will be forming the back of the workshop in a none load-bearing capacity:
DSC_1859.jpg


Playing with some brick layups before committing with mortor:
DSC_1863.jpg


Quit when the light gave up:
DSC_1870.jpg


Some dwarf walls, these should stop any damp getting up into the wood frame and prolong the life:
DSC_1877.jpg


Bit of perspective in the garden:
DSC_1879.jpg
 
Looks promising, but I hope that ground was solid before you laid that concrete

Me thinks perhaps someone needs to help you ride all them bikes :) - any pictures of them ?
 
dm65":1knf95a7 said:
Looks promising, but I hope that ground was solid before you laid that concrete
Me thinks perhaps someone needs to help you ride all them bikes :) - any pictures of them ?

The ground should be solid enough, it was levelled and settled and compacted in stages over a period of about 2 weeks, after digging off the loose top soil. OK it's not hardcore and vibroplated sand but it's only motorbikes
3 ton of slab should compress anything else anyway!

Here's some of the bikes:

1983 Kawasaki Z750:
DSCF1613.jpg


1986 & 88 Honda VFR750RC24's, here's the ropey racer which is a frankenstein of the two:
RAB_5796-L.jpg


Here's the commuter, '95 CBR900RR:
DSC_1480.jpg


No help needed to ride them though sorry(!)
 
I forgot the money shot!

Here's the wood for the initial frame construction:
DSC_1854.jpg


Now cluttering up my dining room:
DSC_1882.jpg


The weather forecast is good for this weekend, no idea how I'm going to joint it yet but I've a few ideas.
 
I have a question for the forum experts, regarding roofing and insulation, my plan is thus:

Topside to underside

Heaviest felt I can get (self adhesive or glued),
Bitumen paint,
18mm t&g,
1200gsm membrane,
Timbers (75*50mm should do for the small span by the time it has some noggins),
In-between the timbers I plan to put 50mm kingspan directly against the waterproof membrane
And then finally some form of ceiling, probably plaster because it's cheap and easy to work
(still inbetween the rafters so that the joists are exposed).

Now, my main concern in the insulation direct against the waterproof membrane,
if I liberally coat with adhesive, I am hoping there will be no gap for moisture to form,
and therefore no issue.
The shed I knocked down had exposed t&g under felt and no condensation, but was a little chilly(!)

How foolish am I being?
Or will it do the trick?
 
The roof sounds okay, long as you are careful on height so you don't trigger any planning issues or neighbours.

I built something like this in my garden, from reclaimed bricks to try and make it look like it had always been there.

I used the whole width of the garden, as there was a failing down building there before with a base that was sound.

Question, what are you going to do with the side spaces? I would be tempted to fill the whole width if you can. It may also be more warm if you built in timber frame and put cladding on, that why the wall width could be celotex, and help for damp.

The base will be cold, and you will be amazed at the impact that will have on the damp in the shed if you have poor air flow, the last thing you need with some very nice bikes you have in there.

I would seriously consider making the walls as warm as possible, and a floating layer on the base if height allows.

Your roof should be good too, though for the money, size and appearance, subject to pitch you may be able to tile it, which is not hard at all, and saves messing around with bitumen and something that will fail quicker than tiles.
 
The shed height is less than the back wall so well within permitted development:
<2.5m as it's adjacent the boundary, <50% grounds,
<15sq m and no heating with regards not needing building regs
(not sure if the 50amp electricity supply affects building regs,
although I don't intend to invite them for a tour of my house anyway!)
the less than 2.5m also means it's ok not to be built substantially of.non-combustable materials (although i have an array of fire extinguishers for racing anyway),
already spoke to the neighbours who are happy too and we get along well which is always handy.

Head height inside is 6'6" at best but the lower height is in the non-height-needed bits either side which is OK, this means it should minimise the impact on the garden and blocked light.

My dwarf walls were made from bricks I reclaimed when knocking through the coal shed so match the property which is nice, I don't like modern bricks :p

Space down the right is 230mm to maintain airflow and stop damp tracking in (probably keep my spare bricks up there and my 'antique' ladders poking out on display, space down the left is 600mm for a covered wood store which should hold plenty of cut wood to burn through winter.

Yes the construction above the brick dwarf wall is timber as mentioned earlier, this will be insulated in a similar fashion to the roof and t&g clad either side, painted on the outside and stained or naked inside.
It will essentially be a clad & insulated studwork frame within the chunky aesthetic/structural frame.

No space for a floating floor I'm afraid as height is at a premium, I'll be sure to put rugs down for my feet, probably over lino, maybe some of that foily under laminate type insulation too.
I'm used to bare concrete floors and pretty much always wear boots anyway, especially in a workshop, saved my toes a few times!

As for ventilation it'll be good as that back wall will inevitably track in damp, there will also be fume extraction for running up bikes and welding (as well as 2 sets of double doors to open).

Not enough pitch for tiles (see sketches above) don't want them lifting in the wind, felt is quick, cheap and won't lift :)
I'd also considered fake grass on top of the felt, but I'm not sure if that's a little silly(!)

Anybody got any tips on joining the main frame together? I'm currently inbetween screws, dowling and brackets or a combination of all 3. (I've got tons of long screws for free anyway).
 
Some last minute prep work to try and keep tracking moisture away from the frame:
DSC_1903.jpg

Just a quick coat of bitumen paint or "liquid damproof membrane",
probably more to make me feel better than having an actual effect(!)

Today is cutting and hopefully assembling the post & beam frame.
 
I am VERY jealous of your Kawasaki... Also a little jealous of the whole builidng your own workspace thing... but mainly of the Kawasaki
 
hazel":1d16mqn3 said:
I am VERY jealous of your Kawasaki... Also a little jealous of the whole builidng your own workspace thing... but mainly of the Kawasaki

Cheers.
The Kwak looks a little different now, on it's way to being a post-classic racer:
DSC_0188-1.jpg

DSC_0195-1.jpg

DSC_0205-1.jpg


Zephyr750 engine, clutch re-route conversion, GPZ unitrack 18" rims, GSX1100 shocks, modified forks, numberboards etc.
This (utterly tasteless home-sprayed) tank to go on at some point:
DSCF1482.jpg

(looks better now it's got black pinstriped outlines).

I've kept all the original parts of course as I suppose these will be a classic one day (!)
 
Did alot of cutting today,
Most of everything is to length, most halfjoints are cut,
Got a few more to do tomorrow after work and might get the side frames up.

Need to get the rest of the frame done and some rafters up so that I can sheet it dry before the summer's death throws are over.

Almost making up as I went along, at least I'd sketched it out.
DSC_1913.jpg

Probably could have made some cleaner joins and hidden screws more, but the frame is being pained on the exterior so will hide a multitude of sins.

Here's how today finished:

DSC_1912.jpg


Not much to see, except my commuter anyway :)
 
I cut the last few joints after work today, 4x4" beams in excess of 4m are rather heavy!

Starting to look more like a structure:
DSC_1919.jpg

Almost, kind of.

I was a little worried it may still be a too flimsy without any bracing as it'll be a while before I fill the gaps with studwork,
don't fancy it dropping on the bike in the wind when it's sheeted up,
but after just that little bit assembled my fears are put to the side, it's rock solid!

I know it's not much really, but it feels good to start getting it screwed together!
 
Slowly, slowly, catchy, monkey:

DSC_1921.jpg


Hopefully get the side frames bolted in tomorrow and some cross members in.

(unless I'm dragged out food shopping)
 
Did half the rafters this afternoon, nice and sunny it was too:

DSC_1936.jpg


DSC_1941.jpg


Hopefully I'll get the other side done over the next couple of evenings.

Also realised that instead of making a separate structure for a woodstore on the left side I can simply keep the overhang long,
the handy side of always buying too long, offcuts for noggins or firewood and you can change your mind(!)
 

Latest posts

Back
Top