Six Board Chest

UKworkshop.co.uk

Help Support UKworkshop.co.uk:

This site may earn a commission from merchant affiliate links, including eBay, Amazon, and others.

DTR

Established Member
Joined
11 Mar 2011
Messages
1,870
Reaction score
20
Location
Essex
Been a while since I posted a WIP, especially since the Photobucket scandal......

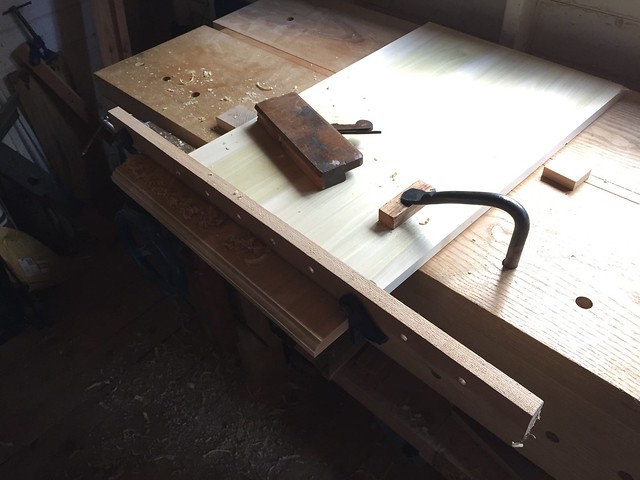
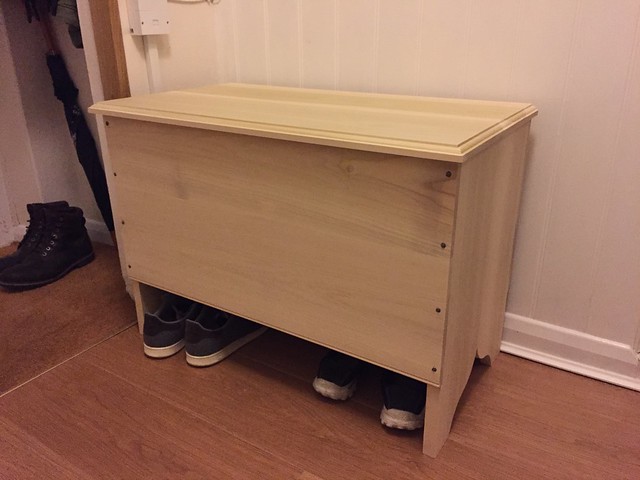
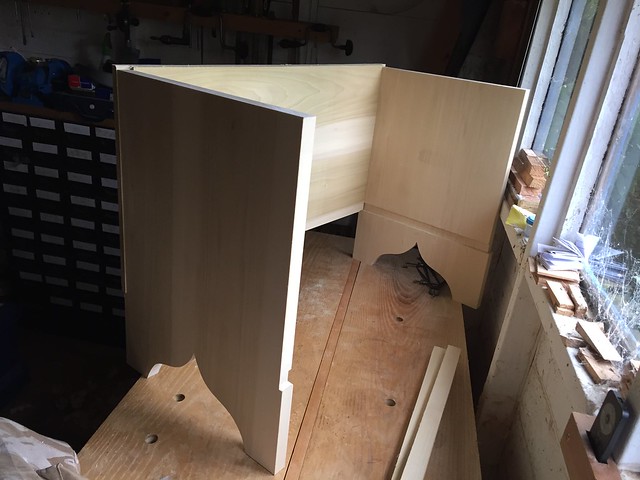
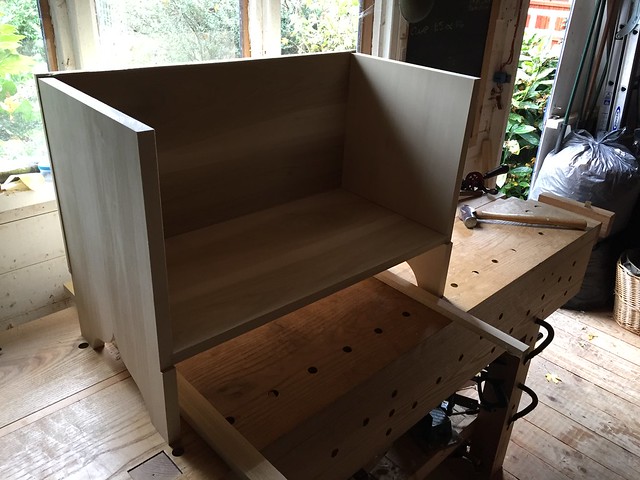
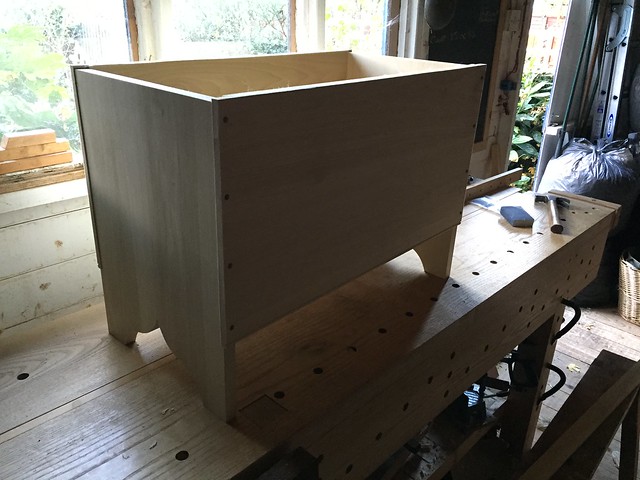
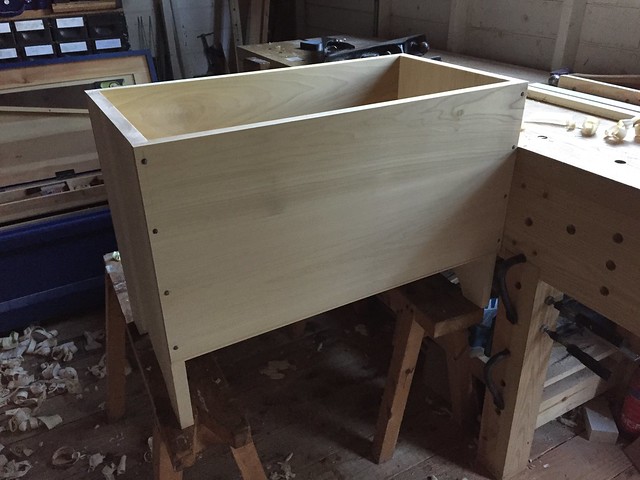
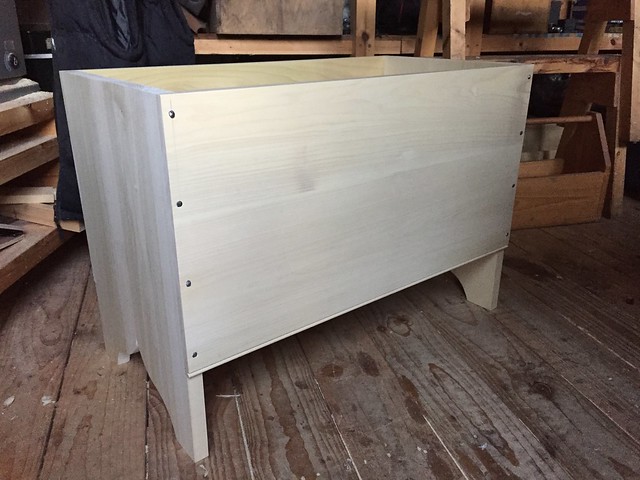
We needed a new chest to go in the hallway, for storing backpacks and the like. I decided to build a so-called six board chest, very much based on one of the versions built by Chris Schwarz in The Anarchist's Design Book. The wood is Tulip as it's easy to work and will be painted (eventually).

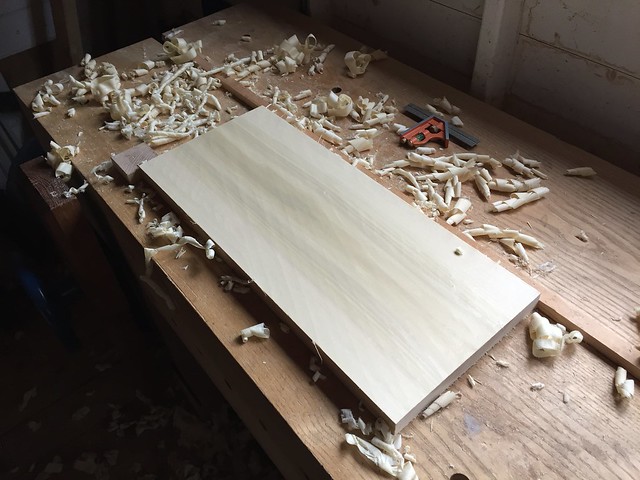
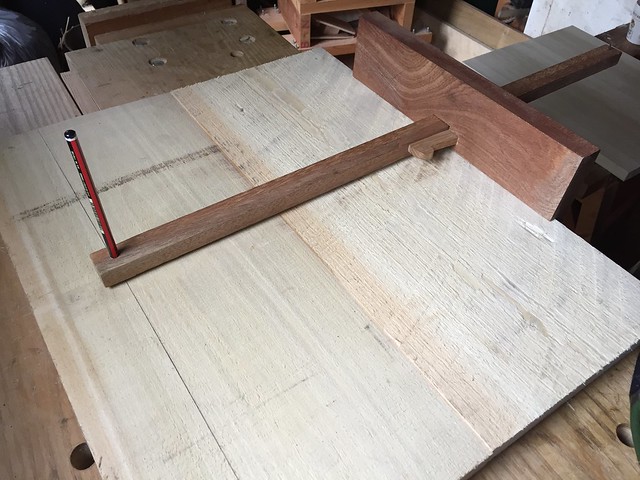
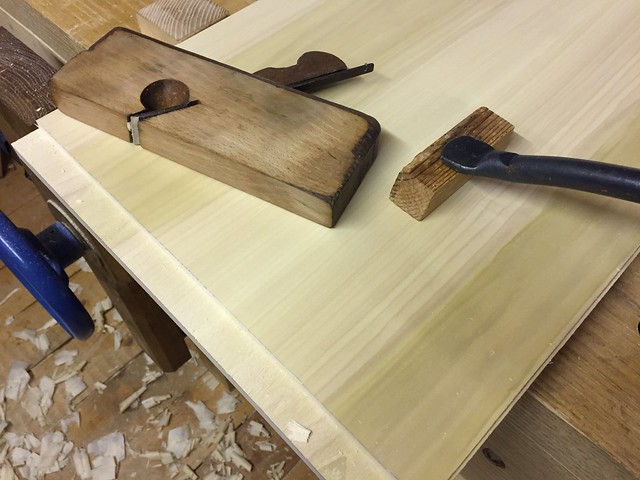
Preparing the boards:


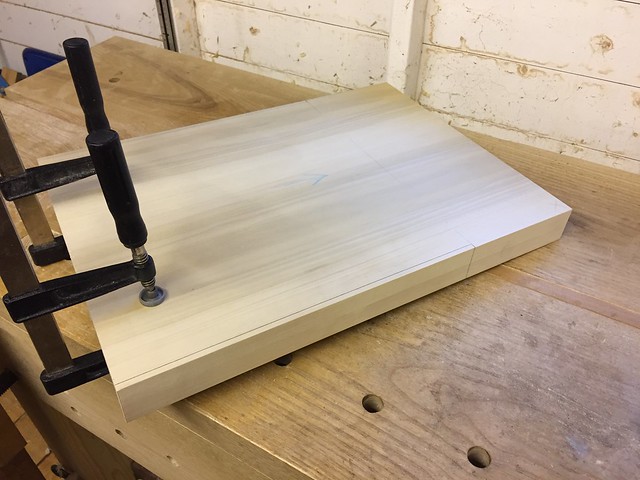
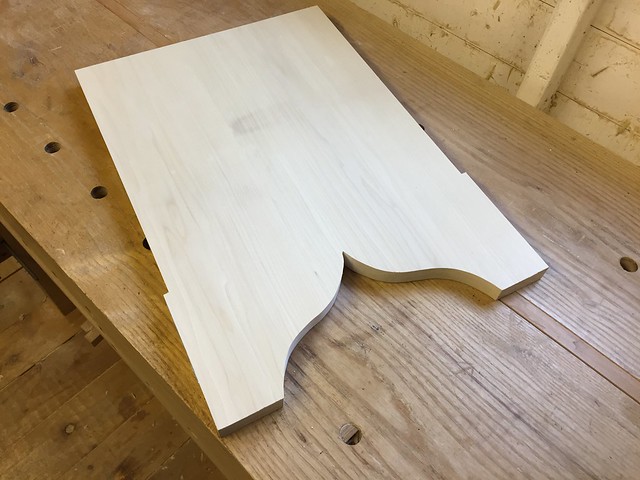
Marking the notches in the end boards. I kept the boards clamped together throughout so that they would match:


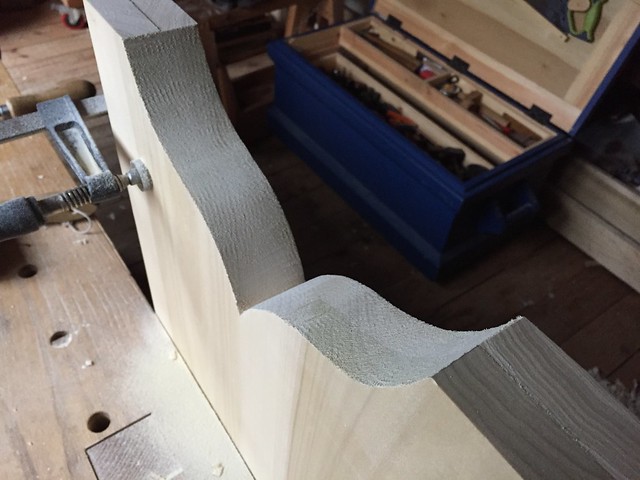
The notches were cut with a ripsaw and cleaned up with a chisel and blockplane.

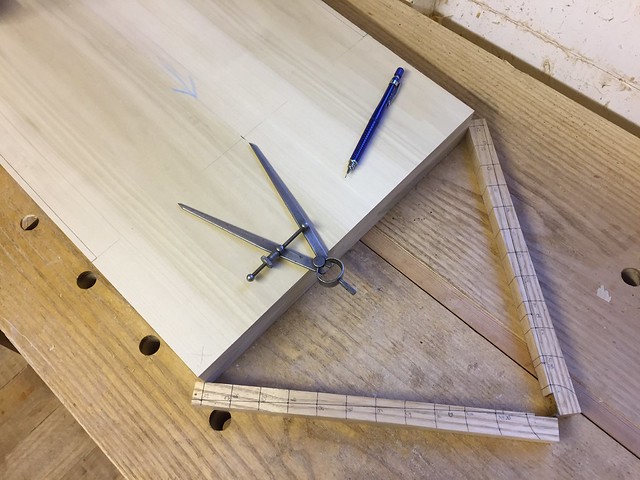
Using a sector and dividers to find the mid-point of the boards:


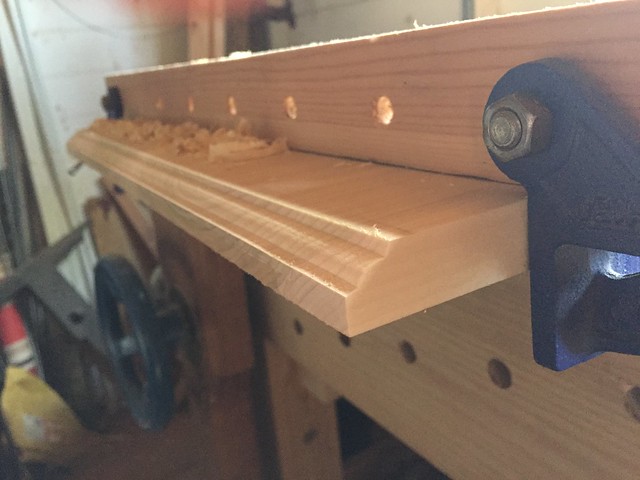
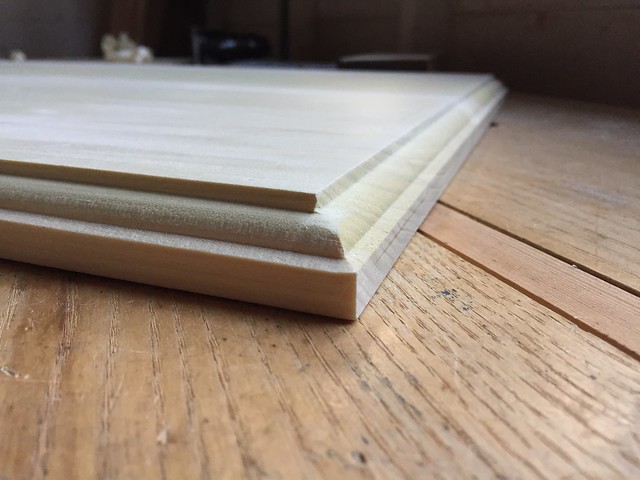
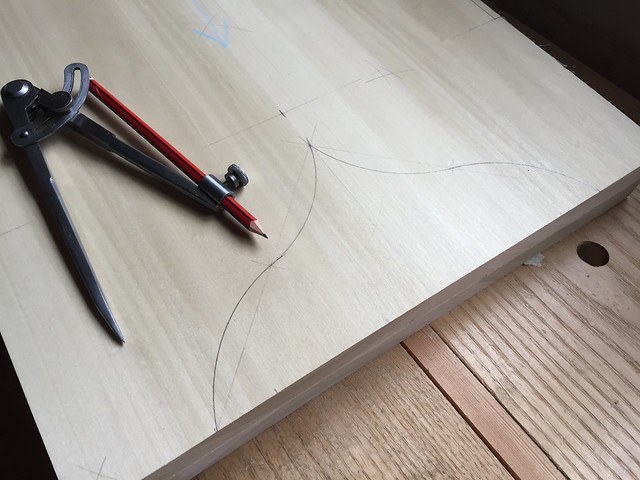
Laying out the cyma reversa profile for the feet using a compass and a straightedge:


Part 2 coming up....
 
Roughed out the foot profile with a coping saw (bandsaw would have been a better idea :roll: ), then finished with a rasp and sandpaper:


Finished end board. At some point I chopped some housings to receive the bottom board, but in my senility I must have forgotten to take any photos:


Sticking a cross-grain rebate on the end of the front (or back?) board. I did the first one with a Record 778 rebate plane, but I did the other three with a woody skew rebate. For some reason I find the skew rebate easier and more consistent to use than the 778:


Sticking bead on the lower edge of the front and back boards with a Record 050:

 
Backboard nailed on to the ends. I've left the back board slightly too long and wide so that the excess can be trimmed to fit:


Bottom board slid into the housings and glued in place:


Front board nailed on:


Planing down the front and back boards until they're flush with the ends:


The body of the chest finished (sans paint):


Now I just need to make a lid..... and find some hinges........ and paint it.......

Thanks for reading!
 
I've been woodworking for only 3 years since retiring, but that is the very first time I have seen nails used on this site.

Presumably that was a deliberate fashion statement?
Wont they rust through the paint?
 
Great project ! Nice to see all the hand tools being used. I really like the feet detail. The blue toolbox on the floor looks quite tidy aswell ;)
Cheers
Coley

Sent from my SM-G900F using Tapatalk
 
I really like the look of that and the way you've made it.
 
Thanks chaps :)

The blue tool box was made a few years ago and keeps everything in one place. Before that my tools were scattered all over the shed.

sunnybob":2ji7mw3i said:
I've been woodworking for only 3 years since retiring, but that is the very first time I have seen nails used on this site.

Presumably that was a deliberate fashion statement?
Wont they rust through the paint?

The grain of the end boards runs vertical but the front and back are horizontal, so seasonal movement could be a problem. The idea is that unlike a glue joint the nails will allow for some movement. The bottom can be glued in as the grain direction is in favour on all four sides.

It's not clear in the photos, but the nails are roseheads which are a little bit prettier than a standard clout nail. As for the rust, I have no idea....
 
Superb!

Simple traditional design, impeccably executed. And it really is impeccable, the quality of that workmanship looks absolutely first rate.

=D>
 
Thank you Custard, you're far too kind. In my experience the key to impeccable workmanship is poor lighting and a rubbish camera ;)
 
DTR":24eoxqk6 said:
Thank you Custard, you're far too kind. In my experience the key to impeccable workmanship is poor lighting and a rubbish camera ;)

Don't do a disservice to yourself, it looks excellent and I look forward to seeing it completed.
 
sundaytrucker":dpkbdo6h said:
Don't do a disservice to yourself.

+1

Look at that foot profile; dead square, perfectly clean transition form one curve to another, zero dubbing over of the arrises, and a nice deep cleft.

That's not an easy trick to pull off.
 
Nice work.
I keep meaning to have another go at a Chris Schwarz project. I get the impression that his writing is a bit Marmite, but his designs are sound and he gives historical background and reasons for all his techniques (including nails!).
 
Sticking a moulding on the lid using a crusty old moulding plane. As I'm going across the grain, I've clamped a sacrificial piece on the end to prevent the grain from breaking out:


After moulding the two ends, I moulded the long edge at the front:


And finally, an artist's impression of what the chest might look like with a lid on:


(I photoshopped some shoes in for added realism :p )

Now I need to find some hinges that I actually like, which is proving to be a bit of a struggle.......
 
Nice job!

Rosehead nails are indeed attractive. I bought a pack for restoration work on a Georgian bureau, where they were originally used quite a bit behind-the-scenes: the back, the drawer runners (attached with a single nail at the rear end with a sliding joint at the front. the backs of the drawer bottoms, etc.

One thing I noticed was how darn good the original maker was at nailing. He could put a nail accurately in a 1" board near the edge at a slight skew and have it accurately centre in a 1/4" wide rebate on the other side! I didn't dare attempt that!

Keith
 
You can't buy nice hinges ready made.
What you need is to find a craftsman who works skilfully in metal as well as in wood. I think there's one in Essex who's pretty handy!

Go on, you know you want to have a go...:wink:
 
Found some hinges...... and some paint.......

IMG_2707.JPG


IMG_2706.JPG
 

Attachments

  • IMG_2707.JPG
    IMG_2707.JPG
    204 KB · Views: 946
  • IMG_2706.JPG
    IMG_2706.JPG
    205.2 KB · Views: 946
Those chest lids frighten me. if there are any kids around, fit a soft closer on it, 'cos A&E trips with squashed fingers will ruin your day.
 

Latest posts

Back
Top