custard
Established Member
The rebate trick solves some problems, but it can cause others. Two immediately come to mind,
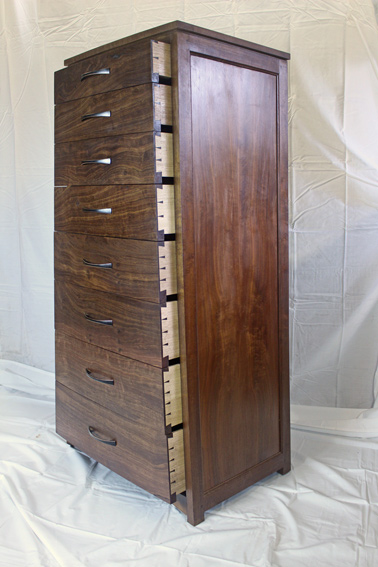
-the way I fit a drawer into a drawer cavity demands having the dovetailed drawer sides sitting fractionally proud of the drawer front. It's much harder to arrange this with the rebate trick. I'm not saying my way of fitting a drawer is the only way or even the best way, but it's a fairly common method amongst top end furniture makers, so it's as well to know that with the rebate trick you'd have to find a different route to drawer fitting.
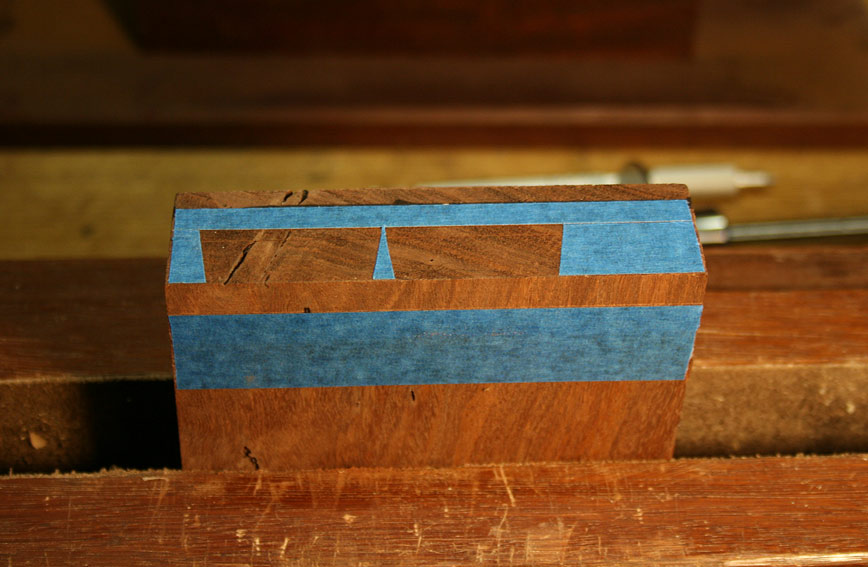
-the rebate trick means you can't fractionally extend the tail board past the gauge mark for tighter fitting dovetails. As above, that may or may not be an issue for you, but it's best to be aware of that limitation before launching into rebates.
I guess it underlines a common issue in woodwork, many of the processes are quite complex multi-step affairs. If you change one step in a bigger routine it can have implications elsewhere, so find someone who's work you like and who's equipment and skills you can replicate, then follow their entire methodology without cherrypicking different individual stages from different sources.
-the way I fit a drawer into a drawer cavity demands having the dovetailed drawer sides sitting fractionally proud of the drawer front. It's much harder to arrange this with the rebate trick. I'm not saying my way of fitting a drawer is the only way or even the best way, but it's a fairly common method amongst top end furniture makers, so it's as well to know that with the rebate trick you'd have to find a different route to drawer fitting.
-the rebate trick means you can't fractionally extend the tail board past the gauge mark for tighter fitting dovetails. As above, that may or may not be an issue for you, but it's best to be aware of that limitation before launching into rebates.
I guess it underlines a common issue in woodwork, many of the processes are quite complex multi-step affairs. If you change one step in a bigger routine it can have implications elsewhere, so find someone who's work you like and who's equipment and skills you can replicate, then follow their entire methodology without cherrypicking different individual stages from different sources.


")