I'll need something to put my tools in...

UKworkshop.co.uk

Help Support UKworkshop.co.uk:

This site may earn a commission from merchant affiliate links, including eBay, Amazon, and others.
Good news everybody, there should be many more updates in the next week and a bit, having so much free time over the holiday season means only one thing - loads of mince pies. Oh, and more workshop building.

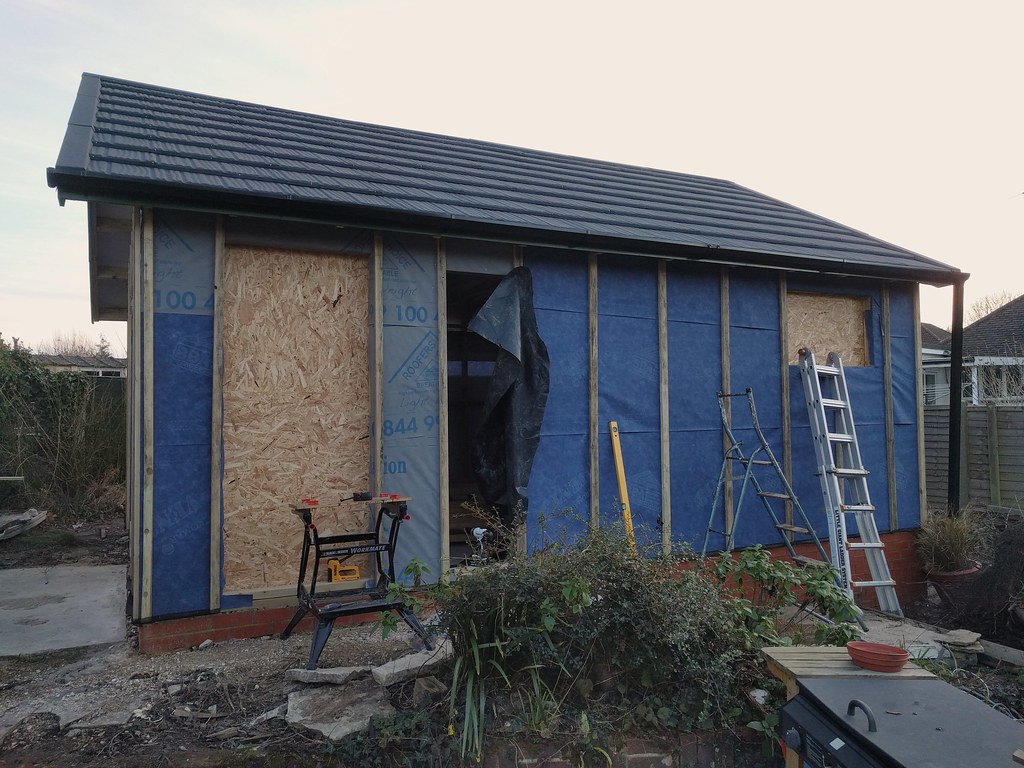
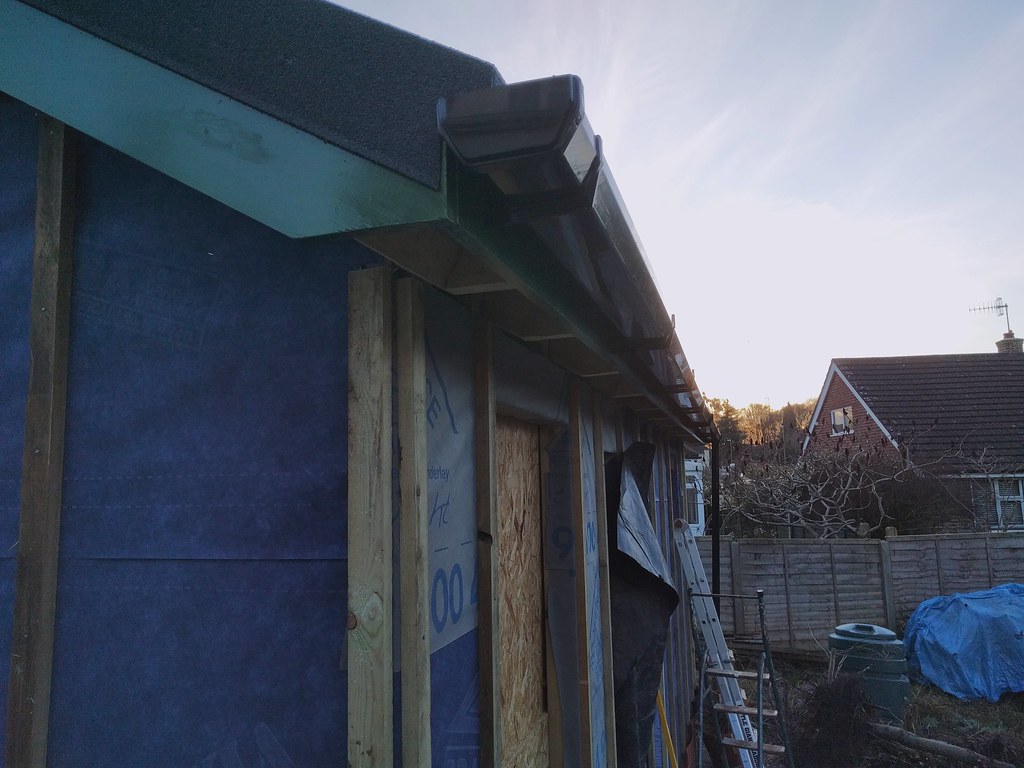
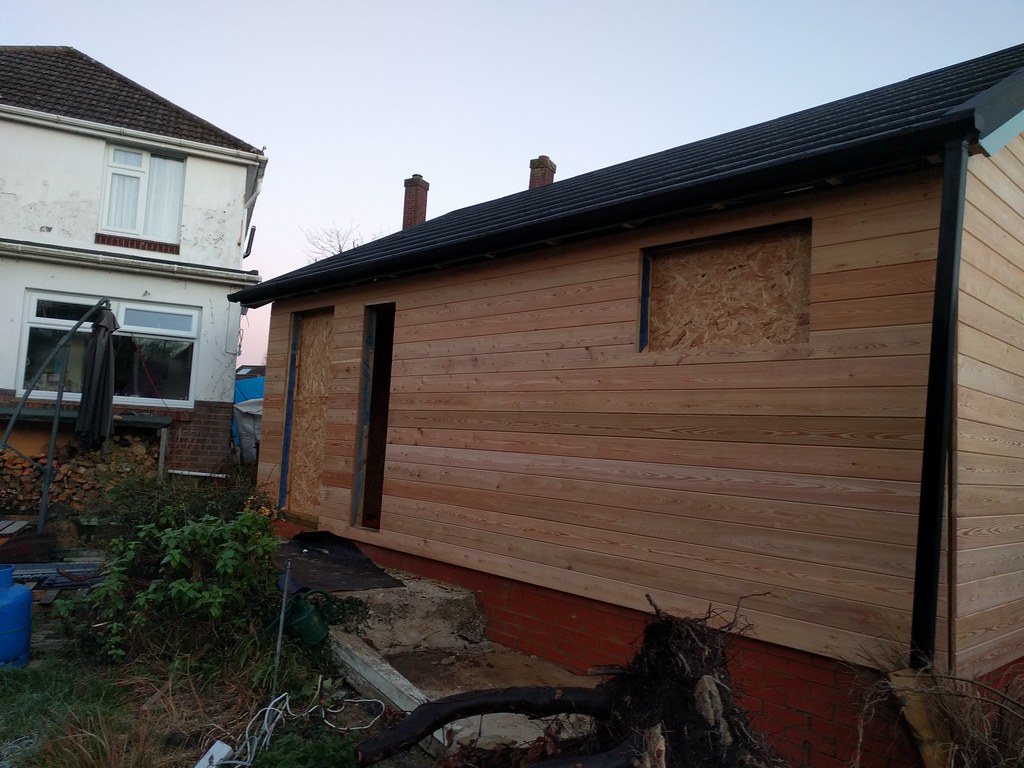
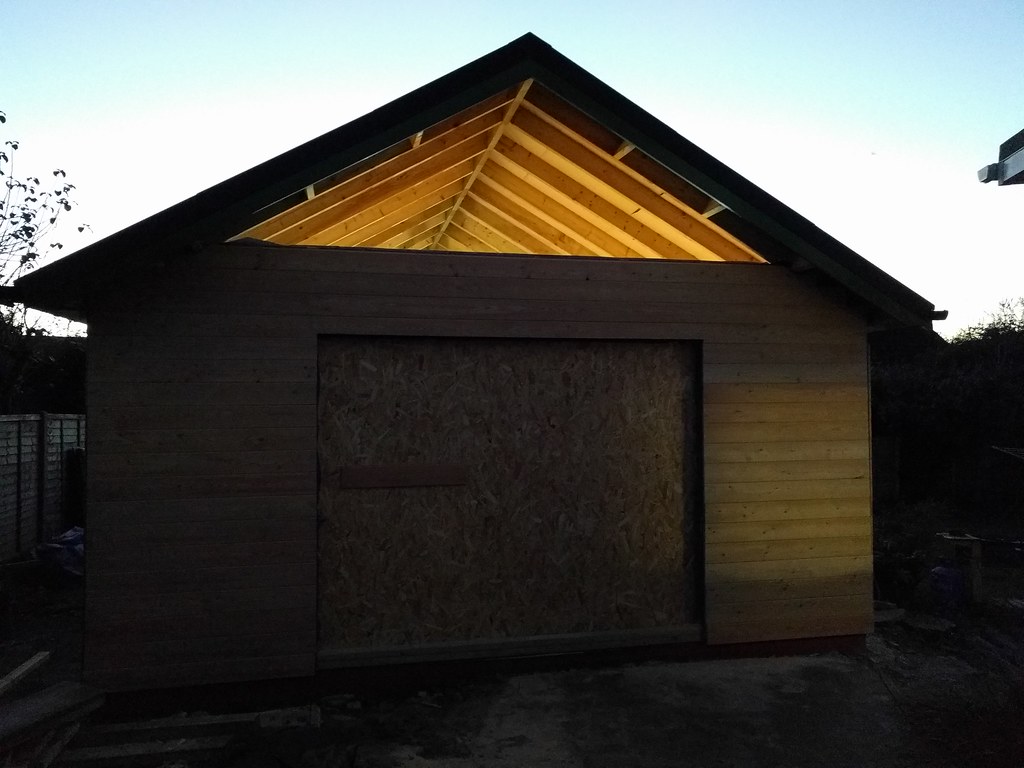
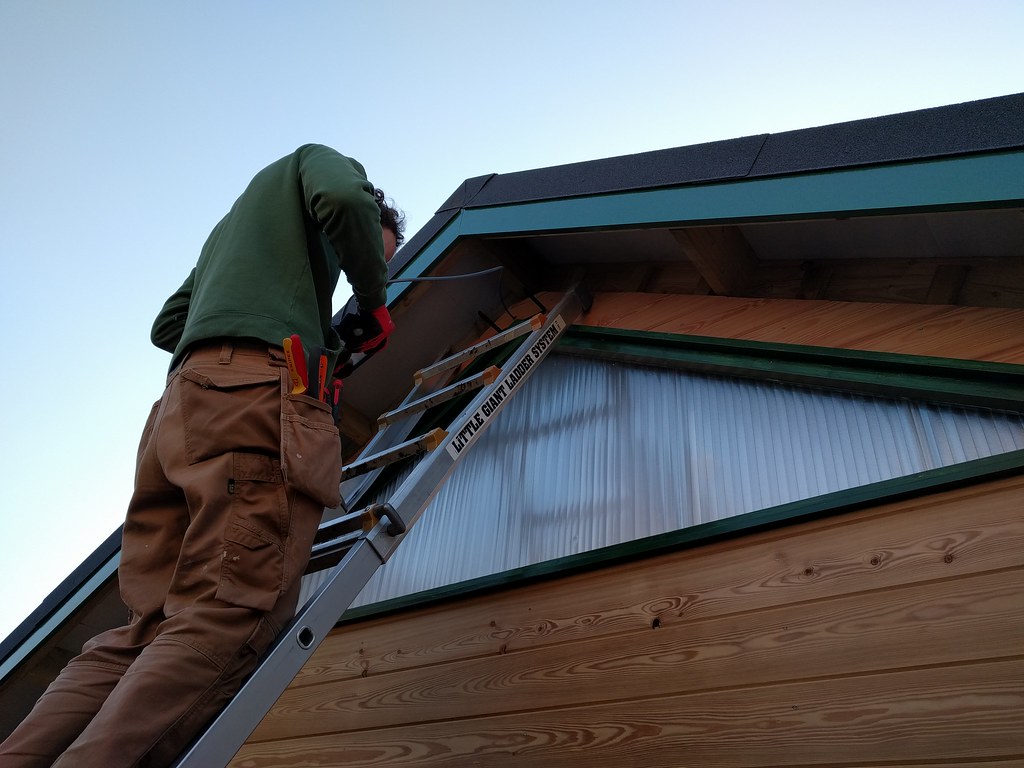
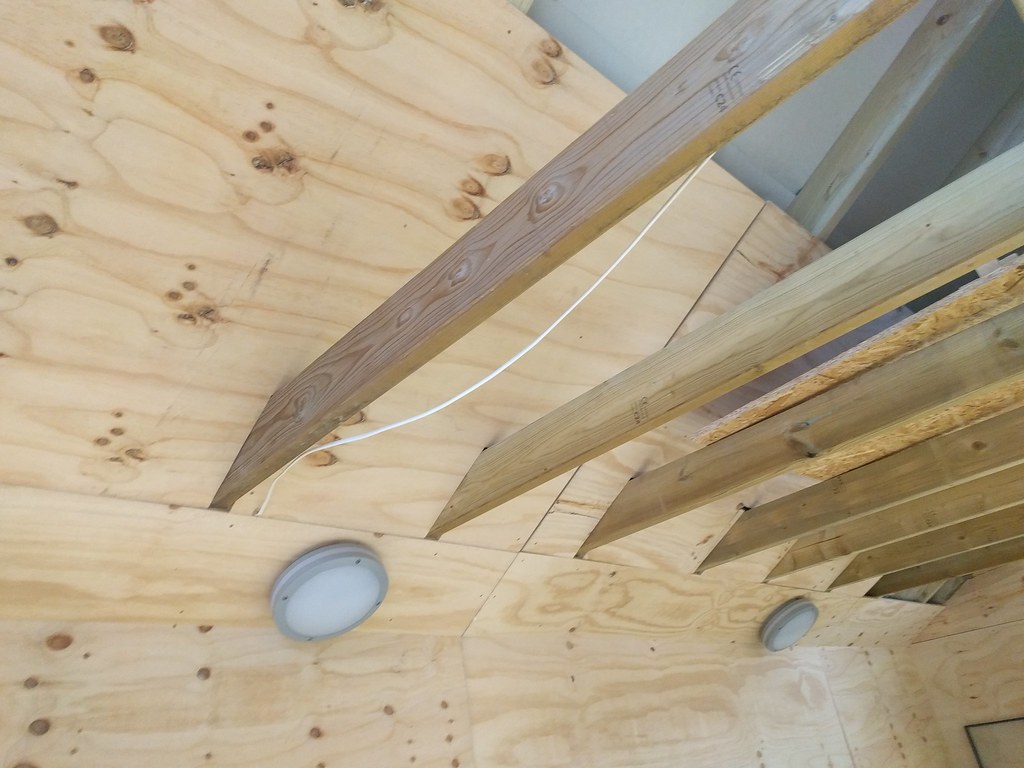
I got the remainder of the PAR wood for the fascias yesterday, got the two long side fascias measured up and cut, then stuck a coat of primer on them. I want to get these on ASAP so I can stick some guttering on and stop the rain splashing back to the lower parts of the frame, this is really my only risk from the elements now.
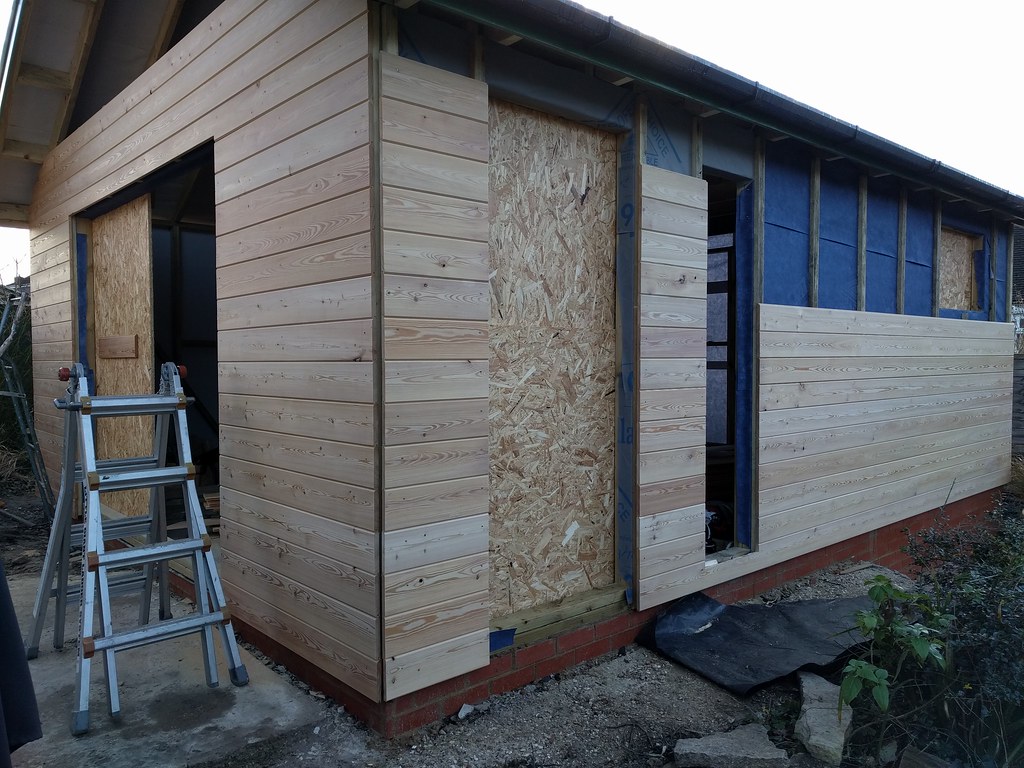
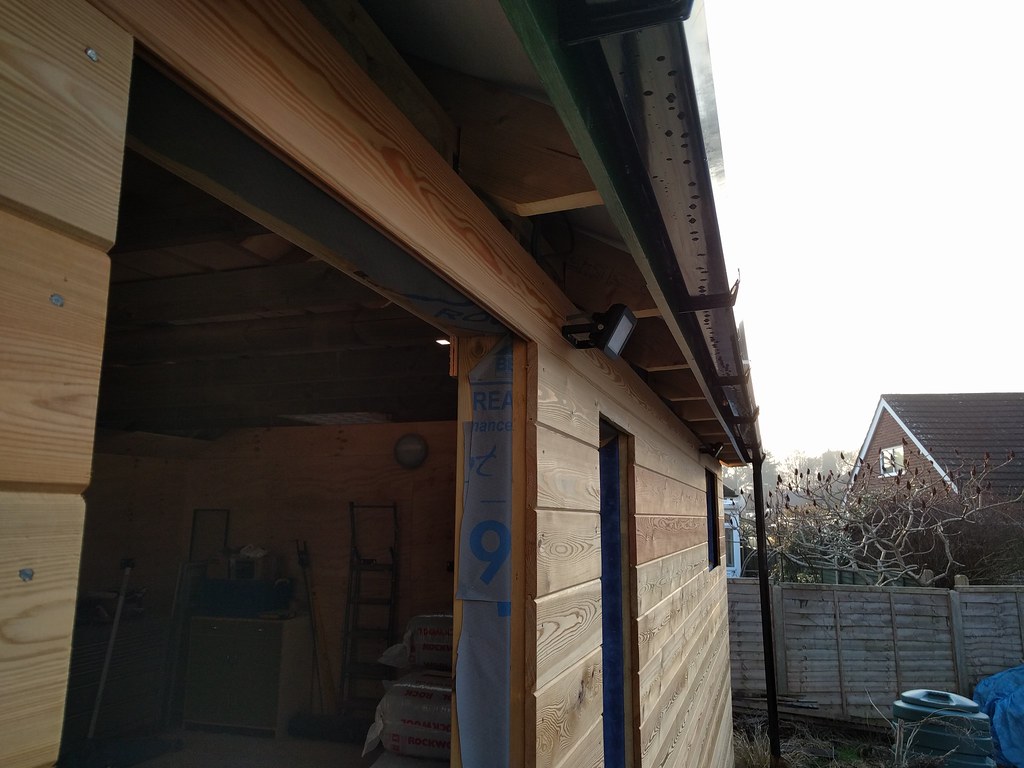
Something else that turned up yesterday, my cladding!


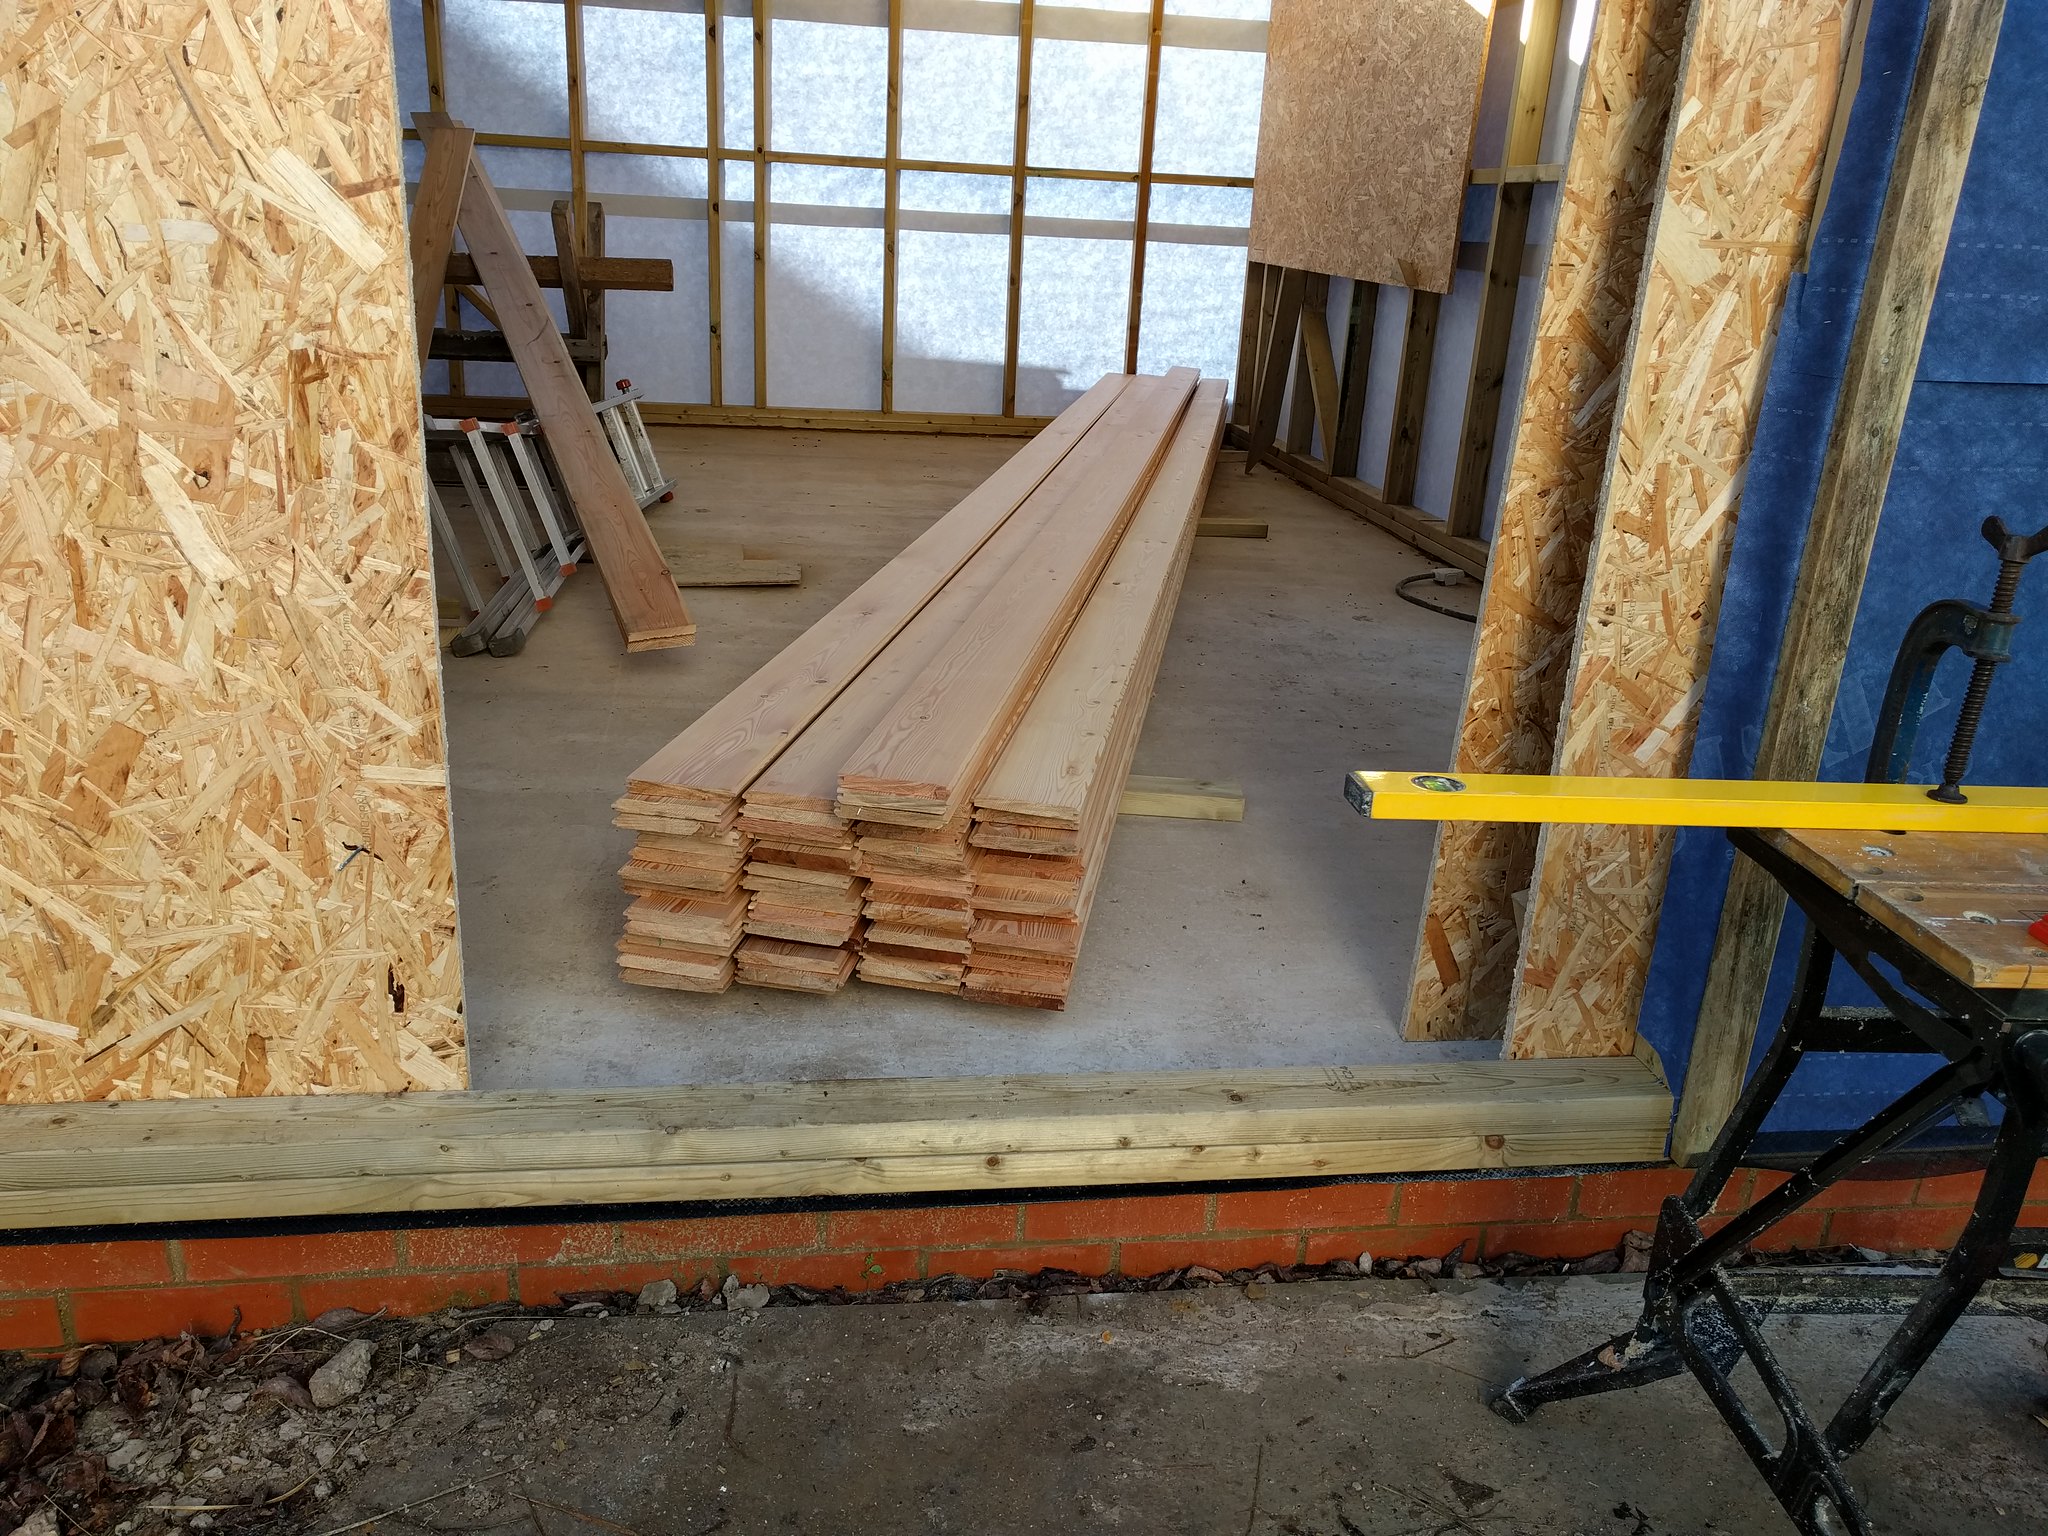
It does unfortunately look a lot like pine planks at the moment, so I hope it weathers to it's final silver grey colour sooner rather than later, otherwise the neighbours will assume i've built a Swedish sauna...
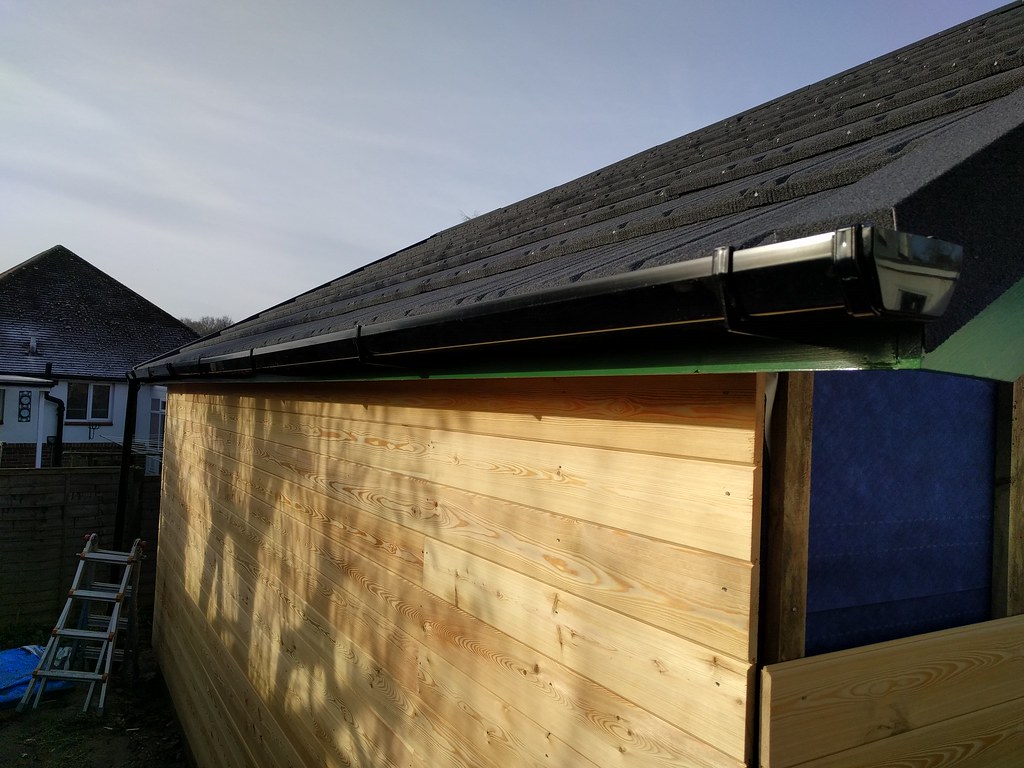
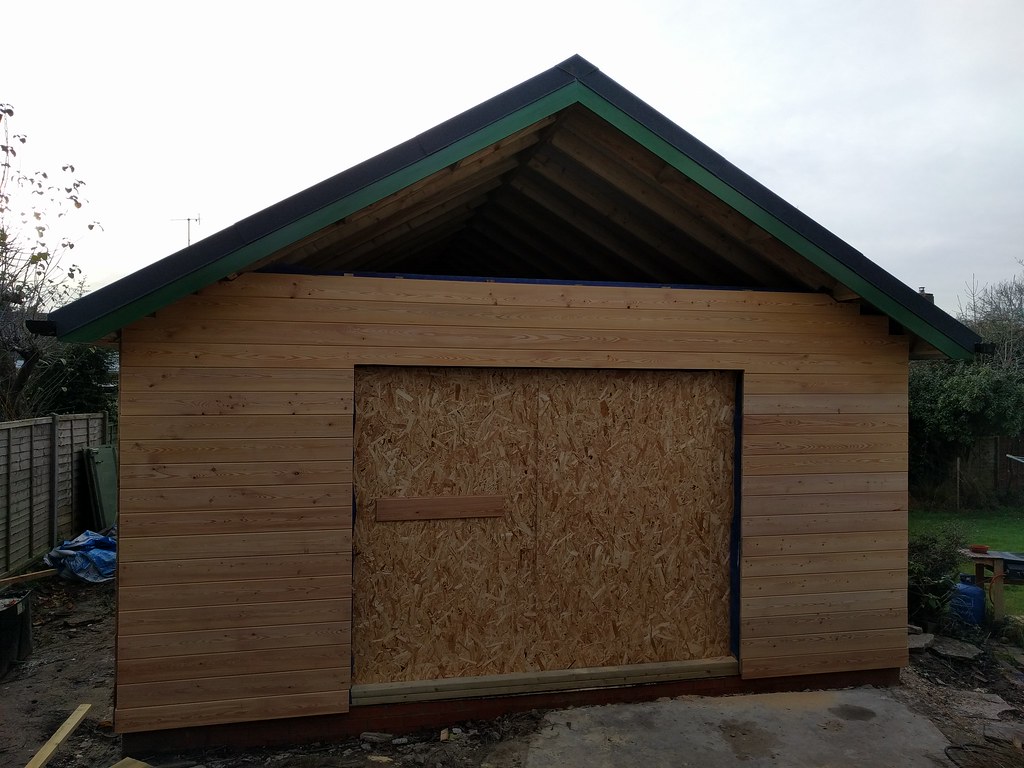
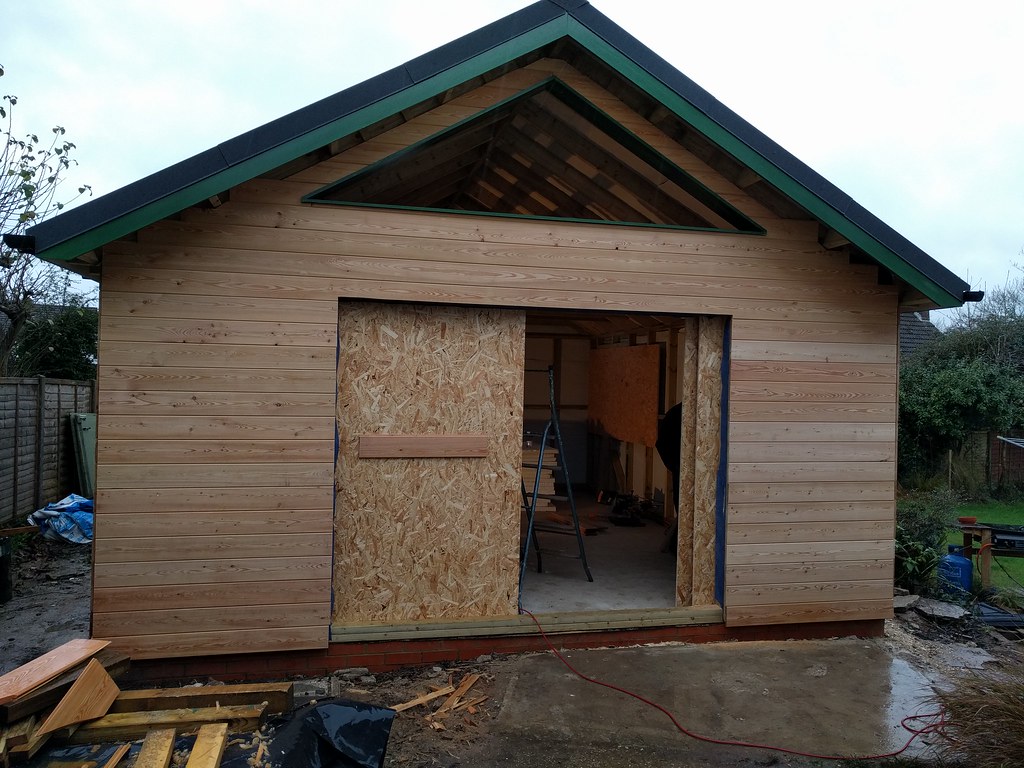
We started on the long, easy wall to get our eye in, I did some test nailing with an offcut to see if I could nail into the base of the tongue to hide the fixings, but it split the wood more often than not and the heads on the nails I had were too large to tuck in nicely. I decided to go for face nailing it, one nail per batten near the top of the plank, I think that's the accepted method? They are super duper treated, galvanised nails so they should survive fine, I also nailed them in with a guide block so that the spacing is nice and even, I've no problem with visible heads personally.


We got about double this done before we ran out of nails, it really goes on quick once the lower panel is sorted.

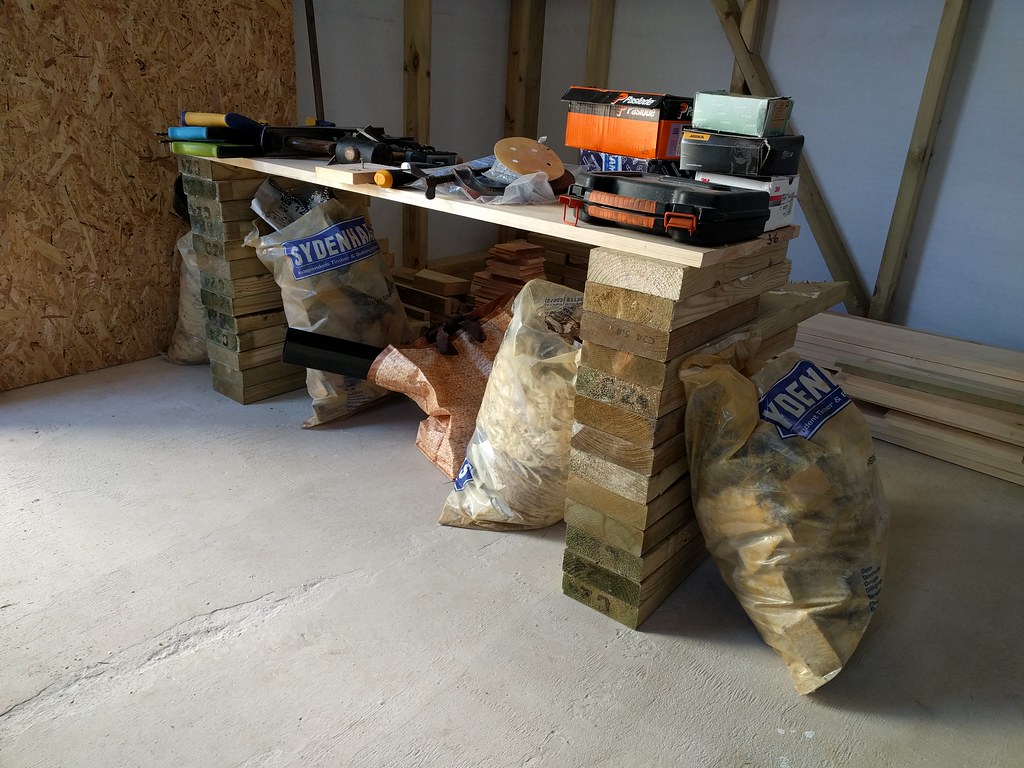
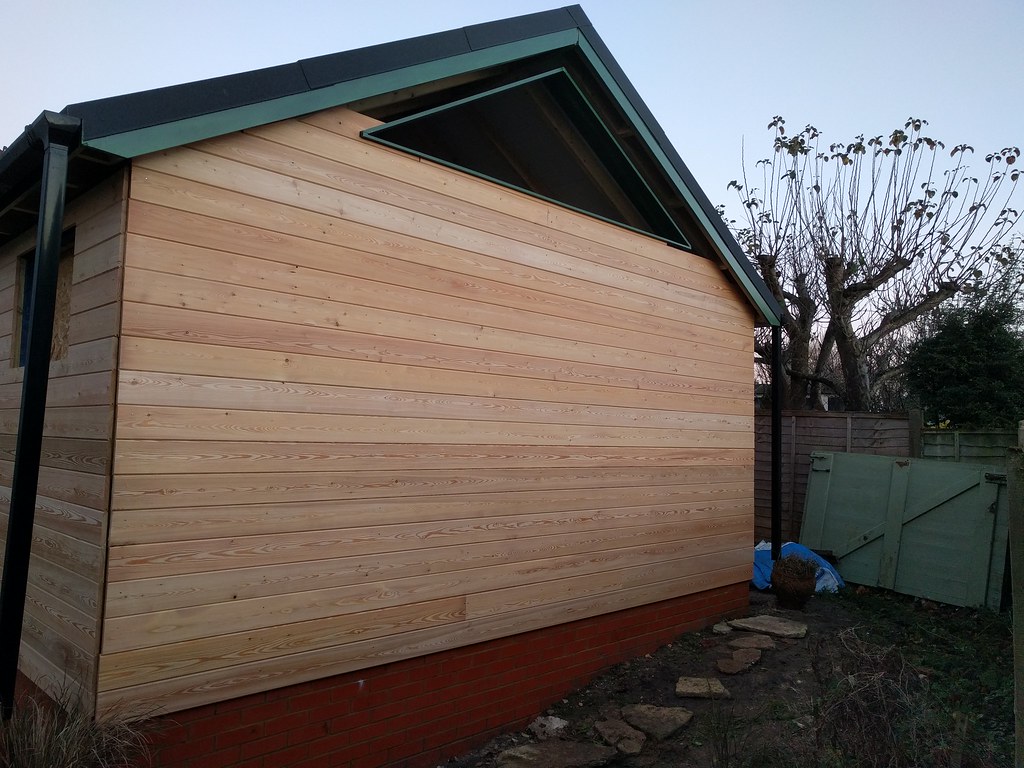
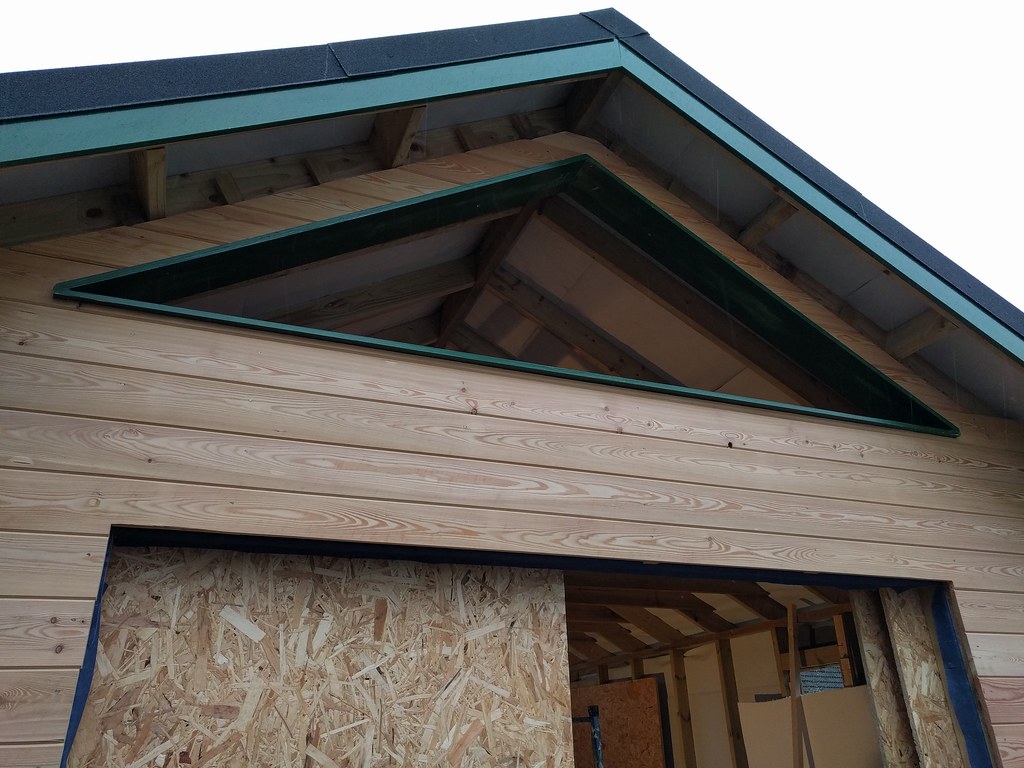
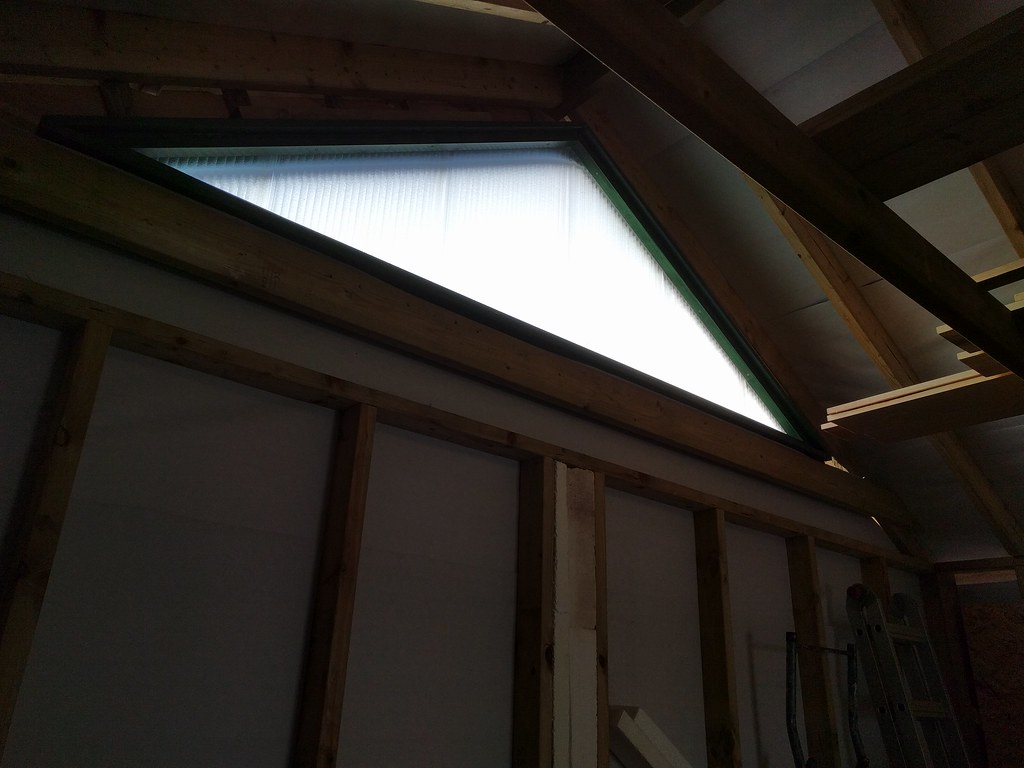
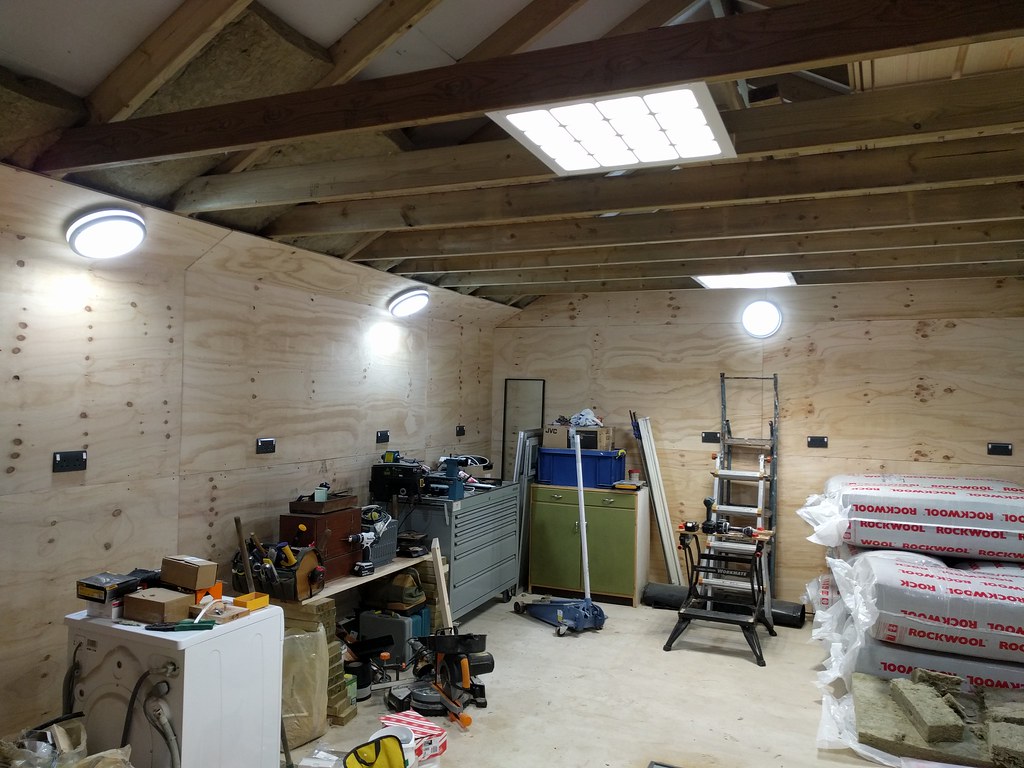
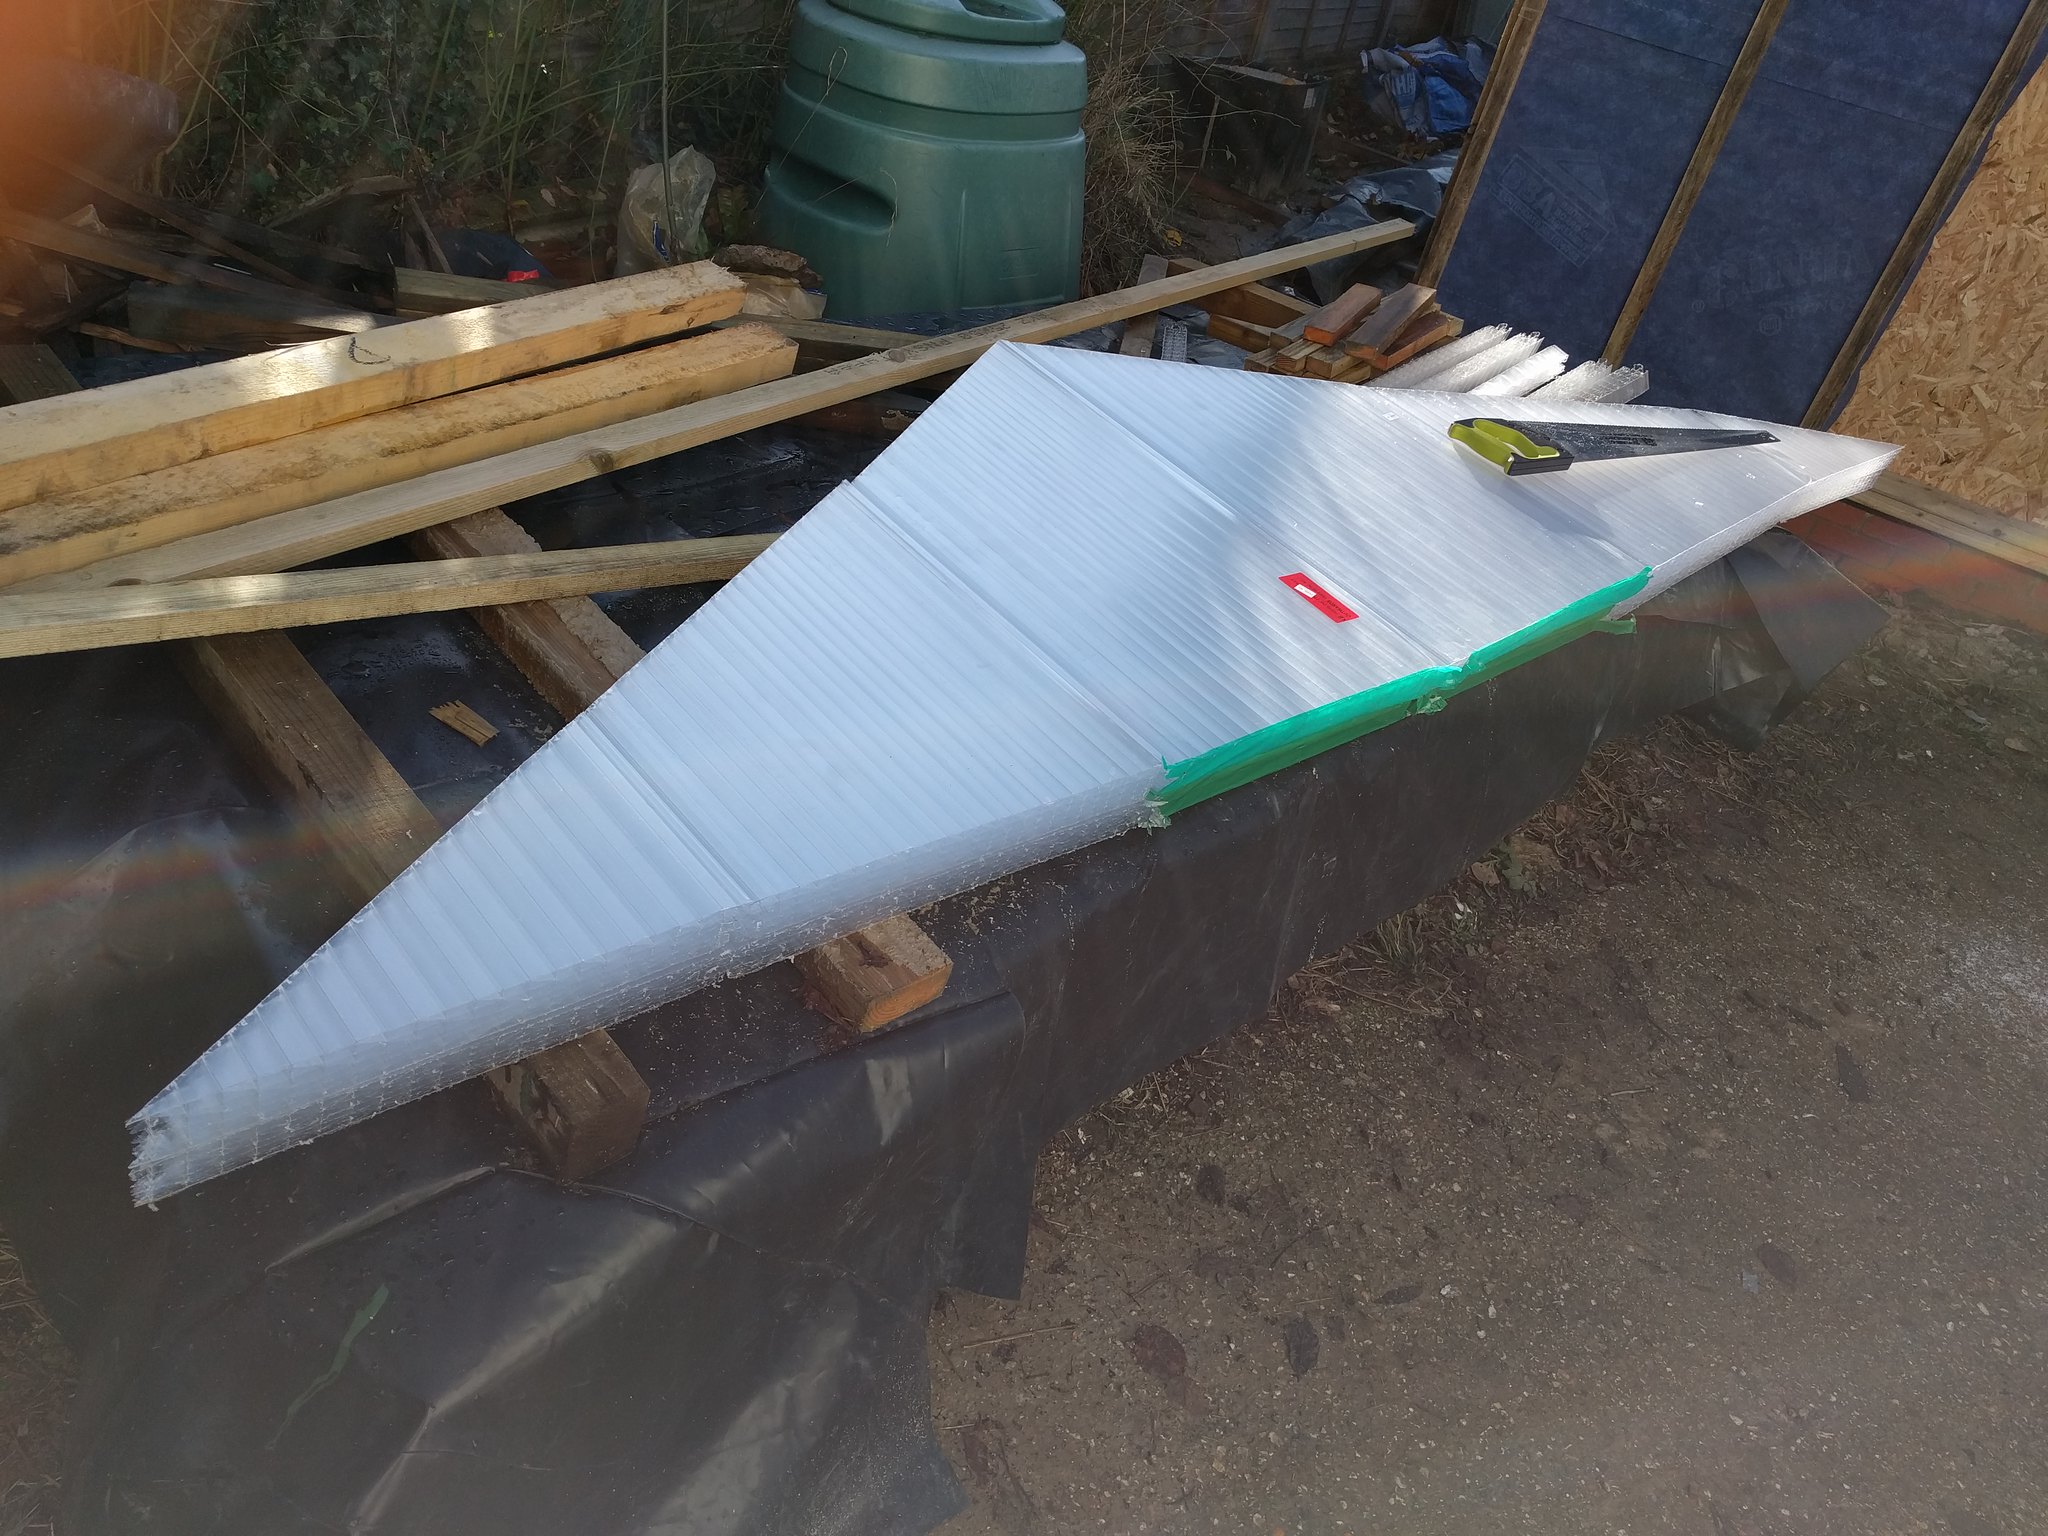
Today the weather has really come in, so we retreated inside. I'd cut the plastic panels for the gable windows yesterday, and we made a start on the frames for those. It won't be anything fancy, i'm not sure if I will even rout any ecorative profile into the edges of the frame, but they will be quick and functional hopefully. (as functional as they can be as my first window frame, that I am building by best guess)
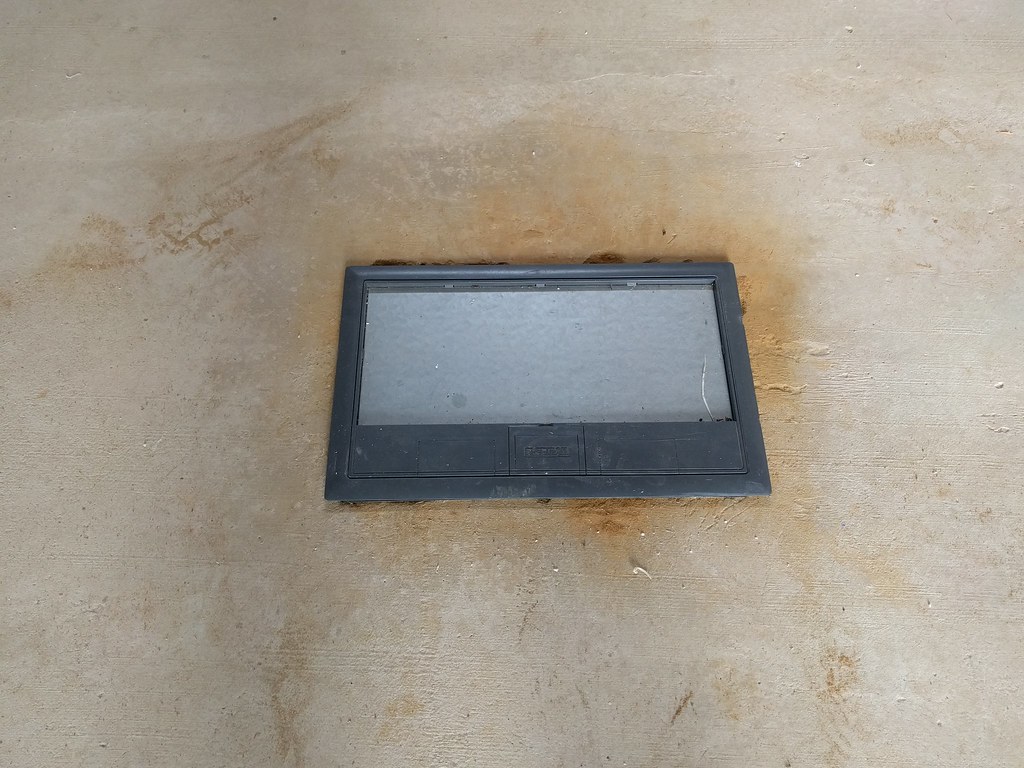
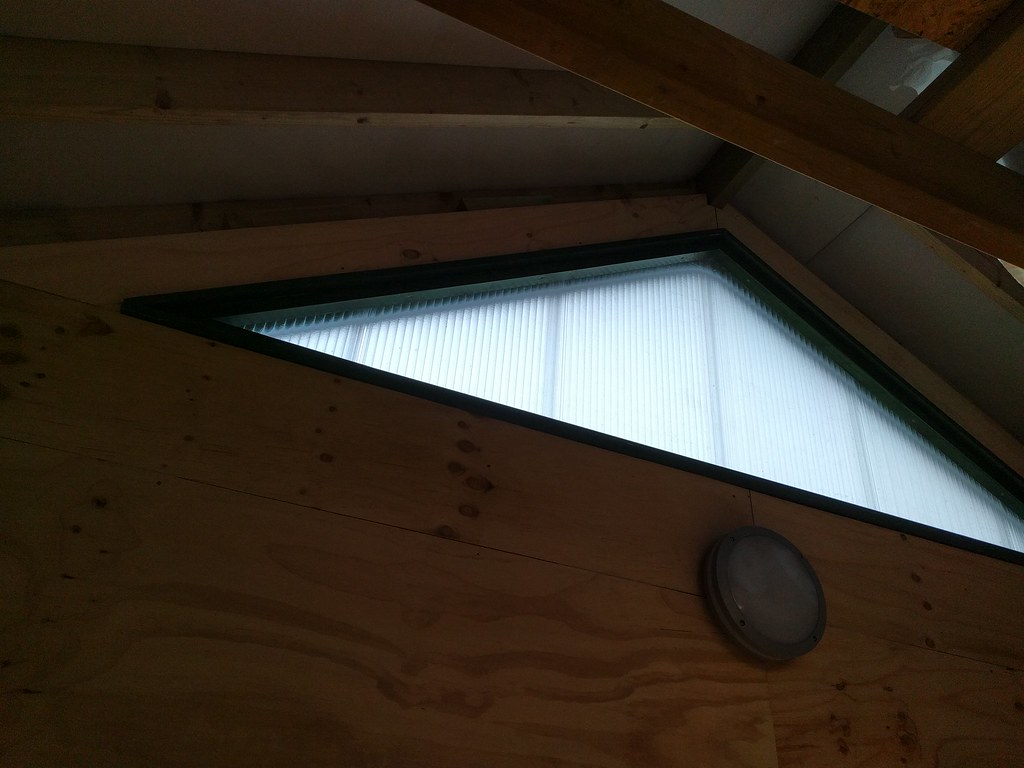
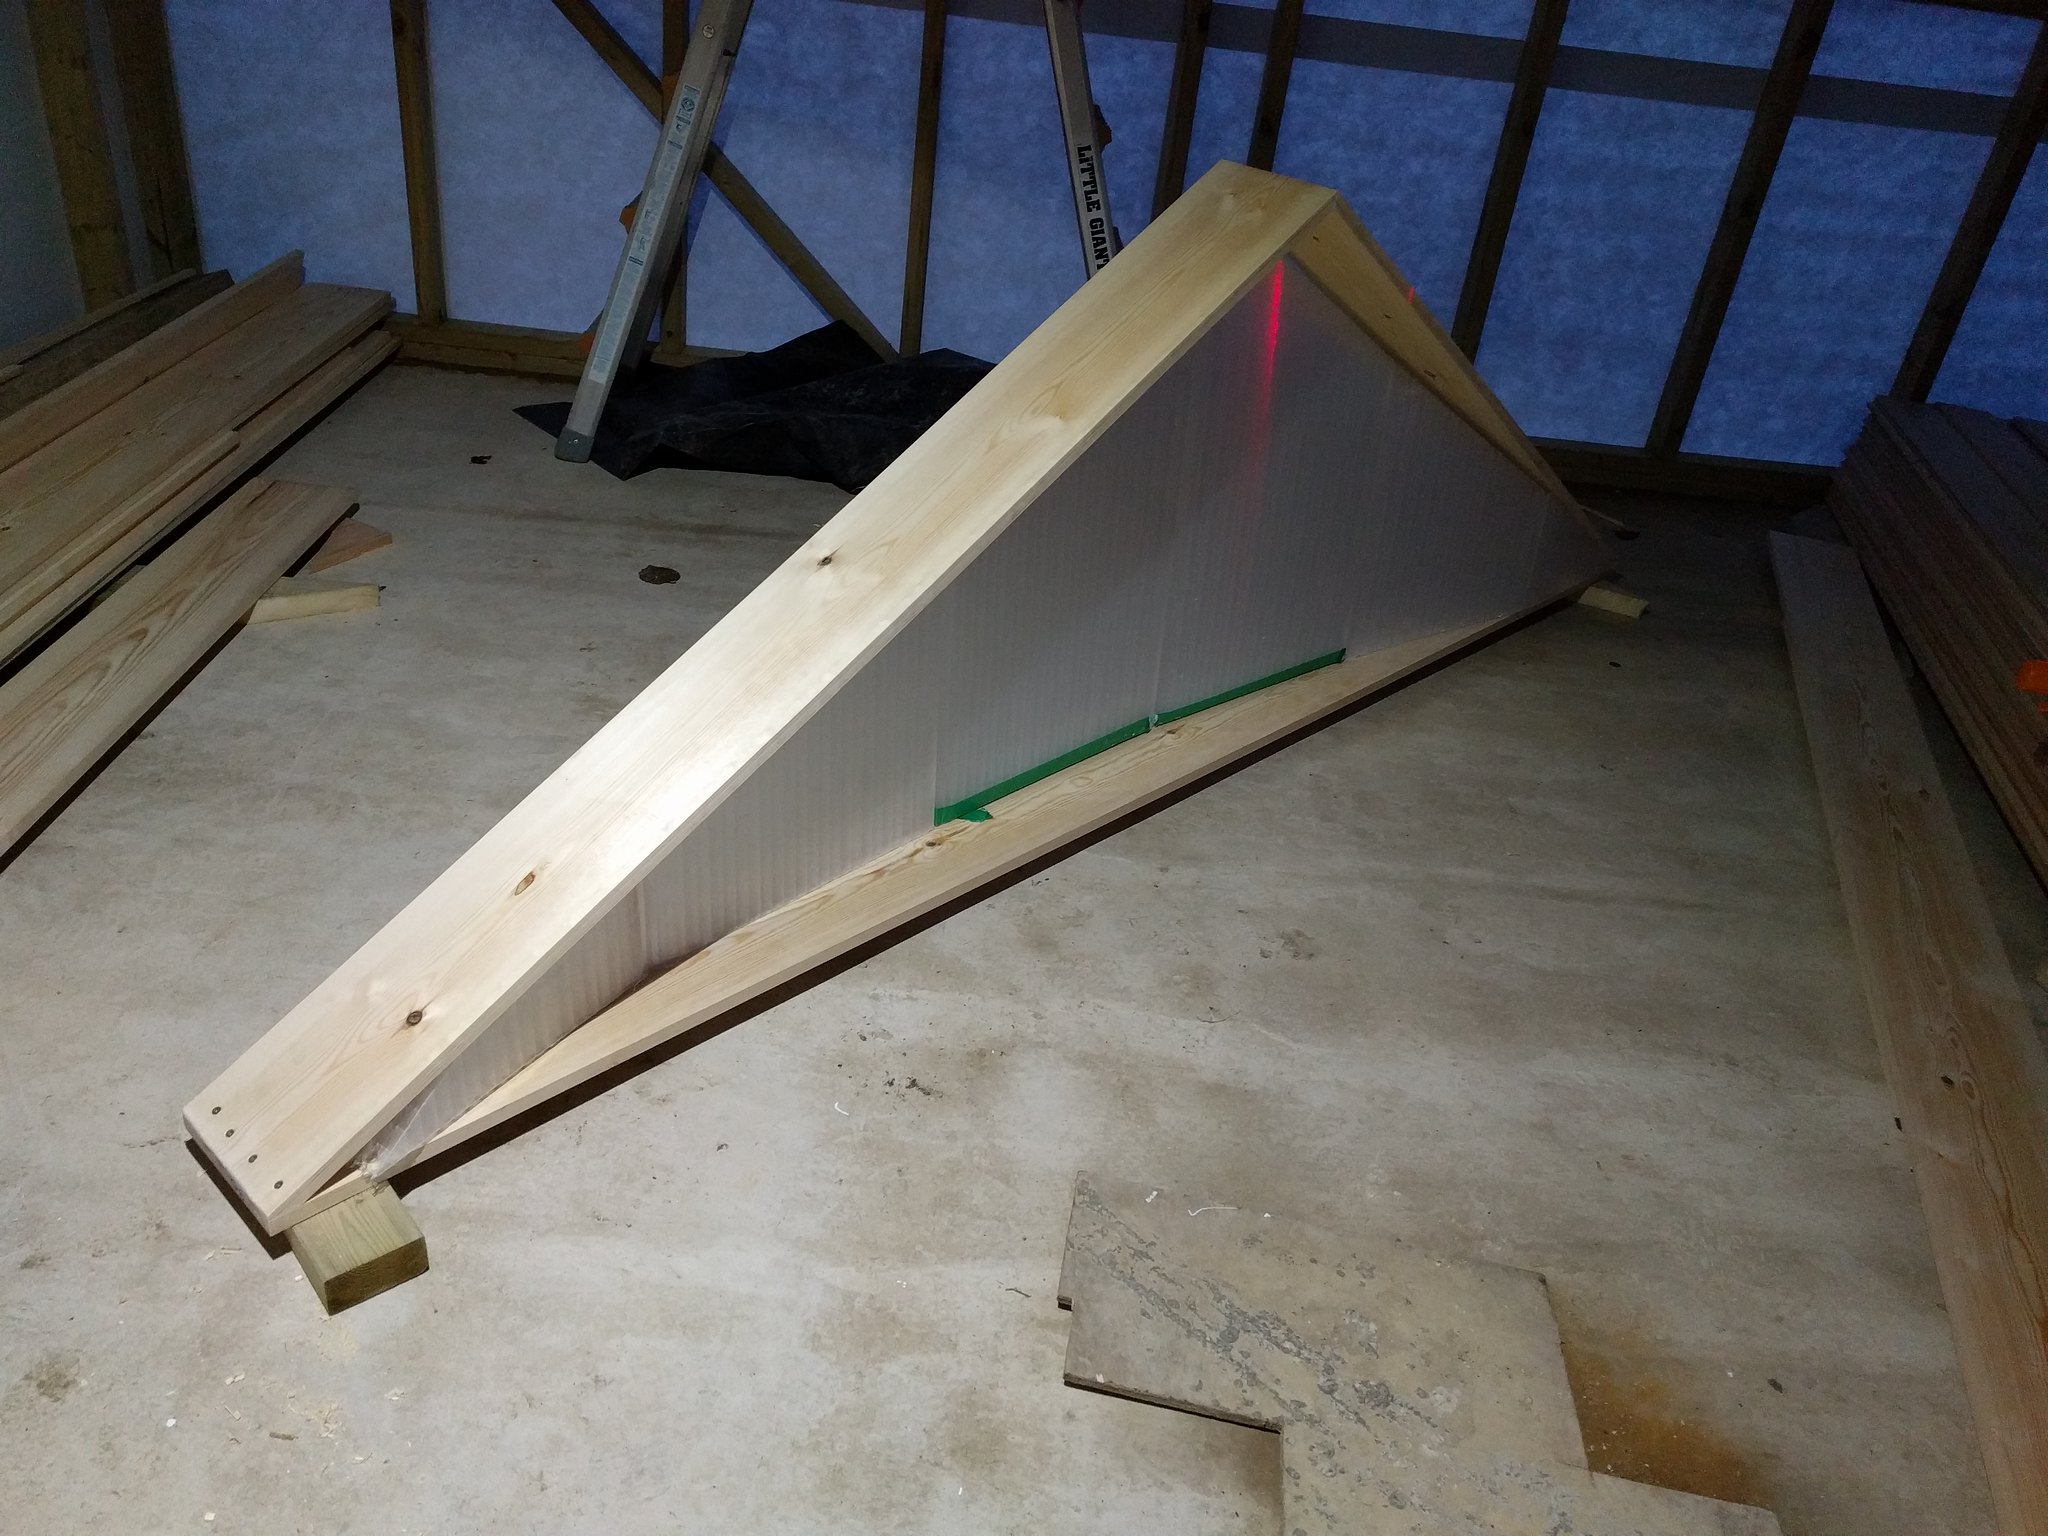
Here are the panels, 40mm thick polycarbonate with 10 walls front to back, it has the same insulation value as double glazing for a fraction of the price. Cuts with a handsaw and the sections click together with an overlapping weatherseal, quite neat.


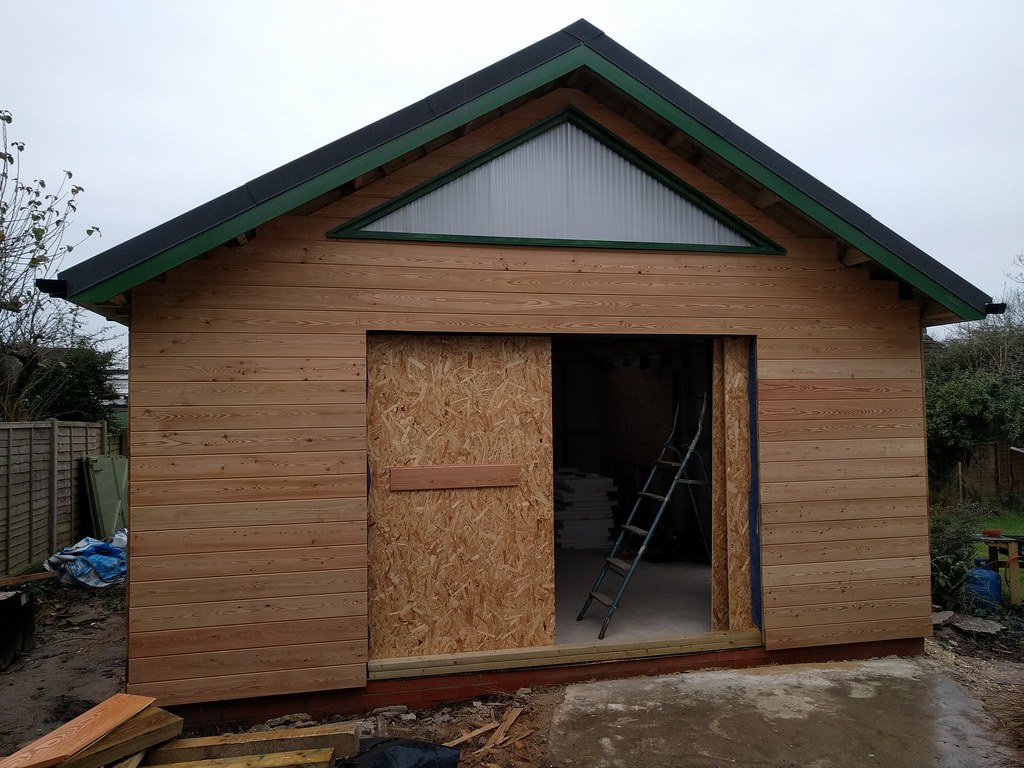
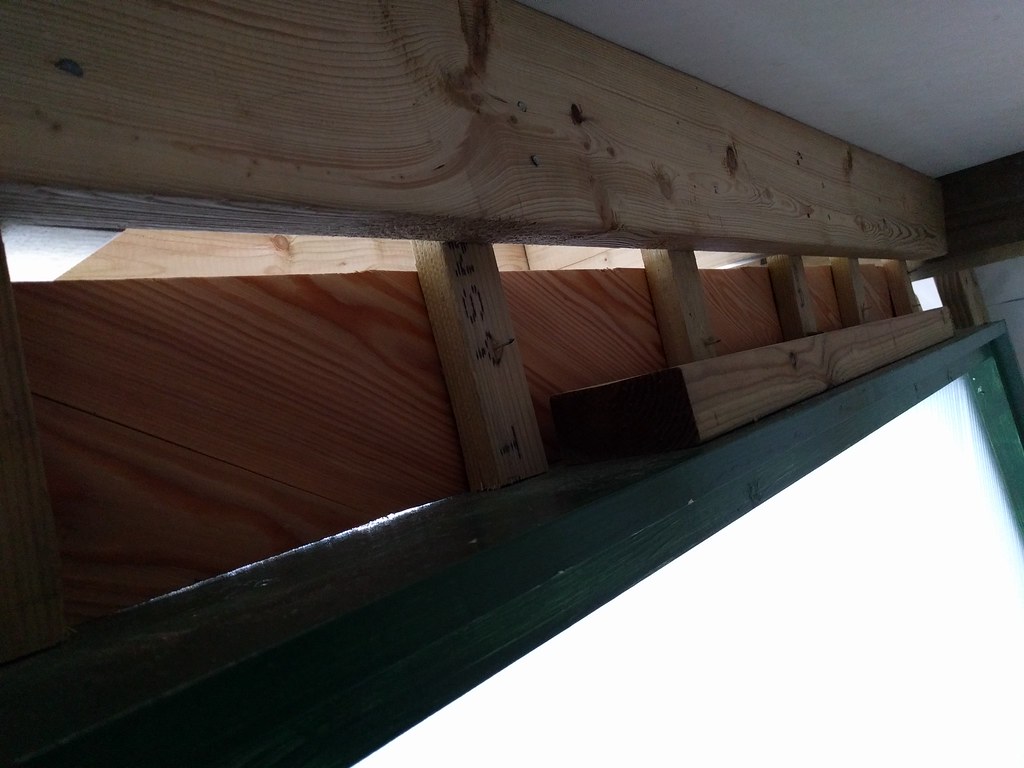
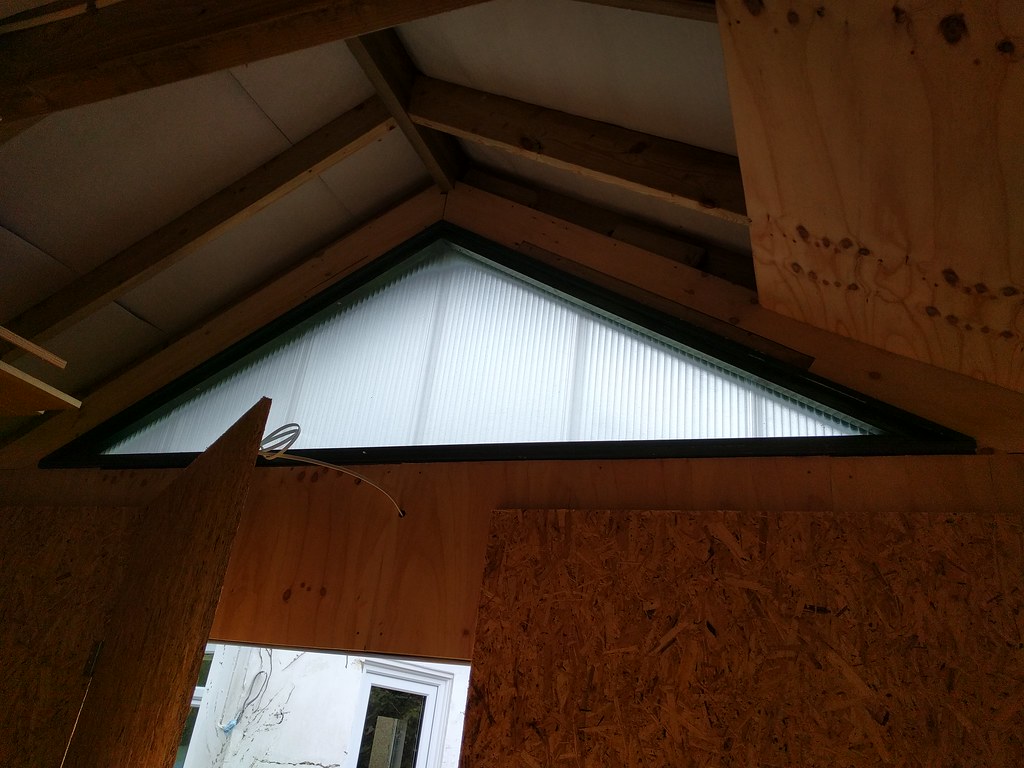
And here is the first outer frame test constructed, I'm quite pleased with it.


I know it's obvious, but I was still surprised to be able to sit on the apex with absolutely no flex in the frame. Good old triangles, eh?
Both frames have been cut and primed, if I can get these painted and fitted ASAP then i'll be really weatherproof. I currently have some DPM stapled over the prevailing wind-end of the workshop to stop rain spitting in, it works but it's not exactly pretty.

The plan for any free time in the next week is to put a coat of paint on anything that needs it, cut frames for all windows and doors, paint them too, then if i'm just waiting for paint to dry, stick some more cladding on. The cladding is definitely the fun job but i'm being sensible and holding it for when there is no painting to do, otherwise i'll end up with nothing to do in between coats. (i'm sure my wife would disagree)

Have a splendid Christmas everyone!
 
Cladding looks good, what wood is it?

Rueing the day I decided to machine all mine myself from sawn timber, god what a chore.

F.
 
The cladding is Siberian Larch so it's (hopefully) self protecting and will fade to a lovely subtle grey colour. It can't come to soon if you ask me, I finished the big blank back wall today and its, er, striking. :)

Lots more progress in the last few days, but i've been too busy to update the thread, being such a socialite and all that dontcherknow.
Important (boring) things first, I got the long edge fascias up and put the guttering on both sides, i'm really pleased with this as it means no more splashing on the lower cladding panels so less chance of any premature rot or anything nasty like that.
The downpipes are just propped up for now until I get all the cladding on to fix them into place.


You can see in that last picture that I finished cladding the long blank wall, the planks worked out really nicely, with the last plank just slotting under the roof beams without needing ripping. Lovely.
Also got the front finished up to where the triangle window is going:


Then the majority of the door side before the sun went down:


I started to get a bit swamped by having tools all over the place at this point, most of them placed tactically on the ground for maximum trip hazard potential, so I moved a later project forward and have built my first workbench:


It's my own unique design, i'm particularly proud of the bags of sawdust and leg supports. There is a slight issue with stability, in that it falls over if you stare at it too hard, but i'm quite pleased for a first attempt.

After the tools stopped being health and safety issues, I got the door side finished:


Quick bacon sarnie and on to the back side:


I placed the first triangular frame in place but ran out of time to start cladding around it. I'm really pleased with how it looks though. I do need to put a drip edge in, it totally slipped my mind until now, but i'll just hand cut it somehow. Ill make sure I cut the other frame before installing it, lesson learned.

So the exterior is looking pretty tasty now, just a little bit of (admittedly awkward) cladding to do, then I can concentrate on window and door frames!
I do need to do the soffits but I want to rout slots for ventilation so I will wait until I have some tools in place before I do that bit, it's only really cosmetic.


More to come at the weekend!
 
Is it OK to have 'shed' envy?

If it is, I have it, if it's not PC, then I'll pretend I haven't.

A superb build and brilliant WIP.

thanks

PHIL
 
Thanks Phil, I think a bit of shed envy is healthy, in all honesty I'm constantly impressed with how good it is looking. I have to remind myself that it was me that built it!

I've now completely finished the cladding all around the triangular windows, I should have taken a few more photos to explain what I did really.
Basically, I sat the triangle frame in place and screwed it down to the top of the wall plate, then I screwed a piece of 2x4 to the top face of each angled side of the triangle, placed in such a way that it's outside face lined up with the outer plane of the wall. This allowed me to nail small strips of batten between the new 2x4 and the roof joists (which I intentionally aligned to the plane of the wall on the plans), giving me something to nail each small piece of cladding to.
The finished result is really sturdy, and I reckon it doesn't look half bad:


Happy with that.

I've also cut and primed the inner parts of the frame so this coming weekend I should be able to get at least one of the windows into place. As soon as those windows are in, I might think about moving some machinery in, exciting stuff!

In other news, I fitted my free poly insulation boards, that saved me £100 at least which is nice, I might even convince myself to do the rest in the proper expensive stuff...
 
That window looks very smart. Adds a touch more class to an already impressive build. =D>
 
The window is in!


Now i'll be totally honest and admit to not researching how to build this window in the slightest, I just went with what seemed roughly logical to me. It's simply a plastic panel sandwiched between two square sections, all surrounded by a frame. My only concession to any kind of style was to chamfer the outer sill (cill?) and the outer bottom square section to stop water pooling. I siliconed around the panel on the outside and that's about it.
Please feel free to point out any glaring errors I might have made, I know there is no drip edge on top but I thought I could get away without that as they are tucked so far under the roof overhang. I also know that I need to add a drip groove under the sill, I'll just have to hand cut it now I think.

Anyway, it looks pretty decent, it lets a good amount of light through but it completely obscures any view through from either side, you can put your eye right up to it and still see nothing at all. It appears silvery or slightly reflective from the outside in all light levels.


I tried to get an image of how I mounted it from the inside, showing the small battens I fixed in to hold the cladding, I don't know if this picture makes that much sense...


You can see the 2x4 that I screwed down to the diagonal part of the window frame, if I was going belt and braces I would have made it full length but I had some shorter bits spare and it's still solid as a rock. The battens are nailed into the roof beams and then the ones that sit against the 2x4 are screwed into that. The gap is only about 170mm to the roof beam so it's very sturdy.

I've painted the inner frame for the other triangle window, hope to get that fitted this coming weekend, then I might start thinking about putting some stuff inside...
 
I somehow lost track of this one so just been catching up. Wow! That looks so good. Your attention to detail shines through and I especially like the polycarb window - so much so that I may have to steal the idea. Well done sir!

Paul
 
Ah well it's nice to know my efforts are being enjoyed!

Progress has been positively glacial this weekend, I'm at a bit of a weird point where I have several things I could crack on with and I'm not sure what order to do them, for some reason I've been really hesitant to buy any insulation, if I did that I could get on with lining the inside, but I seem to prefer to procrastinate!

Anyway, things I did do, I got the other triangle window in, I'm pleased to say they still provide a good quantity of light into the space, and it feels warmer in there already...


I slotted my central floor socket box into place, mostly so there isn't a foot-sized hole in the middle of the floor for me to fall into. I don't remember what my plan was exactly in terms of fitting it, as the hole I have formed is slightly undersize to the max size of the box, it looks like I will have to chisel a tiny bit of floor away on each long edge so the flanges can sit down lower, bringing the trim piece down onto the floor. It has chamfered edges so is ok to sit overflush like that but I'm sure the original idea was to have it fully flush. I really should write these things down.


I'll make a hardwood insert to go in the lid, it's designed for a carpet tile but I'm sure I can come up with something.

I also made a temporary hinged door that I can lock as I'm beginning to store things inside the workshop so need it to at least deter an opportunist thief, previously I left the tall window opening clear and just screwed a couple of battens across it. I bought big cheap hinges from BandQ which were only £4(!) so I'm happy to just chuck them in a drawer as spares when I'm done. I somehow managed to fail to buy a slide bolt so it is still currently screwed shut (don't tell anyone)


As mentioned I moved some items in over the weekend, I won't paint the floor until the weather warms up and I can perhaps move everything onto the driveway and under a tarp for one night, so I thought I might as well. Turns out the space is quite big, I put my full size tool chest in which is the same height and depth as a work bench and 5 foot long or so, then I stepped back to look at the space, to say it looks lost is an understatement!


My hand may be forced this weekend as to what I do next as my electrician is turning up! I may have power a lot sooner than I expected...
 
Of course, sorry for the slow reply, I won't bore you with the breakdown but I think I'm at around £6500 so far from the dirt up. Still to pay for is a mates rates electrical installation and materials for doors. I've managed to blah things where I can, free windows, bit of free insulation, stuff like that, but I've also splashed out on things like the snazzy roof and the larch cladding. My budget was £10k so I think I've done pretty well so far. Leaves me some money to buy machinery!
 
Nothing like a deadline to get yourself into gear, my electrician friend was only free this weekend and then not free again until March, so I had to get the interior insulated, clad and ready for wiring up. Luckily, this was waiting for me when I got home on Friday:


A pile of what appears to be far too much insulation. I did the maths twice and looking at what I now have left compared to the area I have left to cover, I'm sure I'm going to be a fair bit over and I've no idea how. Not to worry, I'm thinking about making double skin insulated doors so it will get used one way or another.

So on Friday while the sparky started running wires here there and everywhere, me and the FIL began the cladding:


The fuse board and main switches will go here by the door, there will be 2 main light switches, an outside light switch and a loft light switch. The main light switches are very cool, they look like normal switches but they are sprung to return to a neutral position, if you press and hold, they work like a dimmer switch!

Lots of cladding and lots of wires, electricity is magic so I'm glad someone else was doing this:


The lights consist of 6 round LED lights and two 600mm square ceiling panel lights. They are all overs from a commercial fit out so very good quality, and really bright. I have 2 round on each long wall and 1 on each short wall with the two panel lights running down the centre.


The round lights fit quite luckily on the angled face created by my raised roof ties, pointing them more down and into the room, although they are very diffused anyway.

I also fitted some exterior lights on the garden side:


And a security light looking up the driveway;


By 5pm Sunday evening, we were all freezing our unmentionable off, but we managed to achieve this:


To say I'm chuffed with how they came out is an understatement, it's so bright in there, and I haven't even painted it white yet! The spread of lights means there is no significant shadow anywhere in the room so should be great for working in.
The price for the electrics was beyond cheap, it came to about 1/3 of the retail cost of the lights alone, and for that I got cables, switches, sockets, fuse board, fitting, everything.
I now have 30 places where I can plug something in and enough light to land a plane, lovely.
 
Small update, I'd promised to pay Mrs Dandan some attention this weekend just gone, to prove that she really is more important than my - and I quote - "shed".

How rude.

Anyway the upshot of getting some husband points under my belt was that I made very little progress, but I did secure a free pass to go and pick up all the big machinery next weekend! Exciting stuff, some kind of minor amputation is surely only weeks away.

I did manage to do a bit of internal lining, we got both gable ends finished:


We also put a couple of panels up higher up, between the joists. Cutting the slots fell foul to my general idiocy, I had spaced one joist wider than the others to accommodate the ceiling lights (which fit in the normal gaps as it turned out) so I managed to cut one slot in the wrong place, but with a filler piece and enough caulk it shouldn't be a big issue:


I have questions.
1. How should I finish my exterior cladding at the corners? I currently just have a thin gap at the corner where the cladding stops short, can I get some kind of pre-cut L-shaped trim piece? Should I rout my own? Should I glue and screw my own out of flat bits?

2. Can anyone draw me a really simple section of a basic wooden window frame? All I can find is complex, opening frames or PVC jobbies with convoluted extrusions, I just want the simplest way to sandwich a sealed, double glazed unit into a wooden frame. I've an idea what I could do but I'd really appreciate advice from someone more experienced (i.e everyone)
 
This is how I finished the corners on my summer house build - and I think it's the 'accepted' way of doing it.

http://www.thewoodhaven2.co.uk/viewtopi ... &start=250

The bit you need is about halfway down the page. I must admit that it took a bit of head scratching on my part before it clicked! :|

This whole article is worth a read if you haven't seen it before but you probably need to set aside about a day :shock:

As you've already finished your cladding tight to the corners I don't see anything wrong with either a quarter round timber infill piece nailed in place or a 'L' shaped cover - perhaps painted green to match the other paintwork?

Hope this helps

Paul
 
Thanks Paul, I did indeed make some time to read that whole thread before I started the build, lots of good info to be found on there. Unfortunately, I can't put an infill piece at the ends of my cladding as not all of the planks are perfectly lined up, in fact in one corner a bit of miscommunication led to quite a wide gap opening up near the top. I reckon an L-shaped cover strip is the way forward, but it will have to be quite big to cover the variation in the cladding plank lengths. If only I had some proper machinery so I could more easily make my own cover...


I took a gutless hire van to Paignton at the weekend to meet the inimitable DevonWoody from this parish, he has decided that advancing age and power tools are a potential recipe for disaster so he is changing his attention to hand tools instead, meaning he had a whole workshop of gear up for grabs.
For a really very reasonable price, I picked up a table saw, band saw, router table with 2 routers, planer/thicknesser, belt and disc sander, loads of dust extraction equipment and 15 years worth of spares and accessories, fantastic.
The large machines are really impressive, probably higher spec than I would have been willing to buy new, but by spending that little bit extra now, I've ended up with a lot of quality machinery for what I'm guessing is probably less than the cost of just the bandsaw when new. (The bandsaw is particularly impressive)
A big thanks to John (DevonWoody) for the bacon sandwiches, the tea and for amassing such a nice set of machinery, I hope I can do it justice.

I have now filled my workshop with piles of random stuff though, a serious tidy is required and I need to plan a layout to get all this stuff organised. I still have half the ceiling to finish cladding, then I want to caulk and paint and add skirting before I make any fittings and fixtures permanent. I'm very aware at this point that I could easily end up with an *almost* finished workshop that is useable, but I want it done properly so I need to be strict with myself.

Next week - I'll be fighting the urge to try out all the new machines instead of getting the ceiling clad. :)
 
Dan it was a pleasure to meet both you and your father last weekend although there was some regret seeing your truck dissapear into the blue when you drove up the road on its way to its new home. My woodwork started 15 years ago (after years of DIY) and each item installed over that time gave me much pleasure and made a lovely retirement pastime for both myself and my wife, (we were both invited to Australia three times to visit the woodwork community there , in fact one visit was arranged for a 6 month stay)
So you can expect there is some regret, and even a few weeks ago I still got requests to spare another tissue box, that time to our local physiotherapy dept.
I hope you have as much enjoyment from your hobby that we enjoyed and I am certain members here will help with any guidance requested by you as also myself, please take care and work safely.

John

Devonwoody
 

Latest posts

Back
Top