You are using an out of date browser. It may not display this or other websites correctly.
You should upgrade or use an alternative browser.
You should upgrade or use an alternative browser.
Pieces from the shed
- Thread starter Stiggy
- Start date

Help Support UKworkshop.co.uk:
This site may earn a commission from merchant affiliate
links, including eBay, Amazon, and others.
Attachments
Dalboy
Established Member
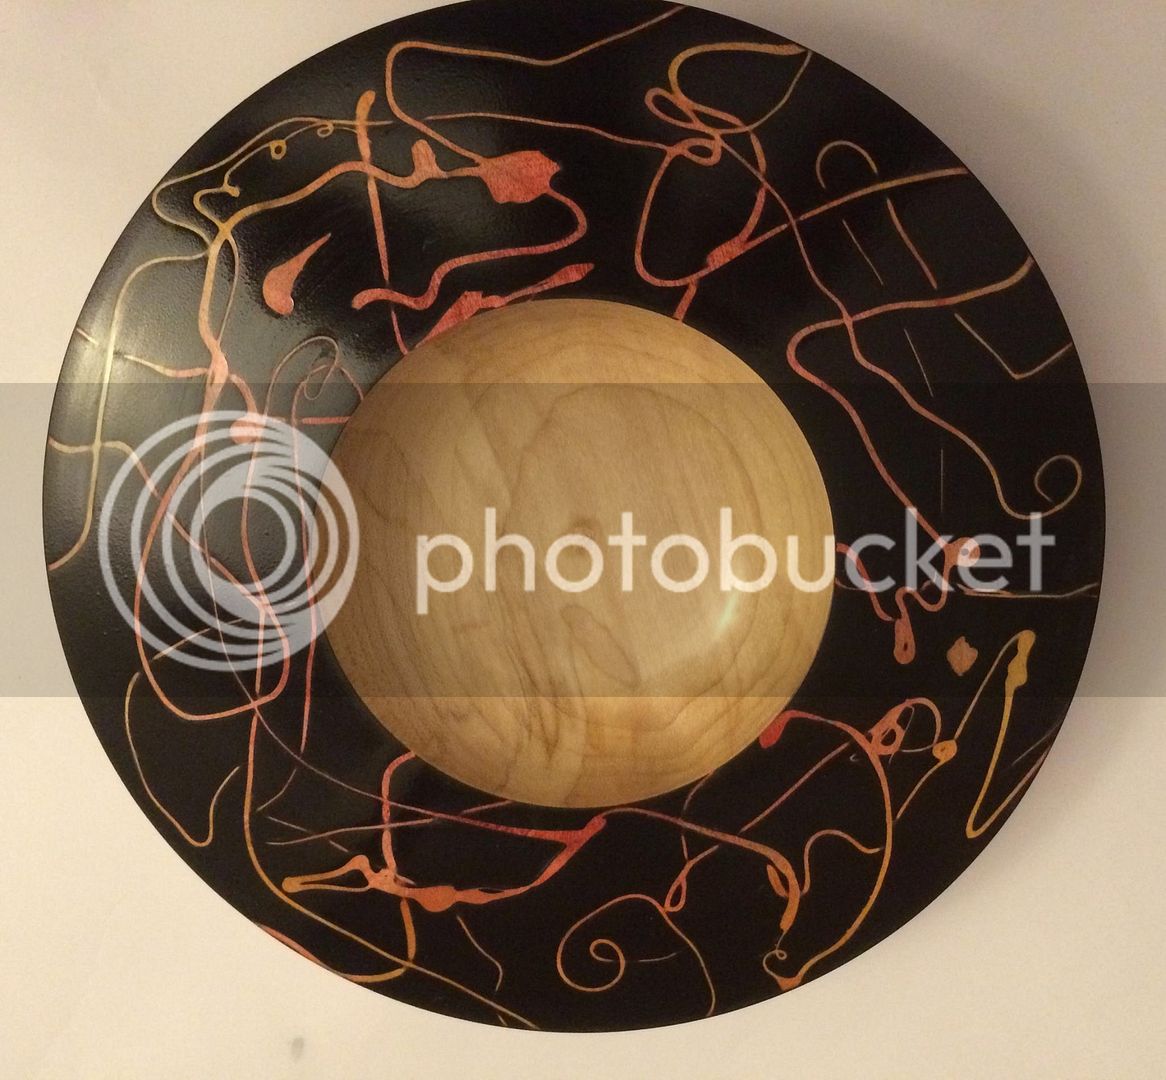
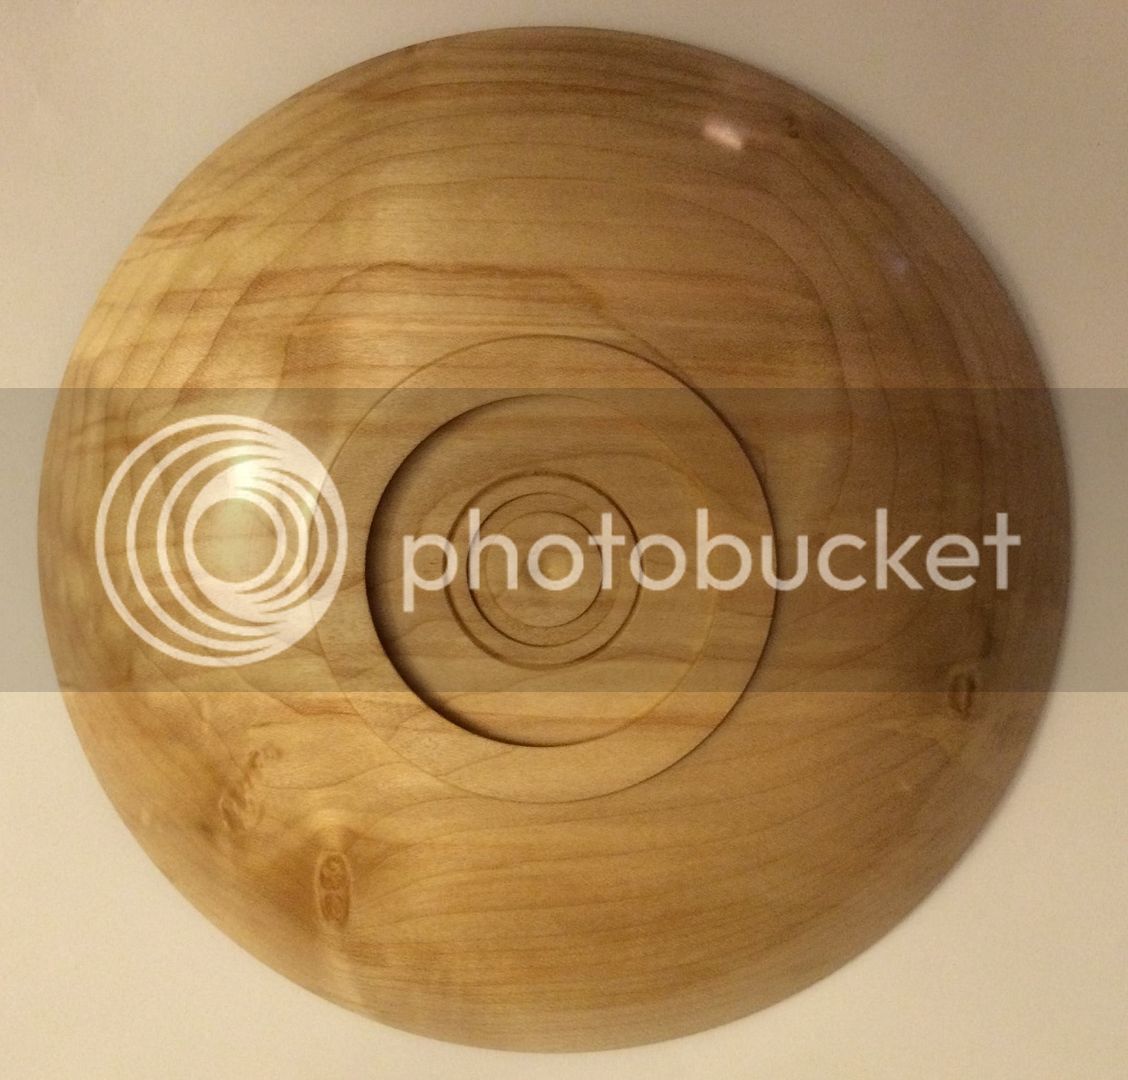
Very nice Stiggy, you have been listening to that Ed again haven't you
DaWoodster
Established Member
Looks great, can't wait to see the YouTube video...
Dalboy
Established Member
Stiggy":3byr7y4o said:Lol! Cheers Derek!
No actually, although Ed DID choose this blank for me!
This one was inspired by Martin Saban-Smith and Mike Waldt.
Video is now up!

Have you seen Ed's work like this
Dalboy
Established Member
Hi Stiggy,is there a link to the video??
Peter.
Peter.
Thank's Stiggy,I shall go now and have a look.
Peter.
Peter.
This piece was meant to be a test piece to try out a new abrasive paste, but I couldn't let it lie and decided to finish it!
It is walnut, approx 6" x 2", sanded to 240, 2x sanding sealer then paste was used and wax 22 finish. The gold is a gilt wax paste my missus bought me.
C&C welcome as always, video will be up this evening.


It is walnut, approx 6" x 2", sanded to 240, 2x sanding sealer then paste was used and wax 22 finish. The gold is a gilt wax paste my missus bought me.
C&C welcome as always, video will be up this evening.


Attachments
Dalboy
Established Member
You certainly coming along with shapes now they seem to flow more. Good to see you experimenting with texture and colour.
A good looking bowl and it looks like you have paid attention to not getting tool marks which shows with a nicley finished piece
A good looking bowl and it looks like you have paid attention to not getting tool marks which shows with a nicley finished piece
CHJ
Established Member
As per. Derek's comments, much improvement on blemish removal and proportions on form are good.
Can't see any 'flats' on the flow of the curves which is one of the first distractions to learn to eliminate.
Can't see any 'flats' on the flow of the curves which is one of the first distractions to learn to eliminate.
Hi guys, not been around much recently, I seem to spend most my time on Youtube or Facebook these days!
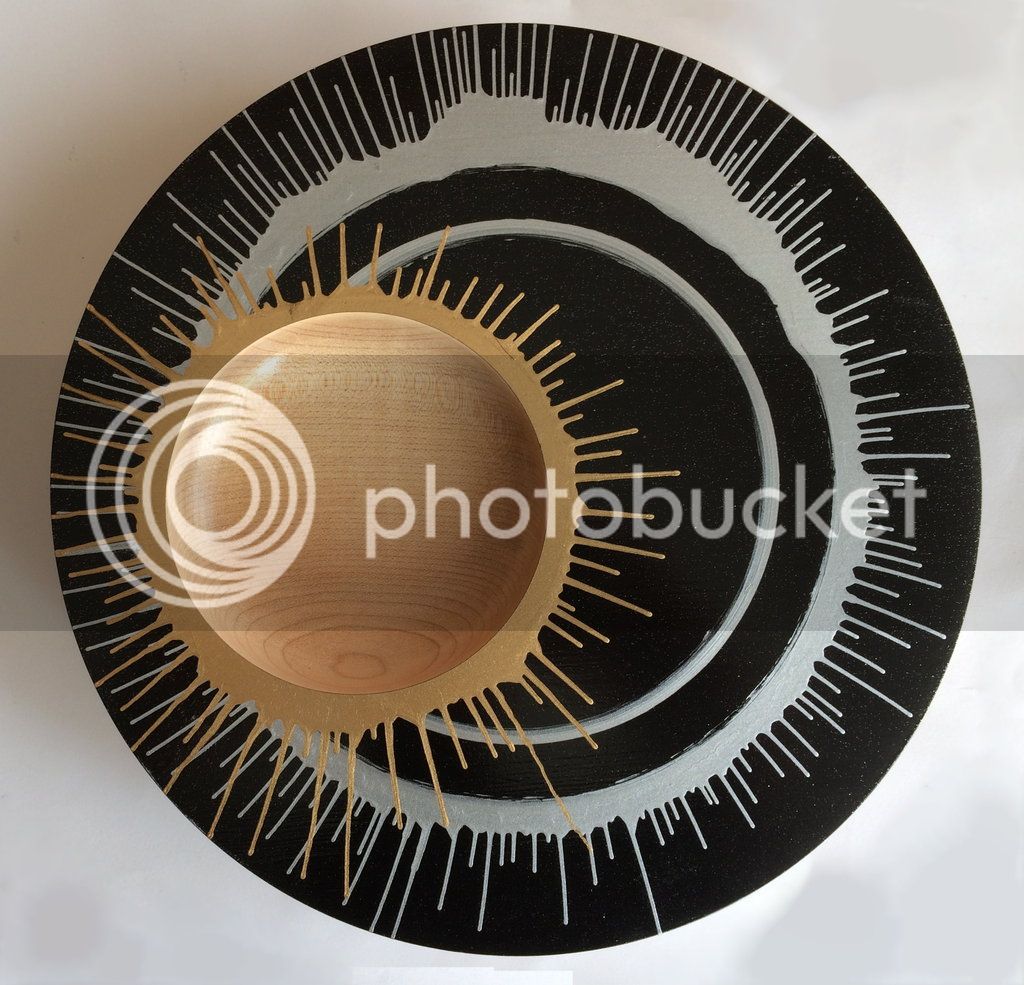
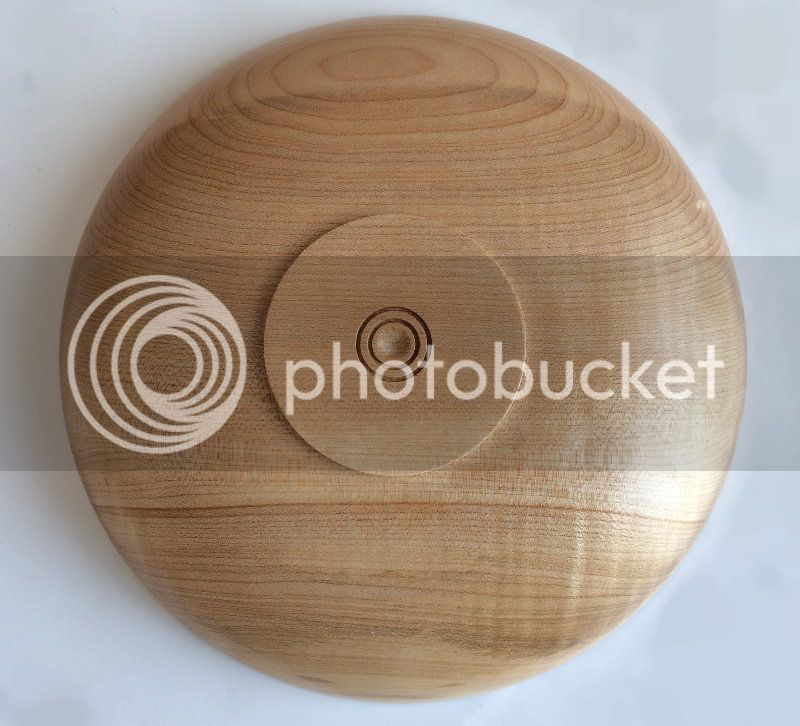
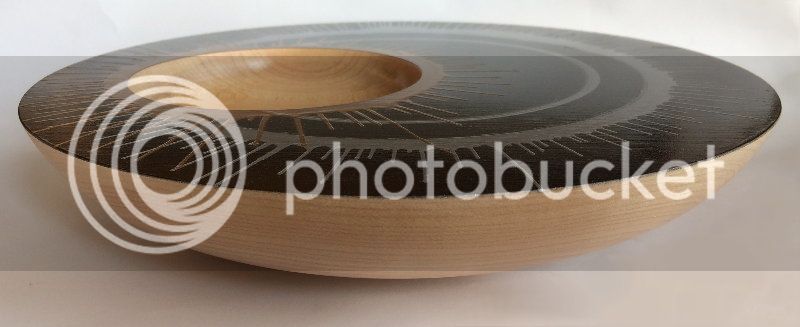
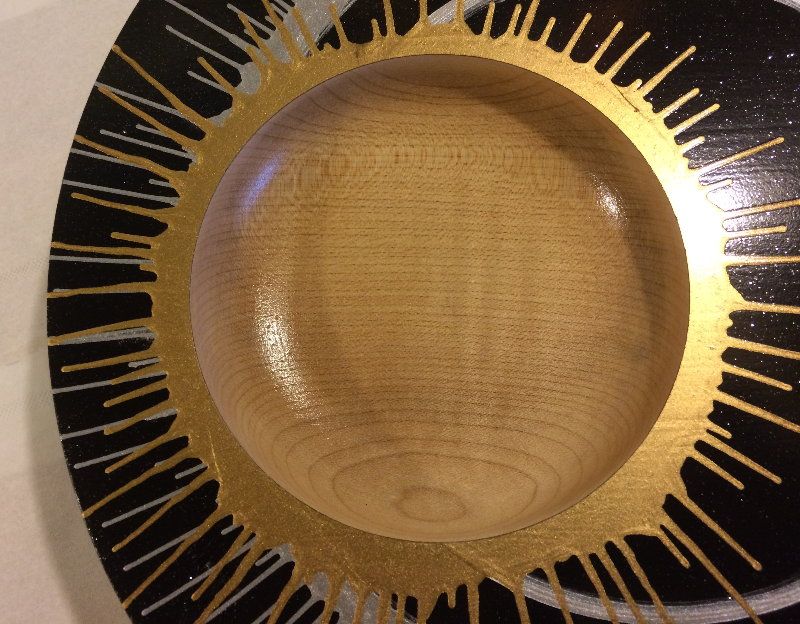
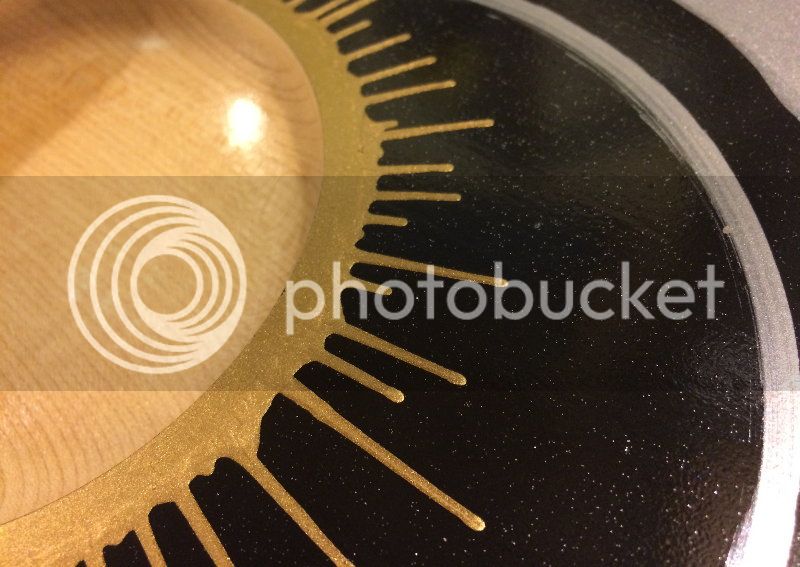
Here is something new for you, it's out of 10" x 2" Sycamore, with an offset bowl with plenty of paint, sweat and tears!
I've dreamt of doing this since I first saw Gary Lowe's effort when I first started and have been wanting to do this ever since!
The idea is the dish of the bowl is meant to be a planet crossing in front of another planet or sun. The grain direction was carefully chosen in order to give a spherical look with the lines.
Around the edge of the whole bowl is a micro bevel at 45 degrees. This is to catch the paint if it went too far, so I could clean up any excess from running down the outside.
I hope you like it as much as I do!
(video will be up early this week)


Dalboy
Established Member
You already know my views on this piece so I will just say nicely turned and finished keep playing Stggy
Similar threads
- Replies
- 3
- Views
- 2K
- Replies
- 13
- Views
- 1K


