Marking Gauges - suggestions

UKworkshop.co.uk

Help Support UKworkshop.co.uk:

This site may earn a commission from merchant affiliate links, including eBay, Amazon, and others.

Petey83

Established Member
Joined
19 Mar 2014
Messages
636
Reaction score
7
Location
Enfield
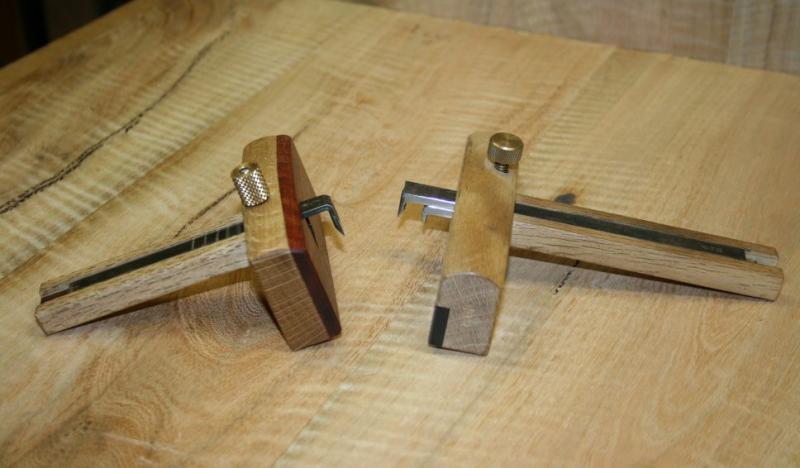
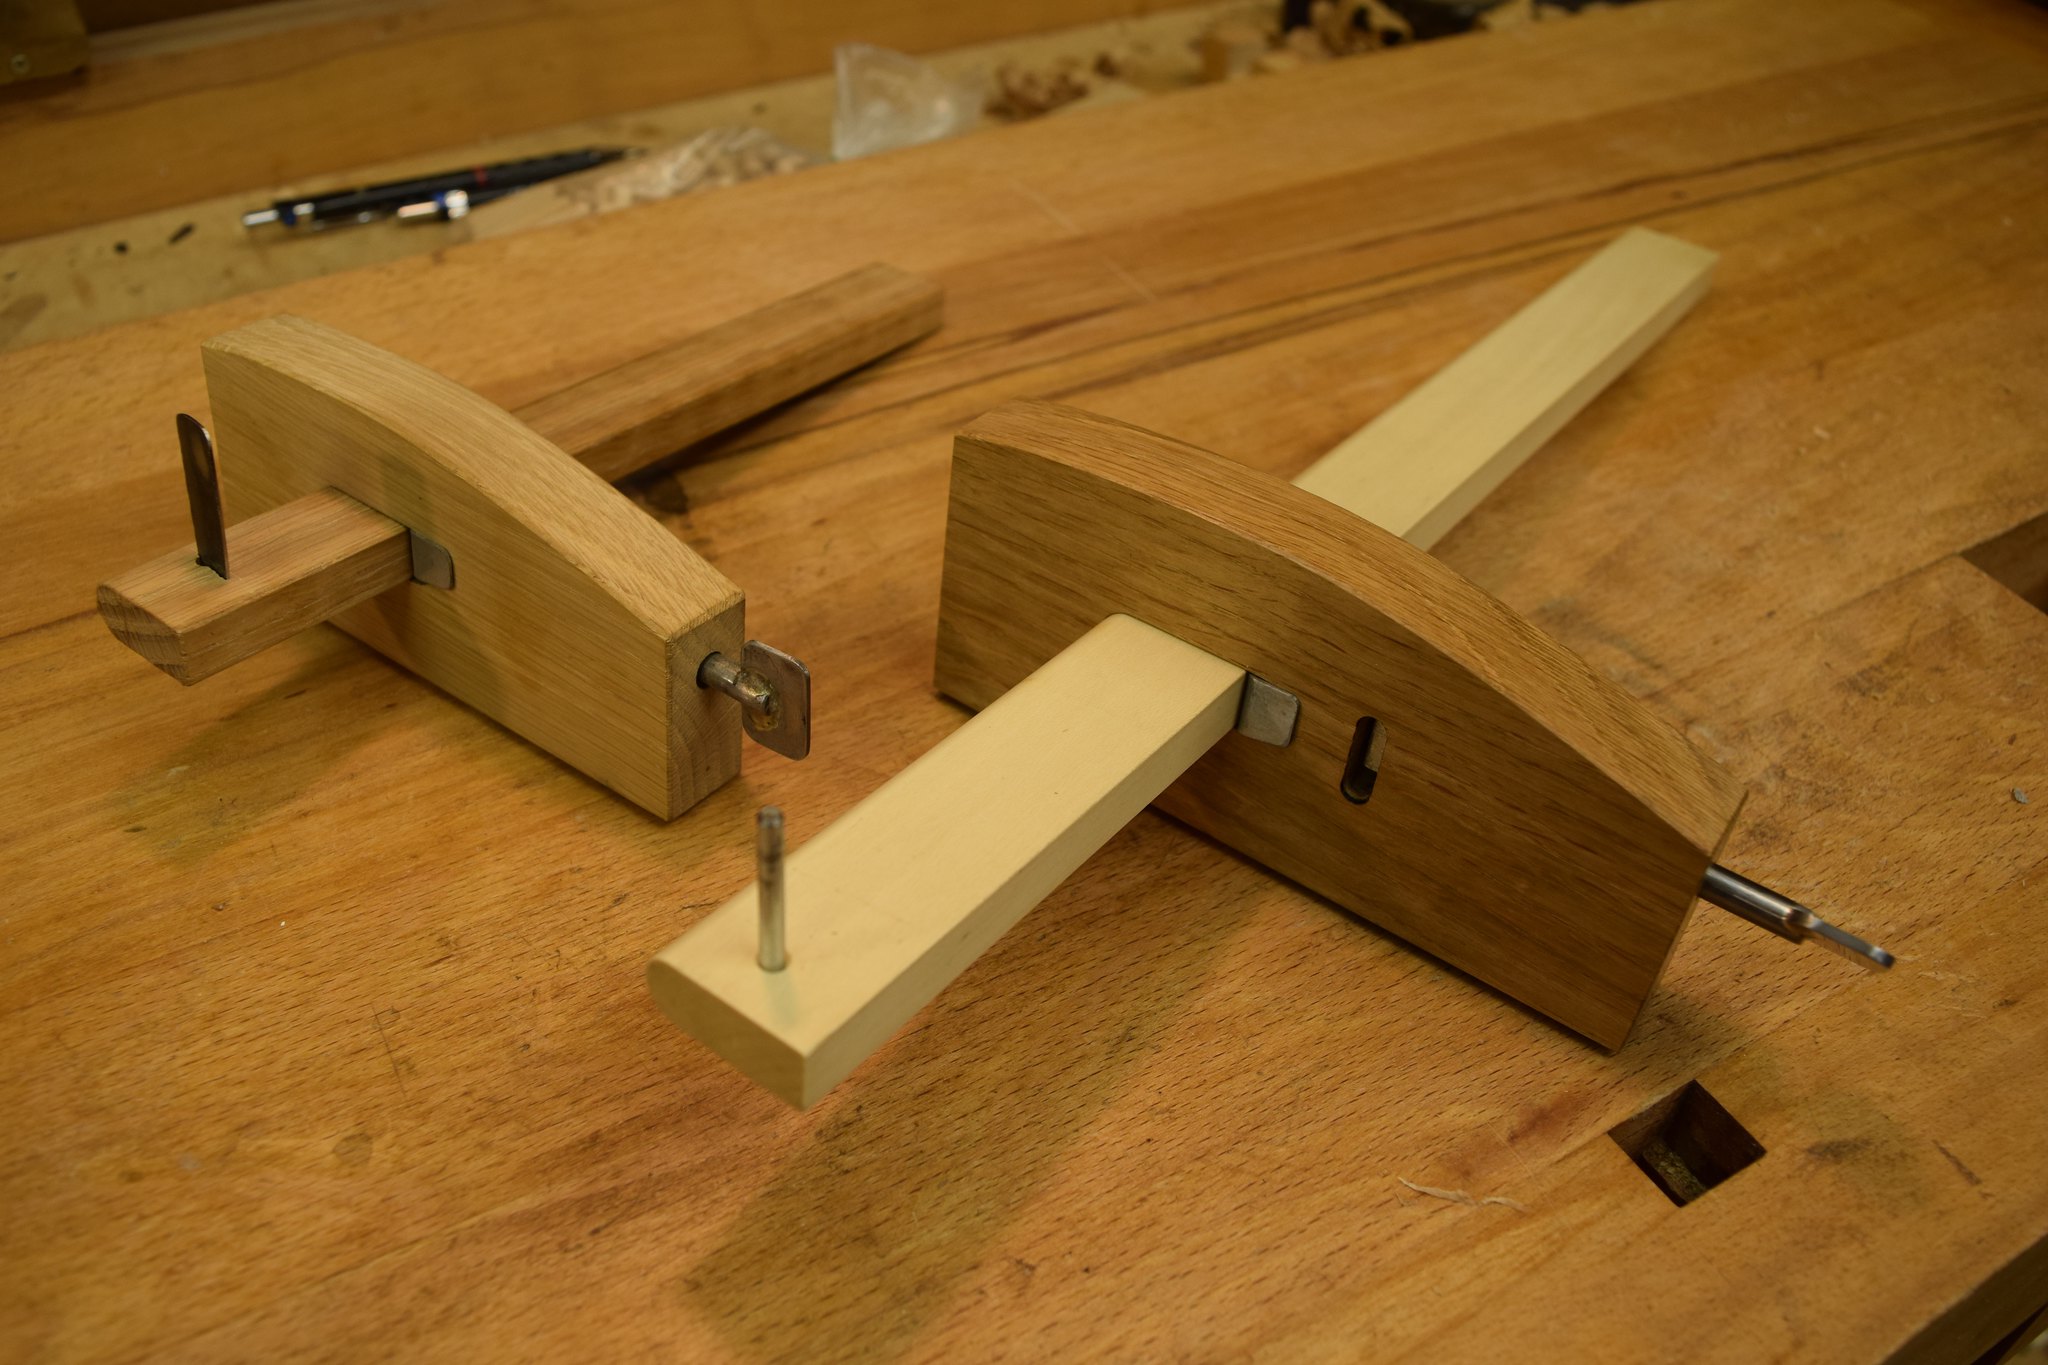
I am in the market for a couple of new marking gauges. I currently have one of the Quangshen wheel type marking gauges and a rubbish el cheapo dual marking / mortise gauge that seems to lose its setting every time I put it down on the bench.

The wheel gauge is ok but I find it fiddly to hold at times plus I am starting to see the benefit of having a couple of gauges set up for different things when doing an ongoing project over a number of days / weeks.

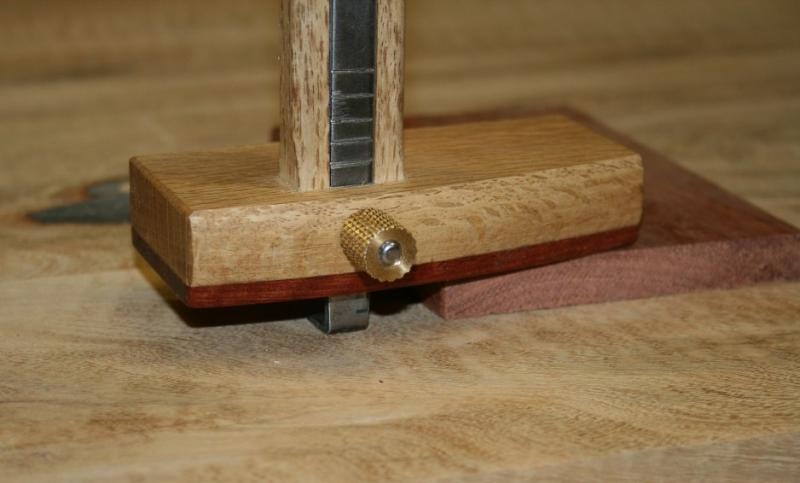
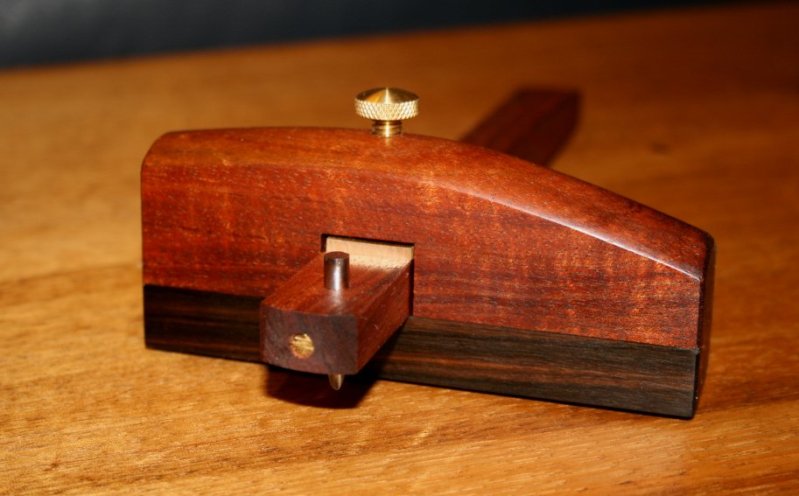
So I need a good traditional (non wheel type) mortise gauge and I am thinking a cutting gauge would be a good addition.

The mortise gauge options seem to be limited to Joseph Marples 2 offerings (standard and Trial 1) or the crown gauge. I see that Peter Sefton has Marples make a slightly different spec gauge for his school and shop - is this the one to get?

For the cutting gauge i like the look of the Hamilton gauges (http://www.hamiltontools.com/hamilton-marking-gauge/) but as these are coming from the states a £50 gauge ends up being north of £80 by the time you what on the import / vat / admin fees of importing it.
 
Hello,

It is his money, why shouldn't he?

I can't comment on the Hamilton one as I've never used one, i really like wheel gauges TBH, Veritas micro adjust ones the gauge of choice.

However, if that is the sort of tool you like, the Hamilton looks fine. You could make your own, though and make them as fancy or plain as you like dependant on the timber choice. They are relatively simple tools and you could knock off half a dozen functional ones in half a day. If you are a turner, round shafts in a neat Forstner hole is half the job.

However, if you really like the high end look, it is not beyond even those with modest skill to make a rosewood one or similar.

Mike.
 
Gentleman's marking gauge. The tool beginner's booby traps out there are easy small things that you could make (and it would be good for skill development to make them well). Marking gauges, dovetail markers, marking knives.

I'd save that money to be spent on wood or carving tools. I don't know of a good cheap source for either of those.
 
Petey83":2yjvo6r1 said:
Maybe I could try making a cutting gauge but i'd not know where to start on a mortise gauge.

Hello,

Simplify, simplify, simplify! If you make your own mortice gauge, who says it has to be adjustable? The pin spacings, that is.

How many mortice chisels do you currently use....three? Make a gauge with pin spacings to match your mortice chisels. Foolproof and quick and simple. Make them from different fancy woods to distinguish between them.

Alternatively, buy nice one if you want and don't let anyone here put you off. If the nay sayers were to actually make a gauge to the standard of the ones you like, I'd be surprised if they would sell them for as little as 50 quid. Arguably they are good value if you wanted one.

Mike.
 
I'm with Mike (woodbrains). Making your own is a good option, once your skills and confidence allow. For pins, masonry nails make very durable ones, but even panel pins will serve. Benjamin Seaton in his tool chest had about eight mortice chisels, and had two gauge stems, each with two pins on each face to suit each chisel - the end result looks like a small but nasty offensive weapon!

However, to get started, the basic Marples is a fairly pragmatic option. Mine served me for about three decades (and still would be if I hadn't bought a fancy vintage ebony and brass oval-headed one). You may find that you have to even up the heights of the pins and slightly reshape them with a small file, so that they mark even depth scratches, but that's actually a lot easier than it sounds.

There's probably another thread in the slight faults in the knurled screw lock type of gauge - one fault being that the pins won't close up closer than about 1/4", so if you do any morticing narrower than that (rare!) you have a problem. However, with a modicum of care, they do work well enough for most jobs.

A bit of technique in use helps - a very light first pass, followed by a slightly heavier one, then a third at 'full depth' stops the tendency to follow the grain and end up with slanty mortices or tenons, as does using the gauge with the pin points 'trailing' to avoid any possibility of pins digging in. Also, keep a bit of pressure against the outside of the fence to keep it nicely in contact with the job, and develop a rolling action of the hand to bring the pins down into light contact, make a gauging pass, then out of cut to return.

Ditto on technique for all marking and cutting gauges - and reshape the little cutter of the latter to a nice, rounded end rather than the sharp 'vee' they seem to be supplied with. They work more smoothly, then. Again, Marples are a good place to start, I think - basic or Trial 1 as you see fit.
 
Cheshirechappie":h84nmtr6 said:
I'm with Mike (woodbrains). Making your own is a good option, once your skills and confidence allow. For pins, masonry nails make very durable ones, but even panel pins will serve. Benjamin Seaton in his tool chest had about eight mortice chisels, and had two gauge stems, each with two pins on each face to suit each chisel - the end result looks like a small but nasty offensive weapon!

However, to get started, the basic Marples is a fairly pragmatic option. Mine served me for about three decades (and still would be if I hadn't bought a fancy vintage ebony and brass oval-headed one). You may find that you have to even up the heights of the pins and slightly reshape them with a small file, so that they mark even depth scratches, but that's actually a lot easier than it sounds.

There's probably another thread in the slight faults in the knurled screw lock type of gauge - one fault being that the pins won't close up closer than about 1/4", so if you do any morticing narrower than that (rare!) you have a problem. However, with a modicum of care, they do work well enough for most jobs.

A bit of technique in use helps - a very light first pass, followed by a slightly heavier one, then a third at 'full depth' stops the tendency to follow the grain and end up with slanty mortices or tenons, as does using the gauge with the pin points 'trailing' to avoid any possibility of pins digging in. Also, keep a bit of pressure against the outside of the fence to keep it nicely in contact with the job, and develop a rolling action of the hand to bring the pins down into light contact, make a gauging pass, then out of cut to return.

Ditto on technique for all marking and cutting gauges - and reshape the little cutter of the latter to a nice, rounded end rather than the sharp 'vee' they seem to be supplied with. They work more smoothly, then. Again, Marples are a good place to start, I think - basic or Trial 1 as you see fit.


thanks - the technique bit is where i am struggling with the wheel gauge, maybe that's because the evening classes I went to years back were all taught using the traditional type. The QS wheel gauge is good but I have to put more concentration into using it. The problem with my current mortise gauge is there is it does not seem to lock up very well so if I put it down on the bench and it gets a little knock as I move the timber about it tends to lose its setting not a problem to re-set it but it does become annoying after a while.
 
You aren't the first person to have trouble with screw locking gauges, and you certainly won't be the last. Unless the stem is a very close fit in the head, there's scope for a little bit of pivoting, allowing the head to 'walk' down the stem bit by bit.

This may be a solution for a later date when confidence is up a bit, but Richard Maguire's approach is worth a thought - http://www.theenglishwoodworker.com/a-good-gauge/
 
The Joseph Marples marking and mortice gauges as sold by Woodworkers Workshop are nicely made. There are cheaper ones available that work fine but not so well finished - have a look on ebay, also for second-hand ones.

John
 
Hi Petey


What makes a decent marking gauge?

Accepting that one can score a line with just about anything, and that one can get used to using even the most non-ergonomic designs. Further, good design does not have to cost much, and spending more does not assure you of a good marking gauge.

In my opinion, there are five features to look for: how comfortable it is in the hand, how easy it is to adjust, the quality of the line, the versatility of set ups, and how easy it it to sharpen the blade.

What is comfortable for one is not comfortable for another. I like a gauge that may be adjusted in one hand.

I like thin lines across the grain, and the best come from either a wheel gauge or a sharp knife gauge. Pins are excellent with the grain, such as in a mortice gauge, but they can tear across the grain.

Gauges that have wheels and Japanese gauges that have bent knives have an advantage over the more traditional gauge with inset knives and pins - only the former can do this (which is really helpful when setting up boards for dovetailing) ...

KinshiroOnTheCheap_html_28f206d6.jpg


The Hamilton cannot do this. Nor can this one, which I made with a pin-filed-into-a-knife ...

CuttingGauges_html_10c4ced5.jpg


There are plans here: http://www.inthewoodshop.com/ShopMadeTo ... auges.html

Now, incidentally, the Japanese gauge above cost $17. OK, it started life as a cheap gauge which I modified, but it exemplifies all the best qualities in a marking gauge, regardless of cost. Here is a link to it: http://www.inthewoodshop.com/ShopMadeTo ... f206d6.jpg

I've made a lot of gauges, both wheel and knife, but I also own a few wheel gauges from Lee Valley and Tite-Mark. These are in a class of their own. Incidentally, making tools is for those that enjoy the process (as I do), but unnecessary if all you want to do is enjoy building furniture. Just get one of those below ...

Veritas (Lee Valley) ...

05n3323s1.jpg


Tite-Mark ...

TM-3-01.jpg


Of these, I favour the TM (because it is a jewel that will bring a smile to your face every time you use it), however I will make clear that a micro adjuster is not that important in my world - I am used to making fine adjustments with pinched fingers or a tap on the bench top.

I really like the Japanese knife gauges, and my absolute favourite is the Kinshiro mortice gauge, which was a gift. They are no longer manufactured. Here it is on the right ...

KinshiroOnTheCheap_html_m6481cde7.jpg


This type of gauge may be used as a single knife as well. But mortice gauges are another story for another time.

Regards from Perth

Derek
 
Hi Petey

What makes a decent marking gauge?

Accepting that one can score a line with just about anything, and that one can get used to using even the most non-ergonomic designs. Further, good design does not have to cost much, and spending more does not assure you of a good marking gauge.

In my opinion, there are five features to look for: how comfortable it is in the hand, how easy it is to adjust, the quality of the line, the versatility of set ups, and how easy it it to sharpen the blade.

What is comfortable for one is not comfortable for another. I like a gauge that may be adjusted in one hand.

I like thin lines across the grain, and the best come from either a wheel gauge or a sharp knife gauge. Pins are excellent with the grain, such as in a mortice gauge, but they can tear across the grain.

Gauges that have wheels and Japanese gauges that have bent knives have an advantage over the more traditional gauge with inset knives and pins - only the former can do this (which is really helpful when setting up boards for dovetailing) ...

KinshiroOnTheCheap_html_28f206d6.jpg


The Hamilton cannot do this. Nor can this one, which I made with a pin-filed-into-a-knife ...

CuttingGauges_html_10c4ced5.jpg


There are plans here: http://www.inthewoodshop.com/ShopMadeTo ... auges.html

Now, incidentally, the Japanese gauge above cost $17. OK, it started life as a cheap gauge which I modified, but it exemplifies all the best qualities in a marking gauge, regardless of cost. Here is a link to it: http://www.inthewoodshop.com/ShopMadeTo ... f206d6.jpg

I've made a lot of gauges, both wheel and knife, but I also own a few wheel gauges from Lee Valley and Tite-Mark. These are in a class of their own. Incidentally, making tools is for those that enjoy the process (as I do), but unnecessary if all you want to do is enjoy building furniture. Just get one of those below ...

Veritas (Lee Valley) ...

05n3323s1.jpg


Tite-Mark ...

TM-3-01.jpg


Of these, I favour the TM (because it is a jewel that will bring a smile to your face every time you use it), however I will make clear that a micro adjuster is not that important in my world - I am used to making fine adjustments with pinched fingers or a tap on the bench top.

I really like the Japanese knife gauges, and my absolute favourite is the Kinshiro mortice gauge, which was a gift. They are no longer manufactured. Here it is on the right ...

KinshiroOnTheCheap_html_m6481cde7.jpg


This type of gauge may be used as a single knife as well. But mortice gauges are another story for another time.

Regards from Perth

Derek

Thanks for a very informative post Derek. I perhaps need to practice my technique with the wheel gauge as the Quangshen gauge is pretty well made (not as nice as the tightmark seems to be) but I just seem to find it difficult to hold tight to the work. If it had one gripe about it then it would be that the micro adjust on it is a tad easy to use when you don't want to.
 
Cheshirechappie":21s5joco said:
You aren't the first person to have trouble with screw locking gauges, and you certainly won't be the last. Unless the stem is a very close fit in the head, there's scope for a little bit of pivoting, allowing the head to 'walk' down the stem bit by bit.

This may be a solution for a later date when confidence is up a bit, but Richard Maguire's approach is worth a thought - http://www.theenglishwoodworker.com/a-good-gauge/

Richards stuff is usually well explained. Looking at the design in the picture I am guessing he used a spookshave to shape the stem?
 
Cheshirechappie":sya5nx32 said:
A bit of technique in use helps - a very light first pass, followed by a slightly heavier one, then a third at 'full depth' stops the tendency to follow the grain and end up with slanty mortices or tenons, as does using the gauge with the pin points 'trailing' to avoid any possibility of pins digging in. Also, keep a bit of pressure against the outside of the fence to keep it nicely in contact with the job, and develop a rolling action of the hand to bring the pins down into light contact, make a gauging pass, then out of cut to return.

Well explained!

I'll add - on long workpieces I do the light-harder-final sequence in around 10" segments, rather than full length.

EDIT: I'll try to find the Hayward picture of how to hold/use the gauge. If you're right handed it's essentially
Thumb presses cutter down onto workpiece
Fore finger over the fence/body of the gauge
Middle finger presses body of gauge leftwards into workpiece

The picture is better than my words!

EDIT2; the saintly Jeff Gorman - this is close enough.
http://www.amgron.clara.net/using%20mar ... uge79.html

BugBear
 
Petey83":nm7xhdkl said:
Cheshirechappie":nm7xhdkl said:
You aren't the first person to have trouble with screw locking gauges, and you certainly won't be the last. Unless the stem is a very close fit in the head, there's scope for a little bit of pivoting, allowing the head to 'walk' down the stem bit by bit.

This may be a solution for a later date when confidence is up a bit, but Richard Maguire's approach is worth a thought - http://www.theenglishwoodworker.com/a-good-gauge/

Richards stuff is usually well explained. Looking at the design in the picture I am guessing he used a spookshave to shape the stem?

Probably a small bench plane or maybe a block plane - something with a straight sole, anyway. A spokeshave having such a short sole could leave the stem slightly scalloped in it's length, and a marking/cutting/mortice gauge would work better if the stem stayed dead-on perpendicular to the head both up-down and front-to-back as you see it when working it.

If a marking gauge stem has slight humps and bumps, the head makes a slightly different angle to the stem when locked in different positions along it. Thus, when marking thin stock, a different part of the head contacts the job than when using the same setting on thick stock - so the marked position will be slightly different on two different workpieces. With the stem straight, the head locks in the same attitude wherever it is along the stem.

Little inaccuracies in marking and measuring tools tend to add up during the course of a job, so the more you can eliminate the less the chance of them causing problems with a build later. It doesn't really matter if the non-critical parts of a marking tool look beaten up and rough, as long as the critical working parts mate nicely together, and are 'tight' and accurate when locked up after adjusting to size.

Edit to add - the extra accuracy of fit and finish (as opposed to appearance) is one reason why the more expensive gauges tend to be nicer and more satisfying to use. However, the law of diminishing returns applies, and it's possible to pay a LOT more for only a miniscule increase in performance. Exactly where the line is drawn (pun intended) is, of course, a matter of personal choice. I reckon Marples have a good working balance of quality and price, and my choice is not to pay more - others will have different opinions, of course!
 
bugbear":2yja14l8 said:
Cheshirechappie":2yja14l8 said:
A bit of technique in use helps - a very light first pass, followed by a slightly heavier one, then a third at 'full depth' stops the tendency to follow the grain and end up with slanty mortices or tenons, as does using the gauge with the pin points 'trailing' to avoid any possibility of pins digging in. Also, keep a bit of pressure against the outside of the fence to keep it nicely in contact with the job, and develop a rolling action of the hand to bring the pins down into light contact, make a gauging pass, then out of cut to return.

Well explained!

I'll add - on long workpieces I do the light-harder-final sequence in around 10" segments, rather than full length.

EDIT: I'll try to find the Hayward picture of how to hold/use the gauge. If you're right handed it's essentially
Thumb presses cutter down onto workpiece
Fore finger over the fence/body of the gauge
Middle finger presses body of gauge leftwards into workpiece

The picture is better than my words!

EDIT2; the saintly Jeff Gorman - this is close enough.
http://www.amgron.clara.net/using%20mar ... uge79.html

BugBear

Thanks BB - and those pictures add a very great deal to the explanation.
 
bugbear":1r3z9w66 said:
Cheshirechappie":1r3z9w66 said:
A bit of technique in use helps - a very light first pass, followed by a slightly heavier one, then a third at 'full depth' stops the tendency to follow the grain and end up with slanty mortices or tenons, as does using the gauge with the pin points 'trailing' to avoid any possibility of pins digging in. Also, keep a bit of pressure against the outside of the fence to keep it nicely in contact with the job, and develop a rolling action of the hand to bring the pins down into light contact, make a gauging pass, then out of cut to return.

Well explained!

I'll add - on long workpieces I do the light-harder-final sequence in around 10" segments, rather than full length.

EDIT: I'll try to find the Hayward picture of how to hold/use the gauge. If you're right handed it's essentially
Thumb presses cutter down onto workpiece
Fore finger over the fence/body of the gauge
Middle finger presses body of gauge leftwards into workpiece

The picture is better than my words!

EDIT2; the saintly Jeff Gorman - this is close enough.
http://www.amgron.clara.net/using%20mar ... uge79.html

BugBear

Does this technique extend to the wheel type gauges? This is how I use the cheap mortise gauge I have but seem to struggle to replicate it on a wheel gauge.
 
+1 for the joseph marples gauges, I've got the trial 1 combination gauge, not cheap at around £50, but I wanted something decent, to last me a lifetime, it's a great tool and I feel confident it will definitely outlast me.
 
I've tried all sorts of gauges over the years and I now use the Japanese style, two shown here that I made a few years ago.


They take about a couple of hours to make and cost nothing apart from some odds out the scrap bin. In use, they're absolutely rock solid with no slippage of the stock on the stem. The cutter in one is made from a bit of HSS hacksaw blade and the panel gauge uses a ground down masonry nail. Cost about 1p. As I've done them here, there's some silver soldering involved on the screw thread but that's not too difficult to do - Rob
 
Back
Top