


MikeG.
Established Member
After three weeks solid drawing without a day off, I needed some workshop time. I'd a little project in mind for a while, and took the opportunity today. After half a day sharpening chisels and planes, tidying, and a bit of plane fettling too, I got started. This is all from stuff out of my scrap bin, and, for the fun of it, I set myself two rules: no power tools, and no sandpaper (or rasps). So this is all with saws and blades.
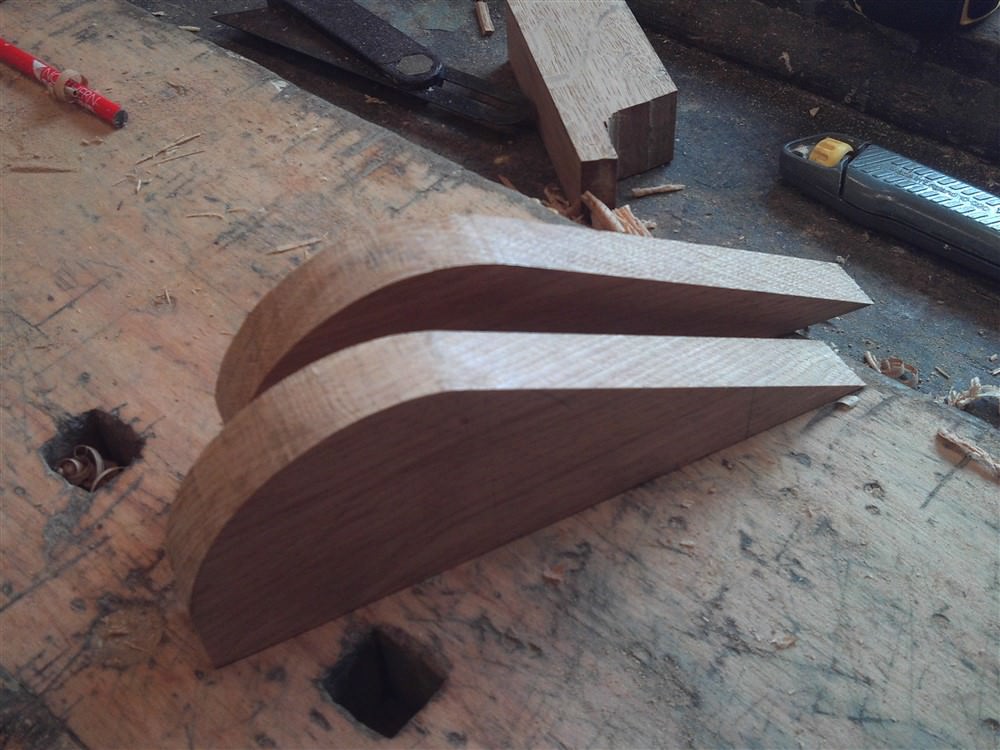
First, a found a piece of scrap oak suitable for the body of my router plane idea, and cleaned it up with my plane:
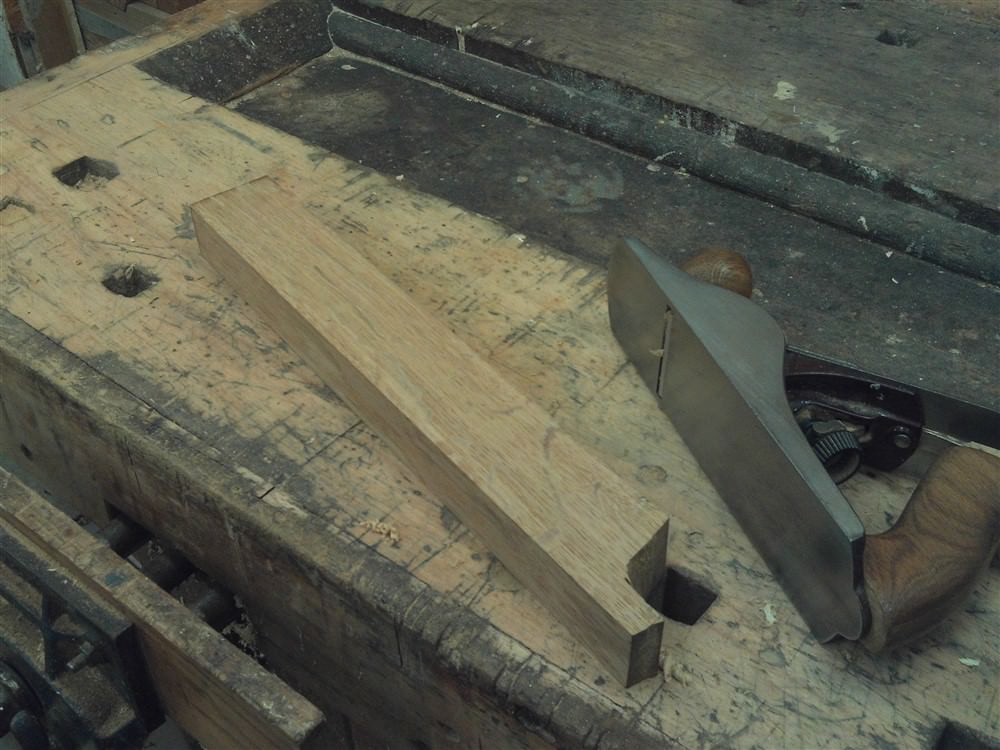
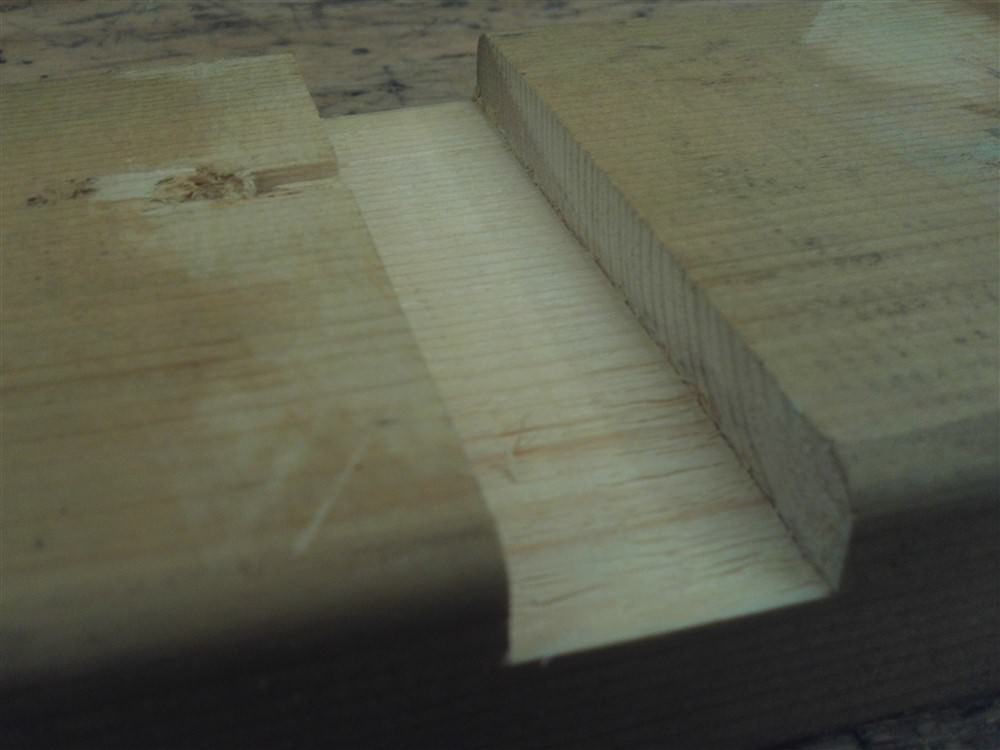
Now, I made this up entirely on the bench as I was doing it, so there are no drawings, and I used no measurements. The only thing I know for certain is that the angle on the plane bed is 35 degrees:
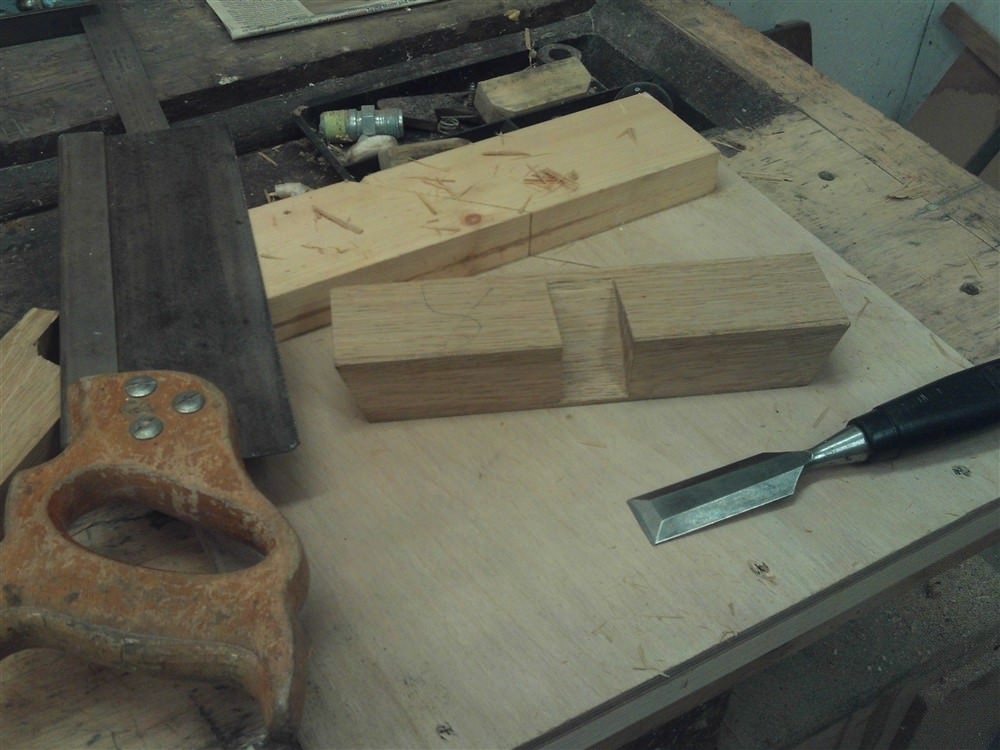
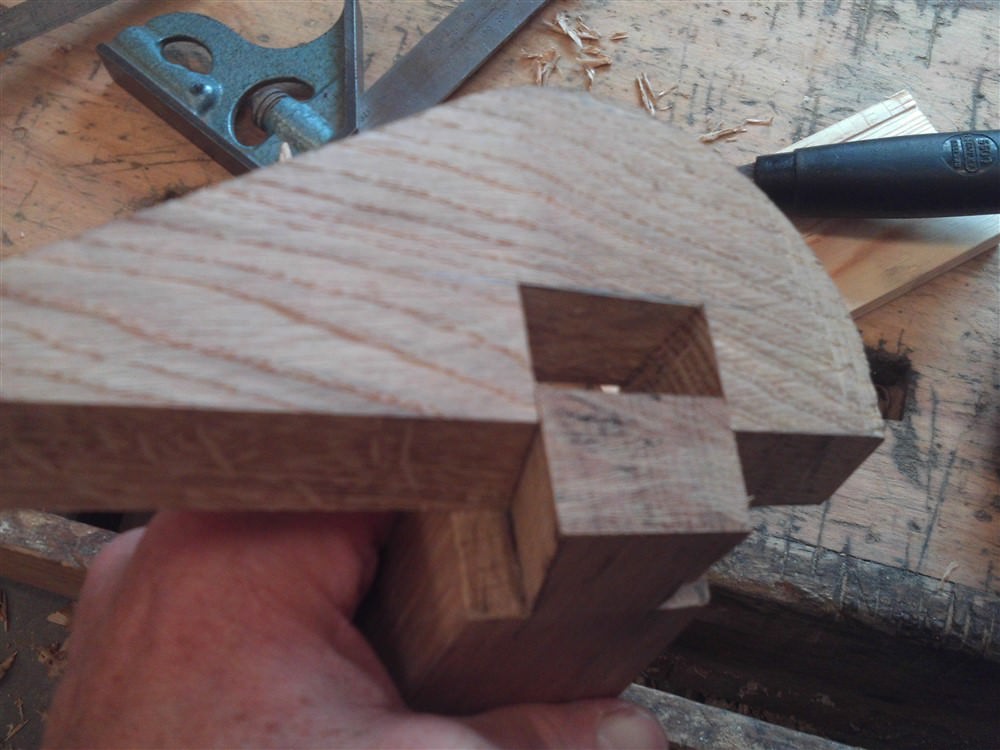
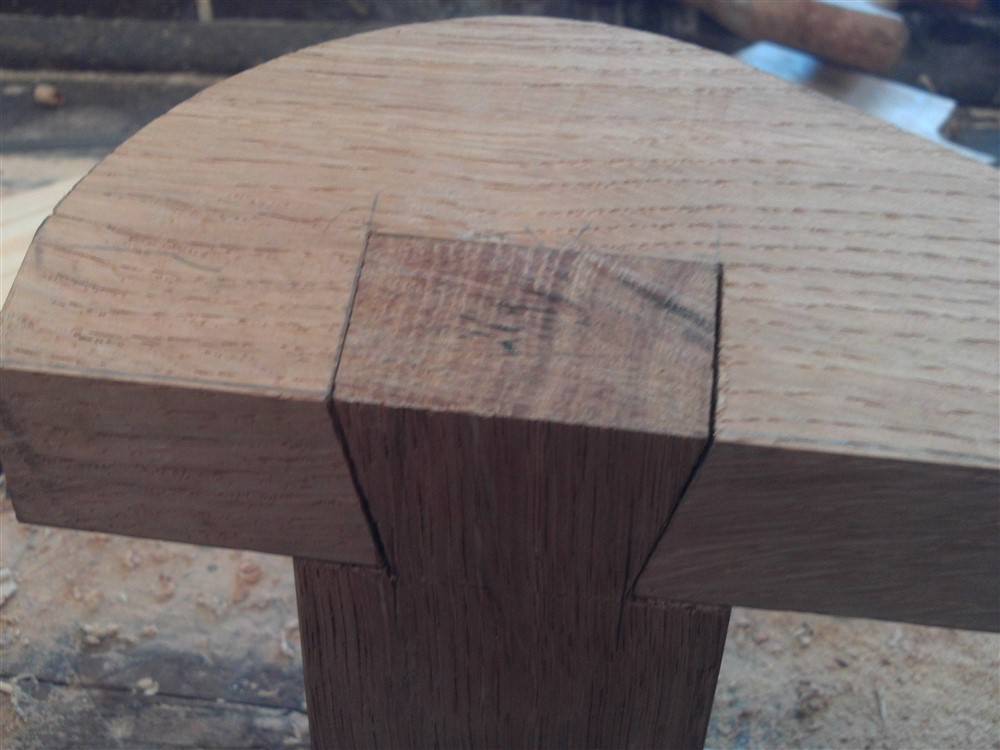
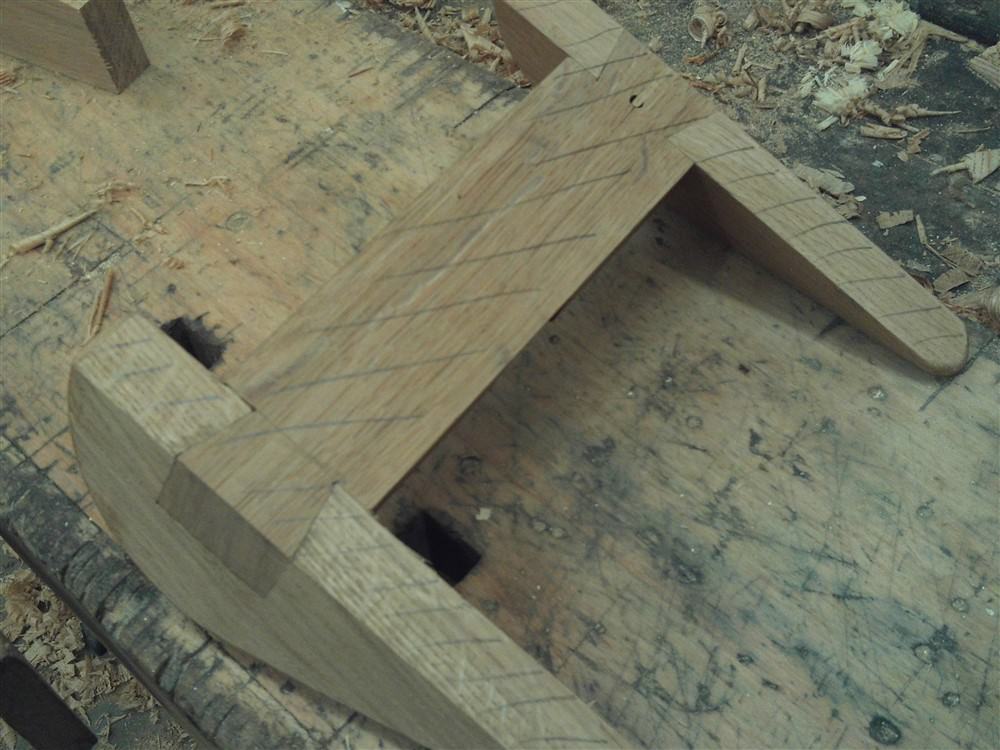
I was going to just do half-laps to join the side pieces, but last minute decided to do them as dovetail half-laps:
With the ends being cut on the angle, there was no reference to properly mark from, and so the marking was by pencil. That was to have consequences..... Anyway, next, to the side-pieces:


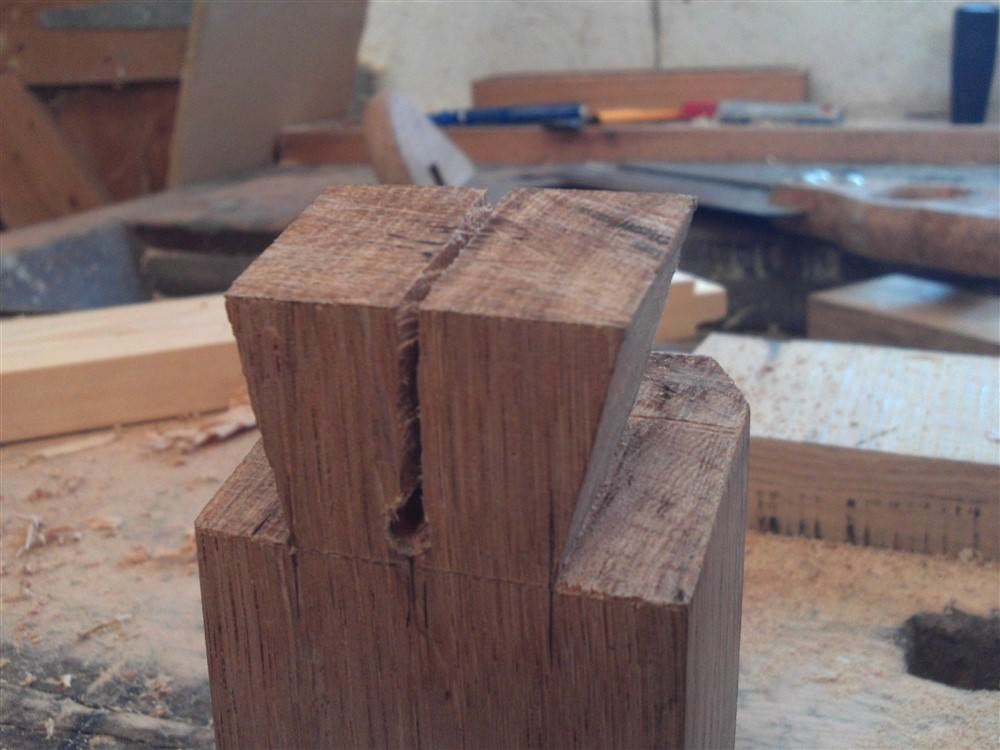
The first side went swimmingly well. The second dovetail didn't. Much too loose, and inaccurate:
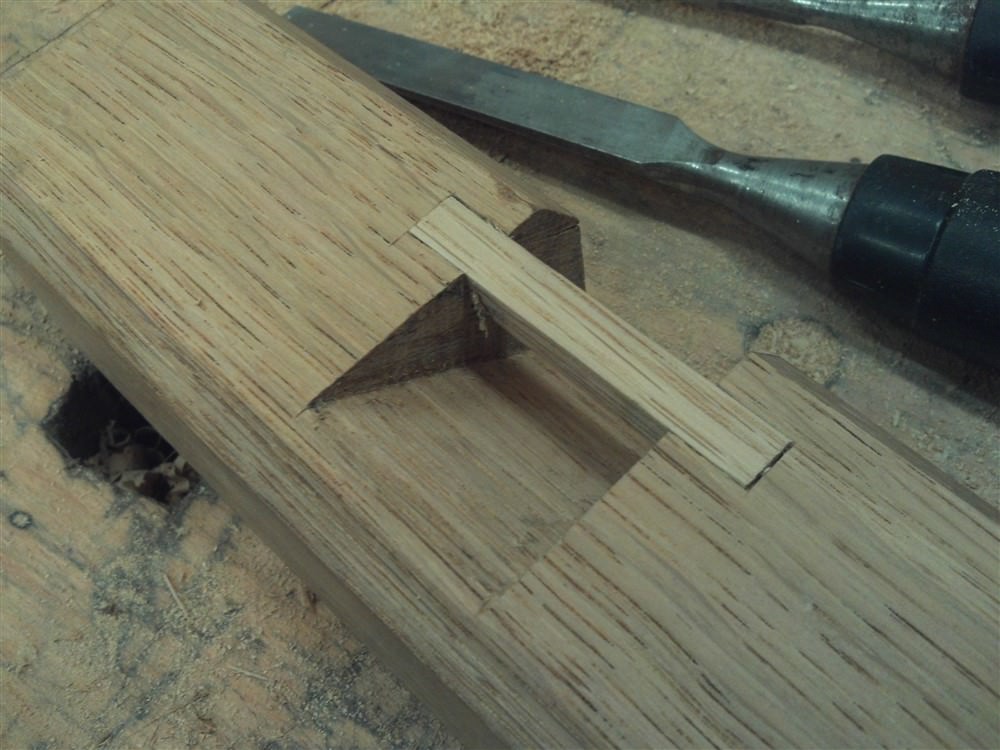
I found my old "egg beater" drill (remember the rules!!) and drilled a hole, then slit the dovetail up the middle:
I fashioned a slim wedge (too slim, as I found out later).
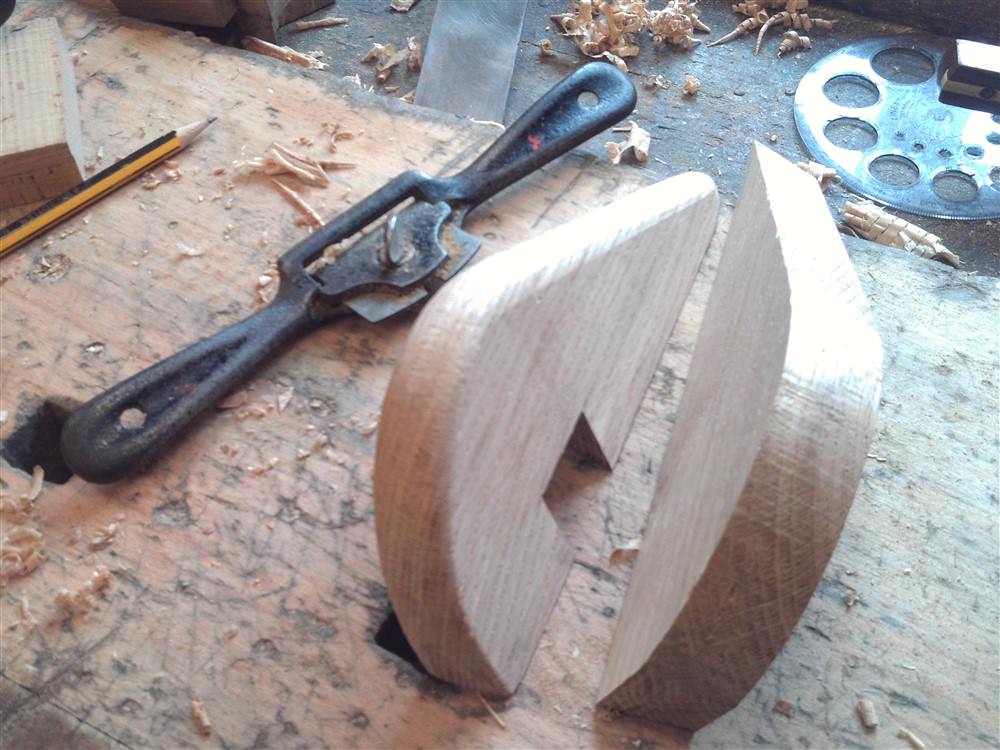
I had a change of heart over the next part. Originally I intended to insert a short length of steel rod, but did this instead out of oak:
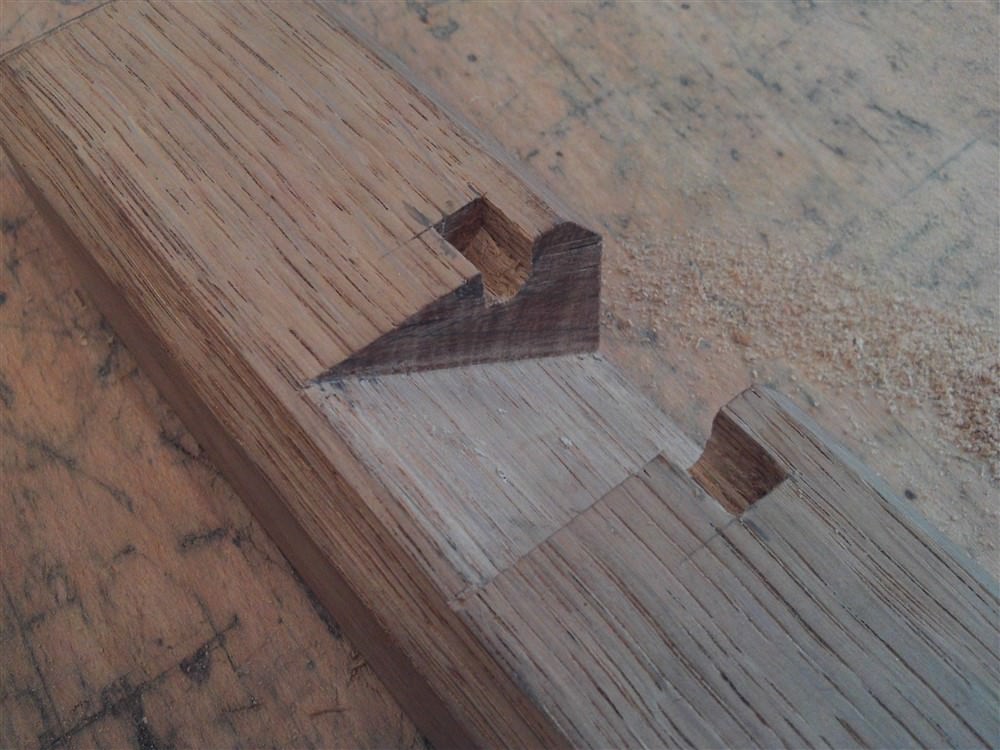
That ugly gap was because I forgot to bring my glasses back out, and just carried on regardless. Pillock.
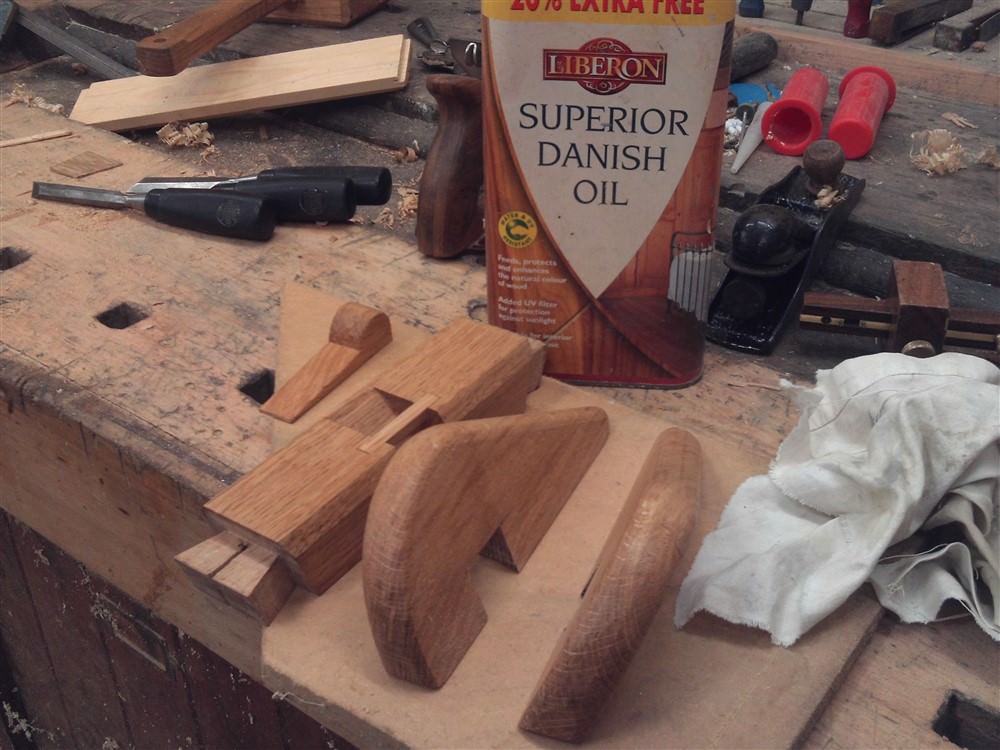
I don't like Danish oil. I particularly don't like it on oak. But this is only a tool, and a friend gave me a can of the stuff (gee thanks), so I thought I'd try to use some of it up. A couple of quick coats prior to gluing up:
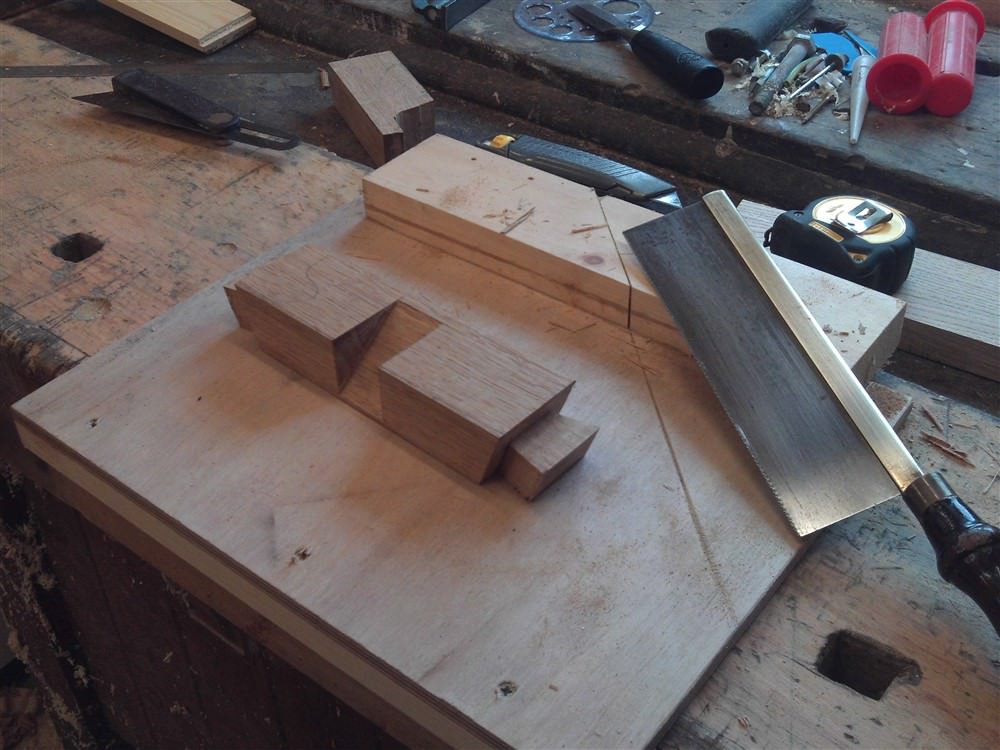
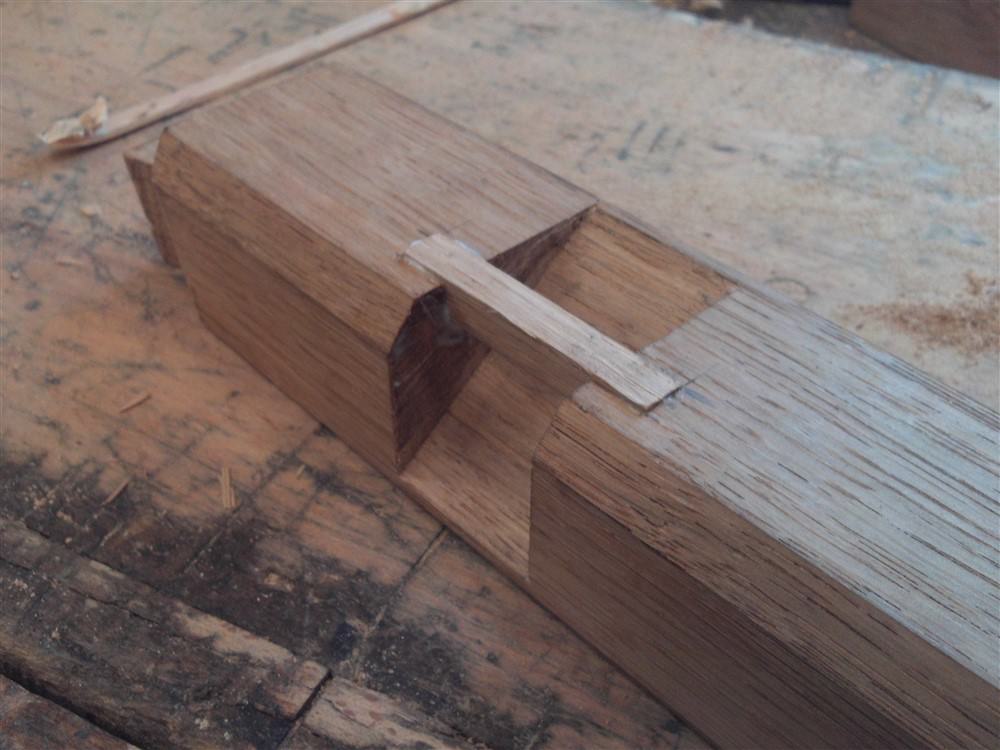
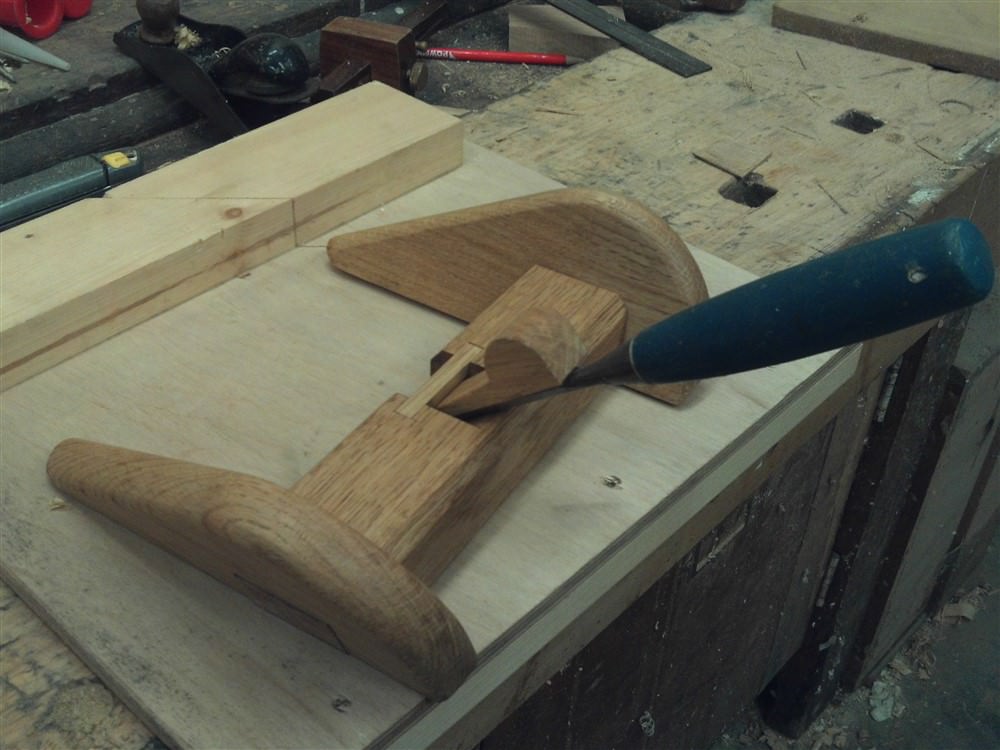
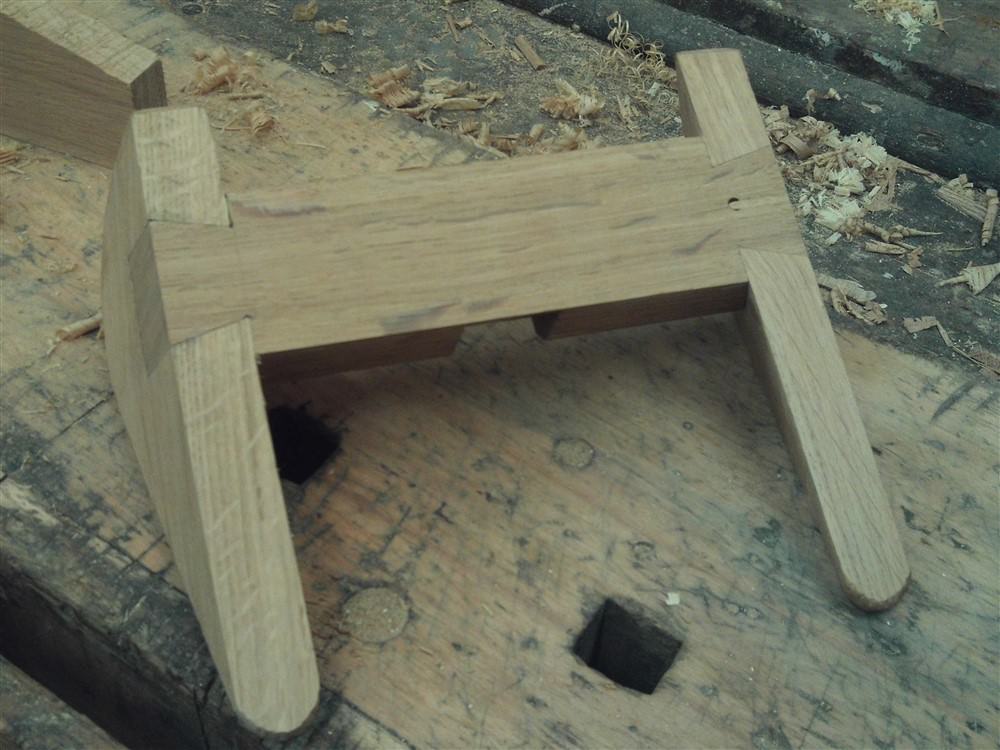
Then a dry fit, and a check on the arrangements:
Glue up (2 joints.......just 2 joints. How could anyone cock that up?) didn't go well. I used D4, so didn't have long. The first dovetail was quick and easy, but the one with the wedge......erm.........wasn't. I glued everything, including the wedge,assembled the joint, then drove the wedge home. It hit the bottom of the hole without being wide enough to close up the gaps around the dovetail. I had to pull everything apart, and of course, the wedge wouldn't come out. In the end I had to cut it away, getting glue over everything including the saw teeth. With the glue drying rapidly, I had to fashion another wedge, touch up the glue, reassemble, bash the wedge home, and hope.
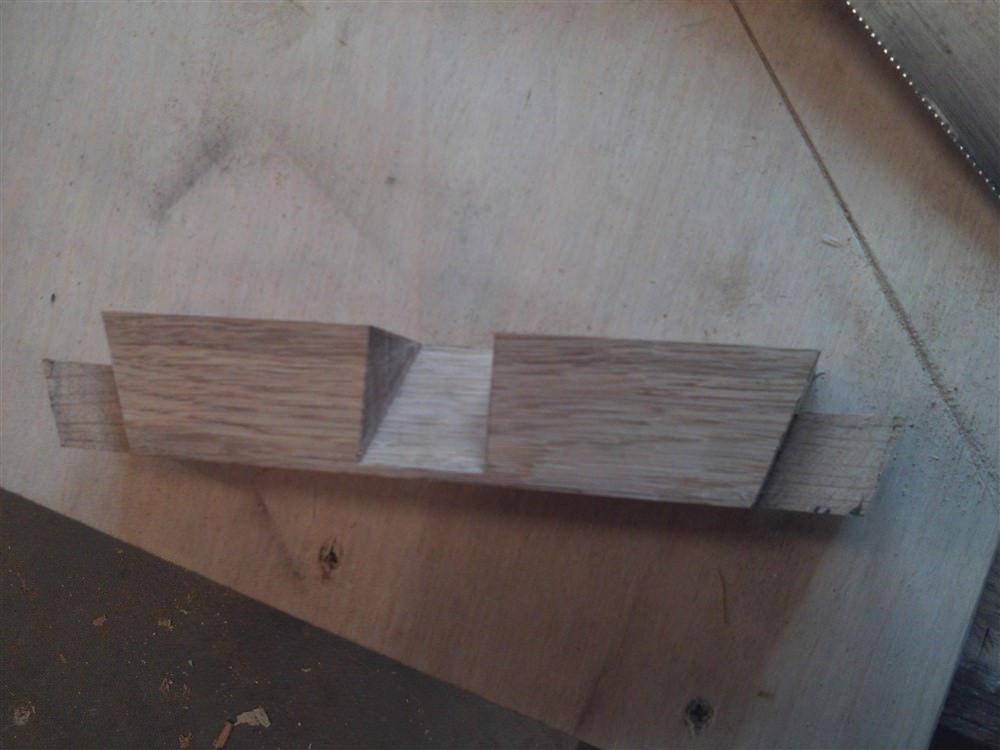
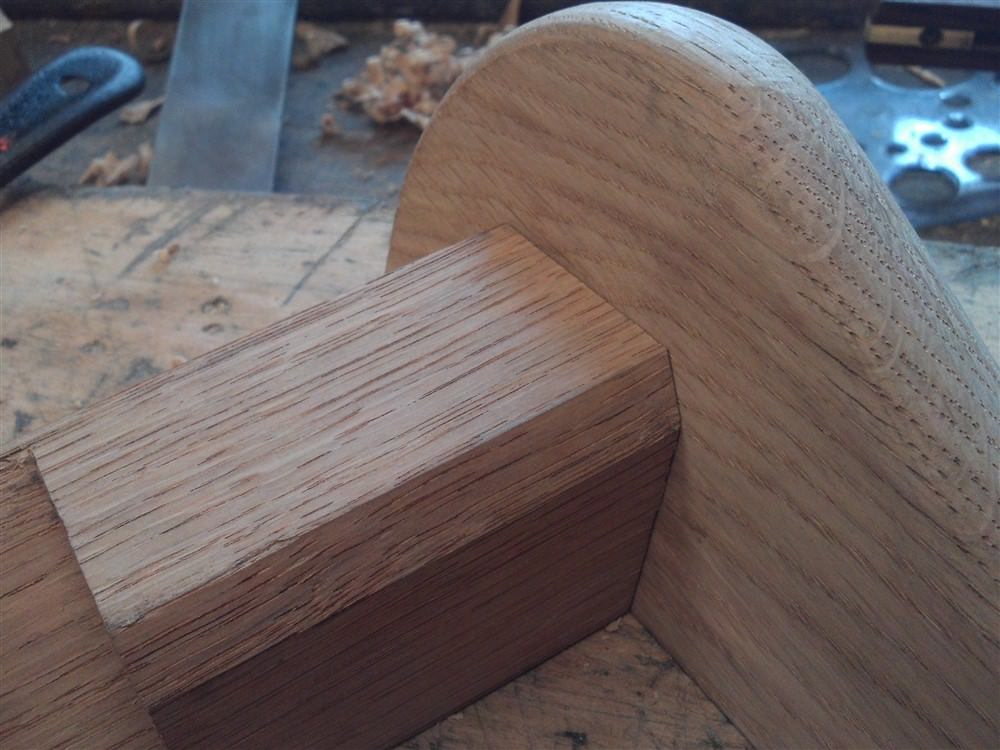
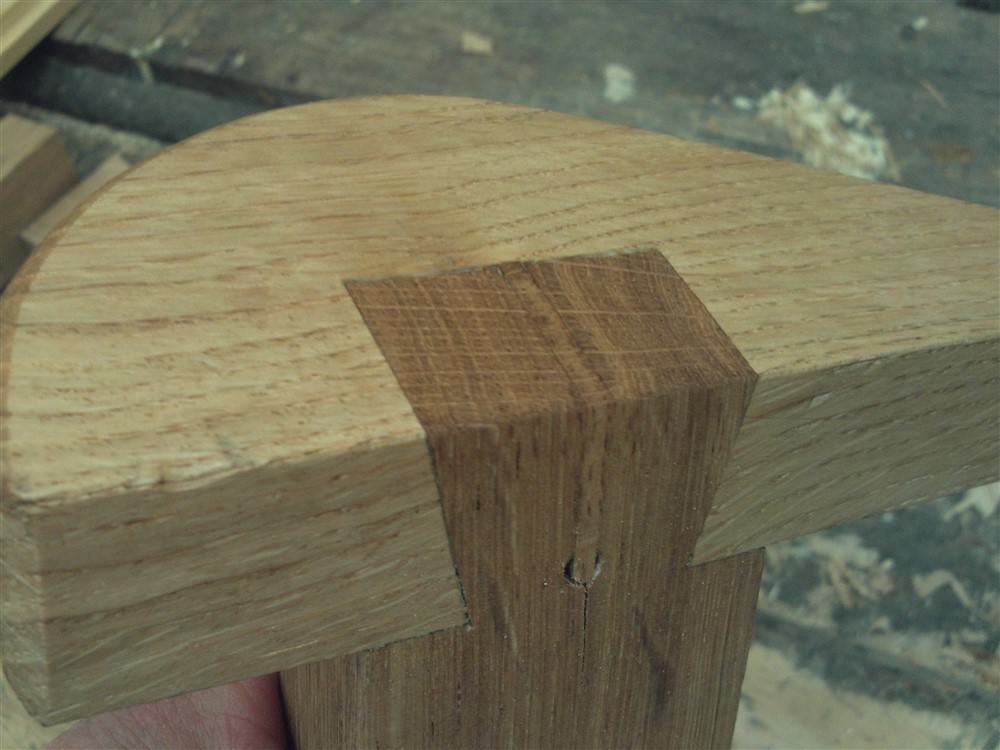
All's well that ends well. The fixed dovetail was somewhere near reasonable:
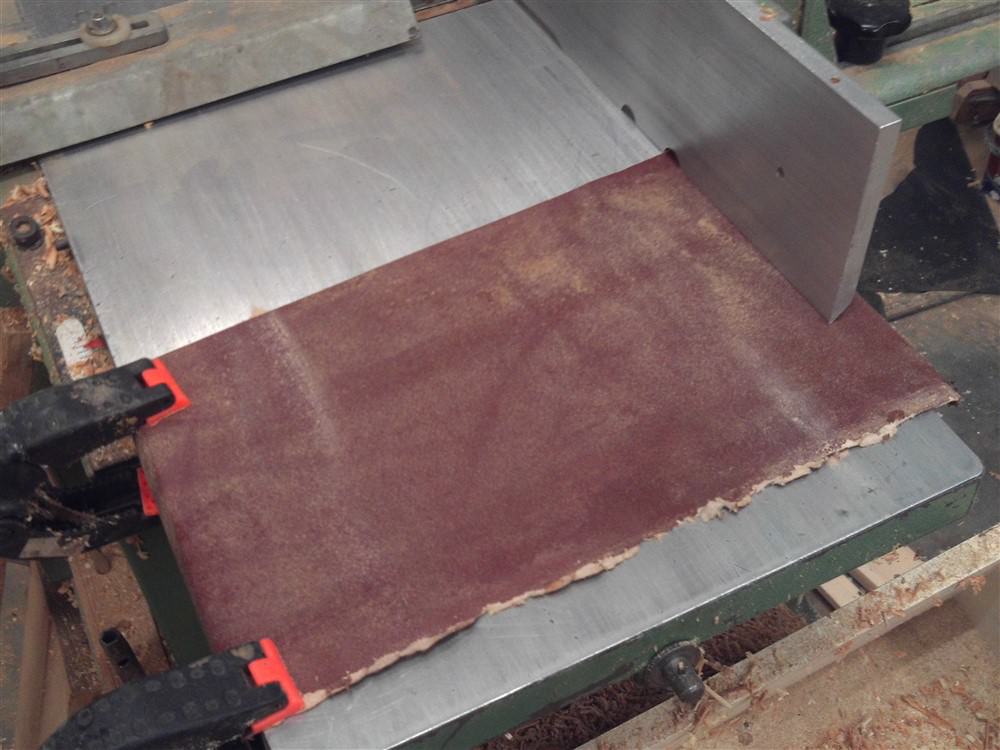
Setting that aside to dry, I then made a quick shooting board. I came back to the router an hour or two later. The above photo is after I had cleaned up the ends with a plane, and re-did the Danish oil. The final job was to fettle the underside, and I'm afraid I couldn't think of any way of doing that properly without using sandpaper. So, I marked up the base so I could see where was high and low:
Clamped some paper tightly to my planer in-feed table:
Then fettled away:
Finally, time to give it a try. I roughed out a housing in a bit of scrap pine, stuck in a 1/2" chisel and tapped it to position with a hammer, then scraped away:
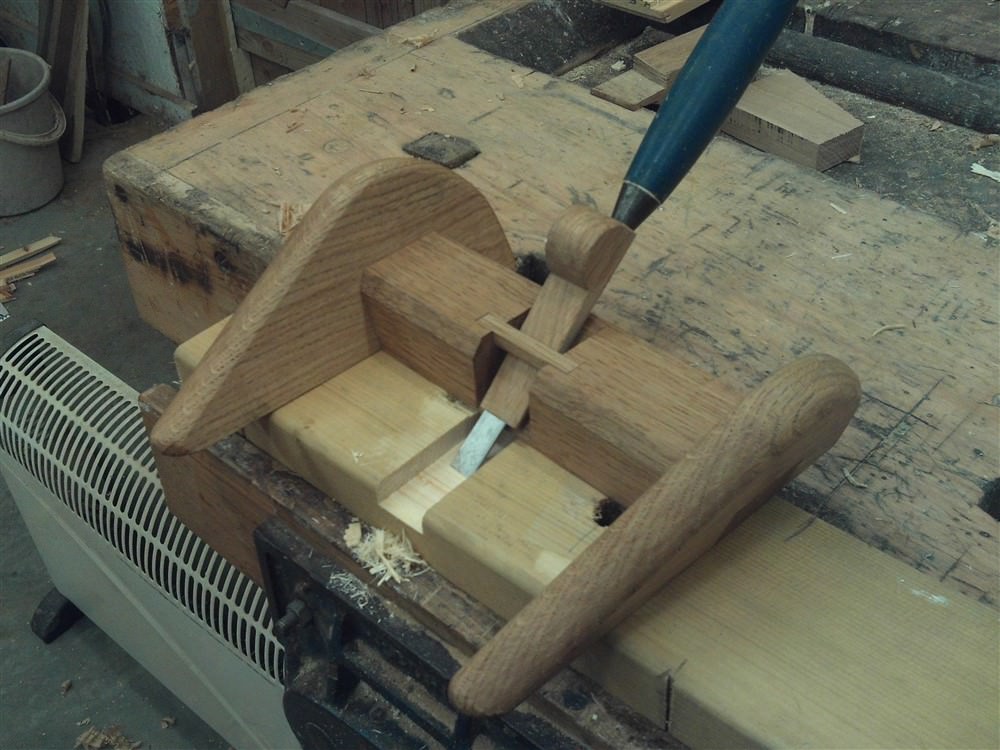
It worked a treat!!
First, a found a piece of scrap oak suitable for the body of my router plane idea, and cleaned it up with my plane:
Now, I made this up entirely on the bench as I was doing it, so there are no drawings, and I used no measurements. The only thing I know for certain is that the angle on the plane bed is 35 degrees:
I was going to just do half-laps to join the side pieces, but last minute decided to do them as dovetail half-laps:
With the ends being cut on the angle, there was no reference to properly mark from, and so the marking was by pencil. That was to have consequences..... Anyway, next, to the side-pieces:
The first side went swimmingly well. The second dovetail didn't. Much too loose, and inaccurate:
I found my old "egg beater" drill (remember the rules!!) and drilled a hole, then slit the dovetail up the middle:
I fashioned a slim wedge (too slim, as I found out later).
I had a change of heart over the next part. Originally I intended to insert a short length of steel rod, but did this instead out of oak:
That ugly gap was because I forgot to bring my glasses back out, and just carried on regardless. Pillock.
I don't like Danish oil. I particularly don't like it on oak. But this is only a tool, and a friend gave me a can of the stuff (gee thanks), so I thought I'd try to use some of it up. A couple of quick coats prior to gluing up:
Then a dry fit, and a check on the arrangements:
Glue up (2 joints.......just 2 joints. How could anyone cock that up?) didn't go well. I used D4, so didn't have long. The first dovetail was quick and easy, but the one with the wedge......erm.........wasn't. I glued everything, including the wedge,assembled the joint, then drove the wedge home. It hit the bottom of the hole without being wide enough to close up the gaps around the dovetail. I had to pull everything apart, and of course, the wedge wouldn't come out. In the end I had to cut it away, getting glue over everything including the saw teeth. With the glue drying rapidly, I had to fashion another wedge, touch up the glue, reassemble, bash the wedge home, and hope.
All's well that ends well. The fixed dovetail was somewhere near reasonable:
Setting that aside to dry, I then made a quick shooting board. I came back to the router an hour or two later. The above photo is after I had cleaned up the ends with a plane, and re-did the Danish oil. The final job was to fettle the underside, and I'm afraid I couldn't think of any way of doing that properly without using sandpaper. So, I marked up the base so I could see where was high and low:
Clamped some paper tightly to my planer in-feed table:
Then fettled away:
Finally, time to give it a try. I roughed out a housing in a bit of scrap pine, stuck in a 1/2" chisel and tapped it to position with a hammer, then scraped away:
It worked a treat!!
