


As a follow on to my thread about maybe making some bifold doors for our planned kitchen/breakfast room extension, I decided that a good start would be to make a new back door as practice. Just the one door to make, less exacting than bifolds, no expensive track and rolling gear to buy, and lessons learned can be incorporated in the bifolds. Whilst I am confident that I could make one with solid jambs and rails, the object of the excercise is to learn how to do it with laminations.
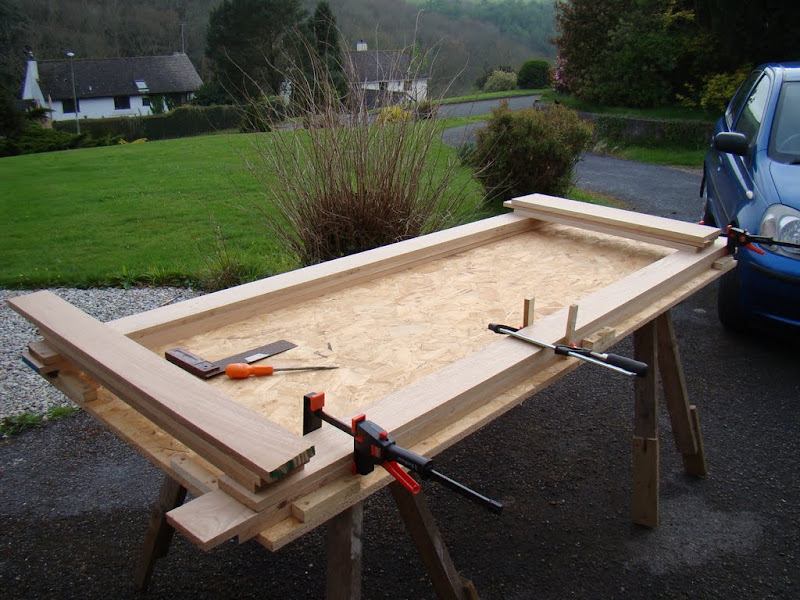
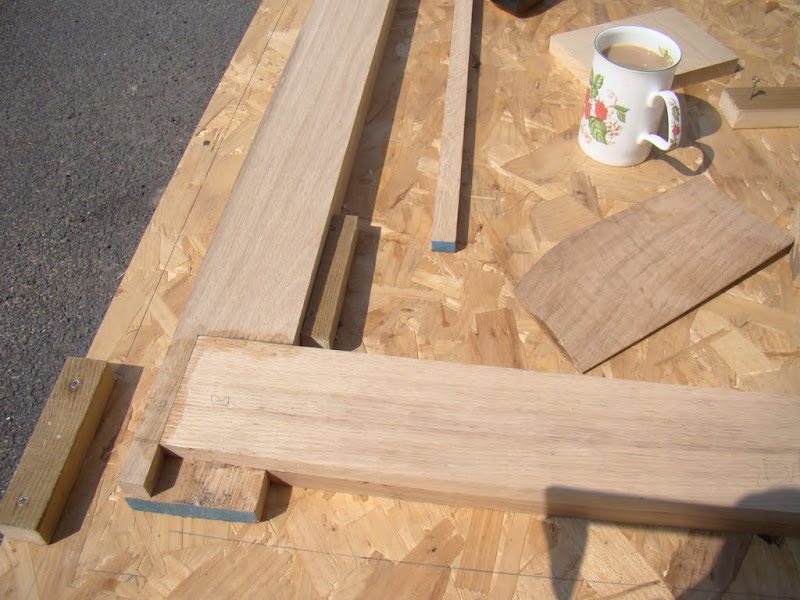
So, first job was to set to and prepare timber. I'm using some spare OSB for a jig. I've checked the OSB for squareness and screwed blocks to each corner. If the blocks are square based on 3/4/5 and measuring the diagonals, then the finished door has a better than even chance at turning out square - OK, oblong, but you know what I mean. Here are the 3 laminations of 18mm Oak ready for the next stage.
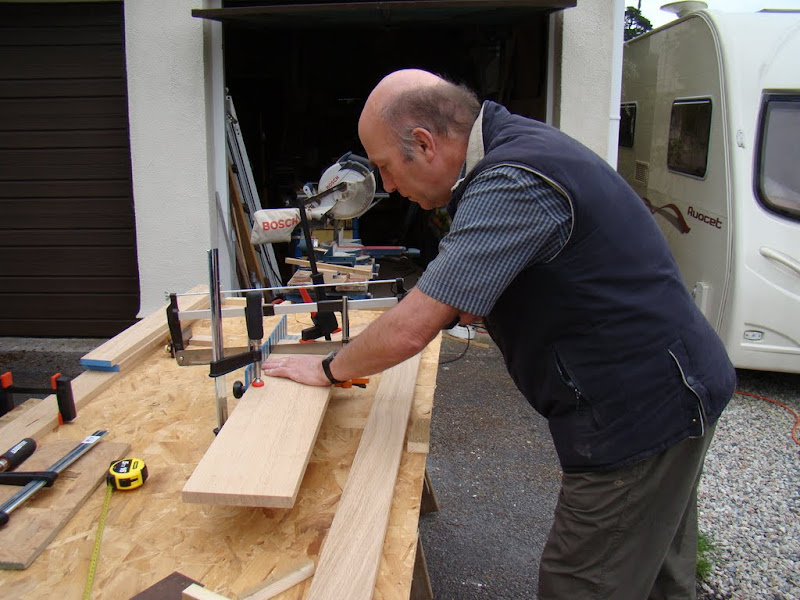
The butt joints need to be absolutely flush and square so I tried several methods including a Nobo frame saw. In the end I found the best result came from my Bosch SCMS, having scored across the grain with a sharp blade first to prevent break out.
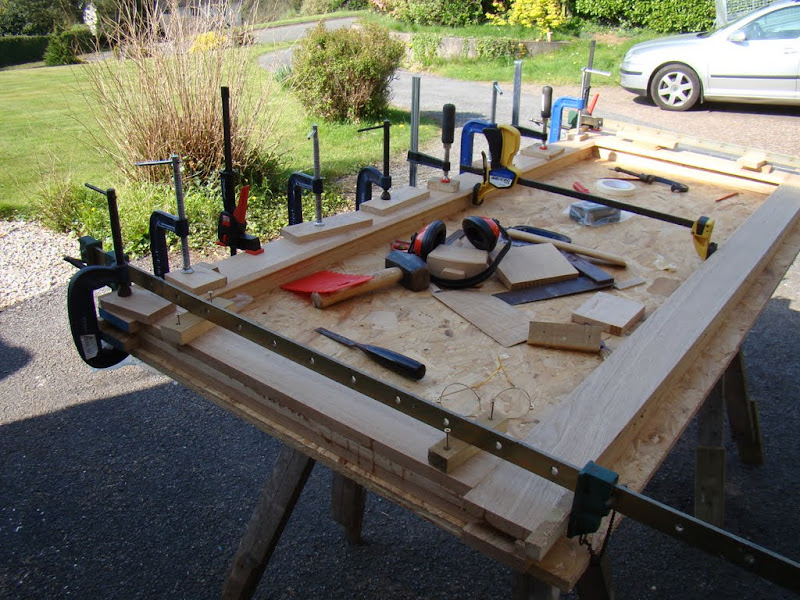
The first layer is fitted in the jig and the edges glued, having taken care to place some plastic sheet under the joint so that it's not glued to the OSB. I'm using TB3 because it's cheap(ish) and this particular door is set in an east facing recess and tends not to get hit by a lot of weather. That bright sun is about to cause problems.
The next layer is glued straight over the top. I was daft enough to spread the glue on the wood in the jig rather than on the piece to be fitted. The wood was already warm, and the strong sun dried the glue impossibly quickly. I quickly moved undercover, scraped off the glue and re-glued by spreading it on the piece to be fitted which had been kept inside and was cool.
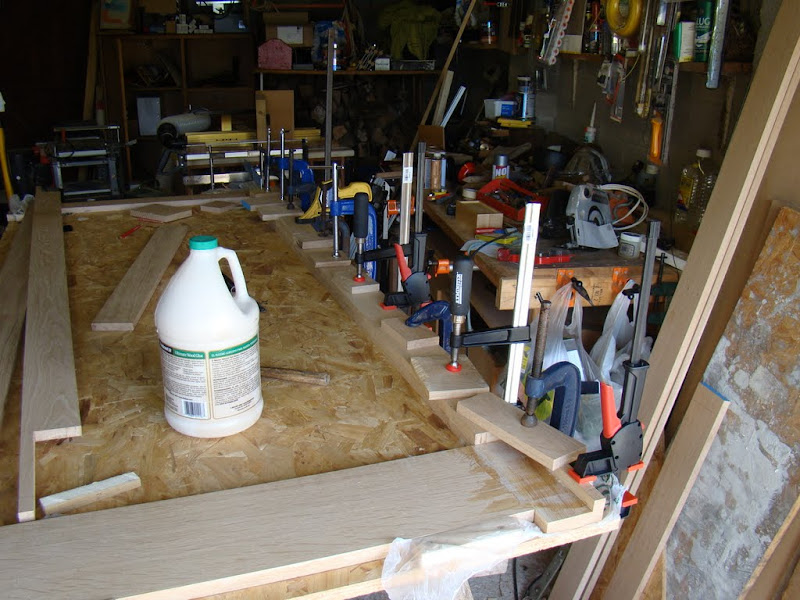
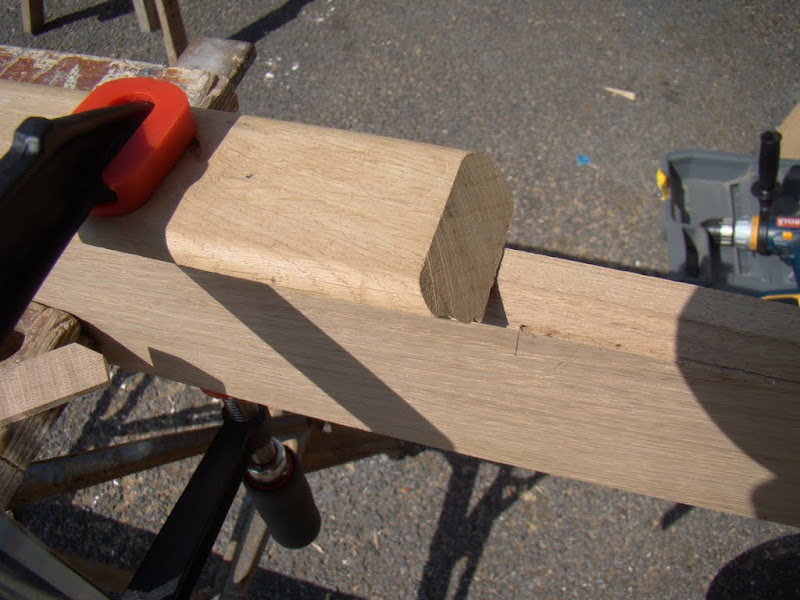
The problem is finding room to work on all sides of the door, so back outside again. This time, having kept the components under cover, I spread glue on the component in the cool of the garage and only brought it outside when ready to fit. Here's one of the top corners with the middle of 3 laminations in place. The cuppa is very welcome! The door has been moved off the blocks which define the shape after the glue had dried - and I only just remembered to take a piccie.
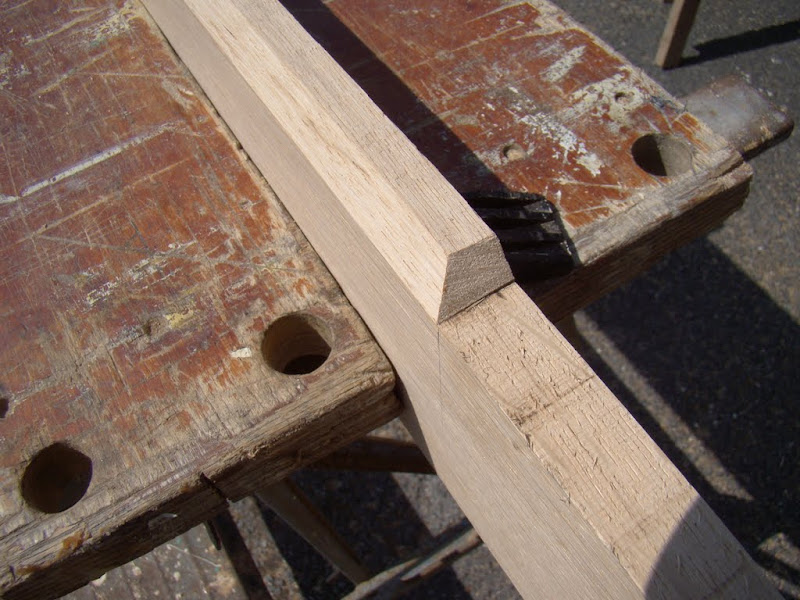
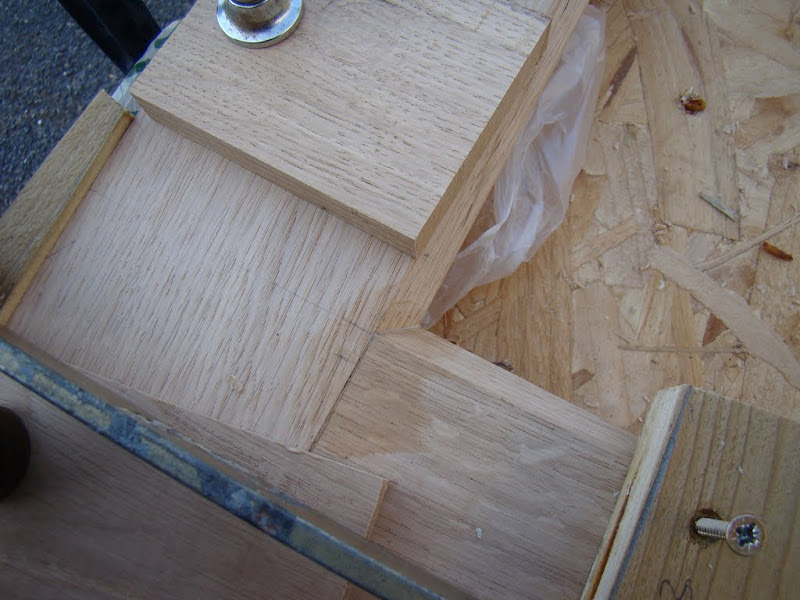
The 3rd layer is the external layer, and will be slightly wider than the first two to make a recess into which the glazing will be placed from the inside for security purposes. The inside edge was chamfered at 45 deg, and then inset to neaten up the corners. I found the easiest way to do that was to cut down the top of the chamfer on the band saw, and then cut it off at 45 deg using a support cut on the SCMS and then by using a Japanese dovetail saw held against it.
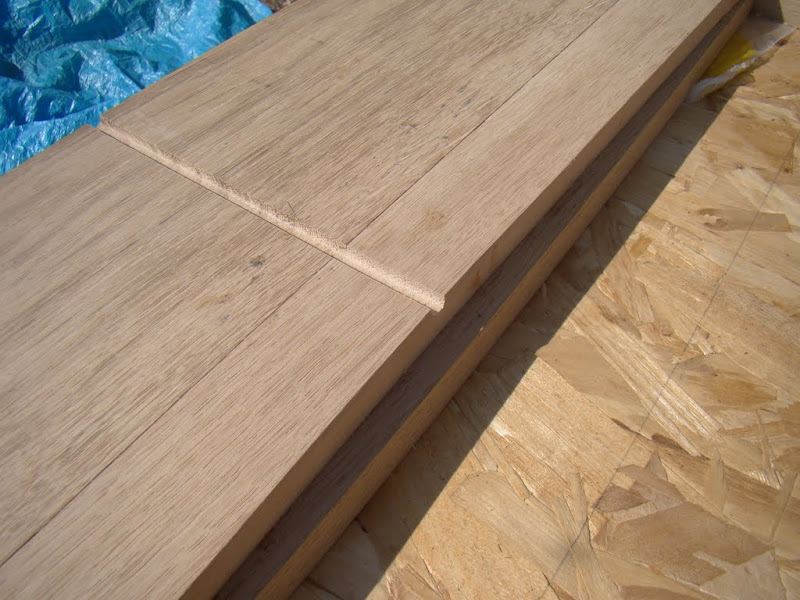
Now it just needs cleaning up with a sharp chisel. The middle layer of the bottom rail has been lowered in the centre for drainage purposes, and a drain hole routed to the bottom of the door. Hopefully it will never be needed. The side of the drain hole was treated with Owatrol Deks Olje D1 before the final layer was glued on. The glass will be supported with spacers which will sit across the recess, supported on each side.
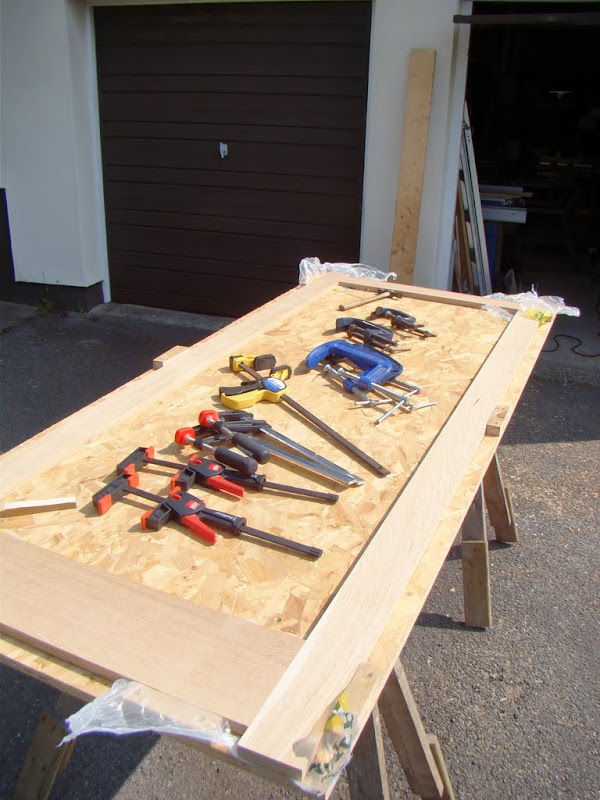
Then the final layer is glued in place. I've learned my lesson and done the glue up in the morning before the drive outside the garage gets in to full sun, and of course by spreading the glue under cover.
The chamfered corners have worked out well.
I'm keen to see how it cleans up so cut the horns off the top of the jambs and clean up with a LA Jack Plan. Also a good opportunity to try out some Abranet I bought at the Ally Pally event. Great stuff - I'm sold.
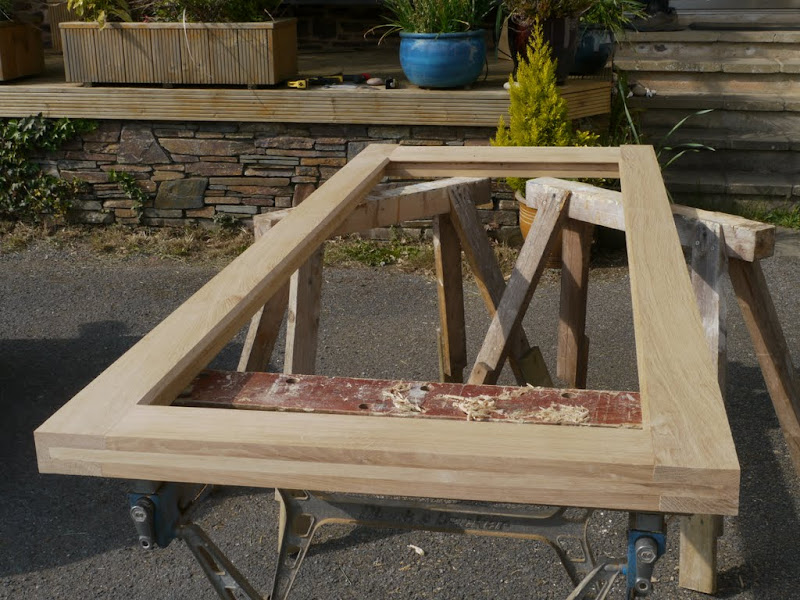
I've left the horns on the bottom of the door to protect the edges and bottom corners for the time being.
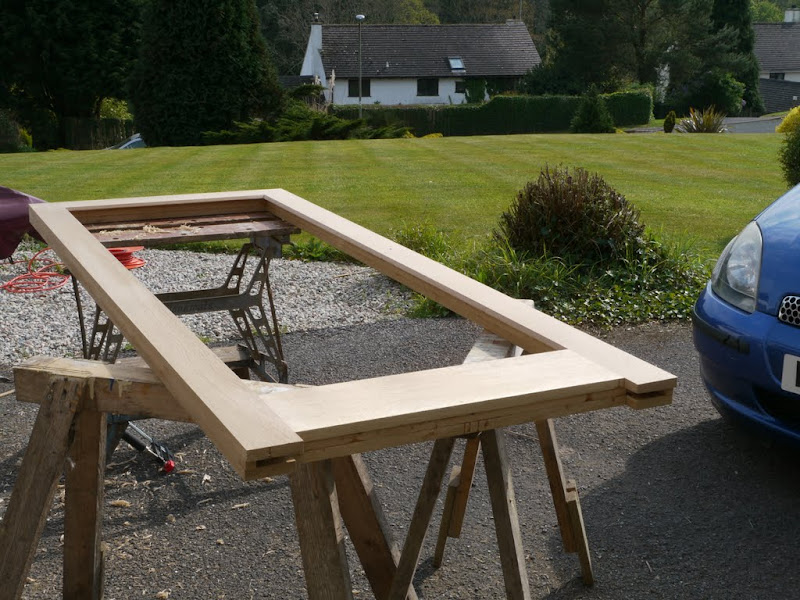
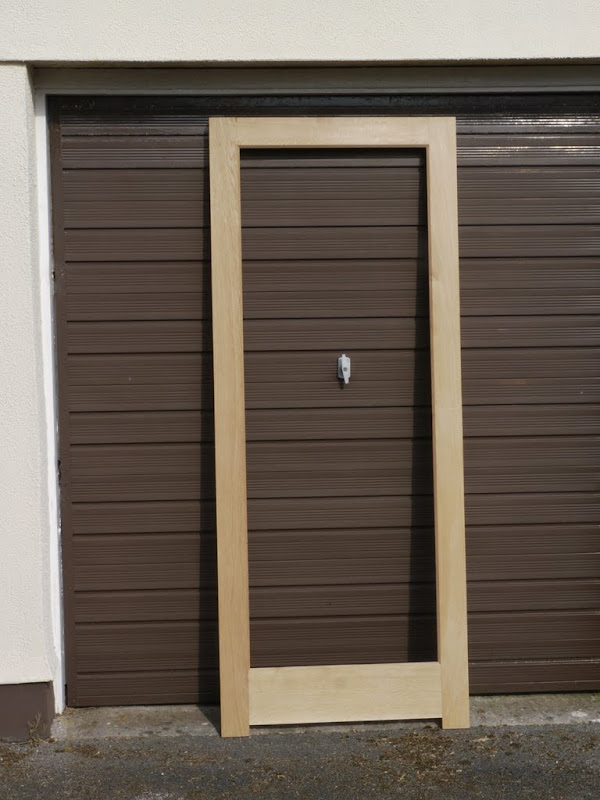
I'm happy with the result. The original intention had been to fit the door in the existing frame. However, after advice here, I've made the door 54mm thick (3 x 18mm) and the existing frame is for a softwood 44mm door, so I've decided to store the door until it's ready to fit in to the extension later in the summer. At that time it'll be glazed with 4/16/4 Planitherm Total+ with an argon fill, which should give a U value of 1.1.
Just a word of thanks for the help and encouragement given here, and in particular to Keith (Woodsmith) who sent me a copy of his magazine article which clarified the process.
So, first job was to set to and prepare timber. I'm using some spare OSB for a jig. I've checked the OSB for squareness and screwed blocks to each corner. If the blocks are square based on 3/4/5 and measuring the diagonals, then the finished door has a better than even chance at turning out square - OK, oblong, but you know what I mean. Here are the 3 laminations of 18mm Oak ready for the next stage.
The butt joints need to be absolutely flush and square so I tried several methods including a Nobo frame saw. In the end I found the best result came from my Bosch SCMS, having scored across the grain with a sharp blade first to prevent break out.
The first layer is fitted in the jig and the edges glued, having taken care to place some plastic sheet under the joint so that it's not glued to the OSB. I'm using TB3 because it's cheap(ish) and this particular door is set in an east facing recess and tends not to get hit by a lot of weather. That bright sun is about to cause problems.
The next layer is glued straight over the top. I was daft enough to spread the glue on the wood in the jig rather than on the piece to be fitted. The wood was already warm, and the strong sun dried the glue impossibly quickly. I quickly moved undercover, scraped off the glue and re-glued by spreading it on the piece to be fitted which had been kept inside and was cool.
The problem is finding room to work on all sides of the door, so back outside again. This time, having kept the components under cover, I spread glue on the component in the cool of the garage and only brought it outside when ready to fit. Here's one of the top corners with the middle of 3 laminations in place. The cuppa is very welcome! The door has been moved off the blocks which define the shape after the glue had dried - and I only just remembered to take a piccie.
The 3rd layer is the external layer, and will be slightly wider than the first two to make a recess into which the glazing will be placed from the inside for security purposes. The inside edge was chamfered at 45 deg, and then inset to neaten up the corners. I found the easiest way to do that was to cut down the top of the chamfer on the band saw, and then cut it off at 45 deg using a support cut on the SCMS and then by using a Japanese dovetail saw held against it.
Now it just needs cleaning up with a sharp chisel. The middle layer of the bottom rail has been lowered in the centre for drainage purposes, and a drain hole routed to the bottom of the door. Hopefully it will never be needed. The side of the drain hole was treated with Owatrol Deks Olje D1 before the final layer was glued on. The glass will be supported with spacers which will sit across the recess, supported on each side.
Then the final layer is glued in place. I've learned my lesson and done the glue up in the morning before the drive outside the garage gets in to full sun, and of course by spreading the glue under cover.
The chamfered corners have worked out well.
I'm keen to see how it cleans up so cut the horns off the top of the jambs and clean up with a LA Jack Plan. Also a good opportunity to try out some Abranet I bought at the Ally Pally event. Great stuff - I'm sold.
I've left the horns on the bottom of the door to protect the edges and bottom corners for the time being.
I'm happy with the result. The original intention had been to fit the door in the existing frame. However, after advice here, I've made the door 54mm thick (3 x 18mm) and the existing frame is for a softwood 44mm door, so I've decided to store the door until it's ready to fit in to the extension later in the summer. At that time it'll be glazed with 4/16/4 Planitherm Total+ with an argon fill, which should give a U value of 1.1.
Just a word of thanks for the help and encouragement given here, and in particular to Keith (Woodsmith) who sent me a copy of his magazine article which clarified the process.