custard
Established Member
I keep finding new applications (or at least new to me) where a closely set cap iron is a real improvement on what I've used before.
I don't make a huge number of boxes, but this year I've had orders for quite a few. Cleaning up the edges to give a perfect fit after separating the lid from the body is often quite time consuming, here's the lid being sawn off, which no matter how much care you take inevitably leaves a fairly rough and uneven surface,

Previously, to flatten off the sawn surfaces I've used a large piece of 25mm MDF with wide belt sander paper veneered to each side, 80 grit on one side and 180 grit on the other,

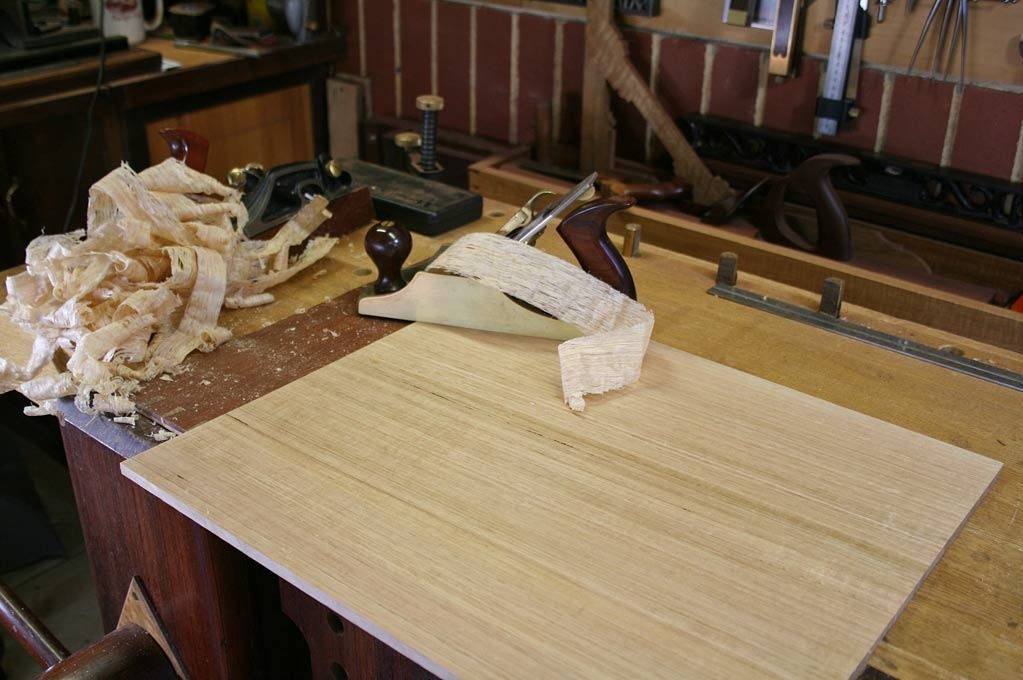
This time I tried planing off the majority of the waste using a No 4 with a closely set cap iron to deal with the wild grain of the Birds Eye Maple. This happens to be a LN plane, but I've no doubt that a regular Record or Stanley would give exactly the same result. If I did this more often I might think about getting a No 3 plane.

You can see the typically crinkly shaving that you often get with a really closely set cap iron,

It's an entertaining challenge to see if you can go all the way around and produce a single unbroken shaving! Zero tear out by the way, grain direction becomes virtually irrelevant.

With a bit of care you can plane your way to an absolutely flat and gap free fit between the lid and the base in less than half the time that it would take by sanding, and it's certainly a lot more fun!
I don't make a huge number of boxes, but this year I've had orders for quite a few. Cleaning up the edges to give a perfect fit after separating the lid from the body is often quite time consuming, here's the lid being sawn off, which no matter how much care you take inevitably leaves a fairly rough and uneven surface,
Previously, to flatten off the sawn surfaces I've used a large piece of 25mm MDF with wide belt sander paper veneered to each side, 80 grit on one side and 180 grit on the other,
This time I tried planing off the majority of the waste using a No 4 with a closely set cap iron to deal with the wild grain of the Birds Eye Maple. This happens to be a LN plane, but I've no doubt that a regular Record or Stanley would give exactly the same result. If I did this more often I might think about getting a No 3 plane.
You can see the typically crinkly shaving that you often get with a really closely set cap iron,
It's an entertaining challenge to see if you can go all the way around and produce a single unbroken shaving! Zero tear out by the way, grain direction becomes virtually irrelevant.
With a bit of care you can plane your way to an absolutely flat and gap free fit between the lid and the base in less than half the time that it would take by sanding, and it's certainly a lot more fun!