I stumbled on this this morning while wandering about in the internet:
https://www.youtube.com/watch?v=LuckBFDUdMg
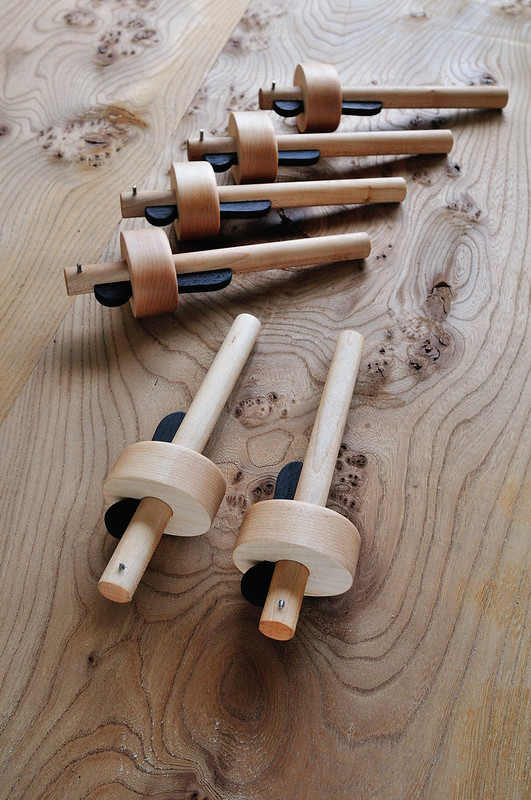
It doesn't do anything new of course but it does look as if it might do it well. Mind you at US $99 for the marking gauge, it wants to do it well!
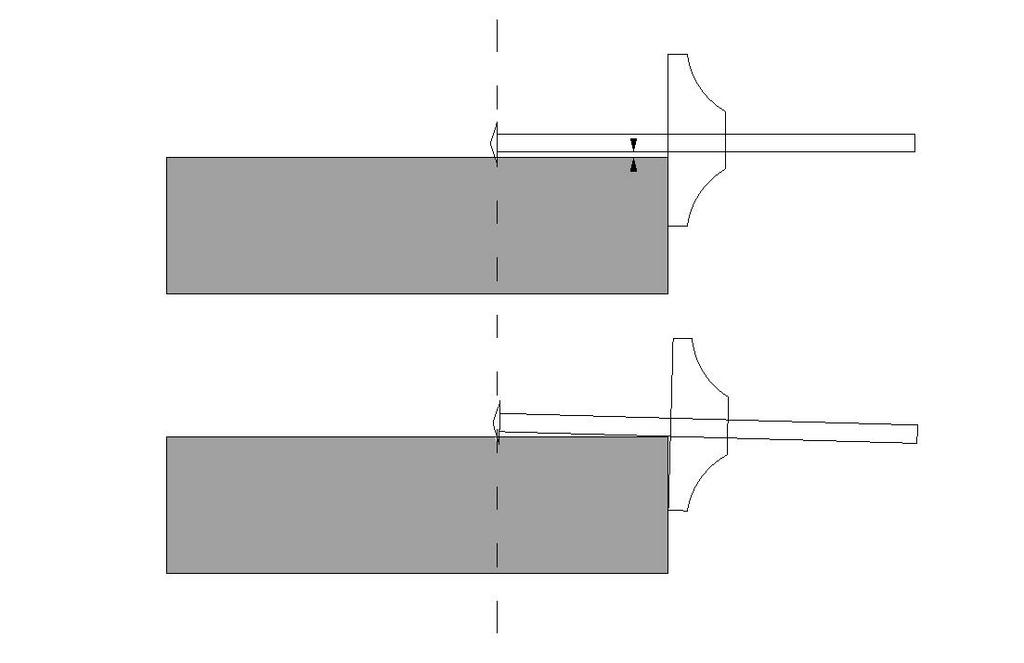
I have to admit that I like the look of the panel gauge variant because if there's one tool I really have difficulty with, it is my traditional wooden panel gauge - obviously down to me and not the gauge but there it is.
Do you reckon this will be popular or is it just too dear/too complex or a solution looking for a problem?
https://www.youtube.com/watch?v=LuckBFDUdMg
It doesn't do anything new of course but it does look as if it might do it well. Mind you at US $99 for the marking gauge, it wants to do it well!
I have to admit that I like the look of the panel gauge variant because if there's one tool I really have difficulty with, it is my traditional wooden panel gauge - obviously down to me and not the gauge but there it is.
Do you reckon this will be popular or is it just too dear/too complex or a solution looking for a problem?